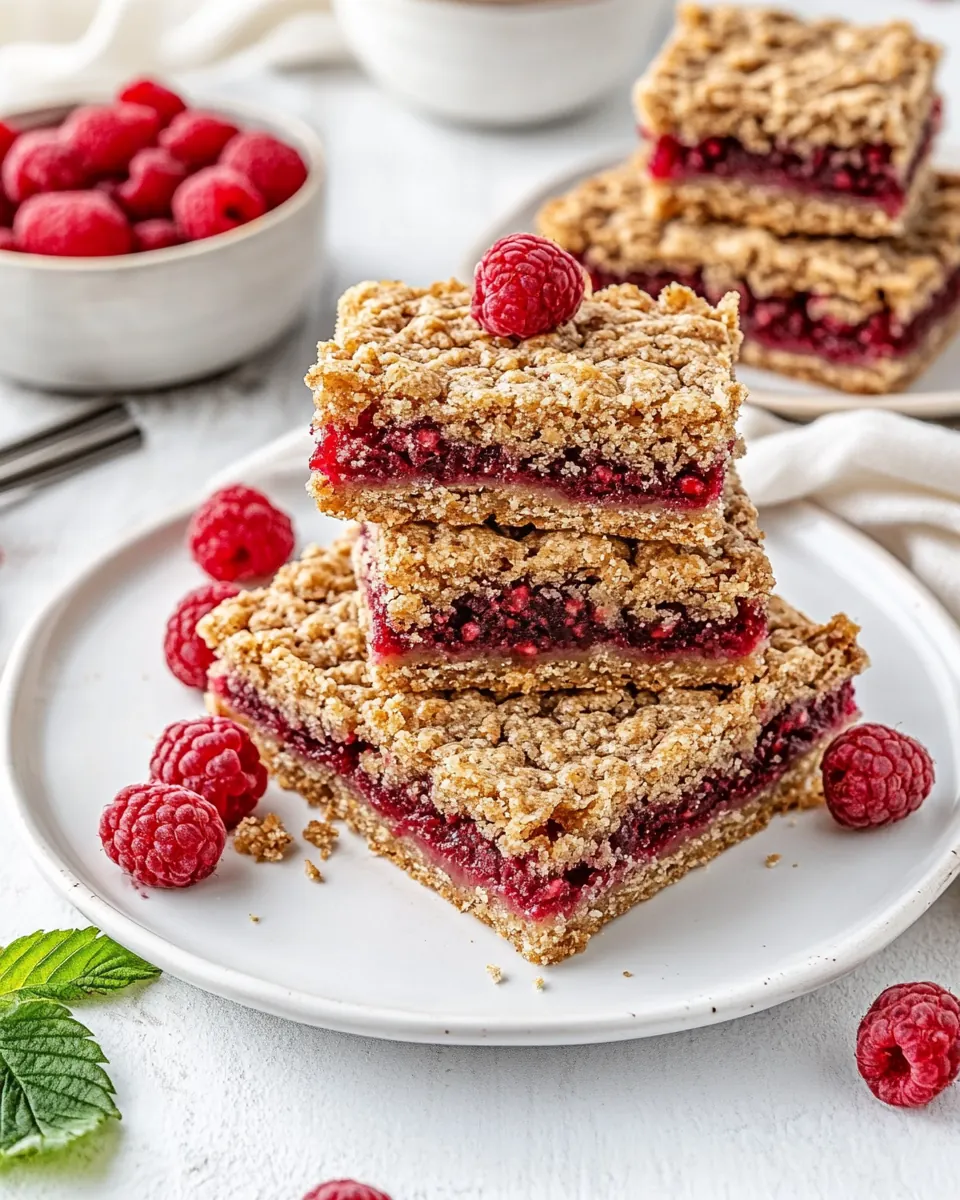
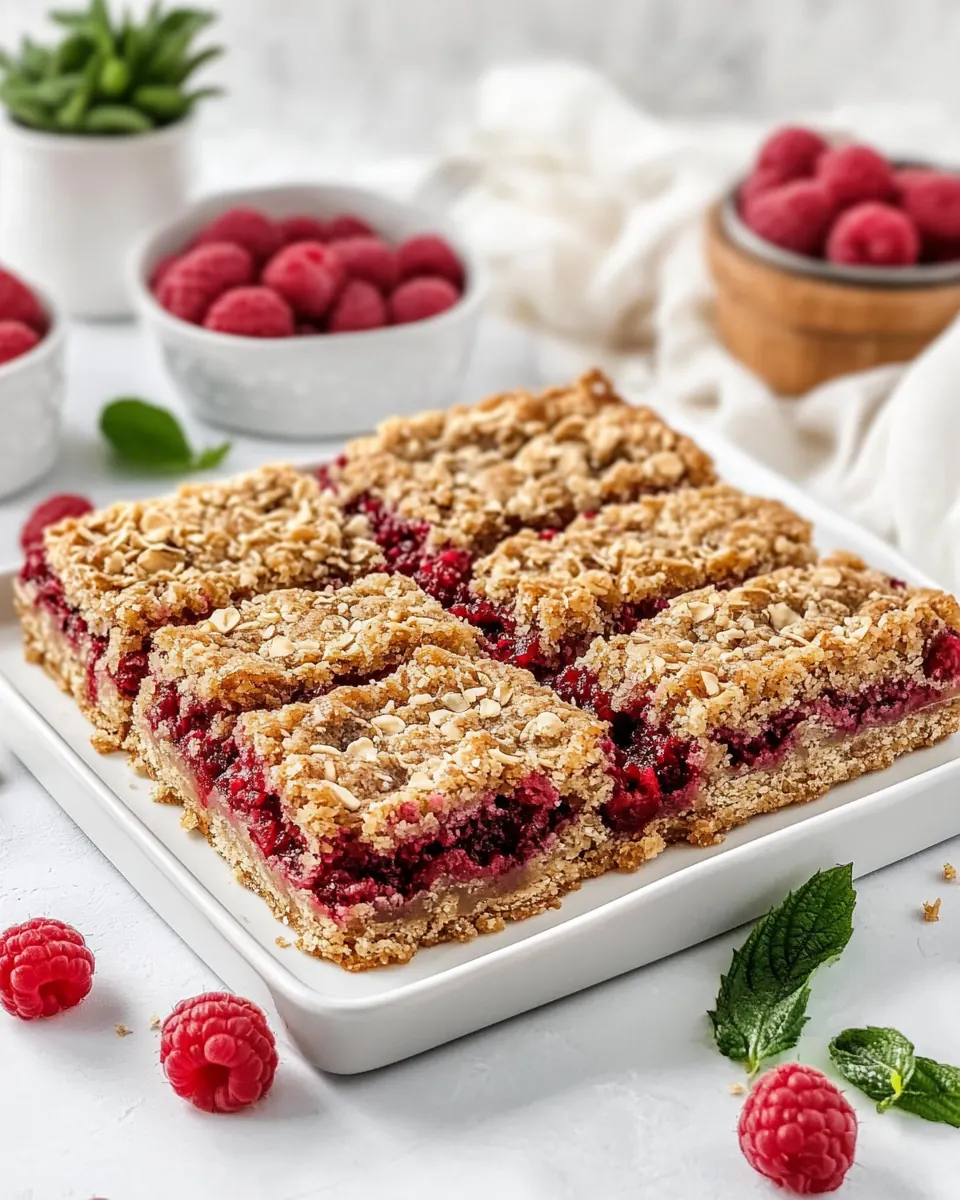
Raspberry Bars
Raspberry Bars have been my go to for summer potlucks ever since I tweaked a simple family recipe into these chewy, jammy squares that disappear fast.
I remember the first time I brought Raspberry Bars to a neighborhood block party. I was nervous because I had doubled the batch, and my kitchen smelled like browned butter and warm oats all afternoon. A little girl tapped my arm and asked if she could watch me cut them, and that small moment of shared curiosity made me fall even more in love with this recipe. Over time I’ve learned to read the texture of the crust by touch, to know when the jam is set just right, and to tweak the pecan addition so every bite has a bit of crunch.
Making Raspberry Bars is the kind of baking I do when I want something comforting but straightforward. I like recipes that let me chat with friends while they bake, because the process is forgiving and the rewards are immediate. These bars are proof that pantry staples can shine together. The next time you need a simple dessert that travels well and pleases a crowd, you might find yourself reaching for this recipe the way I do.
Recipe Snapshot
35 mins
15 mins
20 mins
Easy
180 kcal
American
Gluten-Free, Low FODMAP
Desserts
Mixing bowl set, Pre-Cut Parchment Paper Baking Sheets, Nordic Ware Metal 9×13 Covered Cake Pan
Why You’ll Love This Raspberry Bars
1. Simple pantry transformation
I love how Raspberry Bars take everyday items like yellow cake mix and quick cooking oats and turn them into something unexpectedly special. You do not need a long ingredient list to get memorable texture and flavor, which is a huge win on busy days when I want to bake without fuss.
2. Texture contrast that sings
There is a wonderful contrast between the crumbly oat crust and the glossy, slightly sticky raspberry jam. The crust gives you just enough chew and crunch, while the jam provides a bright, fruity center. I often find myself closing my eyes for a second after the first bite, just to enjoy that interplay of textures.
3. Crowd pleasing and portable
These bars are sturdy yet tender, which makes them perfect for potlucks and picnics. I bring them to gatherings knowing they will travel well and still taste great at room temperature. That reliability has made them my default bake when someone asks me to bring dessert.
4. Customizable and forgiving
Because the recipe is forgiving, you can tweak the nut addition or swap the jam variety without wrecking the result. I once used a slightly tart raspberry jam and it balanced the sweet crust beautifully. It is a reassuring recipe to experiment with, and most small changes lead to delicious variations.
5. Quick satisfaction
From mixing to pulling the pan from the oven takes less than an hour, which means gratification comes fast. I appreciate desserts that do not demand an entire afternoon; these bars give me that immediate comfort without sacrificing flavor or presentation.
Ingredient List for Raspberry Bars
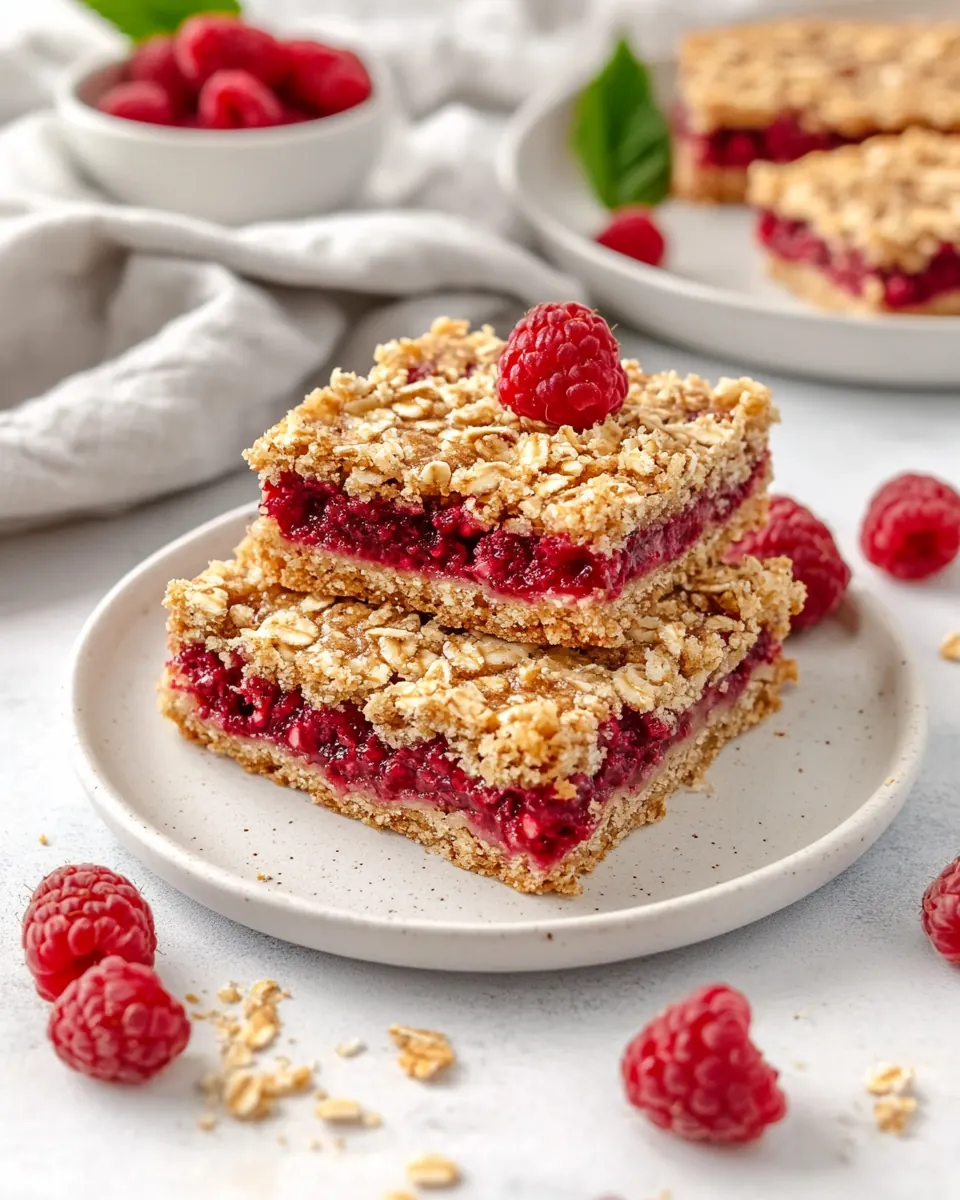
These ingredients form a simple, harmonious lineup. The focus is on texture and balance rather than a long list of flavors. The yellow cake mix and quick cooking oats create a tender yet chewy base, while the raspberry jam brings a lively sweetness that cuts through the richness. Butter binds the mixture and browns to add a toasty note, and a touch of brown sugar boosts caramelized flavor. Pecans are optional, but they add a welcome crunch when I decide to include them.
- 1 box yellow cake mix 15.25 ounces: Provides a sweet, tender base and structure for the bars, contributing both flavor and bulk; dry crumbs from the mix help bind other components once butter is added. Enhances overall texture and simplifies preparation compared with measuring individual dry ingredients.
- 2 1/2 cups quick-cooking oats: Adds hearty chewiness and whole-grain texture to the crust and topping while absorbing moisture from the butter and jam; contributes a nutty flavor and visible oat flecking. Helps balance sweetness and adds contrast to the soft jam layer.
- 1/3 cup packed light brown sugar: Adds concentrated sweetness and a hint of molasses-like depth to the crust or streusel, helping to round out flavor; small quantity adjusts sweetness without overpowering. Also contributes slight moisture that aids in browning during baking.
- 3/4 cup unsalted butter melted: Binds the dry ingredients into a cohesive crust and topping as it melts, providing richness and a tender, buttery mouthfeel; promotes even browning and helps set the bar structure. Melted form allows quick, even incorporation with the cake mix and oats.
- 1/4 cup pecan chips (optional): Contributes a crunchy, toasted nutty note and textural contrast when included; adds a pleasant buttery, caramelized flavor to the bars. Optional use provides flavor complexity and visual interest in the topping or crust.
- 1 cup raspberry jam: Provides the fruity, sweet-tart filling layer that defines the bars, offering moisture and vibrant raspberry flavor; spreads easily and sets during baking to create a jammy center. Acts as the primary flavor contrast to the buttery oat crust.
- 1 tablespoon water: Thins the jam slightly to allow smoother spreading and prevent tearing the crust when layering; a small amount helps achieve an even consistency for the filling. Also assists in loosening any overly thick preserves for better integration.
Preparation Steps for Raspberry Bars
These steps are straightforward and forgiving, which is why I enjoy making these bars on a relaxed afternoon. Below I expand each direction into detailed guidance so you can sense what to look for at every stage.
- Preheat the oven to 375°F. Grease a 9"×13" inch pan. Set aside.: Right away you will notice a warm, dry scent as the oven comes up to 375°F , and preheating ensures even baking so the crust browns at the same rate the filling sets. Greasing the 9"×13" inch pan prevents sticking and helps the bars lift cleanly when they cool, which makes cutting much neater. A common mistake is neglecting to fully preheat, which can cause uneven centers while the edges brown too quickly. If you have a metal pan, expect slightly faster browning, so watch the final minutes closely.
- In a large bowl, mix together cake mix, oats, brown sugar, and melted butter so that it makes nice clumps and there is no dry mix left. Press just over 1/2 of the oat mixture evenly into the bottom of the prepared baking pan. Stir the pecans into the remaining oat mixture.: As you combine the cake mix , quick cooking oats , light brown sugar , and melted butter , you will feel the mixture transform from powdery to chunky clumps. The clumps are a good visual cue that the fats are distributed and the crumbs will press together. Pressing just over half into the pan creates a sturdy base that will support the jam without becoming soggy. When adding the pecan chips to the leftover crumbs, notice how they toast later in the oven and release a toasty aroma. Avoid over mixing, which can turn the crumbs too compact and reduce the delicate texture you want.
- In a separate bowl, mix jam with water, and spread over the crust. Sprinkle the remaining oat mixture evenly over the top.: When you stir raspberry jam with the water , it loosens into a glossy, spreadable consistency with a vibrant color. Spreading it evenly ensures every bite has that bright fruit note, and the remaining oat mixture should be scattered so it covers the jam in a patchy, rustic layer rather than a sealed lid. This helps steam escape and prevents the filling from bubbling over. A frequent slip is using jam that is too thick, which can lead to uneven spreading; thinning it with the water avoids this problem and encourages a smooth finish.
- Bake in the preheated oven for 18 to 23 minutes, or until the top is lightly browned. Cool before cutting into bars.: During baking you will smell the butter caramelizing and see the top go from pale to a light golden brown, indicating the oats are toasty and the jam has set. The edges may pull slightly away from the pan, which is another good sign of doneness. Cooling is essential because the jam firms up as it loses heat, making clean slices possible. Cutting too soon will yield squishy bars and uneven slices, so patience is rewarded here. If the top browns too quickly, tent with foil for the remaining time to prevent overbrowning while allowing the center to finish baking.
Expert Tips about Raspberry Bars
These tips come from repeated bakes and small adjustments that made the bars more reliable in my kitchen. Each tip is practical and focused on helping you make the best batch possible.
- Press the crust evenly. Use the bottom of a measuring cup to press the base into the pan so it bakes with uniform thickness, preventing thin edges and thick centers.
- Use room temperature melted butter. Let the butter cool slightly after melting so it is warm not hot, which helps it bind the dry mix without melting the sugar or altering texture.
- Thin the jam for even spread. Add the tablespoon of water to loosen the jam just enough for smooth coverage, avoiding dense patches that do not set well.
- Stir pecans into crumbs, not the base. Mixing nuts into the top crumbs ensures they toast on the surface and contribute crunch without sinking into the base.
- Cool fully before slicing. Let the pan sit at room temperature until the jam firms, then chill slightly for cleaner cuts, especially if you prefer neat squares for serving.
- Store at room temperature for two days. Keep bars in an airtight container on the counter for short term serving; refrigerate for longer storage to preserve freshness.
Perfect Matches for Raspberry Bars
These serving ideas help you choose occasions and pairings that elevate Raspberry Bars. Whether it is a casual brunch or a summer picnic, these suggestions will help you present them beautifully.
- Casual picnic pairs. Pack the bars with cold lemonade and fresh fruit for an easy outdoor treat that travels well and stays intact.
- Afternoon tea companion. Serve with a selection of herbal teas and small sandwiches for a relaxed tea time that highlights the bars as the sweet finish.
- Potluck favorite. Bring them to gatherings where finger foods shine; they are easy to portion and share, making them a friendly dessert option.
- Seasonal summer dessert. Highlight the raspberry flavor in warm months when berries are at their best, and pair with light salads for a balanced meal.
- Storage advice. Keep in an airtight container at room temperature for up to two days, or refrigerate for up to five days to extend freshness and firmness.
- Presentation tip. Dust lightly with powdered sugar before serving for a delicate finish, or slice into smaller squares for bite sized treats.
FAQ
Conclusion
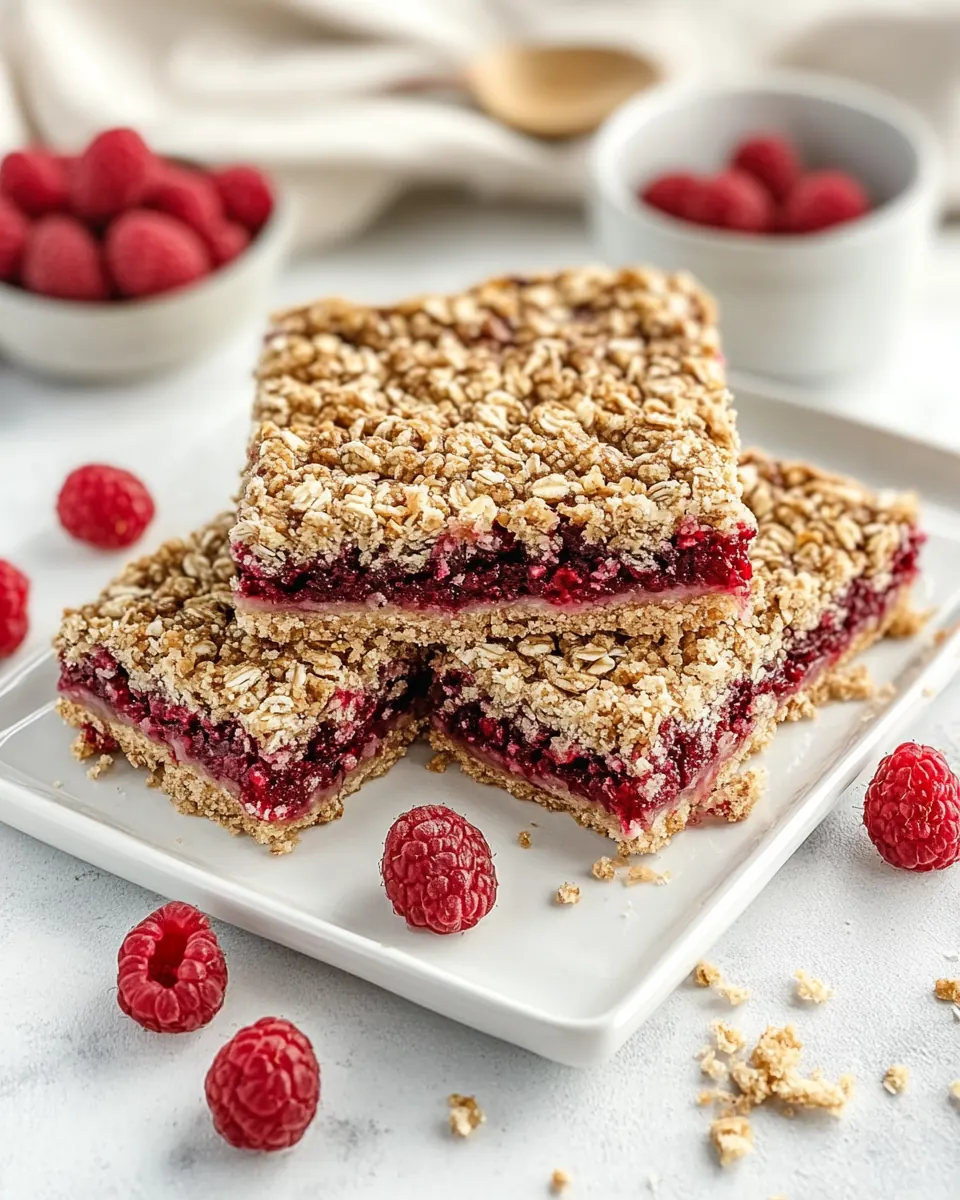
Raspberry Bars stand out because they combine pantry-friendly ingredients into a chewy, jam filled treat that is both simple and satisfying. The contrast between the oat based crust and the glossy fruit layer makes each bite interesting, and the recipe is forgiving enough for confident tinkering. Give this recipe a try the next time you want a quick dessert that travels well, delights a crowd, and rewards a little patience while it cools. I hope these bars become one of your go to bakes for gatherings and relaxed afternoons.

Raspberry Bars
Equipment
- Mixing bowl set
- Pre-Cut Parchment Paper Baking Sheets
- Nordic Ware Metal 9×13 Covered Cake Pan
Ingredients
- 1 box yellow cake mix 15.25 ounces Provides a sweet, tender base and structure for the bars, contributing both flavor and bulk; dry crumbs from the mix help bind other components once butter is added. Enhances overall texture and simplifies preparation compared with measuring individual dry ingredients.
- 2 1/2 cups quick-cooking oats Adds hearty chewiness and whole-grain texture to the crust and topping while absorbing moisture from the butter and jam; contributes a nutty flavor and visible oat flecking. Helps balance sweetness and adds contrast to the soft jam layer.
- 1/3 cup packed light brown sugar Adds concentrated sweetness and a hint of molasses-like depth to the crust or streusel, helping to round out flavor; small quantity adjusts sweetness without overpowering. Also contributes slight moisture that aids in browning during baking.
- 3/4 cup unsalted butter melted Binds the dry ingredients into a cohesive crust and topping as it melts, providing richness and a tender, buttery mouthfeel; promotes even browning and helps set the bar structure. Melted form allows quick, even incorporation with the cake mix and oats.
- 1/4 cup pecan chips optional Contributes a crunchy, toasted nutty note and textural contrast when included; adds a pleasant buttery, caramelized flavor to the bars. Optional use provides flavor complexity and visual interest in the topping or crust.
- 1 cup raspberry jam Provides the fruity, sweet-tart filling layer that defines the bars, offering moisture and vibrant raspberry flavor; spreads easily and sets during baking to create a jammy center. Acts as the primary flavor contrast to the buttery oat crust.
- 1 tablespoon water Thins the jam slightly to allow smoother spreading and prevent tearing the crust when layering; a small amount helps achieve an even consistency for the filling. Also assists in loosening any overly thick preserves for better integration.
Instructions
- Preheat the oven to 375°F. Grease a 9"×13" inch pan. Set aside.: Right away you will notice a warm, dry scent as the oven comes up to 375°F , and preheating ensures even baking so the crust browns at the same rate the filling sets. Greasing the 9"×13" inch pan prevents sticking and helps the bars lift cleanly when they cool, which makes cutting much neater. A common mistake is neglecting to fully preheat, which can cause uneven centers while the edges brown too quickly. If you have a metal pan, expect slightly faster browning, so watch the final minutes closely.
- In a large bowl, mix together cake mix, oats, brown sugar, and melted butter so that it makes nice clumps and there is no dry mix left. Press just over 1/2 of the oat mixture evenly into the bottom of the prepared baking pan. Stir the pecans into the remaining oat mixture.: As you combine the cake mix , quick cooking oats , light brown sugar , and melted butter , you will feel the mixture transform from powdery to chunky clumps. The clumps are a good visual cue that the fats are distributed and the crumbs will press together. Pressing just over half into the pan creates a sturdy base that will support the jam without becoming soggy. When adding the pecan chips to the leftover crumbs, notice how they toast later in the oven and release a toasty aroma. Avoid over mixing, which can turn the crumbs too compact and reduce the delicate texture you want.
- In a separate bowl, mix jam with water, and spread over the crust. Sprinkle the remaining oat mixture evenly over the top.: When you stir raspberry jam with the water , it loosens into a glossy, spreadable consistency with a vibrant color. Spreading it evenly ensures every bite has that bright fruit note, and the remaining oat mixture should be scattered so it covers the jam in a patchy, rustic layer rather than a sealed lid. This helps steam escape and prevents the filling from bubbling over. A frequent slip is using jam that is too thick, which can lead to uneven spreading; thinning it with the water avoids this problem and encourages a smooth finish.
- Bake in the preheated oven for 18 to 23 minutes, or until the top is lightly browned. Cool before cutting into bars.: During baking you will smell the butter caramelizing and see the top go from pale to a light golden brown, indicating the oats are toasty and the jam has set. The edges may pull slightly away from the pan, which is another good sign of doneness. Cooling is essential because the jam firms up as it loses heat, making clean slices possible. Cutting too soon will yield squishy bars and uneven slices, so patience is rewarded here. If the top browns too quickly, tent with foil for the remaining time to prevent overbrowning while allowing the center to finish baking.
Notes
- Press the crust evenly. Use the bottom of a measuring cup to press the base into the pan so it bakes with uniform thickness, preventing thin edges and thick centers.
- Use room temperature melted butter. Let the butter cool slightly after melting so it is warm not hot, which helps it bind the dry mix without melting the sugar or altering texture.
- Thin the jam for even spread. Add the tablespoon of water to loosen the jam just enough for smooth coverage, avoiding dense patches that do not set well.
- Stir pecans into crumbs, not the base. Mixing nuts into the top crumbs ensures they toast on the surface and contribute crunch without sinking into the base.
- Cool fully before slicing. Let the pan sit at room temperature until the jam firms, then chill slightly for cleaner cuts, especially if you prefer neat squares for serving.
- Store at room temperature for two days. Keep bars in an airtight container on the counter for short term serving; refrigerate for longer storage to preserve freshness.