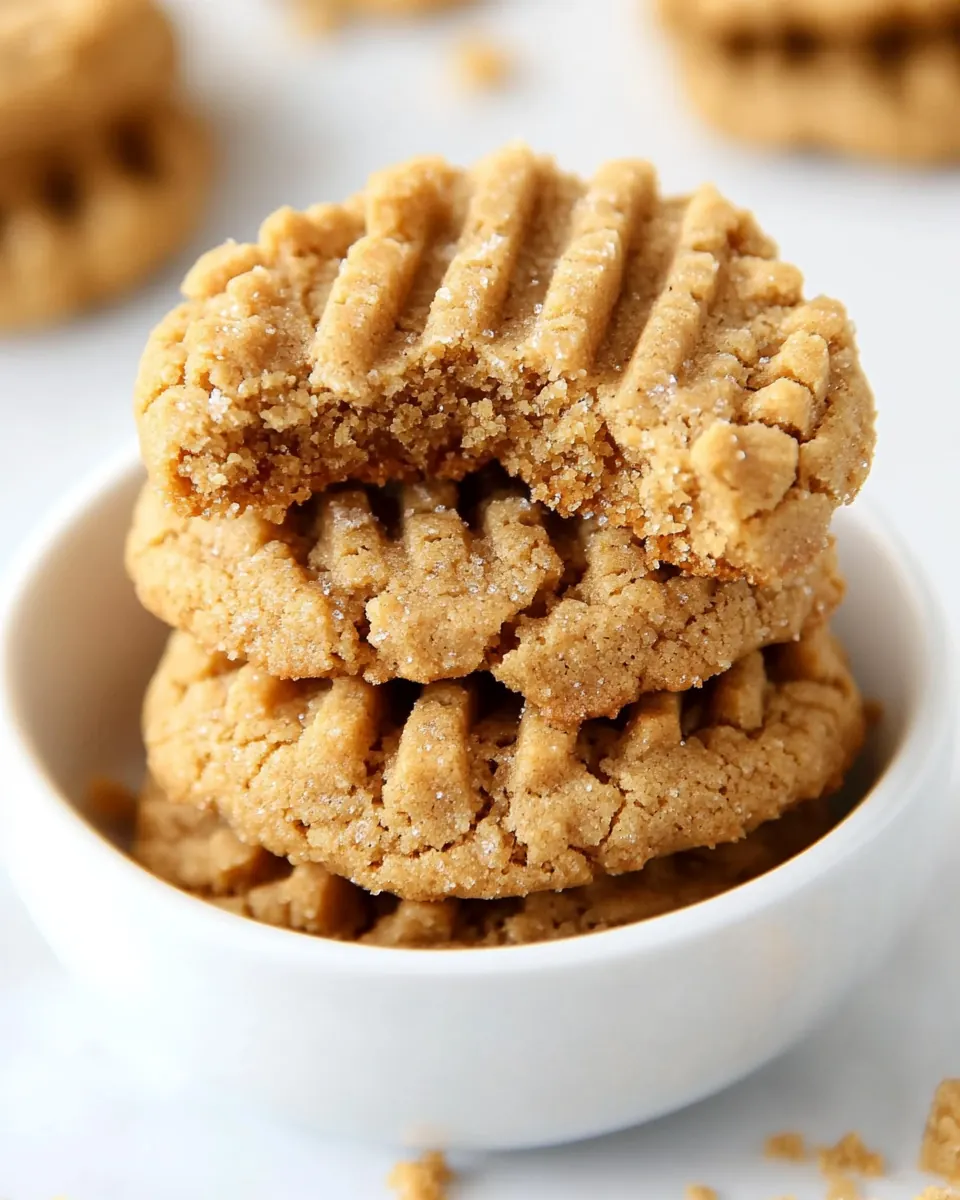
Flourless Peanut Butter Cookies
Flourless Peanut Butter Cookies are the kind of recipe I reach for when I want something fast, nostalgic, and impossibly simple.
Years ago I first learned to make these on a rainy afternoon with a single jar of peanut butter and a hopeful mood. I remember the warm, nutty scent filling the kitchen as I mixed the batter by hand, the tiny ritual of pressing each mound with a fork until neat crisscross marks appeared. That first batch was slightly imperfect, but everyone loved them, and they became my go to when I needed a quick crowd pleaser or a cookie that would travel well to a potluck.
I like that these Flourless Peanut Butter Cookies require so few ingredients, and yet they deliver big on texture and flavor, with a tender center and slightly crisped edges. Over time I’ve learned little tweaks that make a big difference, like how long to leave them on the sheet so they finish gently without drying out. I often make them when I want to bake with a kid, because pressing the tops with a fork is a silly, tactile task that kids adore, and it produces reliably charming results.
Recipe Snapshot
20 mins
10 mins
10 mins
Easy
120 kcal
American
Gluten-Free, Low FODMAP
Desserts
Oven, Baking sheet, Parchment paper, Mixing bowl, Hand mixer, Fork
Why This Flourless Peanut Butter Cookies Is So Good
Simple ingredients, big payoff
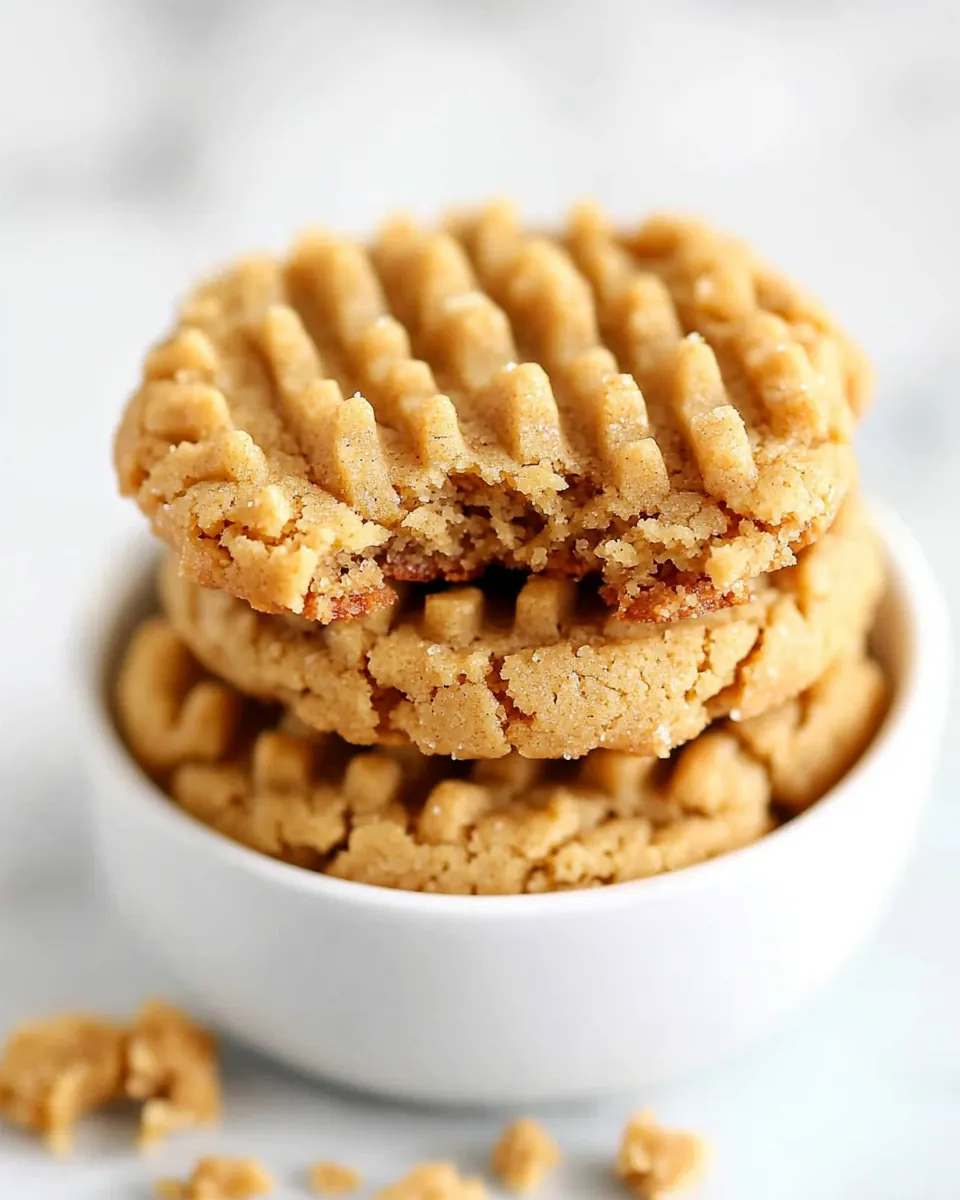
I love that these cookies rely on pantry staples, most importantly peanut butter, which carries both flavor and fat to create an ideal cookie without any flour. You get a rich, nut forward bite without complicated shopping or measuring.
Fast and forgiving
Because the dough is straightforward, it’s very forgiving. I often throw together a batch in under 15 minutes for unexpected guests. The texture is tolerant of small timing differences, making it a stress free treat to bake when life is busy.
Kid friendly and social
These cookies are a ritual of simplicity, so kids can help with safe tasks like scooping dough and pressing with a fork. I enjoy watching how proud helpers beam when they take the finished tray out of the oven.
Perfect make ahead and transportable
The cookies hold up well in a tin or plastic container, so they’re excellent for packing into lunch boxes, gifting, or taking to gatherings. They do not collapse, and they stay chewy for a couple of days when stored correctly.
Minimal cleanup, maximum nostalgia
With just a single bowl and a spoon or mixer paddle, cleanup is quick, which means I bake more often. The end result offers that classic, nostalgic peanut butter cookie flavor that takes me back to childhood kitchens.
Essential Ingredients for Flourless Peanut Butter Cookies
These ingredients reflect a deliberate philosophy: fewer components, each one doing heavy lifting. The star peanut butter gives structure, fat, and deep nutty flavor, while the sugars balance sweetness and help create crisp edges. A pinch of salt and a touch of baking soda are small acts that improve texture and lift, and a single egg brings cohesion and richness.
- 1 cup Creamy Peanut Butter: Creamy and rich, provides structure and dominant peanut flavor while contributing fat for tenderness and moisture in the cookie dough. Helps bind ingredients together, enabling a flourless texture while promoting a soft, slightly chewy crumb. Adds natural oils that facilitate spreading and yield a smooth mouthfeel in the finished cookie.
- 1/2 cup Granulated Sugar: Sweet and fine-grained, contributes primary sweetness and helps create a crisp exterior when baked. Dissolves readily into the peanut butter and egg, promoting even browning and texture balance. Balances the deeper flavors of brown sugar and peanut butter for a clean, sweet profile.
- 1/2 cup Brown Sugar packed: Moist and caramel-like, imparts deeper sweetness and enhances chewiness while contributing moisture to counterbalance the dry sugars. Packed firmly to ensure consistent measurement and predictable texture outcomes. Complements granulated sugar to create layered sweetness and a tender interior.
- 1/2 teaspoon Baking Soda: Light and reactive, provides leavening by releasing gases to give slight lift and a tender texture in the absence of flour. Helps control spread and creates small uniform air pockets for a pleasant bite. Acts quickly when mixed with the wet ingredients and heated during baking.
- 1 pinch Salt: Bright and balancing, enhances overall flavor by accentuating sweetness and rounding the peanut butter's richness with a subtle savory note. Regulates taste complexity so the cookie does not taste flat or overly sweet. Used sparingly to avoid overpowering the delicate peanut flavor.
- 1 large Egg: Binding and enriching, coagulates during baking to set the cookie structure and add moisture and richness. Promotes cohesion among ingredients in a flourless recipe and contributes to a tender, slightly cakey interior. Also aids in browning and contributes to the finished cookie's body.
How to Assemble Flourless Peanut Butter Cookies
Working through these directions feels a bit like a comforting ritual. You will preheat the oven, combine the ingredients, shape the dough, bake briefly, and then resist the urge to move them too soon. Each step is short, but the little details yield the best texture and flavor.
- Preheat the oven to 350° and line 2 baking sheets with parchment paper. Set aside.: When the oven warms, you will notice a gentle dry heat that helps set the cookies quickly, producing slightly crisp edges while the centers stay soft. The sound of the oven clicking and the steady warmth are cues that the baking environment is stable. Lining the sheets with parchment paper prevents sticking and promotes even browning. A common mistake is not allowing the oven to fully reach temperature, which can lead to underbaked or oddly textured cookies, so wait until the oven indicator shows ready, and place the sheets in the center of the oven for even airflow.
- In a medium bowl use the hand mixer to beat together the peanut butter, brown sugar, and granulated sugar. Once combined add in the baking soda, salt, and egg. Mix until just completely combined.: Right away you'll notice the aroma of peanut butter intensify as the sugars dissolve, creating a glossy, cohesive batter. Mixing with a hand mixer aerates the mixture slightly, contributing to a lighter bite. Add the baking soda , salt , and egg so they disperse evenly, which matters for uniform texture and flavor. Avoid overmixing at this stage, excessive agitation can cause the dough to warm and change texture. A typical slip up is whipping too long with a high speed, which can incorporate too much air and lead to unintended spreading during baking.
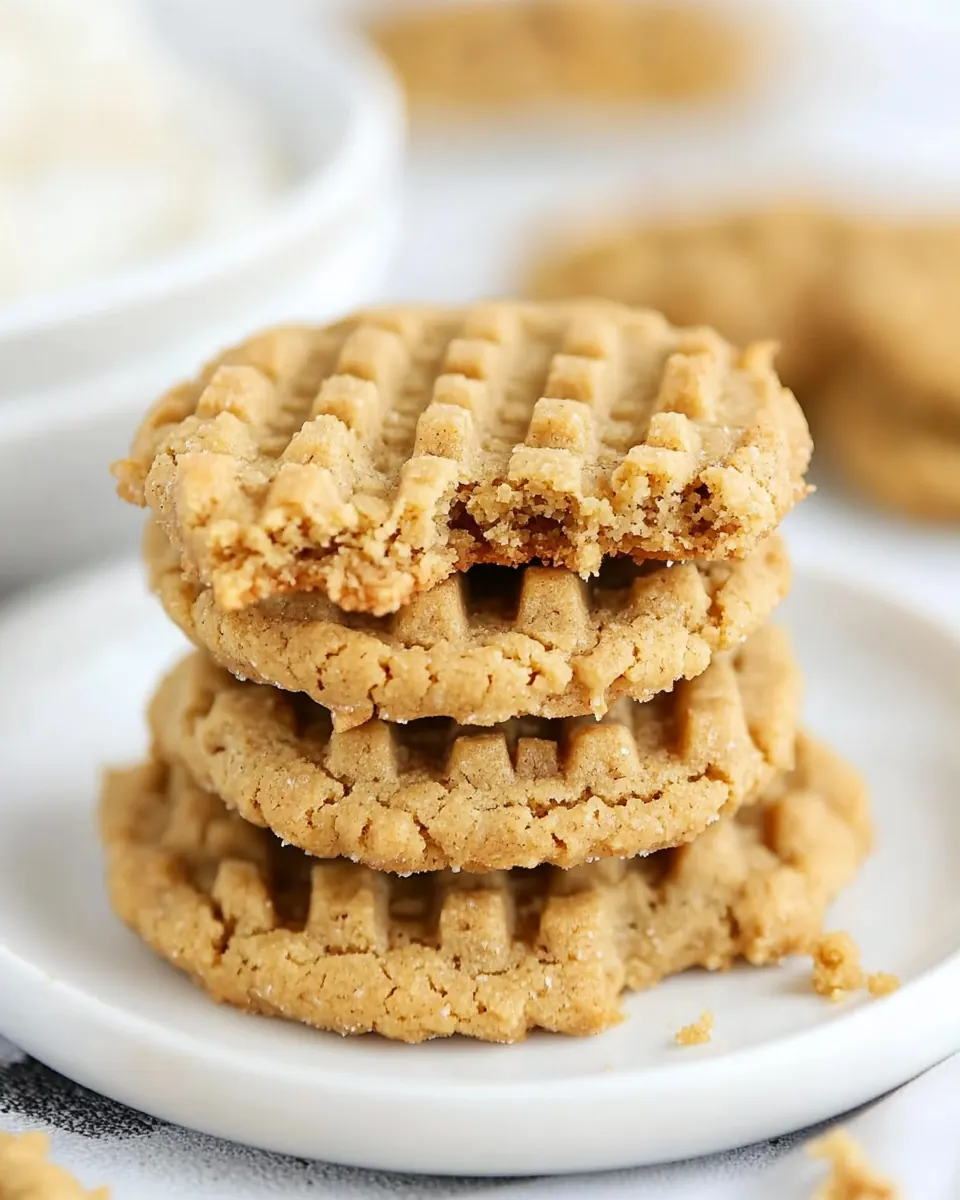
- Scoop generous tablespoons of dough onto the baking trays, leaving 2 inches between each cookie. Use a fork to press an indentation into the tops of the cookies.: As you scoop, the dough will feel slightly tacky and dense, with a rich, nutty scent. Leaving space between mounds ensures heat circulates and edges crisp naturally. Pressing the tops with a fork creates the classic crosshatch pattern, increases surface area for caramelization, and gently flattens the cookie so it bakes evenly. A usual error is placing scoops too close together, which causes cookies to merge into one another, so give them adequate breathing room.
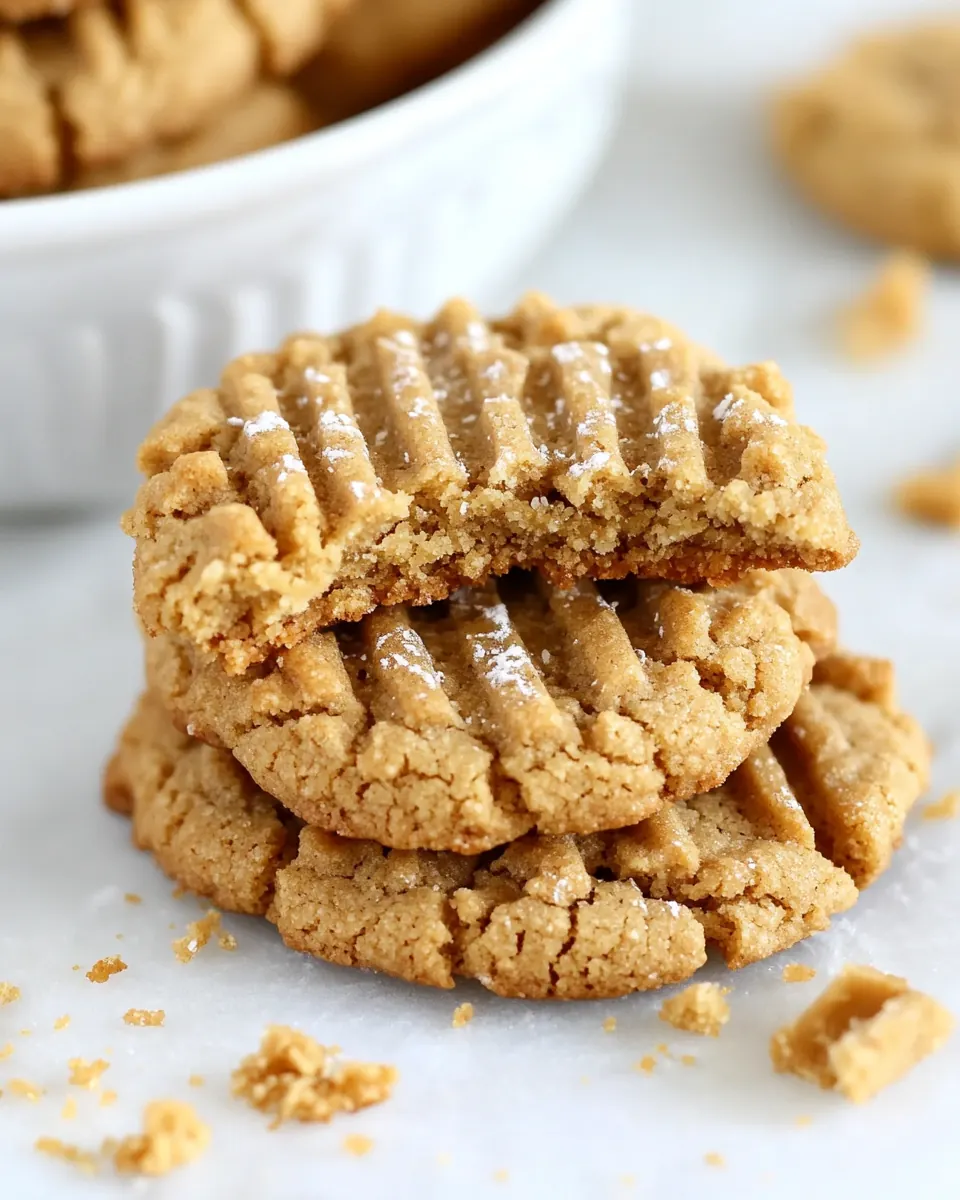
- Bake for 8-10 minutes. The cookie should just barely be turning golden brown at the very edge. They will look under baked but they will continue to bake as they cool. Any longer and they will over-bake and become crumbly.: While baking, you will see the edges firm and develop a warmer tone, while the center remains slightly glossy. The kitchen will be filled with a toasty peanut butter scent that signals caramelization and flavor development. Removing them when the edges are only just colored keeps the interior soft and chewy. The common mistake is baking to a deep brown, which dries the cookie and ruins the tender center, so trust the gentle edge color and the cooling carryover.
- Allow the cookies to cool completely on the baking sheet before transferring to a cooling rack or a plate.: Cooling on the sheet allows the cookies to finish setting, as residual heat continues gentle cooking and firms the structure. You may see a faint change in texture as the surface loses its gloss and becomes matte, indicating readiness to move. Transferring too early can cause them to break or deform, while waiting a long time is fine and keeps them intact. A typical oversight is trying to move them while still soft, which leads to misshapen cookies, so give them a full rest on the pan.
Tips and Variations
I like to keep a handful of variations in mind so these Flourless Peanut Butter Cookies feel fresh every time I bake them. Below are practical tips and small swaps that change texture and flavor without complicating the recipe.
- Use natural or commercial peanut butter carefully Choose a smoother commercial peanut butter for consistency. If using natural jars, stir thoroughly to recombine oils before measuring, otherwise the dough may separate.
- Adjust sweetness with brown versus white sugar Increasing the ratio of brown sugar will create a chewier center and deeper caramel notes, while more granulated sugar leads to slightly crispier edges.
- Room temperature eggs blend better Let the egg sit out for a few minutes to come closer to room temperature, which helps it incorporate smoothly and prevents cold spots in the batter.
- Watch the edges for doneness Remove cookies once the very edges are just golden; they will continue to finish on the baking sheet, and this prevents dryness.
- Store properly for best texture Keep cookies in an airtight container at room temperature for up to three days, or freeze for longer storage, spacing layers with parchment to prevent sticking.
What to Serve Alongside Flourless Peanut Butter Cookies
These cookies pair well with a variety of simple beverages and can be part of casual gatherings or thoughtful gift boxes. Below are ideas for occasions, pairings, and storing strategies to make the most of every batch.
- Casual coffee break Serve the cookies with a hot mug of coffee or tea for an afternoon pick me up; the warm beverage complements the peanut butter richness.
- Lunchbox treat Pack one or two cookies in a lunchbox as a sweet finish; they travel well and do not require refrigeration for short trips.
- Party platter Arrange cookies on a plate alongside fresh fruit and simple crackers for a low fuss dessert table that guests can nibble on between dishes.
- Gift tins Layer cookies in a tin lined with parchment for gifting to neighbors or friends; they maintain their shape and charm in transit.
- Occasions These are great for everyday baking, casual gatherings, or holidays where a simple, crowd pleasing cookie is welcome.
- Storage tips Keep cookies in an airtight container at room temperature for up to three days, or freeze cooled cookies in a sealed bag for up to one month, thawing at room temperature before serving.
FAQ
Conclusion
These Flourless Peanut Butter Cookies stand out for their sheer simplicity and satisfying peanut forward flavor. They are quick to pull together, require minimal cleanup, and deliver consistent chewy centers with lightly crisp edges, making them an easy favorite for home bakers. Give them a try when you want a no fuss treat that still feels homemade and comforting. I hope you enjoy baking and sharing these cookies as much as I do, and that they become one of your reliable go to recipes for quick sweets and small celebrations.
Flourless Peanut Butter Cookies
Equipment
- Oven
- Baking Sheet
- Parchment Paper
- Mixing Bowl
- Hand Mixer
- Fork
Ingredients
- 1 cup Creamy Peanut Butter Creamy and rich, provides structure and dominant peanut flavor while contributing fat for tenderness and moisture in the cookie dough. Helps bind ingredients together, enabling a flourless texture while promoting a soft, slightly chewy crumb. Adds natural oils that facilitate spreading and yield a smooth mouthfeel in the finished cookie.
- 1/2 cup Granulated Sugar Sweet and fine-grained, contributes primary sweetness and helps create a crisp exterior when baked. Dissolves readily into the peanut butter and egg, promoting even browning and texture balance. Balances the deeper flavors of brown sugar and peanut butter for a clean, sweet profile.
- 1/2 cup Brown Sugar packed Moist and caramel-like, imparts deeper sweetness and enhances chewiness while contributing moisture to counterbalance the dry sugars. Packed firmly to ensure consistent measurement and predictable texture outcomes. Complements granulated sugar to create layered sweetness and a tender interior.
- 1/2 teaspoon Baking Soda Light and reactive, provides leavening by releasing gases to give slight lift and a tender texture in the absence of flour. Helps control spread and creates small uniform air pockets for a pleasant bite. Acts quickly when mixed with the wet ingredients and heated during baking.
- 1 pinch Salt Bright and balancing, enhances overall flavor by accentuating sweetness and rounding the peanut butter's richness with a subtle savory note. Regulates taste complexity so the cookie does not taste flat or overly sweet. Used sparingly to avoid overpowering the delicate peanut flavor.
- 1 large Egg Binding and enriching, coagulates during baking to set the cookie structure and add moisture and richness. Promotes cohesion among ingredients in a flourless recipe and contributes to a tender, slightly cakey interior. Also aids in browning and contributes to the finished cookie's body.
Instructions
- Preheat the oven to 350° and line 2 baking sheets with parchment paper. Set aside.: When the oven warms, you will notice a gentle dry heat that helps set the cookies quickly, producing slightly crisp edges while the centers stay soft. The sound of the oven clicking and the steady warmth are cues that the baking environment is stable. Lining the sheets with parchment paper prevents sticking and promotes even browning. A common mistake is not allowing the oven to fully reach temperature, which can lead to underbaked or oddly textured cookies, so wait until the oven indicator shows ready, and place the sheets in the center of the oven for even airflow.
- In a medium bowl use the hand mixer to beat together the peanut butter, brown sugar, and granulated sugar. Once combined add in the baking soda, salt, and egg. Mix until just completely combined.: Right away you'll notice the aroma of peanut butter intensify as the sugars dissolve, creating a glossy, cohesive batter. Mixing with a hand mixer aerates the mixture slightly, contributing to a lighter bite. Add the baking soda , salt , and egg so they disperse evenly, which matters for uniform texture and flavor. Avoid overmixing at this stage, excessive agitation can cause the dough to warm and change texture. A typical slip up is whipping too long with a high speed, which can incorporate too much air and lead to unintended spreading during baking.
- Scoop generous tablespoons of dough onto the baking trays, leaving 2 inches between each cookie. Use a fork to press an indentation into the tops of the cookies.: As you scoop, the dough will feel slightly tacky and dense, with a rich, nutty scent. Leaving space between mounds ensures heat circulates and edges crisp naturally. Pressing the tops with a fork creates the classic crosshatch pattern, increases surface area for caramelization, and gently flattens the cookie so it bakes evenly. A usual error is placing scoops too close together, which causes cookies to merge into one another, so give them adequate breathing room.
- Bake for 8-10 minutes. The cookie should just barely be turning golden brown at the very edge. They will look under baked but they will continue to bake as they cool. Any longer and they will over-bake and become crumbly.: While baking, you will see the edges firm and develop a warmer tone, while the center remains slightly glossy. The kitchen will be filled with a toasty peanut butter scent that signals caramelization and flavor development. Removing them when the edges are only just colored keeps the interior soft and chewy. The common mistake is baking to a deep brown, which dries the cookie and ruins the tender center, so trust the gentle edge color and the cooling carryover.
- Allow the cookies to cool completely on the baking sheet before transferring to a cooling rack or a plate.: Cooling on the sheet allows the cookies to finish setting, as residual heat continues gentle cooking and firms the structure. You may see a faint change in texture as the surface loses its gloss and becomes matte, indicating readiness to move. Transferring too early can cause them to break or deform, while waiting a long time is fine and keeps them intact. A typical oversight is trying to move them while still soft, which leads to misshapen cookies, so give them a full rest on the pan.
Notes
- Use natural or commercial peanut butter carefully Choose a smoother commercial peanut butter for consistency. If using natural jars, stir thoroughly to recombine oils before measuring, otherwise the dough may separate.
- Adjust sweetness with brown versus white sugar Increasing the ratio of brown sugar will create a chewier center and deeper caramel notes, while more granulated sugar leads to slightly crispier edges.
- Room temperature eggs blend better Let the egg sit out for a few minutes to come closer to room temperature, which helps it incorporate smoothly and prevents cold spots in the batter.
- Watch the edges for doneness Remove cookies once the very edges are just golden; they will continue to finish on the baking sheet, and this prevents dryness.
- Store properly for best texture Keep cookies in an airtight container at room temperature for up to three days, or freeze for longer storage, spacing layers with parchment to prevent sticking.