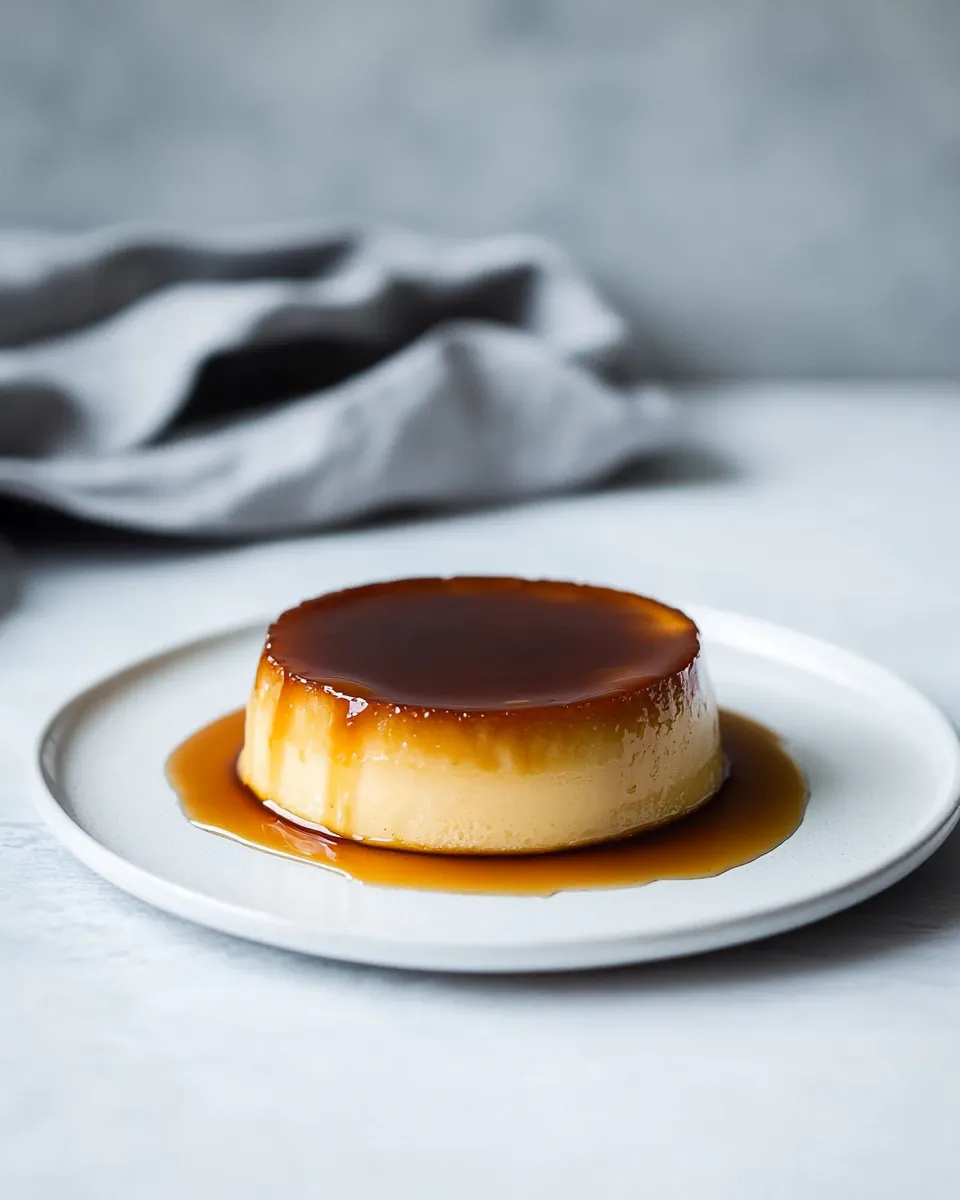
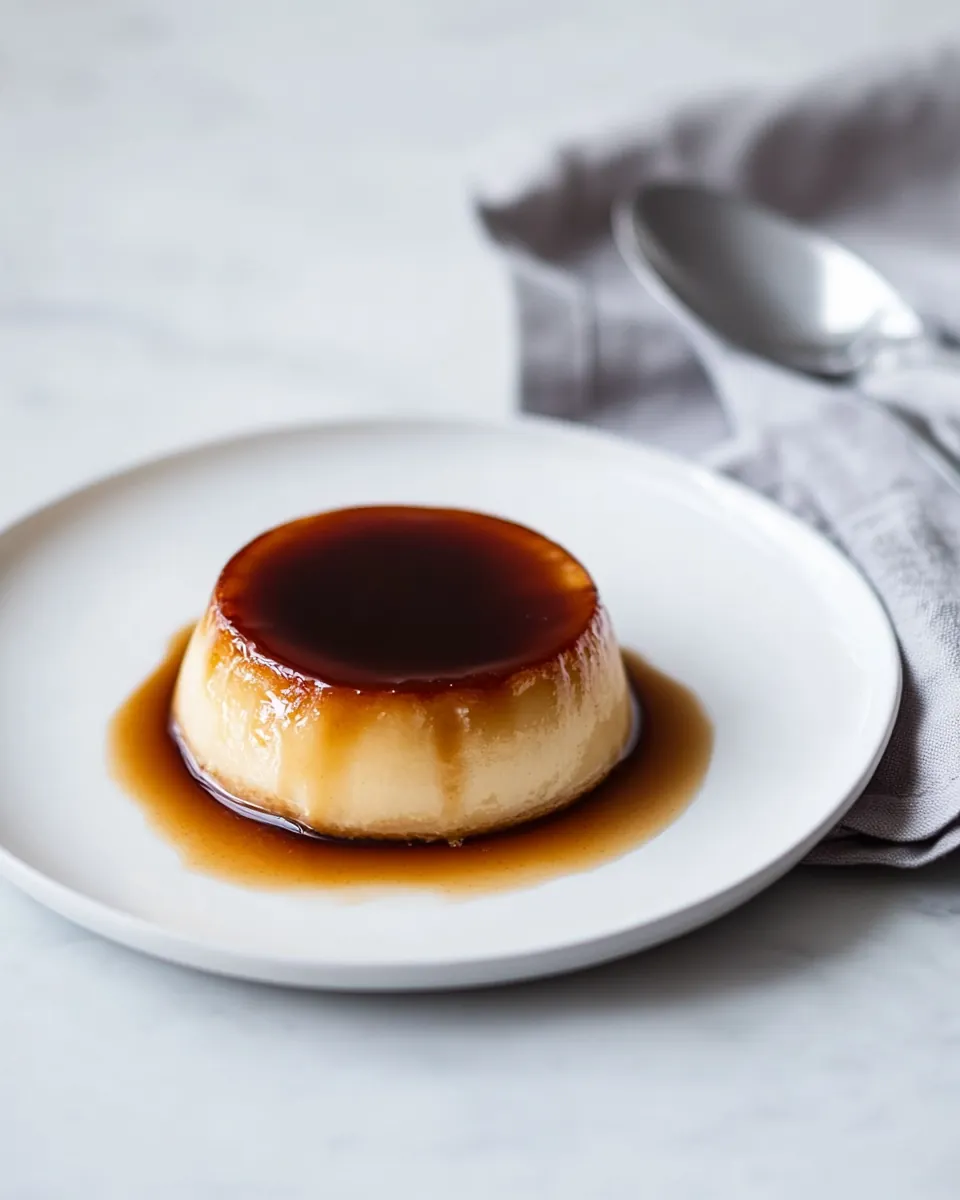
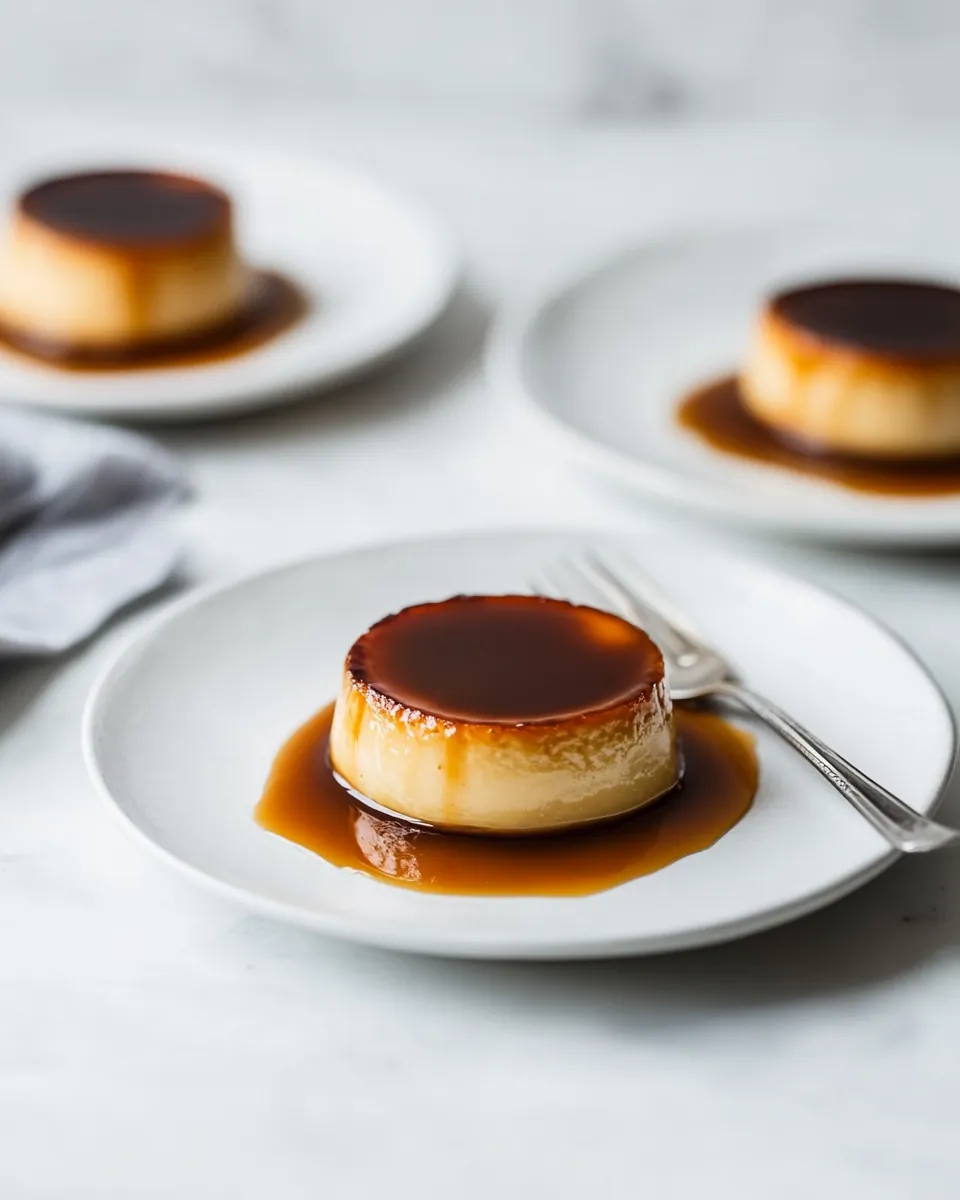
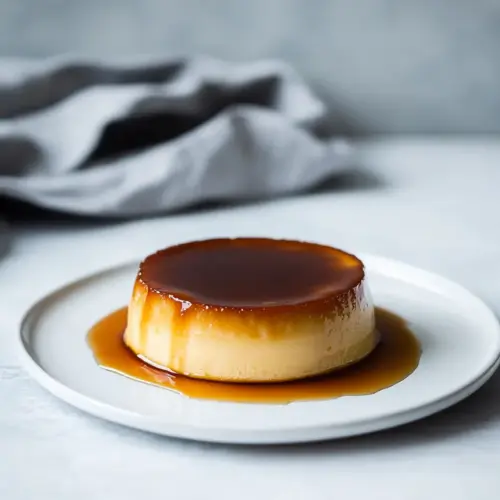
Perfect Vanilla Crème Caramel
Perfect Vanilla Crème Caramel has been one of those desserts I reach for when I want something elegant but reassuringly simple, and the first time I made it in my own kitchen I remember standing over the stove feeling equal parts nervous and excited. The scent of bubbling sugar turning to amber filled the room, and while the process felt a little theatrical, the result was creamy, silky custard topped with glossy caramel that made everyone at the table smile.
Over the years I have adjusted tiny details to make the texture foolproof, and using an Instant Pot changed everything for me. It gave me consistent steam heat that gently cooks the custard all the way through without breaking it, so you get that classic wobble without any unwanted graininess. I love how serving a ramekin unmolded looks like a small, dramatic reveal, and I still get that little thrill whenever the caramel flows over the plate.
Recipe Snapshot
60 mins
20 mins
40 mins
Medium
350 kcal
French
Gluten-Free, Low FODMAP
Desserts
6 x 200ml capacity ramekins, Instant Pot with a trivet, Fine mesh sieve, Aluminium foil, Small pot for caramel
What Makes This Perfect Vanilla Crème Caramel Special
1. Consistent, silky texture every time
I value texture above almost anything, and with Perfect Vanilla Crème Caramel you get a custard that is impossibly smooth. The gentle, moist heat from the Instant Pot means the eggs set evenly, so you avoid a curdled or rubbery finish. When I taste it, the mouthfeel is creamy and satiny, which makes each spoonful linger.
2. The caramel adds depth and drama
The caramel is the soul of this dessert, and I always take my time coaxing the sugar to that deep amber stage. It gives a subtle bitterness that balances the sweet custard, and visually the glossy top makes the dessert look special. I often tell friends that the caramel is the hat on a well dressed dessert, and it truly elevates the experience.
3. Practical and crowd friendly
I love that this recipe scales and that the ramekin method allows you to cook multiple servings with minimal fuss. Preparing the caramel and custard ahead means you can chill overnight, freeing you for the party. I’ve served these at small dinners and larger gatherings, and the presentation always wins compliments while saving me stress.
4. Minimal, high impact ingredients
With just sugar, cream, milk, eggs, and vanilla, this recipe is about technique rather than long ingredient lists. I like desserts where each element matters and you can taste the quality of each component. That simplicity also makes substitutions and adjustments straightforward when you need them.
5. A timeless finish
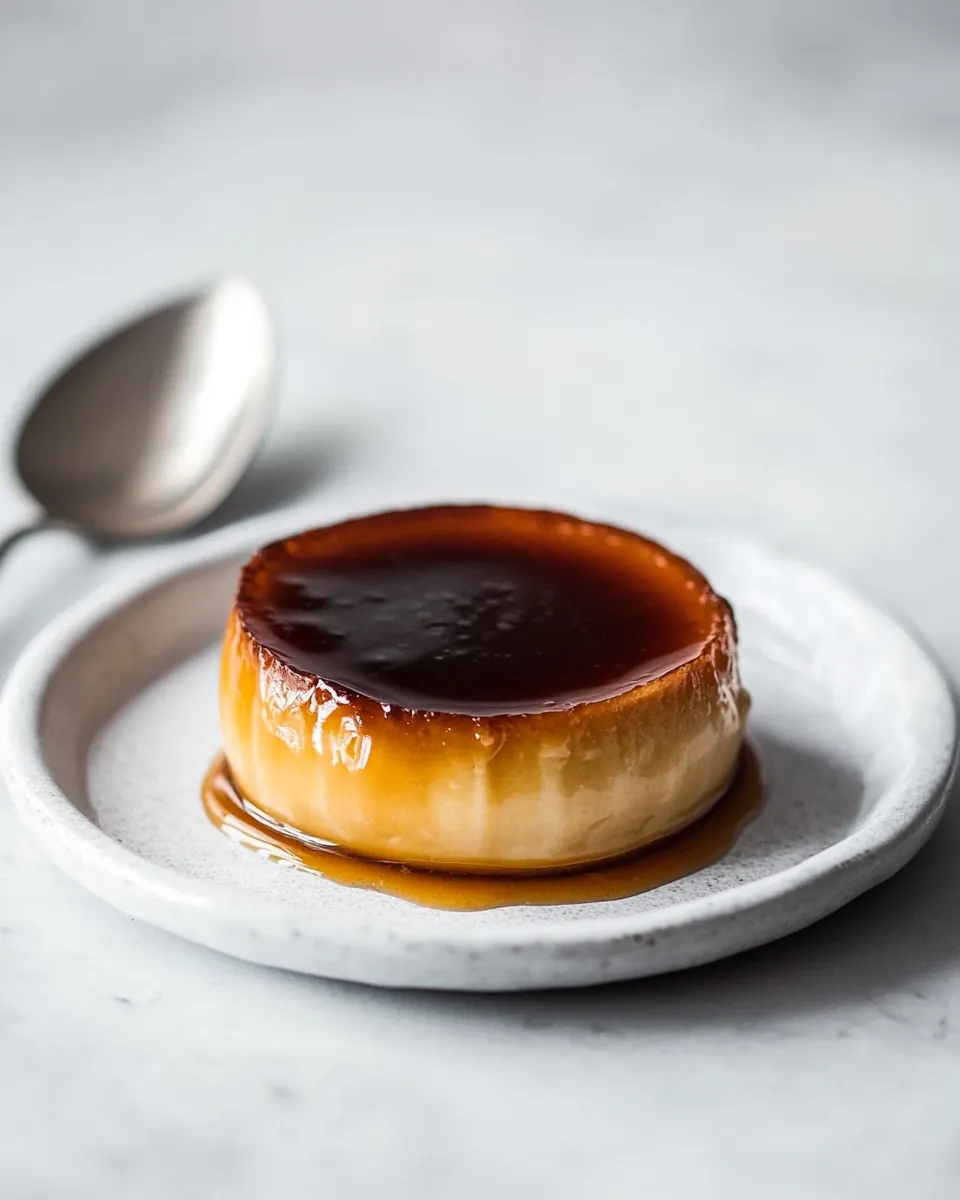
There is something quietly theatrical about unmolding a ramekin to reveal a pool of caramel. For me, Perfect Vanilla Crème Caramel feels both nostalgic and refined, which is why it’s a dessert I return to when I want a little elegance without fuss.
Ingredients Required for Perfect Vanilla Crème Caramel
These ingredients are straightforward and purposeful. The key players are the sugars for both caramel and custard sweetness, cream and milk for richness and silkiness, and the eggs which create the custard structure. Each element supports texture or flavor, and together they form a balanced custard that is tender and lush.
- 165 g white granulated sugar: Dissolve to create a rich caramel base; gently heat until amber and aromatic, then pour into molds to set a glossy, flavorful layer that complements the custard.
- 80 ml water: Combine to help dissolve the sugar evenly and control caramelization; simmer briefly to achieve the correct consistency for pouring without crystallizing.
- 500 ml cream: Heat and infuse to provide a luxurious, creamy texture and rich mouthfeel; warm gently with milk and vanilla before tempering eggs to avoid curdling.
- 180 ml milk: Blend with cream for a balanced dairy body and lighter texture; warm together to distribute flavors and ensure a smooth, silky custard.
- 3 large eggs: Whisk to create structure and set the custard; beat lightly to incorporate air and provide stability while keeping a tender, delicate texture when baked.
- 3 large egg yolks: Enrich and stabilize the custard while increasing creaminess; separate yolks from whites and use yolks for a silkier, custard-rich finish.
- 75 g caster sugar: Sweeten and balance the custard mixture without graininess; dissolve into the warm dairy and eggs to provide a smooth, consistent sweetness throughout.
- 2 tsp vanilla extract: Flavor and aromaticize the custard with classic vanilla notes; add to the warm dairy to infuse a fragrant, well-rounded vanilla profile throughout the dessert.
Instructions for Perfect Vanilla Crème Caramel
This method walks you through caramelizing sugar, preparing the custard, sealing the ramekins, and using the Instant Pot for even, gentle cooking. I like to move deliberately, tasting and observing along the way so the finished custard is silky and set.
- To make the caramel, add the sugar, water and espresso powder to a small pot and bring it to a boil. Continue boiling for 8 – 10 minutes until it reaches a dark amber colour and becomes syrupy. You should smell an intense caramel. Be careful though as it can burn very quickly.: The moment the mixture begins to simmer you will notice the sugar dissolving and the surface becoming glossy, and within several minutes the aroma will shift from sweet to warm and almost nutty. As the color deepens toward a dark amber, the scent becomes intense and you can see the syrup thicken on the spoon, which signals readiness. This step is about patience and attention, because sugar moves from perfect to burnt very quickly; avoid stirring once it starts bubbling vigorously to prevent crystallization. A common mistake is overheating, which turns caramel bitter, so lift the pan occasionally to check color, and when it is right, remove it from heat immediately to stop the cooking.
- Divide the caramel evenly between the 6 ramekins and set them aside to set.: You will pour the hot caramel into each ramekin, watching it flow and coat the base in a glossy amber layer that will harden as it cools. The visual cue is a thin, even coat that clings to the bottom and slightly up the sides, which will later melt to form the sauce when unmolded. Be careful with the hot caramel, it is extremely hot and can cause burns, so handle ramekins on a stable surface. If the caramel cools too quickly and thickens unevenly, warm the pot briefly to loosen it for a smoother distribution.
- To make the custard, add the milk and cream to the bowl of an instant pot and set it to Sauté. Heat the mixture until just below the boiling point then remove the bowl.: As the dairy warms you will see steam rise and tiny bubbles forming at the edges, and the aroma becomes rich and milky, which is comforting and fragrant. Heating to just below boil helps dissolve sugars and temper the eggs without cooking them prematurely. The main reason for this gentle warming is to prevent scrambled eggs when you mix later, and a typical error is overheating so that the dairy actually boils, which risks curdling when combined with eggs; remove it just before it reaches a rolling boil.
- In a large bowl add the eggs, egg yolks, sugar and vanilla to a bowl and give it a good whisk.: As you whisk, you will see the mixture lighten slightly and the texture becomes smooth and unified, with the aroma of vanilla lifting the mixture. Proper whisking integrates the sugars and ensures there are no dense pockets of yolk, which helps the custard set evenly. Avoid over-whisking to the point of frothiness, which introduces air and can create unwanted bubbles or a less dense finish; if you do over-aerate, let the mixture rest briefly to allow some bubbles to dissipate.
- Slowly add the warm cream/milk mixture in parts whilst continuously whisking. Continue until all the liquids are combined.: The warm dairy will release a gentle steam and the bowl will feel slightly warm to the touch as you temper the eggs, which helps build a uniform custard base without cooking the eggs into curds. Adding the liquid in parts keeps the temperature rise gradual, so the egg proteins unwind gently rather than seizing up. One trap is pouring too quickly, which results in scrambled bits in the custard; keep your whisk moving and add the dairy in slow, steady streams to maintain a smooth texture.
- Strain the custard into a jug through a fine mesh sieve.: As the custard passes through the sieve you will remove any tiny coagulated bits, resulting in a satiny, lump free mixture that pours smoothly into ramekins. The visual of a clear, silk like custard flowing from the sieve is reassuring and the aroma becomes more unified. Skipping this step risks small grainy pieces in the finished custard, so always strain for the cleanest texture.
- Pour the custard into the caramel-lined ramekins. Use a blow torch on the surface to get rid of any air bubbles or pop with a knife.: Pour slowly so the custard settles over the caramel, and you may notice small bubbles rising to the surface; a quick pass with a blow torch or a gentle poke with a knife removes these and produces a smooth top. The surface should look uniform and glossy, which will improve the final presentation. Be careful with the torch, keep it moving to avoid heating any one spot too much; a common issue is heating the surface unevenly which can create a skin or cook the top slightly, so go light and even.
- Cut a large piece of foil for each ramekin. Cover well, and thoroughly fold each side all the way under and the other sides, too. You want to double or triple-fold the foil around the ramekin to ensure no water can enter. If it is not well-covered enough the custard will scramble.: Wrapping each ramekin securely keeps the steaming water out and protects the custard from direct moisture, which is crucial to avoid a scrambled texture. You want multiple folds to ensure a tight seal, and when done correctly the foil should feel snug and stable. If foil is not sealed enough, water can seep in and make the custard watery and grainy, so take the extra minute to double or triple fold each edge.
- Place 3 of the ramekins onto the trivet in the Instant Pot and add 1 cup of water to the bowl. Close the lid and set the time to Cook on High Pressure for 10 minutes. Release the pressure naturally for around 12 minutes.: The Instant Pot will build steam and you will hear a steady hum as pressure rises, providing even, moist heat that cooks the custard gently; visually you might see a little condensation on the foil which is normal. The timing and pressure deliver a custard that is set but still slightly jiggly, the ideal texture. A common misstep is not adding enough water, which may prevent proper steam generation, so ensure the measured cup is in place before sealing the lid.
- Repeat with the remaining 3 ramekins making sure to top up the bowl with a little water that would have been lost in the first cook.: Allowing the pressure to come down on its own keeps the custard from jolting with sudden temperature changes, which helps prevent cracking or curdling. You will notice the machine quiet down gradually and the residual steam will finish cooking gently, which yields a silkier finish. Avoid performing a quick release here, as the abrupt change can toughen the custard or cause liquid to ingress through any imperfect foil seals.
- Once cooked, remove the crème caramel ramekins from the pot, allow them to cool and then refrigerate for 6 hours or overnight to set.: When you run the second batch, topping up the water replenishes what was lost to steam, ensuring the second set cooks under the same conditions as the first. Keep an eye on water level and trivet placement so each ramekin sits stably and receives even heat. A frequent error is crowding the pot; make sure ramekins are spaced and the trivet is centered to allow uniform steam circulation.
- When you are ready to unmould and serve, fill a shallow bowl with boiling water. Dip each ramekin into the boiling water to loosen. Invert on an individual serving plate. If you present them unmoulded, it could be tricky to dish these up later.: As they cool you will see the custard firm to a delicate wobble, and chilling solidifies texture and deepens flavor, letting the caramel relax into a sauce that melds with the custard. Chilling overnight improves texture and makes unmolding easier. Rushing this step leads to a custard that falls apart, so be patient and refrigerate for the recommended time.
- When you are ready to unmould and serve fill a shallow bowl with boiling water dip each ramekin into the boiling water to loosen invert on an individual serving plate: The hot water briefly softens the caramel edge so the custard slips out cleanly, and when inverted the glossy sauce cascades over the custard, creating a beautiful plate. You may see a slight release of steam as the hot water meets the foil, which is expected, and the final presentation is worth the gentle theatrics. If the ramekin does not release easily, dip for a few more seconds; trying to force it can tear the custard, so take a little more warm water instead.
Tips and Tricks about Perfect Vanilla Crème Caramel
I like to keep a few reliable tricks up my sleeve for crème caramel, small habits that prevent common issues and improve texture and presentation. These tips cover timing, temperature, and handling so you get the best results with minimal anxiety.
- Temperature control matters: Heat the milk and cream until just below boiling so you do not scramble the eggs when tempering; you should see steam and tiny bubbles at the edges, not a rolling boil.
- Patience with caramel: Cook the sugar and water over medium heat and avoid stirring aggressively once it starts to bubble to minimize crystallization, and remove from heat at dark amber to prevent bitterness.
- Strain for silkiness: Always pour the custard through a fine mesh sieve to catch any tiny coagulated bits, ensuring a flawless, smooth finish when set.
- Secure foil seals: Double or triple fold the foil snugly around each ramekin to keep steam out, which helps the custard set without waterlogging the surface.
- Batch consistency: Cook in consistent batches of three ramekins on the trivet, topping up water between runs so every ramekin receives equal steam and texture stays uniform.
- Chill fully: Refrigerate for at least 6 hours or overnight to allow the custard to firm and the caramel to relax into a sauce that complements the base.
Perfect Matches for Perfect Vanilla Crème Caramel
This dessert pairs beautifully with light accompaniments and a range of occasions. Think small finishing touches that enhance texture and contrast, and remember that presentation makes it feel special.
- Light fruit compotes: Serve alongside a small spoonful of tart berry compote to cut the richness while keeping the plate balanced.
- Casual dinner parties: Make these ahead and chill overnight so you can unmold and serve fresh without last minute fuss, great for relaxed evenings with friends.
- Special occasions: Present unmolded on individual plates for birthdays or celebrations, the glossy caramel makes an elegant statement.
- Storage tips: Keep covered in the refrigerator for up to three days to maintain texture and freshness, and unmold just before serving for best presentation.
- Seasonal pairing: In cooler months, pair with lightly spiced poached pears, and in warmer months, a bright citrus salad offers contrast to the creamy custard.
FAQ
Conclusion
What makes this recipe special is its combination of simple ingredients and reliable technique that yields a luxuriously smooth custard topped with glossy caramel. The Instant Pot method adds consistency and ease, giving you perfectly set ramekins with minimal worry. Give this a try when you want a dessert that feels refined but is genuinely approachable, and enjoy the small ceremony of unmolding each ramekin to unveil that beautiful caramel sauce. I hope it becomes one of those recipes you return to for celebrations and quiet evenings alike.
Perfect Vanilla Crème Caramel
Equipment
- 6 x 200ml capacity ramekins
- Instant Pot with a trivet
- Fine mesh sieve
- Aluminium foil
- Small pot for caramel
Ingredients
- 165 g white granulated sugar Dissolve to create a rich caramel base; gently heat until amber and aromatic, then pour into molds to set a glossy, flavorful layer that complements the custard.
- 80 ml water Combine to help dissolve the sugar evenly and control caramelization; simmer briefly to achieve the correct consistency for pouring without crystallizing.
- 500 ml cream Heat and infuse to provide a luxurious, creamy texture and rich mouthfeel; warm gently with milk and vanilla before tempering eggs to avoid curdling.
- 180 ml milk Blend with cream for a balanced dairy body and lighter texture; warm together to distribute flavors and ensure a smooth, silky custard.
- 3 large eggs Whisk to create structure and set the custard; beat lightly to incorporate air and provide stability while keeping a tender, delicate texture when baked.
- 3 large egg yolks Enrich and stabilize the custard while increasing creaminess; separate yolks from whites and use yolks for a silkier, custard-rich finish.
- 75 g caster sugar Sweeten and balance the custard mixture without graininess; dissolve into the warm dairy and eggs to provide a smooth, consistent sweetness throughout.
- 2 tsp vanilla extract Flavor and aromaticize the custard with classic vanilla notes; add to the warm dairy to infuse a fragrant, well-rounded vanilla profile throughout the dessert.
Instructions
- To make the caramel, add the sugar, water and espresso powder to a small pot and bring it to a boil. Continue boiling for 8 – 10 minutes until it reaches a dark amber colour and becomes syrupy. You should smell an intense caramel. Be careful though as it can burn very quickly.: The moment the mixture begins to simmer you will notice the sugar dissolving and the surface becoming glossy, and within several minutes the aroma will shift from sweet to warm and almost nutty. As the color deepens toward a dark amber, the scent becomes intense and you can see the syrup thicken on the spoon, which signals readiness. This step is about patience and attention, because sugar moves from perfect to burnt very quickly; avoid stirring once it starts bubbling vigorously to prevent crystallization. A common mistake is overheating, which turns caramel bitter, so lift the pan occasionally to check color, and when it is right, remove it from heat immediately to stop the cooking.
- Divide the caramel evenly between the 6 ramekins and set them aside to set.: You will pour the hot caramel into each ramekin, watching it flow and coat the base in a glossy amber layer that will harden as it cools. The visual cue is a thin, even coat that clings to the bottom and slightly up the sides, which will later melt to form the sauce when unmolded. Be careful with the hot caramel, it is extremely hot and can cause burns, so handle ramekins on a stable surface. If the caramel cools too quickly and thickens unevenly, warm the pot briefly to loosen it for a smoother distribution.
- To make the custard, add the milk and cream to the bowl of an instant pot and set it to Sauté. Heat the mixture until just below the boiling point then remove the bowl.: As the dairy warms you will see steam rise and tiny bubbles forming at the edges, and the aroma becomes rich and milky, which is comforting and fragrant. Heating to just below boil helps dissolve sugars and temper the eggs without cooking them prematurely. The main reason for this gentle warming is to prevent scrambled eggs when you mix later, and a typical error is overheating so that the dairy actually boils, which risks curdling when combined with eggs; remove it just before it reaches a rolling boil.
- In a large bowl add the eggs, egg yolks, sugar and vanilla to a bowl and give it a good whisk.: As you whisk, you will see the mixture lighten slightly and the texture becomes smooth and unified, with the aroma of vanilla lifting the mixture. Proper whisking integrates the sugars and ensures there are no dense pockets of yolk, which helps the custard set evenly. Avoid over-whisking to the point of frothiness, which introduces air and can create unwanted bubbles or a less dense finish; if you do over-aerate, let the mixture rest briefly to allow some bubbles to dissipate.
- Slowly add the warm cream/milk mixture in parts whilst continuously whisking. Continue until all the liquids are combined.: The warm dairy will release a gentle steam and the bowl will feel slightly warm to the touch as you temper the eggs, which helps build a uniform custard base without cooking the eggs into curds. Adding the liquid in parts keeps the temperature rise gradual, so the egg proteins unwind gently rather than seizing up. One trap is pouring too quickly, which results in scrambled bits in the custard; keep your whisk moving and add the dairy in slow, steady streams to maintain a smooth texture.
- Strain the custard into a jug through a fine mesh sieve.: As the custard passes through the sieve you will remove any tiny coagulated bits, resulting in a satiny, lump free mixture that pours smoothly into ramekins. The visual of a clear, silk like custard flowing from the sieve is reassuring and the aroma becomes more unified. Skipping this step risks small grainy pieces in the finished custard, so always strain for the cleanest texture.
- Pour the custard into the caramel-lined ramekins. Use a blow torch on the surface to get rid of any air bubbles or pop with a knife.: Pour slowly so the custard settles over the caramel, and you may notice small bubbles rising to the surface; a quick pass with a blow torch or a gentle poke with a knife removes these and produces a smooth top. The surface should look uniform and glossy, which will improve the final presentation. Be careful with the torch, keep it moving to avoid heating any one spot too much; a common issue is heating the surface unevenly which can create a skin or cook the top slightly, so go light and even.
- Cut a large piece of foil for each ramekin. Cover well, and thoroughly fold each side all the way under and the other sides, too. You want to double or triple-fold the foil around the ramekin to ensure no water can enter. If it is not well-covered enough the custard will scramble.: Wrapping each ramekin securely keeps the steaming water out and protects the custard from direct moisture, which is crucial to avoid a scrambled texture. You want multiple folds to ensure a tight seal, and when done correctly the foil should feel snug and stable. If foil is not sealed enough, water can seep in and make the custard watery and grainy, so take the extra minute to double or triple fold each edge.
- Place 3 of the ramekins onto the trivet in the Instant Pot and add 1 cup of water to the bowl. Close the lid and set the time to Cook on High Pressure for 10 minutes. Release the pressure naturally for around 12 minutes.: The Instant Pot will build steam and you will hear a steady hum as pressure rises, providing even, moist heat that cooks the custard gently; visually you might see a little condensation on the foil which is normal. The timing and pressure deliver a custard that is set but still slightly jiggly, the ideal texture. A common misstep is not adding enough water, which may prevent proper steam generation, so ensure the measured cup is in place before sealing the lid.
- Repeat with the remaining 3 ramekins making sure to top up the bowl with a little water that would have been lost in the first cook.: Allowing the pressure to come down on its own keeps the custard from jolting with sudden temperature changes, which helps prevent cracking or curdling. You will notice the machine quiet down gradually and the residual steam will finish cooking gently, which yields a silkier finish. Avoid performing a quick release here, as the abrupt change can toughen the custard or cause liquid to ingress through any imperfect foil seals.
- Once cooked, remove the crème caramel ramekins from the pot, allow them to cool and then refrigerate for 6 hours or overnight to set.: When you run the second batch, topping up the water replenishes what was lost to steam, ensuring the second set cooks under the same conditions as the first. Keep an eye on water level and trivet placement so each ramekin sits stably and receives even heat. A frequent error is crowding the pot; make sure ramekins are spaced and the trivet is centered to allow uniform steam circulation.
- When you are ready to unmould and serve, fill a shallow bowl with boiling water. Dip each ramekin into the boiling water to loosen. Invert on an individual serving plate. If you present them unmoulded, it could be tricky to dish these up later.: As they cool you will see the custard firm to a delicate wobble, and chilling solidifies texture and deepens flavor, letting the caramel relax into a sauce that melds with the custard. Chilling overnight improves texture and makes unmolding easier. Rushing this step leads to a custard that falls apart, so be patient and refrigerate for the recommended time.
- When you are ready to unmould and serve fill a shallow bowl with boiling water dip each ramekin into the boiling water to loosen invert on an individual serving plate: The hot water briefly softens the caramel edge so the custard slips out cleanly, and when inverted the glossy sauce cascades over the custard, creating a beautiful plate. You may see a slight release of steam as the hot water meets the foil, which is expected, and the final presentation is worth the gentle theatrics. If the ramekin does not release easily, dip for a few more seconds; trying to force it can tear the custard, so take a little more warm water instead.
Notes
- Temperature control matters: Heat the milk and cream until just below boiling so you do not scramble the eggs when tempering; you should see steam and tiny bubbles at the edges, not a rolling boil.
- Patience with caramel: Cook the sugar and water over medium heat and avoid stirring aggressively once it starts to bubble to minimize crystallization, and remove from heat at dark amber to prevent bitterness.
- Strain for silkiness: Always pour the custard through a fine mesh sieve to catch any tiny coagulated bits, ensuring a flawless, smooth finish when set.
- Secure foil seals: Double or triple fold the foil snugly around each ramekin to keep steam out, which helps the custard set without waterlogging the surface.
- Batch consistency: Cook in consistent batches of three ramekins on the trivet, topping up water between runs so every ramekin receives equal steam and texture stays uniform.
- Chill fully: Refrigerate for at least 6 hours or overnight to allow the custard to firm and the caramel to relax into a sauce that complements the base.