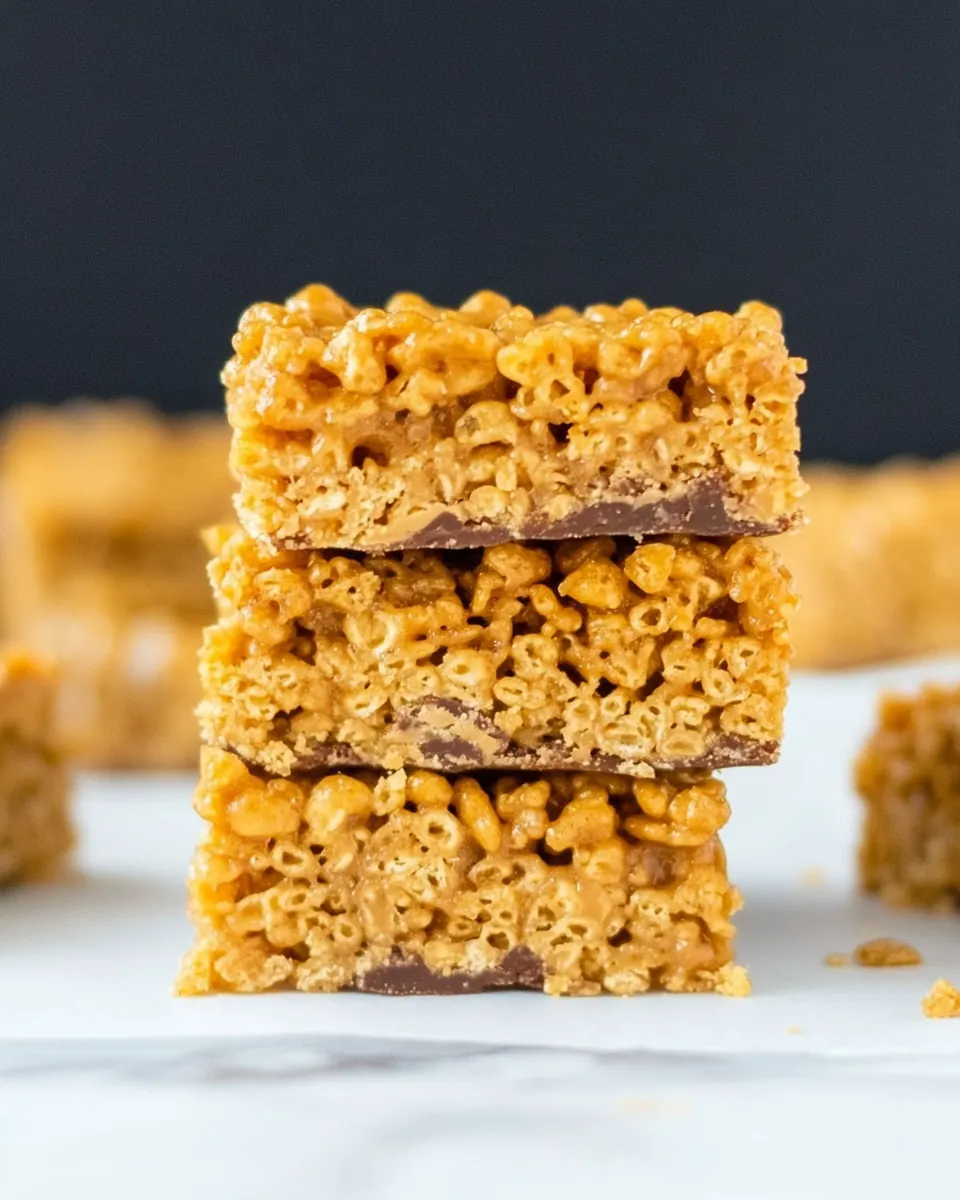
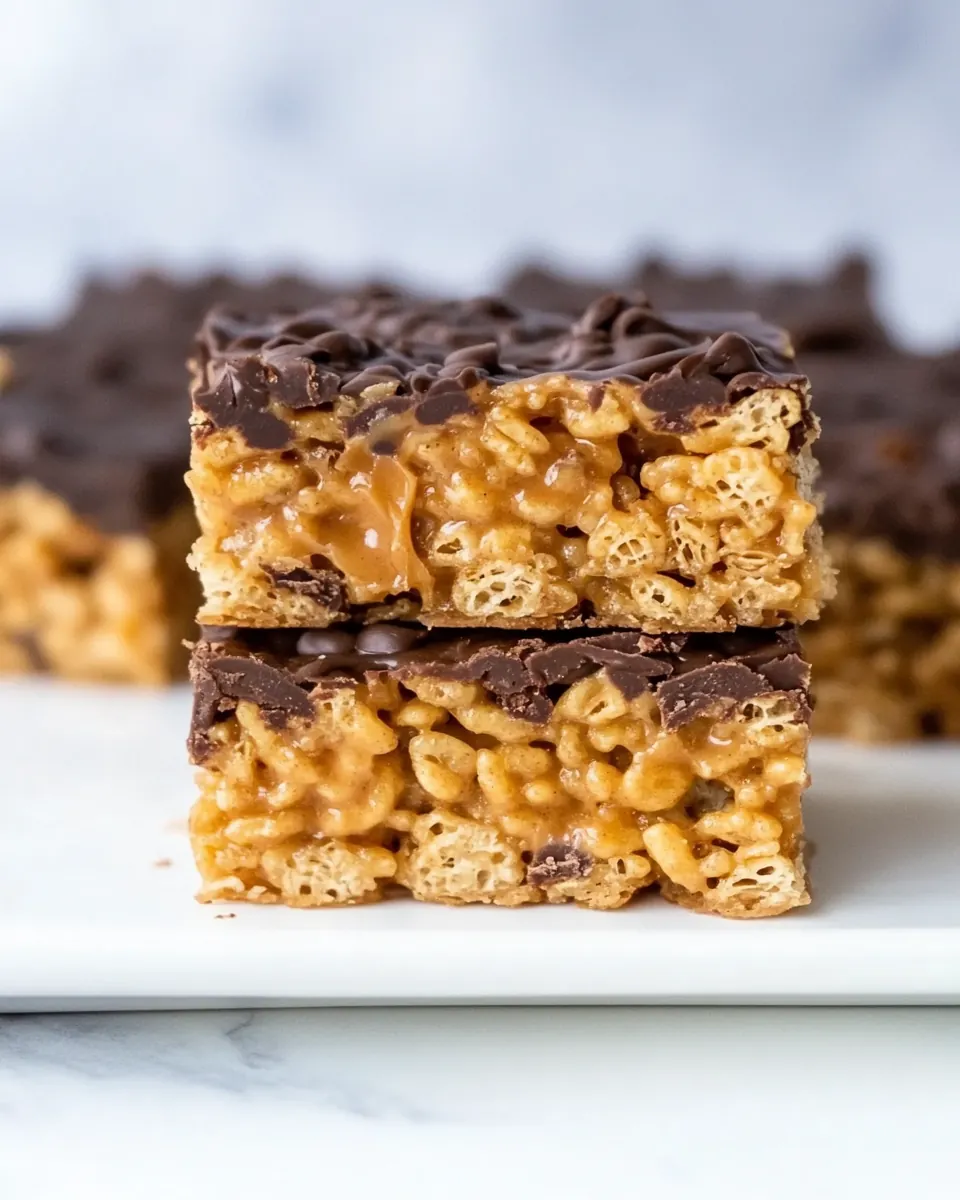
Peanut Butter Rice Krispie Treats
Peanut Butter Rice Krispie Treats have been my go to for fast, nostalgic sweets ever since I first learned to make sticky bars with my grandmother on a rainy afternoon. I can still hear the low hum of the stovetop while we melted honey together, and I remember how the whole kitchen smelled warmly of toasted rice and roasted peanuts. That first batch taught me how simple ingredients can become something unexpectedly comforting, and over the years I have tweaked the ratios until the texture was just right for my family.
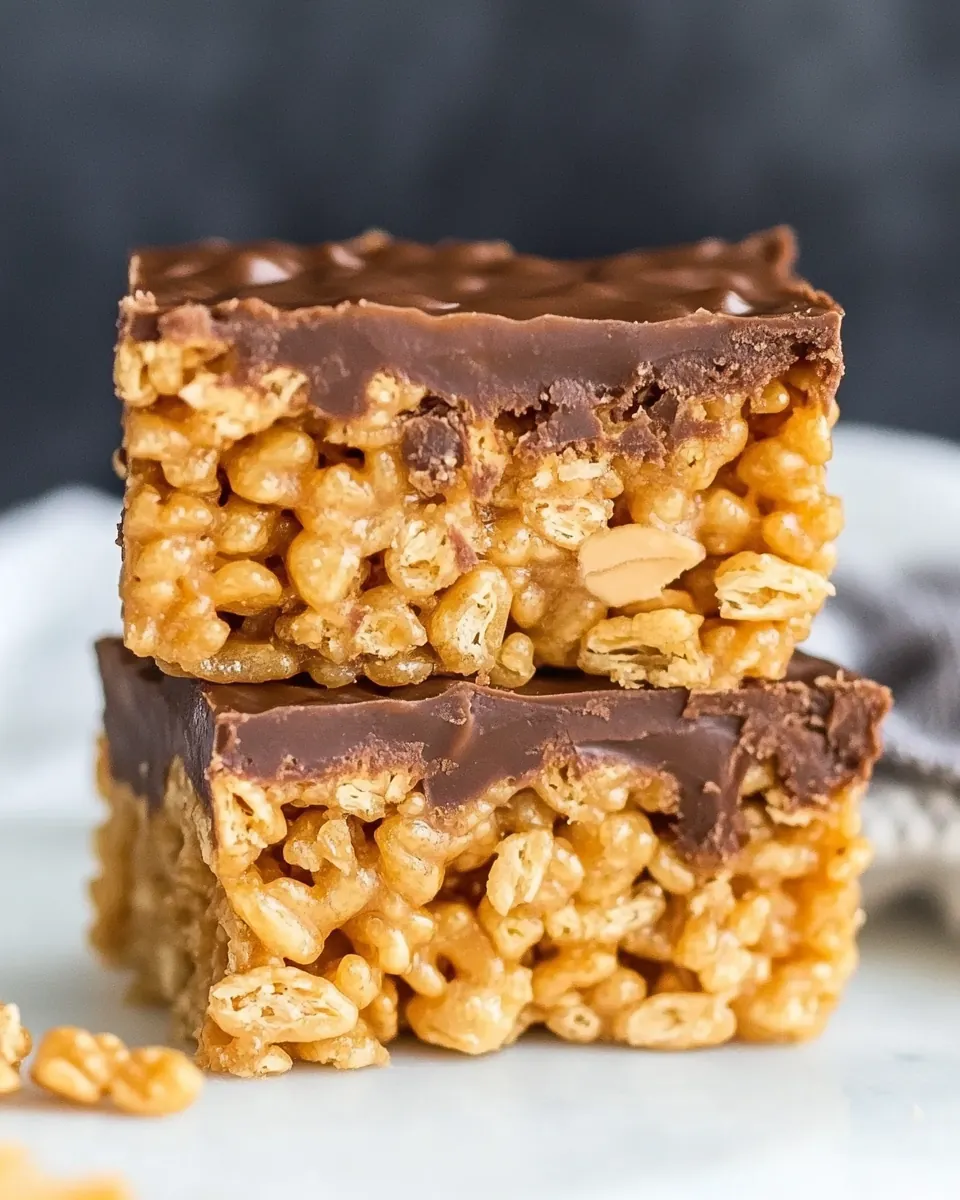
Every time I pull a pan from the fridge and press a corner square between my fingers, I get a rush of memory mixed with the satisfying contrast of chewy interior and firm edges. I enjoy making a tray for potlucks because these bars travel well, and they often vanish first when there are kids around. When I add a glossy layer of melted chocolate on top, I feel like I am creating a grown up version of a childhood treat, one that still manages to be unfussy and quick enough for weeknight dessert emergencies.
Recipe Snapshot
11 mins
10 mins
1 mins
Medium
180 kcal
American
Gluten-Free, Vegan
Desserts
7×11 pan
What You’ll Enjoy About This Peanut Butter Rice Krispie Treats
Comforting, familiar flavor
I love how Peanut Butter Rice Krispie Treats hit that sweet spot between nostalgic and new. The combo of warm honey and creamy peanut butter tastes like the best childhood memory, while a sprinkle of salt sharpens the sweetness. I often find myself savoring a bite slowly, because the flavor is both simple and satisfying.
Speed and simplicity
One reason I keep this recipe in my quick repertoire is how fast it comes together. With a few straightforward steps and pantry staples like rice crisp cereal and chocolate chips, you can have fresh treats within half an hour. That makes them perfect for last minute guests or a sudden craving, and I rely on that convenience when my schedule is tight.
Textural delight
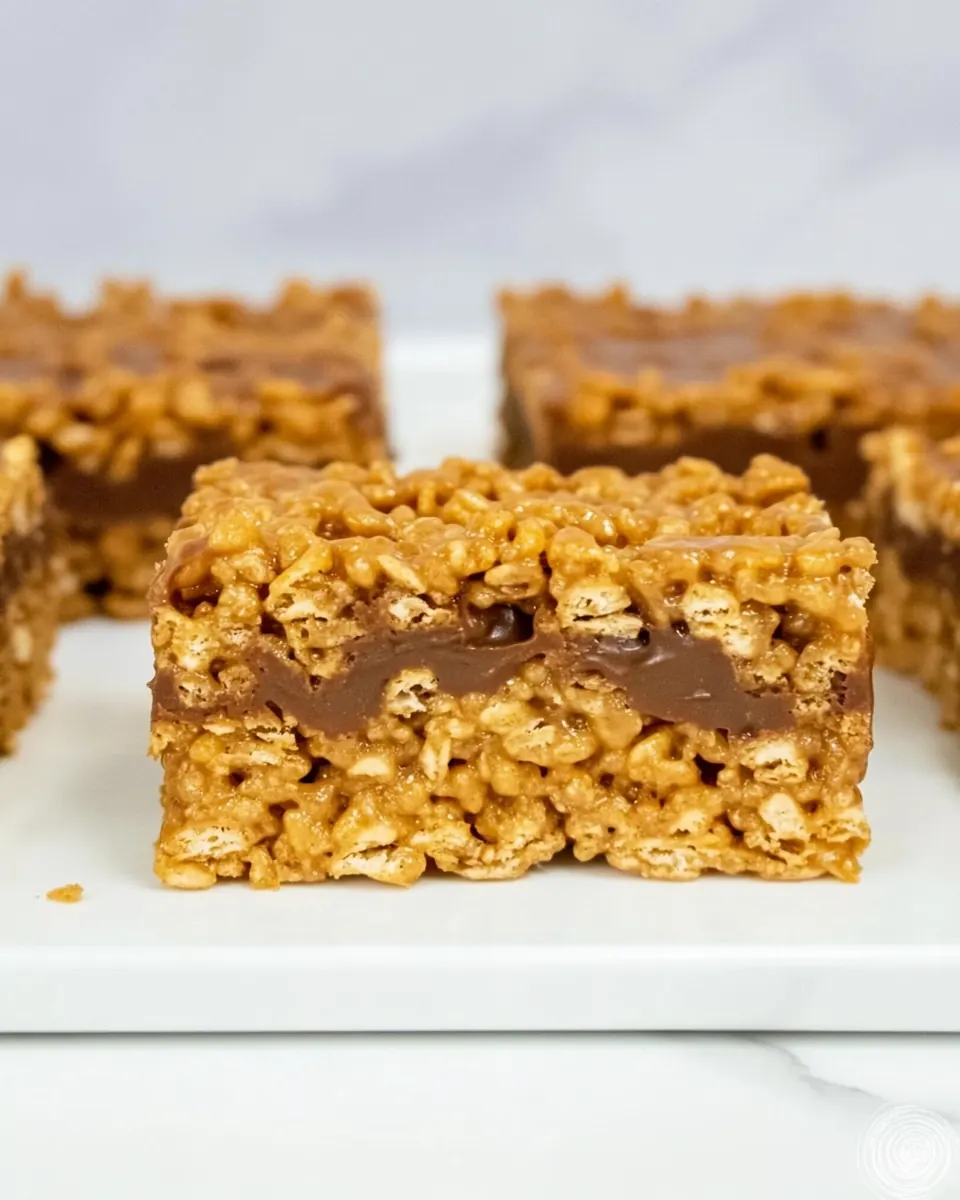
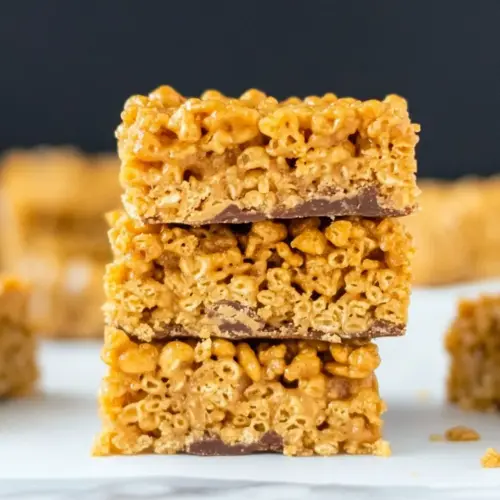
The balance of chewy binder and crisp rice is what keeps me coming back. The melted mixture wraps around each grain of rice crisp cereal, creating a cohesive bar that still snaps slightly when bitten. Adding a chocolate layer introduces a contrasting crisp surface, which I enjoy for the counterpoint it provides to the soft center.
Adaptable and crowd friendly
I often tweak these bars to suit different needs, whether that is skipping the chocolate for a room temperature snack, or stirring in coconut oil with melted chocolate to make a smoother topping. They scale easily, so I make a larger pan for gatherings, and smaller pans when I want thicker squares. My guests always appreciate how approachable they are.
Kid approved and portable
Because these bars hold their shape, they are great for lunchboxes and bake sales. Kids love the sweet peanut flavor, and adults often tell me they appreciate the controlled sweetness compared with more syrup heavy candies. I like that they store well for a few days, which makes them practical as well as tasty.
Ingredients You’ll Need for Peanut Butter Rice Krispie Treats
These ingredients are intentionally straightforward, each playing a clear role in the finished bars. The honey acts as the sweet binder that also gives a gentle chew, while peanut butter provides richness and depth. Rice crisp cereal is the structural backbone, offering crisp pockets that contrast the denser binder. The optional chocolate chips and coconut oil add a glossy, flavorful finish if you decide to top the bars.
- 1/2 cup creamy peanut butter, shelf-stable or natural: Provide creaminess and bind the mixture together while adding rich, nutty flavor; choose shelf–stable for smooth texture or natural for a more pronounced peanut taste and oil separation that can be stirred in. Contribute healthy fats and help the cereal stick without overheating, preserving a tender chew in the finished bars.
- 1/2 cup honey: Sweeten and act as a sticky binder that melts into the peanut butter to help hold the cereal together; honey also adds a subtle floral note and soft chewiness. Use gentle heating to combine without caramelizing excessively to maintain a pliable bars texture.
- 1 teaspoon vanilla extract: Enhance overall flavor by adding a warm, aromatic note that brightens the peanut and honey combination; vanilla balances sweetness and deepens the dessert profile. A small amount goes a long way in rounding out the taste without overpowering the primary flavors.
- dash of salt, if peanut butter is unsalted: Adjust seasoning to balance flavors when using unsalted peanut butter; a small dash brings out sweetness and complexity without making the bars savory. Add sparingly and taste to avoid oversalting the delicate candy-like texture.
- 4 cups rice crisp cereal: Provide the primary crunchy base and bulk of the treats; rice crisp cereal offers light, airy texture that contrasts with the creamy binder and keeps bars crisp rather than dense. Measure carefully to ensure proper cereal-to-binder ratio for cohesive, sliceable bars.
- 2 cups chocolate chips (optional): Add rich chocolate flavor and pockets of melted sweetness when folded in while warm or sprinkled on top; optional chips create contrast in texture and a more indulgent bar. Use as many or as few as desired to control sweetness and chocolate intensity.
- 2 teaspoons coconut oil (optional): Improve chocolate melting and glossy finish when mixing or drizzling by reducing viscosity and encouraging smooth coating; optional small amount enhances flow and shine. Choose a neutral coconut oil to avoid altering the intended flavor profile.
Instructions for Peanut Butter Rice Krispie Treats
These instructions are written to guide you step by step while helping you read the sensory signals that indicate success. I like to move deliberately through each phase so that the texture and flavor build properly. Keep your tools nearby and stay mindful of timing, because quick transitions matter with warm honey and melted chocolate.
- Line a 7 x 11 or 8 x 8 pan with parchment paper. Set aside.: You'll notice the parchment creates a smooth surface that makes removing the bars much easier when they are chilled, and it prevents sticking. The sound of the paper sliding into the pan is subtle, but arranging it so it hangs over two sides creates handy handles for lifting. A common mistake is not trimming excess so the edges bunch up, which can make the bars uneven when you press them in.
- Grease a 1/2 cup measuring cup with oil or nonstick spray and measure out the honey. Pour the honey into a large saucepan. Bring the honey to boil over medium-high heat and then IMMEDIATELY turn off the heat.: As the honey heats, it will thin and become more fluid, and steam may rise gently from the saucepan, releasing an aromatic sweetness. The moment it reaches a rolling bubble, you must remove it from heat to avoid burning, because overheated honey can become bitter and set too hard. A frequent error is letting it simmer too long, which alters the texture of the final bars and makes them overly firm.
- Add the peanut butter, vanilla, and dash of salt if needed, into the honey and stir until smooth. Add in the cereal and stir to evenly coat the crisped rice with the mixture.: When you add the peanut butter , it will melt into the hot honey creating a glossy, viscous binder that smells nutty and sweet. Stirring time matters so each grain of rice crisp cereal gets coated, otherwise you will end up with dry pockets. The sound shifts from liquid sloshing to a thicker scraping as the mixture thickens. A common trap is adding the cereal too early while the binder is still too cool, which leaves the cereal uncoated.
- Pour the cereal mixture into the prepared pan and firmly flatten out the mixture, using another piece of parchment paper. Place the treats into the fridge to harden for 10-15 minutes.: Pressing the mixture firmly compresses the rice crisp cereal so the bars hold together when cut. Use gentle, even pressure to avoid squeezing out too much binder, which would dry the bars. The surface will go from shiny to slightly matte as it cools. Avoid pressing so hard that the bars become rock hard, because that can make them unpleasantly dense.
- To top with chocolate, place the chocolate chips into a heat-safe bowl and microwave in 30 second intervals, stirring after each interval, until chocolate is melted. Stir in the coconut oil if desired.: As you microwave the chocolate chips , you will see them soften and then become glossy as you stir, releasing a deep chocolate aroma. Adding coconut oil creates a thinner, shinier coating that sets more firmly in the fridge. Overheating the chocolate will cause it to seize and grain, so short bursts and stirring are essential to maintain a smooth texture.
- Remove the chilled peanut butter bars from the refrigerator. Pour the chocolate over cereal mixture and spread out with the back of a spoon or a spatula.: Pouring melted chocolate chips over the bars adds a silky layer that contrasts with the chewy interior, and spreading it should be done quickly while the chocolate is still fluid. You will feel the temperature drop as the chocolate touches the cold bars, and it will start to thicken within minutes. A common mistake is waiting too long to spread, which leaves uneven clumps and a bumpy finish.
- Return the treats to the refrigerator and for 15-20 minutes to fully firm up before slicing.: Chilling solidifies the chocolate top and helps the bars set without crumbling, giving a clean cut when you slice them. You may hear a quiet hum from the fridge and see condensation on the container if the room is warm, which is normal. Cutting too soon is a frequent error, resulting in messy edges and the topping smearing.
- Remove from fridge and cut into squares.: When you cut, use a sharp knife warmed briefly under hot water and dried, to create smooth edges and avoid ragged crumbs. The bars should yield with a gentle pressure and exhibit a tidy cross section showing crisp rice pockets surrounded by glossy binder. If the knife pulls, the bars need a few more minutes in the fridge to firm up fully.
Helpful Notes about Peanut Butter Rice Krispie Treats
These notes expand on practical choices and storage. I wrote them after testing different textures and topping techniques so you can get reliable results every time. Each tip highlights a quick action or small change that makes a noticeable difference in the finished bars.
- Storage suggestion: Without the chocolate layer, store the bars in an airtight container at room temperature for up to three days to preserve chewiness. If you add the chocolate chips topping, refrigerate them to keep the chocolate firm, and consume within three days to avoid condensation causing a sticky surface.
- Dairy free option: Use dairy free chocolate chips or skip the chocolate topping entirely to keep the bars dairy free. The base with peanut butter and honey is naturally free of dairy when you omit the chocolate, so flavor and texture remain focused on the nutty binder and crisp cereal.
- Peanut free swap: Substitute peanut butter with sunflower seed butter or almond butter if needed. Keep in mind the oil content may differ, so press slightly firmer when setting to compensate for any textual differences.
- Gluten free caution: Ensure your rice crisp cereal is certified gluten free if you need a gluten free dessert. Some brands contain barley malt or other ingredients that introduce gluten, so check labels carefully before baking.
- Chocolate shine trick: Stir two teaspoons of coconut oil into the melted chocolate chips for a shinier, smoother topping that sets neatly and resists bloom when chilled.
Side Dish Ideas for Peanut Butter Rice Krispie Treats
These bars are most often served as a casual dessert, party finger food, or sweet snack at gatherings. They pair well with other simple treats and are flexible across occasions from school bake sales to holiday cookie plates. Because they are sweet and portable, I like to plan for them as part of a larger spread where small bites are preferred.
- Party dessert tray: Arrange Peanut Butter Rice Krispie Treats alongside fresh fruit skewers and simple cookies for variety, letting guests pick between lighter or richer sweets.
- Lunchbox treat: Pack a single square in a small airtight container for an afternoon snack, keeping the bars chilled if topped with chocolate chips to prevent melting during transit.
- Potluck contribution: Cut into uniform squares and place on a platter with parchment between layers, because they travel well and are easy for guests to grab without utensils.
- Seasonal gatherings: Include these bars on a summer picnic or winter holiday dessert table, as their shelf stable nature without chocolate makes them versatile across temperatures and settings.
- Storage tips: For the best texture, consume plain bars within three days at room temperature. If you add a chocolate chips topping, refrigerate and eat within three days to preserve the glossy finish.
- Occasion pairing: I bring them to school events, family game nights, and casual celebrations because they are easy to portion and universally liked, making them a reliable choice for varied crowds.
FAQ
Conclusion
These Peanut Butter Rice Krispie Treats stand out because they combine simple pantry staples into a snack that is both nostalgic and reliably delicious. The interplay of chewy honey binder, nutty peanut butter, and crisp rice crisp cereal creates a texture everyone appreciates, and the optional chocolate chips topping elevates the bars for gatherings. I encourage you to give them a try the next time you need a quick homemade dessert, because they come together fast and rarely last long once served. Enjoy making them your own, and have fun sharing a tray with friends or family.
Peanut Butter Rice Krispie Treats
Equipment
- 7x11 pan
Ingredients
- 1/2 cup creamy peanut butter, shelf-stable or natural Provide creaminess and bind the mixture together while adding rich, nutty flavor; choose shelf-stable for smooth texture or natural for a more pronounced peanut taste and oil separation that can be stirred in. Contribute healthy fats and help the cereal stick without overheating, preserving a tender chew in the finished bars.
- 1/2 cup honey Sweeten and act as a sticky binder that melts into the peanut butter to help hold the cereal together; honey also adds a subtle floral note and soft chewiness. Use gentle heating to combine without caramelizing excessively to maintain a pliable bars texture.
- 1 teaspoon vanilla extract Enhance overall flavor by adding a warm, aromatic note that brightens the peanut and honey combination; vanilla balances sweetness and deepens the dessert profile. A small amount goes a long way in rounding out the taste without overpowering the primary flavors.
- dash of salt, if peanut butter is unsalted Adjust seasoning to balance flavors when using unsalted peanut butter; a small dash brings out sweetness and complexity without making the bars savory. Add sparingly and taste to avoid oversalting the delicate candy-like texture.
- 4 cups rice crisp cereal Provide the primary crunchy base and bulk of the treats; rice crisp cereal offers light, airy texture that contrasts with the creamy binder and keeps bars crisp rather than dense. Measure carefully to ensure proper cereal-to-binder ratio for cohesive, sliceable bars.
- 2 cups chocolate chips, optional Add rich chocolate flavor and pockets of melted sweetness when folded in while warm or sprinkled on top; optional chips create contrast in texture and a more indulgent bar. Use as many or as few as desired to control sweetness and chocolate intensity.
- 2 teaspoons coconut oil, optional Improve chocolate melting and glossy finish when mixing or drizzling by reducing viscosity and encouraging smooth coating; optional small amount enhances flow and shine. Choose a neutral coconut oil to avoid altering the intended flavor profile.
Instructions
- Line a 7 x 11 or 8 x 8 pan with parchment paper. Set aside.: You'll notice the parchment creates a smooth surface that makes removing the bars much easier when they are chilled, and it prevents sticking. The sound of the paper sliding into the pan is subtle, but arranging it so it hangs over two sides creates handy handles for lifting. A common mistake is not trimming excess so the edges bunch up, which can make the bars uneven when you press them in.
- Grease a 1/2 cup measuring cup with oil or nonstick spray and measure out the honey. Pour the honey into a large saucepan. Bring the honey to boil over medium-high heat and then IMMEDIATELY turn off the heat.: As the honey heats, it will thin and become more fluid, and steam may rise gently from the saucepan, releasing an aromatic sweetness. The moment it reaches a rolling bubble, you must remove it from heat to avoid burning, because overheated honey can become bitter and set too hard. A frequent error is letting it simmer too long, which alters the texture of the final bars and makes them overly firm.
- Add the peanut butter, vanilla, and dash of salt if needed, into the honey and stir until smooth. Add in the cereal and stir to evenly coat the crisped rice with the mixture.: When you add the peanut butter , it will melt into the hot honey creating a glossy, viscous binder that smells nutty and sweet. Stirring time matters so each grain of rice crisp cereal gets coated, otherwise you will end up with dry pockets. The sound shifts from liquid sloshing to a thicker scraping as the mixture thickens. A common trap is adding the cereal too early while the binder is still too cool, which leaves the cereal uncoated.
- Pour the cereal mixture into the prepared pan and firmly flatten out the mixture, using another piece of parchment paper. Place the treats into the fridge to harden for 10-15 minutes.: Pressing the mixture firmly compresses the rice crisp cereal so the bars hold together when cut. Use gentle, even pressure to avoid squeezing out too much binder, which would dry the bars. The surface will go from shiny to slightly matte as it cools. Avoid pressing so hard that the bars become rock hard, because that can make them unpleasantly dense.
- To top with chocolate, place the chocolate chips into a heat-safe bowl and microwave in 30 second intervals, stirring after each interval, until chocolate is melted. Stir in the coconut oil if desired.: As you microwave the chocolate chips , you will see them soften and then become glossy as you stir, releasing a deep chocolate aroma. Adding coconut oil creates a thinner, shinier coating that sets more firmly in the fridge. Overheating the chocolate will cause it to seize and grain, so short bursts and stirring are essential to maintain a smooth texture.
- Remove the chilled peanut butter bars from the refrigerator. Pour the chocolate over cereal mixture and spread out with the back of a spoon or a spatula.: Pouring melted chocolate chips over the bars adds a silky layer that contrasts with the chewy interior, and spreading it should be done quickly while the chocolate is still fluid. You will feel the temperature drop as the chocolate touches the cold bars, and it will start to thicken within minutes. A common mistake is waiting too long to spread, which leaves uneven clumps and a bumpy finish.
- Return the treats to the refrigerator and for 15-20 minutes to fully firm up before slicing.: Chilling solidifies the chocolate top and helps the bars set without crumbling, giving a clean cut when you slice them. You may hear a quiet hum from the fridge and see condensation on the container if the room is warm, which is normal. Cutting too soon is a frequent error, resulting in messy edges and the topping smearing.
- Remove from fridge and cut into squares.: When you cut, use a sharp knife warmed briefly under hot water and dried, to create smooth edges and avoid ragged crumbs. The bars should yield with a gentle pressure and exhibit a tidy cross section showing crisp rice pockets surrounded by glossy binder. If the knife pulls, the bars need a few more minutes in the fridge to firm up fully.
Notes
- Storage suggestion: Without the chocolate layer, store the bars in an airtight container at room temperature for up to three days to preserve chewiness. If you add the chocolate chips topping, refrigerate them to keep the chocolate firm, and consume within three days to avoid condensation causing a sticky surface.
- Dairy free option: Use dairy free chocolate chips or skip the chocolate topping entirely to keep the bars dairy free. The base with peanut butter and honey is naturally free of dairy when you omit the chocolate, so flavor and texture remain focused on the nutty binder and crisp cereal.
- Peanut free swap: Substitute peanut butter with sunflower seed butter or almond butter if needed. Keep in mind the oil content may differ, so press slightly firmer when setting to compensate for any textual differences.
- Gluten free caution: Ensure your rice crisp cereal is certified gluten free if you need a gluten free dessert. Some brands contain barley malt or other ingredients that introduce gluten, so check labels carefully before baking.
- Chocolate shine trick: Stir two teaspoons of coconut oil into the melted chocolate chips for a shinier, smoother topping that sets neatly and resists bloom when chilled.