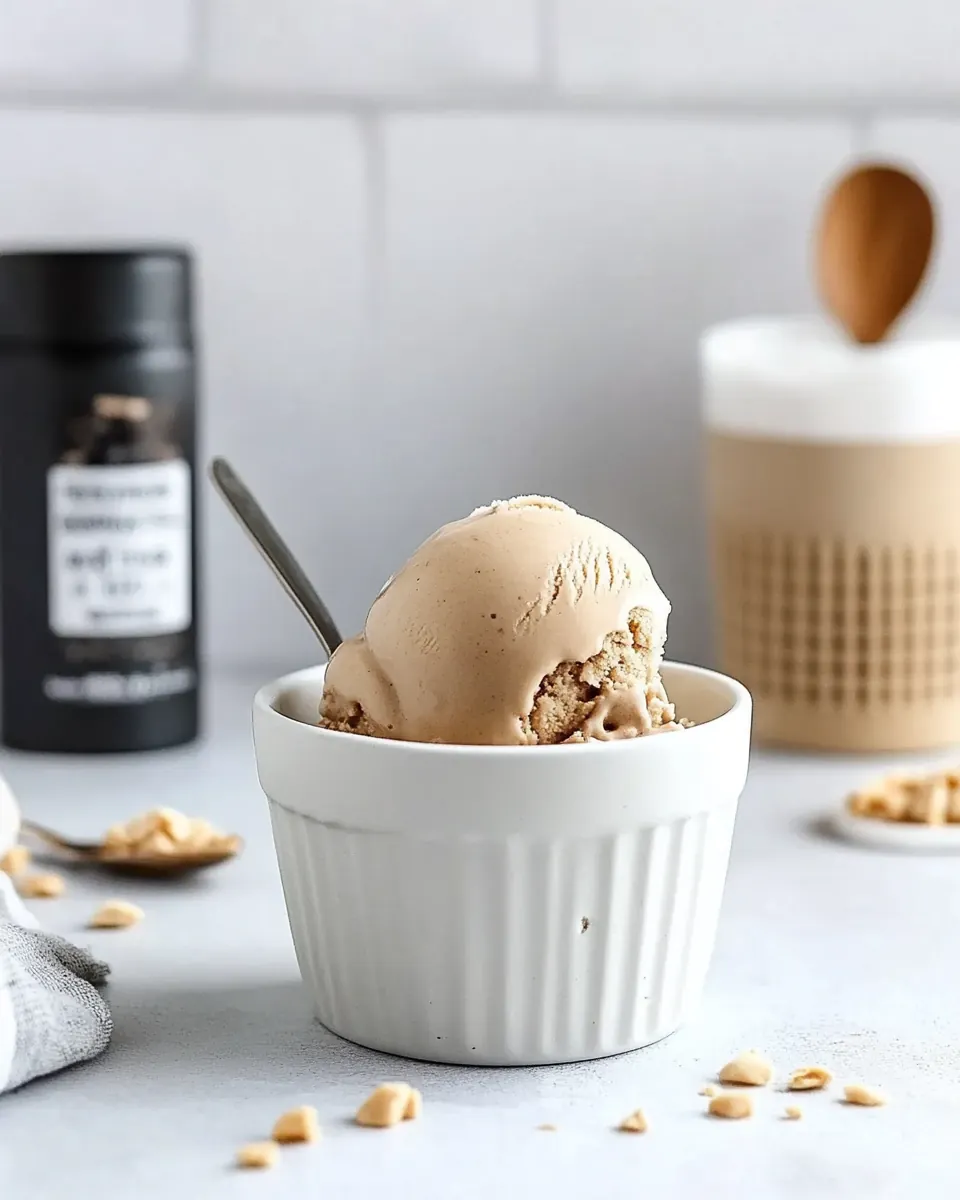
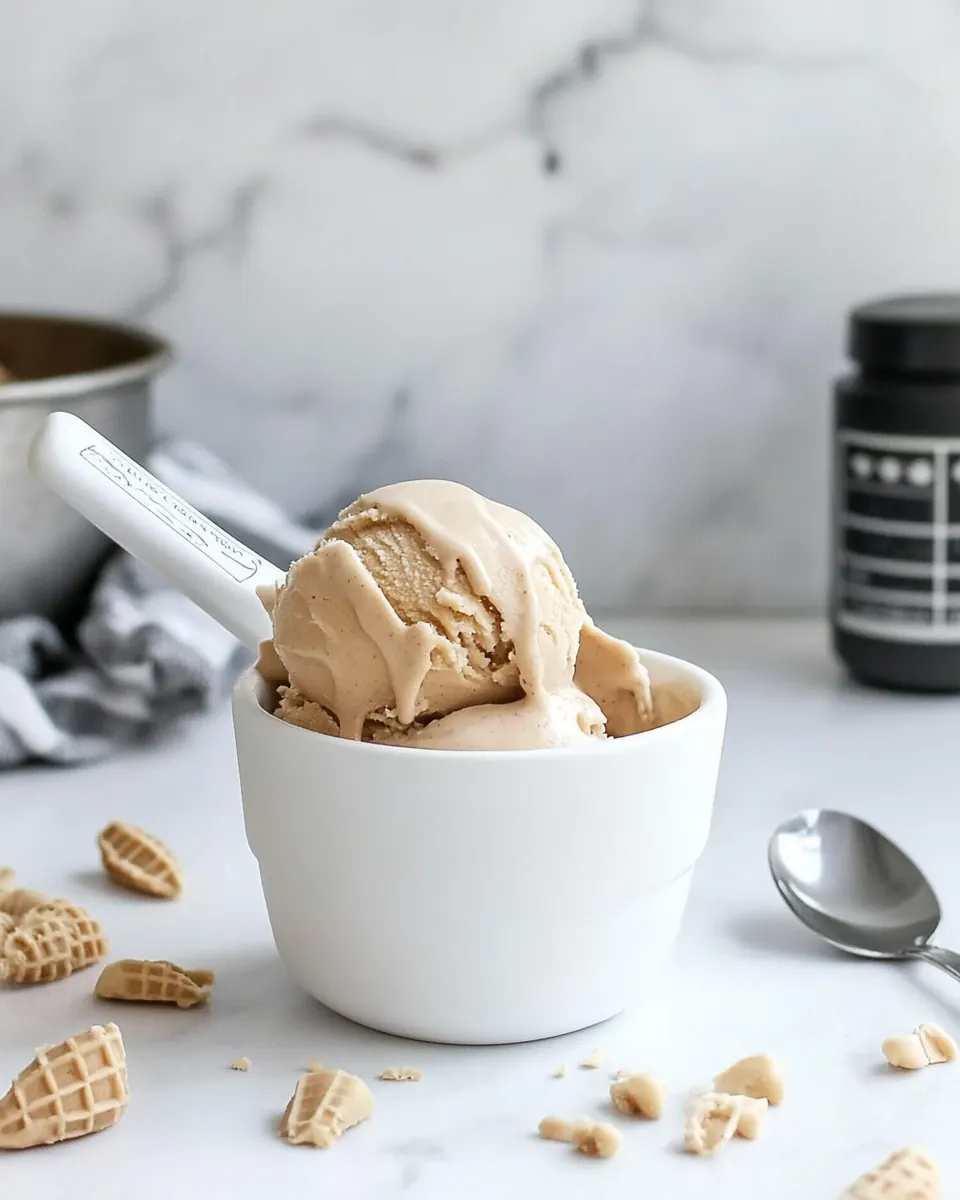
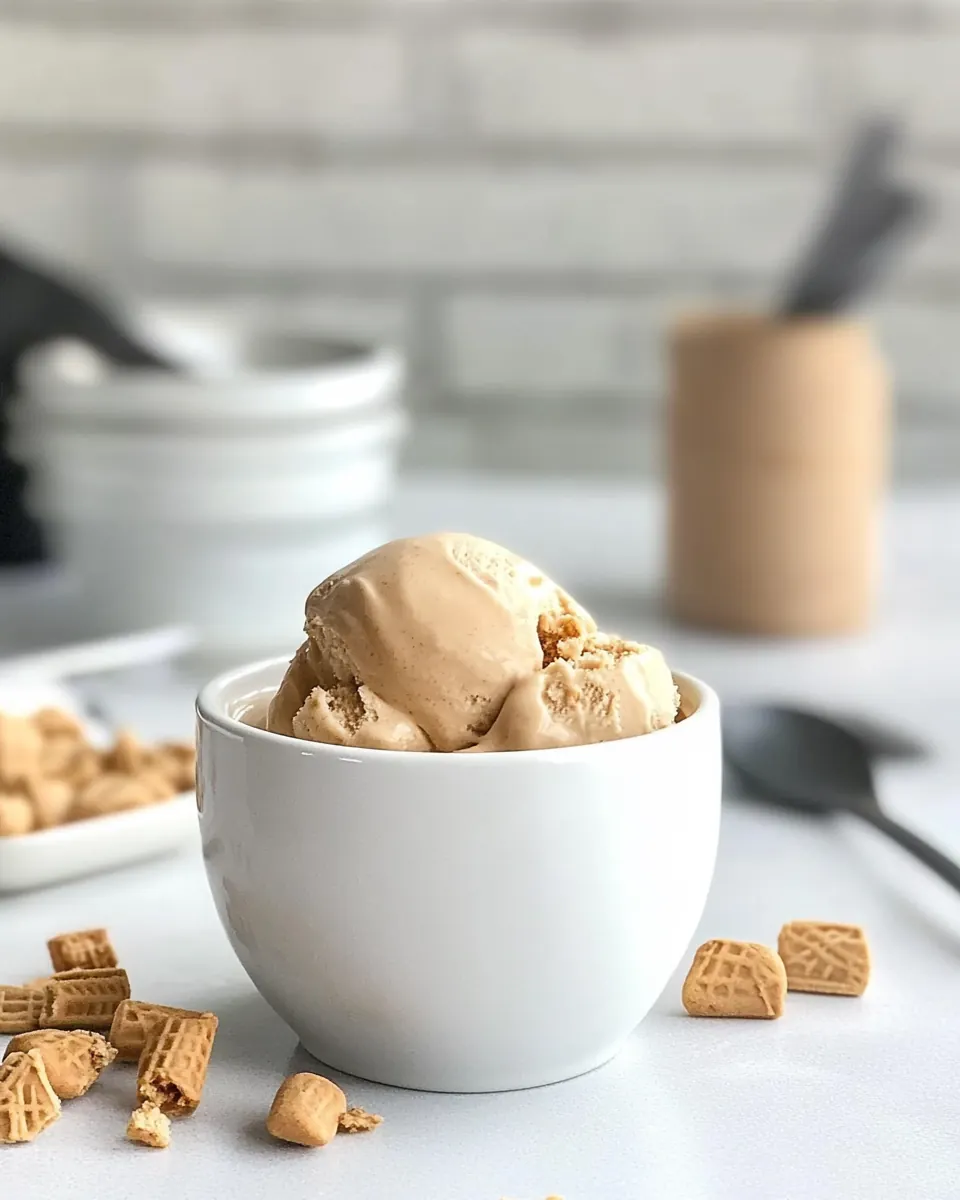
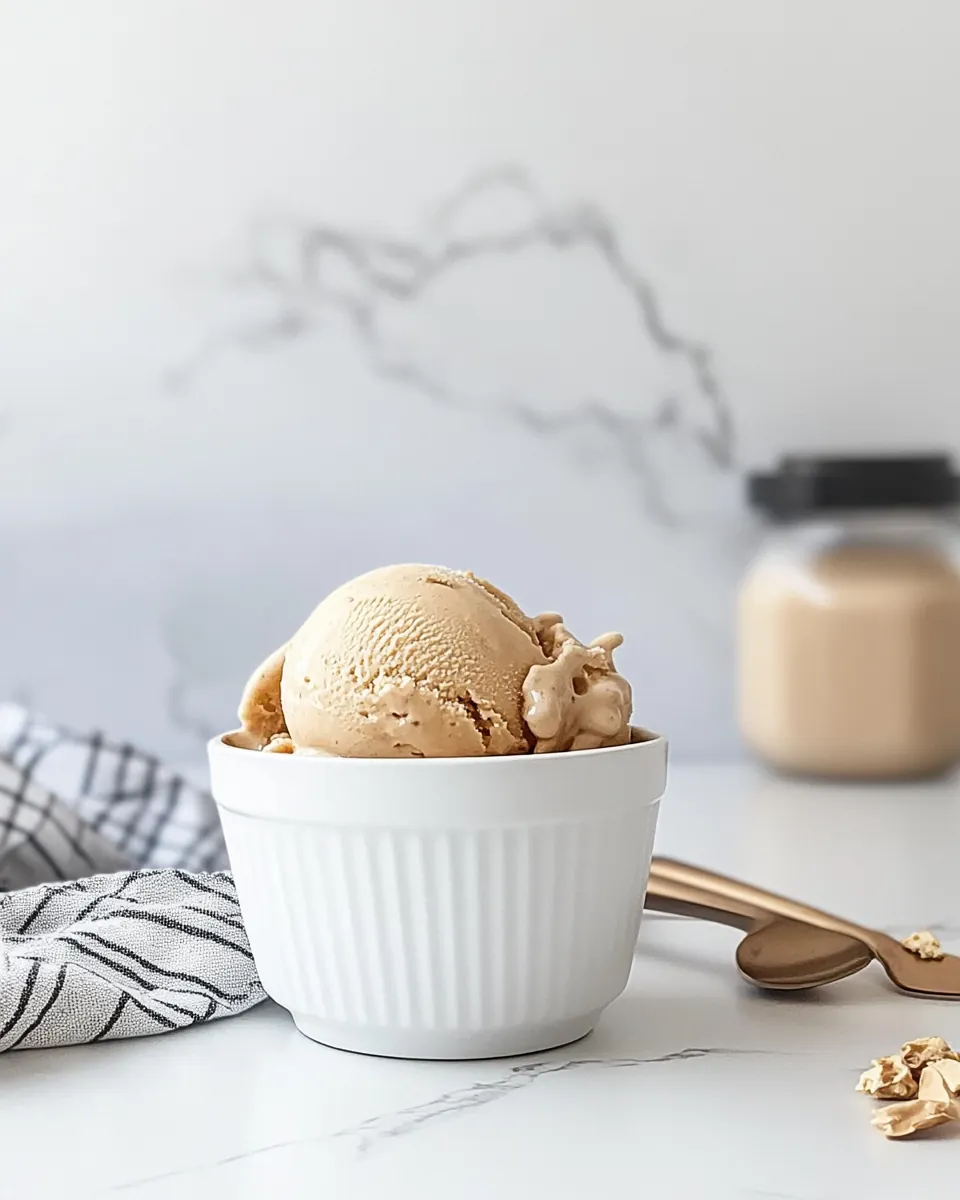
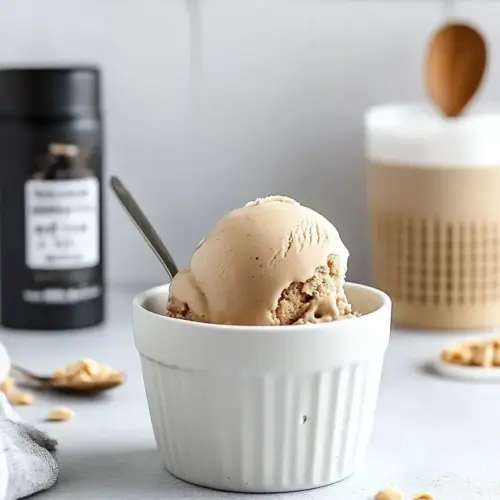
Peanut Butter Ice Cream
Peanut Butter Ice Cream always takes me back to sticky, sunlit afternoons when I was small, licking the spoon while my parents churned a humble batch in the kitchen. I can still taste the first creamy mouthful, thick with nutty richness and that unmistakable texture only good peanut butter brings. Over the years I learned a few small adjustments that make the texture silkier and the flavor brighter, and this version is my pared down, reliably luscious take.
There is something honest about a recipe that leans on just a handful of quality components. When I make Peanut Butter Ice Cream for friends, I watch conversations slow as each person reaches for another spoonful. Sometimes I swap stories about childhood favorites, other times I let the ice cream do the talking. No matter the company, the result is the same, comfort served cold and utterly satisfying.
Recipe Snapshot
15 mins
10 mins
5 mins
Easy
300 kcal
American
Gluten-Free, Low FODMAP
Desserts
Blender, Refrigerator, Ice Cream Maker, Freezer
Why This Peanut Butter Ice Cream Is So Good
Pure, focused flavor
I love how Peanut Butter Ice Cream showcases the personality of the main ingredient, peanut butter. With so few components, each one matters, so choosing a creamy, well balanced peanut butter gives the finished ice cream a clear, nut forward profile. I find that when the base is simple, the peanut notes become more pronounced and memorable.
Minimal fuss, maximum payoff
One of the reasons I reach for this recipe when hosting is that it does not demand complex techniques. The approach is straightforward, which means I can focus on texture rather than tinkering. I appreciate recipes that respect my time, and this one delivers a luxurious mouthfeel without an arsenal of tools.
Silky texture from smart ingredients
The interplay between half & half and peanut butter is key. The half & half brings creaminess and body, while the peanut butter contributes fat and emulsifiers that help the ice cream feel smooth. I always emphasize that a well chilled base, and careful churning, make the final product scoopable and velvety.
Easy to personalize
Even though I present a straightforward recipe, it is a patient canvas. I enjoy thinking about small ways to tweak it depending on mood or season. A little extra sugar brightens the finish for those who prefer sweetness, whereas a delicate pinch of kosher salt can pull forward the savory edges of the nutty flavor. That flexibility makes it a keeper in my recipe box.
Reliable crowd pleaser
Practically every time I bring Peanut Butter Ice Cream to a gathering, people ask for the recipe. It strikes a balance between nostalgic and refined, so it suits casual family nights and small celebrations alike. I love recipes that create memory markers, and this one often does just that.
Everything You Need for Peanut Butter Ice Cream
The ingredient list for Peanut Butter Ice Cream is intentionally compact. Each element has a clear role, from the emulsifying power of peanut butter to the creamy backbone provided by half & half. Together they achieve a silky mouthfeel and balanced sweetness. I think of the ingredients as a small ensemble where every player supports the others, so there is no clutter, just focused impact.
- 3/4 cup creamy peanut butter such as Jif: Adds creaminess and rich peanut flavor while providing fat that creates a smooth, luscious mouthfeel in the ice cream. Helps emulsify and bind the mixture so the final texture is dense and scoopable without being icy.
- 3/4 cup plus 2 tablespoons sugar: Sweetens the custard base and balances the savory peanut notes while helping to lower the freezing point for a softer texture. Contributes bulk and structure to the mixture, ensuring proper sweetness throughout the ice cream.
- 2 2/3 cups half & half: Provides a balanced dairy base that contributes both fat and liquid needed for a creamy, stable ice cream. Supplies subtle dairy flavor and body while working with the sugar to control freezing and texture.
- pinch of kosher salt: Enhances overall flavor by subtly boosting sweetness and rounding out the peanut profile while helping to balance the palate. Small amounts also accentuate other flavors without making the ice cream salty.
- 1/4 teaspoon pure vanilla extract: Adds a delicate aromatic lift and depth to the frozen dessert, rounding out the sweet and nutty flavors. A small amount brightens the profile and complements the richness of the peanut butter.
Putting Together Peanut Butter Ice Cream
I enjoy the rhythm of assembling this recipe, from blending the ingredients to the quiet hum of the ice cream maker. Below are the detailed steps that guide you through each moment, helping you achieve a smooth, scoopable result that reflects those warm, nutty flavors.
- Puree the peanut butter, sugar, half & half, salt, and vanilla in a blender or food processor until smooth.: The instant you start blending, you will hear a steady whir and see the mixture take on a glossy sheen, signaling that the sugars and fats are beginning to marry. The aroma will open up, the roasted, toasty notes from the peanut butter becoming more aromatic, and the mixture should look homogenous with no streaks. Why this matters, I have learned, is that a fully emulsified base prevents graininess and ensures even freezing. A common mistake I see is under-blending, which leaves little pockets of undissolved sugar or lumps of peanut butter . If you notice any textural bits, keep pulsing until everything appears smooth, and scrape the sides to capture any stuck fragments.
- Chill the mixture thoroughly in the refrigerator.: Cooling the base changes not only temperature but texture; as it chills, it thickens slightly and the flavors relax into each other, producing a rounder, more coherent profile. You will feel the mixture go from loose and warm to pleasantly cool and slightly viscous. Chilling is essential because a cold base churns into a lighter, creamier ice cream more quickly, minimizing ice crystal formation. One frequent oversight is rushing this step; try to give it adequate time in the fridge rather than forcing it into the machine warm, which can yield a greasy, dense result.
- Freeze the mixture in an ice cream maker according to the manufacturer’s instructions.: As the churn begins, the sound of the dasher moving through the mixture is reassuring, and you will see the volume increase slightly and the texture transform into soft serve. The cold, aerated stage is where ice crystals are kept small and the mouthfeel becomes luxurious. This technique matters because churning introduces air and controls the crystal structure, which ultimately defines scoopability. A troubleshooting tip: if your machine is slow to firm, confirm the base was well chilled, and do not run the maker for an overly long time past the suggested window, as that can strain motors or lead to over-churning.
- Transfer to a freezer-safe container and freeze for a few hours or overnight before serving.: Moving the churned ice cream into a container gives it time to harden to a scoopable consistency, and the quiet phase in the freezer lets the flavors settle, producing a cohesive, dense finish. Visually, you will see the surface firm up and a gentle sheen replace the gloss from churning. This step matters because warm or unsettled ice cream will be too soft to shape and may melt unevenly. A common pitfall is storing the container uncovered, which risks freezer burn and off flavors; pressing a piece of parchment directly on the surface before sealing reduces air exposure and preserves texture.
Recipe Notes about Peanut Butter Ice Cream
I like to keep notes close at hand because little adjustments make a big difference with frozen desserts. Below are my practical pointers expanded into thoughtful, actionable tips that help ensure consistent, delicious results every time I make Peanut Butter Ice Cream.
- Choose quality creamy peanut butter: The flavor foundation comes from the peanut butter, so pick a jar that has a balanced taste and smooth texture; this reduces the need for adjustments later and gives a pure nutty profile.
- Fully dissolve the sugar: Blend until the mixture looks glossy and uniform, because undissolved sugar can create an unpleasant grainy texture once frozen; scraping the blender sides helps ensure even integration.
- Chill the base thoroughly: Allow several hours in the refrigerator so the base is very cold before churning, this prevents the ice cream maker from working harder and yields a finer texture.
- Mind the churn time: Follow your ice cream maker’s recommended time window; over-churning can heat the mixture, whereas under-churning leads to an overly soft product that will develop larger ice crystals when frozen.
- Seal well for storage: Press a piece of parchment directly onto the surface of the ice cream before sealing the container to minimize air contact and preserve texture and flavor in the freezer.
Serve This Peanut Butter Ice Cream With
This ice cream is flexible at the table and suits casual and slightly elevated settings. I like to present it simply so the nutty character shines, and I often pair it with contrasting textures to create balance. Below are serving ideas, storage tips, and occasions where it truly shines.
- Simple bowls for everyday treats: Serve scoops in chilled bowls for an easy dessert, letting the creamy peanut flavor lead the experience and keeping garnishes minimal to highlight the core taste.
- Ice cream sandwiches for celebrations: Scoop onto soft cookies to make handheld treats for parties, which gives a fun textural contrast between a tender cookie and the smooth ice cream.
- Family gatherings and summer nights: This is a great choice for warm weather because of its cool, comforting nature; prepare ahead and store for easy serving during casual get togethers.
- Storage and make ahead: Freeze in a shallow, airtight container for the best texture; the ice cream keeps well for a couple of weeks when stored properly, which makes it ideal to prepare in advance for gatherings.
- Seasonal pairings: While perfect for summer, it also works well as a cozy indulgence in cooler months when you want a nostalgic, comforting dessert.
FAQ
Conclusion
What makes this Peanut Butter Ice Cream special is its ability to deliver deep, nutty flavor with a remarkably simple ingredient list. The combination of creamy peanut butter and half & half produces a luxurious, scoopable dessert that is both nostalgic and refined. I encourage you to give it a try exactly as written the first time, then experiment gently to find your perfect balance. It is an unfussy recipe that rewards attention to texture and chilling, and it frequently becomes a favorite at gatherings because it tastes like care and comfort in every spoonful.
Peanut Butter Ice Cream
Equipment
- Blender
- Refrigerator
- Ice Cream Maker
- Freezer
Ingredients
- 3/4 cup creamy peanut butter such as Jif Adds creaminess and rich peanut flavor while providing fat that creates a smooth, luscious mouthfeel in the ice cream. Helps emulsify and bind the mixture so the final texture is dense and scoopable without being icy.
- 3/4 cup plus 2 tablespoons sugar Sweetens the custard base and balances the savory peanut notes while helping to lower the freezing point for a softer texture. Contributes bulk and structure to the mixture, ensuring proper sweetness throughout the ice cream.
- 2 2/3 cups half & half Provides a balanced dairy base that contributes both fat and liquid needed for a creamy, stable ice cream. Supplies subtle dairy flavor and body while working with the sugar to control freezing and texture.
- pinch of kosher salt Enhances overall flavor by subtly boosting sweetness and rounding out the peanut profile while helping to balance the palate. Small amounts also accentuate other flavors without making the ice cream salty.
- 1/4 teaspoon pure vanilla extract Adds a delicate aromatic lift and depth to the frozen dessert, rounding out the sweet and nutty flavors. A small amount brightens the profile and complements the richness of the peanut butter.
Instructions
- Puree the peanut butter, sugar, half & half, salt, and vanilla in a blender or food processor until smooth.: The instant you start blending, you will hear a steady whir and see the mixture take on a glossy sheen, signaling that the sugars and fats are beginning to marry. The aroma will open up, the roasted, toasty notes from the peanut butter becoming more aromatic, and the mixture should look homogenous with no streaks. Why this matters, I have learned, is that a fully emulsified base prevents graininess and ensures even freezing. A common mistake I see is under-blending, which leaves little pockets of undissolved sugar or lumps of peanut butter . If you notice any textural bits, keep pulsing until everything appears smooth, and scrape the sides to capture any stuck fragments.
- Chill the mixture thoroughly in the refrigerator.: Cooling the base changes not only temperature but texture; as it chills, it thickens slightly and the flavors relax into each other, producing a rounder, more coherent profile. You will feel the mixture go from loose and warm to pleasantly cool and slightly viscous. Chilling is essential because a cold base churns into a lighter, creamier ice cream more quickly, minimizing ice crystal formation. One frequent oversight is rushing this step; try to give it adequate time in the fridge rather than forcing it into the machine warm, which can yield a greasy, dense result.
- Freeze the mixture in an ice cream maker according to the manufacturer’s instructions.: As the churn begins, the sound of the dasher moving through the mixture is reassuring, and you will see the volume increase slightly and the texture transform into soft serve. The cold, aerated stage is where ice crystals are kept small and the mouthfeel becomes luxurious. This technique matters because churning introduces air and controls the crystal structure, which ultimately defines scoopability. A troubleshooting tip: if your machine is slow to firm, confirm the base was well chilled, and do not run the maker for an overly long time past the suggested window, as that can strain motors or lead to over-churning.
- Transfer to a freezer-safe container and freeze for a few hours or overnight before serving.: Moving the churned ice cream into a container gives it time to harden to a scoopable consistency, and the quiet phase in the freezer lets the flavors settle, producing a cohesive, dense finish. Visually, you will see the surface firm up and a gentle sheen replace the gloss from churning. This step matters because warm or unsettled ice cream will be too soft to shape and may melt unevenly. A common pitfall is storing the container uncovered, which risks freezer burn and off flavors; pressing a piece of parchment directly on the surface before sealing reduces air exposure and preserves texture.
Notes
- Choose quality creamy peanut butter: The flavor foundation comes from the peanut butter, so pick a jar that has a balanced taste and smooth texture; this reduces the need for adjustments later and gives a pure nutty profile.
- Fully dissolve the sugar: Blend until the mixture looks glossy and uniform, because undissolved sugar can create an unpleasant grainy texture once frozen; scraping the blender sides helps ensure even integration.
- Chill the base thoroughly: Allow several hours in the refrigerator so the base is very cold before churning, this prevents the ice cream maker from working harder and yields a finer texture.
- Mind the churn time: Follow your ice cream maker’s recommended time window; over-churning can heat the mixture, whereas under-churning leads to an overly soft product that will develop larger ice crystals when frozen.
- Seal well for storage: Press a piece of parchment directly onto the surface of the ice cream before sealing the container to minimize air contact and preserve texture and flavor in the freezer.