Old Fashioned Lemon Chess Pie
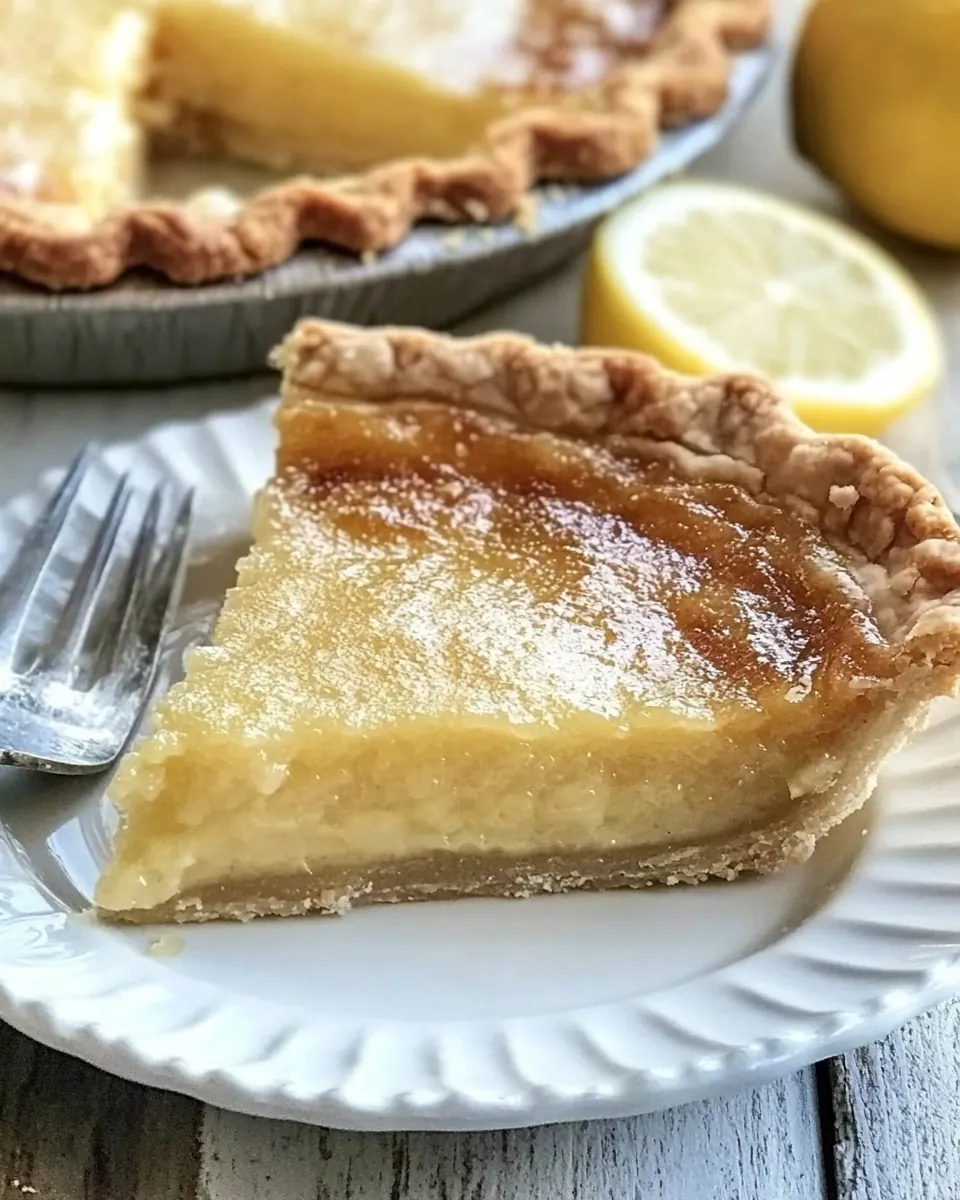
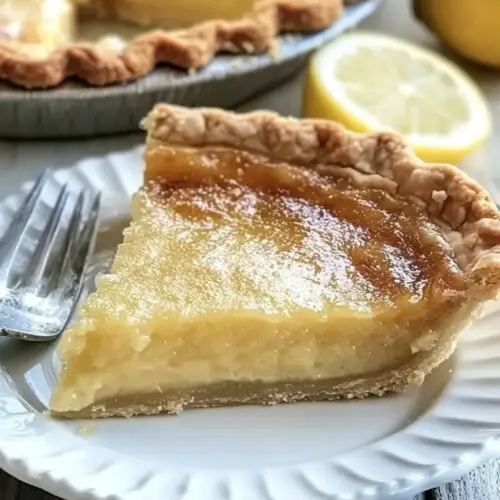
Old Fashioned Lemon Chess Pie is the kind of dessert that sits on my kitchen counter and quietly steals the show at every family gathering. The first time I made it, an aunt leaned over and said it reminded her of summer afternoons at her grandmother’s house, so I kept the recipe simple and true to that memory. I love how the filling is glossy and just slightly wobbly in the center, promising a custardy slice that settles into a tender, almost creamy bite.
There is a warmth to this pie that has nothing to do with the oven. I remember zesting a lemon while my niece watched from her stool, inhaling that sharp citrus scent that wakes the whole room. We laughed about the tiny bursts of aroma, and I explained why I always use a refrigerated crust for ease, and to keep the edges flaky and perfectly shaped. Over time, my version became a small ritual, one I return to when I want something comforting yet bright.
Recipe Snapshot
60 mins
15 mins
45 mins
Medium
300 kcal
American
Gluten-Free, Low FODMAP
Desserts
Oven, 9 inch pie plate, Medium bowl, Small bowl, Fine sieve
The Best Thing About This Old Fashioned Lemon Chess Pie
Bright, Balanced Citrus Flavor
I adore how Old Fashioned Lemon Chess Pie packs a bright lemon punch without being overly tart. The combination of lemon zest and lemon juice cuts through the sweet custard, creating a balanced flavor that feels classic and fresh. I find that this balance keeps people coming back for a second slice.
Simple, Pantry Friendly Ingredients
One reason I reach for this recipe on busy days is the short list of ingredients. Staples like sugar, eggs, and cornmeal are likely already in your pantry. That simplicity makes the pie approachable, and I like telling friends they can make something impressive without a long grocery list.
Texture That’s Both Custardy and Slightly Grainy
The subtle grain from the cornmeal gives the filling a unique mouthfeel, a gentle contrast to the smooth custard. I enjoy that textural nuance, it turns a straightforward lemon pie into something with a little personality. When you cut into it, you’ll notice a tender set, and that small grain is a comforting reminder of homemade tradition.
Reliably Homey and Nostalgic
There is something inherently nostalgic about Old Fashioned Lemon Chess Pie. It’s the sort of dessert that evokes family tables and slow conversations. I often bring it to potlucks because it travels well and keeps its character, making it a reliable choice when I want to please a crowd.
Easy Technique, Big Payoff
Even though the outcome feels elegant, the methods are straightforward. You whisk, you fold, you bake, and the oven does most of the work. I love that this recipe rewards modest effort with a pie that looks and tastes like you spent hours on it.
Recipe Ingredients for Old Fashioned Lemon Chess Pie
These ingredients are intentionally humble and work together to create a perfectly balanced pie. The custard relies on eggs for structure, while cornmeal and flour give a slight body that keeps the filling from running. The butter and evaporated milk add richness, and the lemon brightens everything, so each player is essential for texture and flavor.
- 1 store bought pie crust I use the ones in the refrigerated section that are near the canned biscuits usually – Pillsbury brand.: Provide a ready-to-bake foundation for the pie, offering a flaky, buttery base that contains the filling and crisps during baking. Use a refrigerated store–bought crust for convenience and consistent results, pressing it into a standard pie pan and crimping the edges. Blind-bake briefly if desired to prevent sogginess from the custard-like filling.
- 2 cups Sugar: Sweeten the custard mixture and contribute to the classic dense, caramelized texture of a chess pie; sugar dissolves into the eggs and evaporated milk to create a smooth, glossy filling. Measure accurately for balance so the final pie isn’t overly sweet or grainy, and whisk well to ensure full dissolution.
- 3 Tbscornmeal: Add a slight gritty thickening and traditional Southern texture as cornmeal helps absorb some moisture and gives subtle body to the filling. Use the specified amount to avoid a gritty mouthfeel while contributing to the pie’s structure and preventing runniness.
- 1 Tbsall purpose flour: Act as a fine thickening agent to stabilize the custard and prevent weeping by binding liquids together for a smooth fill consistency. Incorporate evenly with dry ingredients to avoid lumps and create a silky texture when baked.
- 1/4 teaspoons alt: Provide a hint of savory balance to round out the sweetness and enhance overall flavors by subtly suppressing cloying notes. Use a small, precise measure to maintain the intended flavor profile without making the pie taste salty.
- 4 large eggs – beaten well: Incorporate air and help set the custard as eggs coagulate during baking, providing structure and a tender, custardy texture; beating well ensures even distribution. Combine thoroughly with sugars and liquids so the filling bakes evenly and attains the proper firmness.
- 1/4 cup unsalted sweet cream butter – melted and cooled: Impart a rich, buttery flavor and aid in creating a smooth, glossy filling when melted and cooled before incorporation into the egg-sugar mixture. Use unsalted sweet cream butter to control sodium levels and pour in gradually while whisking for uniform emulsification.
- 1/4 cup evaporated milk: Contribute creamy body and richness to the custard, helping to create the dense, silky mouthfeel characteristic of chess pie; evaporated milk concentrates dairy solids without adding extra water. Stir in with the eggs and butter to ensure a homogeneous custard base before baking.
- The zest of one lemon: Add bright, aromatic citrus oils to the filling through finely grated zest, elevating the pie’s flavor with fresh lemon fragrance without extra liquid. Zest one lemon carefully to avoid the bitter pith and fold into the sugar mixture to release essential oils.
- The juice of 3 lemons about 1/4 cup juice: Provide fresh, tart acidity to balance the sweetness and contribute a pronounced lemon flavor; the juice also slightly thins the custard for proper texture. Squeeze approximately three lemons for about one quarter cup, straining seeds, and whisk into the filling to taste.
The Process for Making Old Fashioned Lemon Chess Pie
Let’s walk through the steps with a relaxed, conversational approach. The method is straightforward, but attention to small details like temperatures and sensory cues makes a world of difference. Keep your tools close and taste as you go, and you will end up with a pie that feels both classic and comforting.
- Preheat the oven to 350 and move one of the racks to the lowest setting.: The warm, slightly dry heat at the lowest rack helps the bottom crust bake thoroughly while the filling sets from the top down, producing an even texture. You should notice the oven reaching an even temperature and the oven light showing a steady glow, which signals stability. If your oven runs hot, consider placing an oven thermometer inside, because uneven heat can cause the filling to crack. A common mistake is skipping the rack adjustment, which can leave the crust underbaked while the top browns too quickly.
- Line a 9 inch shallow pie plate with the refrigerated pie crust and crimp the edges.: Working with a chilled pie crust ensures the butter in the dough remains solid until baking, leading to flakier edges. Press the crust gently into the plate, trim excess, and crimp for a decorative finish. The crust should be cold to the touch; if it feels too soft, pop it in the fridge for ten minutes to firm up. Avoid overworking the dough, because handling it too much warms the butter and yields a tougher crust.
- In a medium bowl, whisk together the sugar, cornmeal, flour and salt until well mixed.: As you whisk the dry ingredients, you will smell the faint sweetness of the sugar and notice the grain of the cornmeal against the flour, which indicates even distribution. This step ensures even texture and prevents clumps in the final filling. If you skip thorough mixing, pockets of cornmeal or flour can create gritty spots. A common misstep is using coarse cornmeal, which yields an unexpectedly coarse texture.
- In a small bowl, beat the eggs, whisk in the melted and cooled butter, evaporated milk.: The beaten eggs should be smooth and slightly frothy, showing that air is incorporated for a lighter set. Adding the cooled butter and evaporated milk slowly helps maintain an even temperature, preventing the eggs from cooking. You will feel the mixture become silkier as it comes together. If you add hot ingredients, the eggs may scramble, so always ensure the butter has cooled. One trap is not whisking the eggs enough, which can lead to uneven texture later.
- Zest one lemon before cutting all three in half and squeezing the juice out into a separate bowl. Pour the juice through a fine sieve to remove any seeds and pulp.: When you zest the lemon , the room fills with bright citrus oils, a sign of freshness. Squeezing and straining the juice removes any bitter pith or seeds, leaving a clean liquid that blends smoothly into the custard. A fine sieve will catch stray pulp, giving a glossy finish to the filling. If seeds slip through, fish them out promptly; leaving them in can ruin the texture.
- Add the zest and the lemon juice to the egg mixture. Add all of the egg mixture including the lemon juice and zest into the medium sized bowl that contains the sugar mix. Mix well.: At this stage, the aroma becomes vibrant as the lemon zest melds with the beaten eggs , creating a fragrant custard base. Stirring the combined mixtures until they're uniform yields a smooth, slightly viscous batter. You should see a glossy sheen indicating proper integration. If the mixture looks separated or lumpy, whisk more thoroughly; lumps often mean the dry ingredients were not fully incorporated.
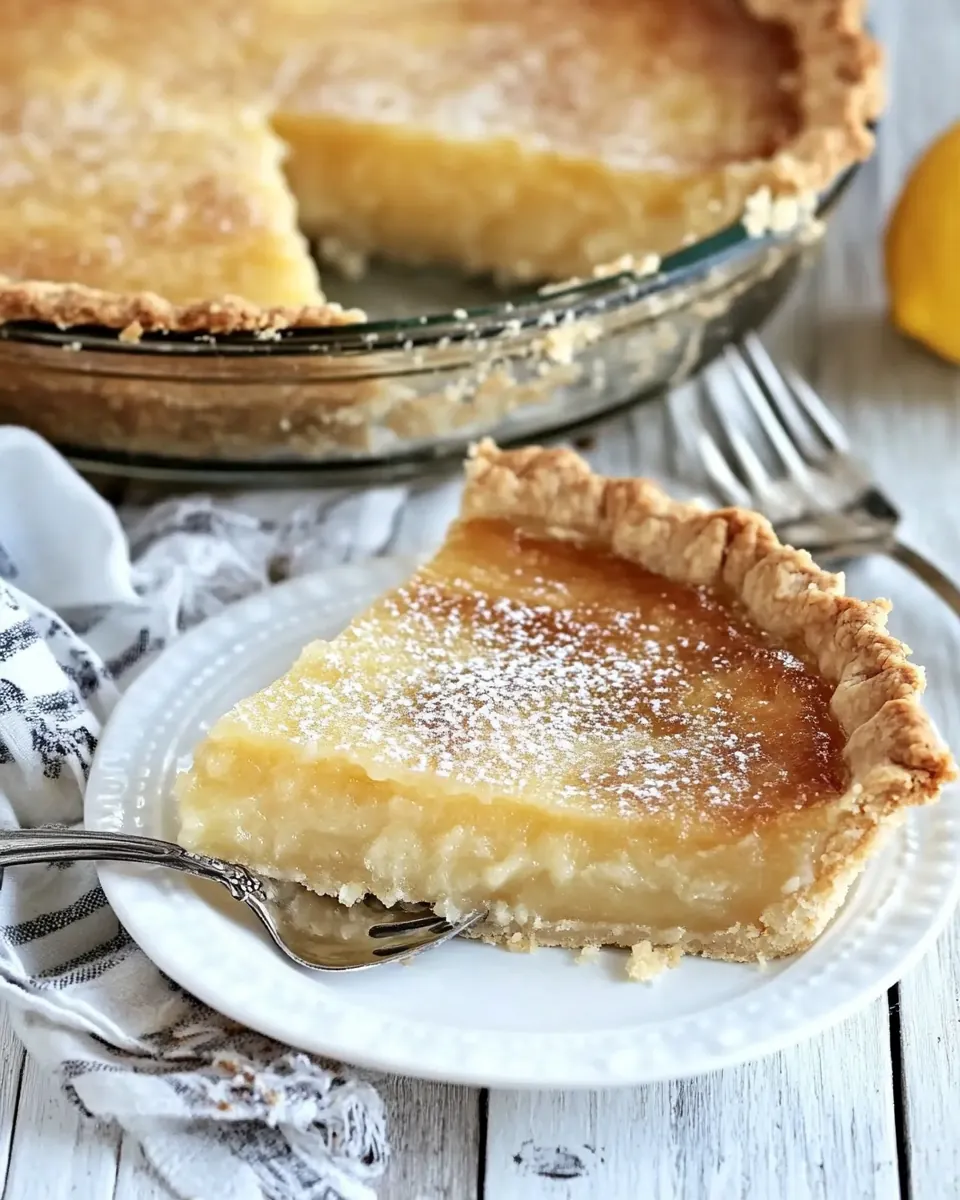
- Pour the mixture into the pie shell and bake in the oven with the rack set at the lowest setting. Bake for 35 – 45 minutes. The pie is done when you jiggle the sides of the pie plate and the middle is only a little jiggly and the top is browned.: As the pie bakes, the kitchen will fill with a warm, lemony scent and the top will take on a light golden color. The sides will set first, leaving the center slightly wobbly, which is the correct doneness for a custard like this. You can gently jiggle the pan to test; a bit of movement in the center is desirable because it will continue to set while cooling. Avoid overbaking, because a dry, cracked surface means the custard has been cooked too long. If the edges brown too quickly, tent the crust with foil to prevent burning while the center finishes.
Ways to Customize
If you want to tweak Old Fashioned Lemon Chess Pie, there are several subtle variations that keep the soul of the recipe intact while introducing small new pleasures. Below are practical ideas that emphasize technique and balance, so you still end up with the same homey dessert you love.
- Swap the crust thoughtfully Use a graham cracker crust if you want a sweeter, crumbly base, being mindful that the texture will be denser than a flaky refrigerated crust.
- Adjust lemon intensity Add an extra half teaspoon of zest for more aromatic lift, but keep juice amounts steady to avoid over thinning the custard.
- Texture tweak Replace fine cornmeal with slightly finer polenta for a smoother grain, testing a small batch first so you know the mouthfeel.
- Make ahead Bake the pie a day ahead and chill overnight, this allows flavors to meld and makes cleaner slices when serving.
- Crust edge finish Brush the crimped edges with a thin glaze of warmed apricot jam after baking for a glossy look, applying sparingly so it does not alter flavor balance.
Perfect Pairings for Old Fashioned Lemon Chess Pie
This pie pairs well with a range of simple accompaniments and occasions. Its bright, sweet custard makes it a lovely finish to spring lunches or a gentle close to festival meals. Below are ideas for serving styles, sides, and occasions that complement the pie’s texture and flavor.
- Serve with lightly whipped cream A dollop of unsweetened whipped cream softens the lemon tang while adding a cloudlike texture that contrasts the slightly grainy filling.
- Offer fresh berries Strawberries or raspberries add a juicy, tart counterpoint that harmonizes with the lemon without overpowering it.
- Casual gatherings This pie is ideal for potlucks and family dinners, because it travels well and can be served at room temperature.
- Seasonal occasions It shines in spring celebrations and brunch menus, where the citrus notes feel seasonal and bright.
- Storage tips Store covered in the refrigerator for up to four days, bringing to room temperature before serving so the texture softens and the flavors open up.
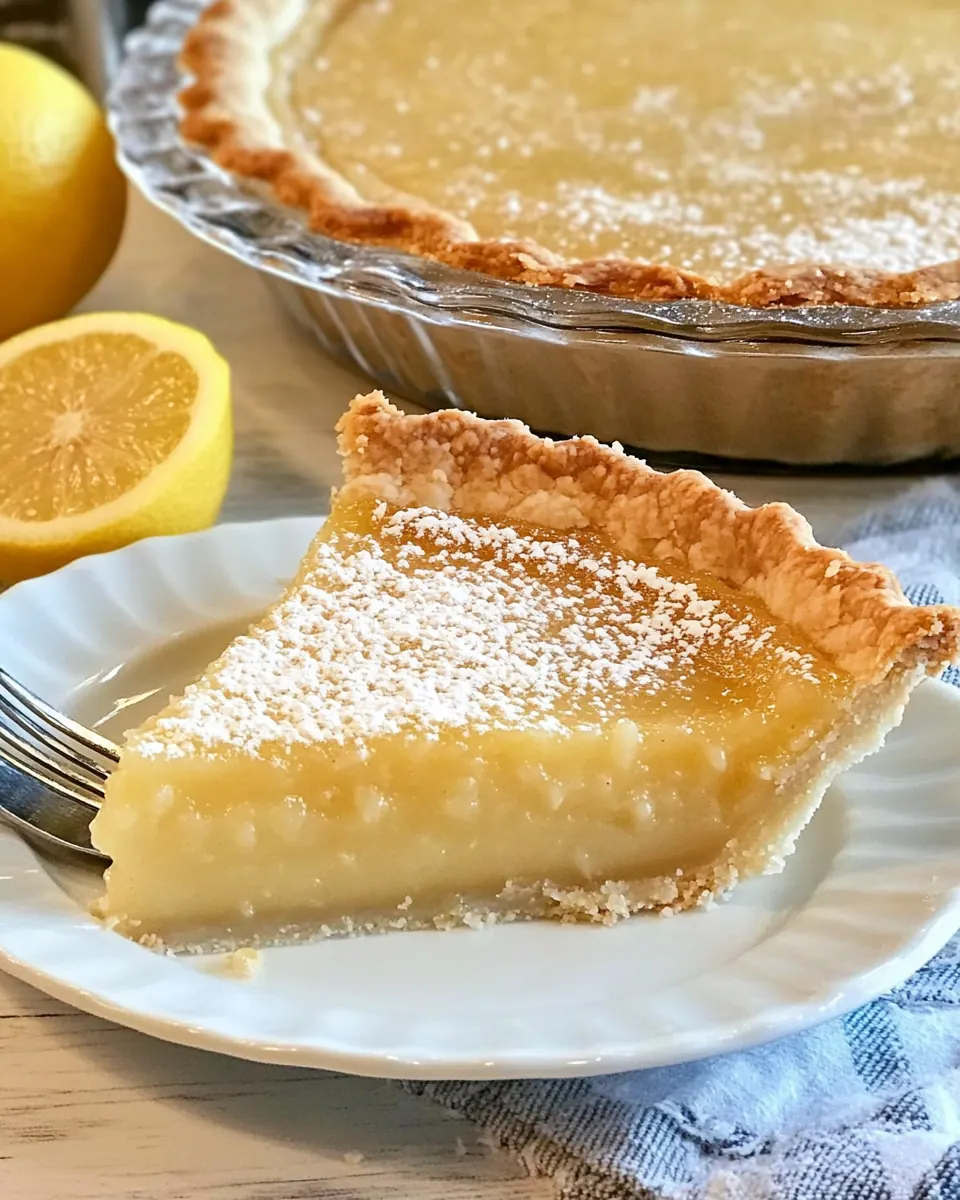
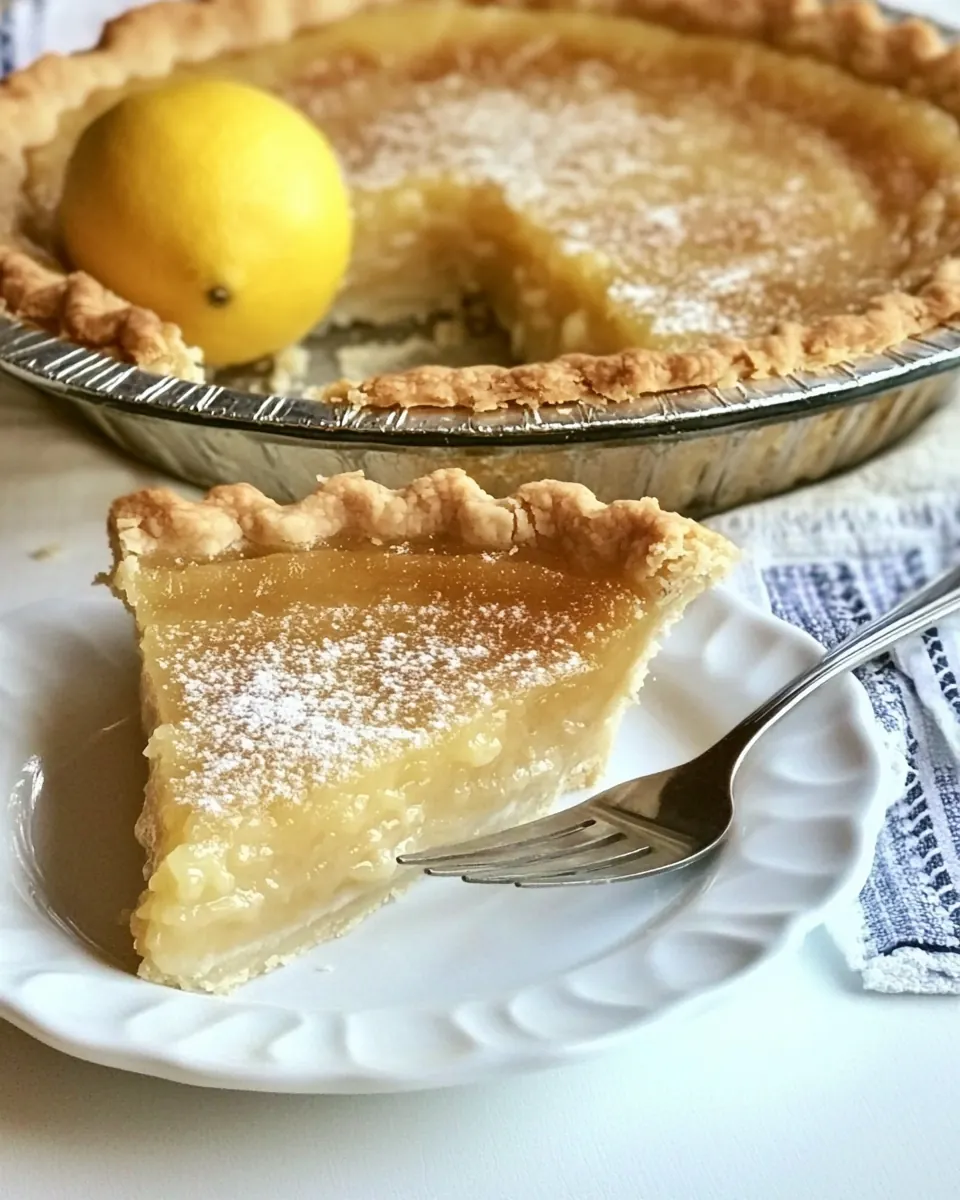
- Presentation Dust a light sprinkle of powdered sugar just before serving for a vintage look that highlights the golden top.
FAQ
Conclusion
Old Fashioned Lemon Chess Pie is special because it combines bright citrus with a custardy tenderness and a hint of cornmeal texture, creating a nostalgic dessert that still feels fresh. Try making it when you want something that travels well and pleases a variety of tastes, from children to grandparents. Take a moment to enjoy the lemon aroma as you bake, and trust the simple method to deliver a memorable, comforting pie that invites second helpings.
Old Fashioned Lemon Chess Pie
Equipment
- Oven
- 9-inch pie plate
- Medium Bowl
- Small Bowl
- Fine sieve
Ingredients
- 1 store bought pie crust I use the ones in the refrigerated section that are near the canned biscuits usually - Pillsbury brand. Provide a ready-to-bake foundation for the pie, offering a flaky, buttery base that contains the filling and crisps during baking. Use a refrigerated store-bought crust for convenience and consistent results, pressing it into a standard pie pan and crimping the edges. Blind-bake briefly if desired to prevent sogginess from the custard-like filling.
- 2 cups Sugar Sweeten the custard mixture and contribute to the classic dense, caramelized texture of a chess pie; sugar dissolves into the eggs and evaporated milk to create a smooth, glossy filling. Measure accurately for balance so the final pie isn’t overly sweet or grainy, and whisk well to ensure full dissolution.
- 3 Tbscornmeal Add a slight gritty thickening and traditional Southern texture as cornmeal helps absorb some moisture and gives subtle body to the filling. Use the specified amount to avoid a gritty mouthfeel while contributing to the pie’s structure and preventing runniness.
- 1 Tbsall purpose flour Act as a fine thickening agent to stabilize the custard and prevent weeping by binding liquids together for a smooth fill consistency. Incorporate evenly with dry ingredients to avoid lumps and create a silky texture when baked.
- 1/4 teaspoons alt Provide a hint of savory balance to round out the sweetness and enhance overall flavors by subtly suppressing cloying notes. Use a small, precise measure to maintain the intended flavor profile without making the pie taste salty.
- 4 large eggs - beaten well Incorporate air and help set the custard as eggs coagulate during baking, providing structure and a tender, custardy texture; beating well ensures even distribution. Combine thoroughly with sugars and liquids so the filling bakes evenly and attains the proper firmness.
- 1/4 cup unsalted sweet cream butter - melted and cooled Impart a rich, buttery flavor and aid in creating a smooth, glossy filling when melted and cooled before incorporation into the egg-sugar mixture. Use unsalted sweet cream butter to control sodium levels and pour in gradually while whisking for uniform emulsification.
- 1/4 cup evaporated milk Contribute creamy body and richness to the custard, helping to create the dense, silky mouthfeel characteristic of chess pie; evaporated milk concentrates dairy solids without adding extra water. Stir in with the eggs and butter to ensure a homogeneous custard base before baking.
- The zest of one lemon Add bright, aromatic citrus oils to the filling through finely grated zest, elevating the pie’s flavor with fresh lemon fragrance without extra liquid. Zest one lemon carefully to avoid the bitter pith and fold into the sugar mixture to release essential oils.
- The juice of 3 lemons about 1/4 cup juice Provide fresh, tart acidity to balance the sweetness and contribute a pronounced lemon flavor; the juice also slightly thins the custard for proper texture. Squeeze approximately three lemons for about one quarter cup, straining seeds, and whisk into the filling to taste.
Instructions
- Preheat the oven to 350 and move one of the racks to the lowest setting.: The warm, slightly dry heat at the lowest rack helps the bottom crust bake thoroughly while the filling sets from the top down, producing an even texture. You should notice the oven reaching an even temperature and the oven light showing a steady glow, which signals stability. If your oven runs hot, consider placing an oven thermometer inside, because uneven heat can cause the filling to crack. A common mistake is skipping the rack adjustment, which can leave the crust underbaked while the top browns too quickly.
- Line a 9 inch shallow pie plate with the refrigerated pie crust and crimp the edges.: Working with a chilled pie crust ensures the butter in the dough remains solid until baking, leading to flakier edges. Press the crust gently into the plate, trim excess, and crimp for a decorative finish. The crust should be cold to the touch; if it feels too soft, pop it in the fridge for ten minutes to firm up. Avoid overworking the dough, because handling it too much warms the butter and yields a tougher crust.
- In a medium bowl, whisk together the sugar, cornmeal, flour and salt until well mixed.: As you whisk the dry ingredients, you will smell the faint sweetness of the sugar and notice the grain of the cornmeal against the flour, which indicates even distribution. This step ensures even texture and prevents clumps in the final filling. If you skip thorough mixing, pockets of cornmeal or flour can create gritty spots. A common misstep is using coarse cornmeal, which yields an unexpectedly coarse texture.
- In a small bowl, beat the eggs, whisk in the melted and cooled butter, evaporated milk.: The beaten eggs should be smooth and slightly frothy, showing that air is incorporated for a lighter set. Adding the cooled butter and evaporated milk slowly helps maintain an even temperature, preventing the eggs from cooking. You will feel the mixture become silkier as it comes together. If you add hot ingredients, the eggs may scramble, so always ensure the butter has cooled. One trap is not whisking the eggs enough, which can lead to uneven texture later.
- Zest one lemon before cutting all three in half and squeezing the juice out into a separate bowl. Pour the juice through a fine sieve to remove any seeds and pulp.: When you zest the lemon , the room fills with bright citrus oils, a sign of freshness. Squeezing and straining the juice removes any bitter pith or seeds, leaving a clean liquid that blends smoothly into the custard. A fine sieve will catch stray pulp, giving a glossy finish to the filling. If seeds slip through, fish them out promptly; leaving them in can ruin the texture.
- Add the zest and the lemon juice to the egg mixture. Add all of the egg mixture including the lemon juice and zest into the medium sized bowl that contains the sugar mix. Mix well.: At this stage, the aroma becomes vibrant as the lemon zest melds with the beaten eggs , creating a fragrant custard base. Stirring the combined mixtures until they're uniform yields a smooth, slightly viscous batter. You should see a glossy sheen indicating proper integration. If the mixture looks separated or lumpy, whisk more thoroughly; lumps often mean the dry ingredients were not fully incorporated.
- Pour the mixture into the pie shell and bake in the oven with the rack set at the lowest setting. Bake for 35 - 45 minutes. The pie is done when you jiggle the sides of the pie plate and the middle is only a little jiggly and the top is browned.: As the pie bakes, the kitchen will fill with a warm, lemony scent and the top will take on a light golden color. The sides will set first, leaving the center slightly wobbly, which is the correct doneness for a custard like this. You can gently jiggle the pan to test; a bit of movement in the center is desirable because it will continue to set while cooling. Avoid overbaking, because a dry, cracked surface means the custard has been cooked too long. If the edges brown too quickly, tent the crust with foil to prevent burning while the center finishes.
Notes
- Swap the crust thoughtfully Use a graham cracker crust if you want a sweeter, crumbly base, being mindful that the texture will be denser than a flaky refrigerated crust.
- Adjust lemon intensity Add an extra half teaspoon of zest for more aromatic lift, but keep juice amounts steady to avoid over thinning the custard.
- Texture tweak Replace fine cornmeal with slightly finer polenta for a smoother grain, testing a small batch first so you know the mouthfeel.
- Make ahead Bake the pie a day ahead and chill overnight, this allows flavors to meld and makes cleaner slices when serving.
- Crust edge finish Brush the crimped edges with a thin glaze of warmed apricot jam after baking for a glossy look, applying sparingly so it does not alter flavor balance.