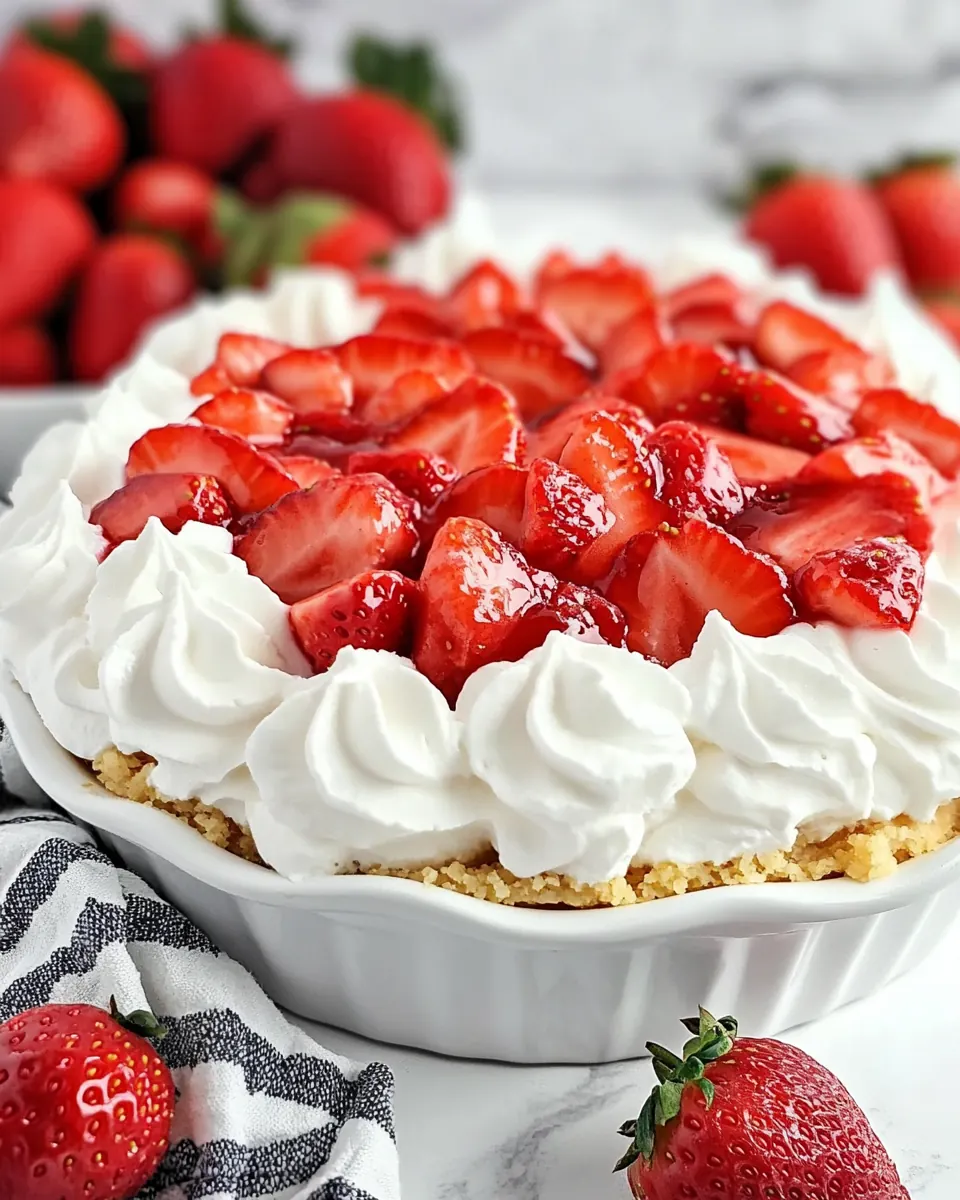
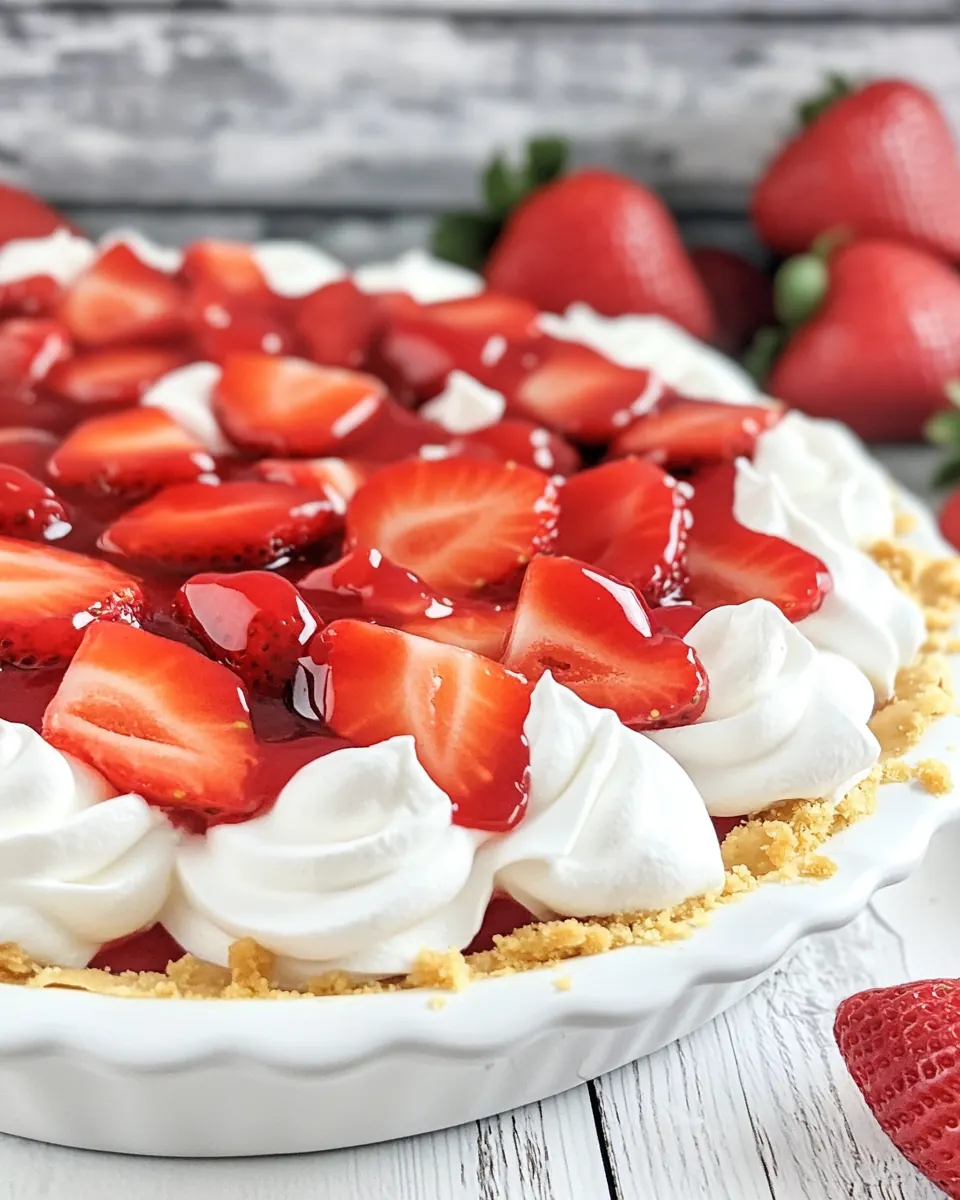
No Bake Strawberry Shortcake Pie
No Bake Strawberry Shortcake Pie has been one of my go to recipes for summer gatherings because it hits that sweet spot between nostalgic comfort and effortless entertaining.
I first made No Bake Strawberry Shortcake Pie on a sweltering afternoon when I wanted dessert without turning on the oven. I remember the relief of a cool kitchen, a quick whisk, and the sound of the refrigerator humming as the pie set. A friend arrived with a bottle of sparkling water and we settled into lawn chairs while I arranged the sliced strawberries on top. The fresh fruit scent mingled with the creamy pudding aroma and everyone kept asking for a second slice.
The simplicity of the recipe is what keeps me coming back to No Bake Strawberry Shortcake Pie. It’s flexible enough to bring to a potluck or to make for a quiet weeknight treat, and it looks beautiful without much fuss. I love how the crunchy Golden Oreo Crust or a graham cracker crust adds texture, while the pudding filling stays silky and light. Even when I’m short on time, this pie feels like a celebration.
Recipe Snapshot
20 mins
20 mins
Easy
250 kcal
American
Gluten-Free, Low FODMAP
Desserts
Large bowl, Whisk, Pie dish, Refrigerator
Why This No Bake Strawberry Shortcake Pie Hits Different
Classic summer flavor without the heat
I adore how No Bake Strawberry Shortcake Pie delivers bright, ripe strawberry flavor without heating up the kitchen. The chilled pudding filling creates a cool contrast to the room temperature berries, which keeps this pie perfectly refreshing on warm days.
Fast and forgiving
I can usually pull this together in under an hour of mostly hands off time, and the recipe forgives small mistakes. If the pudding seems a touch soft, extra chill time fixes it. That ease makes it my go to when guests pop over unannounced.
Great texture contrast
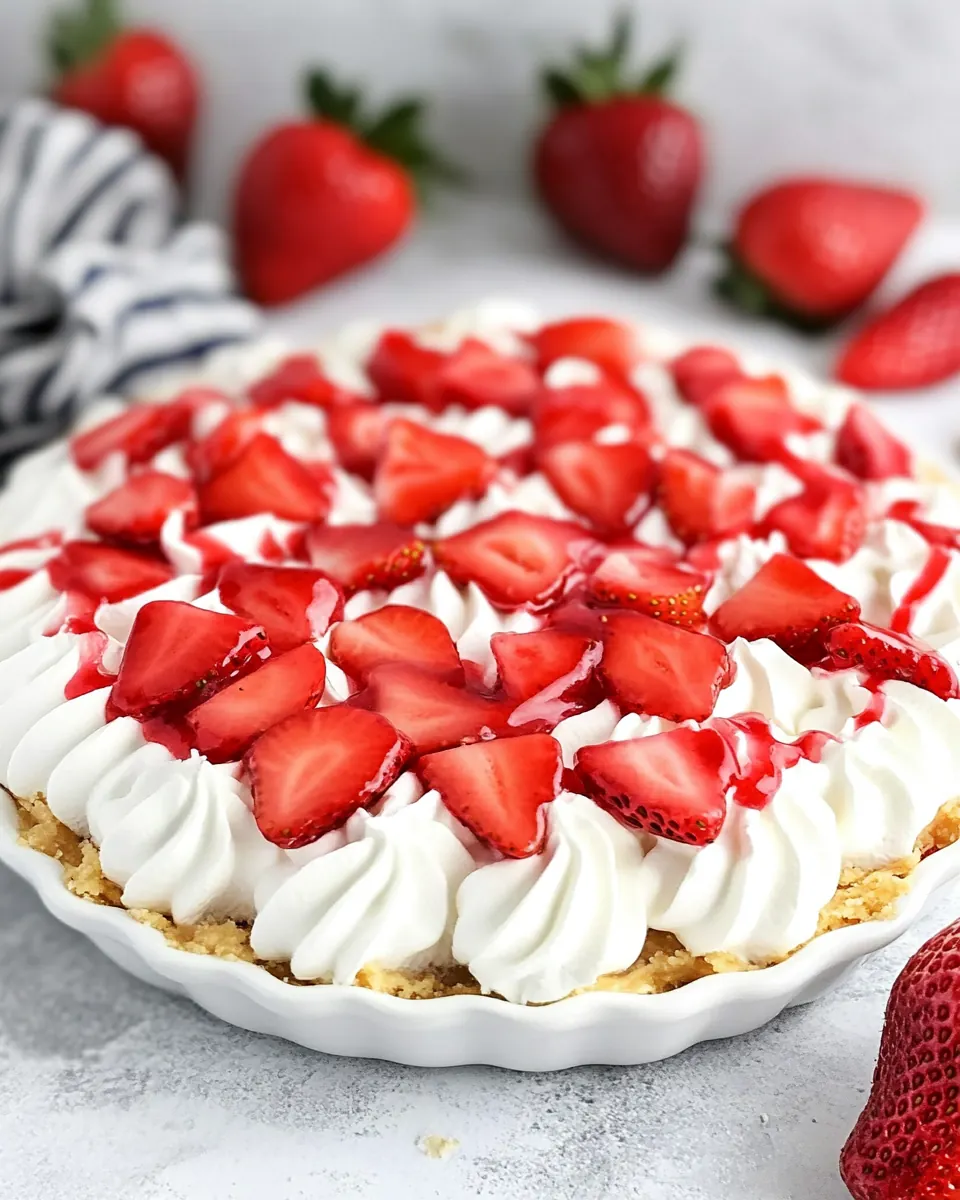
The crunchy crust, creamy pudding, and juicy strawberries give distinct textures in every bite. I love that interplay, it makes each forkful interesting and satisfying, especially when friends comment on the crust’s slight saltiness next to the sweet filling.
Make ahead friendly
I often prepare the pudding pie up to a day ahead, which takes the stress out of entertaining. The only caveat is to wait to add the strawberries and whipped topping until just before serving, so the berries stay vibrant and the topping stays airy.
Kid approved and crowd pleasing
I’ve watched picky eaters and kids light up over this pie. The presentation is simple yet inviting, and because it tastes like a biscuit layered with cream and fruit, it crosses generational tastes easily.
What You Need for No Bake Strawberry Shortcake Pie
These ingredients are chosen to create a balance of texture and flavor. The crust provides a crunchy foundation, the pudding mix yields a smooth, creamy center, the milk hydrates and sets the filling, fresh strawberries add brightness and acidity, and the whipped topping gives a light, cloud like finish. Together they form a dessert that is both nostalgic and refreshingly modern.
- 1 Golden Oreo Crust or store-bought Graham Cracker Crust: Provides a crunchy, sweet base that holds the pie together and contrasts with creamy fillings; pre-made options save time and ensure consistent texture. Can be pressed into a pie pan and chilled to firm up before filling, offering convenience for no-bake preparations.
- 13.4 ounces box INSTANT vanilla or cheesecake pudding mix: Creates a smooth, thickened filling with vanilla or cheesecake flavor when combined with milk; instant powder sets quickly without cooking for easy assembly. Adds sweetness and structure to bind the filling components and deliver a dessert-like custard consistency.
- 1 3/4 cups nonfat milk: Adds liquid to hydrate the instant pudding mix and achieve the proper creamy texture while keeping calories lower than whole milk; stir until smooth and let set for the recommended time. Choice of nonfat milk slightly thins richness but still allows the pudding to firm and support the strawberries and topping.
- 1 pound fresh strawberries hulled and sliced: Contributes fresh, bright flavor and natural sweetness while providing a tender, juicy layer that complements the creamy filling; slicing increases surface area for even distribution. Can be arranged on top or folded into the filling to add color, texture, and refreshing tartness to each bite.
- whipped cream or whipped topping or canned whipped cream: Offers a light, airy finish and decorative topping that balances the denser filling and crust; available as real whipped cream, tub topping, or canned for convenience. Whips or dispenses easily to cover the pie and can be sweetened or stabilized if desired for presentation and texture.
Recipe Directions for No Bake Strawberry Shortcake Pie
I like to keep the directions conversational and approachable, as if I am guiding a friend through the process. Follow each step and pay attention to the sensory cues I describe to get the best texture and flavor. A little patience during chilling makes a big difference in the final slice.
- Prepare crust as directed.: The smell of a warmed crust, if you choose to prebake a homemade one, will be toasty and inviting, but since this recipe accepts store bought crusts, the main sensory clue is the firm, slightly sweet texture when you press it gently. This step matters because a stable base prevents the filling from collapsing or seeping through. A common mistake is pressing the crust too thin which can cause it to crumble when you slice the pie, so press evenly and check for uniform thickness.
- Whisk pudding mix and milk in a large bowl. Let sit for 1 minute, then pour into pie crust. Chill until set, at least one hour.: You will notice the dry powder turning into a glossy liquid, and the sound will be a steady, soft swoosh as the whisk moves. Whisking well ensures a lump free, velvety filling that sets evenly. This technique matters because inadequate mixing leaves pockets of dry mix that never hydrate, creating a grainy texture. If you spot any lumps, keep whisking and scrape the sides of the bowl to fully incorporate the powder.
- Before serving, top with sliced strawberries and whipped cream. You can make the pudding pie up to 24 hours ahead of time but don’t top it with the berries and whipped cream until ready to serve.: After resting briefly, the mixture will begin to thicken and you may see it cling slightly to the whisk, a good visual cue that it is starting to set. Pouring slowly helps avoid air pockets and ensures a smooth top. This pause is essential because it gives the pudding a chance to activate stabilizers for a firmer set. Avoid jostling the pie while it chills, as movement can create ripples or uneven setting.
- Chill until set, at least one hour.: As the pie chills, the filling will go from pourable to sliceable, and you will feel the bowl cool against your fingers. Proper chilling allows the proteins and thickeners in the pudding to lock into a creamy matrix, which is why this wait matters. A frequent error is not chilling long enough, resulting in a runny center, so plan ahead and allow the full hour or longer for the best texture.
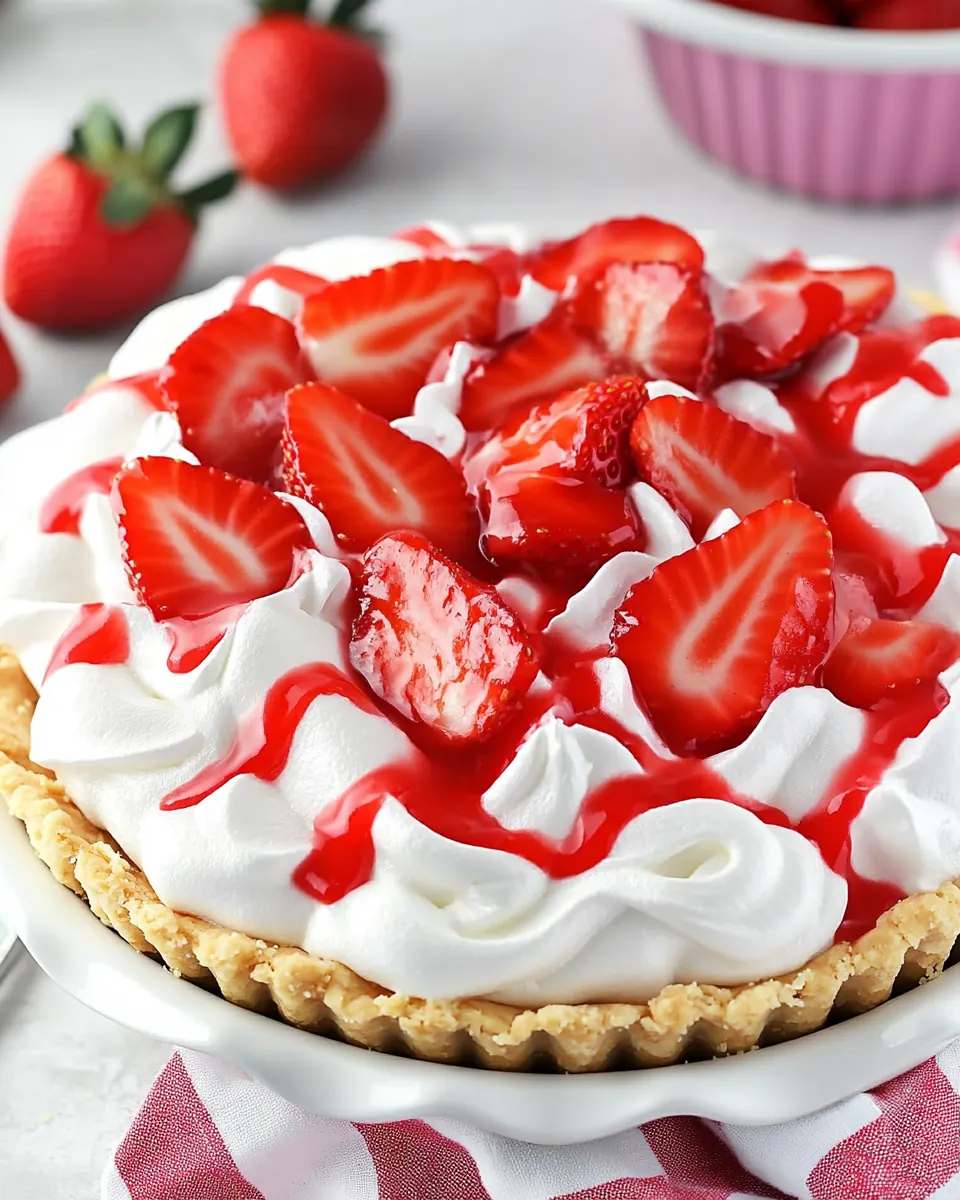
- Before serving, top with sliced strawberries and whipped cream.: The final sensory flourish is the bright aroma of the fresh strawberries and the light, airy texture of the whipped cream contrasting with the smooth filling. This finishing touch elevates the pie visually and flavor wise by adding freshness and a bit of acidity. Adding the toppings too early can make them weep and lose structure, so wait until right before serving for optimal presentation and texture.
- You can make the pudding pie up to 24 hours ahead of time but don’t top it with the berries and whipped cream until ready to serve.: When you refrigerate an untopped pie, it remains clean and firm, and you avoid the strawberries releasing moisture into the filling. This planning tip is useful because it separates the make ahead convenience from the final fresh assembly, preserving both appearance and taste. A common oversight is storing the pie unwrapped, which can absorb fridge odors, so cover it lightly to protect the flavors while it sets further.
Customization Ideas
These suggestions help you tailor No Bake Strawberry Shortcake Pie to your mood or pantry. Small swaps can transform the dessert from nostalgic to modern or from simple to show stopping. Each tip starts with a clear idea followed by an explanation so you can choose what fits your occasion.
- Change the crust to a Graham cracker crust for a toastier base that highlights the strawberries without extra sweetness.
- Use cheesecake pudding mix if you prefer a tangier, denser filling that echoes classic shortcake flavors.
- Opt for canned whipped topping when you need a stable finish that holds up for longer events or if you are prepping well ahead.
- Layer sliced strawberries between the pudding and topping for more fruit in every bite and a more dramatic cross section when sliced.
- Serve chilled slices on chilled plates to keep the pie cool longer when entertaining outdoors in warm weather.
Best Served With
No Bake Strawberry Shortcake Pie shines when paired with light accompaniments and served on casual occasions. It works beautifully at summer picnics, backyard barbecues, afternoon tea, or as a sweet finish to a Ramadan iftar meal. Below are serving ideas, storage tips, and occasion matches to help you present this pie with confidence.
- Serve with iced tea for a simple summer pairing that complements the pie’s sweet and fruity notes.
- Bring to a potluck because it travels well when the toppings are added at the destination just before serving.
- Garnish with mint for a fragrant pop, placing small sprigs beside each slice for an elevated look.
- Store covered in the refrigerator for up to 24 hours, but add the strawberries and whipped topping only when you are ready to serve.
- Serve for brunch as a light, sweet option alongside fruit and coffee.
FAQ
Conclusion
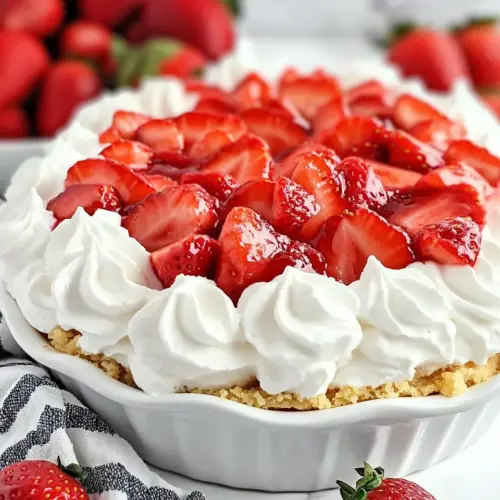
This No Bake Strawberry Shortcake Pie stands out for its effortless assembly, creamy pudding filling, crunchy crust, and bright fresh strawberries. It is an ideal dessert for warm weather when you want something impressive with minimal fuss. Give it a try the next time you need a quick, make ahead dessert and remember to add the berries and whipped topping right before serving for the best texture and presentation. I think you will find it becomes a repeat favorite for gatherings and simple celebrations.
No Bake Strawberry Shortcake Pie
Equipment
- Large Bowl
- Whisk
- Pie Dish
- Refrigerator
Ingredients
- 1 Golden Oreo Crust or store-bought Graham Cracker Crust Provides a crunchy, sweet base that holds the pie together and contrasts with creamy fillings; pre-made options save time and ensure consistent texture. Can be pressed into a pie pan and chilled to firm up before filling, offering convenience for no-bake preparations.
- 13.4 ounces box INSTANT vanilla or cheesecake pudding mix Creates a smooth, thickened filling with vanilla or cheesecake flavor when combined with milk; instant powder sets quickly without cooking for easy assembly. Adds sweetness and structure to bind the filling components and deliver a dessert-like custard consistency.
- 1 3/4 cups nonfat milk Adds liquid to hydrate the instant pudding mix and achieve the proper creamy texture while keeping calories lower than whole milk; stir until smooth and let set for the recommended time. Choice of nonfat milk slightly thins richness but still allows the pudding to firm and support the strawberries and topping.
- 1 pound fresh strawberries hulled and sliced Contributes fresh, bright flavor and natural sweetness while providing a tender, juicy layer that complements the creamy filling; slicing increases surface area for even distribution. Can be arranged on top or folded into the filling to add color, texture, and refreshing tartness to each bite.
- whipped cream or whipped topping or canned whipped cream Offers a light, airy finish and decorative topping that balances the denser filling and crust; available as real whipped cream, tub topping, or canned for convenience. Whips or dispenses easily to cover the pie and can be sweetened or stabilized if desired for presentation and texture.
Instructions
- Prepare crust as directed.: The smell of a warmed crust, if you choose to prebake a homemade one, will be toasty and inviting, but since this recipe accepts store bought crusts, the main sensory clue is the firm, slightly sweet texture when you press it gently. This step matters because a stable base prevents the filling from collapsing or seeping through. A common mistake is pressing the crust too thin which can cause it to crumble when you slice the pie, so press evenly and check for uniform thickness.
- Whisk pudding mix and milk in a large bowl. Let sit for 1 minute, then pour into pie crust. Chill until set, at least one hour.: You will notice the dry powder turning into a glossy liquid, and the sound will be a steady, soft swoosh as the whisk moves. Whisking well ensures a lump free, velvety filling that sets evenly. This technique matters because inadequate mixing leaves pockets of dry mix that never hydrate, creating a grainy texture. If you spot any lumps, keep whisking and scrape the sides of the bowl to fully incorporate the powder.
- Before serving, top with sliced strawberries and whipped cream. You can make the pudding pie up to 24 hours ahead of time but don’t top it with the berries and whipped cream until ready to serve.: After resting briefly, the mixture will begin to thicken and you may see it cling slightly to the whisk, a good visual cue that it is starting to set. Pouring slowly helps avoid air pockets and ensures a smooth top. This pause is essential because it gives the pudding a chance to activate stabilizers for a firmer set. Avoid jostling the pie while it chills, as movement can create ripples or uneven setting.
- Chill until set, at least one hour.: As the pie chills, the filling will go from pourable to sliceable, and you will feel the bowl cool against your fingers. Proper chilling allows the proteins and thickeners in the pudding to lock into a creamy matrix, which is why this wait matters. A frequent error is not chilling long enough, resulting in a runny center, so plan ahead and allow the full hour or longer for the best texture.
- Before serving, top with sliced strawberries and whipped cream.: The final sensory flourish is the bright aroma of the fresh strawberries and the light, airy texture of the whipped cream contrasting with the smooth filling. This finishing touch elevates the pie visually and flavor wise by adding freshness and a bit of acidity. Adding the toppings too early can make them weep and lose structure, so wait until right before serving for optimal presentation and texture.
- You can make the pudding pie up to 24 hours ahead of time but don’t top it with the berries and whipped cream until ready to serve.: When you refrigerate an untopped pie, it remains clean and firm, and you avoid the strawberries releasing moisture into the filling. This planning tip is useful because it separates the make ahead convenience from the final fresh assembly, preserving both appearance and taste. A common oversight is storing the pie unwrapped, which can absorb fridge odors, so cover it lightly to protect the flavors while it sets further.
Notes
- Change the crust to a Graham cracker crust for a toastier base that highlights the strawberries without extra sweetness.
- Use cheesecake pudding mix if you prefer a tangier, denser filling that echoes classic shortcake flavors.
- Opt for canned whipped topping when you need a stable finish that holds up for longer events or if you are prepping well ahead.
- Layer sliced strawberries between the pudding and topping for more fruit in every bite and a more dramatic cross section when sliced.
- Serve chilled slices on chilled plates to keep the pie cool longer when entertaining outdoors in warm weather.