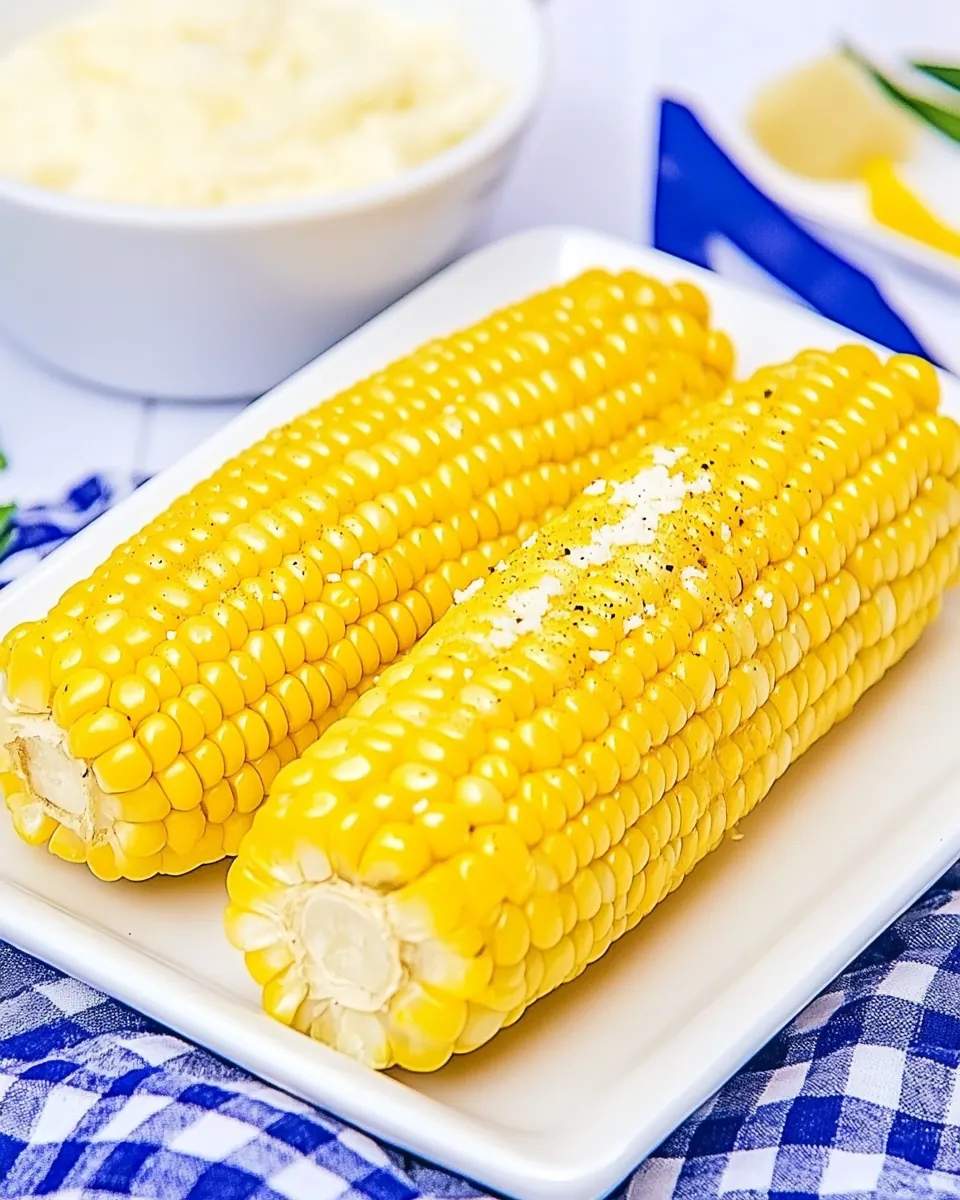
Microwave Corn on the Cob
Microwave Corn on the Cob is the little trick I reach for when I want sweet, steamy corn with almost no fuss and a lot of comfort. The first time I tried this method I was short on time but craving that summer street fair flavor, and after a few spins in the microwave I had tender kernels that still snapped when I bit into them. From that day forward I kept it in my back pocket for last minute barbecues and weeknight meals when I wanted something bright, simple, and reliably good.
I remember the tactile part most, the slick feel of the damp paper towel, the faint steam whispering out as I unwrapped each ear, and the burst of sweetness when a warm kernel met my tongue. There is something quietly satisfying about turning a humble corn ear into an instant side with nothing more than a plate and a microwave. I like how easy it is to scale, which makes it perfect when friends drop by unexpectedly, or when I want a tiny, perfect side to finish a salad or a sandwich.
Recipe Snapshot
10 mins
5 mins
5 mins
Easy
150 kcal
American
Vegan, Gluten-Free
Side Dishes
Microwave, Dinner plate, Paper towels
Why This Microwave Corn on the Cob Stands Out
Speed without sacrifice
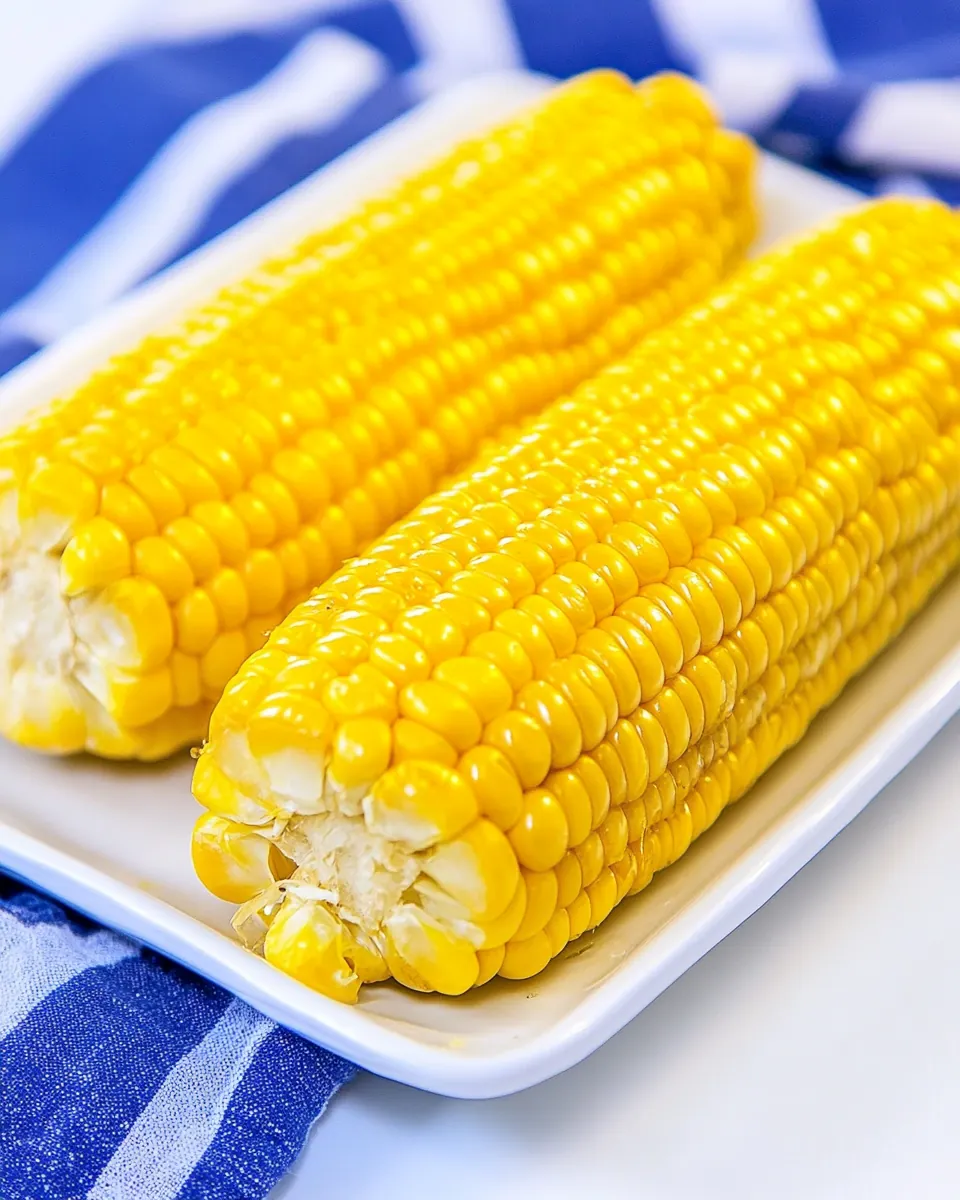
I love that Microwave Corn on the Cob gives you near-instant results, and I mean this sincerely. When you’re juggling a few dishes, the microwave method saves you time and still delivers tender, juicy corn that tastes like it was cooked with more ceremony. The quick steam preserves the natural sugars, so you get bright, sweet kernels without babysitting a pot of boiling water.
Minimal gear, maximum results
One reason I keep coming back to this is practicality. You only need simple tools, and the technique works in tiny apartments, campers, or when the grill is already occupied. That low barrier makes it a go to for busy evenings and weeknight dinners.
Consistent texture
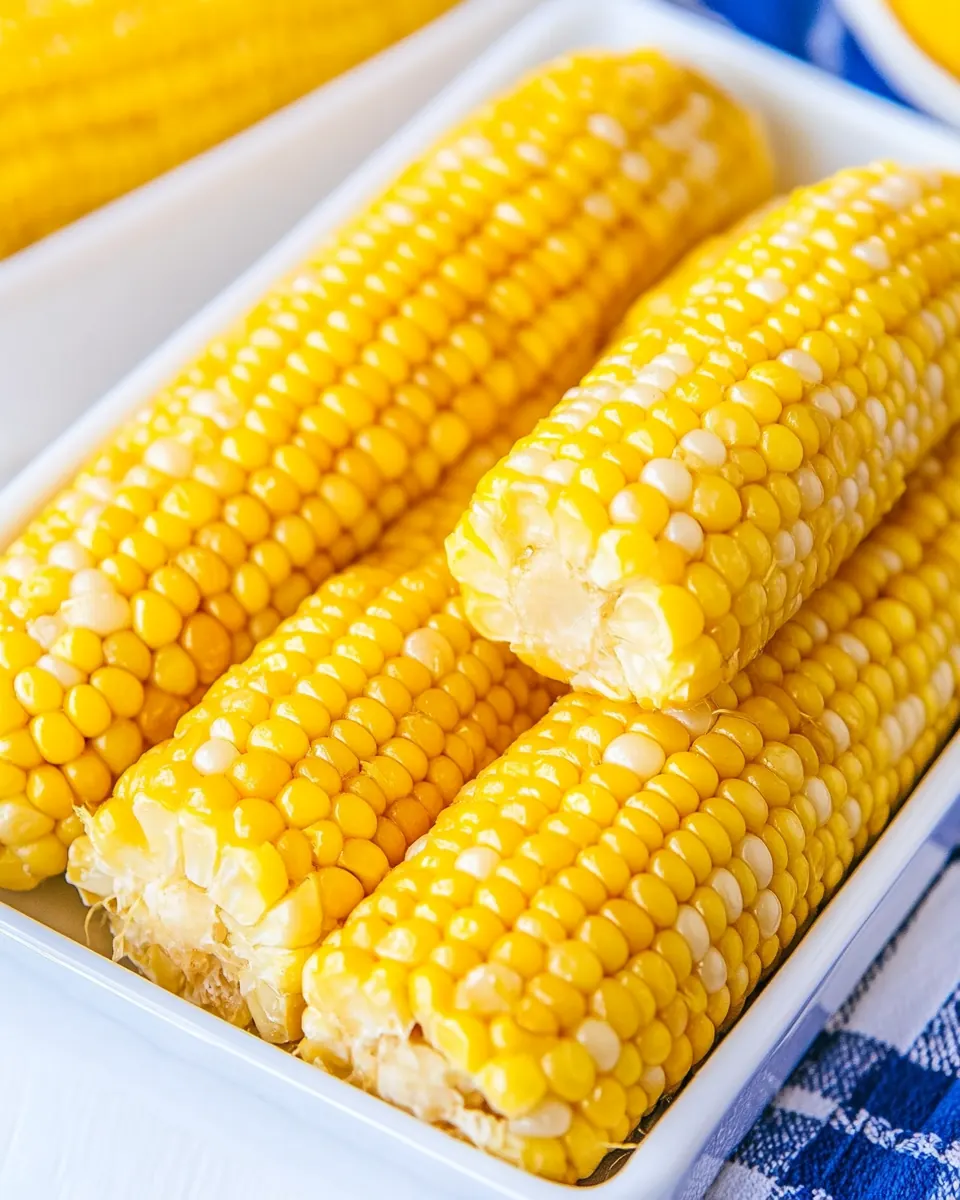
I appreciate how reliable the texture is. The steam traps moisture inside the husk or the paper towel wrap, producing corn that is uniformly tender from end to end. When I serve it to guests, I don’t worry about chewy tips or uneven doneness, which is a relief when you want every bite to be enjoyable.
Kid friendly and approachable
Kids love handling an ear of corn, and parents love the minimal mess. This method keeps things tidy, because there is no splashing pot or boiling water to worry about. I find it an easy way to get picky eaters excited about a real vegetable on the plate.
Flexible finishing options
Finally, Microwave Corn on the Cob is a blank canvas. You can keep it simple with a pat of butter and a sprinkle of salt, or dress it up with herbs, citrus, or spices. The gentle steam locks in flavor, so any finishing touch you choose melds beautifully with the natural sweetness of the corn.
Ingredient List for Microwave Corn on the Cob
These ingredients are intentionally simple, because the star of the show is the corn. The philosophy is to do very little and let the natural sweetness and texture shine. With one primary ingredient, the key players are the ears themselves and the gentle steam created by the damp paper towels, which acts like a quick mini-steamer to cook the kernels evenly.
- 4 corn cobs: Shucked and ready for cooking, provides the sweet, juicy kernels that form the centerpiece of the dish and supply natural sugars and texture; use fresh or thawed cobs for best flavor. Retains moisture during microwave cooking so kernels steam in their own juices, resulting in tender, crisp bites without added fat. Can be served whole or cut from the cob after cooking, and pairs well with butter, salt, or herbs for finishing.
Step by Step Instructions for Microwave Corn on the Cob
This is a hands on, sensory method that moves quickly, so have your plate and damp paper towels ready. The following steps expand on each action so you can sense when the corn is perfectly cooked and avoid common missteps that lead to soggy or undercooked kernels.
- Shuck your corn. Once that's done, wet 4 paper towels, wring out, and wrap around each ear of corn. Place on a microwave-safe dinner plate.: You will notice the smell of fresh, green husk and a faint grassy aroma as you peel away the outer layers, sometimes small silk threads stick to the kernels, which is normal and can be rinsed off. Shucking exposes the kernels so they steam evenly, and failing to remove all the husk can trap uneven heat. Common mistake to avoid, don't tug too hard and split kernels; be gentle when removing the husk and trim excess silk with a soft brush or your fingers if needed.
- Cook in the microwave for 3-6 minutes based on the amount of corn you are heating up. 1-2 ears of corn: cook for 3-4 minutes 4 ears of corn: cook for 5-6 minutes: The damp towels should feel moist but not dripping, and when wrapped they create a steam pocket that cooks the kernels. You will hear a faint hiss when you unwrap the hot towel, which signals successful steaming. Overly wet towels can drip and make the plate soggy, so wring them firmly until only an even dampness remains.
- Wrap each ear of corn: As you wrap, press the towel snugly so it contacts the kernels, this improves heat transfer and produces uniform tenderness. The ear will feel slightly cool at first, then gradually warm through after cooking. Avoid wrapping too loosely, since air gaps can cause uneven cooking and cold spots near the tip.
- Place on a microwave safe dinner plate: Use a plate that is microwave safe, the surface should be flat so heat distributes evenly across the wrapped ears. You'll notice the plate warm quickly, and a slight wobble indicates the meal is ready to be moved carefully. Do not use metal or decorative plates with metallic trim, which can spark and damage the microwave.
- Cook for 3 to 6 minutes: The microwave will create steam and the corn will release a sweet scent as it cooks, and you may hear a gentle popping as kernels expand. This step preserves the natural sugars and results in tender kernels, but cook time varies with quantity and microwave wattage. Common mistake to avoid, do not overcook, which makes kernels mushy and mealy; check at the shorter time and add increments if needed.
- Timing guidelines for quantity: For 1 to 2 ears cook for 3 to 4 minutes, and for 4 ears cook for 5 to 6 minutes, these windows help you hit tenderness without loss of texture. You should expect a warm, plump feel when you squeeze gently through the towel, and the aroma will be noticeably sweeter as the sugars concentrate. Mistakes happen when you assume all microwaves are the same; test and note your appliance's tendencies for consistent results.
Making Adjustments
This short intro explains how small changes can tailor the result, whether you need to scale for more people or adapt to a low power microwave. Below I expand into practical tips so you can fine tune cooking times, finishing flavors, and serving ideas while keeping things realistic and reliable.
- Adjust timing to your microwave, test with one ear first and note the exact time your appliance needs to reach tender kernels so you can replicate results later.
- Scale with care, when cooking more ears place them in a single layer and add one to two extra minutes for 4 ears, checking at the shorter end to prevent over steaming.
- Dry versus damp towel, if your towel is too wet it can drip and cool the plate, while too dry a towel will not generate enough steam, so aim for an evenly damp cloth.
- Rest briefly before unwrapping, letting the ears sit wrapped for about one minute allows residual steam to complete the cooking and keeps juices locked in.
- Test doneness safely, use a folded towel or tongs to handle the hot ear, and pierce a kernel gently to check for tenderness without burning your fingers.
Side Dish Ideas for Microwave Corn on the Cob
Microwave Corn on the Cob pairs beautifully with simple proteins and fresh salads, and it is versatile across casual meals and special occasions. Think about contrasting textures and temperatures when planning a meal, so the warm, juicy corn complements crisp or creamy sides. Below are detailed serving ideas, occasions, and storage notes to help you serve it with confidence.
- Casual summer dinner, serve hot ears right from the microwave alongside grilled vegetables or a tossed green salad for a relaxed, no fuss meal that highlights seasonal produce and quick preparation.
- Barbecue side, place corn on the table with butter and salt so guests can dress each ear to taste, which keeps the event communal and low stress.
- Weeknight family meals, pair with sandwiches or bowls for a fast weeknight addition that requires minimal cleanup and is kid friendly.
- Picnic or potluck, keep wrapped ears warm in an insulated container for a short time, they hold heat well and make a portable, mess friendly option.
- Storage tips, cool cooked ears quickly, then refrigerate in an airtight container for up to two days and rewarm in the microwave using a damp towel to restore moisture.
- Seasonal pairings, highlight summer salads with tomatoes and basil, or serve with light citrus dressings to accentuate the corn‘s sweetness during peak season.
FAQ
Conclusion
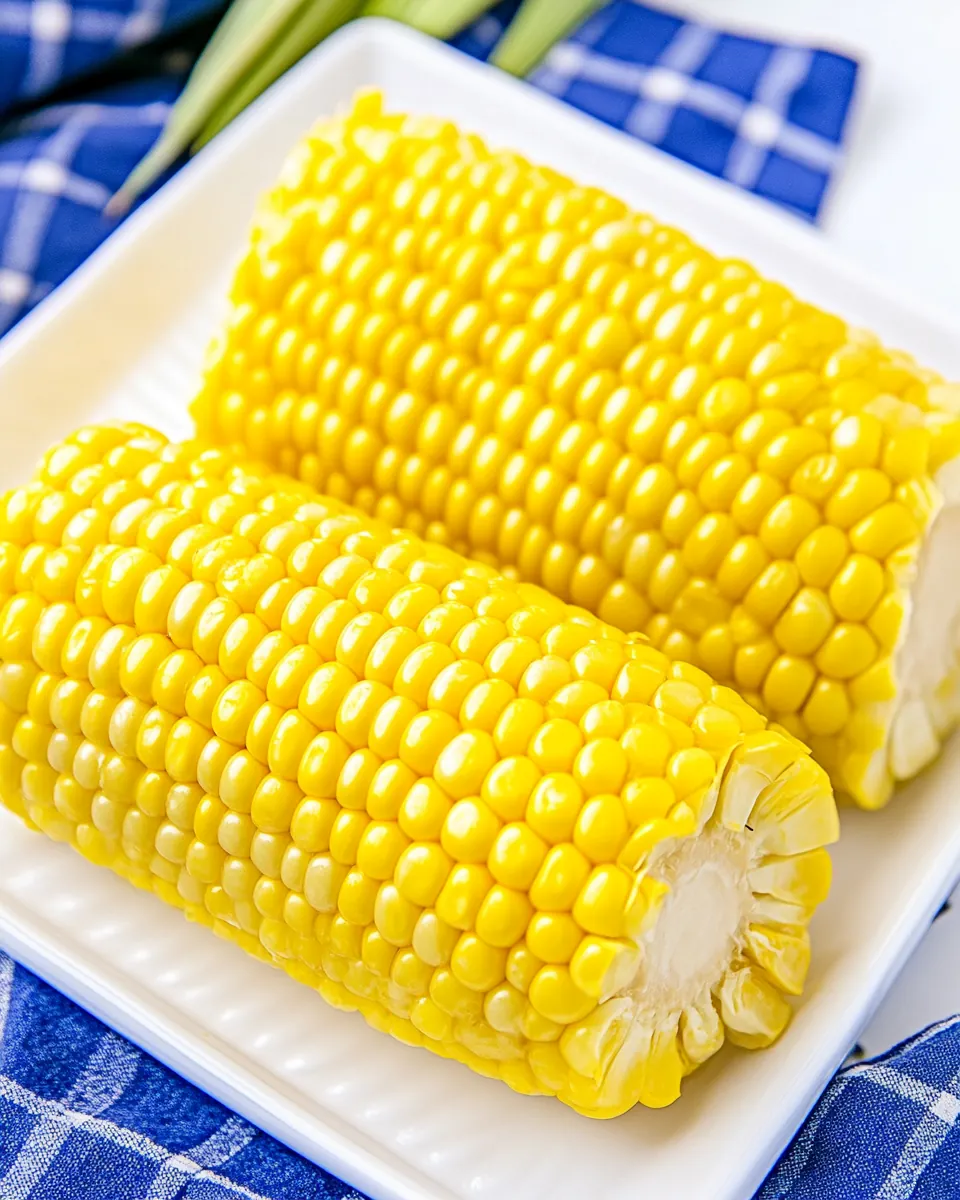
Microwave Corn on the Cob stands out for its speed, simplicity, and reliably sweet results. It brings tender, juicy kernels to the table with minimal fuss, which makes it perfect for busy weeknights, casual gatherings, or a quick seasonal side. Try this method the next time you want a no nonsense way to enjoy fresh corn, and tweak the timing based on your microwave to make it your own. Once you get the rhythm of wrapping, timing, and resting, this technique becomes a dependable staple in your cooking repertoire, delivering warm, comforting flavor with very little effort.
Microwave Corn on the Cob
Equipment
- Microwave
- Dinner plate
- Paper towels
Ingredients
- 4 corn cobs Shucked and ready for cooking, provides the sweet, juicy kernels that form the centerpiece of the dish and supply natural sugars and texture; use fresh or thawed cobs for best flavor. Retains moisture during microwave cooking so kernels steam in their own juices, resulting in tender, crisp bites without added fat. Can be served whole or cut from the cob after cooking, and pairs well with butter, salt, or herbs for finishing.
Instructions
- Shuck your corn. Once that's done, wet 4 paper towels, wring out, and wrap around each ear of corn. Place on a microwave-safe dinner plate.: You will notice the smell of fresh, green husk and a faint grassy aroma as you peel away the outer layers, sometimes small silk threads stick to the kernels, which is normal and can be rinsed off. Shucking exposes the kernels so they steam evenly, and failing to remove all the husk can trap uneven heat. Common mistake to avoid, don't tug too hard and split kernels; be gentle when removing the husk and trim excess silk with a soft brush or your fingers if needed.
- Cook in the microwave for 3-6 minutes based on the amount of corn you are heating up. 1-2 ears of corn: cook for 3-4 minutes 4 ears of corn: cook for 5-6 minutes: The damp towels should feel moist but not dripping, and when wrapped they create a steam pocket that cooks the kernels. You will hear a faint hiss when you unwrap the hot towel, which signals successful steaming. Overly wet towels can drip and make the plate soggy, so wring them firmly until only an even dampness remains.
- Wrap each ear of corn: As you wrap, press the towel snugly so it contacts the kernels, this improves heat transfer and produces uniform tenderness. The ear will feel slightly cool at first, then gradually warm through after cooking. Avoid wrapping too loosely, since air gaps can cause uneven cooking and cold spots near the tip.
- Place on a microwave safe dinner plate: Use a plate that is microwave safe, the surface should be flat so heat distributes evenly across the wrapped ears. You'll notice the plate warm quickly, and a slight wobble indicates the meal is ready to be moved carefully. Do not use metal or decorative plates with metallic trim, which can spark and damage the microwave.
- Cook for 3 to 6 minutes: The microwave will create steam and the corn will release a sweet scent as it cooks, and you may hear a gentle popping as kernels expand. This step preserves the natural sugars and results in tender kernels, but cook time varies with quantity and microwave wattage. Common mistake to avoid, do not overcook, which makes kernels mushy and mealy; check at the shorter time and add increments if needed.
- Timing guidelines for quantity: For 1 to 2 ears cook for 3 to 4 minutes, and for 4 ears cook for 5 to 6 minutes, these windows help you hit tenderness without loss of texture. You should expect a warm, plump feel when you squeeze gently through the towel, and the aroma will be noticeably sweeter as the sugars concentrate. Mistakes happen when you assume all microwaves are the same; test and note your appliance's tendencies for consistent results.
Notes
- Adjust timing to your microwave, test with one ear first and note the exact time your appliance needs to reach tender kernels so you can replicate results later.
- Scale with care, when cooking more ears place them in a single layer and add one to two extra minutes for 4 ears, checking at the shorter end to prevent over steaming.
- Dry versus damp towel, if your towel is too wet it can drip and cool the plate, while too dry a towel will not generate enough steam, so aim for an evenly damp cloth.
- Rest briefly before unwrapping, letting the ears sit wrapped for about one minute allows residual steam to complete the cooking and keeps juices locked in.
- Test doneness safely, use a folded towel or tongs to handle the hot ear, and pierce a kernel gently to check for tenderness without burning your fingers.