Mexican Hot Chocolate
Mexican Hot Chocolate is the kind of drink that wraps you in warmth from the first sip, and I remember the first time a friend handed me a steaming mug on a snowy evening, smiling as the scent of cinnamon and cocoa curled up like a cozy scarf. That first encounter stuck with me because it felt like a hug in a cup, rustic and familiar yet a little wild with spice. Over the years I’ve adjusted the balance of sweetness and spice until it matched how I like it, velvety and gently spiced without being overpowering.
I’ve made Mexican Hot Chocolate for late night study sessions, a quiet Sunday breakfast, and as the finale to family dinners where conversation lingers. Each time I stir the pot I notice small differences in the aroma depending on which cocoa I choose and how long I scald the milk, and those small differences remind me that this recipe is forgiving, and rewards a little attention. When you serve it, that surface heat lifts the perfume of cinnamon and cloves, and people lean in, expecting comfort. I love that it feels special even though the method is straightforward.
Recipe Snapshot
30 mins
5 mins
25 mins
Easy
250 kcal
Mexican
Gluten-Free, Low FODMAP
Desserts
Medium pot, Whisk
What Sets This Mexican Hot Chocolate Apart
1. Deep, warming flavor that comforts
I love how Mexican Hot Chocolate layers cocoa, cinnamon, and cloves so that every sip gives you cocoa richness up front, followed by a warm, aromatic finish. This is not sugary and flat, it has character, and that is why I keep coming back to it on cold nights.
2. Textural richness without complexity
The small addition of flour creates a slightly thicker mouthfeel that feels indulgent without being heavy. I appreciate that texture because it makes the drink linger on the tongue, so the spices have time to sing. If you crave something creamy and substantial, this recipe delivers without fuss.
3. Fast and forgiving technique
From start to finish this comes together quickly, which is perfect when you want a comforting drink on short notice. I often get the pot warming while I gather the mugs, and the process lets you adjust sweetness, spice, and temperature as you go, so mistakes are easy to fix.
4. Versatile for occasions
This recipe is lovely for quiet solo nights, but it also shines when shared. I like to make a big batch for friends because it scales easily, and people always appreciate a hot beverage that feels crafted. The toppings like whipped cream and a dusting of nutmeg make it feel celebratory without much effort.
5. Ingredient accessibility
Everything you need for Mexican Hot Chocolate is pantry friendly. You probably have sugar, cocoa, and milk on hand, and the spices are modest additions that transform the drink. Because the components are simple, this recipe is approachable and reliably delicious.
Essential Ingredients for Mexican Hot Chocolate
These ingredients work together to create a drink that is rich, warmly spiced, and smoothly thick. The cocoa provides the chocolate backbone, milk brings creaminess, and the small amount of flour builds body so the texture feels luxurious. Spices like cinnamon and cloves add aromatic warmth while vanilla extract lifts the flavors. Each item plays a clear role, and together they balance comfort with depth.
- 1/4 cups sugar: Sweeten the hot chocolate and balance the bitterness of cocoa by dissolving into the liquid; helps create a smooth, palatable base and caramelizes slightly when heated for depth.
- 2 tablespoons all-purpose flour: Thicken the mixture and provide body to the beverage by forming a light slurry with a portion of the cold water before heating; prevents lumping and yields a silkier mouthfeel.
- 1/4 cup cocoa: Contribute rich chocolate flavor and color while delivering the characteristic bitter note; whisk into the slurry to fully incorporate and intensify the drink’s cocoa profile.
- 1 1/2 cups cold water: Provide a neutral medium for dissolving dry ingredients and activating the flour; start with cold water to make a uniform paste that prevents clumping when heated.
- 1/4 teaspoons salt: Enhance overall flavor by balancing sweetness and intensifying other tastes; a small amount sharpens chocolate notes and prevents the drink from tasting flat.
- 1 teaspoon cinnamon: Impart warm, aromatic spice that complements chocolate and evokes traditional Mexican profiles; stir in during heating to release oils and fragrance throughout the drink.
- 3/4 teaspoon cloves: Add a pungent, slightly peppery warmth in small quantity to deepen spice complexity; use sparingly to avoid overpowering and to support cinnamon’s aromatics.
- 6 cups milk: Create the creamy, comforting body and mouthfeel characteristic of hot chocolate; heat gently with the chocolate base to meld flavors and achieve a luxurious texture.
- whipped cream: Top the finished drink with light, airy richness that adds contrast to the warm beverage; whip and dollop just before serving for visual appeal and extra creaminess.
- nutmeg: Finish with a subtle warm spice aroma that can be grated over the top; sprinkle lightly to add a fragrant, slightly sweet nutmeg note without dominating the cup.
- 1 teaspoon vanilla extract: Round out flavors and add a sweet, floral note that brightens the chocolate; stir in at the end to preserve its aroma and lift the overall flavor profile.
How to Assemble Mexican Hot Chocolate
Bringing this together is a gentle, sensory process. You start by blending the dry elements and water to create a smooth chocolate base, and then you marry that base with warm, scalded milk so the flavors fuse and the texture becomes luxurious. Keep an eye on the heat and use a whisk for a silky result.
- In a medium pot, combine sugar, flour, cocoa, water, and spices. Cook for 4 minutes over medium heat.: The mixture will begin to steam and emit a roasted cocoa aroma, with the cinnamon and cloves slowly warming the air. As the pot heats, you should see small bubbles forming at the edges and the texture smoothing out, which signals the flour is cooking and losing any raw taste. Whisk continuously so the dry ingredients hydrate evenly and no grainy pockets remain. This step matters because properly cooked flour avoids a pasty mouthfeel and allows the chocolate and spices to integrate. A common mistake here is using too high heat, which can scorch the cocoa and create a bitter note; keep the flame at medium and adjust if you notice darkening or a burnt smell. If lumps appear, lower the heat and whisk vigorously until they disappear. The sound will be a soft steady simmer rather than a roar, and the color should deepen to a rich mocha.
- Add milk and let scald but do not boil.: Once you add the milk , the steam will grow richer and the scent will shift toward creamy chocolate. Scalding means the surface will show tiny bubbles and a gentle rising steam, and the edges will shimmer without rolling into a boil. This process opens the proteins in the milk so the drink gains body and the flavors meld more fully. Stir slowly and consistently so the temperature evens out and the mixture thickens slightly. Avoid boiling because that can cause the milk to separate and alter the mouthfeel. A typical mistake is walking away during this step; stay present and keep stirring to prevent scorching at the bottom. Visually, you want a glossy sheen and audible soft pops, not an aggressive bubbling, and the aroma should smell sweeter and more rounded than before the milk was added.
- Stir in vanilla and remove from heat.: Adding the vanilla extract off the heat preserves its fragile floral notes, which lift the whole cup. As you stir it in, you may notice the aroma blossom almost immediately, lending a sweet complexity that ties the spice and chocolate together. Removing from heat prevents the volatile compounds in the vanilla extract from evaporating and keeps the final flavor bright. One troubleshooting tip is to ensure the pot has cooled for a few seconds off the flame before adding the vanilla extract , because extremely hot liquid can dissipate its fragrance. The texture at this point should feel thicker and smooth on the spoon, and the scent will be invitingly layered.
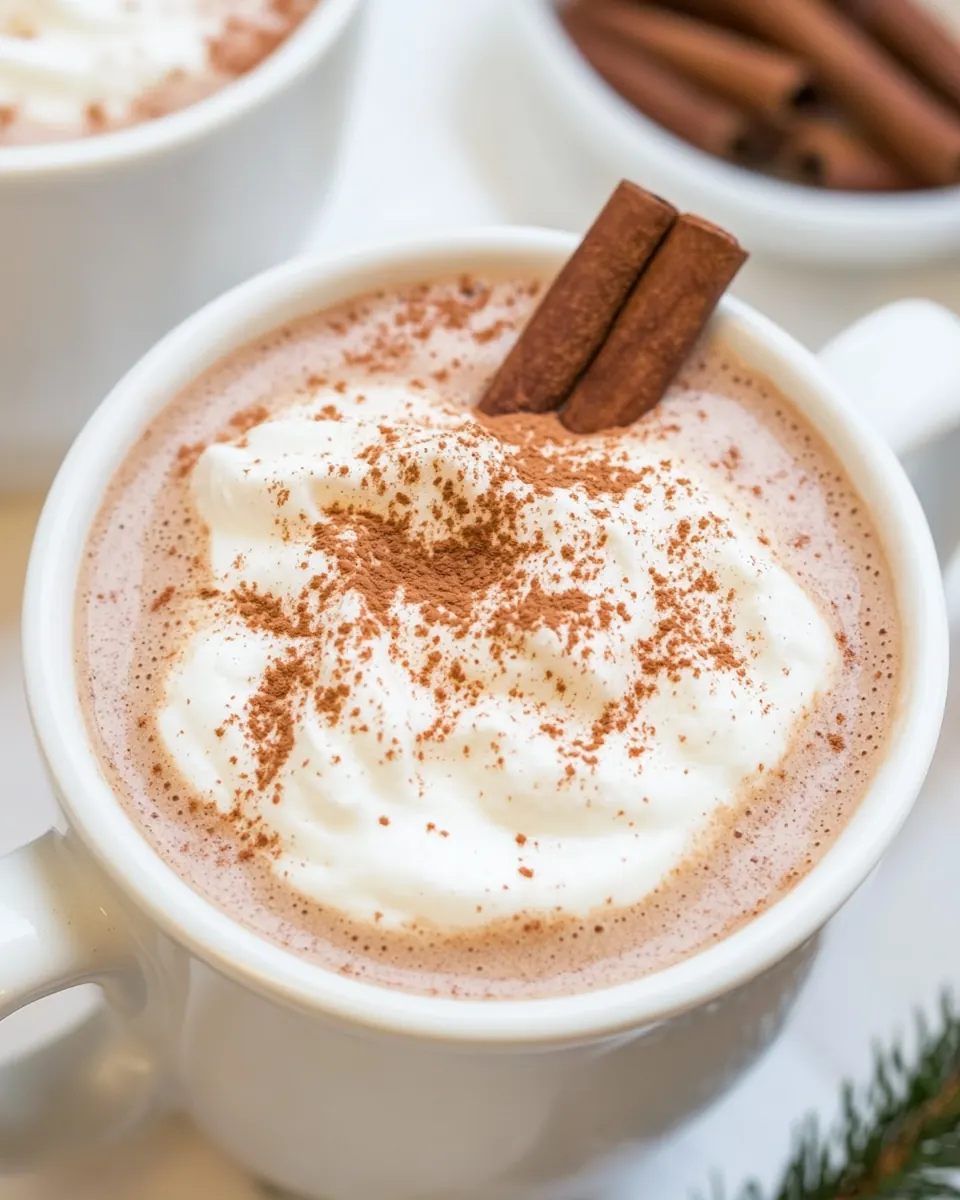
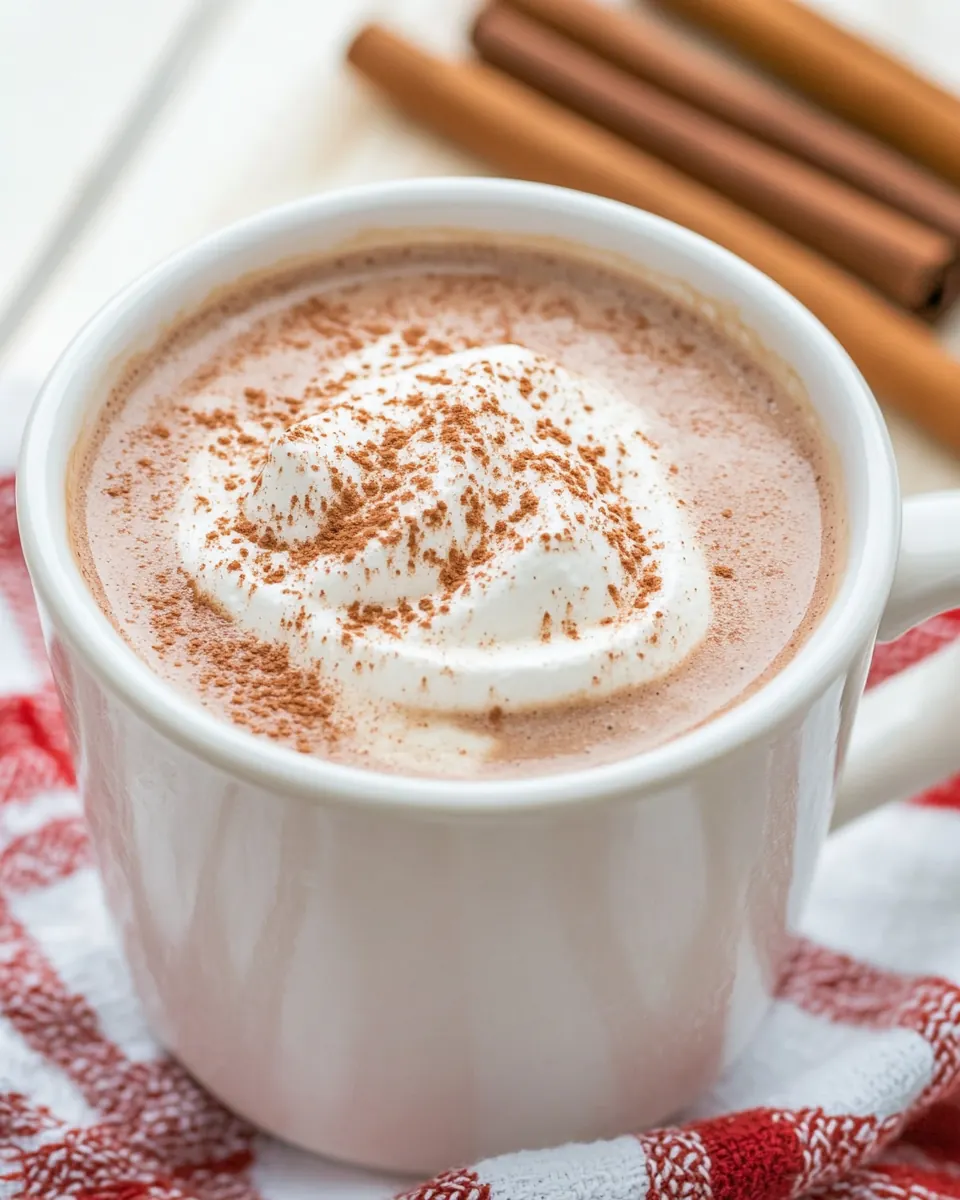
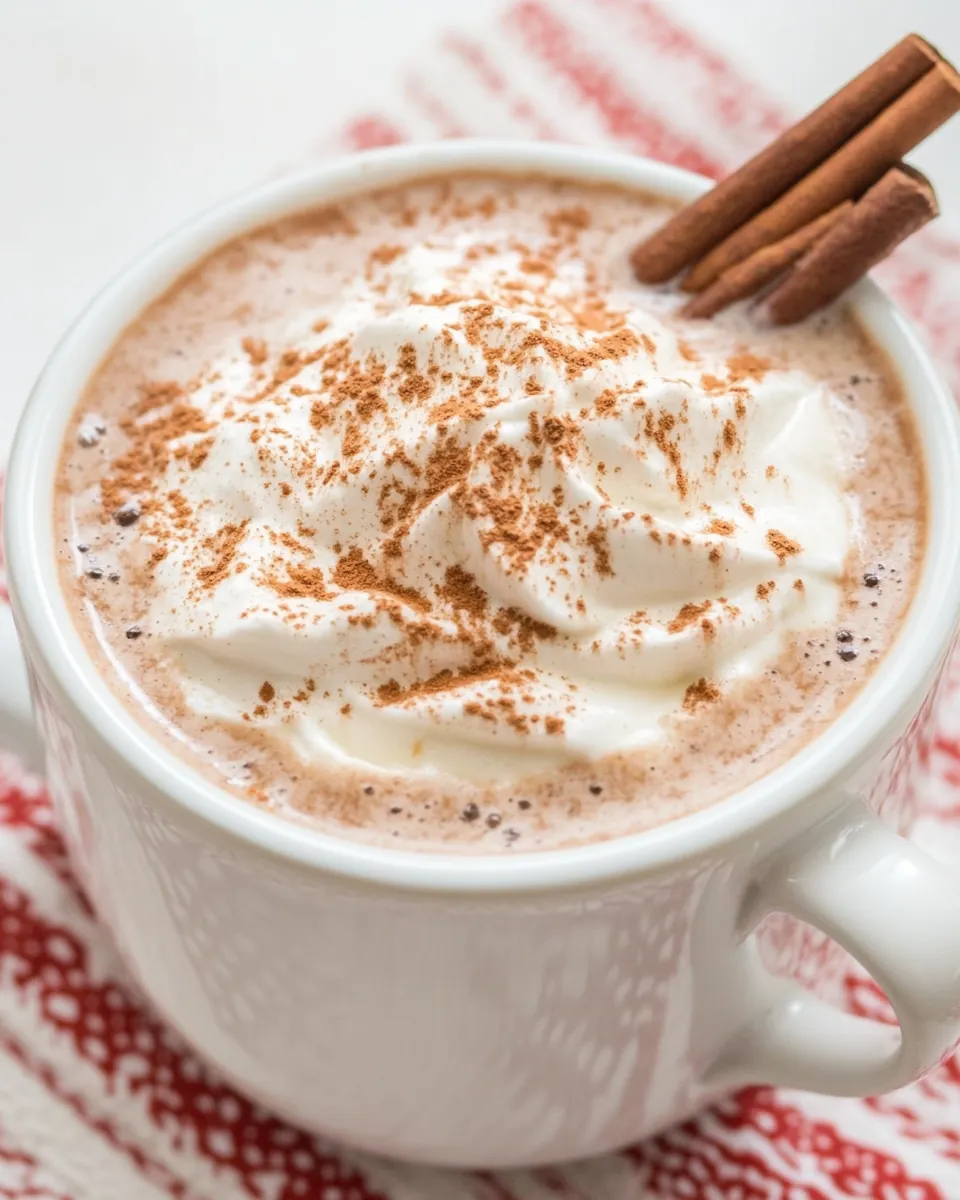
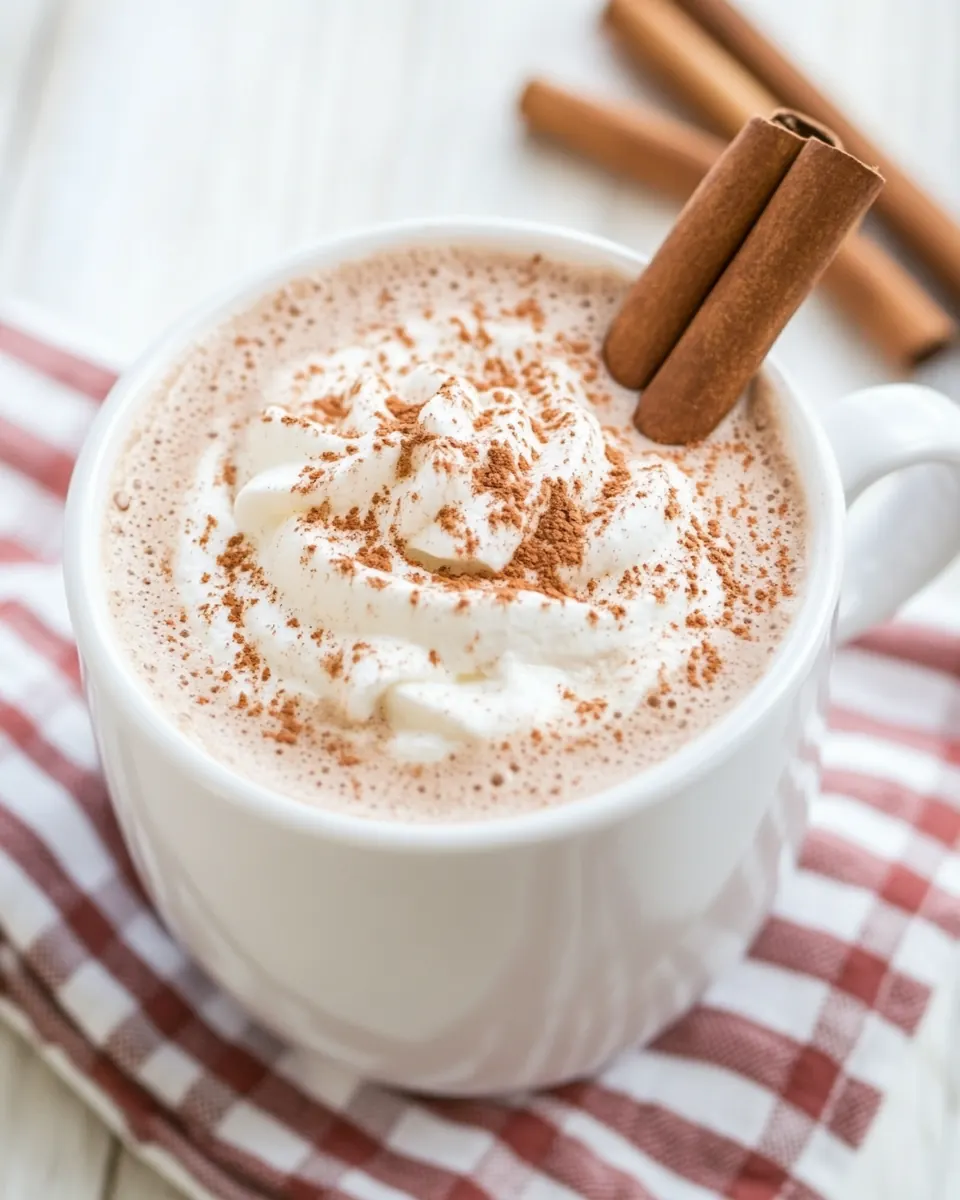
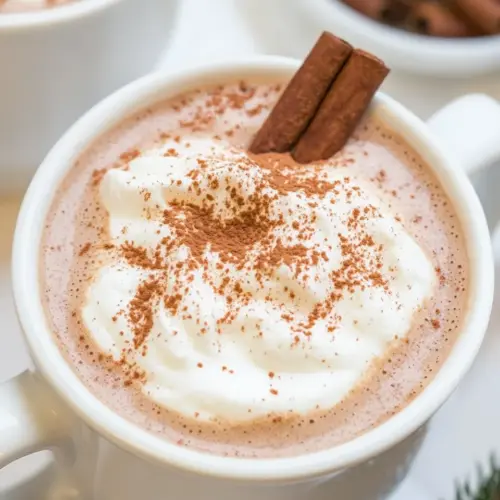
- If desired, top with whipped cream and nutmeg.: A dollop of whipped cream adds a cool, silky counterpoint to the warm drink, and freshly grated nutmeg gives a fragrant finish that pops when you inhale the steam. The contrast between the hot beverage and the cool topping creates a pleasant temperature play and a luxurious mouthfeel as the cream slowly melts. To avoid a soggy topping, serve immediately after adding the cream. A frequent error is over-whipping the whipped cream , which can make it stiff and clumpy; aim for soft peaks for the best melt-in-cup effect. Visually, the cream should sit like a soft cap and the nutmeg should be a light, aromatic dusting rather than a heavy layer.
Change It Up
If you like to experiment, there are simple ways to vary Mexican Hot Chocolate while keeping the core comfort intact. Here are practical ideas to adapt texture, spice level, and presentation.
- Make it thicker — Increase the flour slightly or swap in a similar measure of corn starch or masa harina to achieve a more pudding like texture, whisking thoroughly to avoid lumps.
- Adjust spice intensity — Add a pinch more cinnamon for warmth or reduce the cloves if you prefer a milder profile, tasting as you go to maintain balance.
- Change milk richness — Use whole milk for maximum creaminess or a lower fat milk for a lighter cup, noting that richer milk will yield a silkier mouthfeel.
- Whipped topping variations — Try lightly sweetened whipped cream or a cinnamon whipped cream to echo the spices and add a creamy contrast as it melts.
- Serving temperature — Serve very hot for maximum aroma, or slightly cooler if you plan to drink slowly, watching that very high heat can dull delicate flavors.
What Goes Well With This Mexican Hot Chocolate
Mexican Hot Chocolate pairs beautifully with simple snacks and is flexible enough for many occasions. It works as a morning treat, an afternoon pick me up, or a cozy evening finale. Here are ideas for serving, pairing, and storing to get the most from your batch.
- Sweet bakery items — Serve with crisp pastries or a slice of pan dulce to contrast the smoothness of the drink and add textural interest for a cozy breakfast or snack.
- Spiced cookies — Biscotti or cinnamon cookies echo the warming spices and provide a pleasant dipper that softens slightly when briefly immersed.
- Hosting occasions — For winter gatherings or intimate dinners, offer a hot chocolate station with toppings like whipped cream and a light dusting of nutmeg so guests can customize their cups.
- Storage tips — Refrigerate leftover Mexican Hot Chocolate in a sealed container for up to two days; reheat gently over low heat while whisking to restore texture and prevent separation.
- Seasonal pairings — This drink fits winter evenings best, and also shines during holiday mornings or chilly weekends when you want a comforting, spiced beverage.
FAQ
Conclusion
Mexican Hot Chocolate is special because it balances deep chocolate flavor with warm, aromatic spices and a comforting, slightly thick texture. It invites slow sips and offers a cozy, memorable experience whether you are alone or hosting friends. Give it a try the next cold evening you want something soothing and slightly decadent, and enjoy the way simple pantry ingredients transform into something warmly satisfying.
Mexican Hot Chocolate
Equipment
- Medium Pot
- Whisk
Ingredients
- 1/4 cups sugar Sweeten the hot chocolate and balance the bitterness of cocoa by dissolving into the liquid; helps create a smooth, palatable base and caramelizes slightly when heated for depth.
- 2 tablespoons all-purpose flour Thicken the mixture and provide body to the beverage by forming a light slurry with a portion of the cold water before heating; prevents lumping and yields a silkier mouthfeel.
- 1/4 cup cocoa Contribute rich chocolate flavor and color while delivering the characteristic bitter note; whisk into the slurry to fully incorporate and intensify the drink’s cocoa profile.
- 1 -1/2 cups cold water Provide a neutral medium for dissolving dry ingredients and activating the flour; start with cold water to make a uniform paste that prevents clumping when heated.
- 1/4 teaspoons salt Enhance overall flavor by balancing sweetness and intensifying other tastes; a small amount sharpens chocolate notes and prevents the drink from tasting flat.
- 1 teaspoon cinnamon Impart warm, aromatic spice that complements chocolate and evokes traditional Mexican profiles; stir in during heating to release oils and fragrance throughout the drink.
- 3/4 teaspoon cloves Add a pungent, slightly peppery warmth in small quantity to deepen spice complexity; use sparingly to avoid overpowering and to support cinnamon’s aromatics.
- 6 cups milk Create the creamy, comforting body and mouthfeel characteristic of hot chocolate; heat gently with the chocolate base to meld flavors and achieve a luxurious texture.
- whipped cream Top the finished drink with light, airy richness that adds contrast to the warm beverage; whip and dollop just before serving for visual appeal and extra creaminess.
- nutmeg Finish with a subtle warm spice aroma that can be grated over the top; sprinkle lightly to add a fragrant, slightly sweet nutmeg note without dominating the cup.
- 1 teaspoon vanilla extract Round out flavors and add a sweet, floral note that brightens the chocolate; stir in at the end to preserve its aroma and lift the overall flavor profile.
Instructions
- In a medium pot, combine sugar, flour, cocoa, water, and spices. Cook for 4 minutes over medium heat.: The mixture will begin to steam and emit a roasted cocoa aroma, with the cinnamon and cloves slowly warming the air. As the pot heats, you should see small bubbles forming at the edges and the texture smoothing out, which signals the flour is cooking and losing any raw taste. Whisk continuously so the dry ingredients hydrate evenly and no grainy pockets remain. This step matters because properly cooked flour avoids a pasty mouthfeel and allows the chocolate and spices to integrate. A common mistake here is using too high heat, which can scorch the cocoa and create a bitter note; keep the flame at medium and adjust if you notice darkening or a burnt smell. If lumps appear, lower the heat and whisk vigorously until they disappear. The sound will be a soft steady simmer rather than a roar, and the color should deepen to a rich mocha.
- Add milk and let scald but do not boil.: Once you add the milk , the steam will grow richer and the scent will shift toward creamy chocolate. Scalding means the surface will show tiny bubbles and a gentle rising steam, and the edges will shimmer without rolling into a boil. This process opens the proteins in the milk so the drink gains body and the flavors meld more fully. Stir slowly and consistently so the temperature evens out and the mixture thickens slightly. Avoid boiling because that can cause the milk to separate and alter the mouthfeel. A typical mistake is walking away during this step; stay present and keep stirring to prevent scorching at the bottom. Visually, you want a glossy sheen and audible soft pops, not an aggressive bubbling, and the aroma should smell sweeter and more rounded than before the milk was added.
- Stir in vanilla and remove from heat.: Adding the vanilla extract off the heat preserves its fragile floral notes, which lift the whole cup. As you stir it in, you may notice the aroma blossom almost immediately, lending a sweet complexity that ties the spice and chocolate together. Removing from heat prevents the volatile compounds in the vanilla extract from evaporating and keeps the final flavor bright. One troubleshooting tip is to ensure the pot has cooled for a few seconds off the flame before adding the vanilla extract , because extremely hot liquid can dissipate its fragrance. The texture at this point should feel thicker and smooth on the spoon, and the scent will be invitingly layered.
- If desired, top with whipped cream and nutmeg.: A dollop of whipped cream adds a cool, silky counterpoint to the warm drink, and freshly grated nutmeg gives a fragrant finish that pops when you inhale the steam. The contrast between the hot beverage and the cool topping creates a pleasant temperature play and a luxurious mouthfeel as the cream slowly melts. To avoid a soggy topping, serve immediately after adding the cream. A frequent error is over-whipping the whipped cream , which can make it stiff and clumpy; aim for soft peaks for the best melt-in-cup effect. Visually, the cream should sit like a soft cap and the nutmeg should be a light, aromatic dusting rather than a heavy layer.
Notes
- Make it thicker — Increase the flour slightly or swap in a similar measure of corn starch or masa harina to achieve a more pudding like texture, whisking thoroughly to avoid lumps.
- Adjust spice intensity — Add a pinch more cinnamon for warmth or reduce the cloves if you prefer a milder profile, tasting as you go to maintain balance.
- Change milk richness — Use whole milk for maximum creaminess or a lower fat milk for a lighter cup, noting that richer milk will yield a silkier mouthfeel.
- Whipped topping variations — Try lightly sweetened whipped cream or a cinnamon whipped cream to echo the spices and add a creamy contrast as it melts.
- Serving temperature — Serve very hot for maximum aroma, or slightly cooler if you plan to drink slowly, watching that very high heat can dull delicate flavors.