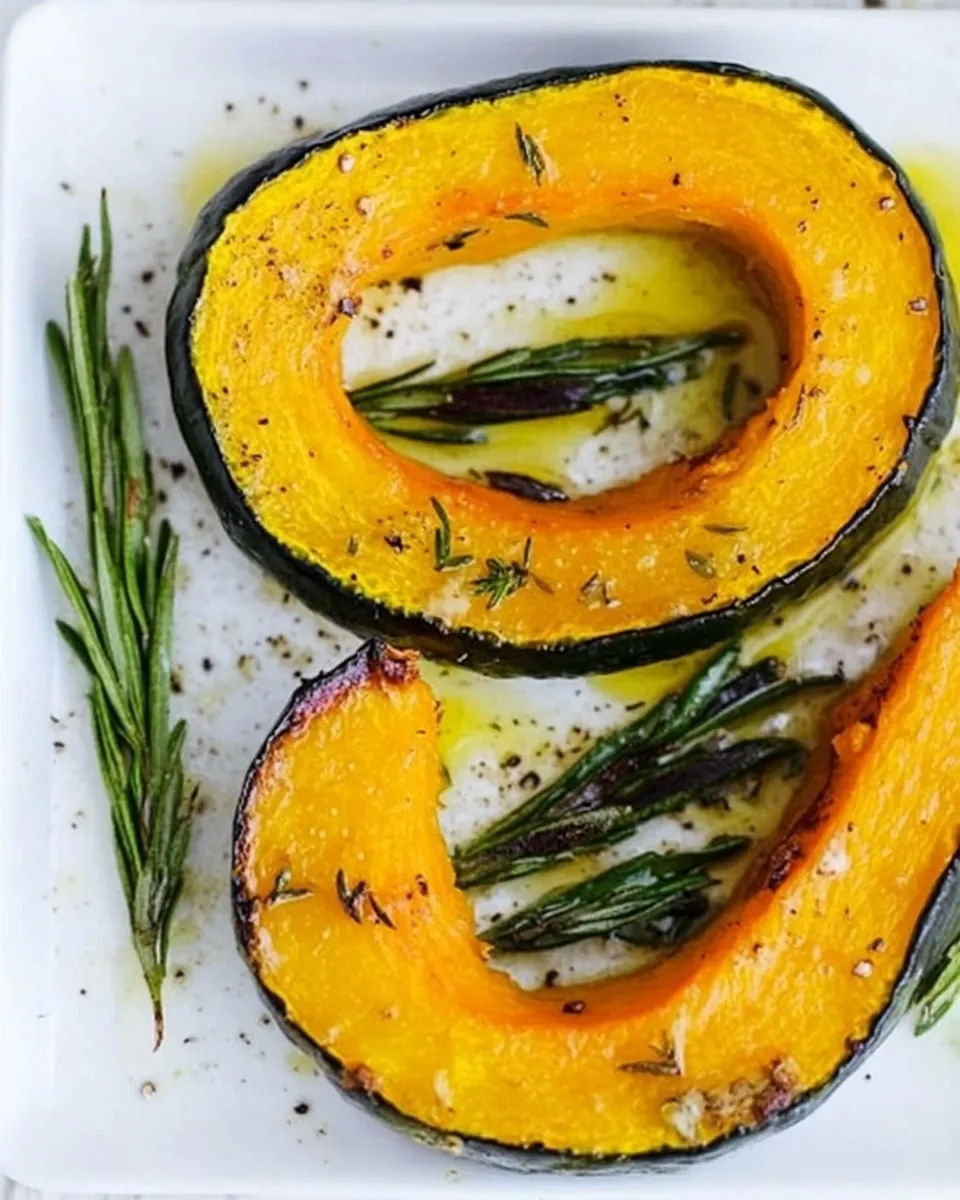
Honey Butter Roasted Pumpkin
Honey Butter Roasted Pumpkin arrived in my kitchen on an ordinary Tuesday and instantly changed the week, with its sweet aroma and cozy warmth. I remember unwrapping a small pumpkin bought from the market, its skin still dusted with soil, and thinking how simple ingredients like butter and honey could transform a humble squash into something celebratory. That first bite, caramelized on the edges and tender inside, felt like a tiny Thanksgiving, even though the calendar said otherwise.
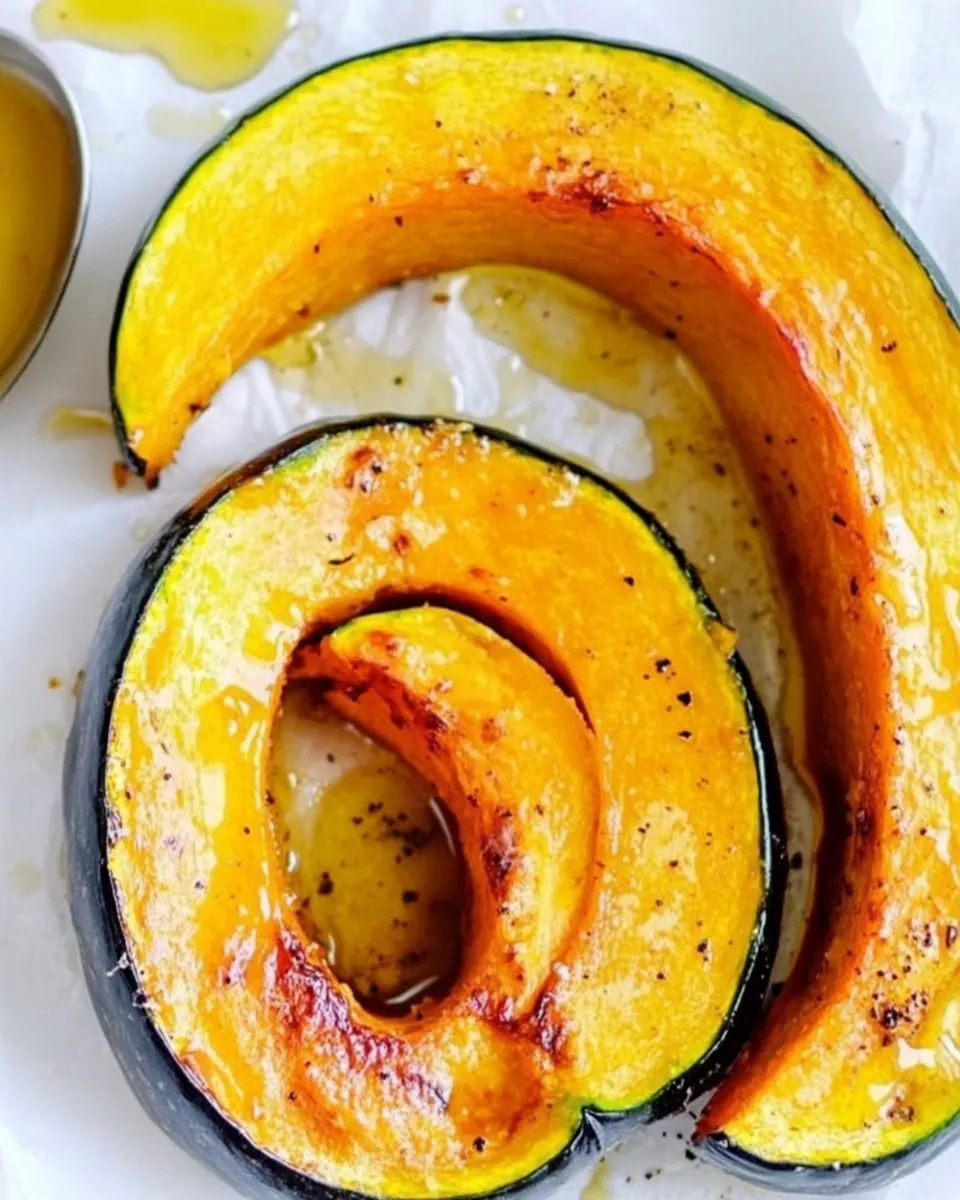
Over the years I’ve refined the balance of sweet and spice in my Honey Butter Roasted Pumpkin. Some evenings I add a whisper of heat, other times I keep it purely sweet for company. I love how the texture of the pumpkin becomes silky while the edges crisp, giving contrast in every mouthful. Serving it straight from the pan, steam billowing as you slice through a wedge, always draws people into the kitchen.
Recipe Snapshot
30 mins
10 mins
20 mins
Easy
150 kcal
American
Gluten-Free, Paleo
Side Dishes
Oven, Baking sheet, Parchment paper, Large bowl
Why This Honey Butter Roasted Pumpkin Stands Out
Simple ingredient harmony
I adore how just a couple of pantry staples make the flavor sing. The mix of butter and honey coats each pumpkin wedge so every bite is glossy and rich. There is no need for fussy additions, which keeps this recipe approachable when I want something quick and comforting.
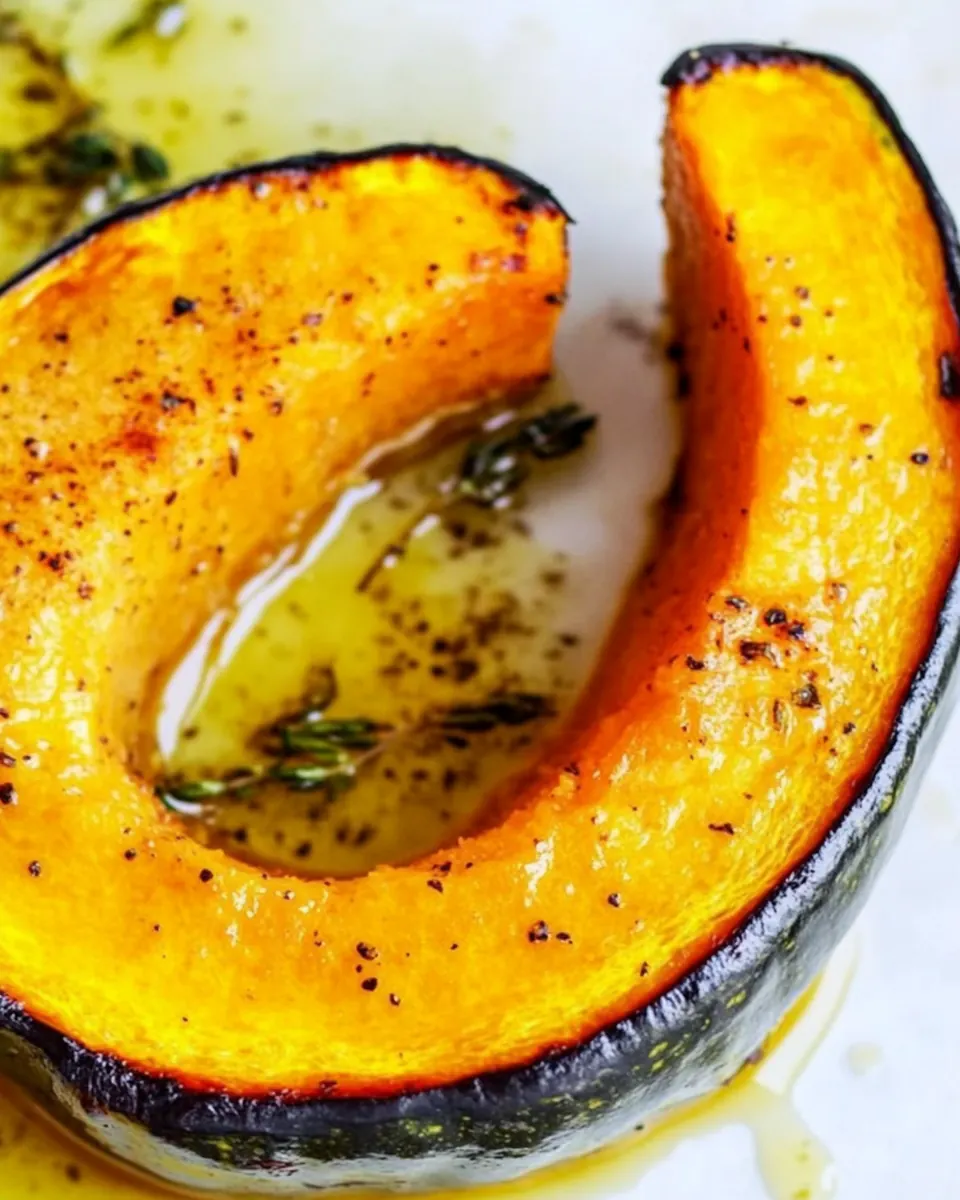
Textural contrast that surprises
When roasted properly, the interior becomes meltingly soft while the edges turn golden and slightly sticky. That interplay of textures is what keeps me coming back. I relish the small crunch on the corners and the satin smoothness of the flesh in the center.
Versatile for occasions
I’ve used Honey Butter Roasted Pumpkin as a side for weeknight dinners and as a star on holiday tables. It feels festive enough for Thanksgiving while simple enough for a casual supper. I often bring it to potlucks because it travels well and almost always disappears first.
Fast and forgiving
This recipe is forgiving when life gets hectic. The prep is minimal, and the oven does most of the work. Even if you slightly overcook the wedges, they stay pleasant and sweet, making it a go to when time is short.
Kid friendly and crowd pleasing
Everyone from picky eaters to adventurous foodies seems to enjoy it. The natural sweetness of the pumpkin plus the glossy honey finish makes it an easy sell, and I love seeing skeptical faces turn into smiles after the first bite.
Essential Ingredients for Honey Butter Roasted Pumpkin

These ingredients are intentionally few, letting the natural sweetness of the pumpkin shine while the other elements play supporting roles. Think of the list as a small team where each player has a clear job, from flavor to texture to that final glossy finish.
- 2 tablespoons salted butter, melted: Melted, provides a rich, silky fat that helps roast pumpkin wedges evenly and promotes browning; imparts savory depth and helps honey adhere to the surface during cooking.
- 2 tablespoons honey: Sticky, contributes sweetness and caramelization to the roasted pumpkin while creating a glossy finish; balances savory butter and can help form a light glaze when heated.
- cayenne pepper, to taste (optional): Spicy, adds a warm, bright heat that can be adjusted to personal preference; enhances overall flavor contrast and lifts the sweetness without overpowering the dish.
- 12 oz (350 g) small pumpkin, or kabocha pumpkin, slice into wedges: Freshly sliced into wedges, supplies the sweet, dense flesh that becomes tender and caramelized when roasted; its skin helps hold shape and offers a subtly nutty flavor when cooked.
Honey Butter Roasted Pumpkin Instructions
Roasting is where the magic happens, and a few straightforward actions yield satisfying results. Keep your senses dialed in, because sight, smell, and touch will tell you when everything is just right.
- Preheat the oven to 400°F (207°C).: As the oven warms, you should notice a faint metallic hum from the element and a steady build of heat. A properly preheated oven ensures even roasting so the pumpkin softens through while the edges caramelize. If the oven is not hot enough, the wedges will take longer and may steam rather than roast, leaving them soggy. One common mistake is placing the tray in before full heat, which delays browning; wait until the temperature stabilizes.
- Combine the melted butter with honey and cayenne pepper (if using), stirring to mix well. In a large bowl, toss the pumpkin with the honey butter, ensuring the slices are well coated.: The aroma at this point will shift as the warm butter melds with the honey , releasing a toasty sweet scent. Whisk until glossy and homogenous, so the glaze spreads and clings to each wedge. This step matters because an even glaze ensures consistent caramelization and flavor. Avoid overheating the mixture, as boiling can alter the honey's flavor and make it thin. If it separates, a quick stir and gentle warming will bring it back together.
- Arrange the pumpkin on a baking sheet lined with parchment paper. Bake for 20 minutes, or until the flesh is tender and soft. Serve immediately.: When you toss the wedges, listen for a soft clink as they shift and watch the glaze cling and shine on their surfaces. Proper coating is key to achieving that lacquered finish and even browning. Use your hands or tongs so each wedge gets coated on all sides. A snag many cooks encounter is overcrowding the bowl or tray, which prevents proper circulation and leaves pieces steamed rather than roasted; give the slices room.
- Arrange the pumpkin on a baking sheet lined with parchment paper: Laying the wedges single layer with space between them helps hot air circulate and allows edges to crisp. The visual cue to look for is brightening and bubbling at the edges as the sugars caramelize. If pieces touch, they will steam where they meet and lose that crisp edge. Avoid crowding the sheet; use a second tray if needed to keep spacing consistent.
- Bake for 20 minutes, or until the flesh is tender and soft: As the pumpkin roasts, you will smell sweet, toasty notes and see the glaze darken to a deep honeyed color. Test doneness by piercing the thickest part with a fork it should slide in with little resistance, and the surface should show amber spots where sugars have caramelized. Timing can vary with oven differences and pumpkin thickness, so check a few minutes early to avoid burning. A typical error is removing too soon; undercooked wedges will lack that silky interior and will be starchy.
- Serve immediately: Fresh from the oven the wedges are at their best, glossy and warm, with steam rising and aromas filling the room. Serving right away preserves the contrast between crisp edges and tender interiors. If you let them sit too long, the surface can lose its sheen and the texture will soften uniformly. To preserve texture if you must wait, keep them loosely tented in a warm oven set to a low temperature, but try to serve within minutes for peak experience.
Making Adjustments
I like to think of tweaks as flavor nudges, not recipe rewrites. Below are thoughtful adjustments and ideas that respect the original balance while letting you personalize the dish.
- Add a pinch of salt if using unsalted butter — If your butter is unsalted, stir in a small pinch of salt into the honey mixture to lift the sweetness and round the flavors. This simple addition prevents the dish from tasting flat, and I find it especially helpful when serving alongside savory mains.
- Adjust the cayenne to control heat — Start with a very small amount of cayenne and taste the glaze warm; you can always add more to achieve a gentle warmth that complements the pumpkin rather than overpowering it. Too much spice will mask the natural sweetness, so err on the side of restraint.
- Use parchment for easy cleanup and even browning — Lining the tray helps prevent sticking and encourages even caramelization underneath the wedges. I always reach for parchment because it saves time and keeps the bottoms from burning while the tops brown.
- Keep wedge sizes uniform — Cutting the pumpkin into equal pieces ensures consistent cooking times and texture. If pieces vary widely, remove smaller ones earlier to avoid overcooking.
- Serve straight away for best texture — The contrast between crisp edges and tender centers is most pronounced when hot, so plan serving timing accordingly. If you must hold them, keep them warm at low oven heat but expect a slight loss of crispness.
How to Enjoy Honey Butter Roasted Pumpkin
This dish fits many tables and moods, from simple supper sides to holiday spreads. Below are ways I serve it, store it, and pair it to highlight its best qualities.
- As a side for dinner — Serve warm alongside roasted meats or a grain bowl, letting the sweet glossy wedges provide a contrast in texture and flavor that complements savory mains.
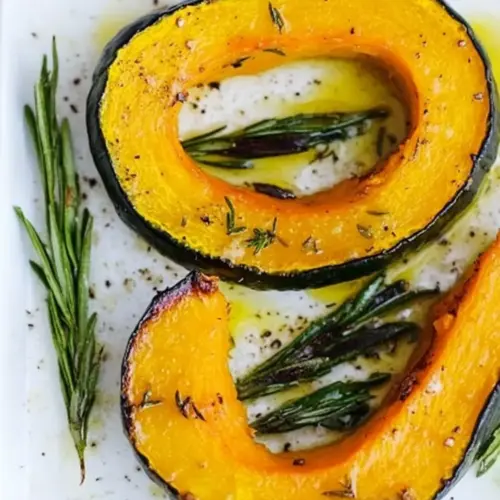
- Holiday centerpiece — On Thanksgiving or special gatherings, present the wedges on a large platter garnished with fresh herbs for a seasonal, shareable side dish.
- Casual lunch — Add a few wedges to a composed plate with roasted vegetables for a comforting midday meal that is both simple and satisfying.
- Storage tips — Cool completely, then refrigerate in an airtight container for up to three days. Reheat briefly in a hot oven to restore some crispness rather than microwaving, which makes the surface soft.
- Seasonal pairing ideas — Pair with autumnal flavors like roasted root vegetables or a simple green salad for balance. The warm sweetness of the pumpkin feels especially at home in fall menus.
FAQ
Conclusion
Honey Butter Roasted Pumpkin stands out because it transforms minimal ingredients into a dish with lush texture and warm, caramelized sweetness. Its ease of preparation and forgiving nature make it ideal for busy weeknights and celebratory tables alike. I encourage you to give it a try; once you experience those tender interiors and glossy edges, it will likely become a repeat for your seasonal menus. Share it warm, enjoy the aroma, and savor how simple techniques elevate humble produce into something memorable.
Honey Butter Roasted Pumpkin
Equipment
- Oven
- Baking Sheet
- Parchment Paper
- Large Bowl
Ingredients
- 2 tablespoons salted butter, melted Melted, provides a rich, silky fat that helps roast pumpkin wedges evenly and promotes browning; imparts savory depth and helps honey adhere to the surface during cooking.
- 2 tablespoons honey Sticky, contributes sweetness and caramelization to the roasted pumpkin while creating a glossy finish; balances savory butter and can help form a light glaze when heated.
- cayenne pepper, to taste, optional Spicy, adds a warm, bright heat that can be adjusted to personal preference; enhances overall flavor contrast and lifts the sweetness without overpowering the dish.
- 12 oz (350 g) small pumpkin, or kabocha pumpkin, slice into wedges Freshly sliced into wedges, supplies the sweet, dense flesh that becomes tender and caramelized when roasted; its skin helps hold shape and offers a subtly nutty flavor when cooked.
Instructions
- Preheat the oven to 400°F (207°C).: As the oven warms, you should notice a faint metallic hum from the element and a steady build of heat. A properly preheated oven ensures even roasting so the pumpkin softens through while the edges caramelize. If the oven is not hot enough, the wedges will take longer and may steam rather than roast, leaving them soggy. One common mistake is placing the tray in before full heat, which delays browning; wait until the temperature stabilizes.
- Combine the melted butter with honey and cayenne pepper (if using), stirring to mix well. In a large bowl, toss the pumpkin with the honey butter, ensuring the slices are well coated.: The aroma at this point will shift as the warm butter melds with the honey , releasing a toasty sweet scent. Whisk until glossy and homogenous, so the glaze spreads and clings to each wedge. This step matters because an even glaze ensures consistent caramelization and flavor. Avoid overheating the mixture, as boiling can alter the honey's flavor and make it thin. If it separates, a quick stir and gentle warming will bring it back together.
- Arrange the pumpkin on a baking sheet lined with parchment paper. Bake for 20 minutes, or until the flesh is tender and soft. Serve immediately.: When you toss the wedges, listen for a soft clink as they shift and watch the glaze cling and shine on their surfaces. Proper coating is key to achieving that lacquered finish and even browning. Use your hands or tongs so each wedge gets coated on all sides. A snag many cooks encounter is overcrowding the bowl or tray, which prevents proper circulation and leaves pieces steamed rather than roasted; give the slices room.
- Arrange the pumpkin on a baking sheet lined with parchment paper: Laying the wedges single layer with space between them helps hot air circulate and allows edges to crisp. The visual cue to look for is brightening and bubbling at the edges as the sugars caramelize. If pieces touch, they will steam where they meet and lose that crisp edge. Avoid crowding the sheet; use a second tray if needed to keep spacing consistent.
- Bake for 20 minutes, or until the flesh is tender and soft: As the pumpkin roasts, you will smell sweet, toasty notes and see the glaze darken to a deep honeyed color. Test doneness by piercing the thickest part with a fork it should slide in with little resistance, and the surface should show amber spots where sugars have caramelized. Timing can vary with oven differences and pumpkin thickness, so check a few minutes early to avoid burning. A typical error is removing too soon; undercooked wedges will lack that silky interior and will be starchy.
- Serve immediately: Fresh from the oven the wedges are at their best, glossy and warm, with steam rising and aromas filling the room. Serving right away preserves the contrast between crisp edges and tender interiors. If you let them sit too long, the surface can lose its sheen and the texture will soften uniformly. To preserve texture if you must wait, keep them loosely tented in a warm oven set to a low temperature, but try to serve within minutes for peak experience.
Notes
- Add a pinch of salt if using unsalted butter — If your butter is unsalted, stir in a small pinch of salt into the honey mixture to lift the sweetness and round the flavors. This simple addition prevents the dish from tasting flat, and I find it especially helpful when serving alongside savory mains.
- Adjust the cayenne to control heat — Start with a very small amount of cayenne and taste the glaze warm; you can always add more to achieve a gentle warmth that complements the pumpkin rather than overpowering it. Too much spice will mask the natural sweetness, so err on the side of restraint.
- Use parchment for easy cleanup and even browning — Lining the tray helps prevent sticking and encourages even caramelization underneath the wedges. I always reach for parchment because it saves time and keeps the bottoms from burning while the tops brown.
- Keep wedge sizes uniform — Cutting the pumpkin into equal pieces ensures consistent cooking times and texture. If pieces vary widely, remove smaller ones earlier to avoid overcooking.
- Serve straight away for best texture — The contrast between crisp edges and tender centers is most pronounced when hot, so plan serving timing accordingly. If you must hold them, keep them warm at low oven heat but expect a slight loss of crispness.