Homemade Stir Fry Sauce
Homemade Stir Fry Sauce has been my secret weapon on busy weeknights, a tiny jar that turns simple vegetables and meat into something memorable. The very first time I mixed these few staples I was rushing between errands, but the bright aroma of toasted sesame oil and the sweet whisper of brown sugar pulled me back to the stovetop. I remember thinking, finally a sauce that does the job without fuss, letting the ingredients shine while delivering balanced savory, sweet, and glossy texture.
Over the years I have kept a mason jar of this Homemade Stir Fry Sauce in the fridge like a flavor insurance policy. It saves dinners when the fridge is bare, and it helps stretch a handful of vegetables into a satisfying plate. Sometimes I’ll tweak the sweetness, sometimes I’ll stir in a splash more rice vinegar for brightness, but the core remains dependable, comforting, and surprisingly refined.
When friends come over, I hand them a bowl of steaming vegetables and a spoon of the sauce and watch as their faces change. That little transformation is the reason I keep refining this recipe, and why I’m eager to walk you through it with practical notes, straightforward steps, and a few pantry hacks that won’t weigh you down. If you love sauces that multiply flavor without complicated technique, you are going to appreciate how this one plays with texture and balance.
Recipe Snapshot
6 mins
5 mins
1 mins
Easy
80 kcal
Asian
Vegan, Gluten-Free
Dinner
Jar, Small bowl, Whisk, Measuring cups
The Appeal of This Homemade Stir Fry Sauce
Consistently Reliable Flavor
I love that Homemade Stir Fry Sauce gives consistent results every time. The balance of soy sauce, sweetener, and a little acid means you rarely need adjustments midcook, which is perfect for quick dinners.
Minimal Ingredients, Maximum Impact
With only a few pantry staples you get a sauce that coats and glazes, adding a glossy finish and depth. I keep these items on hand so spontaneity in the kitchen feels celebratory, not stressful.
Versatile Across Proteins and Vegetables
We use this sauce on everything from sautéed vegetables to marinated meat. Its gentle saltiness and touch of sweetness complement rather than overpower, making it a go to for mixed plates.
Fast and Make Ahead Friendly
This is a make ahead champion. I love preparing a jar and letting the flavors meld overnight. When I need dinner fast, having the sauce ready saves crucial minutes while delivering rounded taste.
Control Over Sodium and Sweetness
Because you control the low sodium soy sauce and sweetener, you can dial the salt and sweetness precisely. I appreciate being able to tune the sauce to the produce or protein I have on hand.
Homemade Stir Fry Sauce Shopping List

These ingredients work in harmony to create a balanced, shiny sauce that clings to food. The philosophy here is simple: an umami backbone, a touch of sweetness, a hint of toasty oil, a gentle acid, and a thickening agent. Together they produce the familiar, restaurant style glaze that elevates everyday vegetables and meat.
- 1/4 cup low-sodium soy sauce: Adds a salty, umami backbone to the sauce and balances sweet and acidic notes; contributes depth and savory complexity. Use low-sodium to control overall saltiness and keep flavors rounded without overpowering other ingredients.
- 1/4 cup water: Dilutes and balances the concentrated flavors, helping achieve the desired sauce consistency and prevent it from becoming too intense. Provides a neutral base that lets other ingredients shine while aiding even cooking and glazing.
- 3 tablespoons packed brown sugar or honey: Sweetens and counteracts the soy’s saltiness while adding a subtle caramel-like richness; packed brown sugar gives molasses undertones, while honey adds floral complexity. Helps create a glossy finish and promotes caramelization when the sauce is heated.
- 1 teaspoon sesame oil: Contributes a toasty, nutty aroma that enhances overall flavor complexity and provides a subtle finishing note; a small amount goes a long way. Adds richness and depth without making the sauce taste overtly oily.
- 2 teaspoons rice vinegar: Provides bright acidity that cuts through richness and balances sweet and salty components; rice vinegar brings a mild, slightly sweet tang. Enhances freshness and helps the sauce cling to vegetables and proteins.
- 2 teaspoons cornstarch: Thickens and stabilizes the sauce when heated, producing a glossy, clingable texture that coats stir-fry ingredients evenly. Mix with cold water first for a smooth slurry to prevent lumps and achieve the desired consistency quickly.
How to Prepare Homemade Stir Fry Sauce
Making this sauce is straightforward and quick. I usually assemble everything on the counter, shake or whisk, and taste. Below I expand the original short directions into rich, sensory, hands on steps so you know when it is right.
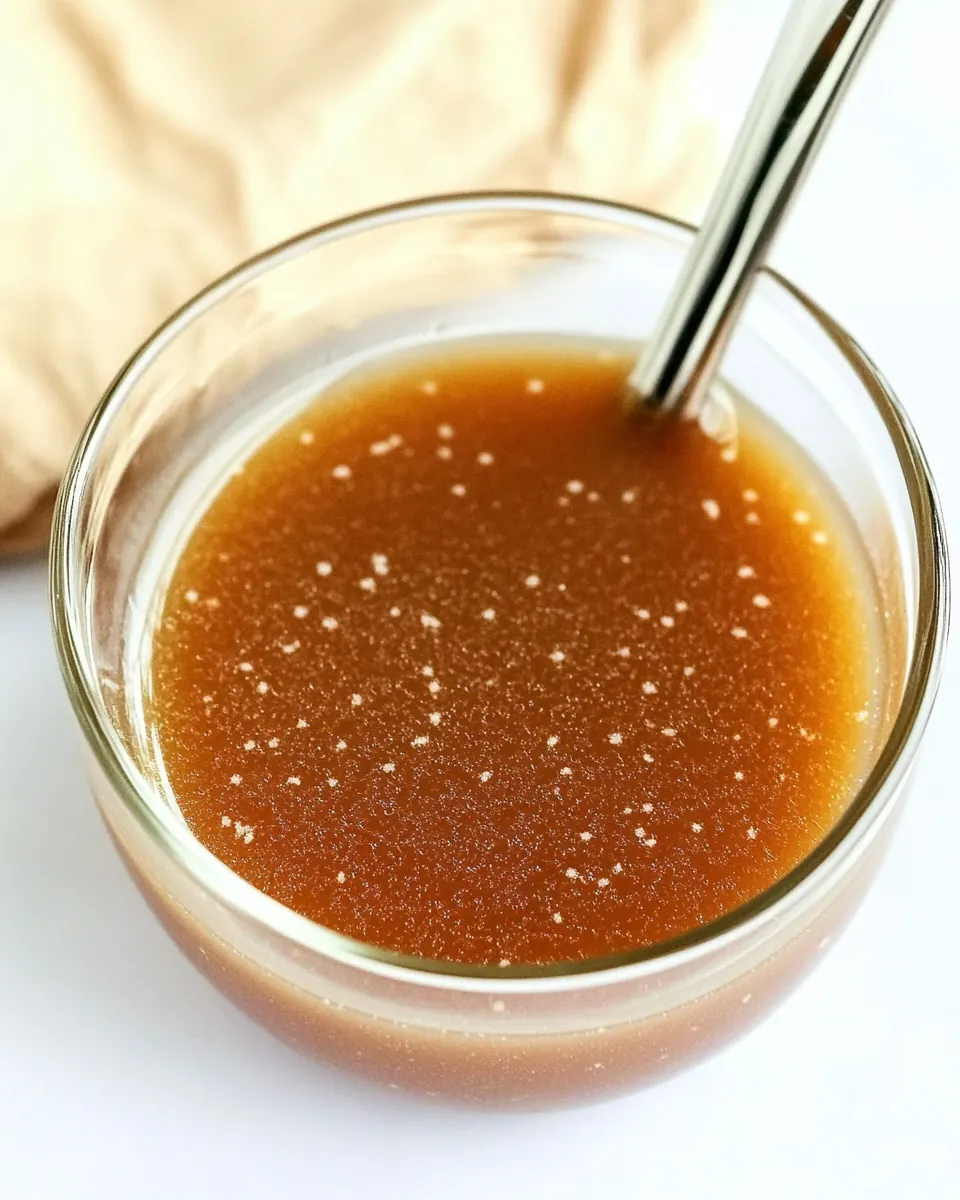
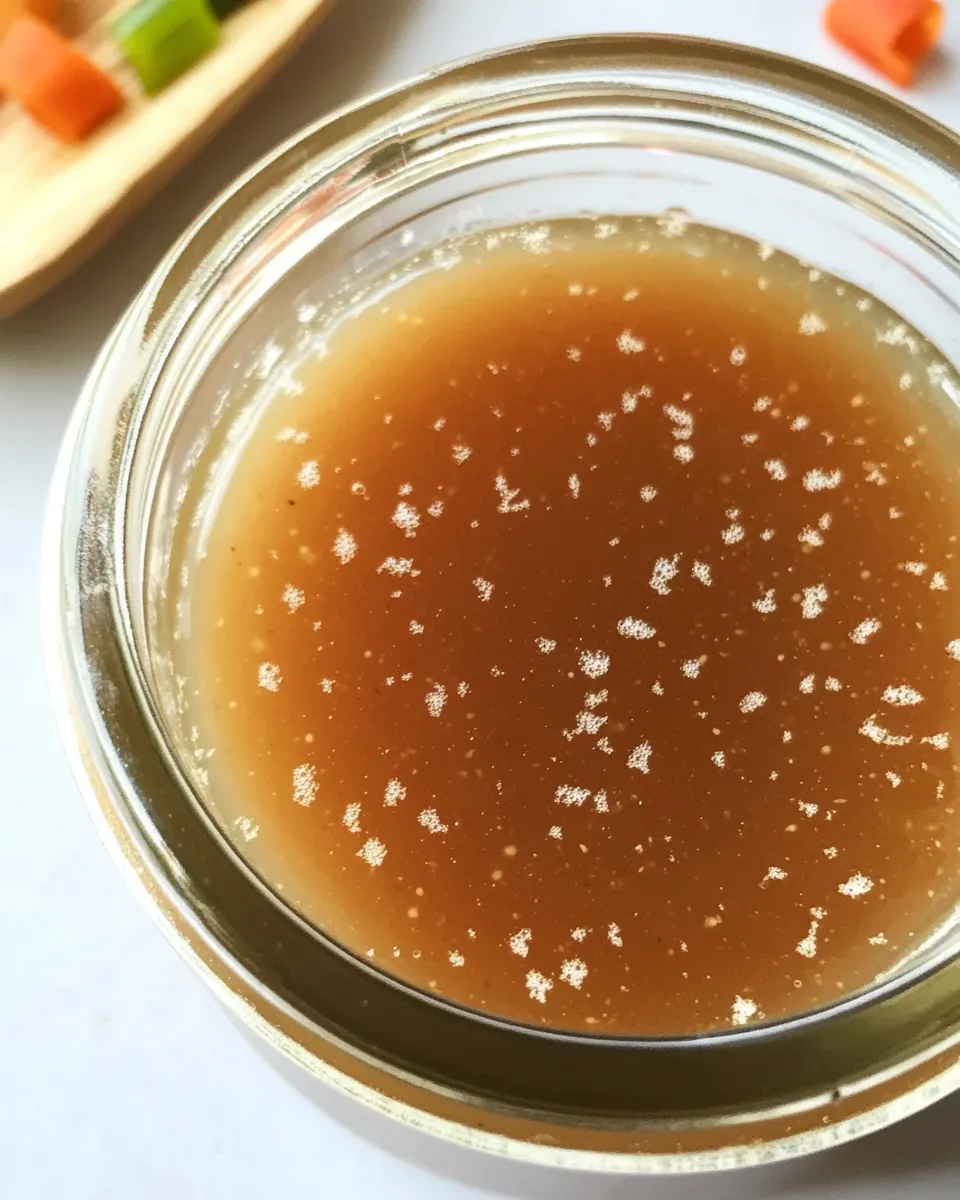
- Combine all ingredients in a jar and shake OR whisk together in a small bowl or a glass measuring cup.: The aroma is immediate, with the toasty note of sesame oil rising first and the sweet, molasses scent from the brown sugar following. Shaking in a jar emulsifies the tiny bit of oil into the aqueous mix so it disperses uniformly, creating a smooth mouthfeel. When whisking, you will see the sugar dissolve and the surface become slightly glossy. A common mistake is not dissolving the sugar fully, which leaves gritty pockets, so stir or shake until it looks homogenized. If your cornstarch seems clumpy, preblend it with the water first to avoid lumps. The visual cue is a silky, uniform mixture with no visible granules, and the tool you choose changes texture slightly, with shaking often producing a slightly frothier top.
- Store in the fridge or use immediately, by adding to sauteed veggies and meat. Simmer until the sauce thickens.: Once made, the sauce will sit clear and smooth in the fridge, and chilling helps flavors meld, softening sharper edges while integrating the sweetness and acidity. If using immediately, add it to hot, recently sautéed vegetables or meat off direct high heat to avoid burning the sugars. A frequent slip is pouring the sauce into a pan that is too cool, which results in it not bonding to the food, or into a pan that is too hot, which can scorch the sugars. The right moment is when vegetables are just tender crisp and proteins are nearly cooked through, so the sauce adds finish rather than cooks away. The sound you want to hear is a gentle sizzle as the sauce hits the pan, and the color should deepen slightly as it warms.
- Simmer until the sauce thickens: As the mixture warms, the cornstarch activates, thickening the liquid into a glossy glaze. You will notice the sauce go from runny to clingy, coating a spoon with a glossy film. This change happens quickly, often in a minute or two, and the smell becomes richer as flavors concentrate. Avoid over simmering, which can make the sauce gummy or reduce it to a syrup that tastes too sweet. Stir constantly during this moment to keep heat even and to prevent the cornstarch from settling and creating an uneven texture. If it thickens too much, thin it with a splash of water, adding a little at a time until it reaches the consistency that nicely coats your food.
- Combine all ingredients in a jar and shake OR whisk together in a small bowl or a glass measuring cup: When I make a fresh batch, I often repeat a quick shake even after chilling to re emulsify any separated oil. The sensory experience is the reassuring click of the jar lid and the immediate release of aroma when you open it, signaling readiness. If you are whisking after storage, the sound of the whisk and the gradual smoothing of the surface indicate that the mixture has recombined. A pitfall is forgetting to reseal the jar tightly, which can lead to accidental spills or the sauce absorbing other fridge odors. Aim for a silky texture and even color before using.
- Store in the fridge or use immediately, by adding to sauteed veggies and meat: For storage, keep the sauce in an airtight container and label it with the date. Over time the sesame oil can darken and the flavors mellow, which is pleasant for some dishes but may be too subdued for others. Use within a week for best vibrancy. When reheating, warm gently to avoid breaking the texture or overheating the sweeteners. A common mistake is leaving it at room temperature for days, which risks spoilage, so refrigeration is key. The texture after chilling should still be pourable, and if slightly thicker, a small shake or stir will restore pourability.
- Simmer until the sauce thickens: The final finish is all about timing. As you simmer briefly with the food, watch the sauce transform into a glossy coating that clings to strands of vegetables and pieces of meat . The visual cue is a sheen that does not simply pool but adheres to the food, and you will hear a steady, happy sizzle as moisture is carried off and the glaze sets. Avoid leaving it in the pan too long, which can caramelize the sugars unpleasantly, altering flavor balance. The ideal outcome is vibrant, coated ingredients that glisten and carry an integrated sweet savory note on every bite.
Ways to Adapt This Recipe
This section expands on small adaptations that keep the core identity of Homemade Stir Fry Sauce intact while letting you tailor it to pantry availability and taste preferences. Below are practical, tested suggestions I often use when experimenting.
- Swap the sweetener: Use honey in place of brown sugar for a floral note, and remember to reduce heat slightly when finishing to prevent burning the sugars.
- Adjust acidity: Increase or decrease the amount of rice vinegar to brighten or mellow the sauce, tasting as you go so you keep balance.
- Thickness control: For a thinner sauce, use less cornstarch or dilute with a splash more water; for a thicker glaze, mix a touch more cornstarch with water and whisk in while hot to avoid lumps.
- Flavor boost: Toast the sesame oil briefly in the pan with your aromatics to amplify its nuttiness, but do this just for seconds to prevent burning.
- Make ahead: Store the sauce up to a week in the fridge; I label jars with the date so I can track freshness and maintain consistent results.
Great Combinations for Homemade Stir Fry Sauce
This sauce pairs beautifully with a wide range of dishes. Below I outline occasions, side suggestions, and storage ideas so you can serve with confidence and variety.
- Weeknight dinner: Toss with quickly sautéed vegetables and sliced meat for an easy family meal that comes together in minutes.
- Meal prep bowls: Use as the finishing glaze on rice bowls with roasted or steamed vegetables, storing components separately to preserve texture until serving.
- Light lunch: Stir into a warm noodle bowl with crisp-tender vegetables for a simple midday meal that reheats well.
- Entertaining shortcut: Offer as a sauce for DIY stir fry stations, letting guests pick proteins and veggies, then finishing with the warmed sauce for a branded flavor.
- Storage tip: Refrigerate in an airtight container and shake before use; if the sauce separates slightly, a quick whisk restores uniformity.
- Seasonal pairing: Bright spring vegetables benefit from a slightly higher rice vinegar ratio, while heartier winter produce pairs well with the molasses notes of brown sugar.
FAQ
Conclusion
This sauce stands out for its simplicity and ability to transform everyday ingredients into a glossy, flavorful plate. Give it a try next time you need a fast, reliable way to add depth to sautéed vegetables or meat, and you might find it earning a permanent spot in your fridge. I hope it becomes your go to for quick weeknight dinners and that it helps you cook with more confidence and less fuss.
Homemade Stir Fry Sauce
Equipment
- Jar
- Small Bowl
- Whisk
- Measuring Cups
Ingredients
- 1/4 cup low-sodium soy sauce Adds a salty, umami backbone to the sauce and balances sweet and acidic notes; contributes depth and savory complexity. Use low-sodium to control overall saltiness and keep flavors rounded without overpowering other ingredients.
- 1/4 cup water Dilutes and balances the concentrated flavors, helping achieve the desired sauce consistency and prevent it from becoming too intense. Provides a neutral base that lets other ingredients shine while aiding even cooking and glazing.
- 3 tablespoons packed brown sugar or honey Sweetens and counteracts the soy’s saltiness while adding a subtle caramel-like richness; packed brown sugar gives molasses undertones, while honey adds floral complexity. Helps create a glossy finish and promotes caramelization when the sauce is heated.
- 1 teaspoon sesame oil Contributes a toasty, nutty aroma that enhances overall flavor complexity and provides a subtle finishing note; a small amount goes a long way. Adds richness and depth without making the sauce taste overtly oily.
- 2 teaspoons rice vinegar Provides bright acidity that cuts through richness and balances sweet and salty components; rice vinegar brings a mild, slightly sweet tang. Enhances freshness and helps the sauce cling to vegetables and proteins.
- 2 teaspoons cornstarch Thickens and stabilizes the sauce when heated, producing a glossy, clingable texture that coats stir-fry ingredients evenly. Mix with cold water first for a smooth slurry to prevent lumps and achieve the desired consistency quickly.
Instructions
- Combine all ingredients in a jar and shake OR whisk together in a small bowl or a glass measuring cup.: The aroma is immediate, with the toasty note of sesame oil rising first and the sweet, molasses scent from the brown sugar following. Shaking in a jar emulsifies the tiny bit of oil into the aqueous mix so it disperses uniformly, creating a smooth mouthfeel. When whisking, you will see the sugar dissolve and the surface become slightly glossy. A common mistake is not dissolving the sugar fully, which leaves gritty pockets, so stir or shake until it looks homogenized. If your cornstarch seems clumpy, preblend it with the water first to avoid lumps. The visual cue is a silky, uniform mixture with no visible granules, and the tool you choose changes texture slightly, with shaking often producing a slightly frothier top.
- Store in the fridge or use immediately, by adding to sauteed veggies and meat. Simmer until the sauce thickens.: Once made, the sauce will sit clear and smooth in the fridge, and chilling helps flavors meld, softening sharper edges while integrating the sweetness and acidity. If using immediately, add it to hot, recently sautéed vegetables or meat off direct high heat to avoid burning the sugars. A frequent slip is pouring the sauce into a pan that is too cool, which results in it not bonding to the food, or into a pan that is too hot, which can scorch the sugars. The right moment is when vegetables are just tender crisp and proteins are nearly cooked through, so the sauce adds finish rather than cooks away. The sound you want to hear is a gentle sizzle as the sauce hits the pan, and the color should deepen slightly as it warms.
- Simmer until the sauce thickens: As the mixture warms, the cornstarch activates, thickening the liquid into a glossy glaze. You will notice the sauce go from runny to clingy, coating a spoon with a glossy film. This change happens quickly, often in a minute or two, and the smell becomes richer as flavors concentrate. Avoid over simmering, which can make the sauce gummy or reduce it to a syrup that tastes too sweet. Stir constantly during this moment to keep heat even and to prevent the cornstarch from settling and creating an uneven texture. If it thickens too much, thin it with a splash of water, adding a little at a time until it reaches the consistency that nicely coats your food.
- Combine all ingredients in a jar and shake OR whisk together in a small bowl or a glass measuring cup: When I make a fresh batch, I often repeat a quick shake even after chilling to re emulsify any separated oil. The sensory experience is the reassuring click of the jar lid and the immediate release of aroma when you open it, signaling readiness. If you are whisking after storage, the sound of the whisk and the gradual smoothing of the surface indicate that the mixture has recombined. A pitfall is forgetting to reseal the jar tightly, which can lead to accidental spills or the sauce absorbing other fridge odors. Aim for a silky texture and even color before using.
- Store in the fridge or use immediately, by adding to sauteed veggies and meat: For storage, keep the sauce in an airtight container and label it with the date. Over time the sesame oil can darken and the flavors mellow, which is pleasant for some dishes but may be too subdued for others. Use within a week for best vibrancy. When reheating, warm gently to avoid breaking the texture or overheating the sweeteners. A common mistake is leaving it at room temperature for days, which risks spoilage, so refrigeration is key. The texture after chilling should still be pourable, and if slightly thicker, a small shake or stir will restore pourability.
- Simmer until the sauce thickens: The final finish is all about timing. As you simmer briefly with the food, watch the sauce transform into a glossy coating that clings to strands of vegetables and pieces of meat . The visual cue is a sheen that does not simply pool but adheres to the food, and you will hear a steady, happy sizzle as moisture is carried off and the glaze sets. Avoid leaving it in the pan too long, which can caramelize the sugars unpleasantly, altering flavor balance. The ideal outcome is vibrant, coated ingredients that glisten and carry an integrated sweet savory note on every bite.
Notes
- Swap the sweetener: Use honey in place of brown sugar for a floral note, and remember to reduce heat slightly when finishing to prevent burning the sugars.
- Adjust acidity: Increase or decrease the amount of rice vinegar to brighten or mellow the sauce, tasting as you go so you keep balance.
- Thickness control: For a thinner sauce, use less cornstarch or dilute with a splash more water; for a thicker glaze, mix a touch more cornstarch with water and whisk in while hot to avoid lumps.
- Flavor boost: Toast the sesame oil briefly in the pan with your aromatics to amplify its nuttiness, but do this just for seconds to prevent burning.
- Make ahead: Store the sauce up to a week in the fridge; I label jars with the date so I can track freshness and maintain consistent results.