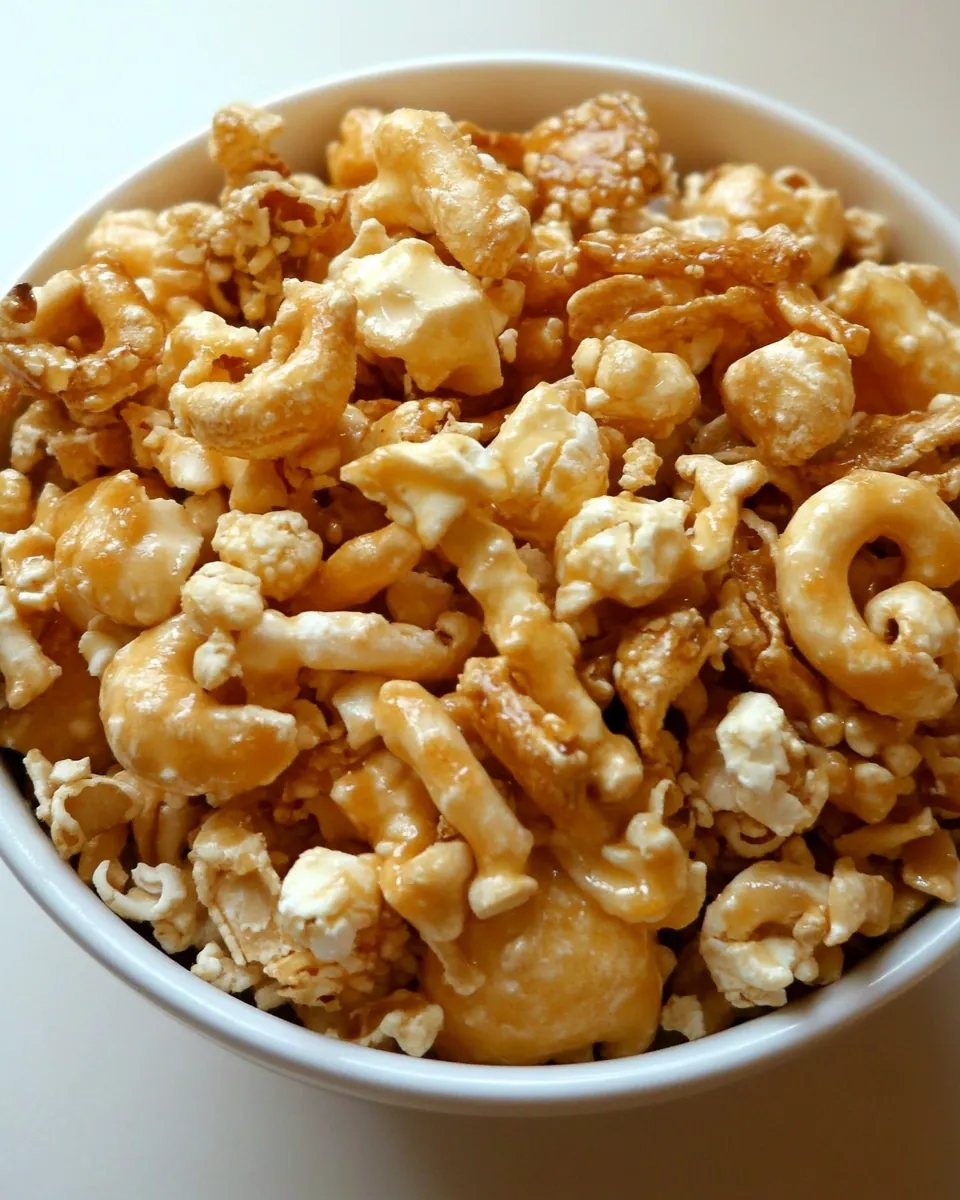
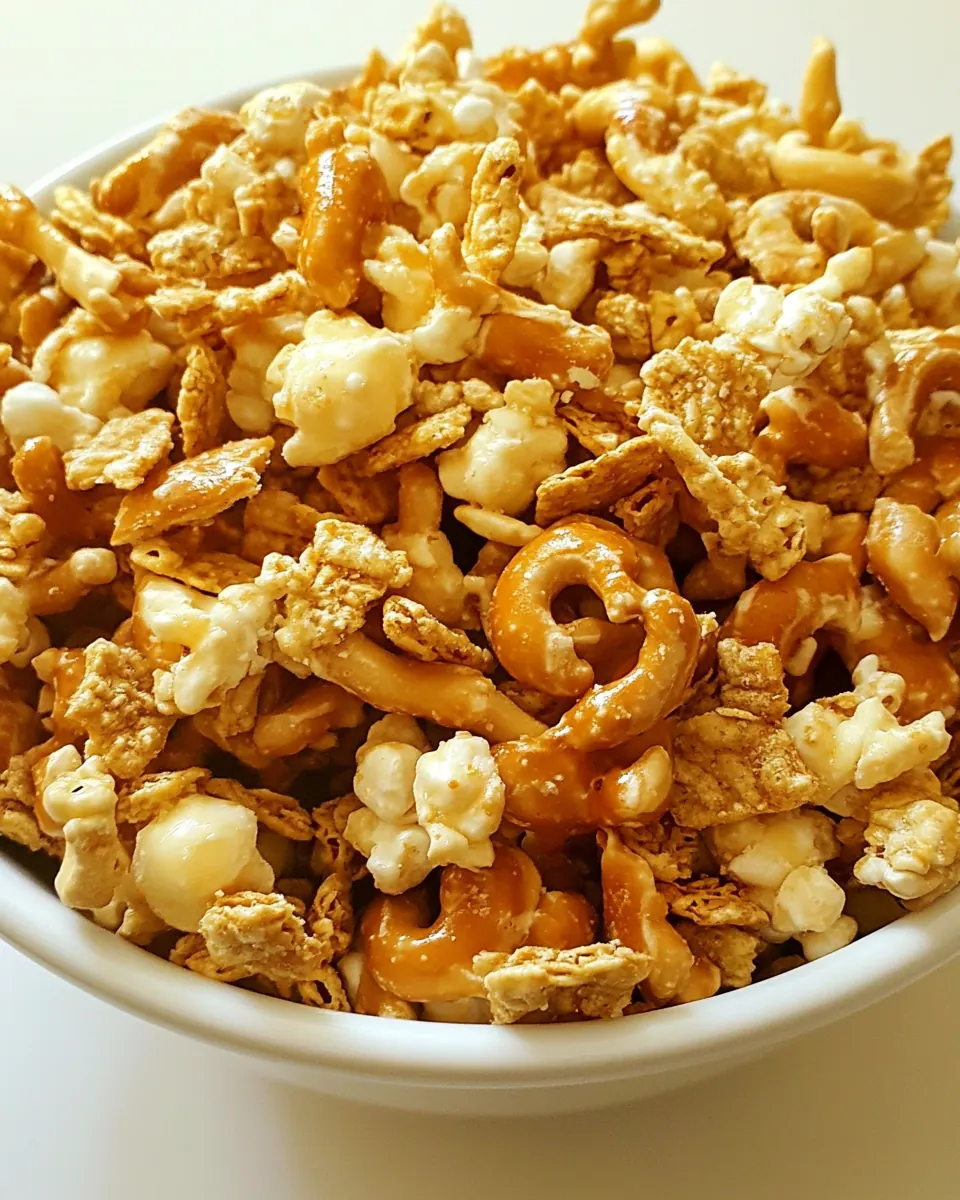
Homemade Crunch n Munch
Homemade Crunch n Munch is the kind of snack that makes a weeknight feel like a celebration, and it sneaks into my kitchen whenever I want sweet, salty, and crunchy all at once.
I first made Homemade Crunch n Munch on a rainy evening when I wanted something to nibble during a movie marathon. I remember the kitchen filling with the toasty aroma of kettle corn and the warm, caramel scent rising from the microwave while the sugars melted together. There was a little improvisation too, since I had only a handful of pretzel sticks and a jar of lightly salted peanuts. That improvisation turned into a ritual, because the texture contrast and the glossy caramel coating made the snack impossible to stop eating.
Over time I tweaked the approach so it is forgiving and reliable. I like that Homemade Crunch n Munch can be scaled up for gatherings or kept small for an evening family snack. You can hear the faint crackle as the sugar mixture hits the bowl, and the finished clusters clink together when you break them apart, which always feels satisfying. I hope this version gives you that same cozy, crunchy reward when you need a little treat.
Recipe Snapshot
22 mins
15 mins
7 mins
Easy
220 kcal
American
Gluten-Free, Low FODMAP
Desserts
Microwave safe measuring cup, Large bowl, Baking sheet, Spatula
Why This Homemade Crunch n Munch Shines
Irresistible Sweet and Salty Balance
I love how Homemade Crunch n Munch pairs the sweet, caramelized sugar with the savory bite of pretzel sticks and lightly salted peanuts. Each handful delivers contrast, so your taste buds stay interested. That interplay is why this snack disappears fast at parties, and why I always double the batch for guests.
Easy Technique, Big Impact
The method is straightforward, I promise. A quick melt in the microwave and a short bake create crunchy clusters with minimal fuss. Because it does not require tempering or stirring over the stove, I can make a batch in under half an hour when I need a fast, crowd pleasing treat.
Flexible and Forgiving
I often swap add ins based on what I have, and the recipe copes well with changes. If you want a deeper caramel note, increase the brown sugar ratio. If you prefer extra salt, toss in a pinch more salt before baking. That flexibility makes it a go to for last minute hostess gifts or snack plates.
Texture That Keeps You Coming Back
The contrast between airy popped kettle corn, crunchy pretzel sticks, and nutty peanuts means each bite is layered. You get a snap, a crunch, and a satisfying chew. Once cooled, the clusters hold their shape, which makes them easy to bag or store.
Great for Sharing
I enjoy packaging leftovers in small jars or tins to give to neighbors. The shelf stable nature of the finished clusters makes them ideal for gifting or prepping ahead for gatherings. I always try to keep one jar on hand for unexpected guests.
Shopping List for Homemade Crunch n Munch
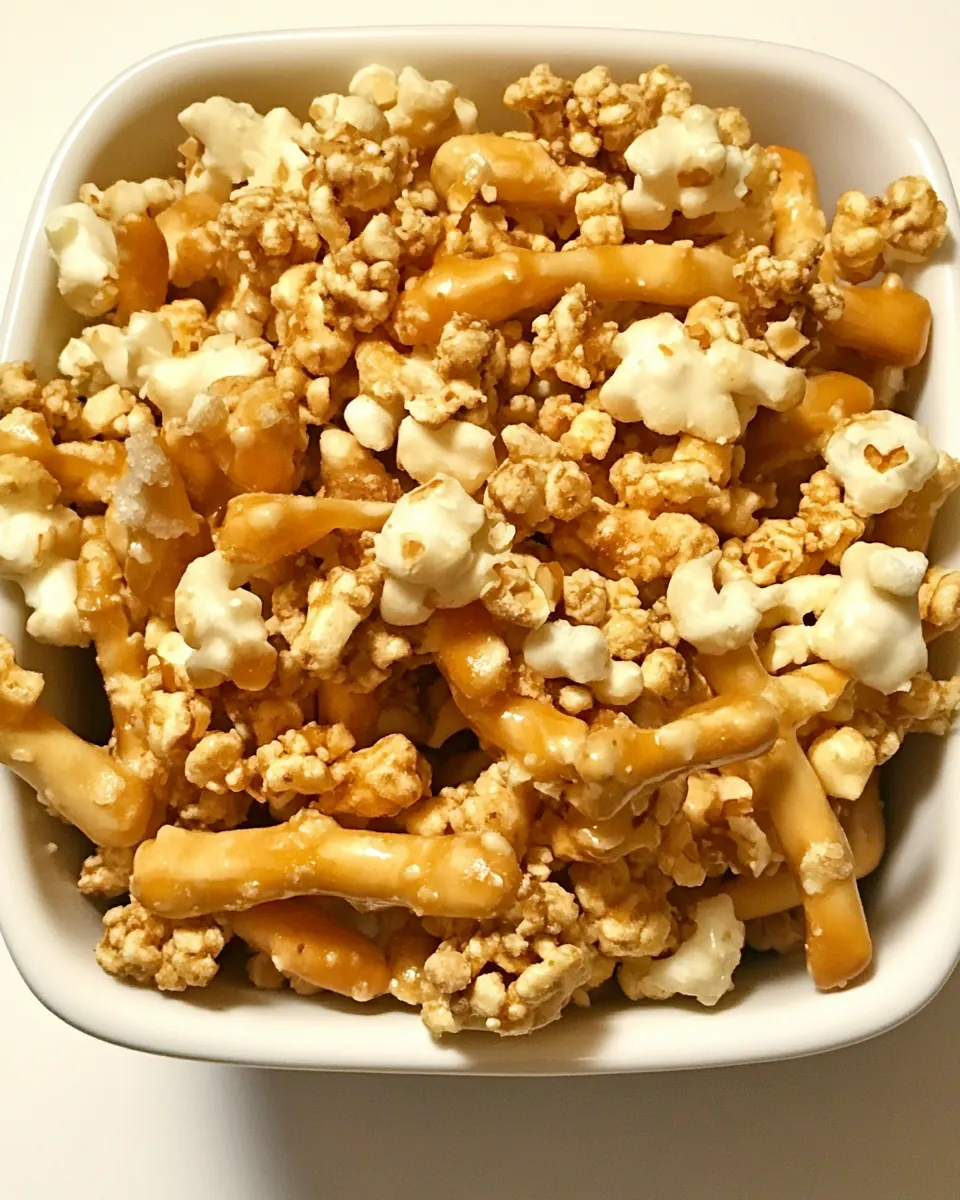
These ingredients are simple pantry staples that work together to create the classic sweet salty snack we love. The key players are the airy kettle corn which gives loft, the crunchy pretzel sticks and lightly salted peanuts for texture and savor, and a simple caramel made from butter, sugar, brown sugar, and corn syrup that binds everything into glossy clusters.
- 1 microwave bag kettle corn: Popped into a microwave bag, provides the sweet, airy kettle corn base that contributes popcorn texture and caramelized flavor to the mix. Enhances volume and delivers the primary crunch that contrasts with softer components. Works as the starch foundation to absorb the sweet coating and hold mix-ins.
- 1 cup pretzel sticks broken up: Broken up into pieces, offers a salty, crunchy contrast that adds structural variety and finger-friendly sticks for snacking. Balances sweetness with savory notes and contributes a satisfying snap in every bite. Adds visual interest and keeps the snack mix from becoming too uniform.
- 1/2 cup lightly salted peanuts: Lightly salted and scattered through the mix to introduce rich, nutty flavor and an extra layer of crunch. Balances sweet elements while contributing protein and a slightly oily mouthfeel that enhances overall richness. Helps create textural complexity and a classic sweet-savory profile.
- 1/4 cup butter: Melted down to create a rich, glossy binder that helps sugars and syrups coat the popcorn and mix-ins evenly. Provides fat for mouthfeel and prevents the final product from being dry or crumbly. Aids in achieving a chewy, caramel-like texture when combined with sugars.
- 1/4 cup sugar: Dissolved with butter and syrup to contribute sweetness and help form a caramelized coating that crystallizes slightly upon cooling. Balances brown sugar for lighter sweetness and encourages browning and slight crunch. Helps set the glaze so pieces clump pleasingly without becoming hard.
- 1/4 cup brown sugar: Added for deeper, molasses-like sweetness that brings warmth and complexity to the caramel coating. Works with granulated sugar and corn syrup to create a richer flavor profile and a softer chew. Contributes color and a hint of toffee notes in the finished snack.
- 1/4 cup corn syrup: Mixed into the sugar–butter blend to prevent crystallization and keep the coating smooth and chewy rather than gritty. Provides viscosity to help evenly coat popcorn and snacks while stabilizing the sugar mixture during heating. Ensures a glossy finish and pliable texture as it cools.
- dash salt: Sprinkled sparingly to enhance and balance sweetness, accentuating flavors and reducing cloyingness when combined with sugars. Helps bring out salt-sensitive notes and rounds out the overall taste profile. Used carefully to avoid over-salting the snack mix.
- 1/4 teaspoon vanilla: Stirred in at the end to introduce a warm, aromatic note that brightens the sweet coating and ties flavors together. Adds subtle depth and a familiar bakery-like nuance without overpowering the mix. Small amount enhances perceived sweetness and complexity.
- 1/4 teaspoon baking soda: Folded into the hot sugar mixture to aerate and lighten the coating, creating tiny bubbles that produce a delicate, crisp texture. Neutralizes some acidity and aids in creating a tender finish that is less dense. Small quantity ensures even dispersion without altering flavor significantly.
Recipe Steps for Homemade Crunch n Munch
This recipe moves quickly, but the sensory cues and small technique points are what give you perfect glossy clusters. Follow the steps patiently and watch the sugar closely when it melts, because that is where the magic happens.
- Preheat oven to 250 degrees. Grease baking sheet and set aside.: As the oven warms you will notice a dry heat that is perfect for crisping, which helps set the caramel without burning it; this low temperature allows the coating to dry slowly so clusters hold together, and a common mistake is cranking the oven higher which can brown the sugar too much.
- Pop popcorn and pour into large bowl, being sure to sort out any unpopped kernels. Add in pretzels and peanuts.: The scent of warm fat from greasing the sheet is subtle, and a properly greased surface keeps the clusters from sticking, letting you lift them cleanly when cooled; forgetting to grease will make scraping difficult and may break the clusters into unwanted crumbs.
- In large measuring cup, stir together butter, sugars, corn syrup and salt. Microwave on high for 1-2 minutes until everything has melted together and bubbled. Make sure you stop and stir every 30 seconds or so! (You'll have to watch it carefully so it doesn't bubble over the top!) Once all the sugar crystals have melted and everything is uniform in color, stir in vanilla extract and baking soda well – at this point the baking soda will make the sugar mixture double in volume and almost become similar to a melted marshmallow.: The fresh popped kettle corn will be warm and slightly sweet, and removing unpopped kernels protects against hard, unpleasant bites; a frequent oversight is not checking for kernels, which can damage teeth or create a poor mouthfeel.
- At this point, pour sugar mixture over popcorn, peanuts and pretzels and stir well. Pour coated mixture onto prepared baking sheet and spread out evenly.: When you stir, you will hear the mix begin to clack and rustle as the shapes nestle together; this step builds the textural foundation so every cluster has contrasts, and skipping even distribution will create uneven pockets of sweetness or salt.
- Bake 10 minutes and remove from oven. Stir with spatula to break larger pieces apart and let cool completely. Scrape crunch n' munch off baking sheet and break any large pieces into smaller ones. Store in air tight containers.: Melted together, the mixture will steam lightly and the sugars will begin to dissolve into the warm butter ; stirring promotes even heating, and a common slip is to under stir which leaves sugar crystals undissolved.
- Microwave on high for 1 to 2 minutes until everything has melted together and bubbled: You will see the mixture bubble vigorously as it reaches temperature, and the aroma shifts toward caramel; watch closely and stir every 30 seconds to avoid boil overs, because letting it foam over makes a sticky mess and wastes ingredients.
- Make sure you stop and stir every 30 seconds or so: Stirring interrupts the bubbling and ensures uniform color and texture, helping dissolve residual crystals; failing to stir risks hot spots that can scorch the sugar and create off flavors.
- Once all the sugar crystals have melted and everything is uniform in color, stir in vanilla and baking soda well: When you add the baking soda you will notice the mixture lighten and foam, turning almost marshmallow like, which aerates the caramel and creates a lighter crisp; not mixing the soda thoroughly can leave pockets that do not fully react, leading to inconsistent texture.
- At this point, pour sugar mixture over popcorn, peanuts and pretzels and stir well: Pouring will sizzle softly as the hot caramel meets the cool bowl, and stirring immediately coats pieces with a glossy sheen; a common error is pouring too quickly without stirring which can create large sticky clumps instead of evenly coated clusters.
- Pour coated mixture onto prepared baking sheet and spread out evenly: Spreading gives the pieces room to bake evenly and the surface will glisten under the oven light, which helps you monitor browning; crowding the pan will inhibit crisping and produce chewy spots.
- Bake 10 minutes and remove from oven: During baking the caramel will set and emit a toasty aroma, and the low heat firms the coating without burning it; leaving it in longer than directed can darken the sugars and impart a bitter note.
- Stir with spatula to break larger pieces apart and let cool completely: As it cools you will hear the clusters harden and the texture will shift from tacky to crisp; resist the urge to handle it while warm, because doing so will cause the clusters to stick together or deform.
- Scrape crunch n' munch off baking sheet and break any large pieces into smaller ones: The act of scraping releases the finished clusters with a satisfying clink, and breaking them to size gives you snack friendly portions; forcing them apart too soon while still warm will make them gummy.
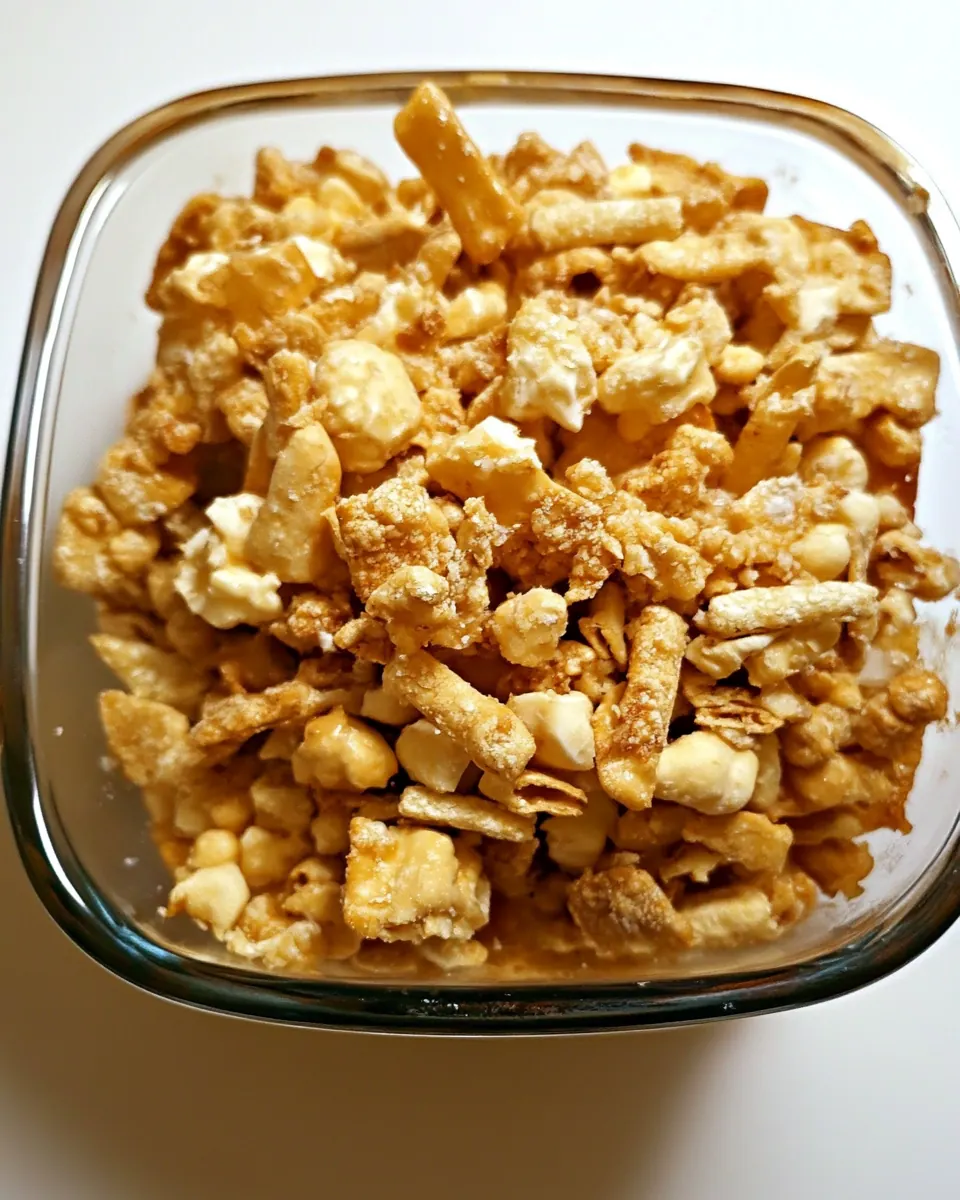
- Store in air tight containers: Stored properly the clusters keep their crunch and the scent remains fresh, and I like that they travel well for gifting; exposing them to air or humidity will soften the caramel, so airtight is essential.
Customization Ideas
This snack is wonderfully adaptable, and small swaps turn the base into new flavor directions. Below are practical, tested ideas that keep the recipe reliable while offering variety.
- Swap sugars: Use 1/2 cup brown sugar and omit granulated sugar for a deeper caramel note and chewier clusters, which I do when I want a richer flavor.
- Add mix ins: Fold in cereal, extra nuts, or shredded coconut after coating for extra texture and variety, making sure to keep pieces bite sized so the clusters form evenly.
- Adjust salt level: Increase the dash of salt slightly if your peanuts are unsalted, to maintain the sweet salty contrast that makes the snack addictive.
- Make it nut free: Omit the lightly salted peanuts and add extra pretzels or cereal to keep crunch and accommodate allergies without losing structure.
- Package for gifting: Once cooled, place clusters in airtight jars or tins and tie with ribbon for a quick, thoughtful homemade gift that travels well.
Side Dish Ideas for Homemade Crunch n Munch
This crunchy snack works across occasions, from movie nights to festive gatherings. Below are serving ideas, storage tips, and pairings to help you plan how to enjoy and present it.
- Snack bowls for movie night: Serve Homemade Crunch n Munch in small bowls so guests can graze without distractions, it pairs well with a cozy film and low lighting.
- Party fill: Use this as part of a snack table alongside cut fruit and simple finger foods for a crowd pleasing mix of textures and flavors.
- Gift packs: Fill small jars or cellophane bags with cooled clusters, seal airtight, and label with the date; they make great hostess gifts or seasonal treats.
- Storage tips: Keep in an airtight container at room temperature away from humidity for up to two weeks to retain crispness, and avoid refrigeration which can introduce moisture.
- Occasions: Perfect for casual gatherings, game days, and anytime you want a portable, shareable snack that travels well and stays crunchy.
- Seasonal pairings: Offer it during holiday movie marathons or picnic outings when crunchy, portable snacks are welcome, and adjust sugar ratios for a more caramel forward treat in cooler months.
FAQ
Conclusion
This Homemade Crunch n Munch shines because it delivers a perfect balance of sweet, salty, and crunchy in an easy to make package. Give it a try the next time you want a crowd pleasing snack or a cozy treat for movie night. I hope making these clusters becomes one of your quick go to recipes for sharing, gifting, and snacking.

Homemade Crunch n Munch
Equipment
- Microwave safe measuring cup
- Large Bowl
- Baking Sheet
- Spatula
Ingredients
- 1 microwave bag kettle corn Popped into a microwave bag, provides the sweet, airy kettle corn base that contributes popcorn texture and caramelized flavor to the mix. Enhances volume and delivers the primary crunch that contrasts with softer components. Works as the starch foundation to absorb the sweet coating and hold mix-ins.
- 1 cup pretzel sticks broken up Broken up into pieces, offers a salty, crunchy contrast that adds structural variety and finger-friendly sticks for snacking. Balances sweetness with savory notes and contributes a satisfying snap in every bite. Adds visual interest and keeps the snack mix from becoming too uniform.
- 1/2 cup lightly salted peanuts Lightly salted and scattered through the mix to introduce rich, nutty flavor and an extra layer of crunch. Balances sweet elements while contributing protein and a slightly oily mouthfeel that enhances overall richness. Helps create textural complexity and a classic sweet-savory profile.
- 1/4 cup butter Melted down to create a rich, glossy binder that helps sugars and syrups coat the popcorn and mix-ins evenly. Provides fat for mouthfeel and prevents the final product from being dry or crumbly. Aids in achieving a chewy, caramel-like texture when combined with sugars.
- 1/4 cup sugar Dissolved with butter and syrup to contribute sweetness and help form a caramelized coating that crystallizes slightly upon cooling. Balances brown sugar for lighter sweetness and encourages browning and slight crunch. Helps set the glaze so pieces clump pleasingly without becoming hard.
- 1/4 cup brown sugar Added for deeper, molasses-like sweetness that brings warmth and complexity to the caramel coating. Works with granulated sugar and corn syrup to create a richer flavor profile and a softer chew. Contributes color and a hint of toffee notes in the finished snack.
- 1/4 cup corn syrup Mixed into the sugar-butter blend to prevent crystallization and keep the coating smooth and chewy rather than gritty. Provides viscosity to help evenly coat popcorn and snacks while stabilizing the sugar mixture during heating. Ensures a glossy finish and pliable texture as it cools.
- dash salt Sprinkled sparingly to enhance and balance sweetness, accentuating flavors and reducing cloyingness when combined with sugars. Helps bring out salt-sensitive notes and rounds out the overall taste profile. Used carefully to avoid over-salting the snack mix.
- 1/4 teaspoon vanilla Stirred in at the end to introduce a warm, aromatic note that brightens the sweet coating and ties flavors together. Adds subtle depth and a familiar bakery-like nuance without overpowering the mix. Small amount enhances perceived sweetness and complexity.
- 1/4 teaspoon baking soda Folded into the hot sugar mixture to aerate and lighten the coating, creating tiny bubbles that produce a delicate, crisp texture. Neutralizes some acidity and aids in creating a tender finish that is less dense. Small quantity ensures even dispersion without altering flavor significantly.
Instructions
- Preheat oven to 250 degrees. Grease baking sheet and set aside.: As the oven warms you will notice a dry heat that is perfect for crisping, which helps set the caramel without burning it; this low temperature allows the coating to dry slowly so clusters hold together, and a common mistake is cranking the oven higher which can brown the sugar too much.
- Pop popcorn and pour into large bowl, being sure to sort out any unpopped kernels. Add in pretzels and peanuts.: The scent of warm fat from greasing the sheet is subtle, and a properly greased surface keeps the clusters from sticking, letting you lift them cleanly when cooled; forgetting to grease will make scraping difficult and may break the clusters into unwanted crumbs.
- In large measuring cup, stir together butter, sugars, corn syrup and salt. Microwave on high for 1-2 minutes until everything has melted together and bubbled. Make sure you stop and stir every 30 seconds or so! (You'll have to watch it carefully so it doesn't bubble over the top!) Once all the sugar crystals have melted and everything is uniform in color, stir in vanilla extract and baking soda well - at this point the baking soda will make the sugar mixture double in volume and almost become similar to a melted marshmallow.: The fresh popped kettle corn will be warm and slightly sweet, and removing unpopped kernels protects against hard, unpleasant bites; a frequent oversight is not checking for kernels, which can damage teeth or create a poor mouthfeel.
- At this point, pour sugar mixture over popcorn, peanuts and pretzels and stir well. Pour coated mixture onto prepared baking sheet and spread out evenly.: When you stir, you will hear the mix begin to clack and rustle as the shapes nestle together; this step builds the textural foundation so every cluster has contrasts, and skipping even distribution will create uneven pockets of sweetness or salt.
- Bake 10 minutes and remove from oven. Stir with spatula to break larger pieces apart and let cool completely. Scrape crunch n' munch off baking sheet and break any large pieces into smaller ones. Store in air tight containers.: Melted together, the mixture will steam lightly and the sugars will begin to dissolve into the warm butter ; stirring promotes even heating, and a common slip is to under stir which leaves sugar crystals undissolved.
- Microwave on high for 1 to 2 minutes until everything has melted together and bubbled: You will see the mixture bubble vigorously as it reaches temperature, and the aroma shifts toward caramel; watch closely and stir every 30 seconds to avoid boil overs, because letting it foam over makes a sticky mess and wastes ingredients.
- Make sure you stop and stir every 30 seconds or so: Stirring interrupts the bubbling and ensures uniform color and texture, helping dissolve residual crystals; failing to stir risks hot spots that can scorch the sugar and create off flavors.
- Once all the sugar crystals have melted and everything is uniform in color, stir in vanilla and baking soda well: When you add the baking soda you will notice the mixture lighten and foam, turning almost marshmallow like, which aerates the caramel and creates a lighter crisp; not mixing the soda thoroughly can leave pockets that do not fully react, leading to inconsistent texture.
- At this point, pour sugar mixture over popcorn, peanuts and pretzels and stir well: Pouring will sizzle softly as the hot caramel meets the cool bowl, and stirring immediately coats pieces with a glossy sheen; a common error is pouring too quickly without stirring which can create large sticky clumps instead of evenly coated clusters.
- Pour coated mixture onto prepared baking sheet and spread out evenly: Spreading gives the pieces room to bake evenly and the surface will glisten under the oven light, which helps you monitor browning; crowding the pan will inhibit crisping and produce chewy spots.
- Bake 10 minutes and remove from oven: During baking the caramel will set and emit a toasty aroma, and the low heat firms the coating without burning it; leaving it in longer than directed can darken the sugars and impart a bitter note.
- Stir with spatula to break larger pieces apart and let cool completely: As it cools you will hear the clusters harden and the texture will shift from tacky to crisp; resist the urge to handle it while warm, because doing so will cause the clusters to stick together or deform.
- Scrape crunch n' munch off baking sheet and break any large pieces into smaller ones: The act of scraping releases the finished clusters with a satisfying clink, and breaking them to size gives you snack friendly portions; forcing them apart too soon while still warm will make them gummy.
- Store in air tight containers: Stored properly the clusters keep their crunch and the scent remains fresh, and I like that they travel well for gifting; exposing them to air or humidity will soften the caramel, so airtight is essential.
Notes
- Swap sugars: Use 1/2 cup brown sugar and omit granulated sugar for a deeper caramel note and chewier clusters, which I do when I want a richer flavor.
- Add mix ins: Fold in cereal, extra nuts, or shredded coconut after coating for extra texture and variety, making sure to keep pieces bite sized so the clusters form evenly.
- Adjust salt level: Increase the dash of salt slightly if your peanuts are unsalted, to maintain the sweet salty contrast that makes the snack addictive.
- Make it nut free: Omit the lightly salted peanuts and add extra pretzels or cereal to keep crunch and accommodate allergies without losing structure.
- Package for gifting: Once cooled, place clusters in airtight jars or tins and tie with ribbon for a quick, thoughtful homemade gift that travels well.