Healthy Granola Recipe
Healthy Granola Recipe has been my weekday secret for years, a jarred companion on rushed mornings and a crunchy topping for lazy weekend yogurt bowls. I first learned to make this version after hunting for a recipe that tasted homemade, packed a nutritional punch, and still felt celebratory when I spooned it over a bowl of fruit. Over time I adjusted little things, turning quantities, toasting times, and the fruit mix until the blend felt just right for breakfast, snacks, and quick travel breakfasts.
There is a comfort in the routine of stirring a tray while the kitchen fills with warm, toasty aromas. I remember one rainy Sunday when I doubled the batch, listened to the rain, and tasted tiny toasted coconut flecks that made me grin. That small ritual of stirring and testing became part of how I shape a morning, and I enjoy sharing that ritual with friends who ask for the recipe. Making Healthy Granola Recipe is as much about the sensory moments as it is about convenience, and I love how adaptable it is to what you have on hand.
Recipe Snapshot
30 mins
5 mins
25 mins
Easy
200 kcal
American
Gluten-Free, Vegan
Breakfast
Rimmed cookie sheet, Non stick spray, Spatula, Measuring cups and spoons
Why This Healthy Granola Recipe Hits Different
Crunch That Keeps You Going
I adore how the combination of rolled oats, slivered almonds, and pepitas creates a satisfying crunch that holds up in milk and yogurt. The texture is substantial, so each spoonful feels like a small, energizing meal rather than an insubstantial topping.
Natural Sweetness, Controlled
Using a modest amount of honey lets the sweetness support the nuts and seeds instead of overpowering them. I appreciate that this approach makes the granola versatile, so you can pair it with plain yogurt or sweeter bowls without things getting cloying.
Toasted Coconut Adds Depth
The shredded coconut toasts quickly and lends a rich, almost caramel note that I find irresistible. It brings both flavor and aroma, making the batch smell like a bakery while staying wholesome.
Balanced Nutrition in Every Bite
Between the flax seeds and pepitas, this granola has a boost of healthy fats and fiber, so it keeps you fuller longer. I often reach for this when I need a quick energy top up, and it rarely leaves me crashing before lunch.
Customizable Finally
I like that the base is a blueprint. You can keep the framework the same, but the dried fruits and nuts can shift based on what you love or have on hand. That flexibility is why I return to this as a staple recipe in my kitchen.
What’s In This Healthy Granola Recipe
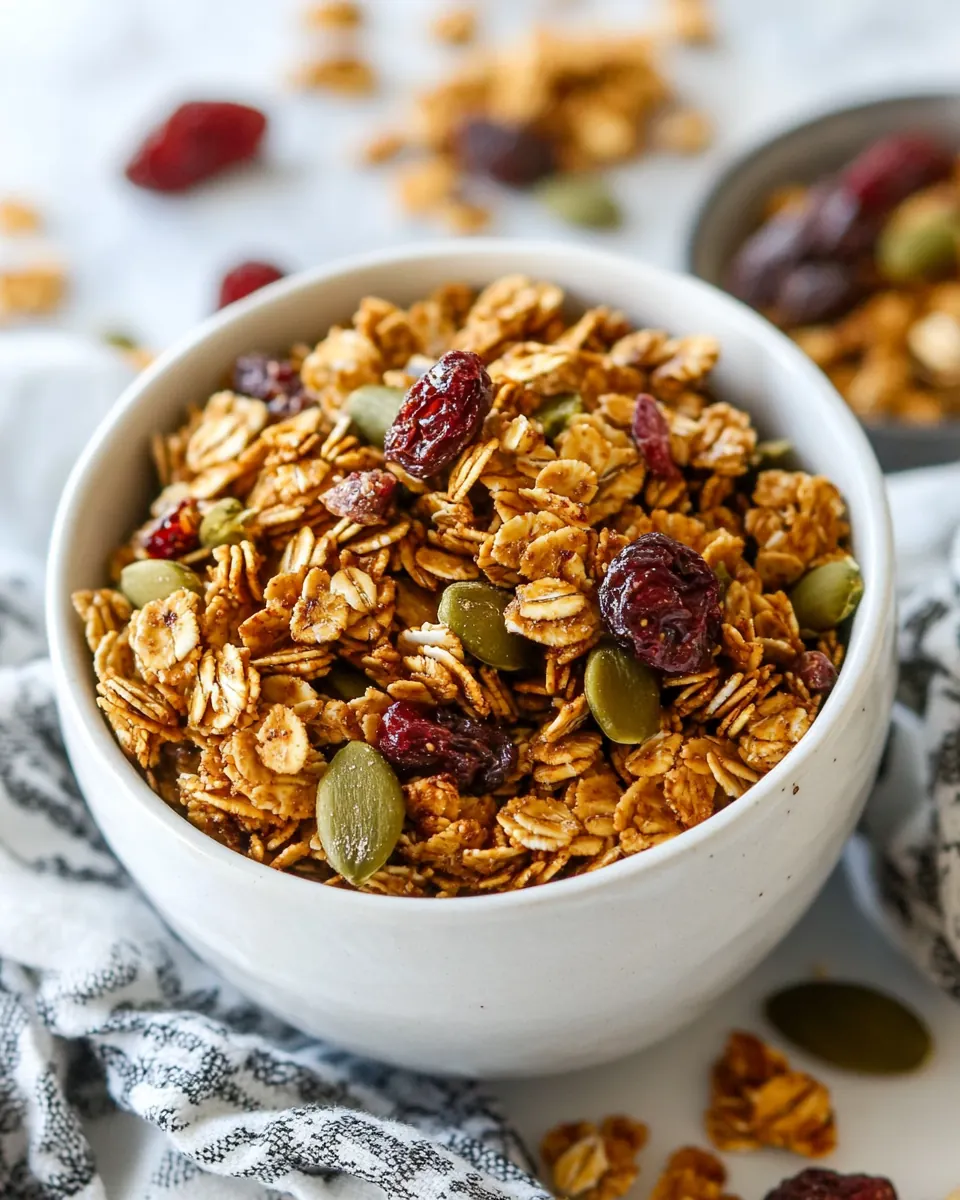
These ingredients work together to create crunchy, slightly sweet granola that holds up in milk and yogurt while offering real nutrition. The players are simple and intentional. The rolled oats provide body and absorb toasted flavors, the shredded coconut gives toasty richness, seeds and nuts lend crunch and healthy fats, while honey and a touch of cinnamon tie everything with warm sweetness. Together they make a granola that is sturdy, flavorful, and versatile.
- 2 cups rolled oats: Provide a hearty, chewy base that binds the granola and soaks up sweeteners; toasting develops a nutty aroma and crisp texture while keeping the mixture substantial and wholesome for breakfasts or snacks.
- 1 cup shredded coconut: Add a tropical, slightly sweet flavor and crisp texture that toasts quickly; incorporate evenly to provide occasional coconut flakes that enhance aroma and contrast with the oats.
- 3/4 cup slivered almonds: Contribute a crunchy, slightly rich texture and mild nutty flavor; chop or toast lightly to release oils and distribute a satisfying almond bite throughout the granola.
- 1/2 cup pepitas (shelled pumpkin seeds): Introduce a tender crunch and subtle vegetal flavor while boosting protein and healthy fats; scatter evenly to add variety and a pleasant seediness in each spoonful.
- 1/4 cup flax seeds: Provide a tiny, nutty texture and earthy flavor while offering omega-3s and fiber; sprinkle throughout to improve nutritional density and help bind clusters when mixed with sweetener.
- 2 tablespoons oil or melted butter: Coat dry ingredients to help clusters form and carry flavors; use a neutral oil or melted butter to add richness, promote even toasting, and create cohesive granola clusters.
- 3 tablespoons honey: Sweeten and help clump the granola while adding mellow floral notes; drizzle and mix thoroughly so it caramelizes slightly during baking and binds ingredients into clusters.
- 1/4 teaspoon cinnamon: Impart warm, aromatic spice that complements sweet and nutty elements; sprinkle sparingly to enhance overall flavor without overpowering the other ingredients.
- 1/4 teaspoon salt: Balance sweetness and enhance flavor depth while controlling sodium; dissolve into the wet mixture so it seasons the granola uniformly and brings out other flavors.
- 1/2 cup dried cherries: Add chewy bursts of tart-sweet fruitiness and color contrast; fold in after baking or near the end of toasting to preserve chewiness and concentrated flavor.
- 1/2 cup golden raisins (or black raisins): Provide plump, sweet chewiness and natural sweetness as an alternative to darker raisins; incorporate after baking to maintain moisture and offer pleasant fruity bites.
How to Assemble Healthy Granola Recipe
These directions walk you through building crunchy clusters and developing deep toasted aroma. I find it helpful to stay present while the tray toasts, because those final minutes are where the magic happens. Keep tools handy and tilt the sheet to check color as you go.
- Preheat the oven to 350 degrees. Spray a rimmed cookie sheet with non-stick spray. Mix oats, coconut, seeds, and nuts on the cookie sheet. Pour oil and honey over the mixture and sprinkle with salt and cinnamon. Toss well. Spread the mixture evenly over the cookie sheet.: As you let the oven come to temperature you will start to smell the faint warmth that anticipates toasting. Proper preheating ensures even browning across the tray, which matters because uneven heat means some pieces burn while others stay pale. One common mistake is putting the tray in too soon, which can cause uneven texture. You should also prepare a rimmed cookie sheet by spraying it with non stick spray so the granola does not stick and to make flipping easier later. The sound of the oven fan settling and the faint hum are indicators it is ready, and visually you want the oven thermometer to read a steady 350 degrees before you slide the tray in.
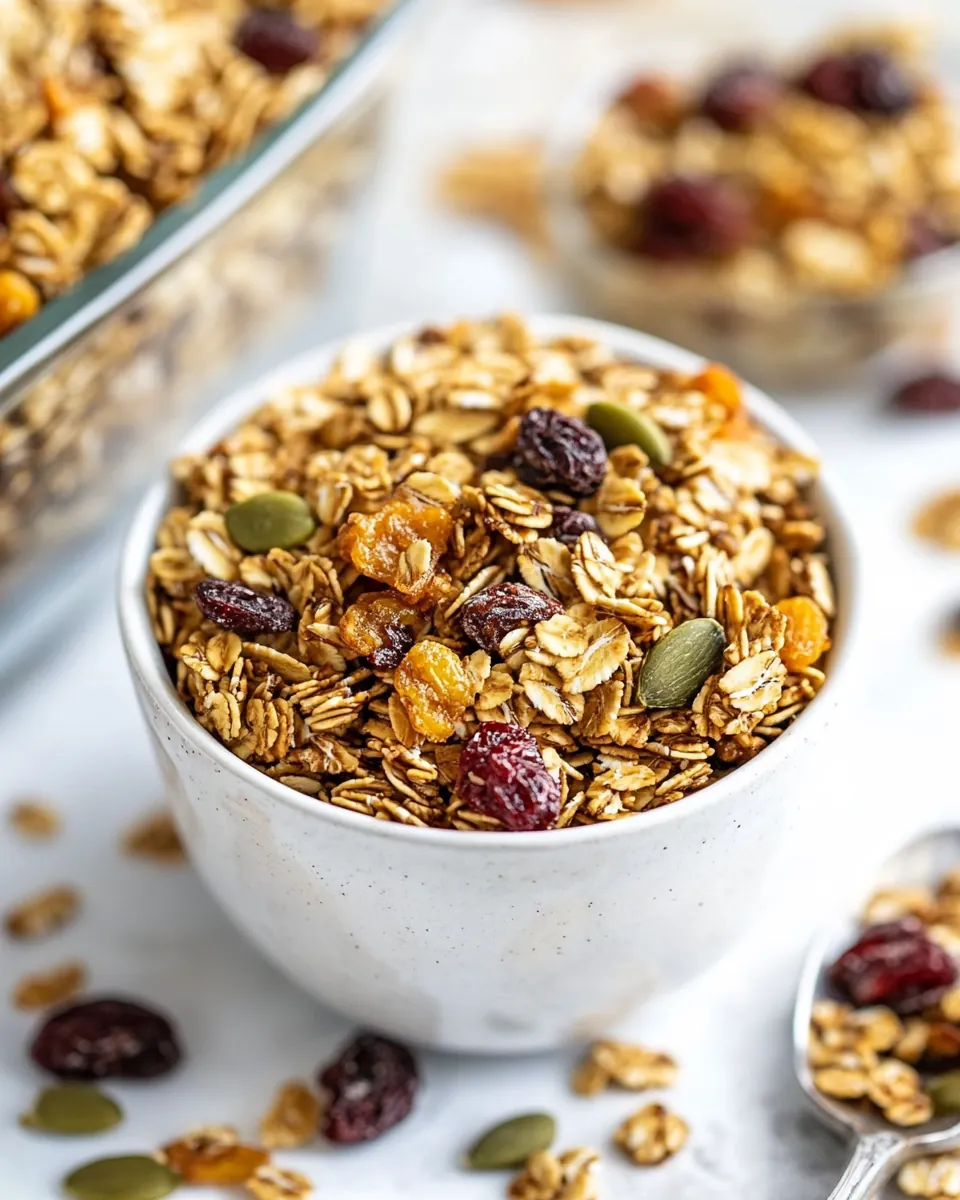
- Bake for 20-25 minutes, until the coconut is golden-brown, flipping once and respreading after 10 minutes. Cool on the cookie sheet.: When you spread out the dry mix you will notice the contrast in sizes and colors, with pale oats, green pepitas, and slivered almonds creating a pleasing mosaic. Doing this directly on the cookie sheet saves a bowl and lets you immediately add the oil and honey in place, which helps coat each piece evenly. A pitfall is overcrowding the sheet with too thick a layer, which prevents airflow and can result in steaming rather than toasting. Aim for a single even layer so air circulates and each piece can toast to a golden color.
- Once cooled, mix in the dried fruit and store in an air-tight container.: As the warm, glossy stream of honey and oil hits the dry mix it will begin to sheen and clump, which is the start of cluster formation. The fat helps distribute heat and carry flavor, while the honey binds and caramelizes. Stir to combine so the coating is even, taking care not to over stir because you still want some clumps to form. A common error is adding too much liquid, which makes the mixture soggy and prevents crisping, so measure carefully. You can see the mixture glisten when it is properly coated, and you should be able to pinch small clusters between your fingers.
- Toss well: Tossing brings everything into contact with the sweet coating and ensures that each fragment has a touch of seasoning. You will feel the weight of the coated oats as they clump faintly, and when you lift a handful you should notice a slightly tacky texture. This is important because those small bonds become golden clusters once baked. Avoid vigorous pounding or packing which can crush the nuts and make the texture too powdery. Use a spatula to fold and lift so pieces remain distinct and some cluster formation begins before the oven.
- Spread the mixture evenly over the cookie sheet: Visual evenness is key, because where the layer is thinner it will brown much faster. Aim for a single uniform layer with a little breathing room between clusters, which promotes crisping. A common mistake is leaving high mounds near the sheet edges, causing edges to burn before the center browns. Smooth the top gently and press lightly for denser clusters if you prefer larger chunks. The surface should look connected in places, but not packed into a solid slab.
- Bake for 20 to 25 minutes, until the coconut is golden brown, flipping once and respreading after 10 minutes: During baking the kitchen will fill with a warm, toasty aroma and you will see the coconut and almonds develop a deep golden hue. Flipping at the halfway point ensures even color and prevents the side facing down from staying pale. Listen for a faint crackle as moisture leaves the granola and avoid leaving it unattended in the final minutes, since small differences in oven temperature can change golden to burnt fast. A typical error is flipping too often which interrupts browning, so do one careful flip at the ten minute mark and then let it finish uninterrupted. Visually you are aiming for an overall golden brown, with coconut and nuts showing deeper color than the oats.
- Cool on the cookie sheet: Cooling is where crispness finishes forming, because the honey bonds set as the mixture loses heat. As the tray cools you will hear a quiet settling and the clusters will harden beneath your fingers. If you try to mix in dried fruit while warm the fruit will soften and the texture will change, so patience is essential. Avoid scraping and stirring too soon which breaks clusters; instead let the tray reach room temperature so the clusters stabilize and the aroma mellows into that characteristic granola scent.
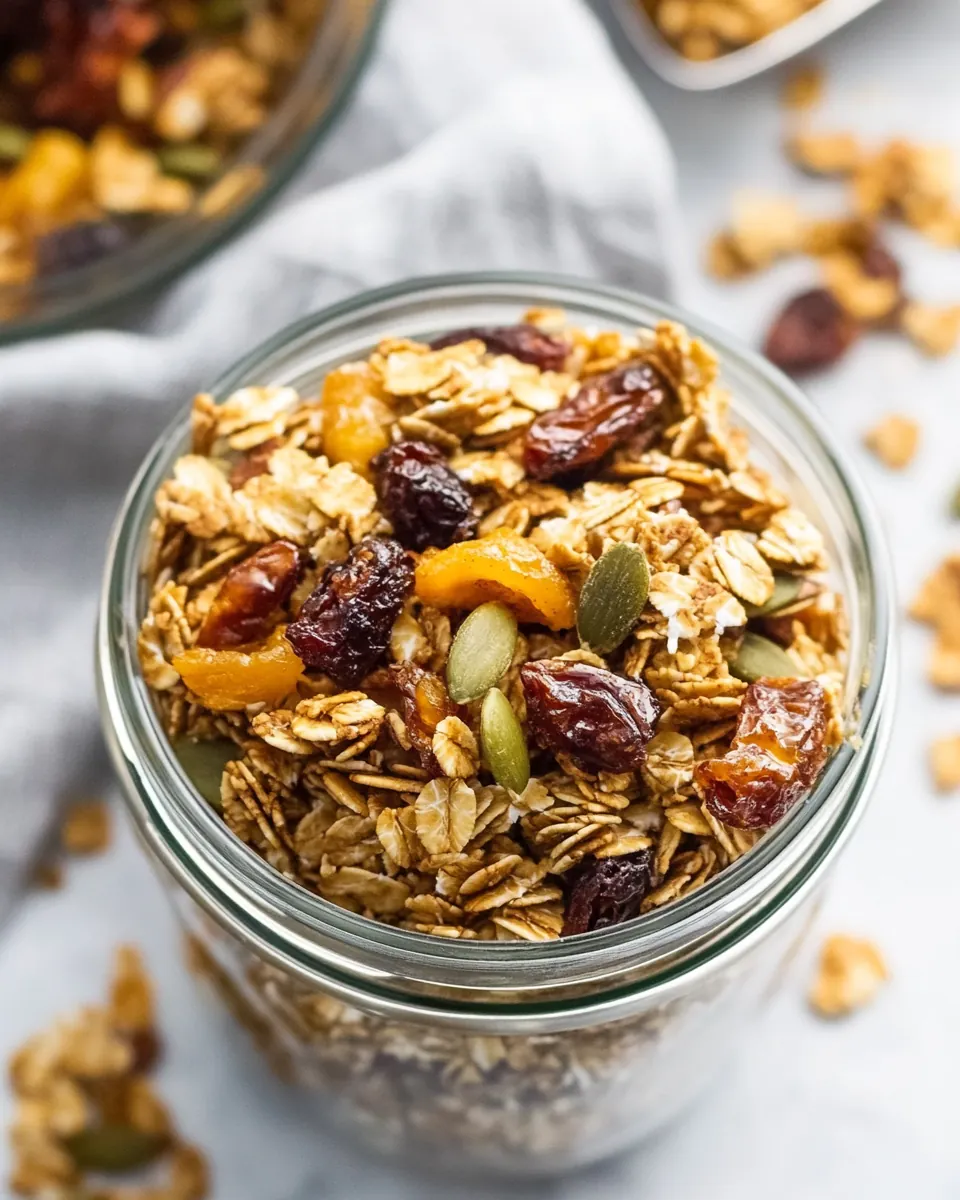
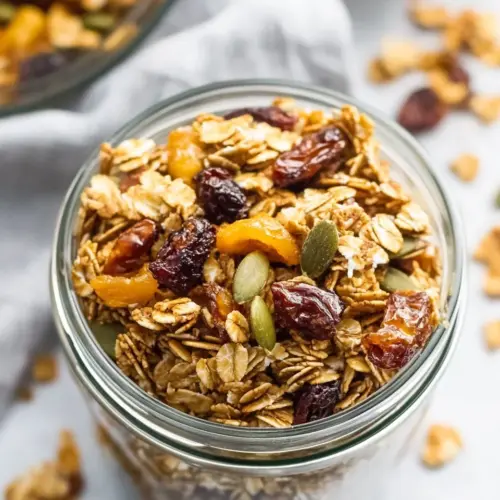
- Once cooled, mix in the dried fruit and store in an air tight container: Adding the dried cherries and raisins after cooling preserves their chew and prevents them from melting into the warm granola. When you fold them in you will notice pops of color against the golden clusters. Store in an air tight container to maintain crunch, and keep the jar in a cool, dark spot for up to several weeks. A common mistake is packing the granola while still warm which traps steam and softens the texture, so always ensure it is fully cooled before sealing.
Helpful Hints
I like to collect tips that save time and improve texture, because small changes make a big difference in homemade granola. These pointers come from repeated batches and a few happy accidents that taught me how to control color, crunch, and flavor. Use them as a checklist the first few times until the routine feels natural.
- Measure liquids precisely, because the balance of honey and oil determines cluster formation and crispness. Use a liquid measuring cup and level teaspoons to avoid a gummy or dry batch.
- Use a single layer on the sheet, so air can circulate and each piece can brown evenly. Thicker layers steam rather than toast, leaving a softer texture.
- Watch the oven in the final minutes, as coconut and nuts can shift from golden to burnt quickly. Set a timer for the first color check to avoid overbaking.
- Cool completely before storing, since residual heat will release steam that softens the granola if it is sealed while warm. Patience here keeps the crunch.
- Swap dried fruits last, folding them in after cooling preserves chew and prevents sticky clumping while still offering bursts of sweetness.
Great Combinations for Healthy Granola Recipe
This granola is flexible enough to pair with many breakfasts and snacks, and it works for different occasions depending on how you serve it. Below are practical serving ideas, storage notes, and occasion suggestions that help you get the most from a batch. I like to vary combinations to keep bowls interesting.
- Yogurt parfaits, layer Healthy Granola Recipe with plain or Greek yogurt and fresh fruit for a balanced breakfast with protein and crunch. This makes a textured, satisfying start to the day and is easy to make ahead for busy mornings.
- Milk or plant milk, pour cold milk over a bowl of the granola for a quick cereal style meal. The clusters soften slightly in milk while the toasted bits retain some crunch, creating a pleasant contrast.
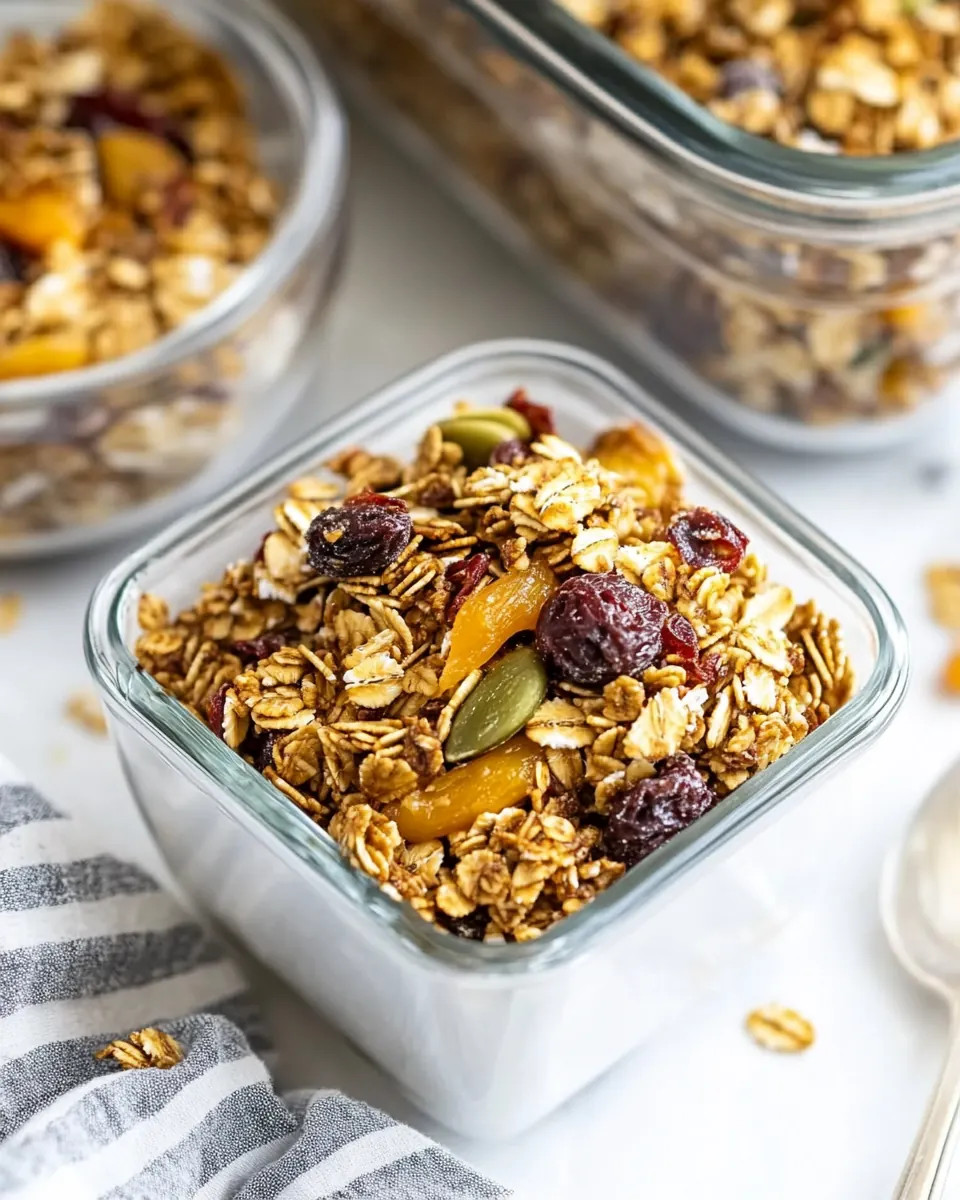
- Snack jars, fill small jars with granola and dried fruit for grab and go snacks during travel or workdays. The sealed container preserves crunch, and the mix travels well without refrigeration for short periods.
- Topping for baked fruit, sprinkle over warmed apples or pears before serving to add crunch and texture. The granola will toast a little against the warm fruit, releasing extra aroma and creating a pleasing contrast in temperatures.
- Potluck or brunch, bring a bowl of granola as part of a breakfast spread with yogurt, fruit, and nut butters. It complements communal meals and offers a wholesome option for guests who want something crunchy and not too sweet.
- Storage tips, keep in an air tight container at room temperature for up to three weeks, or freeze for longer storage. If softened, re crisp briefly in a 300 degree oven for a few minutes to restore texture.
FAQ
Conclusion
What makes this recipe special is its balance of toasty crunch and wholesome ingredients, producing a versatile granola that works for breakfasts, snacks, and simple desserts. Give Healthy Granola Recipe a try and you will have a reliable, homemade crunchy staple that feels nourishing and satisfying. I hope this guide inspires you to experiment with small swaps and find your perfect mix, then enjoy the ritual of warm aromas and the pleasure of a jarred, homemade treat.
Healthy Granola Recipe
Equipment
- Rimmed cookie sheet
- Non stick spray
- Spatula
- Measuring Cups and Spoons
Ingredients
- 2 cups rolled oats Provide a hearty, chewy base that binds the granola and soaks up sweeteners; toasting develops a nutty aroma and crisp texture while keeping the mixture substantial and wholesome for breakfasts or snacks.
- 1 cup shredded coconut Add a tropical, slightly sweet flavor and crisp texture that toasts quickly; incorporate evenly to provide occasional coconut flakes that enhance aroma and contrast with the oats.
- 3/4 cup slivered almonds Contribute a crunchy, slightly rich texture and mild nutty flavor; chop or toast lightly to release oils and distribute a satisfying almond bite throughout the granola.
- 1/2 cup pepitas (shelled pumpkin seeds) Introduce a tender crunch and subtle vegetal flavor while boosting protein and healthy fats; scatter evenly to add variety and a pleasant seediness in each spoonful.
- 1/4 cup flax seeds Provide a tiny, nutty texture and earthy flavor while offering omega-3s and fiber; sprinkle throughout to improve nutritional density and help bind clusters when mixed with sweetener.
- 2 tablespoons oil or melted butter Coat dry ingredients to help clusters form and carry flavors; use a neutral oil or melted butter to add richness, promote even toasting, and create cohesive granola clusters.
- 3 tablespoons honey Sweeten and help clump the granola while adding mellow floral notes; drizzle and mix thoroughly so it caramelizes slightly during baking and binds ingredients into clusters.
- 1/4 teaspoon cinnamon Impart warm, aromatic spice that complements sweet and nutty elements; sprinkle sparingly to enhance overall flavor without overpowering the other ingredients.
- 1/4 teaspoon salt Balance sweetness and enhance flavor depth while controlling sodium; dissolve into the wet mixture so it seasons the granola uniformly and brings out other flavors.
- 1/2 cup dried cherries Add chewy bursts of tart-sweet fruitiness and color contrast; fold in after baking or near the end of toasting to preserve chewiness and concentrated flavor.
- 1/2 cup golden raisins (or black raisins) Provide plump, sweet chewiness and natural sweetness as an alternative to darker raisins; incorporate after baking to maintain moisture and offer pleasant fruity bites.
Instructions
- Preheat the oven to 350 degrees. Spray a rimmed cookie sheet with non-stick spray. Mix oats, coconut, seeds, and nuts on the cookie sheet. Pour oil and honey over the mixture and sprinkle with salt and cinnamon. Toss well. Spread the mixture evenly over the cookie sheet.: As you let the oven come to temperature you will start to smell the faint warmth that anticipates toasting. Proper preheating ensures even browning across the tray, which matters because uneven heat means some pieces burn while others stay pale. One common mistake is putting the tray in too soon, which can cause uneven texture. You should also prepare a rimmed cookie sheet by spraying it with non stick spray so the granola does not stick and to make flipping easier later. The sound of the oven fan settling and the faint hum are indicators it is ready, and visually you want the oven thermometer to read a steady 350 degrees before you slide the tray in.
- Bake for 20-25 minutes, until the coconut is golden-brown, flipping once and respreading after 10 minutes. Cool on the cookie sheet.: When you spread out the dry mix you will notice the contrast in sizes and colors, with pale oats, green pepitas, and slivered almonds creating a pleasing mosaic. Doing this directly on the cookie sheet saves a bowl and lets you immediately add the oil and honey in place, which helps coat each piece evenly. A pitfall is overcrowding the sheet with too thick a layer, which prevents airflow and can result in steaming rather than toasting. Aim for a single even layer so air circulates and each piece can toast to a golden color.
- Once cooled, mix in the dried fruit and store in an air-tight container.: As the warm, glossy stream of honey and oil hits the dry mix it will begin to sheen and clump, which is the start of cluster formation. The fat helps distribute heat and carry flavor, while the honey binds and caramelizes. Stir to combine so the coating is even, taking care not to over stir because you still want some clumps to form. A common error is adding too much liquid, which makes the mixture soggy and prevents crisping, so measure carefully. You can see the mixture glisten when it is properly coated, and you should be able to pinch small clusters between your fingers.
- Toss well: Tossing brings everything into contact with the sweet coating and ensures that each fragment has a touch of seasoning. You will feel the weight of the coated oats as they clump faintly, and when you lift a handful you should notice a slightly tacky texture. This is important because those small bonds become golden clusters once baked. Avoid vigorous pounding or packing which can crush the nuts and make the texture too powdery. Use a spatula to fold and lift so pieces remain distinct and some cluster formation begins before the oven.
- Spread the mixture evenly over the cookie sheet: Visual evenness is key, because where the layer is thinner it will brown much faster. Aim for a single uniform layer with a little breathing room between clusters, which promotes crisping. A common mistake is leaving high mounds near the sheet edges, causing edges to burn before the center browns. Smooth the top gently and press lightly for denser clusters if you prefer larger chunks. The surface should look connected in places, but not packed into a solid slab.
- Bake for 20 to 25 minutes, until the coconut is golden brown, flipping once and respreading after 10 minutes: During baking the kitchen will fill with a warm, toasty aroma and you will see the coconut and almonds develop a deep golden hue. Flipping at the halfway point ensures even color and prevents the side facing down from staying pale. Listen for a faint crackle as moisture leaves the granola and avoid leaving it unattended in the final minutes, since small differences in oven temperature can change golden to burnt fast. A typical error is flipping too often which interrupts browning, so do one careful flip at the ten minute mark and then let it finish uninterrupted. Visually you are aiming for an overall golden brown, with coconut and nuts showing deeper color than the oats.
- Cool on the cookie sheet: Cooling is where crispness finishes forming, because the honey bonds set as the mixture loses heat. As the tray cools you will hear a quiet settling and the clusters will harden beneath your fingers. If you try to mix in dried fruit while warm the fruit will soften and the texture will change, so patience is essential. Avoid scraping and stirring too soon which breaks clusters; instead let the tray reach room temperature so the clusters stabilize and the aroma mellows into that characteristic granola scent.
- Once cooled, mix in the dried fruit and store in an air tight container: Adding the dried cherries and raisins after cooling preserves their chew and prevents them from melting into the warm granola. When you fold them in you will notice pops of color against the golden clusters. Store in an air tight container to maintain crunch, and keep the jar in a cool, dark spot for up to several weeks. A common mistake is packing the granola while still warm which traps steam and softens the texture, so always ensure it is fully cooled before sealing.
Notes
- Measure liquids precisely, because the balance of honey and oil determines cluster formation and crispness. Use a liquid measuring cup and level teaspoons to avoid a gummy or dry batch.
- Use a single layer on the sheet, so air can circulate and each piece can brown evenly. Thicker layers steam rather than toast, leaving a softer texture.
- Watch the oven in the final minutes, as coconut and nuts can shift from golden to burnt quickly. Set a timer for the first color check to avoid overbaking.
- Cool completely before storing, since residual heat will release steam that softens the granola if it is sealed while warm. Patience here keeps the crunch.
- Swap dried fruits last, folding them in after cooling preserves chew and prevents sticky clumping while still offering bursts of sweetness.