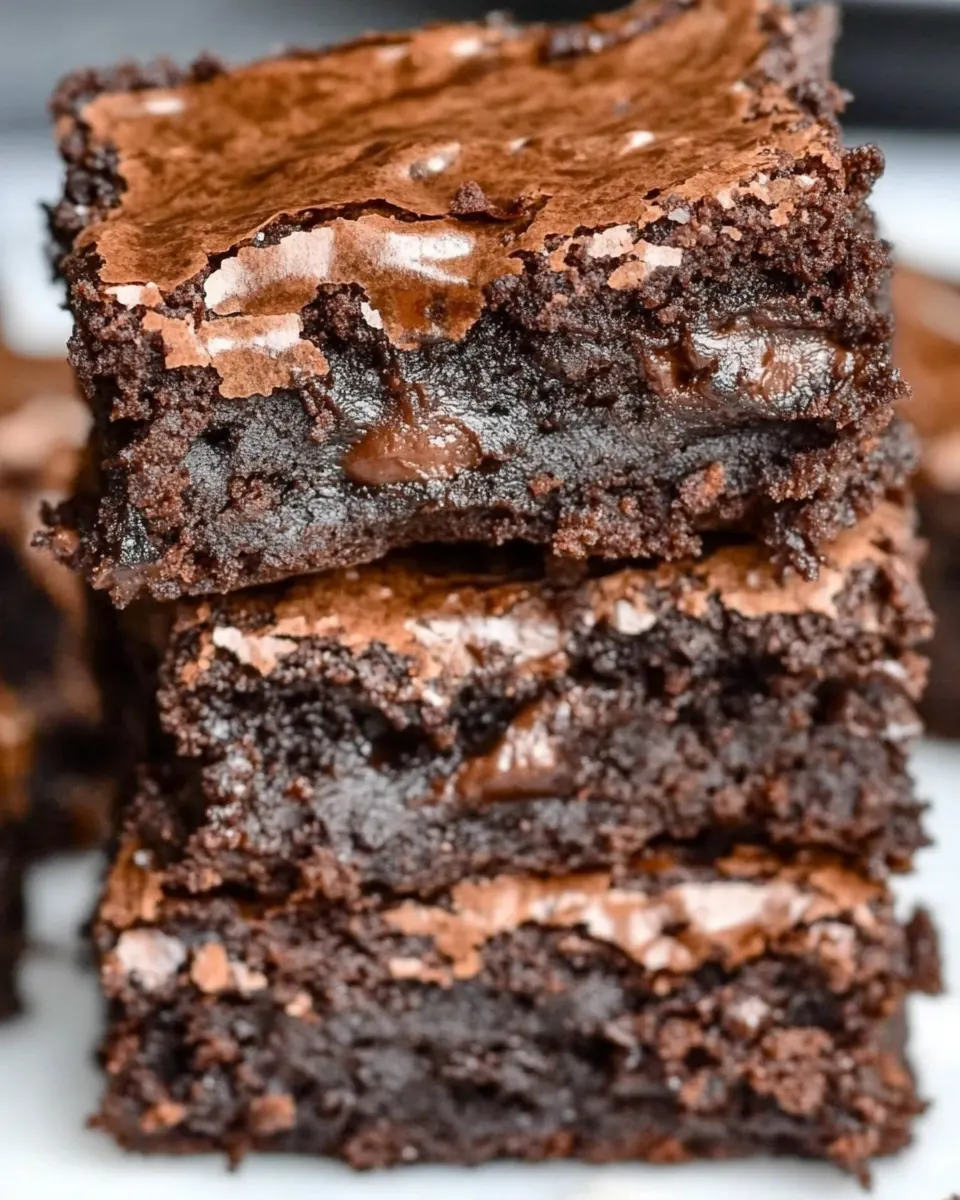
Greek Yogurt Brownies
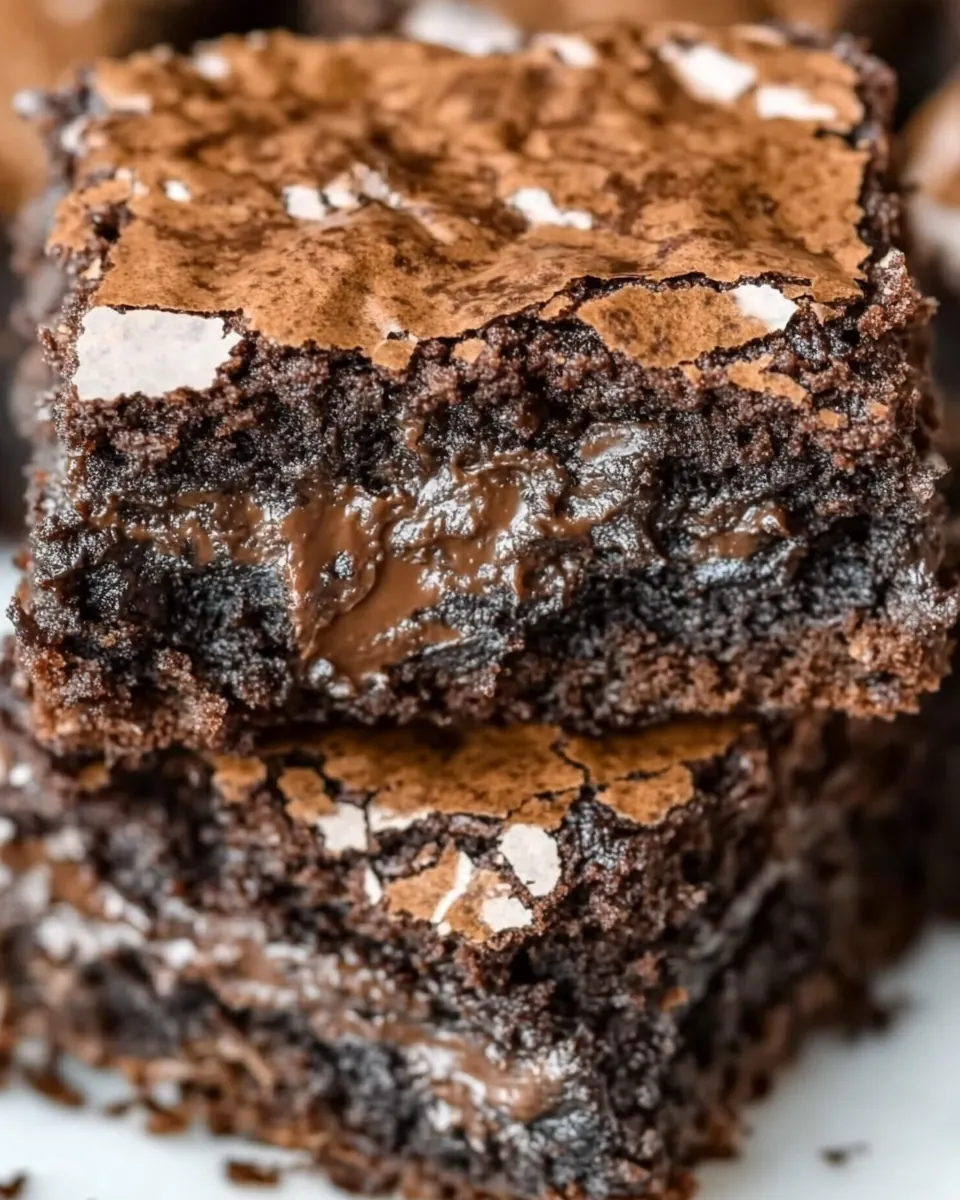
Greek Yogurt Brownies came into my life on an ordinary Tuesday when I wanted a rich treat without the usual guilt trip, and the result changed my weeknight dessert game forever. I remember stirring a bowl while the oven warmed, feeling skeptical about how Greek yogurt could possibly make brownies fudgy and satisfying, yet lighter at the same time. That first bite surprised me with a dense, cocoa forward center and a tender crumb that felt indulgent but not heavy, and I made a mental note to never underestimate simple ingredient swaps again.
Over the next few weeks, I experimented with different brands of Greek yogurt, varying the sweetness, and testing chocolate ratios until I landed on a version that balanced gooey texture and deep chocolate flavor. Friends who tried them assumed there was butter or oil hidden in the recipe, and I loved watching their expressions when I revealed the secret was mostly yogurt and a generous helping of cocoa. These brownies became my go to for casual gatherings, because they slice neatly yet stay moist, and they travel well when I tuck them into a tin for potlucks.
Recipe Snapshot
35 mins
5 mins
30 mins
Easy
100 kcal
Mediterranean
Gluten-Free, Low FODMAP
Desserts
8 x 8-inch pan, Parchment paper, Microwave-safe bowl, Whisk, Large mixing bowl, Wire rack
Why Try This Greek Yogurt Brownies
Fudgy texture with less fat
I love how Greek Yogurt Brownies deliver a rich, fudgy bite while trimming down on fat. The Greek yogurt provides moisture and body, so you get that dense, satisfying chew without depending on large amounts of butter or oil. It feels clever, and I always feel better serving them to family.
Accessible pantry ingredients
Most of the time you only need staples like flour, cocoa powder, and sugar. I appreciate recipes that do not require hunting for specialty items, so these brownies are ideal for late night baking emergencies or spontaneous dessert needs.
Customizable chocolate intensity
Because this recipe splits chocolate between chopped melting chocolate and optional chocolate chips, you can easily tune the chocolate experience. I prefer a mix of bittersweet for depth and chips for pockets of melted surprise, and you can adjust based on sweetness preference.
Kid friendly, yet grown up
These brownies hit a sweet spot where kids adore them, and adults appreciate the real chocolate flavor. I often bring them to family gatherings because they please a crowd without feeling childlike or overly sugary.
Easy to make and forgiving
The method is straightforward and forgiving, which I value after a long day. You can tweak the thickness by using an 8 by 8 pan, and minor timing adjustments still yield good results. That reliability makes me reach for this recipe when I want dependable brownies every time.
Ingredient List for Greek Yogurt Brownies
My ingredient philosophy for Greek Yogurt Brownies is simple. I rely on a few bold players to create depth and texture: cocoa powder for chocolate intensity, chopped and melting chocolate to add silkiness, and Greek yogurt to keep them moist without excess fat. The rest are supportive staples that balance structure and sweetness so the final brownie is both tender and rich.
- 1/2 cup chopped chocolate: Chopped to add concentrated pockets of melted chocolate throughout the batter, contributing richness and a fudgy texture when baked; can be semi-sweet, dark, or milk depending on desired sweetness. Use quality chocolate for best flavor and distribute evenly for consistent bites.
- 1 cup vanilla yogurt* See notes: Creamy and tangy yogurt provides moisture, tenderizes the crumb, and adds a subtle tang that balances the brownies' sweetness; opt for full-fat vanilla for richer results or low-fat for lighter brownies. If using flavored yogurt, adjust added sugar to maintain desired sweetness.
- 1/2 cup sugar of choice white, brown, sugar free, etc.: Granulated or alternative sweeteners supply needed sweetness and help with structure and browning during baking; adjust quantity slightly if using sugar–free substitutes based on sweetness equivalence. Dissolve with wet ingredients to ensure even sweetness throughout the brownies.
- 3/4 cup all purpose flour gluten free, if needed: Provides the primary structure and body by supplying gluten and starch to form the crumb; use all-purpose flour for a classic dense brownie texture or a 1:1 gluten–free blend as directed for allergy needs. Sift before measuring to avoid lumps and ensure accurate volume.
- 1/2 cup cocoa powder: Delivers intense chocolate flavor and deep color while absorbing some moisture to create a concentrated cocoa backbone for the brownies; choose natural or Dutch-processed cocoa depending on acidity interactions with leavening. Blend thoroughly with dry ingredients to prevent clumping.
- 1/2 teaspoon baking soda: Acts as a leavening agent to give slight lift and counteract density, producing a tender but not cake-like brownie; use the specified amount to maintain fudgy texture rather than overly airy results. Ensure it is fresh for reliable rising activity.
- 1/2 cup milk of choice I used unsweetened almond milk: Adds necessary liquid to hydrate dry ingredients and adjust batter consistency while contributing subtle flavor depending on milk choice; plant-based milks like almond keep the recipe dairy-friendly and slightly lighter. Mix with yogurt and sugar to form a smooth batter.
- 1 cup chocolate chips of choice (optional): Optional mix-in that contributes bursts of melty chocolate and extra texture when folded into the batter; choose chips that suit sweetness preference such as dark, milk, or vegan varieties. Fold in last to prevent sinking and ensure even distribution.
Cooking Method for Greek Yogurt Brownies
Baking these brownies is a hands on, sensory process that rewards attention. The steps are straightforward, yet watching the batter transform and the aroma fill the kitchen is part of the pleasure. Below I expand each instruction into detailed guidance so you can bake with confidence.
- Preheat the oven to 180 C/350 F. Line an 8 x 8-inch pan with parchment paper, and set aside.: As the oven warms to 180 C/350 F , you will notice the faint hum and the initial dry, warm air that signals readiness, which is important because an accurate starting temp ensures even baking. Lining an 8 x 8-inch pan with parchment creates lift and prevents sticking, and the paper edges give you handles for removing the brownies. If you skip lining, you risk tearing the edges when extracting the bars, so never underestimate this small step. Avoid using a different pan size unless you adjust bake time, because a larger pan will thin the batter and overbake it, while a smaller pan will lengthen baking and could undercook the center.
- In a microwave-safe bowl, add your chopped chocolate. Melt your chocolate. Let sit for 1-2 minutes, before adding your yogurt and sugar. Whisk until smooth and transfer to a large mixing bowl.: When you melt the chopped chocolate , the scent becomes noticeably warm and cocoa rich, a cue that the base flavor is forming. Letting it rest for 1 to 2 minutes allows residual heat to finish melting, preventing scorching when you stir in cooler ingredients. Whisking until glossy ensures the emulsion is smooth, and once you add the yogurt and sugar , the mixture should become satin like. If you blitz the chocolate too aggressively in the microwave, it can seize, becoming grainy, so always heat in short bursts and stir frequently. A common mistake is adding cold yogurt right away; allowing it to come slightly closer to room temperature helps the mixture stay uniform and prevents curdling.
- Add the flour, cocoa powder, and baking soda, and mix until just combined. Add your milk and mix well, until fully incorporated. Fold through your chocolate chips, if using them.: As you sprinkle in the flour , cocoa powder , and baking soda , the batter will darken and thicken, and you want to stir until there are no streaks of dry ingredients visible. Overmixing is the enemy here because it develops gluten and yields a cakier texture, so stop as soon as unified. Adding the milk adjusts the batter to a glossy, pipeable consistency; you want it dense but pourable, not runny. Folding in chocolate chips creates melty islands that burst when you bite into them, and doing this gently keeps them from sinking or bleeding. A typical error is vigorous beating at this stage, which aerates the batter and changes the final crumb, so use gentle strokes.
- Transfer to the lined pan and bake the brownies for 25-30 minutes, or until a skewer comes out just clean. Remove from the oven and let cool in the pan for 10 minutes, before carefully transferring to a wire rack to cool completely.: Sliding the batter into the prepared pan, you will notice a glossy top that puffs slightly as it bakes, and the kitchen will fill with an intense chocolate aroma that tells you things are progressing. Baking for 25 to 30 minutes aims for a set exterior and a tender interior, and checking with a skewer that comes out just clean, or with a few moist crumbs, ensures the center remains fudgy rather than dry. Letting the brownies rest in the pan for 10 minutes allows internal steam to redistribute, making it easier to remove them intact. Transferring too soon can cause the squares to fall apart, and leaving them in the pan too long may trap condensation, softening the crust. When slicing, use a sharp knife and wipe between cuts for neat edges.
Variations to Try
These variations let you adapt Greek Yogurt Brownies to your mood and pantry. Each option highlights a different texture or flavor profile while keeping the core method intact.
- Swap the chocolate types Use bittersweet chopped chocolate for deeper, less sweet flavor, or try semisweet for a more classic profile.
- Brown sugar twist Replace half the white sugar with brown sugar to introduce caramel notes and a chewier texture.
- Gluten free option Use a 1 to 1 gluten free flour blend in place of all purpose flour, ensuring it contains a binder so the crumb stays intact.
- Milk swap Use full fat dairy milk for a richer mouthfeel, or keep unsweetened almond milk for a lighter result.
- Chip mix in Combine dark and milk chocolate chips for varied pockets of sweetness and texture throughout the brownies.
Side Dish Ideas for Greek Yogurt Brownies
These serving ideas help you present Greek Yogurt Brownies for different occasions, from casual snack to holiday tray. Think contrasts of temperature and texture to make each bite interesting.
- Simple coffee pairing Serve a warm square with a strong black coffee for a classic cafe style combo that balances richness and bitterness.
- Ice cream plate Pair a brownie with a scoop of vanilla or salted caramel ice cream for a contrast of warm and cold, soft and creamy.
- Party platter Cut into small squares and arrange on a platter with fruit skewers to add brightness and color to a dessert table.
- Lunchbox treat Wrap a single brownie in parchment for an easy, portable dessert that stays moist at room temperature for a day.
- Seasonal gifting Stack brownies in a decorative tin with parchment separators for holiday giving, and include storage instructions so recipients enjoy them at peak texture.
- Storage strategy Keep in a sealed container at room temperature with a paper towel on top to retain moisture for up to five days, or refrigerate for longer storage and thaw before serving.
FAQ
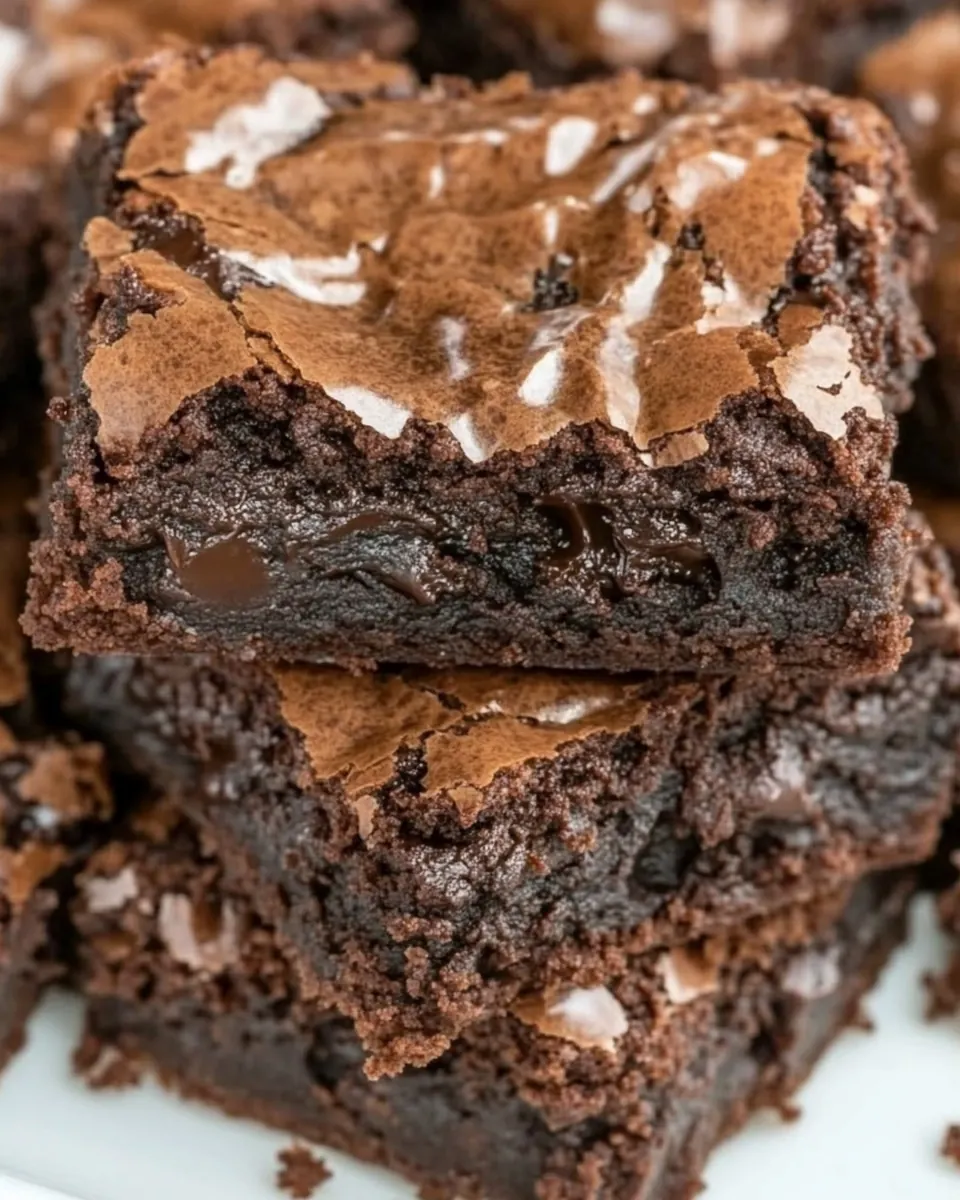
Conclusion
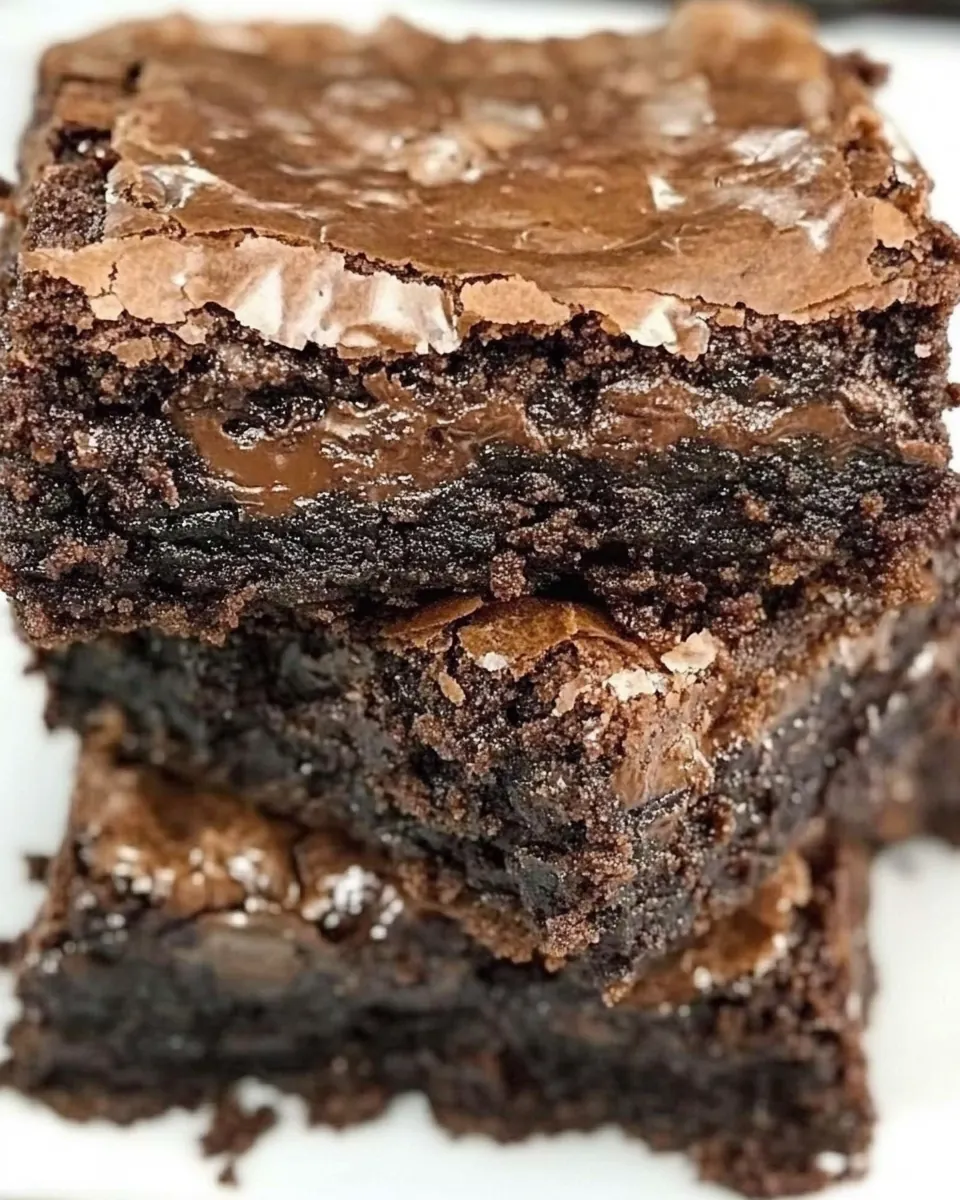
These Greek Yogurt Brownies stand out because they combine deep chocolate flavor with a tender, fudgy texture while using Greek yogurt to lower fat without sacrificing enjoyment. Give them a try the next time you want a dependable, impressive dessert that comes together quickly from pantry staples. I hope they become one of your go to recipes for cozy evenings, gatherings, or whenever you crave a genuinely satisfying brownie that manages to feel a little lighter.
Greek Yogurt Brownies
Equipment
- 8 x 8-inch pan
- Parchment Paper
- Microwave-safe Bowl
- Whisk
- Large Mixing Bowl
- Wire Rack
Ingredients
- 1/2 cup chopped chocolate Chopped to add concentrated pockets of melted chocolate throughout the batter, contributing richness and a fudgy texture when baked; can be semi-sweet, dark, or milk depending on desired sweetness. Use quality chocolate for best flavor and distribute evenly for consistent bites.
- 1 cup vanilla yogurt* See notes Creamy and tangy yogurt provides moisture, tenderizes the crumb, and adds a subtle tang that balances the brownies' sweetness; opt for full-fat vanilla for richer results or low-fat for lighter brownies. If using flavored yogurt, adjust added sugar to maintain desired sweetness.
- 1/2 cup sugar of choice white, brown, sugar free, etc. Granulated or alternative sweeteners supply needed sweetness and help with structure and browning during baking; adjust quantity slightly if using sugar-free substitutes based on sweetness equivalence. Dissolve with wet ingredients to ensure even sweetness throughout the brownies.
- 3/4 cup all purpose flour gluten free, if needed Provides the primary structure and body by supplying gluten and starch to form the crumb; use all-purpose flour for a classic dense brownie texture or a 1:1 gluten-free blend as directed for allergy needs. Sift before measuring to avoid lumps and ensure accurate volume.
- 1/2 cup cocoa powder Delivers intense chocolate flavor and deep color while absorbing some moisture to create a concentrated cocoa backbone for the brownies; choose natural or Dutch-processed cocoa depending on acidity interactions with leavening. Blend thoroughly with dry ingredients to prevent clumping.
- 1/2 teaspoon baking soda Acts as a leavening agent to give slight lift and counteract density, producing a tender but not cake-like brownie; use the specified amount to maintain fudgy texture rather than overly airy results. Ensure it is fresh for reliable rising activity.
- 1/2 cup milk of choice I used unsweetened almond milk Adds necessary liquid to hydrate dry ingredients and adjust batter consistency while contributing subtle flavor depending on milk choice; plant-based milks like almond keep the recipe dairy-friendly and slightly lighter. Mix with yogurt and sugar to form a smooth batter.
- 1 cup chocolate chips of choice optional Optional mix-in that contributes bursts of melty chocolate and extra texture when folded into the batter; choose chips that suit sweetness preference such as dark, milk, or vegan varieties. Fold in last to prevent sinking and ensure even distribution.
Instructions
- Preheat the oven to 180 C/350 F. Line an 8 x 8-inch pan with parchment paper, and set aside.: As the oven warms to 180 C/350 F , you will notice the faint hum and the initial dry, warm air that signals readiness, which is important because an accurate starting temp ensures even baking. Lining an 8 x 8-inch pan with parchment creates lift and prevents sticking, and the paper edges give you handles for removing the brownies. If you skip lining, you risk tearing the edges when extracting the bars, so never underestimate this small step. Avoid using a different pan size unless you adjust bake time, because a larger pan will thin the batter and overbake it, while a smaller pan will lengthen baking and could undercook the center.
- In a microwave-safe bowl, add your chopped chocolate. Melt your chocolate. Let sit for 1-2 minutes, before adding your yogurt and sugar. Whisk until smooth and transfer to a large mixing bowl.: When you melt the chopped chocolate , the scent becomes noticeably warm and cocoa rich, a cue that the base flavor is forming. Letting it rest for 1 to 2 minutes allows residual heat to finish melting, preventing scorching when you stir in cooler ingredients. Whisking until glossy ensures the emulsion is smooth, and once you add the yogurt and sugar , the mixture should become satin like. If you blitz the chocolate too aggressively in the microwave, it can seize, becoming grainy, so always heat in short bursts and stir frequently. A common mistake is adding cold yogurt right away; allowing it to come slightly closer to room temperature helps the mixture stay uniform and prevents curdling.
- Add the flour, cocoa powder, and baking soda, and mix until just combined. Add your milk and mix well, until fully incorporated. Fold through your chocolate chips, if using them.: As you sprinkle in the flour , cocoa powder , and baking soda , the batter will darken and thicken, and you want to stir until there are no streaks of dry ingredients visible. Overmixing is the enemy here because it develops gluten and yields a cakier texture, so stop as soon as unified. Adding the milk adjusts the batter to a glossy, pipeable consistency; you want it dense but pourable, not runny. Folding in chocolate chips creates melty islands that burst when you bite into them, and doing this gently keeps them from sinking or bleeding. A typical error is vigorous beating at this stage, which aerates the batter and changes the final crumb, so use gentle strokes.
- Transfer to the lined pan and bake the brownies for 25-30 minutes, or until a skewer comes out just clean. Remove from the oven and let cool in the pan for 10 minutes, before carefully transferring to a wire rack to cool completely.: Sliding the batter into the prepared pan, you will notice a glossy top that puffs slightly as it bakes, and the kitchen will fill with an intense chocolate aroma that tells you things are progressing. Baking for 25 to 30 minutes aims for a set exterior and a tender interior, and checking with a skewer that comes out just clean, or with a few moist crumbs, ensures the center remains fudgy rather than dry. Letting the brownies rest in the pan for 10 minutes allows internal steam to redistribute, making it easier to remove them intact. Transferring too soon can cause the squares to fall apart, and leaving them in the pan too long may trap condensation, softening the crust. When slicing, use a sharp knife and wipe between cuts for neat edges.
Notes
- Swap the chocolate types Use bittersweet chopped chocolate for deeper, less sweet flavor, or try semisweet for a more classic profile.
- Brown sugar twist Replace half the white sugar with brown sugar to introduce caramel notes and a chewier texture.
- Gluten free option Use a 1 to 1 gluten free flour blend in place of all purpose flour, ensuring it contains a binder so the crumb stays intact.
- Milk swap Use full fat dairy milk for a richer mouthfeel, or keep unsweetened almond milk for a lighter result.
- Chip mix in Combine dark and milk chocolate chips for varied pockets of sweetness and texture throughout the brownies.