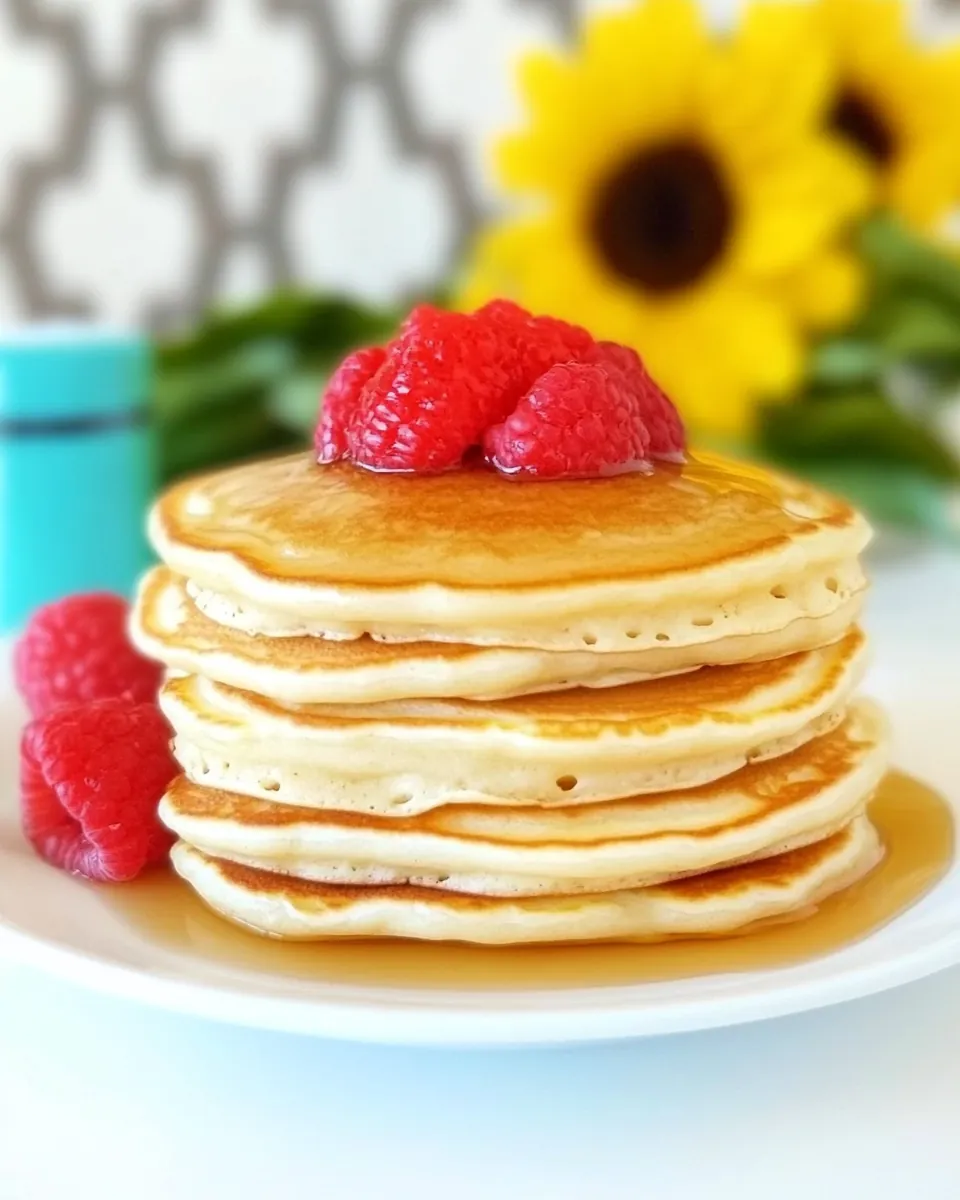
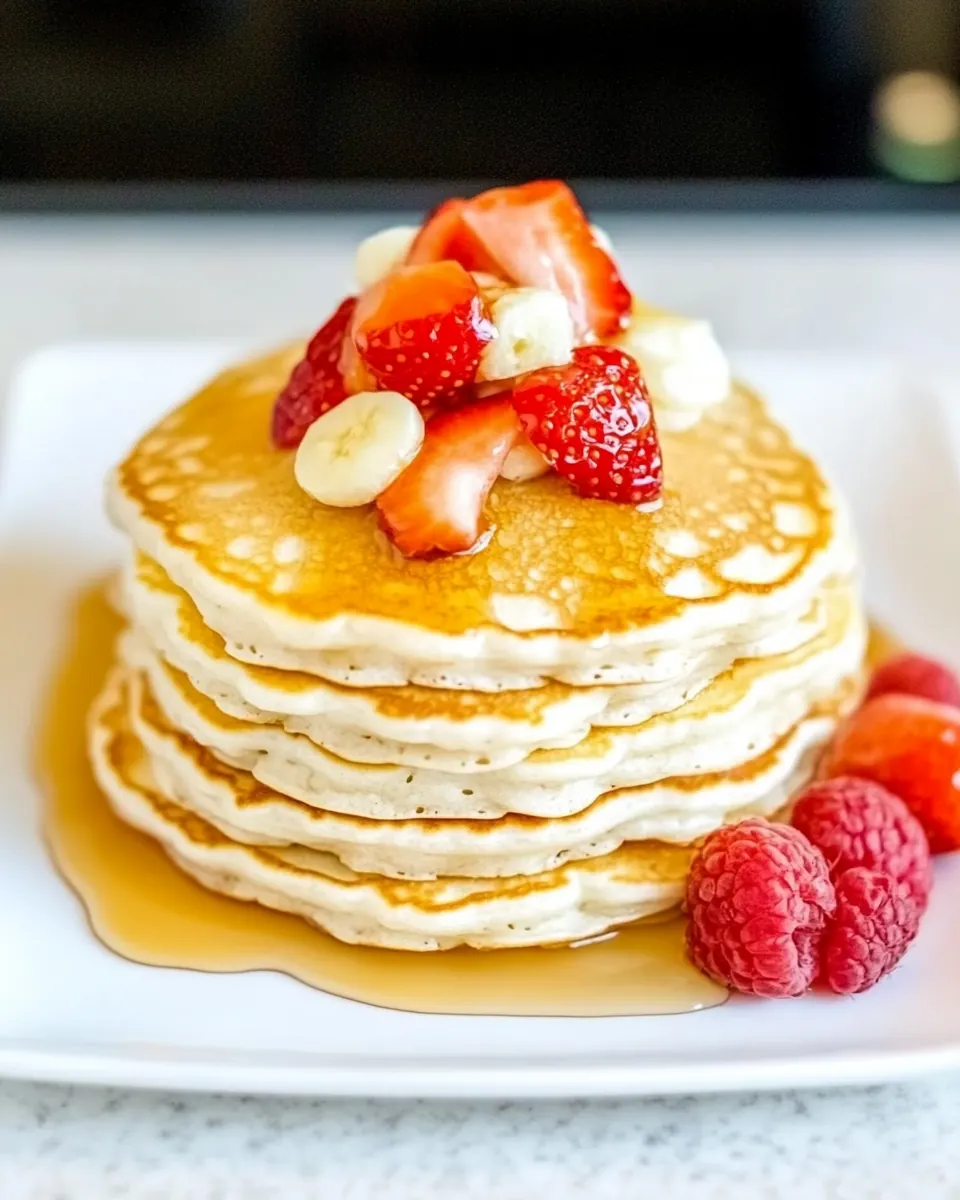
Gluten Free Silver Dollar Pancakes
Gluten Free Silver Dollar Pancakes are the tiny, tender pancakes I turn to when I want something nostalgic yet easy to make on a sleepy morning. I still remember the first time I made them gluten free for a guest with dietary needs, and how surprised we both were that the texture stayed light and fluffy. That moment hooked me, and now these mini pancakes are my go to for weekend breakfasts and casual brunches.
There is something quietly celebratory about stacking small, warm rounds on a plate, and sharing them with family while coffee steams in the background. I like making a big batch so everyone can graze, and because they cook so quickly, they stay warm and fresh across rounds on the griddle. Over the years I learned small tricks that make the batter more forgiving and the final pancakes softer, and I love teaching those techniques to friends who think gluten free means compromise.
Recipe Snapshot
16 mins
10 mins
6 mins
Easy
200 kcal
American
Gluten-Free, Low FODMAP
Breakfast
Skillet, Whisk, Mixing bowls, Small cookie scoop
What You’ll Enjoy About This Gluten Free Silver Dollar Pancakes
Perfect for sharing
I love serving Gluten Free Silver Dollar Pancakes when friends drop by, because the small size encourages nibbling and conversation. The pans cook fast, so I can keep a steady flow coming off the griddle without anyone waiting long.
Reliable texture
Using a one to one gluten free flour blend gives a predictable, tender crumb that mimics wheat flour. I find the pancakes rise nicely and have a soft interior, so you lose very little of the classic pancake experience while going gluten free.
Quick and approachable
These pancakes require minimal equipment and straightforward steps, which is why I recommend them for busy mornings. You can whisk the batter in a few minutes and be cooking before you know it.
Kid friendly
Kids adore the small size, and it’s easy to portion them. I often make them for weekend breakfasts when little hands want something they can pick up and dunk without creating a big mess.
Flexible toppings
Because the base recipe is simple, you can dress these pancakes up with syrups, fruit, or spreads depending on the occasion. I enjoy keeping a few options ready, which turns a plain breakfast into a small celebration.
Recipe Ingredients for Gluten Free Silver Dollar Pancakes
I think of the ingredient list as a small team where each player pulls its weight. The flour blend is the structure, the leaveners create lift, the egg and milk provide tenderness and moisture, and the butter and sugar add flavor and browning. When balanced, these elements produce tiny pancakes that are airy yet substantial.
- 1 cup 1-to-1 gluten free flour blend (Bob’s Red Mill 1-to-1 baking blend is recommended): Provide a gluten–free base that mimics all-purpose flour in texture and structure, enabling light, tender pancakes; contains a blend of rice and starches with xanthan gum to bind and add elasticity. Use the recommended 1-to-1 blend for predictable rise and consistent results when substituting in traditional pancake recipes.
- 1 tablespoon granulated sugar: Add sweetness to the batter, helping balance flavors and aid browning; granulated sugar also slightly tenderizes the crumb by retaining moisture. Measure accurately to avoid overly sweet pancakes while still promoting caramelization on the griddle.
- 1 teaspoon baking powder: Leaven the batter by releasing carbon dioxide when combined with liquid and heat, contributing to lift and airy pancakes; baking powder often contains an acid and a base for double-acting rise. Distribute evenly in the dry mix to ensure uniform rising across all pancakes.
- 1/2 teaspoon baking soda: React with acidic components in the batter to produce additional lift and a tender crumb; baking soda also helps with browning and neutralizes acidity from dairy or buttermilk. Use the specified amount to prevent metallic or soapy flavors from excess alkaline.
- 1/4 teaspoon salt: Enhance overall flavor and balance sweetness while controlling the baking chemistry; a small amount of salt brightens the batter and improves taste perception. Dissolve well into the dry ingredients to ensure even seasoning.
- 1 cup milk: Provide the liquid component to hydrate dry ingredients, activate leaveners, and create a pourable batter; milk contributes richness and tenderness through its fats and proteins. Use the stated volume and temperature (room temp preferred) for consistent texture and cooking time.
- 1 large egg: Bind ingredients together and add structure through coagulation when heated, promoting lift and a stable crumb; the yolk also contributes richness and moisture. Beat the egg lightly before adding to ensure even incorporation throughout the batter.
- 2 tablespoons unsalted butter, melted and cooled: Add fat for richness, flavor, and tenderness while aiding in browning; melted and cooled butter disperses more evenly than solid butter and prevents cooking the egg. Cool the butter before mixing to avoid scrambling and to maintain proper batter consistency.
- 1 teaspoon vanilla extract: Impart a warm, sweet aroma and enhance flavor depth without adding liquid bulk; vanilla rounds out the batter and complements the other ingredients. Stir in gently to avoid overmixing and to distribute flavor uniformly.
- Oil or cooking spray: Prevent sticking on the griddle or skillet to allow even browning and easy flipping; use a light coating of oil or a quick spray between batches. Reapply as needed to maintain a nonstick surface and consistent pancake appearance.
How to Make Gluten Free Silver Dollar Pancakes
These directions walk you through each stage with sensory cues and troubleshooting tips so the pancakes come out consistently tender and golden. I write these steps the way I work at the griddle, steady and watchful, so you can feel confident flipping when the time comes.
- In a medium bowl, whisk together the gluten free flour, sugar, baking powder, baking soda, and salt.: The dry mix should smell faintly sweet and slightly bready, and you will notice the texture shift as the finer leaveners blend in. Whisking aerates the mix, which helps the pancakes lift during cooking. If you see clumps, press them against the bowl with the whisk to break them up; stubborn lumps are a common mistake and lead to uneven pockets in the batter.
- In a large bowl, whisk together the milk, egg, melted butter, and vanilla extract.: As you whisk, the mixture should look smooth and glossy, with small ribbons forming briefly from the egg. The cooled melted butter will add a sheen without cooking the egg, which preserves a tender texture. If the butter is warm and you see bits of cooked egg or curdling, you warmed the butter too much; start again with a fresh egg for the best result.
- Add the flour mixture to the wet ingredients and stir together until just combined. The batter will still be slightly lumpy. Cover the bowl with plastic wrap and let rest for 20 minutes.: After mixing, the batter should be thick yet pourable, with small lumps that will smooth out as the flours hydrate. Resting allows the flour particles to absorb liquid, which improves texture and reduces a chalky aftertaste. Avoid overmixing here, because that can make the pancakes dense; a common error is stirring until perfectly smooth, which actually harms tenderness.
- Heat a skillet over medium heat or a griddle to 375°F, and lightly coat the pan with oil or cooking spray. Add about 1 tablespoon of batter or a small cookie scoop full for each pancake, leaving some space between each one. Cook until you see that the edges are turning golden-brown and bubbles are appearing at the surface, about 2-3 minutes. Flip and cook until the other side is golden, about 1-2 minutes.: When the pan reaches the right temperature, a few drops of water should dance and evaporate quickly. The hot surface creates immediate contact browning, forming a golden crust that contrasts with a soft interior. If the pan is too cool, pancakes will spread thin and remain pale; if it is too hot, they will brown too fast and stay raw inside. Adjust the heat as needed and test with a small pancake first.
- Remove the pancakes from the pan and repeat with the remaining batter.: Look for a gentle sizzle when the batter hits the pan, and notice how the batter forms neat, round disks. Small scoops allow even cooking and quick flipping. Crowding the pan is a frequent mistake, it lowers the temperature and causes uneven browning and steaming instead of searing.
- Cook until you see that the edges are turning golden-brown and bubbles are appearing at the surface, about 2 to 3 minutes.: You will hear a soft sizzling and see small bubbles form and pop on the surface; that is the signal the interior is setting. The edges should look set and slightly dry before flipping. If you flip too early, the pancake may collapse and remain undercooked inside, which is a common timing error for busy cooks.
- Flip and cook until the other side is golden, about 1 to 2 minutes.: After flipping, watch for an even golden tone on the cooked side, and listen for a slightly lower-pitched sizzle as moisture decreases. The second side cooks faster, so stay close to avoid over browning. Overcooking will dry the interior and make the texture crumbly instead of tender.
- Remove the pancakes from the pan and repeat with the remaining batter.: As you transfer pancakes to a plate, the stack will steam slightly; I like to place them in a single layer briefly to prevent sogginess, then stack right before serving. If you leave them too long piled up while still steaming, the bottoms can soften and lose crispness. Keep the pan at a steady temperature between batches so each pancake finishes consistently.
Substitutions and Tips
These tips come from many mornings at the griddle, refining small habits that make a big difference. Below are focused suggestions and small substitutions to keep your pancakes tender and reliable.
- Choose the right flour blend: A reliable one to one gluten free baking blend simplifies the recipe because it is formulated to replace wheat flour without extra adjustments. If your mix is homemade or lacks a binder, you may need a small addition of xanthan gum for structure.
- Milk alternatives: You can use most plant milks in equal measure, though thicker options may yield slightly denser pancakes. If a dairy free milk is thinner, you might let the batter rest a touch longer to thicken.
- Butter handling: Make sure the melted butter is cooled before adding to the egg to avoid cooking the egg; this keeps the batter smooth and prevents lumps.
- Adjusting sweetness: If you prefer less sugar, reduce the granulated sugar slightly and rely on toppings like fruit or syrup for sweetness at the table.
- Storing batter: Rested batter is best used the same day; if you must refrigerate, give it a gentle stir and bring to room temperature before cooking to avoid overly thick batter.
Serving Options for Gluten Free Silver Dollar Pancakes
These tiny pancakes are perfect for a range of occasions from weekday breakfasts to relaxed brunches. Below are ideas for serving, pairing, and storing that keep things simple and satisfying.
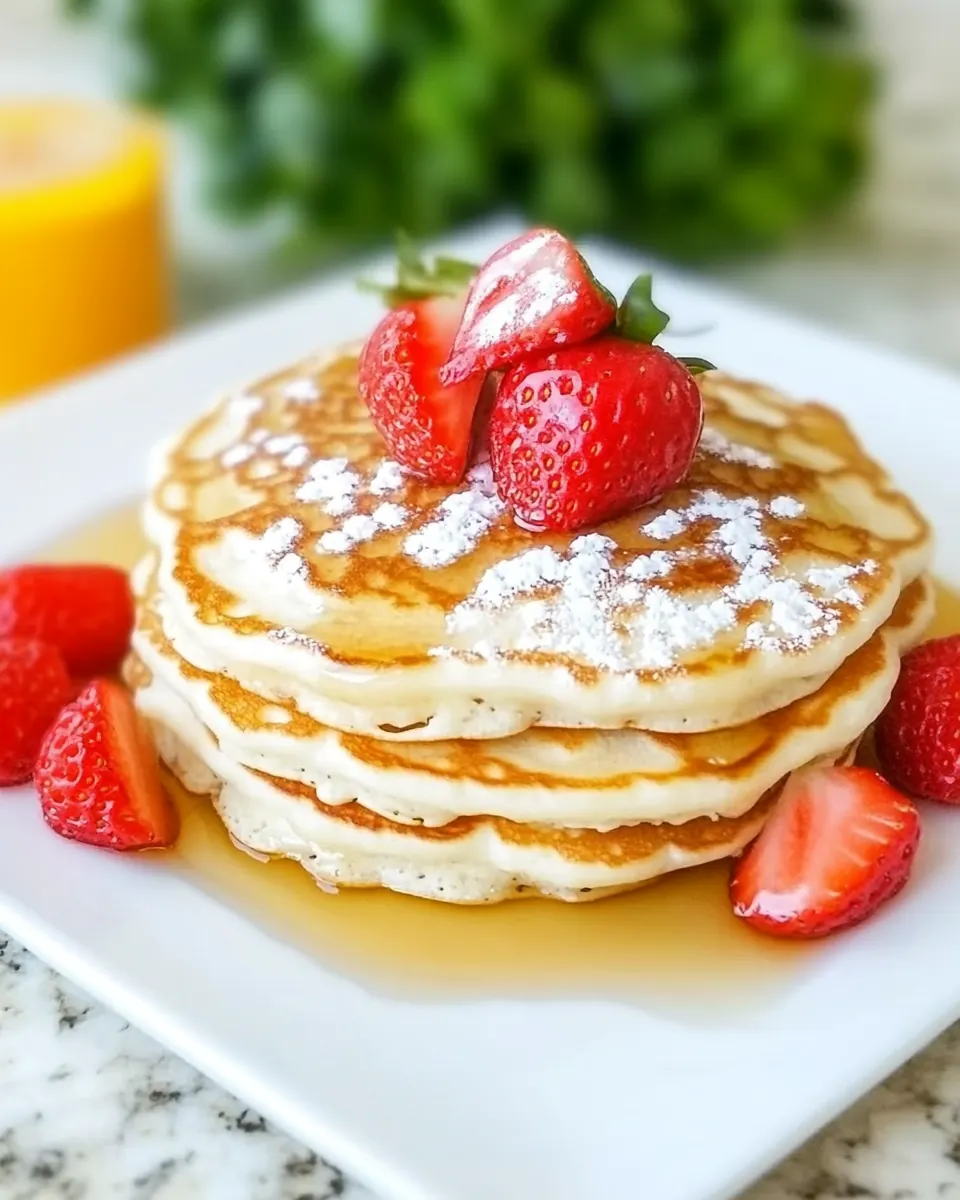
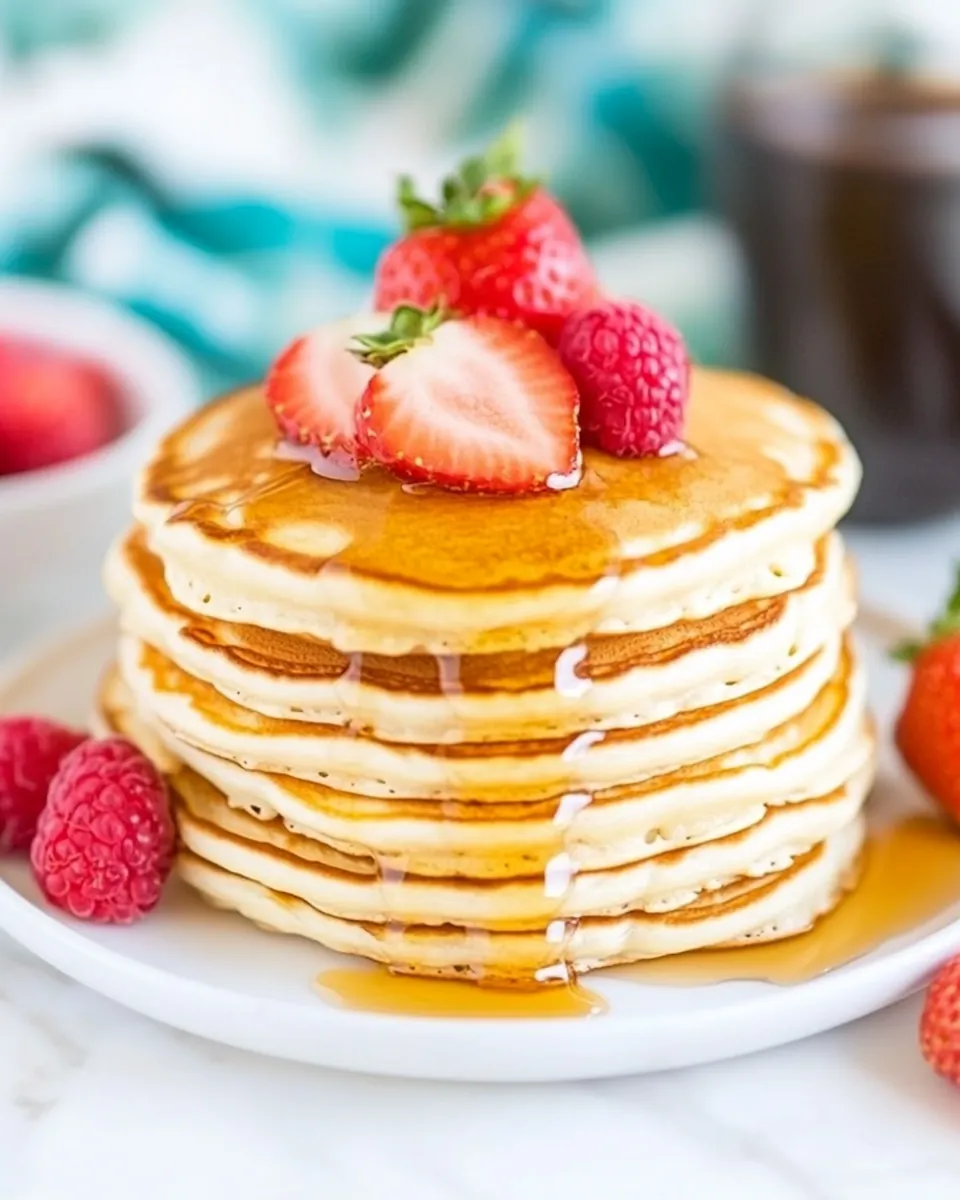
- Breakfast grazing platter: Arrange stacks of Gluten Free Silver Dollar Pancakes with small bowls of fruit and syrups so guests can customize each bite.
- Brunch with family: Serve warm pancakes alongside hot beverages and let everyone pick toppings, keeping the morning casual and sociable.
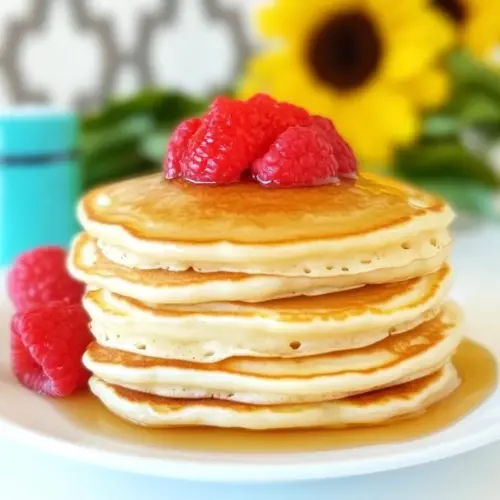
- Party-friendly finger food: These mini pancakes are great for buffet style serving at a baby shower or a light luncheon where people can nibble between conversations.
- Seasonal fruit pairings: In spring and summer, top with berries; in fall, use cooked apples or pears for complementary flavors.
- Storage tips: Leftover pancakes keep well refrigerated for two days or frozen for up to two months. Reheat gently in a low oven to revive the texture without drying them out.
- Occasion flexibility: They work equally well for everyday breakfasts, weekend brunches, and casual gatherings where simple, shareable food shines.
FAQ
Conclusion
These Gluten Free Silver Dollar Pancakes stand out because they deliver a classic pancake experience in a gluten free form that is still tender, fluffy, and quick to make. I hope the approachable steps and small tips encourage you to give them a try, especially on a relaxed morning or when hosting friends. They are forgiving, fast, and a lovely way to share a warm, homemade bite that suits many occasions.
Gluten Free Silver Dollar Pancakes
Equipment
- Skillet
- Whisk
- Mixing Bowls
- Small Cookie Scoop
Ingredients
- 1 cup 1-to-1 gluten free flour blend (Bob’s Red Mill 1-to-1 baking blend is recommended) Provide a gluten-free base that mimics all-purpose flour in texture and structure, enabling light, tender pancakes; contains a blend of rice and starches with xanthan gum to bind and add elasticity. Use the recommended 1-to-1 blend for predictable rise and consistent results when substituting in traditional pancake recipes.
- 1 tablespoon granulated sugar Add sweetness to the batter, helping balance flavors and aid browning; granulated sugar also slightly tenderizes the crumb by retaining moisture. Measure accurately to avoid overly sweet pancakes while still promoting caramelization on the griddle.
- 1 teaspoon baking powder Leaven the batter by releasing carbon dioxide when combined with liquid and heat, contributing to lift and airy pancakes; baking powder often contains an acid and a base for double-acting rise. Distribute evenly in the dry mix to ensure uniform rising across all pancakes.
- 1/2 teaspoon baking soda React with acidic components in the batter to produce additional lift and a tender crumb; baking soda also helps with browning and neutralizes acidity from dairy or buttermilk. Use the specified amount to prevent metallic or soapy flavors from excess alkaline.
- 1/4 teaspoon salt Enhance overall flavor and balance sweetness while controlling the baking chemistry; a small amount of salt brightens the batter and improves taste perception. Dissolve well into the dry ingredients to ensure even seasoning.
- 1 cup milk Provide the liquid component to hydrate dry ingredients, activate leaveners, and create a pourable batter; milk contributes richness and tenderness through its fats and proteins. Use the stated volume and temperature (room temp preferred) for consistent texture and cooking time.
- 1 large egg Bind ingredients together and add structure through coagulation when heated, promoting lift and a stable crumb; the yolk also contributes richness and moisture. Beat the egg lightly before adding to ensure even incorporation throughout the batter.
- 2 tablespoons unsalted butter, melted and cooled Add fat for richness, flavor, and tenderness while aiding in browning; melted and cooled butter disperses more evenly than solid butter and prevents cooking the egg. Cool the butter before mixing to avoid scrambling and to maintain proper batter consistency.
- 1 teaspoon vanilla extract Impart a warm, sweet aroma and enhance flavor depth without adding liquid bulk; vanilla rounds out the batter and complements the other ingredients. Stir in gently to avoid overmixing and to distribute flavor uniformly.
- Oil or cooking spray Prevent sticking on the griddle or skillet to allow even browning and easy flipping; use a light coating of oil or a quick spray between batches. Reapply as needed to maintain a nonstick surface and consistent pancake appearance.
Instructions
- In a medium bowl, whisk together the gluten free flour, sugar, baking powder, baking soda, and salt.: The dry mix should smell faintly sweet and slightly bready, and you will notice the texture shift as the finer leaveners blend in. Whisking aerates the mix, which helps the pancakes lift during cooking. If you see clumps, press them against the bowl with the whisk to break them up; stubborn lumps are a common mistake and lead to uneven pockets in the batter.
- In a large bowl, whisk together the milk, egg, melted butter, and vanilla extract.: As you whisk, the mixture should look smooth and glossy, with small ribbons forming briefly from the egg. The cooled melted butter will add a sheen without cooking the egg, which preserves a tender texture. If the butter is warm and you see bits of cooked egg or curdling, you warmed the butter too much; start again with a fresh egg for the best result.
- Add the flour mixture to the wet ingredients and stir together until just combined. The batter will still be slightly lumpy. Cover the bowl with plastic wrap and let rest for 20 minutes.: After mixing, the batter should be thick yet pourable, with small lumps that will smooth out as the flours hydrate. Resting allows the flour particles to absorb liquid, which improves texture and reduces a chalky aftertaste. Avoid overmixing here, because that can make the pancakes dense; a common error is stirring until perfectly smooth, which actually harms tenderness.
- Heat a skillet over medium heat or a griddle to 375°F, and lightly coat the pan with oil or cooking spray. Add about 1 tablespoon of batter or a small cookie scoop full for each pancake, leaving some space between each one. Cook until you see that the edges are turning golden-brown and bubbles are appearing at the surface, about 2-3 minutes. Flip and cook until the other side is golden, about 1-2 minutes.: When the pan reaches the right temperature, a few drops of water should dance and evaporate quickly. The hot surface creates immediate contact browning, forming a golden crust that contrasts with a soft interior. If the pan is too cool, pancakes will spread thin and remain pale; if it is too hot, they will brown too fast and stay raw inside. Adjust the heat as needed and test with a small pancake first.
- Remove the pancakes from the pan and repeat with the remaining batter.: Look for a gentle sizzle when the batter hits the pan, and notice how the batter forms neat, round disks. Small scoops allow even cooking and quick flipping. Crowding the pan is a frequent mistake, it lowers the temperature and causes uneven browning and steaming instead of searing.
- Cook until you see that the edges are turning golden-brown and bubbles are appearing at the surface, about 2 to 3 minutes.: You will hear a soft sizzling and see small bubbles form and pop on the surface; that is the signal the interior is setting. The edges should look set and slightly dry before flipping. If you flip too early, the pancake may collapse and remain undercooked inside, which is a common timing error for busy cooks.
- Flip and cook until the other side is golden, about 1 to 2 minutes.: After flipping, watch for an even golden tone on the cooked side, and listen for a slightly lower-pitched sizzle as moisture decreases. The second side cooks faster, so stay close to avoid over browning. Overcooking will dry the interior and make the texture crumbly instead of tender.
- Remove the pancakes from the pan and repeat with the remaining batter.: As you transfer pancakes to a plate, the stack will steam slightly; I like to place them in a single layer briefly to prevent sogginess, then stack right before serving. If you leave them too long piled up while still steaming, the bottoms can soften and lose crispness. Keep the pan at a steady temperature between batches so each pancake finishes consistently.
Notes
- Choose the right flour blend: A reliable one to one gluten free baking blend simplifies the recipe because it is formulated to replace wheat flour without extra adjustments. If your mix is homemade or lacks a binder, you may need a small addition of xanthan gum for structure.
- Milk alternatives: You can use most plant milks in equal measure, though thicker options may yield slightly denser pancakes. If a dairy free milk is thinner, you might let the batter rest a touch longer to thicken.
- Butter handling: Make sure the melted butter is cooled before adding to the egg to avoid cooking the egg; this keeps the batter smooth and prevents lumps.
- Adjusting sweetness: If you prefer less sugar, reduce the granulated sugar slightly and rely on toppings like fruit or syrup for sweetness at the table.
- Storing batter: Rested batter is best used the same day; if you must refrigerate, give it a gentle stir and bring to room temperature before cooking to avoid overly thick batter.