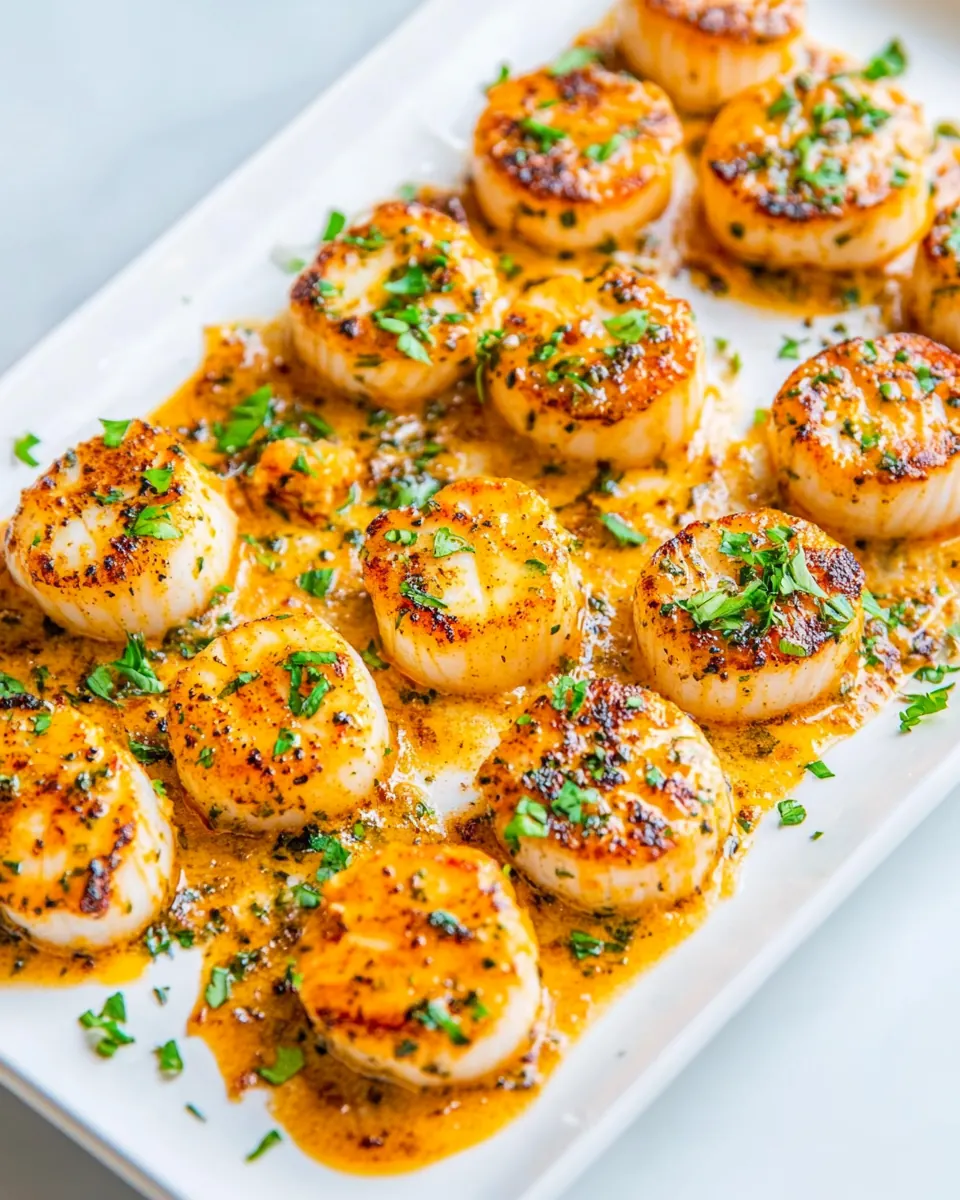
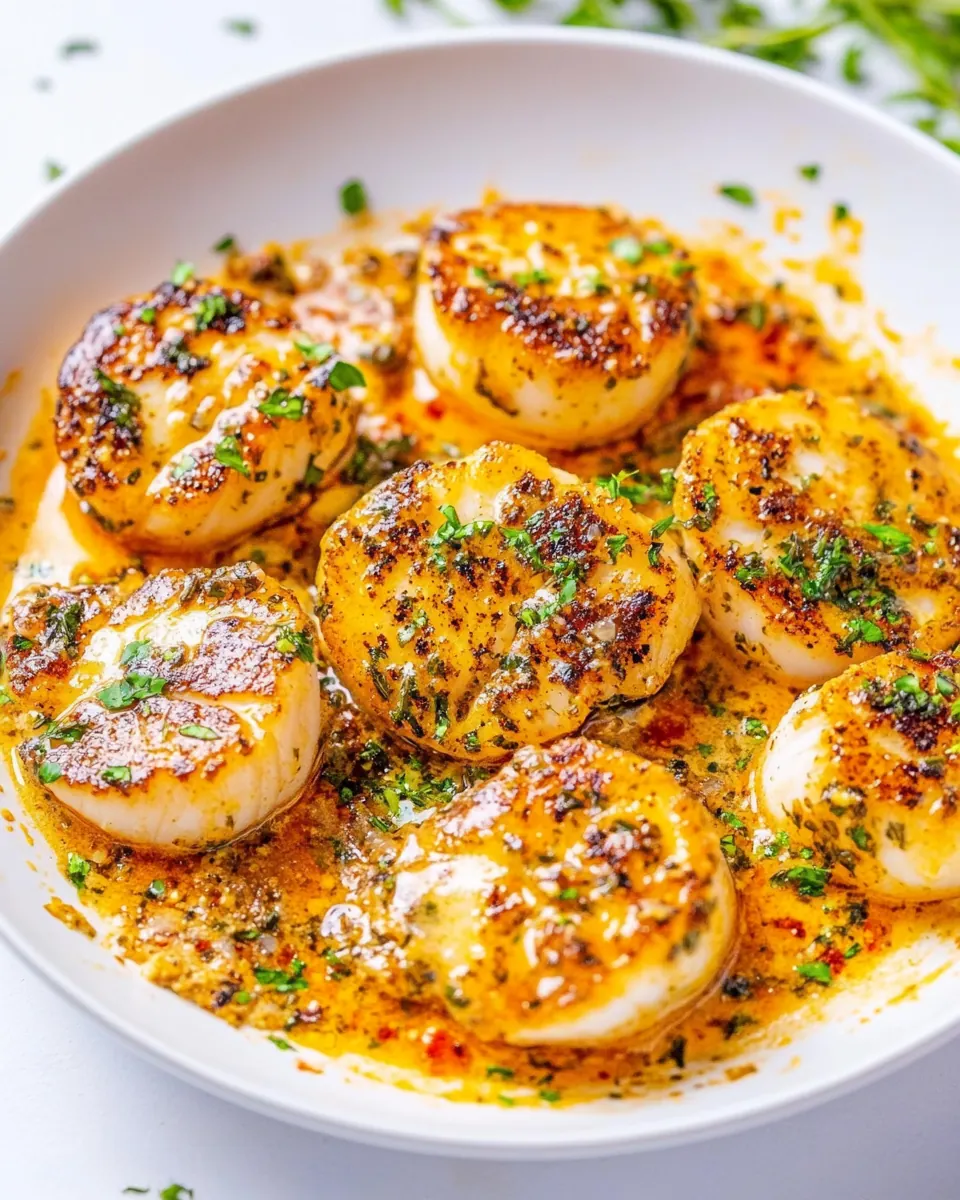
Garlic Butter Scallops
Garlic Butter Scallops have been one of those recipes that felt like a small celebration every time I plate them. The first time I made these, I was standing at a tiny apartment stove after a long day, craving something special but wanting it to be quick and unfussy. I grabbed a small container of scallops from the market, a knob of butter, a few cloves of garlic, and within minutes the kitchen filled with a savory, buttery aroma that made me pause and smile.
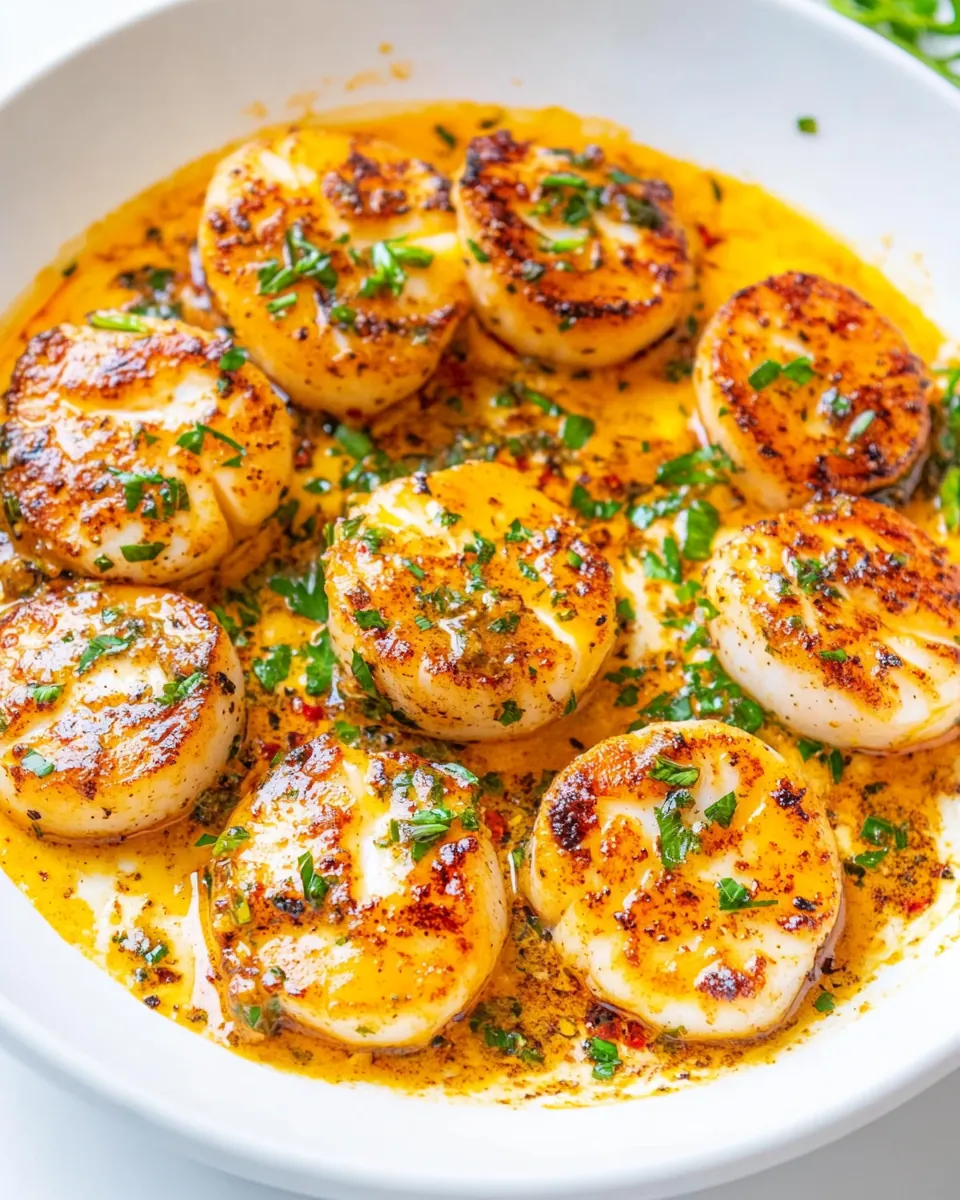
I remember leaning on the counter as the skillet sizzled, thinking I could make an elegant dinner without a fuss. The sear on the scallops that formed so quickly felt almost cinematic, each one developing a golden edge that contrasted with the tender, pearly interior. I served them with a bright squeeze of lemon, and the acidity lifted every bite, turning a simple pan sauce into something that tasted intentionally crafted.
Recipe Snapshot
13 mins
7 mins
6 mins
Medium
300 kcal
American
Keto, Gluten-Free
Dinner
Skillet, Paper towels
Why This Garlic Butter Scallops Stands Out
Restaurant quality in minutes
I love that Garlic Butter Scallops deliver a golden sear and rich pan sauce with very little fuss. When I want something impressive fast, this dish reliably produces the same crispy outside and tender inside that you expect at a good seafood spot, but from your own stove.
Minimal ingredients, maximum impact
With just a few core players like scallops, butter, olive oil, and garlic, the flavor profile is pure and focused. I often find that simpler ingredient lists let the natural sweetness of the scallops shine, and the finishing citrus and parsley add brightness without stealing the show.
Fast enough for weeknights
I appreciate how forgiving the timeline is. From start to finish, this comes together quickly, so it’s perfect when I want an easy weeknight dinner that still feels special. The quick cook time means less cleanup and more time enjoying the meal.
Technique that teaches you to sear
Making these taught me patience at the stove. Letting the pan get hot, not crowding the scallops, and resisting the urge to flip constantly creates that desirable crust. Once you nail that, you can apply the same skills to many other proteins.
Versatile and elegant
I use this recipe for casual dinners and for guests alike. It pairs effortlessly with sides from simple greens to richer starches, and the presentation makes even a quick meal feel celebratory. I always feel proud when I serve it.
Everything You Need for Garlic Butter Scallops
These ingredients are chosen to highlight the delicate, sweet flavor of the scallops while building a glossy, flavorful sauce. The key players are the butter for richness, olive oil to raise the smoke point, garlic and shallots for aromatic depth, and citrus to brighten the whole dish. They work together to create contrast between a crisp sear and a tender interior, plus a bright finish that prevents the sauce from feeling heavy.
- 1 pound fresh sea scallops, about 10 to 12 scallops: Provide a tender, sweet seafood base that cooks quickly and takes on searing flavors; pat dry and bring to room temperature for even browning and shorter cook times.
- Kosher salt or sea salt, to taste: Enhance overall flavor balance by seasoning to taste; sprinkle lightly before and after searing to bring out natural sweetness without overpowering delicate scallops.
- Freshly ground black pepper, to taste: Season for depth and a mild pungent bite; grind fresh over scallops after cooking to complement buttery richness and bright citrus notes.
- 2 tablespoons unsalted butter: Melt into the pan to create a rich, silky sauce and help achieve a golden crust; add toward the end of cooking to avoid burning and to enrich the pan juices.
- 2 tablespoons olive oil: Provide a high smoke-point cooking fat that helps achieve a proper sear while contributing a fruity backbone to the butter sauce when combined with butter.
- 2 tablespoons finely minced shallots: Add a subtle sweet-onion aroma and gentle sharpness; cook briefly until translucent to release savory compounds without overwhelming the scallops.
- 2 to 3 cloves garlic, finely minced: Impart aromatic pungency and savory warmth when finely minced; cook very briefly to mellow raw bite and infuse the butter-oil mixture with garlic flavor.
- 1 to 2 teaspoons lemon or lime zest: Lend bright, citrusy fragrance and concentrated flavor; finely grated zest adds aromatic oils that lift the dish without adding acidity.
- 2 tablespoons freshly squeezed lemon or lime juice: Provide bright acidity to cut through richness and enhance overall flavor; squeeze in at the end to finish the sauce and brighten the scallops.
- Fresh parsley, finely minced; for garnishing (or another fresh herb of your choice such as tarragon, chives, basil, mint, etc.) (optional): Contribute fresh herbal brightness and color as a garnish; finely minced parsley or other fresh herbs added at the end refresh the palate and complement citrus.
How to Cook Garlic Butter Scallops
These steps are written to guide you through a focused, sensory cooking experience. Read each instruction, prepare your mise en place, and pay attention to the visual and aromatic cues. The goal is a golden crust and a tender center finished with a bright, buttery sauce.
- Blot dry the scallops with paper towels which helps them sear better.: You should feel the surface go from slightly damp to noticeably drier under your fingers; this dryness allows a golden crust to form. The sound to expect later is a confident, consistent sizzle when the scallops hit the hot pan, not a sputtering steam. If the scallops are too wet they will steam and not brown, so change towels if one gets saturated.
- Evenly season the scallops on both sides with salt and pepper, to taste.: After seasoning, notice how the salt brings out a faint sheen on the surface and the pepper adds a tiny bite that becomes aromatic during the sear. Season lightly, because you will add more flavor with the sauce; oversalting can make the final bites taste overly saline.
- To a large skillet, add the butter, olive oil, and heat over medium-high heat to melt the butter, swirling the pan to help it along. Skillet Tips– For the photos, I used a nonstick 10-inch skillet. However, I also love to make this recipe in my 3-quart All-Clad Stainless Steel Saute Pan, which is my personal go-to for most cooking. It sometimes goes out of stock, here’s the 4-quart version. You could also use a cast iron skillet if you know how to cook in cast iron and your skillet is well seasoned.: Heat until the butter foams and the oil shimmers; this mixture should smell rich, like warm nuts, signaling the pan is ready. Avoid heating until the fats smoke, which imparts bitterness. If you see smoke, lower the heat and start again with fresh fats.
- After the butter has melted, add the scallops to the skillet so that they are not touching and have space between them. Tip– Do not crowd the scallops because it will cause them to steam rather than sear.: You want the scallops to sizzle individually, not merge into a crowded mass which creates steam rather than sear. The correct pan sound is a steady sear, and visually you will see edges begin to color within moments. If the pan is overcrowded, cook in batches to preserve the crust.
- Allow the scallops to cook (or sear) for about 2 to 2 1/2 minutes per side, or until a golden browned crust forms. Tip– Once you place the scallops in the skillet, just allow them to sear and do not try to 'check' on the underside too much; you'll be able to see the outer ring of brown crust when the time is right, but if you keep 'checking' the sear won't develop as nicely.: While cooking, look for a golden ring forming around the edge; this visual cue tells you when to turn. The aroma should shift to a toasty, buttery scent. Avoid flipping too often, as that interrupts crust development; patience here yields the prized caramelized surface.
- While the scallops are searing on the second side, add the shallots, and allow them to saute for about 30 seconds. Then add the garlic, and allow it to saute until fragrant, about 1 minute. By this time your scallops should be done. Do not overcook!**(See Notes for determining doneness): Shortly after adding the shallots you will detect a sweet onion scent; this is the moment when the shallots begin to soften and sweeten. Keep the heat controlled so they do not burn. A common mistake is adding the aromatics too early, which can make them char before the scallops finish.
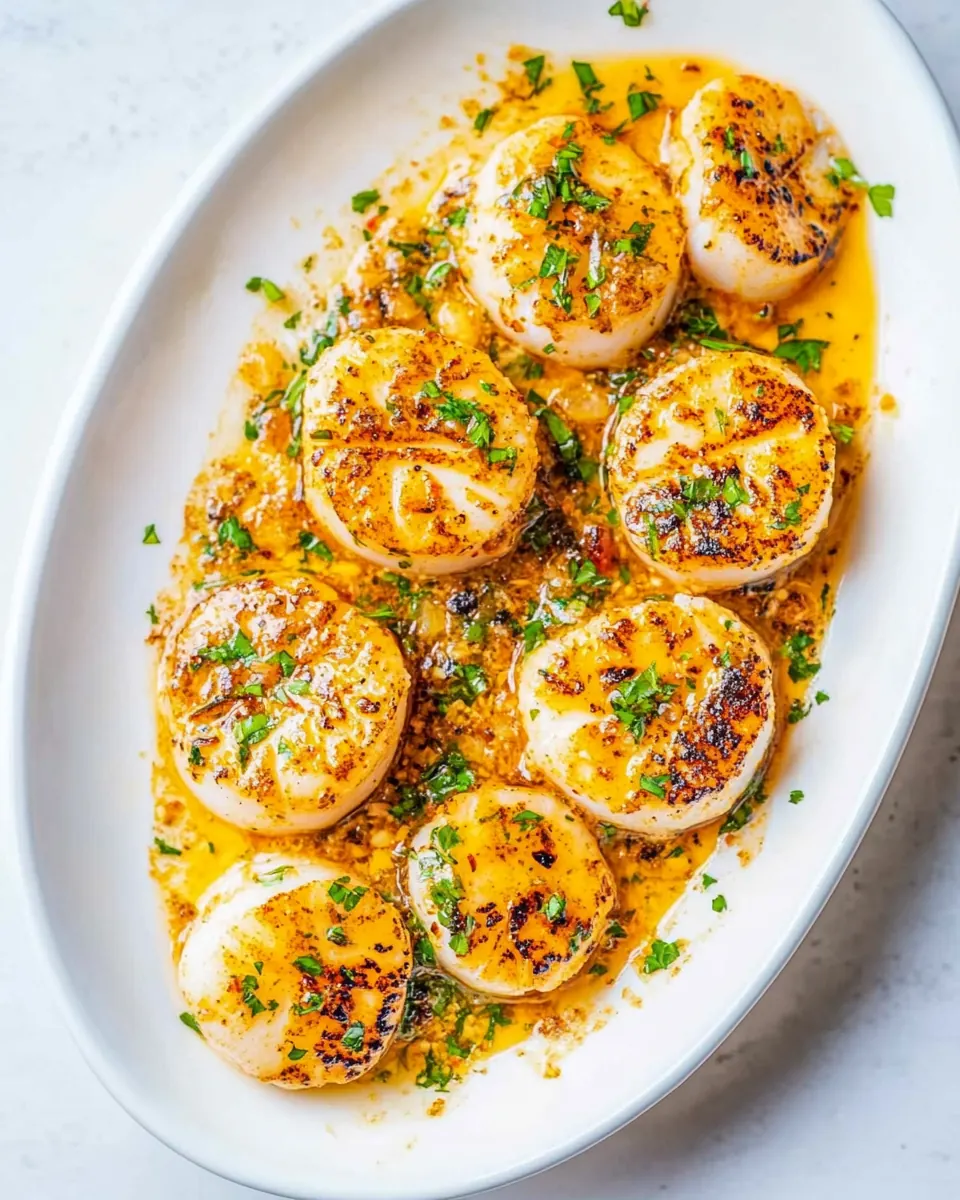
- Take the skillet off the heat, evenly sprinkle the zest over the scallops, evenly squeeze the juice over the top, and gently toss the scallops to evenly coat them with zest and juice, spooning the sauce back over them with a small spoon, or as necessary.: The garlic will release a warm, savory perfume quickly; this is brief, and you will want to remove the pan from direct heat soon to prevent bitterness. If the garlic browns too dark, the flavor will skew acrid rather than sweet, so watch closely and move on to the next step promptly.
- Optionally, evenly garnish with fresh parsley and serve immediately. Scallops are best fresh and warm. While they will technically keep airtight in the fridge for up to 3 days, they're simply best when eaten after they've been freshly made.: Off the heat the citrus stays fresh and bright; you will hear the faint hiss of juice meeting warm fat and smell a lift of citrus oils. Toss gently so the crust remains intact; rough handling can tear the seared edges. If your sauce seems flat, a touch more fresh juice will instantly correct it.
- Optionally, evenly garnish with fresh parsley and serve immediately.: Garnishing delivers a final herbaceous note and a visual pop of green. Serve while warm so the texture remains tender and buttery. If you wait, the sauce will congeal and the texture will lose that silky mouthfeel that makes this dish sing.
Helpful Hints
This section collects practical tips I reach for every time I make Garlic Butter Scallops. These help protect the sear, preserve texture, and balance the sauce while keeping the process quick and reliable.
- Dry the scallops thoroughly: Use clean paper towels to blot each scallop until the surface is matte, not damp; this prevents steaming and helps create a caramelized crust.
- Heat the pan before adding fat: Bring the skillet to temperature so the butter and oil foam and shimmer, ensuring an immediate sizzle when the scallops hit the surface.
- Combine fats for stability: Using both butter and olive oil raises the smoke point while keeping the sauce rich and silky.
- Work in small batches: Cooking fewer scallops at once preserves pan heat and ensures each piece browns evenly instead of steaming.
- Add aromatics late: Add minced shallots and garlic toward the end of searing to keep them sweet and fragrant rather than bitter.
- Finish off heat with citrus: Squeezing fresh lemon or lime juice off the heat preserves brightness and prevents acidity from turning bitter with prolonged heat.
Serving Ideas for Garlic Butter Scallops
These Garlic Butter Scallops are elegant yet adaptable. Below are serving ideas that span casual dinners to special occasions, with storage notes and pairing suggestions to help you plan the whole plate.
- Light salad pairing: Serve the scallops over a bed of peppery greens dressed lightly with a citrus vinaigrette to echo the lemon finish and keep the meal bright.
- Starch companions: Pair with a creamy risotto or buttery mashed potatoes so the luscious pan sauce can be soaked up for a satisfying plate.
- Vegetable sides: Steamed or roasted vegetables such as asparagus or green beans offer a crisp contrast to the tender scallops, balancing the texture on the plate.
- Occasions: These work beautifully for a quick weeknight date night, a summer dinner when seafood feels seasonal, or a small celebratory meal when you want something refined yet simple.
- Storage tips: Store leftovers airtight in the refrigerator for up to three days. Reheat gently in a skillet over low heat to preserve texture, though they are best eaten fresh.
- Seasonal pairing: In summer, pair with bright salads and light white sides to complement the fresh citrus notes and the natural sweetness of the scallops.
FAQ
Conclusion
What makes this recipe special is how quickly it transforms a few simple ingredients into a dish that feels elegant and satisfying. The combination of a golden sear, a buttery pan sauce, and a splash of fresh citrus creates a balance of textures and bright, savory flavors that never gets old. Give it a try the next time you want a fast, impressive meal; you might be surprised how easy it is to produce restaurant quality results at home. I hope this becomes one of your go to dishes for weeknights and small celebrations alike.
Garlic Butter Scallops
Equipment
- Skillet
- Paper towels
Ingredients
- 1 pound fresh sea scallops, about 10 to 12 scallops Provide a tender, sweet seafood base that cooks quickly and takes on searing flavors; pat dry and bring to room temperature for even browning and shorter cook times.
- Kosher salt or sea salt, to taste Enhance overall flavor balance by seasoning to taste; sprinkle lightly before and after searing to bring out natural sweetness without overpowering delicate scallops.
- Freshly ground black pepper, to taste Season for depth and a mild pungent bite; grind fresh over scallops after cooking to complement buttery richness and bright citrus notes.
- 2 tablespoons unsalted butter Melt into the pan to create a rich, silky sauce and help achieve a golden crust; add toward the end of cooking to avoid burning and to enrich the pan juices.
- 2 tablespoons olive oil Provide a high smoke-point cooking fat that helps achieve a proper sear while contributing a fruity backbone to the butter sauce when combined with butter.
- 2 tablespoons finely minced shallots Add a subtle sweet-onion aroma and gentle sharpness; cook briefly until translucent to release savory compounds without overwhelming the scallops.
- 2 to 3 cloves garlic, finely minced Impart aromatic pungency and savory warmth when finely minced; cook very briefly to mellow raw bite and infuse the butter-oil mixture with garlic flavor.
- 1 to 2 teaspoons lemon or lime zest Lend bright, citrusy fragrance and concentrated flavor; finely grated zest adds aromatic oils that lift the dish without adding acidity.
- 2 tablespoons freshly squeezed lemon or lime juice Provide bright acidity to cut through richness and enhance overall flavor; squeeze in at the end to finish the sauce and brighten the scallops.
- Fresh parsley, finely minced; optional for garnishing (or another fresh herb of your choice such as tarragon, chives, basil, mint, etc.) Contribute fresh herbal brightness and color as a garnish; finely minced parsley or other fresh herbs added at the end refresh the palate and complement citrus.
Instructions
- Blot dry the scallops with paper towels which helps them sear better.: You should feel the surface go from slightly damp to noticeably drier under your fingers; this dryness allows a golden crust to form. The sound to expect later is a confident, consistent sizzle when the scallops hit the hot pan, not a sputtering steam. If the scallops are too wet they will steam and not brown, so change towels if one gets saturated.
- Evenly season the scallops on both sides with salt and pepper, to taste.: After seasoning, notice how the salt brings out a faint sheen on the surface and the pepper adds a tiny bite that becomes aromatic during the sear. Season lightly, because you will add more flavor with the sauce; oversalting can make the final bites taste overly saline.
- To a large skillet, add the butter, olive oil, and heat over medium-high heat to melt the butter, swirling the pan to help it along. Skillet Tips– For the photos, I used a nonstick 10-inch skillet. However, I also love to make this recipe in my 3-quart All-Clad Stainless Steel Saute Pan, which is my personal go-to for most cooking. It sometimes goes out of stock, here’s the 4-quart version. You could also use a cast iron skillet if you know how to cook in cast iron and your skillet is well seasoned.: Heat until the butter foams and the oil shimmers; this mixture should smell rich, like warm nuts, signaling the pan is ready. Avoid heating until the fats smoke, which imparts bitterness. If you see smoke, lower the heat and start again with fresh fats.
- After the butter has melted, add the scallops to the skillet so that they are not touching and have space between them. Tip– Do not crowd the scallops because it will cause them to steam rather than sear.: You want the scallops to sizzle individually, not merge into a crowded mass which creates steam rather than sear. The correct pan sound is a steady sear, and visually you will see edges begin to color within moments. If the pan is overcrowded, cook in batches to preserve the crust.
- Allow the scallops to cook (or sear) for about 2 to 2 1/2 minutes per side, or until a golden browned crust forms. Tip– Once you place the scallops in the skillet, just allow them to sear and do not try to 'check' on the underside too much; you'll be able to see the outer ring of brown crust when the time is right, but if you keep 'checking' the sear won't develop as nicely.: While cooking, look for a golden ring forming around the edge; this visual cue tells you when to turn. The aroma should shift to a toasty, buttery scent. Avoid flipping too often, as that interrupts crust development; patience here yields the prized caramelized surface.
- While the scallops are searing on the second side, add the shallots, and allow them to saute for about 30 seconds. Then add the garlic, and allow it to saute until fragrant, about 1 minute. By this time your scallops should be done. Do not overcook!**(See Notes for determining doneness): Shortly after adding the shallots you will detect a sweet onion scent; this is the moment when the shallots begin to soften and sweeten. Keep the heat controlled so they do not burn. A common mistake is adding the aromatics too early, which can make them char before the scallops finish.
- Take the skillet off the heat, evenly sprinkle the zest over the scallops, evenly squeeze the juice over the top, and gently toss the scallops to evenly coat them with zest and juice, spooning the sauce back over them with a small spoon, or as necessary.: The garlic will release a warm, savory perfume quickly; this is brief, and you will want to remove the pan from direct heat soon to prevent bitterness. If the garlic browns too dark, the flavor will skew acrid rather than sweet, so watch closely and move on to the next step promptly.
- Optionally, evenly garnish with fresh parsley and serve immediately. Scallops are best fresh and warm. While they will technically keep airtight in the fridge for up to 3 days, they're simply best when eaten after they've been freshly made.: Off the heat the citrus stays fresh and bright; you will hear the faint hiss of juice meeting warm fat and smell a lift of citrus oils. Toss gently so the crust remains intact; rough handling can tear the seared edges. If your sauce seems flat, a touch more fresh juice will instantly correct it.
- Optionally, evenly garnish with fresh parsley and serve immediately.: Garnishing delivers a final herbaceous note and a visual pop of green. Serve while warm so the texture remains tender and buttery. If you wait, the sauce will congeal and the texture will lose that silky mouthfeel that makes this dish sing.
Notes
- Dry the scallops thoroughly: Use clean paper towels to blot each scallop until the surface is matte, not damp; this prevents steaming and helps create a caramelized crust.
- Heat the pan before adding fat: Bring the skillet to temperature so the butter and oil foam and shimmer, ensuring an immediate sizzle when the scallops hit the surface.
- Combine fats for stability: Using both butter and olive oil raises the smoke point while keeping the sauce rich and silky.
- Work in small batches: Cooking fewer scallops at once preserves pan heat and ensures each piece browns evenly instead of steaming.
- Add aromatics late: Add minced shallots and garlic toward the end of searing to keep them sweet and fragrant rather than bitter.
- Finish off heat with citrus: Squeezing fresh lemon or lime juice off the heat preserves brightness and prevents acidity from turning bitter with prolonged heat.