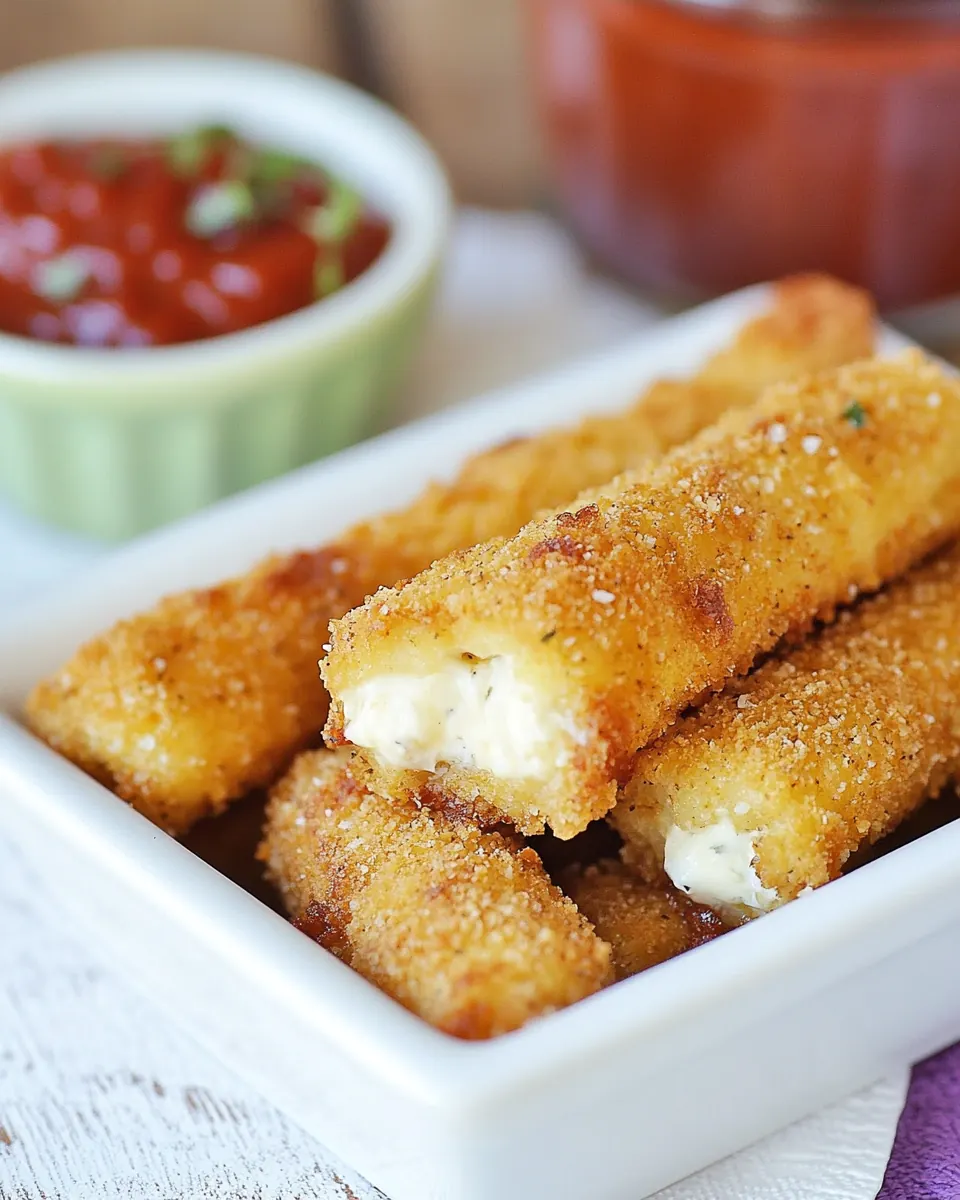
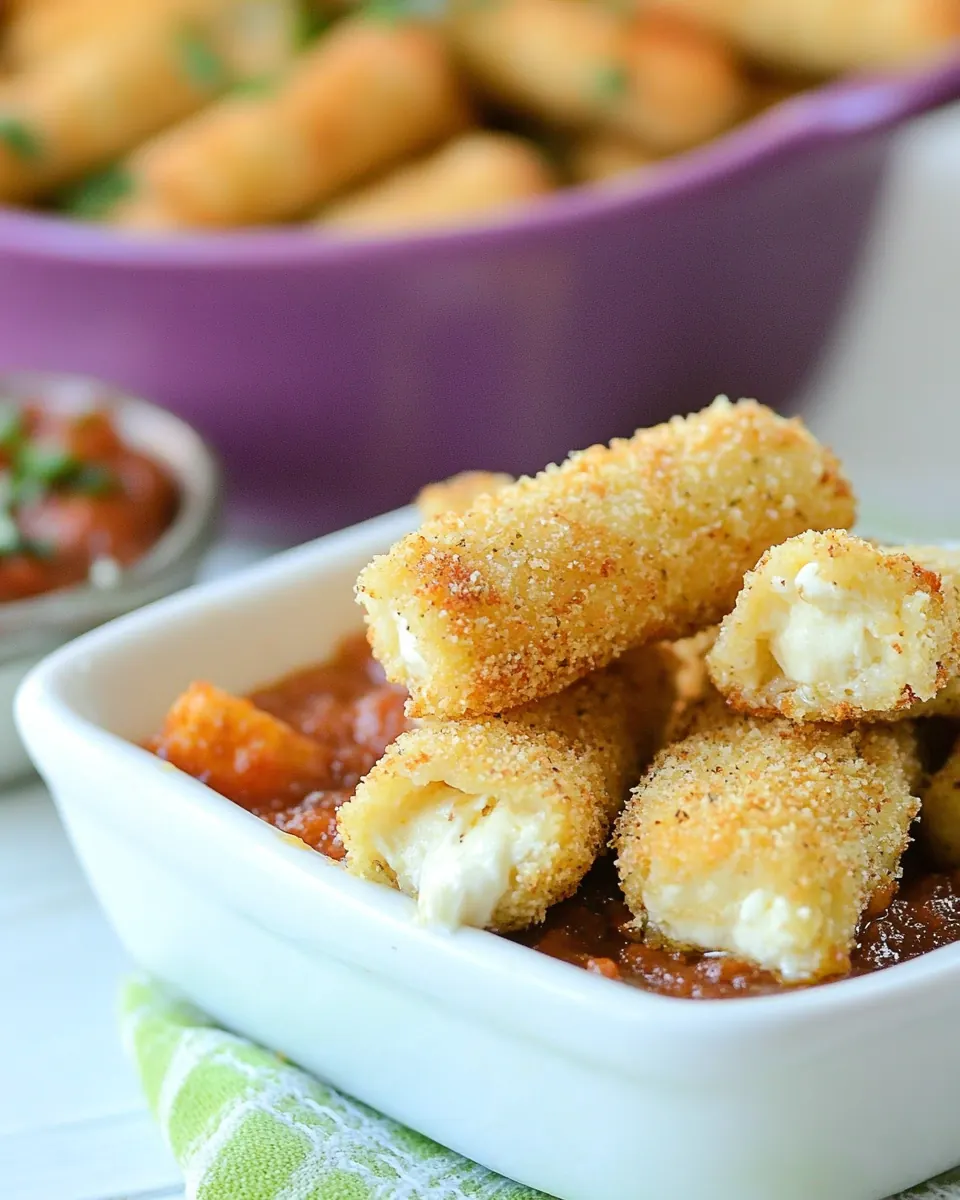
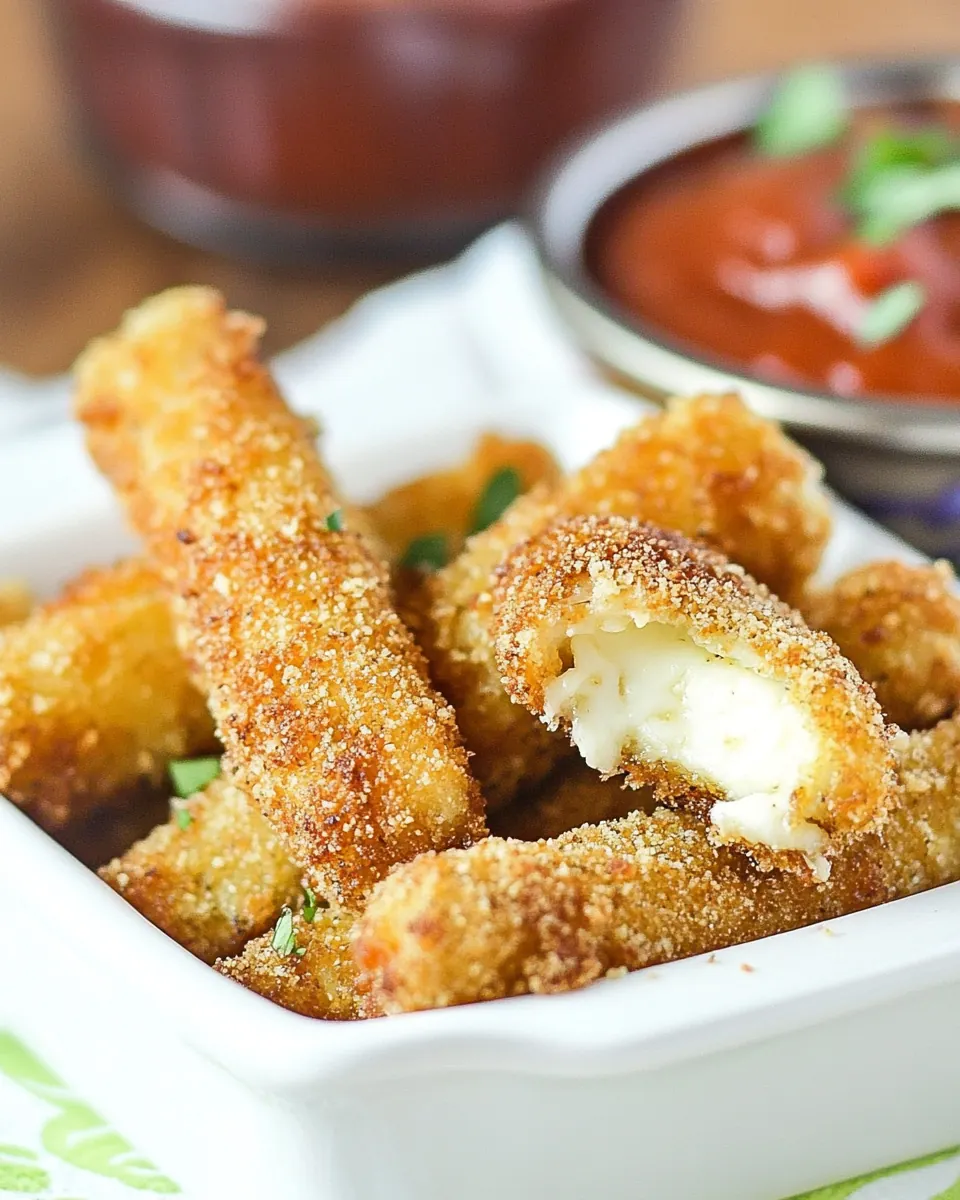
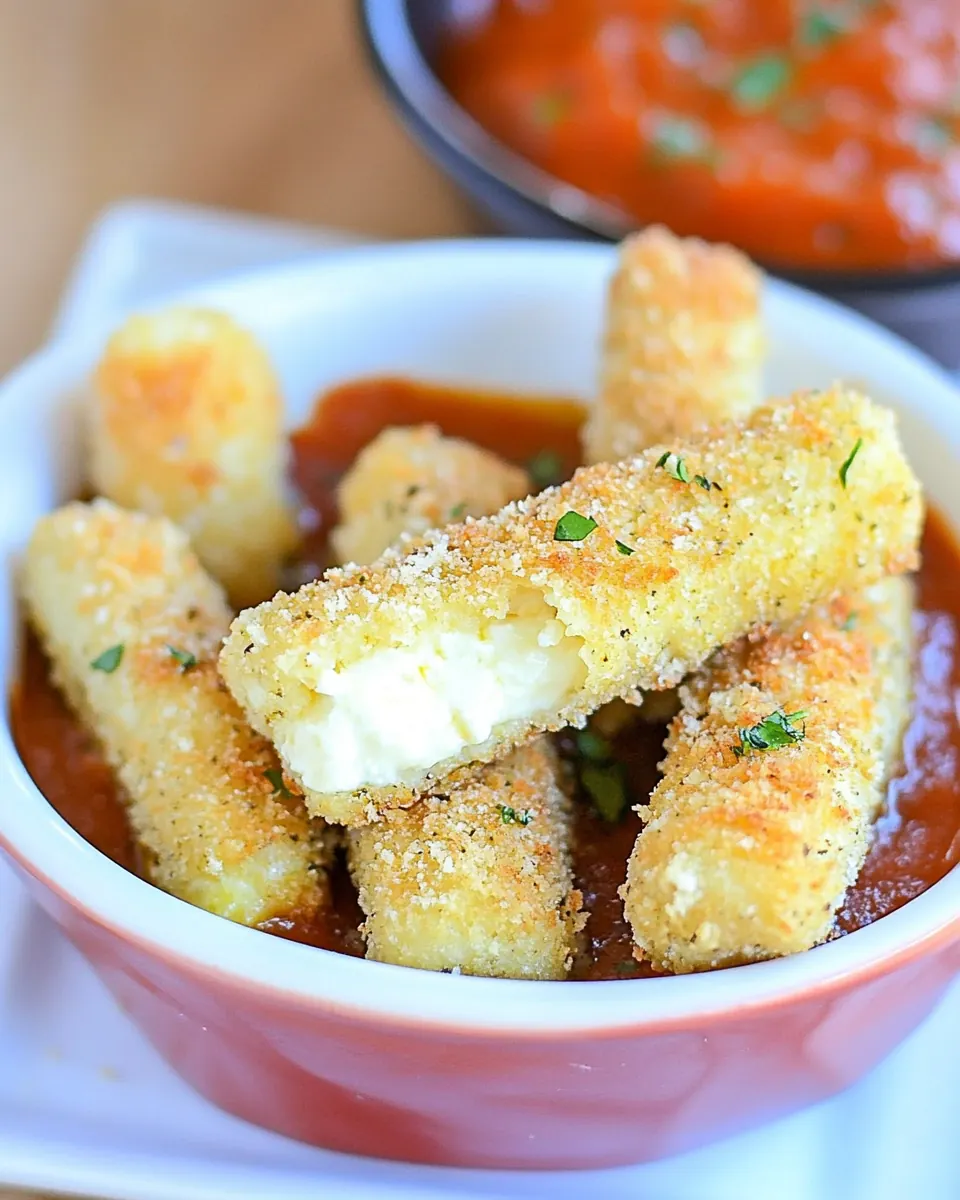
Freezer Friendly Baked Mozzarella Sticks
Freezer Friendly Baked Mozzarella Sticks became my go to party trick the first winter I started hosting movie nights. I wanted something that felt indulgent, but that I could prep days ahead so I could actually enjoy the evening with guests. I remember the first batch I froze, and how the kitchen smelled like toasted crumbs as they baked, while the cheese inside turned luxuriously molten.
I still make these when we have last minute company, or when I need a crunchy snack for an afternoon crowd. The process is simple yet satisfying, and the act of double coating the mozzarella gives a shell that snaps when you bite into it. Over the years I’ve learned little tricks, like freezing on waxed paper to prevent sticking, that make the whole thing effortless.
Recipe Snapshot
20 mins
10 mins
10 mins
Medium
300 kcal
Italian
Low FODMAP, Gluten-Free
Appetizers
Baking sheet, Bowls, Foil, Cooking spray
What We Adore About This Freezer Friendly Baked Mozzarella Sticks
I can prep ahead and actually relax
I love that Freezer Friendly Baked Mozzarella Sticks lets me do the messy work well before guests arrive. I prep, freeze, and then pop them straight into the oven, which means I spend minutes cooking rather than juggling frying pans while people chatter.
The texture is everything
I adore the contrast between the crackling, golden exterior and the molten, stretchy mozzarella inside. The combination of Italian flavored bread crumbs and Panko bread crumbs adds both flavor and crunch, giving you that satisfying snap on every bite.
Healthier than deep frying, still indulgent
Baking rather than frying trims excess oil, and you still get that crave worthy crisp. I like that I can offer a treat that feels a little lighter without sacrificing the gooey center that makes everyone smile.
Great for families and gatherings
These are an easy win for kid friendly snacks, casual game nights, or potlucks. You can scale the batch, freeze extras, and bake only what you need. I often find that making a double batch means there is always a crunchy stash ready for unexpected guests.
Simple pantry ingredients, big payoff
Everything here is pantry friendly, from the all purpose flour to the Parmesan cheese. That makes these sticks an accessible recipe whether you are cooking on a weeknight or planning a spread for friends.
What to Gather for Freezer Friendly Baked Mozzarella Sticks
These ingredients are intentionally streamlined. The focus is on a sturdy coating system and high quality mozzarella, so each component plays a clear role. The flour creates a dry base that helps the egg adhere, the eggs bind the crumb layer, and the mix of bread crumbs plus Parmesan cheese builds crispness and savory depth. When combined, they protect the cheese during freezing and produce a golden exterior when baked.
- 12 mozzarella cheese sticks: Provide a firm, melty center that becomes gooey when baked; individually wrapped sticks are convenient for portioning and freezing. Handle gently to prevent splitting the cheese during coating and freezing, ensuring even melting in the oven.
- 1/4 cup all-purpose flour: Coat the cheese sticks lightly to create a dry surface for the egg wash to adhere to and help the breadcrumbs stick. Use a light dusting to avoid a pasty coating that can prevent the crispy exterior from forming.
- 1/4 cup Italian flavored bread crumbs: Add seasoned flavor and a classic Italian herb profile to the crunchy coating, complementing the mozzarella's mildness. Mix thoroughly with the panko and Parmesan to ensure consistent seasoning on every stick.
- 1/4 cup Panko bread crumbs: Contribute extra crunch and structure to the breading for a crisp, airy exterior that holds up after freezing and baking. Combine with the Italian breadcrumbs to create a multi-textured crust that browns evenly.
- 2 tbsp shredded Parmesan cheese: Bring savory, umami depth and a salty finish to the breading mix, enhancing overall flavor without overpowering the cheese. Finely shredded Parmesan distributes evenly throughout the coating for a cohesive taste.
- 2 eggs slightly beaten: Bind the flour and breadcrumbs to the cheese for a stable coating that adheres during freezing and baking; whisk until slightly frothy for even coverage. Beat gently to incorporate a uniform consistency that helps create a golden, sealed crust.
How to Assemble Freezer Friendly Baked Mozzarella Sticks
These steps are straightforward, but I like to slow down and pay attention to texture so each stick bakes up perfectly. Follow the process exactly, and you will notice the difference in crispness and melt. Keep a close eye on the oven at the end so the cheese is gooey, not leaking.
- Cut cheese sticks in half.: Cold mozzarella has a firm, slightly springy feel when you slice it. Cutting into halves gives you the perfect bite size, while keeping the interior thick enough to melt without bursting. If you cut while the cheese is warm it will deform and we risk losing clean edges, so work quickly after removing from the fridge.
- Set out three medium bowls.: Arrange them side by side so your coating assembly becomes a smooth, linear workflow. The tactile rhythm of moving from bowl to bowl makes coating faster and cleaner, and you avoid cross contamination. If bowls are too small, crumbs will spill and the process becomes messy, so choose appropriately sized bowls.
- Place flour in first bowl, beaten eggs in second bowl, and stir together both bread crumb and Parmesan cheese in the third bowl.: The dry flour roughens the surface to help the egg adhere, while the beaten eggs provide moisture and binding. The third bowl should have the mixed crumbs and Parmesan cheese , which will create flavor and browning. Mixing thoroughly ensures even flavor in the crust; if the Parmesan is clumpy, break it up so pockets of salt do not form.
- Line a baking sheet with waxed paper.: This prevents the coated sticks from sticking while they freeze and allows you to transfer them easily. The waxed paper also protects against moisture and keeps the coating intact. Avoid parchment that can cling to the crumbs when frozen, as that can tear coating off during removal.
- Dredge the cheese sticks in the flour first, then dip in the egg mixture, and finally coat with the bread crumb mixture.: The sequence creates layers that adhere. When you dredge, you should feel the light dusting of flour , then the slick of the eggs , and finally the coarse texture of the crumbs. Press crumbs gently into the surface so they stick without being compacted; pressing too hard will compress the crumbs and reduce crunch.
- Re-dip each cheese stick into the egg mixture and bread crumb mixture for a second coat if desired.: A second coat builds a thicker armor, which helps prevent leakage during baking and increases crunch. The exterior should feel slightly puffy after the second coat. Be mindful that overcoating can create a very thick crust that drowns the cheese, so stop once the coating looks even and substantial.
- Place on lined baking sheet.: Arrange the sticks with small gaps so air circulates even while they freeze. You should hear a faint rustle as crumbs settle on the paper. Crowding them will cause sticking and uneven freezing, so leave room to maneuver.
- Repeat process until all cheese sticks are coated. Place baking sheet in freezer and freeze for 1 hour.: Freezing firms the coating so it holds during baking. After an hour the exterior will feel solid to the touch and the crumbs will not flake off. A common error is skipping this step; then the crumbs can slide off when transferred to the hot pan.
- Preheat oven to 400 degrees.: Set your oven so it is fully hot when the frozen sticks go in. A hot oven encourages quick browning of the crust while the center melts evenly. If you place the sticks in a cool oven, they may ooze before the crust sets.
- Line a baking sheet with foil. Spray foil with cooking spray. Place frozen cheese sticks on baking sheet and spray with cooking spray.: The foil creates an easy cleanup surface and spraying helps the crust brown without sticking. You should see a light sheen on each stick where spray touched, and the Panko will begin to toast quickly. Don’t skip spraying the tops, or the bottom will brown unevenly.
- Bake for 3-5 minutes, turn, bake for another 3-5 minutes until golden.: As they bake you will notice the crumbs darken to a nutty brown and a faint cheesy scent will fill the kitchen. Turn them so both sides achieve even color. Watch carefully toward the end since mozzarella can burst through if baked too long; golden, not dark brown, is your cue.
- Cool for several minutes before serving with marinara or ranch.: Cooling lets the molten center set slightly so it does not gush out on the first bite. The surface will still be warm and crisp, while the inside remains stretchy. Serve warm; if you serve too hot guests risk burning, and if you serve too cold the cheese will lose its stretch.
Ways to Adapt This Recipe
I like to think of small adjustments that keep the core technique intact while offering variety. Below are practical ways I have tweaked the coating and timing at home to suit tastes and timing constraints.
- Double coat for extra crunch Re dipping once more into the egg and crumb mixture builds a thicker shell that resists melting through during baking.
- Use seasoned crumbs sparingly If your store bought crumbs are very salty, reduce added salty components elsewhere in your menu so nothing ends up too briny.
- Freeze on single layer first Freeze the sticks in a single layer until solid, then transfer to a sealed bag to keep them from clumping together.
- Spray lightly for even browning A mist of cooking spray on the tops before baking helps the crust develop an attractive golden color without adding oiliness.
- Serve immediately Bake only what you need right before serving, since reheating can make the crust softer and reduce the ideal crunchy to gooey contrast.
What to Pair With Freezer Friendly Baked Mozzarella Sticks
These sticks work wonderfully in a variety of serving scenarios, from casual snack plates to party spreads. I like to present them hot with contrasting dips and complementary small bites, and they are versatile enough for family nights or Ramadan iftar trays.
- Serve with warming marinara A bowl of hot marinara adds acidity and herbaceous notes that cut through the richness of the melted mozzarella. The tang helps balance the crunchy coating.
- Offer a creamy dip Cool ranch or a herbed yogurt dip complements the toasted crumbs and provides a cooling contrast to the warm cheese.
- Pair with fresh vegetables Crisp carrot and celery sticks add a refreshing crunch that contrasts the soft interior of the cheese sticks, brightening each bite.
- Make it a casual appetizer board Add olives, grape tomatoes, and sliced cucumbers to create variety and make the plate feel abundant without heavy cooking.
- Occasion ideas These are perfect for movie nights, sports gatherings, or as a kid friendly snack after school. They reheat well if you need to make them ahead and refresh in a hot oven for 3 to 4 minutes.
- Storage tips Keep frozen sticks in a single layer until solid, then transfer to a sealed container. Bake from frozen for best results, adding a minute or two if needed.
FAQ
Conclusion
What makes this recipe special is the way simple pantry ingredients come together to create a crunchy exterior and a lusciously melty center, all with the convenience of make ahead prep. Give these a try the next time you want a crowd pleasing appetizer that does not keep you tied to the stove. They are forgiving, freezer friendly, and always a hit whether you are hosting friends or just treating the family to a fun snack.
Freezer Friendly Baked Mozzarella Sticks
Equipment
- Baking Sheet
- Bowls
- Foil
- Cooking spray
Ingredients
- 12 mozzarella cheese sticks Provide a firm, melty center that becomes gooey when baked; individually wrapped sticks are convenient for portioning and freezing. Handle gently to prevent splitting the cheese during coating and freezing, ensuring even melting in the oven.
- 1/4 cup all-purpose flour Coat the cheese sticks lightly to create a dry surface for the egg wash to adhere to and help the breadcrumbs stick. Use a light dusting to avoid a pasty coating that can prevent the crispy exterior from forming.
- 1/4 cup Italian flavored bread crumbs Add seasoned flavor and a classic Italian herb profile to the crunchy coating, complementing the mozzarella's mildness. Mix thoroughly with the panko and Parmesan to ensure consistent seasoning on every stick.
- 1/4 cup Panko bread crumbs Contribute extra crunch and structure to the breading for a crisp, airy exterior that holds up after freezing and baking. Combine with the Italian breadcrumbs to create a multi-textured crust that browns evenly.
- 2 tbsp shredded Parmesan cheese Bring savory, umami depth and a salty finish to the breading mix, enhancing overall flavor without overpowering the cheese. Finely shredded Parmesan distributes evenly throughout the coating for a cohesive taste.
- 2 eggs slightly beaten Bind the flour and breadcrumbs to the cheese for a stable coating that adheres during freezing and baking; whisk until slightly frothy for even coverage. Beat gently to incorporate a uniform consistency that helps create a golden, sealed crust.
Instructions
- Cut cheese sticks in half.: Cold mozzarella has a firm, slightly springy feel when you slice it. Cutting into halves gives you the perfect bite size, while keeping the interior thick enough to melt without bursting. If you cut while the cheese is warm it will deform and we risk losing clean edges, so work quickly after removing from the fridge.
- Set out three medium bowls.: Arrange them side by side so your coating assembly becomes a smooth, linear workflow. The tactile rhythm of moving from bowl to bowl makes coating faster and cleaner, and you avoid cross contamination. If bowls are too small, crumbs will spill and the process becomes messy, so choose appropriately sized bowls.
- Place flour in first bowl, beaten eggs in second bowl, and stir together both bread crumb and Parmesan cheese in the third bowl.: The dry flour roughens the surface to help the egg adhere, while the beaten eggs provide moisture and binding. The third bowl should have the mixed crumbs and Parmesan cheese , which will create flavor and browning. Mixing thoroughly ensures even flavor in the crust; if the Parmesan is clumpy, break it up so pockets of salt do not form.
- Line a baking sheet with waxed paper.: This prevents the coated sticks from sticking while they freeze and allows you to transfer them easily. The waxed paper also protects against moisture and keeps the coating intact. Avoid parchment that can cling to the crumbs when frozen, as that can tear coating off during removal.
- Dredge the cheese sticks in the flour first, then dip in the egg mixture, and finally coat with the bread crumb mixture.: The sequence creates layers that adhere. When you dredge, you should feel the light dusting of flour , then the slick of the eggs , and finally the coarse texture of the crumbs. Press crumbs gently into the surface so they stick without being compacted; pressing too hard will compress the crumbs and reduce crunch.
- Re-dip each cheese stick into the egg mixture and bread crumb mixture for a second coat if desired.: A second coat builds a thicker armor, which helps prevent leakage during baking and increases crunch. The exterior should feel slightly puffy after the second coat. Be mindful that overcoating can create a very thick crust that drowns the cheese, so stop once the coating looks even and substantial.
- Place on lined baking sheet.: Arrange the sticks with small gaps so air circulates even while they freeze. You should hear a faint rustle as crumbs settle on the paper. Crowding them will cause sticking and uneven freezing, so leave room to maneuver.
- Repeat process until all cheese sticks are coated. Place baking sheet in freezer and freeze for 1 hour.: Freezing firms the coating so it holds during baking. After an hour the exterior will feel solid to the touch and the crumbs will not flake off. A common error is skipping this step; then the crumbs can slide off when transferred to the hot pan.
- Preheat oven to 400 degrees.: Set your oven so it is fully hot when the frozen sticks go in. A hot oven encourages quick browning of the crust while the center melts evenly. If you place the sticks in a cool oven, they may ooze before the crust sets.
- Line a baking sheet with foil. Spray foil with cooking spray. Place frozen cheese sticks on baking sheet and spray with cooking spray.: The foil creates an easy cleanup surface and spraying helps the crust brown without sticking. You should see a light sheen on each stick where spray touched, and the Panko will begin to toast quickly. Don’t skip spraying the tops, or the bottom will brown unevenly.
- Bake for 3-5 minutes, turn, bake for another 3-5 minutes until golden.: As they bake you will notice the crumbs darken to a nutty brown and a faint cheesy scent will fill the kitchen. Turn them so both sides achieve even color. Watch carefully toward the end since mozzarella can burst through if baked too long; golden, not dark brown, is your cue.
- Cool for several minutes before serving with marinara or ranch.: Cooling lets the molten center set slightly so it does not gush out on the first bite. The surface will still be warm and crisp, while the inside remains stretchy. Serve warm; if you serve too hot guests risk burning, and if you serve too cold the cheese will lose its stretch.
Notes
- Double coat for extra crunch Re dipping once more into the egg and crumb mixture builds a thicker shell that resists melting through during baking.
- Use seasoned crumbs sparingly If your store bought crumbs are very salty, reduce added salty components elsewhere in your menu so nothing ends up too briny.
- Freeze on single layer first Freeze the sticks in a single layer until solid, then transfer to a sealed bag to keep them from clumping together.
- Spray lightly for even browning A mist of cooking spray on the tops before baking helps the crust develop an attractive golden color without adding oiliness.
- Serve immediately Bake only what you need right before serving, since reheating can make the crust softer and reduce the ideal crunchy to gooey contrast.