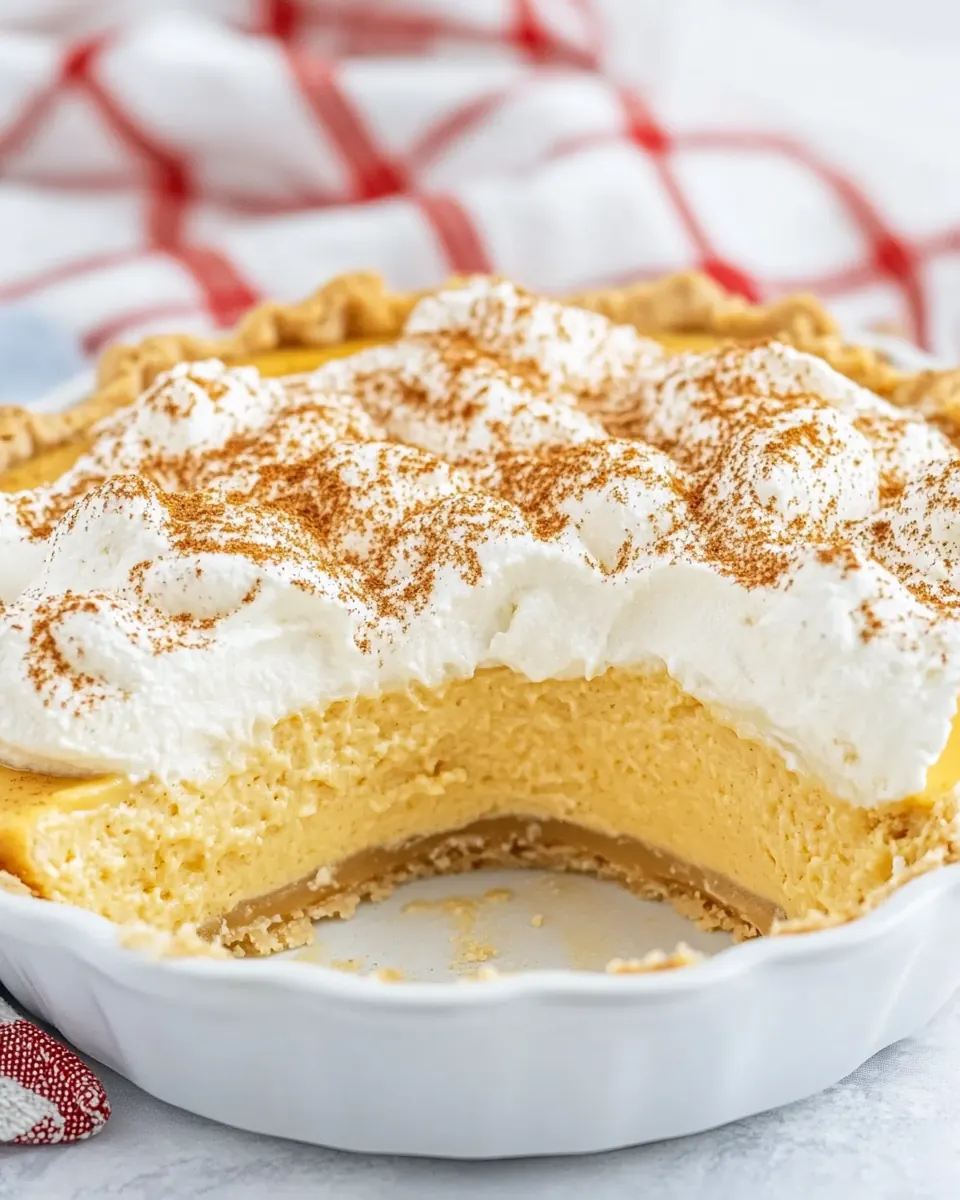
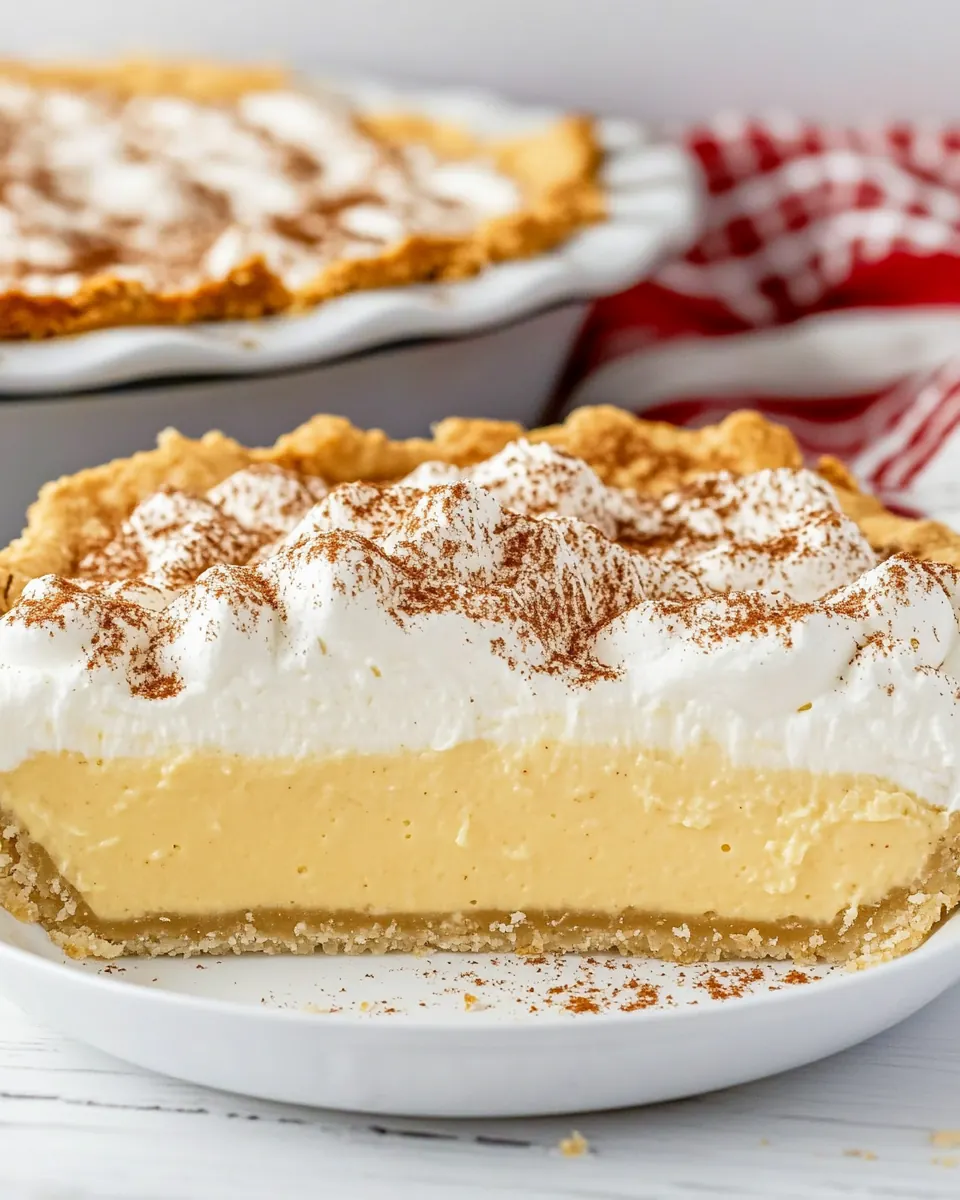
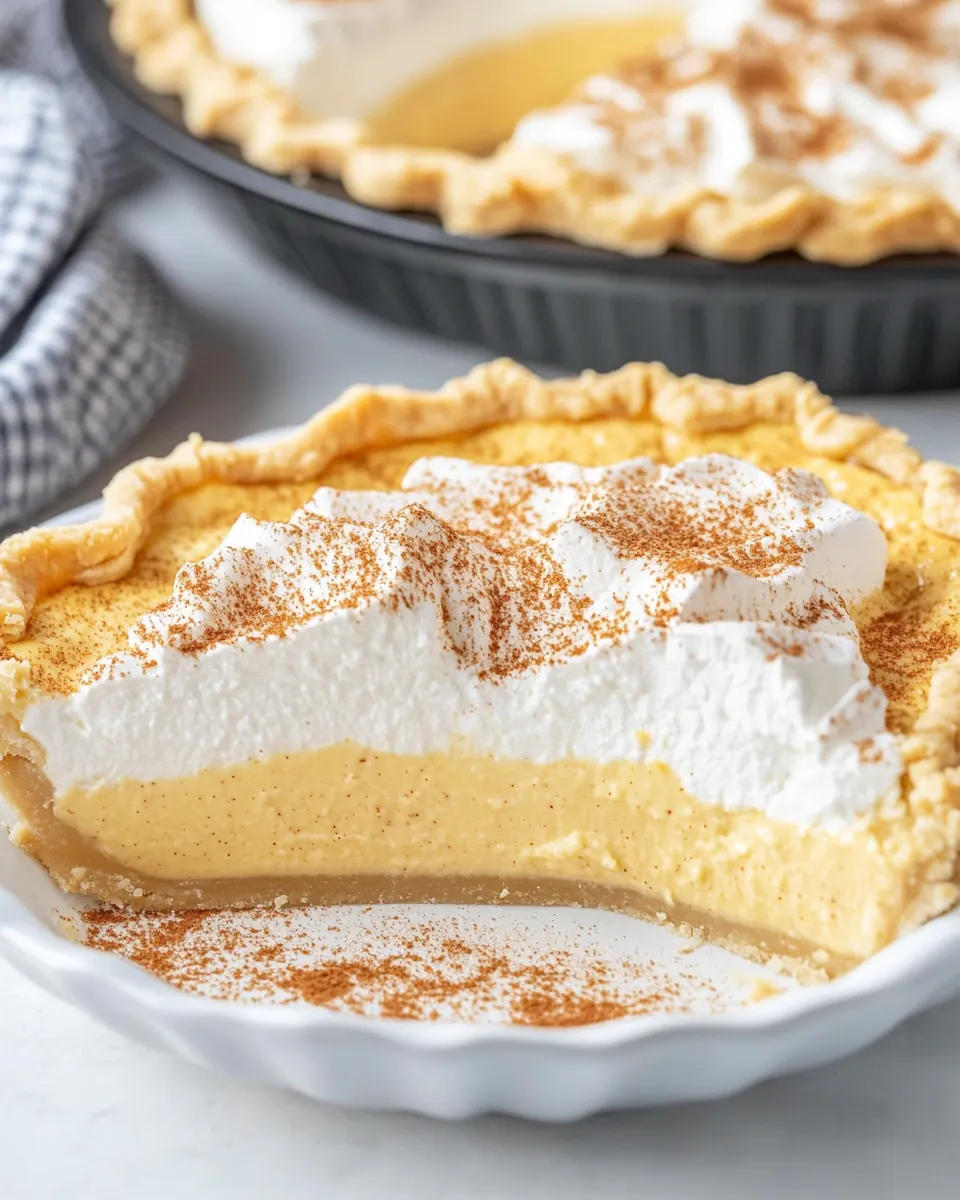
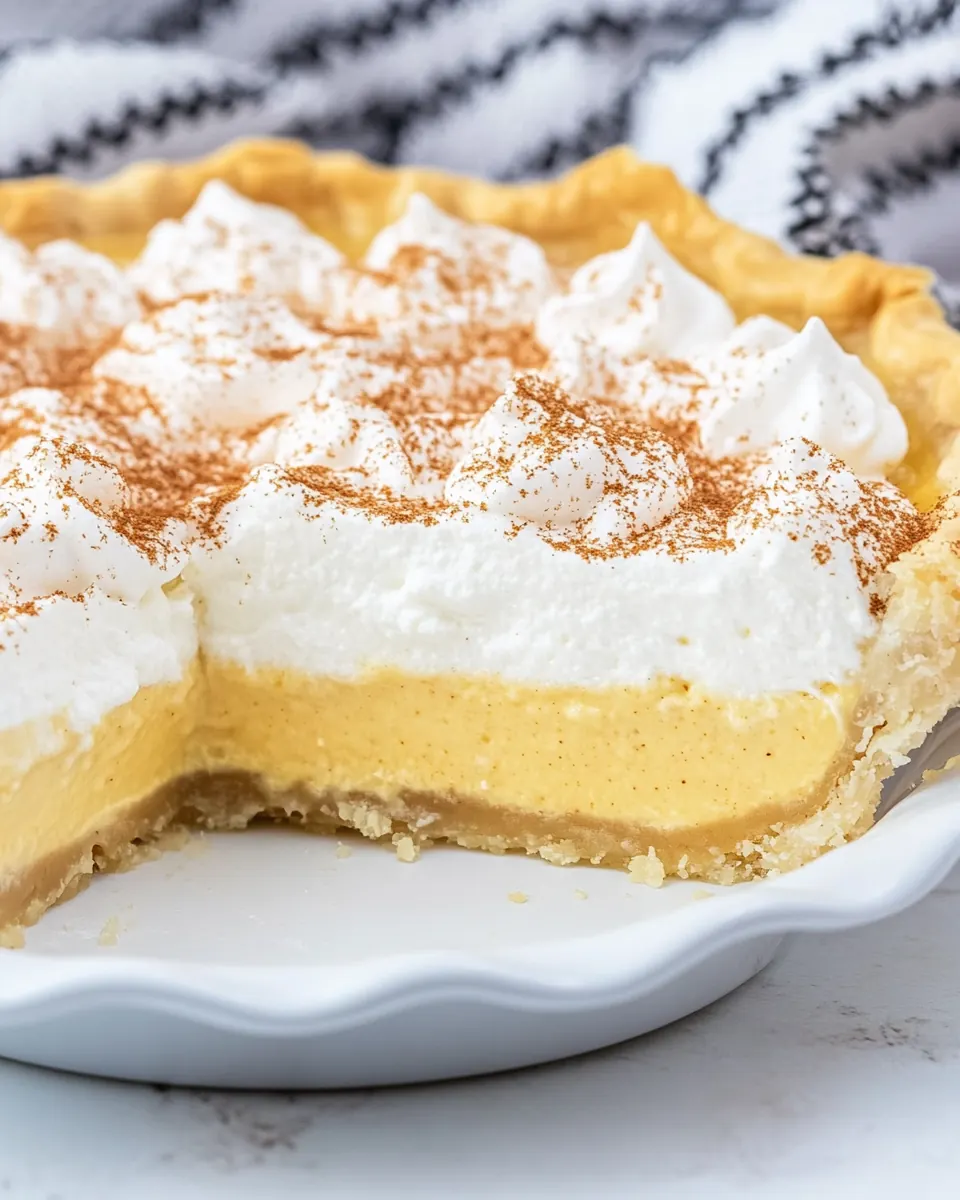
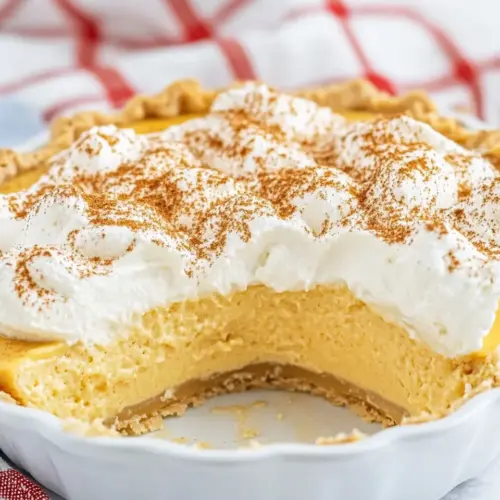
Eggnog Pie
Eggnog Pie feels like the flavor of cozy nights spent around a kitchen island, hands sticky from stirring and laughter floating in the air. I first met this pie at a holiday potluck where someone had tucked the dish into the back of the fridge, and when I lifted the lid I was greeted by a creamy, custardy slice that tasted like the best parts of the season rolled into one bite. From that moment, I kept a copy of the recipe tucked into my recipe box, and it became my go to whenever I wanted to bring something nostalgic but easy.
Every time I make Eggnog Pie I remember the rhythm of that evening, the clink of spoons against plates, and the way the nutmeg perfume seemed to make everyone relax a little more. I like that it is both simple and celebratory, something you can whip up without fuss yet it reads as special on a holiday table. Over the years I have learned to trust the small details that make it sing, like chilling long enough so the filling firms and scooping a generous cloud of whipped topping right before serving. Those little rituals are what make it feel like home to me.
Recipe Snapshot
30 mins
10 mins
20 mins
Easy
250 kcal
American
Gluten-Free, Low FODMAP
Desserts
Electric mixer, Whisk, 9 inch pie plate, Mixing bowls
The Appeal of This Eggnog Pie
Comfort in a Slice
I love that Eggnog Pie captures a seasonal hug in dessert form. The filling sets into a lush, spoonable texture that tastes gently spiced and luxuriously creamy. It is one of those recipes I reach for when I want something familiar that still impresses, because the mouthfeel alone invites people to take another forkful.
Ridiculously Simple Assembly
What keeps me coming back is how effortless it is to put together. With ready made crusts and instant pudding the hands on time is minimal, which means I can focus on presentation, and catching up with friends. I often double check the chilled whipped cream so the top looks like a soft cloud, that small step elevates the whole thing.
Flexible for Crowds
We often need desserts that scale, and Eggnog Pie does that without drama. If I am hosting a larger gathering I make a couple of pies or press the filling into a tart pan. Because it stores well in the fridge, I can make it a day ahead which saves stress on the actual event day. That buffer time is a game changer for holiday hosting.
Perfect Holiday Flavor
This pie leans into the spices and creamy rhythm of the season. Eggnog lends a signature profile that feels indulgent yet approachable, and a dusting of nutmeg at the end brings warmth with every bite. For me, it is the seasonal shortcut that always feels like tradition.
Kid Friendly and Crowd Approved
I find families especially love it because the texture is familiar and the flavor is gentle rather than sharp. I enjoy watching kids nudge aside whipped cream to get to the filling, and adults sneak second slices. It’s a dessert that keeps conversation flowing, and plates returning for more.
Ingredients to Make Eggnog Pie
These components are chosen to create a velvety, set filling and a light, supportive crust. The key players are the egg nog and the instant pudding mix which do the heavy lifting of flavor and structure, while the whipped cream softens and enriches the texture. The crust acts as a neutral, buttery base so the filling is the star.
- 1 all butter pie crust or frozen or from a pack of two, or my homemade crust recipe: Pre-baked or store-bought pie crust provides a sturdy buttery base and flaky texture for the eggnog pie; press into a pie plate and prebake or use as-is depending on recipe instructions to prevent a soggy bottom.
- 1 cup (237 ml) cold heavy whipping cream (or 8 ounces / 226 g Cool Whip): Whipped to medium-stiff peaks, cold heavy whipping cream adds rich, airy creaminess and volume to the filling; fold gently into the pudding mixture to lighten the custard and provide a silky mouthfeel.
- 1 tablespoon (7 g) powdered sugar: Sifted into the cream before whipping, powdered sugar sweetens and stabilizes the whipped cream while dissolving quickly to avoid grittiness; it also helps maintain structure so the topping holds its shape.
- 13.4 ounce box INSTANT vanilla pudding: Instant vanilla pudding mix acts as the thickening and flavoring agent, creating a smooth, custardy base that sets without baking; whisk with eggnog until combined to form the pie’s creamy filling.
- 1 2/3 cup (397 ml) eggnog: Chilled eggnog contributes the signature holiday flavor and creamy liquid component, providing sweetness, spices, and richness while thinning the pudding mix to the ideal consistency for setting into a pie.
- Ground nutmeg (for garnish) (optional): Sprinkled sparingly as a finishing touch, ground nutmeg enhances aroma and adds warm, slightly nutty spice for garnish; use a light dusting to complement the eggnog flavor without overpowering the filling.
Step by Step Guide for Eggnog Pie
These directions guide you through assembly, chilling, and finishing so the pie emerges with a smooth, set filling and a light, inviting top. Take your time with chilling and whipping, as those moments are what produce the right texture and flavor balance.
- If using a refrigerated crust, unroll and place in a 9″ pie plate. Poke holes in the bottom of the crust with the tines of a fork. Bake crust according to package directions. Cool before filling. (You can also use this crust, pressed into a 9″ pan, poked with the tines of a fork and baked at 400°F for 8-10 minutes.): You will notice the aroma of toasted butter as the crust bakes, and the surface should look evenly golden with slightly darker edges. Poking holes prevents air bubbles from forming, and cooling fully is essential so the filling does not melt the crust and cause sogginess. The sound is a soft crackle as steam escapes during blind baking, and visually the base should feel firm to the touch before you proceed. Why this matters, the cooling step maintains textural contrast between flaky crust and silky filling. Common mistakes include trying to fill the crust while it is still warm, which leads to a soggy bottom and runny filling.
- If making fresh whipped cream, place cold whipping cream in the bowl of an electric mixer fitted with a whisk attachment. Add powdered sugar and beat until stiff peaks form. Chill until ready to use.: Expect a toasted fragrance and a firmer, slightly crisper edge when pressing a crust into a pan and baking at a higher temperature. The high heat gives a quick set to the fat in the crust, yielding a pleasantly crunchy texture. Pressing evenly ensures uniform thickness and prevents underbaked pockets; uneven pressing leads to thin spots that can overbrown. Watch for visual cues, you want a light golden tone without dark spots. Avoid overbaking, because an overly dark crust will taste bitter against the sweet filling.
- Place pudding mix and eggnog in a large bowl. Stir until no lumps remain. Let set for 5 minutes. Fold in 1 cup of the prepared whipped cream (or Cool Whip). Pour into cooled pie crust. Cover and chill for at least 4 hours before finishing.: At first the whipping cream looks glossy, then it starts to thicken and hold soft peaks, finally clinging to the whisk in firm peaks that stand straight. The sound is a soft hum from the mixer and the smell is clean and milky. Chilling both the bowl and the cream before whipping helps the fat stabilize into structure, which is why this technique produces peaks that hold when folded into the filling. Troubleshooting note, overwhipping will turn the cream granular and buttery, so stop as soon as stiff peaks appear.
- Before serving, top with remaining whipped cream or Cool Whip and grated nutmeg (optional). Store in refrigerator.: As you stir the pudding mix into the eggnog , the mixture will thicken and develop a glossy sheen, and you should feel it change from thin to noticeably thicker in texture. The aroma will carry a sweet, spiced note from the eggnog, and letting it rest allows the instant pudding to hydrate fully so it can achieve a custard like body. This step is crucial because inadequate stirring or skipping the rest period leads to lumps or an under set filling. If lumps form, strain the mix or whisk vigorously until smooth.
- Fold in 1 cup of the prepared whipped cream (or Cool Whip).: When the whipped cream is folded in the mixture transforms into a lighter, silkier filling, and you will hear a faint airy whisper as you blend. Folding preserves air pockets which keeps the texture light, while still giving the filling body. Use a gentle motion, scraping the bowl and lifting the mixture so you do not deflate the cream. Overmixing removes the airy lift, resulting in a dense pie. If the filling looks runny after folding, it may need more chilling time to firm up.
- Pour into cooled pie crust. Cover and chill for at least 4 hours before finishing.: Pouring is a quiet, smooth pour as the filling settles into the crust, and visually it should level into a glossy, even surface. Chilling is where the filling truly sets, and patience is rewarded with a slice that holds cleanly when cut. The cold refrigerator causes the fat and thickeners to firm, creating that custard texture. A common error is insufficient chilling time; serving too early yields a filling that slumps and does not hold shape. Aim for at least 4 hours, overnight is ideal.
- Before serving, top with remaining whipped cream or Cool Whip and grated nutmeg (optional).: When you add the topping it creates visual contrast and a soft cloud like crown, and the grated nutmeg releases an aromatic spice that perfumes each bite. Use a light hand with nutmeg, sprinkling so that the aroma enhances rather than overpowers. The topping also provides a creamy counterpoint to the denser filling. A mistake to avoid is adding the garnish too early, which causes it to weep and lose its shape before serving.
- Store in refrigerator.: Stored properly the pie stays cool and the filling maintains its texture, and you will notice the flavors meld over the first day, often tasting more integrated. Refrigeration keeps the egg nog based filling safe and firm, and I recommend covering the pie to prevent absorption of other fridge odors. Avoid leaving it out at room temperature for extended periods, which can cause the texture to soften and risks food safety. If you need to transport, keep it chilled on an ice pack until serving.
Ways to Customize
You can tweak texture, sweetness, and presentation without losing the core flavor of the pie. Below are practical ideas to adjust the recipe for different occasions, equipment, and tastes.
- Swap the crust Try a pressed graham cracker crust for a sweeter, crumbly base that pairs nicely with the creamy filling.
- Make it lighter Use a lower fat Cool Whip option in place of some of the whipped cream to slightly reduce richness while keeping structure.
- Adjust sweetness If your eggnog is very sweet, reduce the powdered sugar in the whipped cream by half to keep balance.
- Presentation Pipe the remaining whipped cream in rosettes and dust each with a tiny pinch of nutmeg for an elegant holiday plate.
- Make ahead Prepare the pie a day in advance and keep it covered, which lets the flavors marry and cuts stress on the day you serve.
Perfect Matches for Eggnog Pie
This pie works well as a finale to a holiday meal or as part of a dessert spread where each item complements seasonal spices. Below I list pairing ideas, servings contexts, storage suggestions, and seasonal notes so you can plan the perfect serving moment.
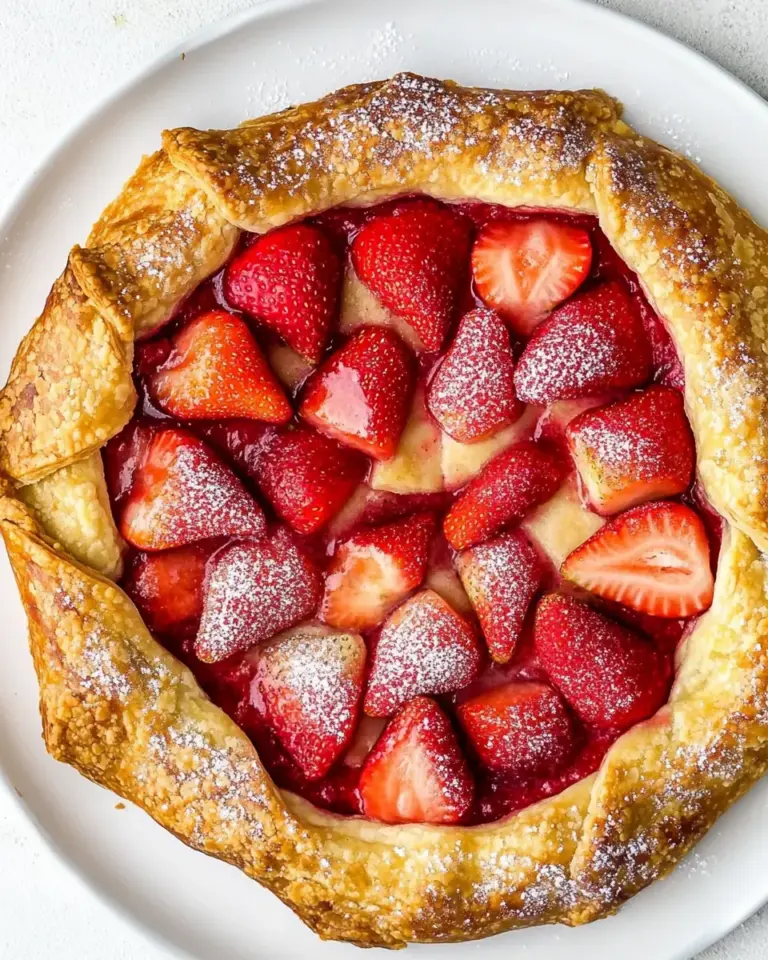
- Holiday dessert table Place slices of Eggnog Pie alongside a sturdy fruit tart and some cookies for a varied dessert selection.
- After a cozy dinner Serve a small slice with a hot beverage in winter evenings for a warming finish to the meal.
- Family gatherings Because it stores well, make it the day before a family event so you can be present with guests rather than stuck in the kitchen.
- Storage tip Keep covered in the refrigerator for up to three days to maintain texture and freshness.
- Seasonal pairing The flavors pair nicely with spiced coffee and simple cookies, making it ideal for winter and holiday celebrations.
FAQ
Conclusion
Eggnog Pie stands out for its comforting holiday flavor and incredibly simple assembly, combining instant pudding and rich eggnog into a creamy, set dessert. Try this recipe for your next seasonal gathering, and you will have a make ahead dessert that feels special with minimal fuss. I hope this pie becomes one of those dishes you reach for when you want to serve something nostalgic and reliably crowd pleasing, inviting warm conversation and satisfied smiles.
Eggnog Pie
Equipment
- Electric Mixer
- Whisk
- 9-inch pie plate
- Mixing Bowls
Ingredients
- 1 all butter pie crust or frozen or from a pack of two, or my homemade crust recipe Pre-baked or store-bought pie crust provides a sturdy buttery base and flaky texture for the eggnog pie; press into a pie plate and prebake or use as-is depending on recipe instructions to prevent a soggy bottom.
- 1 cup (237 ml) cold heavy whipping cream (or 8 ounces / 226 g Cool Whip) Whipped to medium-stiff peaks, cold heavy whipping cream adds rich, airy creaminess and volume to the filling; fold gently into the pudding mixture to lighten the custard and provide a silky mouthfeel.
- 1 tablespoon (7 g) powdered sugar Sifted into the cream before whipping, powdered sugar sweetens and stabilizes the whipped cream while dissolving quickly to avoid grittiness; it also helps maintain structure so the topping holds its shape.
- 13.4 ounce box INSTANT vanilla pudding Instant vanilla pudding mix acts as the thickening and flavoring agent, creating a smooth, custardy base that sets without baking; whisk with eggnog until combined to form the pie’s creamy filling.
- 1 2/3 cup (397 ml) eggnog Chilled eggnog contributes the signature holiday flavor and creamy liquid component, providing sweetness, spices, and richness while thinning the pudding mix to the ideal consistency for setting into a pie.
- Ground nutmeg optional (for garnish) Sprinkled sparingly as a finishing touch, ground nutmeg enhances aroma and adds warm, slightly nutty spice for garnish; use a light dusting to complement the eggnog flavor without overpowering the filling.
Instructions
- If using a refrigerated crust, unroll and place in a 9″ pie plate. Poke holes in the bottom of the crust with the tines of a fork. Bake crust according to package directions. Cool before filling. (You can also use this crust, pressed into a 9″ pan, poked with the tines of a fork and baked at 400°F for 8-10 minutes.): You will notice the aroma of toasted butter as the crust bakes, and the surface should look evenly golden with slightly darker edges. Poking holes prevents air bubbles from forming, and cooling fully is essential so the filling does not melt the crust and cause sogginess. The sound is a soft crackle as steam escapes during blind baking, and visually the base should feel firm to the touch before you proceed. Why this matters, the cooling step maintains textural contrast between flaky crust and silky filling. Common mistakes include trying to fill the crust while it is still warm, which leads to a soggy bottom and runny filling.
- If making fresh whipped cream, place cold whipping cream in the bowl of an electric mixer fitted with a whisk attachment. Add powdered sugar and beat until stiff peaks form. Chill until ready to use.: Expect a toasted fragrance and a firmer, slightly crisper edge when pressing a crust into a pan and baking at a higher temperature. The high heat gives a quick set to the fat in the crust, yielding a pleasantly crunchy texture. Pressing evenly ensures uniform thickness and prevents underbaked pockets; uneven pressing leads to thin spots that can overbrown. Watch for visual cues, you want a light golden tone without dark spots. Avoid overbaking, because an overly dark crust will taste bitter against the sweet filling.
- Place pudding mix and eggnog in a large bowl. Stir until no lumps remain. Let set for 5 minutes. Fold in 1 cup of the prepared whipped cream (or Cool Whip). Pour into cooled pie crust. Cover and chill for at least 4 hours before finishing.: At first the whipping cream looks glossy, then it starts to thicken and hold soft peaks, finally clinging to the whisk in firm peaks that stand straight. The sound is a soft hum from the mixer and the smell is clean and milky. Chilling both the bowl and the cream before whipping helps the fat stabilize into structure, which is why this technique produces peaks that hold when folded into the filling. Troubleshooting note, overwhipping will turn the cream granular and buttery, so stop as soon as stiff peaks appear.
- Before serving, top with remaining whipped cream or Cool Whip and grated nutmeg (optional). Store in refrigerator.: As you stir the pudding mix into the eggnog , the mixture will thicken and develop a glossy sheen, and you should feel it change from thin to noticeably thicker in texture. The aroma will carry a sweet, spiced note from the eggnog, and letting it rest allows the instant pudding to hydrate fully so it can achieve a custard like body. This step is crucial because inadequate stirring or skipping the rest period leads to lumps or an under set filling. If lumps form, strain the mix or whisk vigorously until smooth.
- Fold in 1 cup of the prepared whipped cream (or Cool Whip).: When the whipped cream is folded in the mixture transforms into a lighter, silkier filling, and you will hear a faint airy whisper as you blend. Folding preserves air pockets which keeps the texture light, while still giving the filling body. Use a gentle motion, scraping the bowl and lifting the mixture so you do not deflate the cream. Overmixing removes the airy lift, resulting in a dense pie. If the filling looks runny after folding, it may need more chilling time to firm up.
- Pour into cooled pie crust. Cover and chill for at least 4 hours before finishing.: Pouring is a quiet, smooth pour as the filling settles into the crust, and visually it should level into a glossy, even surface. Chilling is where the filling truly sets, and patience is rewarded with a slice that holds cleanly when cut. The cold refrigerator causes the fat and thickeners to firm, creating that custard texture. A common error is insufficient chilling time; serving too early yields a filling that slumps and does not hold shape. Aim for at least 4 hours, overnight is ideal.
- Before serving, top with remaining whipped cream or Cool Whip and grated nutmeg (optional).: When you add the topping it creates visual contrast and a soft cloud like crown, and the grated nutmeg releases an aromatic spice that perfumes each bite. Use a light hand with nutmeg, sprinkling so that the aroma enhances rather than overpowers. The topping also provides a creamy counterpoint to the denser filling. A mistake to avoid is adding the garnish too early, which causes it to weep and lose its shape before serving.
- Store in refrigerator.: Stored properly the pie stays cool and the filling maintains its texture, and you will notice the flavors meld over the first day, often tasting more integrated. Refrigeration keeps the egg nog based filling safe and firm, and I recommend covering the pie to prevent absorption of other fridge odors. Avoid leaving it out at room temperature for extended periods, which can cause the texture to soften and risks food safety. If you need to transport, keep it chilled on an ice pack until serving.
Notes
- Swap the crust Try a pressed graham cracker crust for a sweeter, crumbly base that pairs nicely with the creamy filling.
- Make it lighter Use a lower fat Cool Whip option in place of some of the whipped cream to slightly reduce richness while keeping structure.
- Adjust sweetness If your eggnog is very sweet, reduce the powdered sugar in the whipped cream by half to keep balance.
- Presentation Pipe the remaining whipped cream in rosettes and dust each with a tiny pinch of nutmeg for an elegant holiday plate.
- Make ahead Prepare the pie a day in advance and keep it covered, which lets the flavors marry and cuts stress on the day you serve.