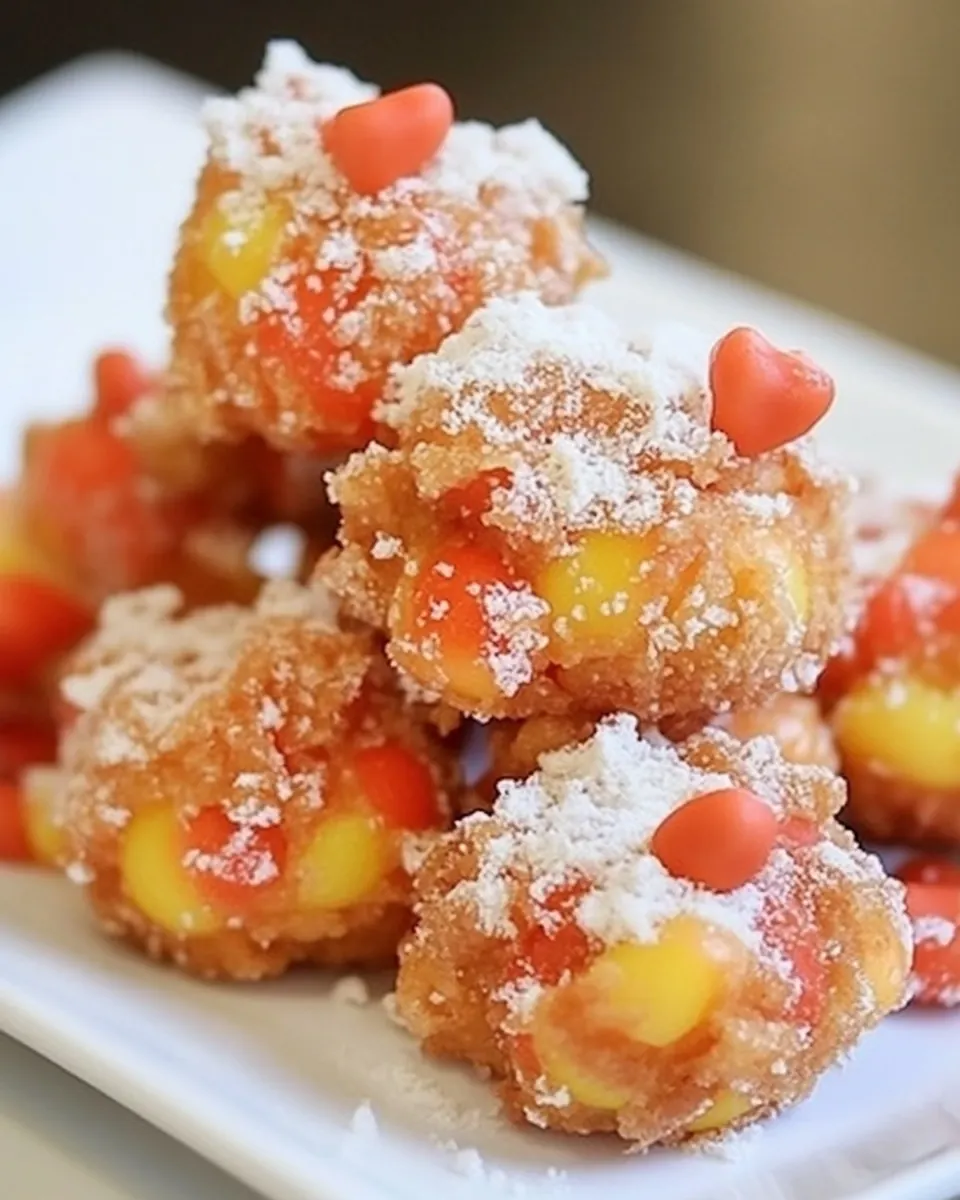
Deep Fried Candy Corn
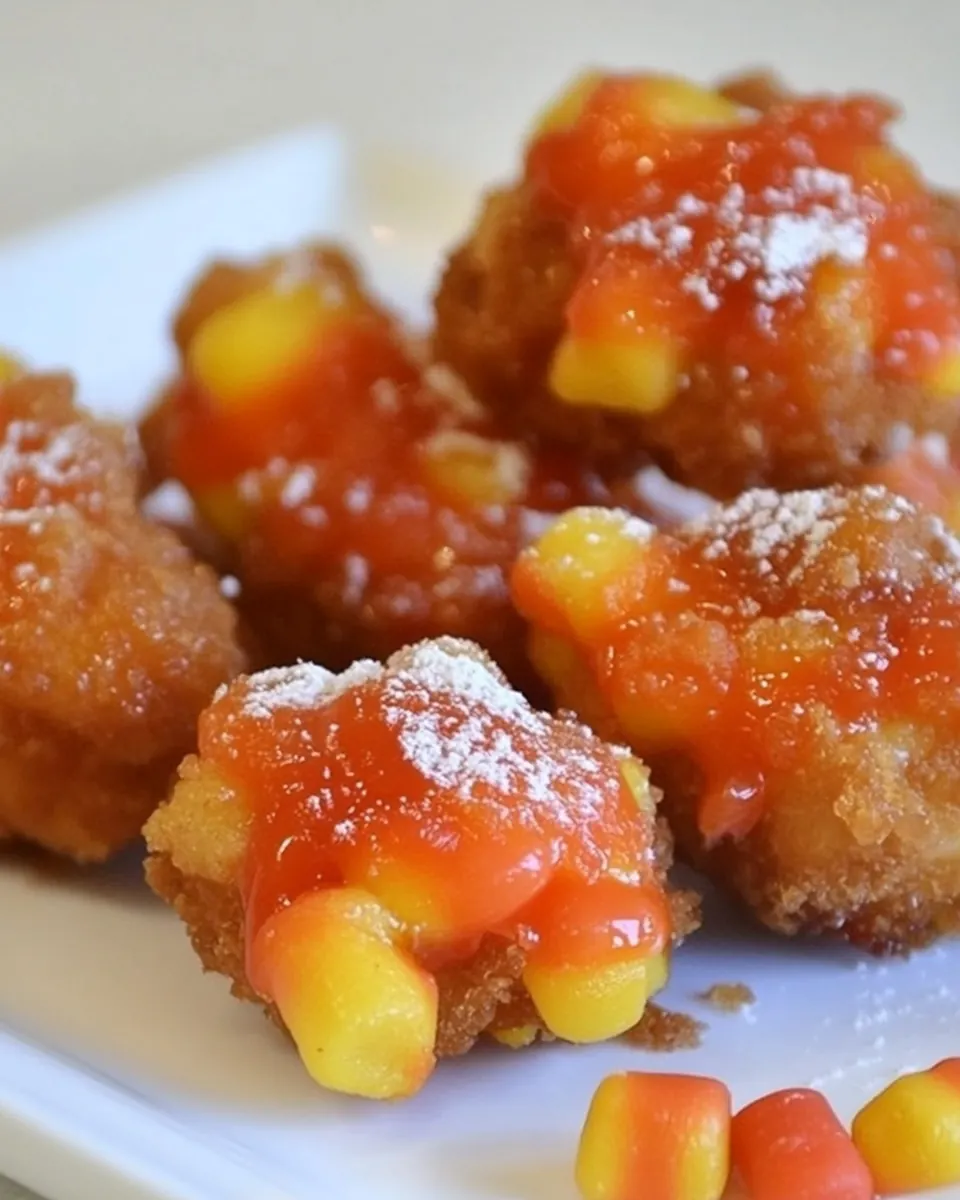
Deep Fried Candy Corn is one of those quirky treats I stumbled upon at a small fall fair years ago, and it instantly hooked me with its playful crunch and candy sweet hit. The very first bite felt like a celebration, crisp outside, tender inside, with tiny pockets of melted candy that sent my childhood memories skittering back to sticky Halloween nights. I remember laughing with friends as powdered sugar dusted our fingertips, and I kept thinking how this would be such a fun, unexpected addition to any seasonal gathering.
When I bring out a platter of Deep Fried Candy Corn now, people pause, curious about the idea of frying candy. Then they try it, and the room changes. Conversations slow, smiles widen, and someone always asks for the recipe. For me, this recipe is not just about the final bite, it is about the ritual of making something playful for a crowd, the little anticipatory moments when the oil begins to shimmer, and the satisfying clink as the balls drain on a wire rack. It is the sort of snack that turns ordinary afternoons into a small, memorable event.
Recipe Snapshot
20 mins
5 mins
15 mins
Easy
180 kcal
American
Gluten-Free, Low FODMAP
Desserts
Dutch oven, Candy thermometer, Wire rack, Slotted spoon
Why This Deep Fried Candy Corn Stands Out
Unexpected Fun Factor
I love how Deep Fried Candy Corn surprises people. The idea of frying a candy feels bold, and that curiosity translates into excitement. I often watch faces shift from doubt to delight as the warm centers melt slightly, creating pockets of chewy sweetness. It makes serving this dessert feel theatrical, and I enjoy being the person who brings that playful energy.
Contrasting Textures
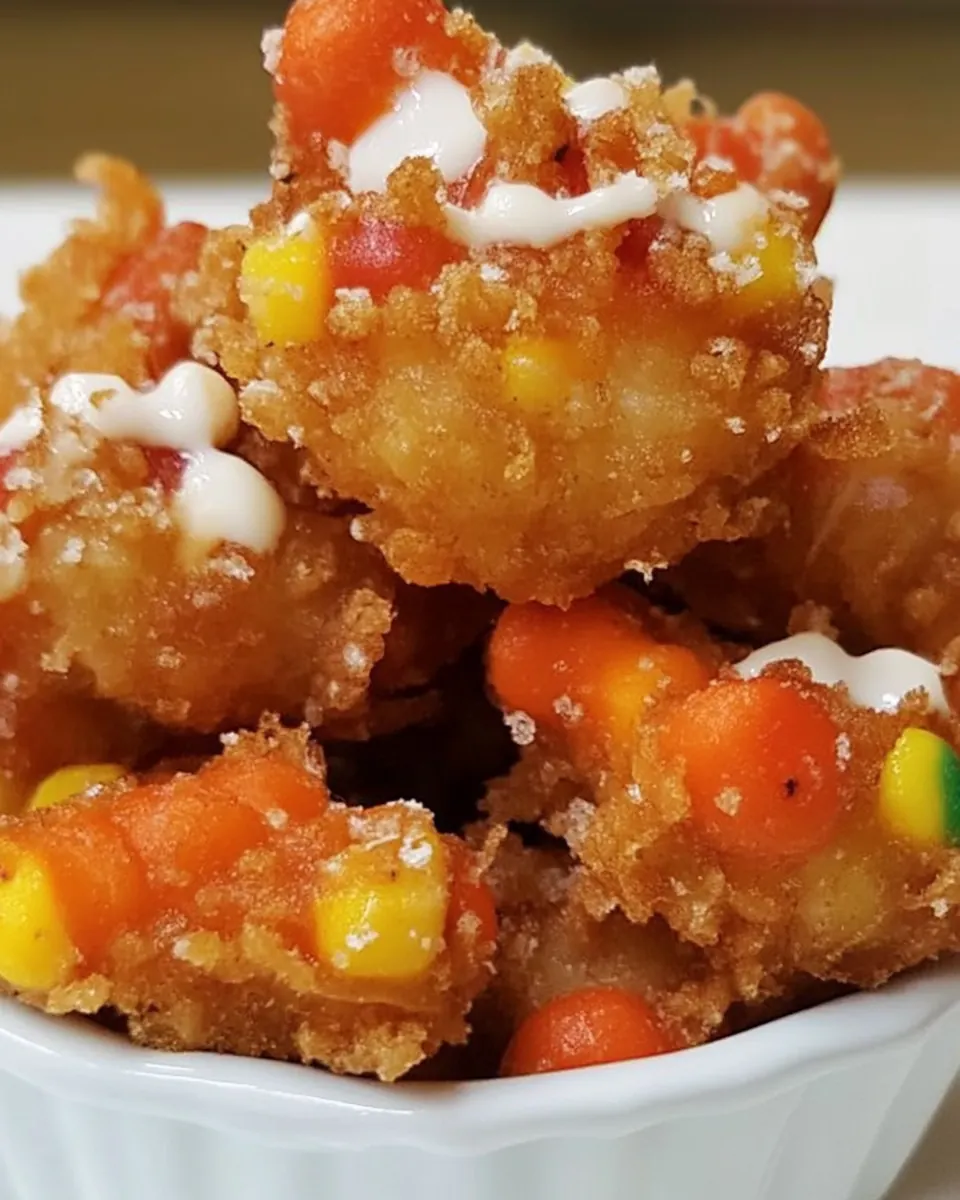
What keeps me coming back to this recipe is the contrast between the crisp fried exterior and the soft interior flecked with candy corn. That interplay of textures gives every bite a little drama. The light, golden crust holds together but gives way to a tender crumb, while the coarsely chopped candy corn delivers little bursts of sweetness that are never overwhelming.
Simple, Accessible Ingredients
I appreciate that this recipe relies on pantry friendly staples like all purpose baking mix, an egg, and a splash of buttermilk. You do not need gourmet components to create something festival worthy. Because of that, I can pull these together quickly when I want to surprise friends, which is perfect for last minute entertaining.
Great For Groups
These little bites are made to share. I like serving them on a large platter with a dusting of powdered sugar so people can graze. They are easy to pick up, fun to eat, and they travel well from kitchen to table. When I host during the fall season, they always get eaten first, which tells me they strike the right balance of novelty and comfort.
Playful Nostalgia
Finally, there is a strong nostalgic pull here. Candy corn carries a seasonal memory that many of us associate with childhood Halloween rituals. Turning that candy into a fried snack taps into those memories while offering a grown up twist. I love that this recipe lets me revisit a sweet tradition with a creative, hands on approach.
What’s In This Deep Fried Candy Corn
These ingredients are intentionally simple so the playful candy center can shine. The batter acts as a tender, neutral canvas that crisps up golden in hot vegetable oil, while the chopped candy corn and crunchy cornflakes cereal add bursts of sweetness and texture. Each component contributes to a balanced bite that feels indulgent but straightforward to make.
- 2 cups all-purpose baking mix, Bisquick: Provides structure and bulk to the batter while offering a neutral, slightly savory base that browns when fried; contains leavening agents to help create a light, tender interior for the candy-studded fritters. Helps bind the wet ingredients and ensures a consistent dough texture that crisps properly in hot oil.
- 1 large egg: Adds moisture and protein to enrich the batter, contributing to tenderness and helping emulsify the mixture so it holds together during frying. Promotes a richer flavor and helps create a uniform crumb around the chopped candy pieces.
- 1/2 to 3/4 cups buttermilk: Adjusts batter consistency to the desired thickness, lending slight tang that enhances overall flavor and reacts with leavening agents for lift and lightness. Allows control over batter viscosity so the mixture will coat properly and cook through without becoming greasy.
- 3/4 cup candy corn, coarsely chopped: Contributes pockets of sweet, chewy candy throughout the fried bites and melts partially to create bursts of cornstarch-sweet flavor; chopping disperses pieces for even distribution. Adds colorful visual interest and concentrated sweetness that contrasts with the fried exterior.
- 1/2 cup cornflakes cereal: Provides a crunchy coating element or mix-in that adds texture contrast to the soft interior; crushed flakes also help absorb excess moisture from the batter to improve crisping. Offers mild corn flavor that complements the candy and helps create an appealing crust when fried.
- Vegetable oil: Enables deep frying at the correct high temperature to crisp the exterior quickly while cooking the interior; choose a neutral oil with a high smoke point for best results. Immerses the batter pieces so they develop golden, evenly browned surfaces and a satisfying crunch.
- Powdered sugar: Supplies a fine dusting of sweetness for finishing, adding visual appeal and a light extra sweet note to balance the fried dough; adheres well to warm surfaces. Can be sifted over cooked pieces to give a classic dessert presentation and an immediate hint of sugary flavor.
Putting Together Deep Fried Candy Corn
Getting these little bites right is all about rhythm and observation. The steps are straightforward, but I want you to feel confident about the textures and sounds as you work. Keep a thermometer handy, watch the oil, and enjoy the satisfying sizzle when the batter hits the pan.
- In a large bowl, mix together Bisquick, the egg, and buttermilk.: The moment you combine the all purpose baking mix , egg , and buttermilk , you will notice a thick, sticky batter forming with a faint milky aroma. The texture should be cohesive but still scoopable, not runny, which ensures the dough will hold together when dropped into hot vegetable oil . Mixing by hand helps you feel for any dry pockets, and a few strokes will hydrate the flour uniformly, preventing dense spots. A common mistake is over mixing which can tighten the batter and lead to less tender centers, so stop once the ingredients are just combined. If the batter seems too dry, add small additional splashes of buttermilk until you reach a consistency that holds shape on a spoon. The batter should look pale and slightly lumpy, not glossy like a glaze.
- Stir in candy corn and cornflakes.: When you fold in the coarsely chopped candy corn and cornflakes cereal , you will see crunchy bits and amber flecks dispersed throughout the batter, which is a good visual cue that the mix is balanced. The cereal gives texture contrast, so fold gently to avoid pulverizing it, which preserves those satisfying crispy pockets. The aroma will shift to a sweeter, toasted corn scent as the pieces mingle with the batter. Watch for uniform distribution so every scoop gets candy and crunch. A frequent error is adding too much cereal which can dry the mixture, so keep the ratio steady. If the cornflakes become soggy from resting too long, stir briefly just before scooping to restore loft and ensure even frying.
- Pour 2 inches of oil in a Dutch oven and heat to a temperature of 350 degrees. I like to attach a candy thermometer to the side of the pan.: As the vegetable oil warms, you will notice it shimmer and slightly move in the pot, and a candy thermometer helps you maintain the steady 350 degrees mark. Achieving the right temperature is crucial, because too cool oil results in greasy, undercooked centers, while too hot oil will brown the exterior before the inside cooks. I prefer a heavy Dutch oven because it holds heat steadily, reducing temperature swings when you add batter. One common slip is not stabilizing the flame or burner which causes the temp to spike; watch the thermometer and adjust heat to keep it consistent. You may test with a small drop of batter to ensure it sizzles and rises without burning instantly.
- Carefully drop rounded tablespoonfuls of dough into oil. Fry about 6 at a time and cook for about 1 minute per side.: When you drop rounded tablespoonfuls into the hot oil, listen for a pronounced sizzle that signals the exterior is sealing quickly. Fry about six at a time to avoid crowding the pot, which cools the oil and yields pale, greasy results. The batter should float and puff slightly, taking on a warm golden tone as it cooks. Use a spoon or small scoop to keep pieces uniform in size so they cook at the same rate. A typical mistake is adding too many pieces, which can clump together and steam instead of crisping. Keep tongs or a slotted spoon handy to gently separate any that touch, and maintain an eye on the thermometer to keep the oil near 350 degrees .
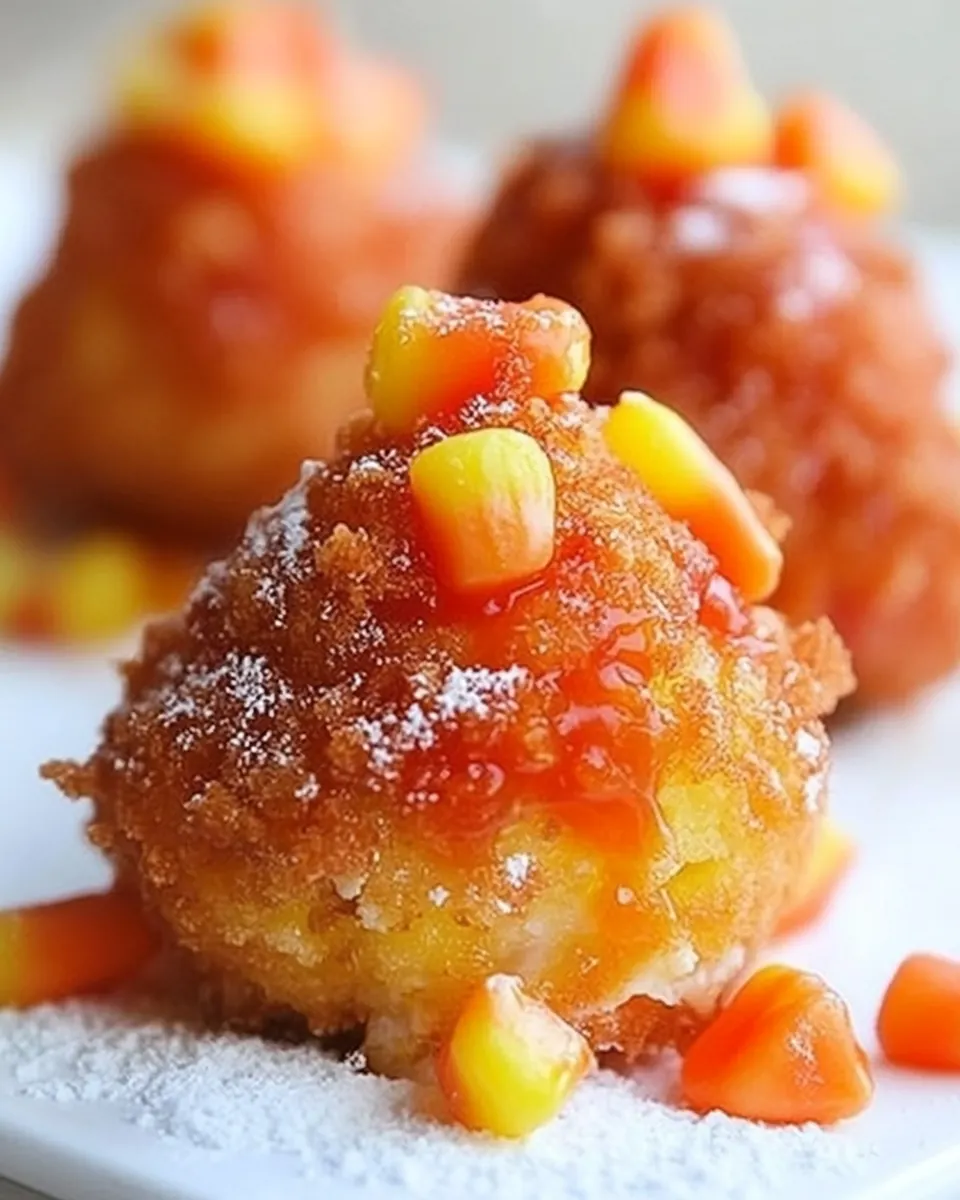
- Drain on a wire rack placed over paper towels.: As these cook for roughly one minute per side, you will hear a steady, soft crackle and see the surface transform to a deep golden brown. Turn them with care to achieve even color and avoid jostling which can deflate the airy interior. The sound will become a gentler sizzle as the moisture inside decreases, and the aroma will shift to a bready, toasty note that signals readiness. A common pitfall is misjudging time if pieces vary in size, so try to maintain consistent scoops; if one side browns much faster, lower the heat slightly to allow full cooking without burning. The goal is a crunchy shell with a tender, warm center illuminated by little pockets of melted candy corn .
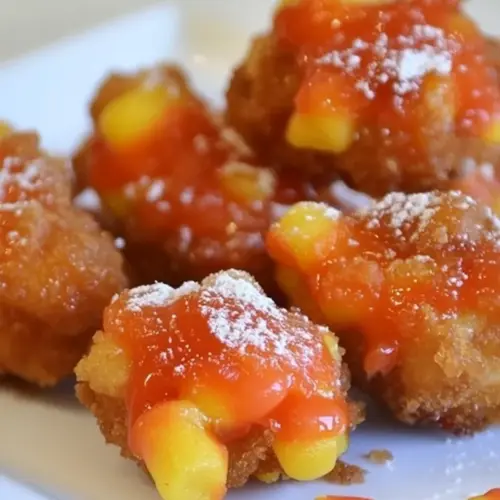
- To serve, sprinkle with powdered sugar.: After frying, moving the balls to a wire rack over paper towels helps air circulate so they stay crisp rather than becoming soggy. The oil will continue to settle for a minute, and you will notice tiny beads of residual oil glint on the surface that the rack helps dissipate. This resting step keeps the texture contrast intact and avoids steam buildup that happens when they sit directly on absorbent paper. A frequent oversight is piling them on a plate which traps heat and softens the crust, so take the extra moment to arrange them single layer. If you see excess oil pooling, blot gently with paper towels, but avoid pressing which can flatten the shape.
- To serve, sprinkle with powdered sugar: The final dusting of powdered sugar offers a soft sweetness and a visually appealing finish, settling into crevices for a bakery style look. Sprinkle just before presenting so the sugar clings lightly and does not dissolve into warm spots. When the sugar lands, you will get a gentle, snowy contrast that brightens the golden color. An easy mistake is dusting too early which causes the sugar to melt away, so wait until the pieces are slightly cooled but still warm. Serving immediately maximizes crispness and the pleasant contrast between the warm interior and the cool dusting.
Make It Your Own
I like to think of these tips as small ways to tune the recipe toward your preference. You can emphasize crispness, adjust sweetness, or pace the frying to fit a party. Below are practical suggestions to help you customize without losing the core charm of the treat.
- Adjust the buttermilk amount to control batter consistency, starting with 1/2 cup and adding up to 3/4 cups for a scoopable texture that holds together when dropped into oil.
- Maintain oil temperature by frying in small batches and reducing the heat slightly if the oil spikes past 350 degrees to avoid overbrowning the exterior.
- Keep candy pieces moderate by coarsely chopping the candy corn, which ensures molten pockets instead of a fully melted candy that blends into the batter.
- Use fresh cornflakes to add crunch, folding them in just before frying so they do not turn soggy from resting in the batter.
- Serve immediately after a light dusting of powdered sugar to preserve the contrast between warm centers and a cool sugary finish.
Serve This Deep Fried Candy Corn With
These little bites are naturally festive, so think about playful presentation and easy accompaniments. I like serving them warm with simple styling, and they are perfect for seasonal parties where guests can graze and chat. Below are ideas and pairings that enhance the experience without overpowering the treat.
- Casual party platter arrange the warm balls on a large platter lined with parchment, dust lightly with powdered sugar, and offer small paper napkins for easy sharing at a fall gathering.
- Kids friendly snack table place them alongside other non forbidden sweets on a themed table for Halloween, letting kids pick them up easily while roaming the party.
- Seasonal dessert spread include them on a fall dessert board where guests can sample a variety of small bites, the novelty of fried candy complements pies and cookies without stealing the show.
- Storage tip cool completely then store in an airtight container for up to one day, reheat briefly in a hot oven to restore crispness before serving, though they are best enjoyed fresh.
- Occasion fit this is ideal for Halloween parties or autumn fairs where playful, nostalgic treats are welcome and the casual nature makes them easy to serve to a crowd.
FAQ
Conclusion
What makes this recipe special is the playful contrast between a crisp, golden shell and warm, sweet pockets of candy that bring back seasonal memories. I encourage you to be a little adventurous and try making these for your next fall gathering, because their novelty and satisfying textures make them an instant conversation starter. They are simple to prepare with pantry staples, and the joy of sharing an unexpected treat is wonderfully rewarding.
Deep Fried Candy Corn
Equipment
- Dutch Oven
- Candy thermometer
- Wire Rack
- Slotted Spoon
Ingredients
- 2 cups all-purpose baking mix, Bisquick Provides structure and bulk to the batter while offering a neutral, slightly savory base that browns when fried; contains leavening agents to help create a light, tender interior for the candy-studded fritters. Helps bind the wet ingredients and ensures a consistent dough texture that crisps properly in hot oil.
- 1 large egg Adds moisture and protein to enrich the batter, contributing to tenderness and helping emulsify the mixture so it holds together during frying. Promotes a richer flavor and helps create a uniform crumb around the chopped candy pieces.
- 1/2 to 3/4 cups buttermilk Adjusts batter consistency to the desired thickness, lending slight tang that enhances overall flavor and reacts with leavening agents for lift and lightness. Allows control over batter viscosity so the mixture will coat properly and cook through without becoming greasy.
- 3/4 cup candy corn, coarsely chopped Contributes pockets of sweet, chewy candy throughout the fried bites and melts partially to create bursts of cornstarch-sweet flavor; chopping disperses pieces for even distribution. Adds colorful visual interest and concentrated sweetness that contrasts with the fried exterior.
- 1/2 cup cornflakes cereal Provides a crunchy coating element or mix-in that adds texture contrast to the soft interior; crushed flakes also help absorb excess moisture from the batter to improve crisping. Offers mild corn flavor that complements the candy and helps create an appealing crust when fried.
- Vegetable oil Enables deep frying at the correct high temperature to crisp the exterior quickly while cooking the interior; choose a neutral oil with a high smoke point for best results. Immerses the batter pieces so they develop golden, evenly browned surfaces and a satisfying crunch.
- Powdered sugar Supplies a fine dusting of sweetness for finishing, adding visual appeal and a light extra sweet note to balance the fried dough; adheres well to warm surfaces. Can be sifted over cooked pieces to give a classic dessert presentation and an immediate hint of sugary flavor.
Instructions
- In a large bowl, mix together Bisquick, the egg, and buttermilk.: The moment you combine the all purpose baking mix , egg , and buttermilk , you will notice a thick, sticky batter forming with a faint milky aroma. The texture should be cohesive but still scoopable, not runny, which ensures the dough will hold together when dropped into hot vegetable oil . Mixing by hand helps you feel for any dry pockets, and a few strokes will hydrate the flour uniformly, preventing dense spots. A common mistake is over mixing which can tighten the batter and lead to less tender centers, so stop once the ingredients are just combined. If the batter seems too dry, add small additional splashes of buttermilk until you reach a consistency that holds shape on a spoon. The batter should look pale and slightly lumpy, not glossy like a glaze.
- Stir in candy corn and cornflakes.: When you fold in the coarsely chopped candy corn and cornflakes cereal , you will see crunchy bits and amber flecks dispersed throughout the batter, which is a good visual cue that the mix is balanced. The cereal gives texture contrast, so fold gently to avoid pulverizing it, which preserves those satisfying crispy pockets. The aroma will shift to a sweeter, toasted corn scent as the pieces mingle with the batter. Watch for uniform distribution so every scoop gets candy and crunch. A frequent error is adding too much cereal which can dry the mixture, so keep the ratio steady. If the cornflakes become soggy from resting too long, stir briefly just before scooping to restore loft and ensure even frying.
- Pour 2 inches of oil in a Dutch oven and heat to a temperature of 350 degrees. I like to attach a candy thermometer to the side of the pan.: As the vegetable oil warms, you will notice it shimmer and slightly move in the pot, and a candy thermometer helps you maintain the steady 350 degrees mark. Achieving the right temperature is crucial, because too cool oil results in greasy, undercooked centers, while too hot oil will brown the exterior before the inside cooks. I prefer a heavy Dutch oven because it holds heat steadily, reducing temperature swings when you add batter. One common slip is not stabilizing the flame or burner which causes the temp to spike; watch the thermometer and adjust heat to keep it consistent. You may test with a small drop of batter to ensure it sizzles and rises without burning instantly.
- Carefully drop rounded tablespoonfuls of dough into oil. Fry about 6 at a time and cook for about 1 minute per side.: When you drop rounded tablespoonfuls into the hot oil, listen for a pronounced sizzle that signals the exterior is sealing quickly. Fry about six at a time to avoid crowding the pot, which cools the oil and yields pale, greasy results. The batter should float and puff slightly, taking on a warm golden tone as it cooks. Use a spoon or small scoop to keep pieces uniform in size so they cook at the same rate. A typical mistake is adding too many pieces, which can clump together and steam instead of crisping. Keep tongs or a slotted spoon handy to gently separate any that touch, and maintain an eye on the thermometer to keep the oil near 350 degrees .
- Drain on a wire rack placed over paper towels.: As these cook for roughly one minute per side, you will hear a steady, soft crackle and see the surface transform to a deep golden brown. Turn them with care to achieve even color and avoid jostling which can deflate the airy interior. The sound will become a gentler sizzle as the moisture inside decreases, and the aroma will shift to a bready, toasty note that signals readiness. A common pitfall is misjudging time if pieces vary in size, so try to maintain consistent scoops; if one side browns much faster, lower the heat slightly to allow full cooking without burning. The goal is a crunchy shell with a tender, warm center illuminated by little pockets of melted candy corn .
- To serve, sprinkle with powdered sugar.: After frying, moving the balls to a wire rack over paper towels helps air circulate so they stay crisp rather than becoming soggy. The oil will continue to settle for a minute, and you will notice tiny beads of residual oil glint on the surface that the rack helps dissipate. This resting step keeps the texture contrast intact and avoids steam buildup that happens when they sit directly on absorbent paper. A frequent oversight is piling them on a plate which traps heat and softens the crust, so take the extra moment to arrange them single layer. If you see excess oil pooling, blot gently with paper towels, but avoid pressing which can flatten the shape.
- To serve, sprinkle with powdered sugar: The final dusting of powdered sugar offers a soft sweetness and a visually appealing finish, settling into crevices for a bakery style look. Sprinkle just before presenting so the sugar clings lightly and does not dissolve into warm spots. When the sugar lands, you will get a gentle, snowy contrast that brightens the golden color. An easy mistake is dusting too early which causes the sugar to melt away, so wait until the pieces are slightly cooled but still warm. Serving immediately maximizes crispness and the pleasant contrast between the warm interior and the cool dusting.
Notes
- Adjust the buttermilk amount to control batter consistency, starting with 1/2 cup and adding up to 3/4 cups for a scoopable texture that holds together when dropped into oil.
- Maintain oil temperature by frying in small batches and reducing the heat slightly if the oil spikes past 350 degrees to avoid overbrowning the exterior.
- Keep candy pieces moderate by coarsely chopping the candy corn, which ensures molten pockets instead of a fully melted candy that blends into the batter.
- Use fresh cornflakes to add crunch, folding them in just before frying so they do not turn soggy from resting in the batter.
- Serve immediately after a light dusting of powdered sugar to preserve the contrast between warm centers and a cool sugary finish.