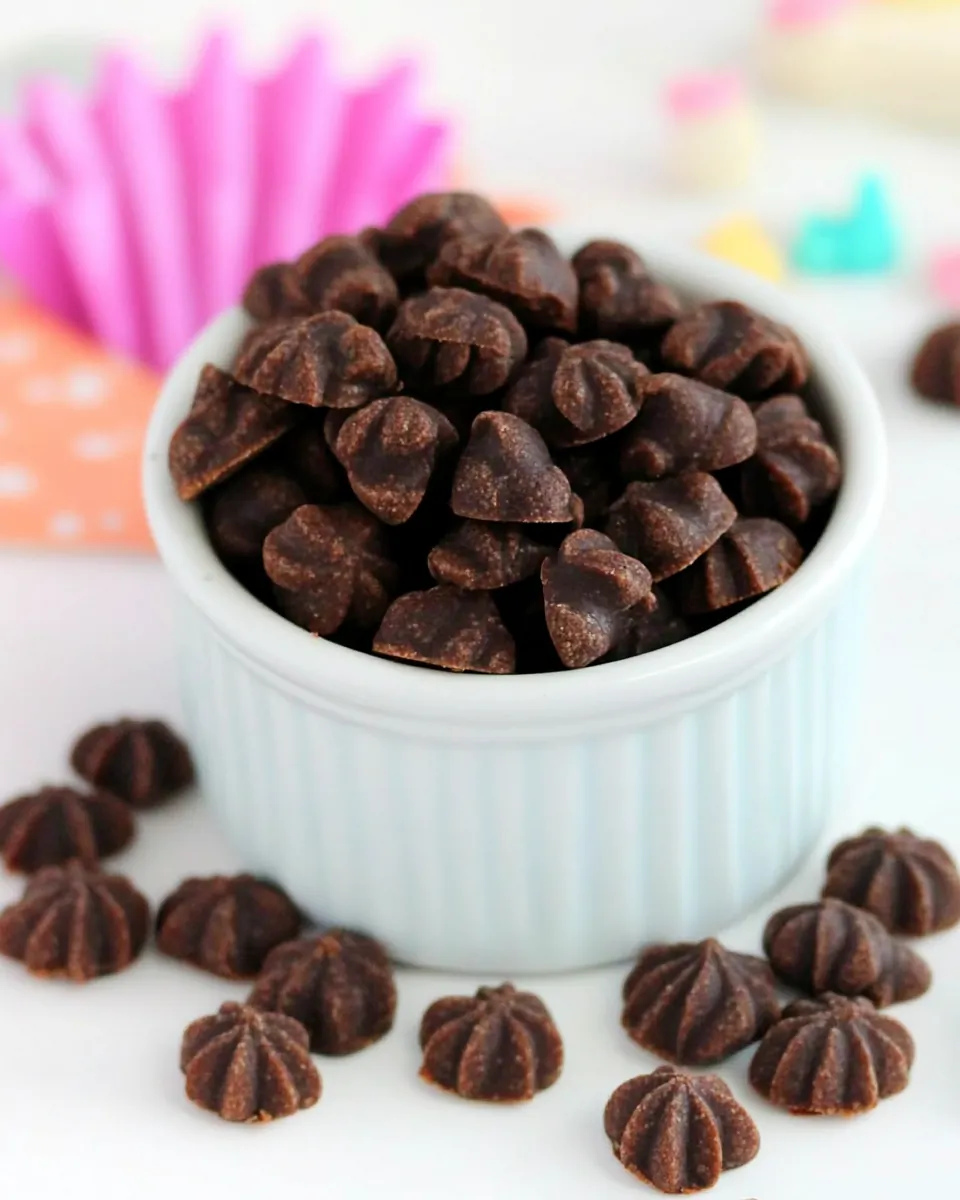
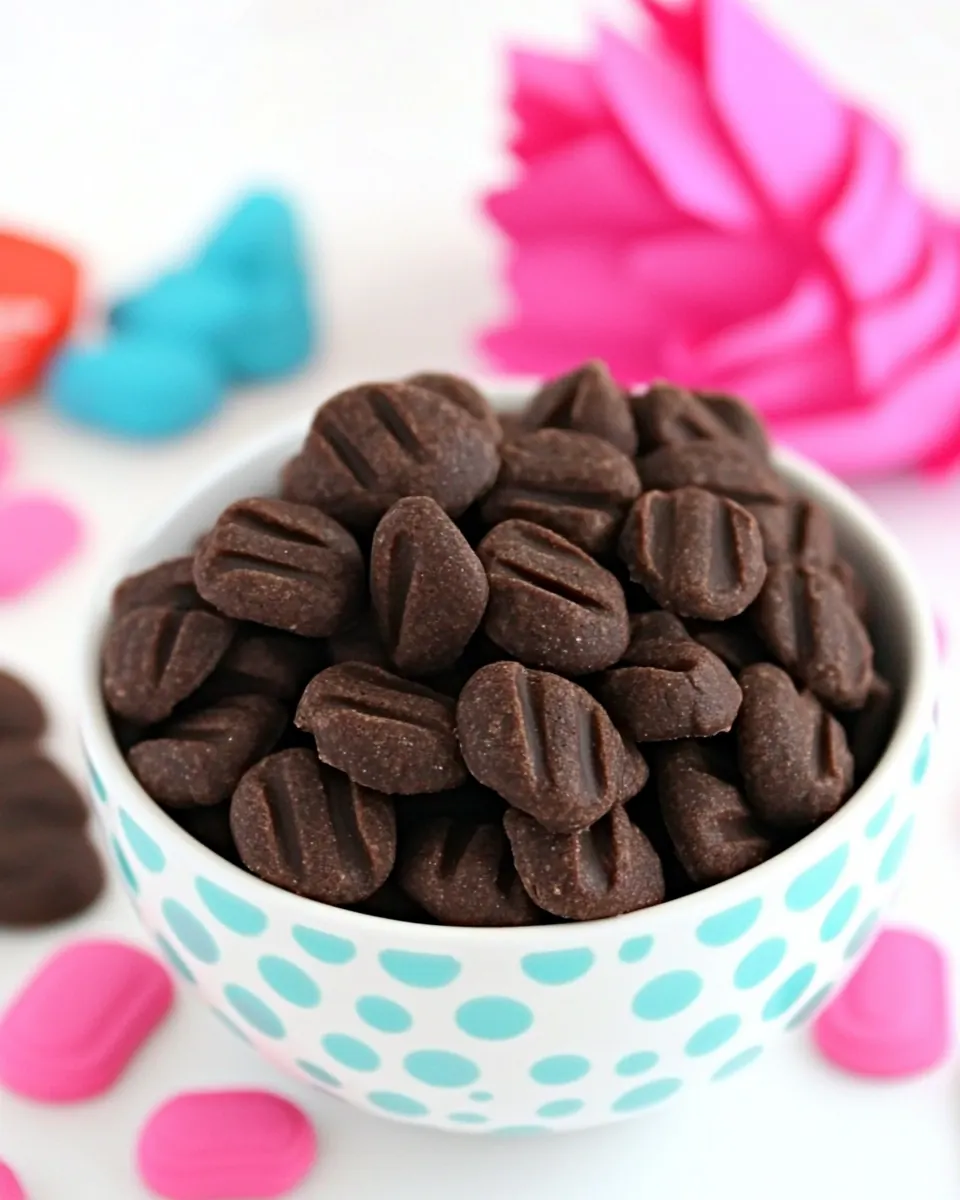
Chocolate Spritz Cookies
Chocolate Spritz Cookies were my go to when I wanted something both festive and unfussy to bring to holiday gatherings. I remember the first time I used a cookie press, my kitchen table looked like a tiny bakery, with patterned rounds of dough lined up like sleepy soldiers waiting for the oven. The ritual of filling the press, choosing a disk, and hearing the quiet click as each cookie released felt oddly calming, and those chocolatey bites vanished faster than I expected.
Over the years I’ve tweaked the little things that make these cookies sing. I learned how the room temperature butter and properly sifted all purpose flour change the way the press works, and why chilling the press for a few minutes helps with cleaner shapes. Friends often ask how such simple ingredients become almost decadent, and I always say the technique matters as much as the list. The joy for me is in the small moments, the smell of unsweetened cocoa powder blooming in the dough, and the sight of perfectly formed cookies cooling on the rack.
Recipe Snapshot
30 mins
20 mins
10 mins
Easy
120 kcal
American
Gluten-Free, Low FODMAP
Desserts
Cookie Press, Mixing Bowl, Baking Sheet, Mixer
What Makes This Chocolate Spritz Cookies Special
Classic cookie press charm
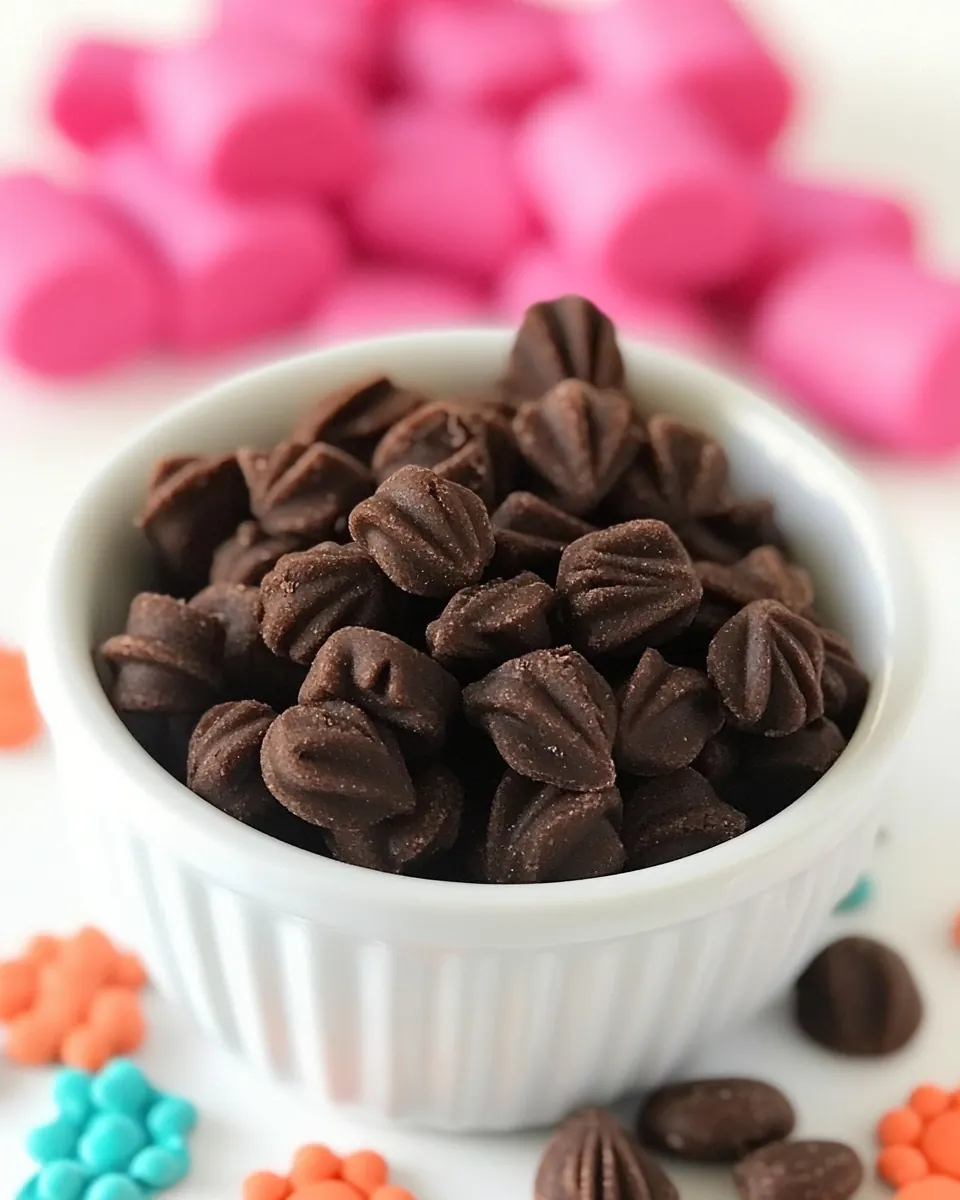
I adore how Chocolate Spritz Cookies celebrate a tool based approach to baking. Using a press transforms ordinary dough into charming shapes in seconds, so you get uniform cookies without fancy piping skills. I find this especially handy when I need to make a lot, but still want each piece to look special.
Chocolate that stays light
The cocoa in these cookies gives a clear chocolate note without weighing down the texture. I like that the recipe balances unsweetened cocoa powder with the sweetness of the dough, so each bite tastes rich yet not cloying. For me, that restraint is what keeps people reaching for seconds.
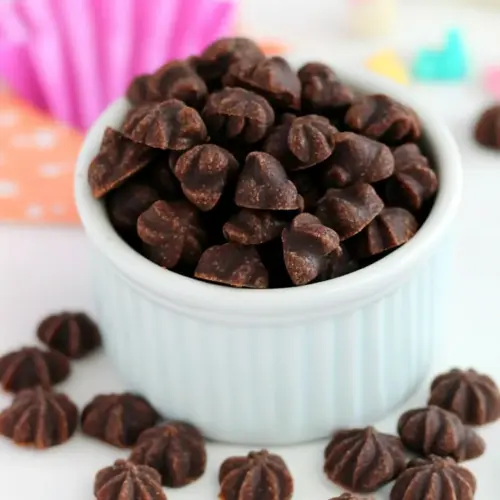
Texture you can control
I love the way small adjustments in chilling, pressing, and oven time let you nudge the final texture from tender to slightly crisp. When I want a melt in your mouth cookie I aim for the shorter bake and a softer press, but if I am packing tins for travel, a bit more bake time gives me sturdier edges that travel well.
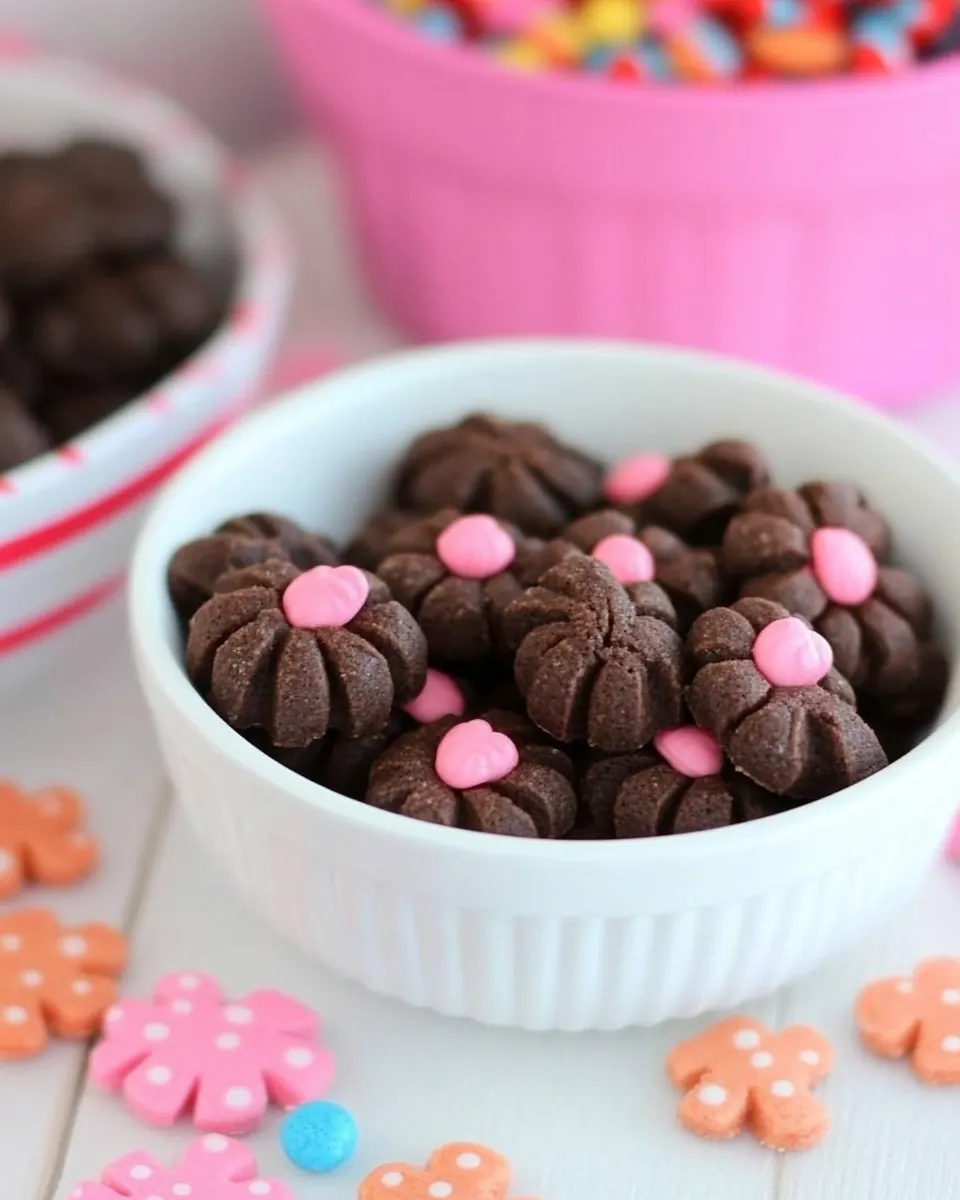
Great for gatherings and holidays
These cookies are a holiday staple in my house, because they’re easy to scale and look festive without extra decoration. I often make several disks and mix shapes on a single tray, which makes the assortment feel curated but effortless. For busy mornings of baking, having a recipe that reliably performs is priceless.
Minimal, pantry friendly ingredients
I appreciate that these cookies rely on pantry basics like butter, sugar, all purpose flour, and eggs. That simplicity means I can whip them up at short notice, and the result still feels special. I like to think of them as comfort wrapped in nostalgia.
Everything You Need for Chocolate Spritz Cookies
These ingredients are straightforward and purposeful. The recipe leans on a few key players to create that iconic spritz texture: a tender base from room temperature butter, structure from all purpose flour, a chocolate note from unsweetened cocoa powder, and lift from eggs. Each element supports pressing the dough cleanly through the disk while maintaining a melt in the mouth finish.
- 1 1/2 cup s3 sticks unsalted butter, at room temperature: Soften to room temperature and cream to provide structure and rich flavor; helps aerate the dough when beaten with sugar, contributing to a tender, melt-in-your-mouth texture in spritz cookies.
- 1 cups ugar: Sweeten and help incorporate air when creamed with butter; balances flavors and promotes browning for a lightly golden exterior during baking.
- 1/2 teaspoons alt: Season lightly to enhance and balance sweetness; strengthens gluten network subtly and intensifies overall flavor when evenly distributed in the dough.
- 1 tablespoon vanilla extract: Flavor and aromatize the dough with warm, familiar notes; adds depth and rounds out the chocolate for a more complex, aromatic cookie.
- 2 large eggsat room temperature: Bring moisture and richness while helping to bind the dough; contribute to tender crumb and slight lift, especially when at room temperature for better emulsification.
- 3 1/2 cups all-purpose flour: Provide bulk and structure by forming the dough matrix; combine with fats and liquids to create the proper consistency and ensure cookies hold their piped shapes.
- 1/2 cup unsweetened cocoa powder: Impart deep chocolate flavor and color while absorbing some fat and moisture; balance sweetness and add a slightly bitter note that complements the buttery cookie base.
Directions for Chocolate Spritz Cookies
This recipe is all about rhythm and timing, and I like to keep the mood light while I work. The instructions below expand each step with sensory cues and troubleshooting so you can press with confidence and get consistent results every time.
- Preheat the oven to 375 degrees.: You will notice a warm, oven scent as it approaches temperature, which helps predict bake time. Preheating ensures the cookies begin baking immediately, setting edges before excessive spread occurs. A common error is putting cookies into a cold oven, which leads to misshapen results and longer bake times, so wait until the oven reaches the full 375 degrees.
- In a large mixing bowl, cream together butter, sugar and salt. Beat until light and fluffy. Add vanilla and eggs one at a time, continuously beating.: The creaming stage should look pale and airy, almost ribbon like when you lift the beater, and you will hear a softer, whirring sound as air is incorporated. This step traps air in the butter so the cookies feel tender, and adding the vanilla extract and eggs gradually helps maintain an emulsion so the dough stays smooth. If the mixture looks curdled, it usually means the butter was too warm or the eggs were too cold; briefly chilling the bowl or bringing eggs to room temperature will fix it.
- Gradually add flour and cocoa powder, beating until well incorporated.: As you add the dry ingredients the batter will thicken and the cocoa will give it a deep chocolate tone and a faint cocoa aroma. Beating just until combined prevents overdeveloping the gluten in the all purpose flour , which keeps the cookies tender. If you overmix, the dough becomes tough and less cooperative in the cookie press, so stop as soon as streaks disappear and the texture is homogeneous.
- Place dough in Cookie Press with desired disk. Press dough out onto an ungreased baking sheet.: When you begin pressing you will feel steady resistance and hear a gentle click each time a cookie releases. The surface should be slightly glossy and the shapes distinct. Using an ungreased sheet allows the bottoms to set with a slight texture; if the dough sticks, try a light parchment barrier or gently tap the press to ensure clean releases. A common problem is overfilling the press, which causes tearing or uneven shapes, so fill the chamber only to recommended levels.
- Bake for 8 to 10 minutes or until the cookies are golden brown on the edges. Rotate baking sheet halfway through baking time.: While baking you will smell a warm chocolate scent intensifying, and you might see tiny cracks form around edges as moisture escapes. Rotate the baking sheet halfway through so color is even, and remove the cookies when the centers are set but still slightly soft, since they continue to firm as they cool. Leaving them too long causes hard, dry cookies, and underbaking will make them collapse when cooled, so aim for that sweet spot where edges are lightly bronzed.
- Rotate baking sheet halfway through baking time.: Rotating reduces hot spot effects in many ovens and promotes even browning, so you will end up with a consistent batch rather than mixed results. When you open the oven the steam and rich cocoa aroma will lift, confirming progress. A mistake to avoid is propping the door open too long, which drops oven temperature and extends bake time unpredictably; open quickly and confidently to rotate and close the door to maintain heat.
Ways to Customize
You can personalize Chocolate Spritz Cookies in small ways that change texture and presentation without altering the core recipe. Below I offer practical ideas to adjust shape, bake, and flavor while preserving the cookie press magic.
- Swap press disks: Try different disk shapes to create variety for cookies tins, alternating circles and stars for a festive mix.
- Adjust bake time: Bake on the lower end for softer centers, or a minute or two longer for crisp edges that travel well.
- Chill the press: If the dough grows too soft during long sessions, chilling the assembled press for a few minutes helps maintain sharp shapes.
- Sift dry ingredients: Sifting the all purpose flour and unsweetened cocoa powder prevents lumps and ensures a smooth, even color in the dough.
- Batch size planning: Make multiple disks and press directly onto trays in batches to keep the dough cool and consistent throughout a long baking day.
How to Enjoy Chocolate Spritz Cookies
These cookies are perfect for gatherings and casual treats, and their small size makes them ideal for sampling. Below I describe serving ideas, occasions, and storage notes so you can present them beautifully and keep them at their best.
- Gift tins: Layer cookies in a tin with parchment between layers to prevent sticking and preserve shape during transport.
- Holiday cookie platters: Combine multiple disk shapes and arrange by color or shape for a visually appealing holiday spread.
- Afternoon tea: Serve with a small cup of tea or coffee, the chocolate note pairs nicely with robust beverages.
- Storage: Store in an airtight container at room temperature for up to a week, or freeze in a single layer then stack with parchment for longer keeping.
- Occasions: Ideal for Christmas, cookie swaps, and family gatherings where a quick, impressive cookie is appreciated.
FAQ
Conclusion
These Chocolate Spritz Cookies stand out for their charming shapes, dependable texture, and simple pantry ingredients. They are easy to scale, quick to press, and deliver a satisfying chocolate note that suits holiday tins and everyday treats alike. Give them a try the next time you want something pretty without a lot of fuss, and enjoy the small ceremony of pressing and arranging each tray. I hope these cookies become a reliable favorite in your baking rotation, bringing the same little moments of joy they do for me.
Chocolate Spritz Cookies
Equipment
- Cookie press
- Mixing Bowl
- Baking Sheet
- Mixer
Ingredients
- 1 1/2 cup s3 sticks unsalted butter, at room temperature Soften to room temperature and cream to provide structure and rich flavor; helps aerate the dough when beaten with sugar, contributing to a tender, melt-in-your-mouth texture in spritz cookies.
- 1 cups ugar Sweeten and help incorporate air when creamed with butter; balances flavors and promotes browning for a lightly golden exterior during baking.
- 1/2 teaspoons alt Season lightly to enhance and balance sweetness; strengthens gluten network subtly and intensifies overall flavor when evenly distributed in the dough.
- 1 tablespoon vanilla extract Flavor and aromatize the dough with warm, familiar notes; adds depth and rounds out the chocolate for a more complex, aromatic cookie.
- 2 large eggsat room temperature Bring moisture and richness while helping to bind the dough; contribute to tender crumb and slight lift, especially when at room temperature for better emulsification.
- 3 1/2 cups all-purpose flour Provide bulk and structure by forming the dough matrix; combine with fats and liquids to create the proper consistency and ensure cookies hold their piped shapes.
- 1/2 cup unsweetened cocoa powder Impart deep chocolate flavor and color while absorbing some fat and moisture; balance sweetness and add a slightly bitter note that complements the buttery cookie base.
Instructions
- Preheat the oven to 375 degrees.: You will notice a warm, oven scent as it approaches temperature, which helps predict bake time. Preheating ensures the cookies begin baking immediately, setting edges before excessive spread occurs. A common error is putting cookies into a cold oven, which leads to misshapen results and longer bake times, so wait until the oven reaches the full 375 degrees.
- In a large mixing bowl, cream together butter, sugar and salt. Beat until light and fluffy. Add vanilla and eggs one at a time, continuously beating.: The creaming stage should look pale and airy, almost ribbon like when you lift the beater, and you will hear a softer, whirring sound as air is incorporated. This step traps air in the butter so the cookies feel tender, and adding the vanilla extract and eggs gradually helps maintain an emulsion so the dough stays smooth. If the mixture looks curdled, it usually means the butter was too warm or the eggs were too cold; briefly chilling the bowl or bringing eggs to room temperature will fix it.
- Gradually add flour and cocoa powder, beating until well incorporated.: As you add the dry ingredients the batter will thicken and the cocoa will give it a deep chocolate tone and a faint cocoa aroma. Beating just until combined prevents overdeveloping the gluten in the all purpose flour , which keeps the cookies tender. If you overmix, the dough becomes tough and less cooperative in the cookie press, so stop as soon as streaks disappear and the texture is homogeneous.
- Place dough in Cookie Press with desired disk. Press dough out onto an ungreased baking sheet.: When you begin pressing you will feel steady resistance and hear a gentle click each time a cookie releases. The surface should be slightly glossy and the shapes distinct. Using an ungreased sheet allows the bottoms to set with a slight texture; if the dough sticks, try a light parchment barrier or gently tap the press to ensure clean releases. A common problem is overfilling the press, which causes tearing or uneven shapes, so fill the chamber only to recommended levels.
- Bake for 8 to 10 minutes or until the cookies are golden brown on the edges. Rotate baking sheet halfway through baking time.: While baking you will smell a warm chocolate scent intensifying, and you might see tiny cracks form around edges as moisture escapes. Rotate the baking sheet halfway through so color is even, and remove the cookies when the centers are set but still slightly soft, since they continue to firm as they cool. Leaving them too long causes hard, dry cookies, and underbaking will make them collapse when cooled, so aim for that sweet spot where edges are lightly bronzed.
- Rotate baking sheet halfway through baking time.: Rotating reduces hot spot effects in many ovens and promotes even browning, so you will end up with a consistent batch rather than mixed results. When you open the oven the steam and rich cocoa aroma will lift, confirming progress. A mistake to avoid is propping the door open too long, which drops oven temperature and extends bake time unpredictably; open quickly and confidently to rotate and close the door to maintain heat.
Notes
- Swap press disks: Try different disk shapes to create variety for cookies tins, alternating circles and stars for a festive mix.
- Adjust bake time: Bake on the lower end for softer centers, or a minute or two longer for crisp edges that travel well.
- Chill the press: If the dough grows too soft during long sessions, chilling the assembled press for a few minutes helps maintain sharp shapes.
- Sift dry ingredients: Sifting the all purpose flour and unsweetened cocoa powder prevents lumps and ensures a smooth, even color in the dough.
- Batch size planning: Make multiple disks and press directly onto trays in batches to keep the dough cool and consistent throughout a long baking day.