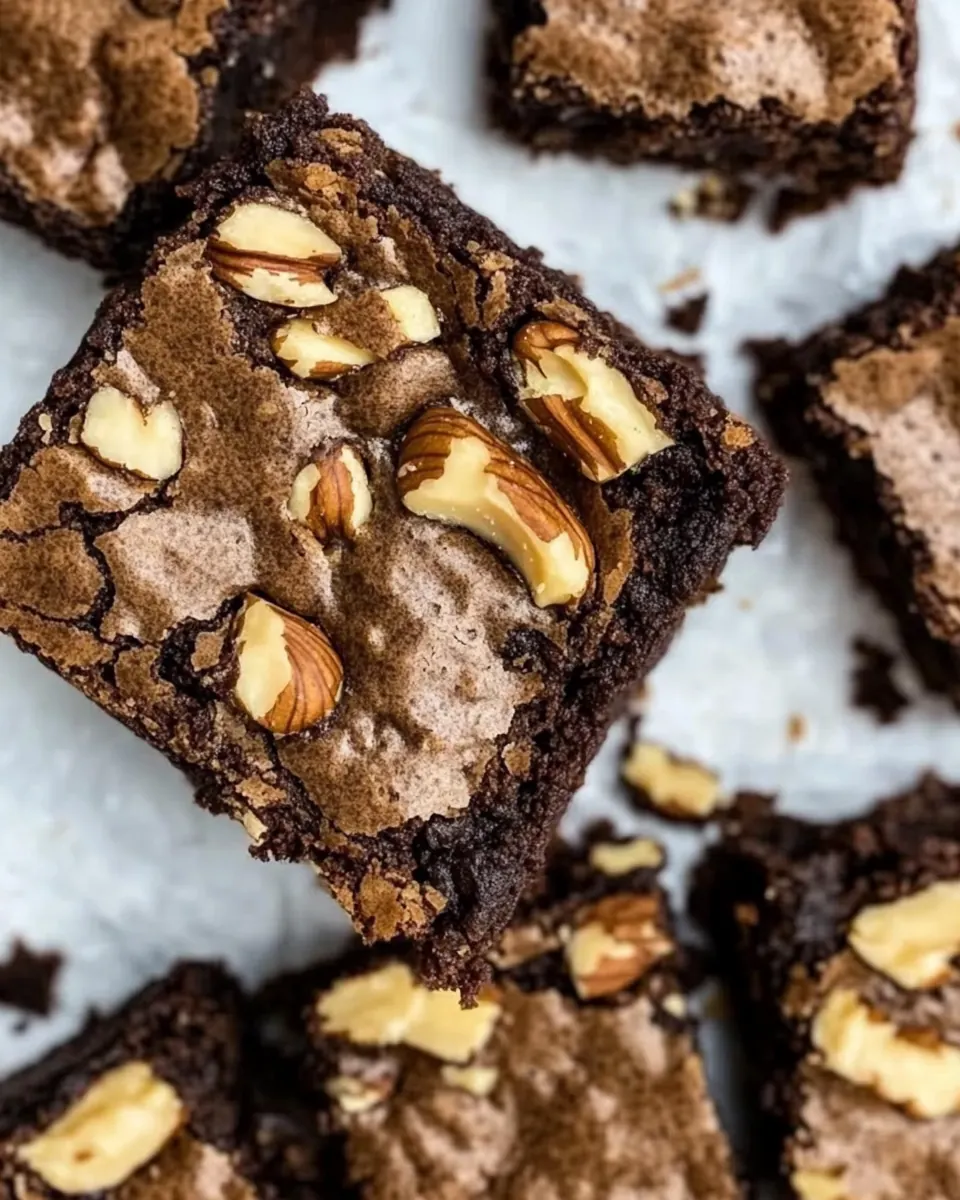
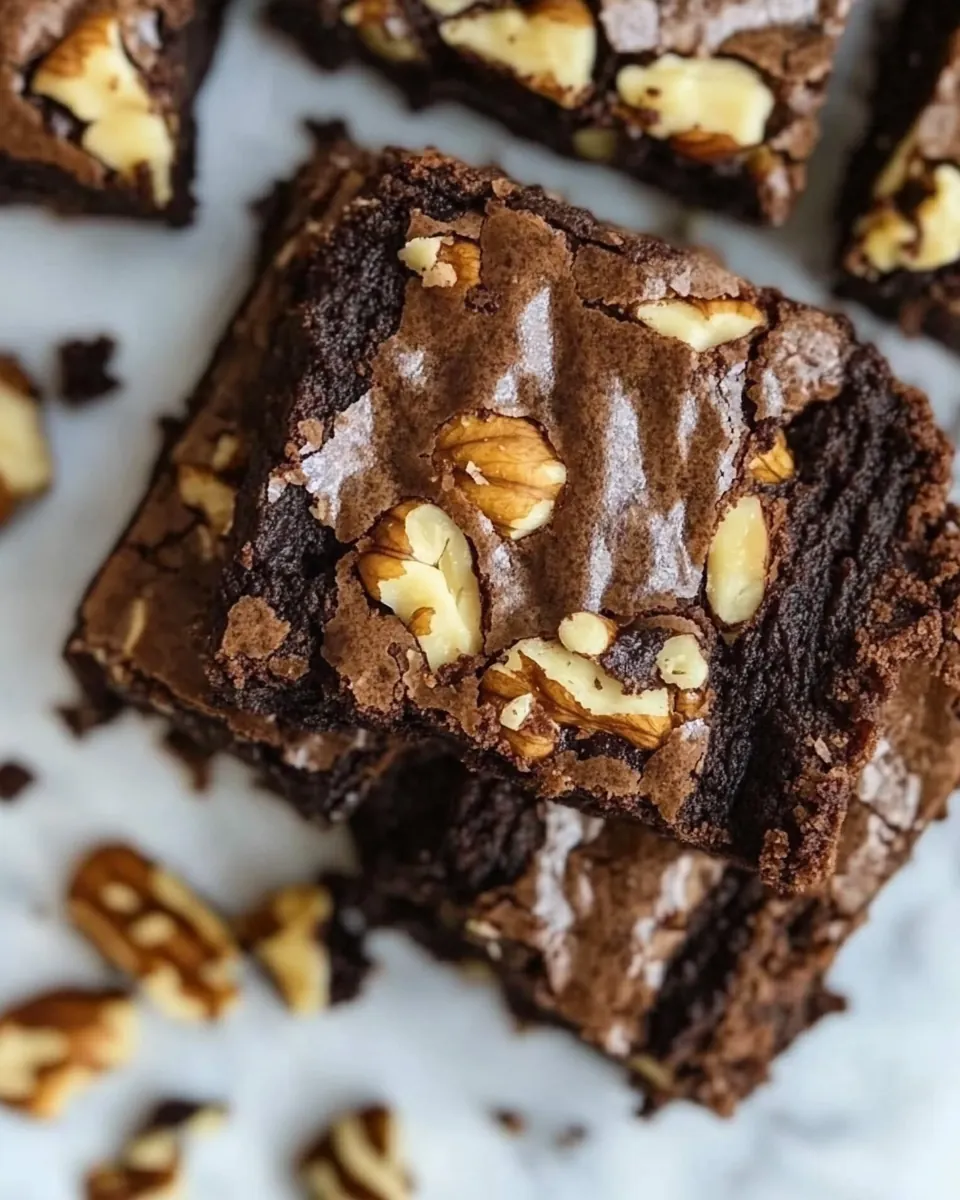
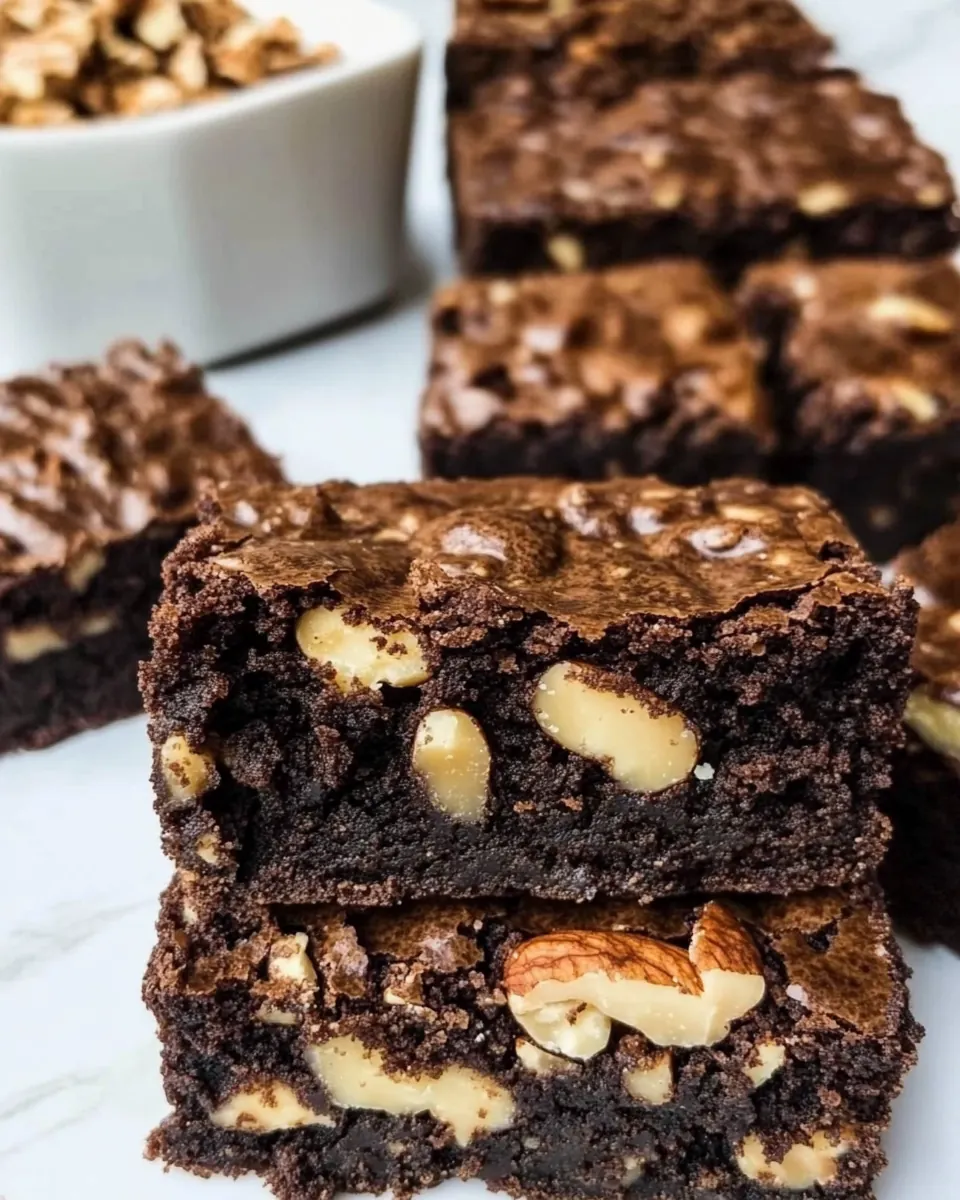
Walnut Brownies
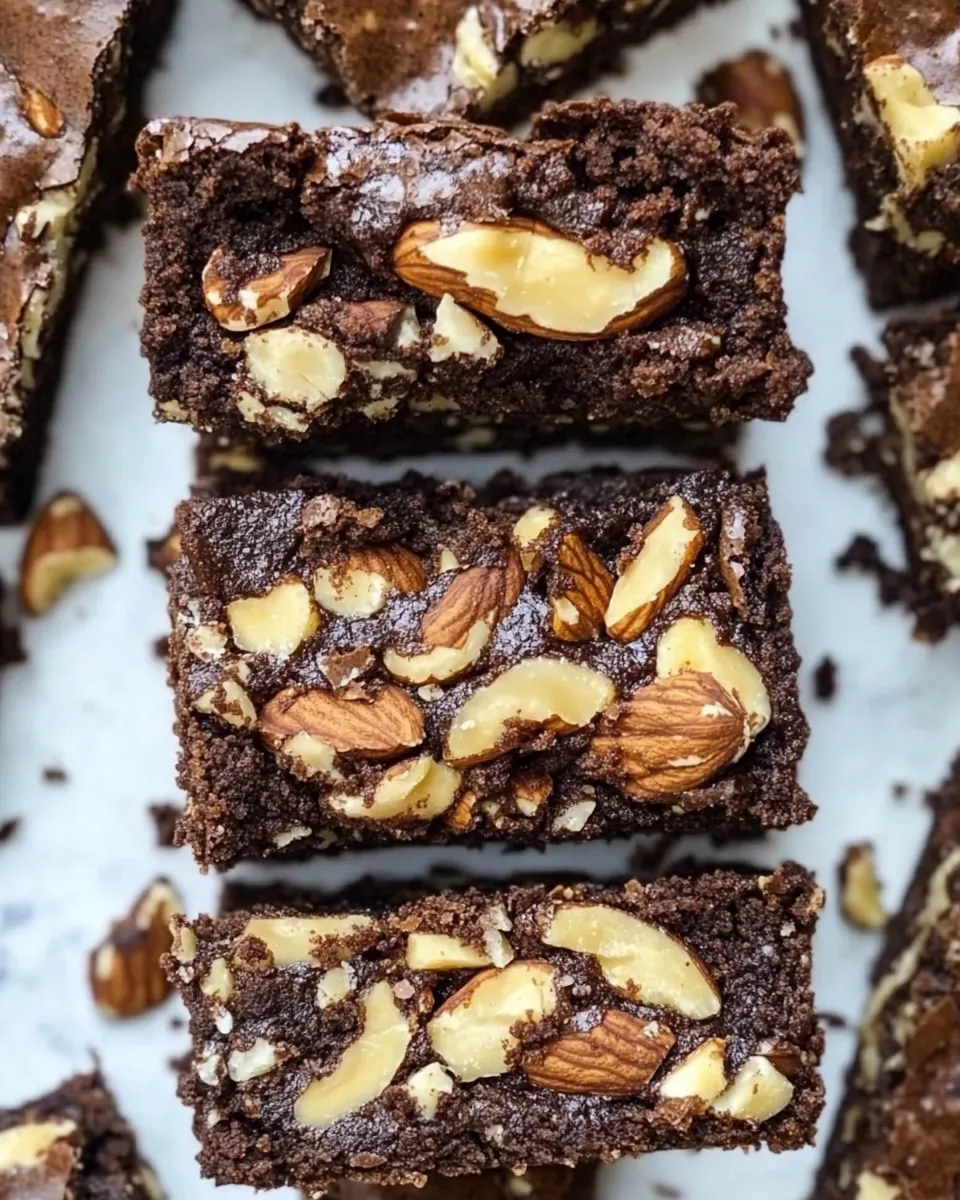
Walnut Brownies are the kind of recipe that sneaks into the back of my mind on a grey afternoon, then shows up warm on the counter with that irresistible chocolate aroma. I remember the first time I baked these, juggling a toddler on my hip and a phone call in the other hand, yet somehow those glossy melted chips and the crackly top made everything slow down for a moment. The texture is what gets me every time, the sweet, slightly crisp exterior giving way to a tender, fudgy interior studded with toasted nuts.
Over the years I’ve tweaked small things, like the amount of sugar and how I chop the walnuts, because the little choices change the mouthfeel. Some afternoons I let the batter sit for a few minutes so the chocolate chips relax into the mixture, and that yields a silkier crumb. Other times I press extra nuts on top just before baking so you get that first crunch as you bite in. Friends often ask why these brownies taste different from store bought ones, and I tell them it’s the butter to chocolate ratio and the simple, honest ingredients.
When I bring a pan to a gathering, they rarely last more than a few plates, and that tells me the combination of deep chocolate and toasted walnuts is a classic for a reason. I’ve learned to let them cool fully before slicing, which keeps the squares neat and prevents a gooey mess. Baking these is one of those small rituals that makes a busy day feel curated, like I carved out a pocket of calm just to enjoy something sweet and home made.
Recipe Snapshot
33 mins
5 mins
28 mins
Easy
200 kcal
American
Gluten-Free, Low FODMAP
Desserts
8 x 8 inch pan, Parchment paper, Small saucepan, Mixing bowl, Whisk
The Beauty of This Walnut Brownies
1. Texture that balances fudgy and crunchy
I love how Walnut Brownies hit two textural notes at once. The interior stays moist and dense because of the melted chocolate chips and butter, while the toasted walnuts add a counterpoint of crunch. When I want that satisfying contrast, I fold in the nuts gently so they remain distinct pockets of texture, rather than disappearing into the batter.
2. Deep chocolate flavor from minimal fuss
These brownies don’t need exotic ingredients to sing. A straightforward mix of cocoa powder and melted chocolate chips produces that rich, slightly bitter backbone I crave. I appreciate recipes that reward careful technique more than complexity. Heating the chocolate slowly with butter brings a glossy, cohesive batter that translates directly to flavor depth.
3. Flexible and forgiving
I often tinker with quantities to suit the moment, and Walnut Brownies tend to cooperate. You can tweak the sugar a touch, and swap cornstarch for arrowroot if you need to, without wrecking the final texture. That forgiving nature makes these a go to when I want a reliable treat but don’t have all day to fuss.
4. Family friendly crowd pleaser
These brownies are the kind of thing I bring to potlucks because people of all ages reach for them first. The flavor profile is universally appealing, and the simple list of pantry ingredients means they’re often doable on short notice. I love that a single pan can make a group of people feel comforted and happy.
5. Easy to store and adapt
One of the practical wins is storage. I usually refrigerate leftovers to keep them fresh, and they also freeze well when wrapped individually. That means I can bake on a weekend and still enjoy perfect squares during the week, which is a small but meaningful convenience in my kitchen.
What You Need for Walnut Brownies
These ingredients are intentionally straightforward, chosen to build rich chocolate flavor and a tender, fudgy crumb with a satisfying nutty bite. The key players are the chocolate chips and butter which form the flavor base, the cocoa powder and cornstarch which shape texture, and the walnuts for crunch. Each item has a clear job, and together they produce a classic brownie that feels both homey and a bit elevated.
- 1 tablespoon cocoa powder: Adds deep chocolate aroma and enhances overall cocoa flavor; helps intensify the brownie’s chocolate profile when combined with melted chocolate. Works best when sifted to avoid lumps and to incorporate smoothly into the batter.
- 3 tablespoons cornstarch Can substitute for arrowroot powder or Tapioca starch: Provides thickening and a tender crumb while helping stabilize the batter; offers a neutral flavor that won’t compete with chocolate. Can be swapped for arrowroot powder or tapioca starch with similar texture results.
- 1/2 teaspoons salt: Balances sweetness and enhances other flavors while controlling taste intensity; helps highlight chocolate notes and reduce cloying sweetness. Also aids in dough chemistry by slightly strengthening gluten-free structure.
- 3/4 cups sugar: Sweetens the brownies and contributes to moistness and texture through sugar melting and caramelization during baking. Dissolves into the batter to create a glossy, slightly chewy crumb and helps with overall browning.
- 6 tablespoons butter Can substitute for coconut oil: Contributes fat for tenderness, richness, and flavor, producing a smooth mouthfeel and helping create a fudgy texture when cooled. Melts into the batter to carry flavor compounds and improve glossy finish.
- 8 ounces chocolate chips: Provides concentrated chocolate flavor and structure when melted into the batter; contributes both flavor depth and fudgy density. Melts to form a smooth, cohesive base and can create pockets of gooey chocolate if chips remain intact.
- 2 large eggs: Adds structure, moisture, and leavening through protein coagulation as it cooks; helps bind ingredients and create a tender but set crumb. Beaten slightly before adding to the batter will aid in emulsification and uniform texture.
- 1 cup walnuts roughly chopped: Introduces crunch, nutty flavor, and textural contrast to the fudgy brownies; adds earthy, toasted notes that complement chocolate. Rough chopping ensures even distribution and bite without overpowering the overall texture.
Cooking Instructions for Walnut Brownies
These directions will guide you step by step with sensory cues and practical fixes so you get consistently good results. I write them as if I were standing next to you, describing what to look for and how it should feel at each stage.
- Preheat the oven to 180 C/350 F. Line an 8 x 8-inch pan with parchment paper and set aside.: As the oven warms, you should feel the kitchen shift from ambient to cozy, and the air will smell faintly of warm metal. A properly preheated oven gives even rise and sets the edges while keeping the center fudgy. Using parchment ensures easy removal and clean edges. A common slip is not letting the oven fully reach temperature, which leads to underbaked centers even when the top looks done.
- In a small bowl, sift your cocoa powder and cornstarch to avoid any clumps in the batter. Add the salt.: Sifting produces a light, airy powder that blends seamlessly, eliminating grainy pockets of cocoa powder or cornstarch . Run your fingers through the sifted mix to confirm it is uniform and fine. This step helps the batter become smooth quickly. If you skip sifting, you may detect small dry flecks in the finished brownies.
- In a small saucepan, add your butter and chocolate. On low heat, heat the butter and chocolate until melted and glossy. Remove from heat.: Watch the mixture as it melts, stirring gently; you want a glossy, ribbon like texture without steam or bubbling. The smell will turn deeply chocolatey and warm, signaling readiness. Removing from heat right away prevents overheating, which can cause the chocolate to seize or become grainy. Overcooking here is the main reason a batter loses its silkiness.
- Moving quickly, add your sugar and whisk very well until combined. Add the eggs, one at a time, and mix well into the mixture. Add your cornstarch, cocoa powder, and salt, and mix until the batter is smooth and no longer grainy. Fold through your walnuts.: After the glossy chocolate base is off heat, the sugar dissolves into the warmth, smoothing texture and contributing to that crackly top. Adding eggs one at a time ensures they incorporate evenly, creating a cohesive batter. When you fold in the sifted dry mix, watch for a uniform, lustrous batter without streaks. Finally, folding in the walnuts by hand preserves their identity and crunch. A common error is whipping vigorously at the egg stage, which can trap too much air and create a cake like brownie.
- Transfer your brownie mixture to the lined pan. Top with extra walnuts and bake for 26-28 minutes, or until a toothpick comes out just clean from the center.: Spoon the batter into the prepared pan and smooth the surface; you should see a glossy, slightly thick surface before it goes into the oven. Nestling a few extra walnuts on top creates a toasty finish. As it bakes you may hear the faintest crackle and smell rich chocolate; the edges will set first and darken slightly. The toothpick test should return just clean with a few moist crumbs for fudgy brownies. Leaving it in too long will yield a drier, cakier result.
- Remove from the oven and let the brownies cool completely before slicing.: Cooling is the final, quiet stage where the brownies firm up and set into neat squares. The aroma mellows and the interior finishes its texture transformation. If you try to slice them warm, they will smudge and fall apart; patience yields clean cuts and attractive portions. A frequent impatience is cutting too soon, which ruins presentation and makes serving messy.
Helpful Hints
I like to think of these tips as short kitchen notes I tuck into the margin while I bake. They focus on small techniques and storage ideas that make a big difference when you want consistent, delicious brownies.
- Use quality chocolate: Good tasting chocolate chips make a noticeable difference in depth and sheen. Choose semi sweet or dark chips that you enjoy eating on their own, because their flavor is concentrated in the batter.
- Sift dry ingredients: Sifting cocoa powder and cornstarch removes lumps and helps you achieve a silkier batter, reducing the chance of dry specks in the finished brownies.
- Low and slow melting: Melt butter with chocolate chips on very low heat, stirring often, to produce a glossy mixture and prevent separation or graininess.
- Add eggs one at a time: Incorporating the eggs slowly ensures a stable, uniform batter and helps avoid a curdled or overly aerated texture that would make the brownies cakey.
- Watch the bake time: Aim for the toothpick to come out just clean with moist crumbs; overbaking dries them out while underbaking makes slicing messy.
- Storage strategy: Store cooled brownies in a sealed container in the fridge to maintain freshness up to seven days, or wrap individually and freeze for longer keeping up to six months.
Serve This Walnut Brownies With
These brownies are versatile and suited to many occasions from casual afternoon tea to holiday dessert tables. Consider pairing them thoughtfully so the chocolate and nutty notes are complemented rather than overwhelmed. Present them on a simple platter or boxed up for gifting.
- Simple glass of milk: A chilled glass of milk brings out the chocolate richness and balances sweetness, perfect for a kid friendly snack or cozy night in.
- Coffee or tea service: Robust coffee or a nutty black tea pairs well when serving at brunch or an afternoon gathering, enhancing the bittersweet chocolate notes.
- Snack boxes and picnics: Wrapped individually, these brownies travel well and make a thoughtful addition to packed snacks for outings or school treats.
- Holiday dessert table: Their classic chocolate and walnut flavor fits seasonal gatherings in fall and colder months, where richness is especially welcome.
- Storage tips: Keep cooled brownies refrigerated in a sealed container for up to seven days, or freeze wrapped pieces for up to six months to preserve freshness for future treats.
- Occasions: Great for casual get togethers, potlucks, or as a comforting homemade dessert after dinner, these brownies feel both simple and special.
FAQ
Conclusion
What makes these Walnut Brownies special is the marriage of glossy, rich chocolate with the satisfying crunch of toasted walnuts, producing a fudgy, texturally interesting brownie that feels both classic and homemade. Give them a try the next time you want a straightforward treat that rewards simple technique with big flavor. I hope you enjoy making and sharing these squares as much as I do, they have become a comforting staple in my kitchen that always brightens a busy day.

Walnut Brownies
Equipment
- 8 x 8-inch pan
- Parchment Paper
- Small Saucepan
- Mixing Bowl
- Whisk
Ingredients
- 1 tablespoon cocoa powder Adds deep chocolate aroma and enhances overall cocoa flavor; helps intensify the brownie’s chocolate profile when combined with melted chocolate. Works best when sifted to avoid lumps and to incorporate smoothly into the batter.
- 3 tablespoons cornstarch Can substitute for arrowroot powder or Tapioca starch Provides thickening and a tender crumb while helping stabilize the batter; offers a neutral flavor that won’t compete with chocolate. Can be swapped for arrowroot powder or tapioca starch with similar texture results.
- 1/2 teaspoons salt Balances sweetness and enhances other flavors while controlling taste intensity; helps highlight chocolate notes and reduce cloying sweetness. Also aids in dough chemistry by slightly strengthening gluten-free structure.
- 3/4 cups sugar Sweetens the brownies and contributes to moistness and texture through sugar melting and caramelization during baking. Dissolves into the batter to create a glossy, slightly chewy crumb and helps with overall browning.
- 6 tablespoons butter Can substitute for coconut oil Contributes fat for tenderness, richness, and flavor, producing a smooth mouthfeel and helping create a fudgy texture when cooled. Melts into the batter to carry flavor compounds and improve glossy finish.
- 8 ounces chocolate chips Provides concentrated chocolate flavor and structure when melted into the batter; contributes both flavor depth and fudgy density. Melts to form a smooth, cohesive base and can create pockets of gooey chocolate if chips remain intact.
- 2 large eggs Adds structure, moisture, and leavening through protein coagulation as it cooks; helps bind ingredients and create a tender but set crumb. Beaten slightly before adding to the batter will aid in emulsification and uniform texture.
- 1 cup walnuts roughly chopped Introduces crunch, nutty flavor, and textural contrast to the fudgy brownies; adds earthy, toasted notes that complement chocolate. Rough chopping ensures even distribution and bite without overpowering the overall texture.
Instructions
- Preheat the oven to 180 C/350 F. Line an 8 x 8-inch pan with parchment paper and set aside.: As the oven warms, you should feel the kitchen shift from ambient to cozy, and the air will smell faintly of warm metal. A properly preheated oven gives even rise and sets the edges while keeping the center fudgy. Using parchment ensures easy removal and clean edges. A common slip is not letting the oven fully reach temperature, which leads to underbaked centers even when the top looks done.
- In a small bowl, sift your cocoa powder and cornstarch to avoid any clumps in the batter. Add the salt.: Sifting produces a light, airy powder that blends seamlessly, eliminating grainy pockets of cocoa powder or cornstarch . Run your fingers through the sifted mix to confirm it is uniform and fine. This step helps the batter become smooth quickly. If you skip sifting, you may detect small dry flecks in the finished brownies.
- In a small saucepan, add your butter and chocolate. On low heat, heat the butter and chocolate until melted and glossy. Remove from heat.: Watch the mixture as it melts, stirring gently; you want a glossy, ribbon like texture without steam or bubbling. The smell will turn deeply chocolatey and warm, signaling readiness. Removing from heat right away prevents overheating, which can cause the chocolate to seize or become grainy. Overcooking here is the main reason a batter loses its silkiness.
- Moving quickly, add your sugar and whisk very well until combined. Add the eggs, one at a time, and mix well into the mixture. Add your cornstarch, cocoa powder, and salt, and mix until the batter is smooth and no longer grainy. Fold through your walnuts.: After the glossy chocolate base is off heat, the sugar dissolves into the warmth, smoothing texture and contributing to that crackly top. Adding eggs one at a time ensures they incorporate evenly, creating a cohesive batter. When you fold in the sifted dry mix, watch for a uniform, lustrous batter without streaks. Finally, folding in the walnuts by hand preserves their identity and crunch. A common error is whipping vigorously at the egg stage, which can trap too much air and create a cake like brownie.
- Transfer your brownie mixture to the lined pan. Top with extra walnuts and bake for 26-28 minutes, or until a toothpick comes out just clean from the center.: Spoon the batter into the prepared pan and smooth the surface; you should see a glossy, slightly thick surface before it goes into the oven. Nestling a few extra walnuts on top creates a toasty finish. As it bakes you may hear the faintest crackle and smell rich chocolate; the edges will set first and darken slightly. The toothpick test should return just clean with a few moist crumbs for fudgy brownies. Leaving it in too long will yield a drier, cakier result.
- Remove from the oven and let the brownies cool completely before slicing.: Cooling is the final, quiet stage where the brownies firm up and set into neat squares. The aroma mellows and the interior finishes its texture transformation. If you try to slice them warm, they will smudge and fall apart; patience yields clean cuts and attractive portions. A frequent impatience is cutting too soon, which ruins presentation and makes serving messy.
Notes
- Use quality chocolate: Good tasting chocolate chips make a noticeable difference in depth and sheen. Choose semi sweet or dark chips that you enjoy eating on their own, because their flavor is concentrated in the batter.
- Sift dry ingredients: Sifting cocoa powder and cornstarch removes lumps and helps you achieve a silkier batter, reducing the chance of dry specks in the finished brownies.
- Low and slow melting: Melt butter with chocolate chips on very low heat, stirring often, to produce a glossy mixture and prevent separation or graininess.
- Add eggs one at a time: Incorporating the eggs slowly ensures a stable, uniform batter and helps avoid a curdled or overly aerated texture that would make the brownies cakey.
- Watch the bake time: Aim for the toothpick to come out just clean with moist crumbs; overbaking dries them out while underbaking makes slicing messy.
- Storage strategy: Store cooled brownies in a sealed container in the fridge to maintain freshness up to seven days, or wrap individually and freeze for longer keeping up to six months.