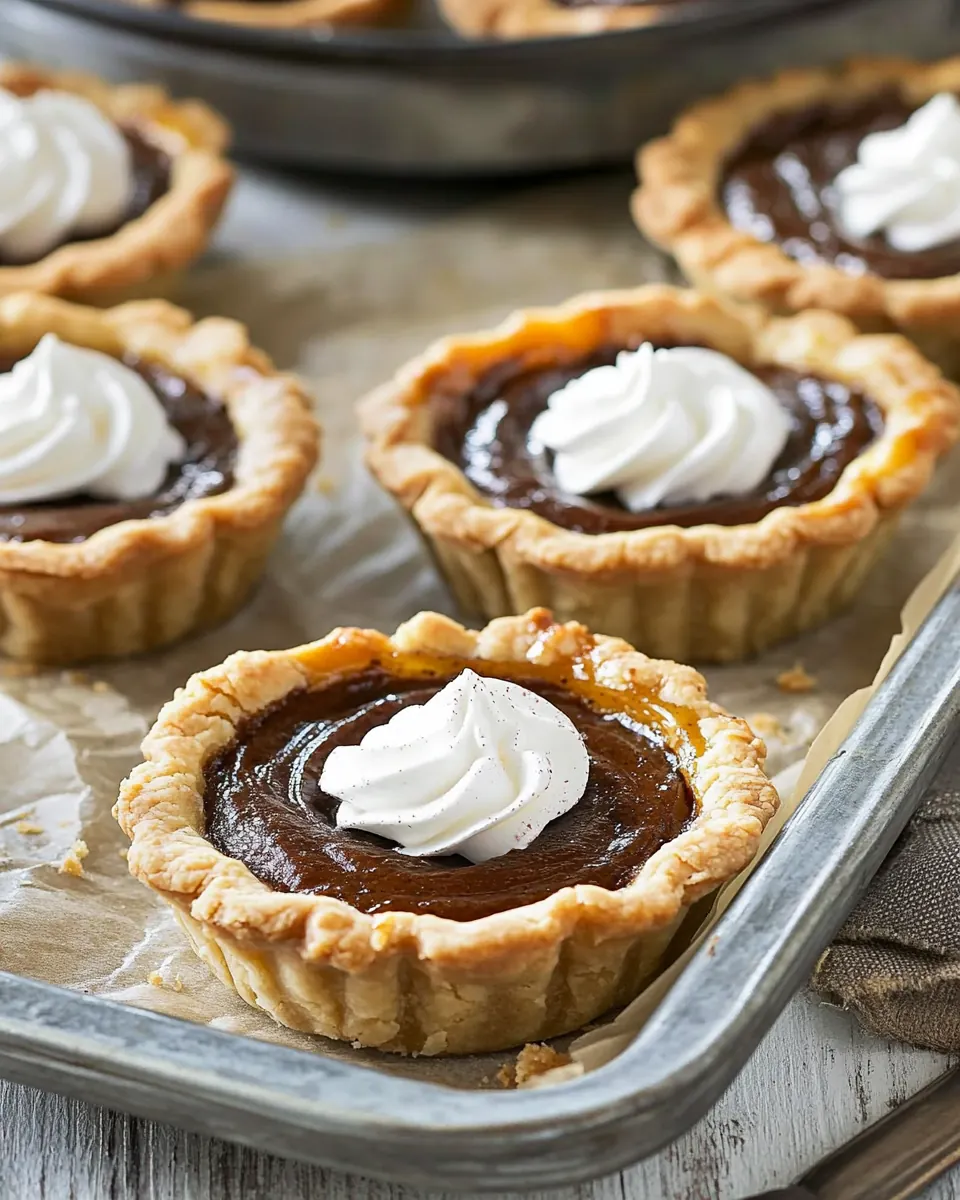
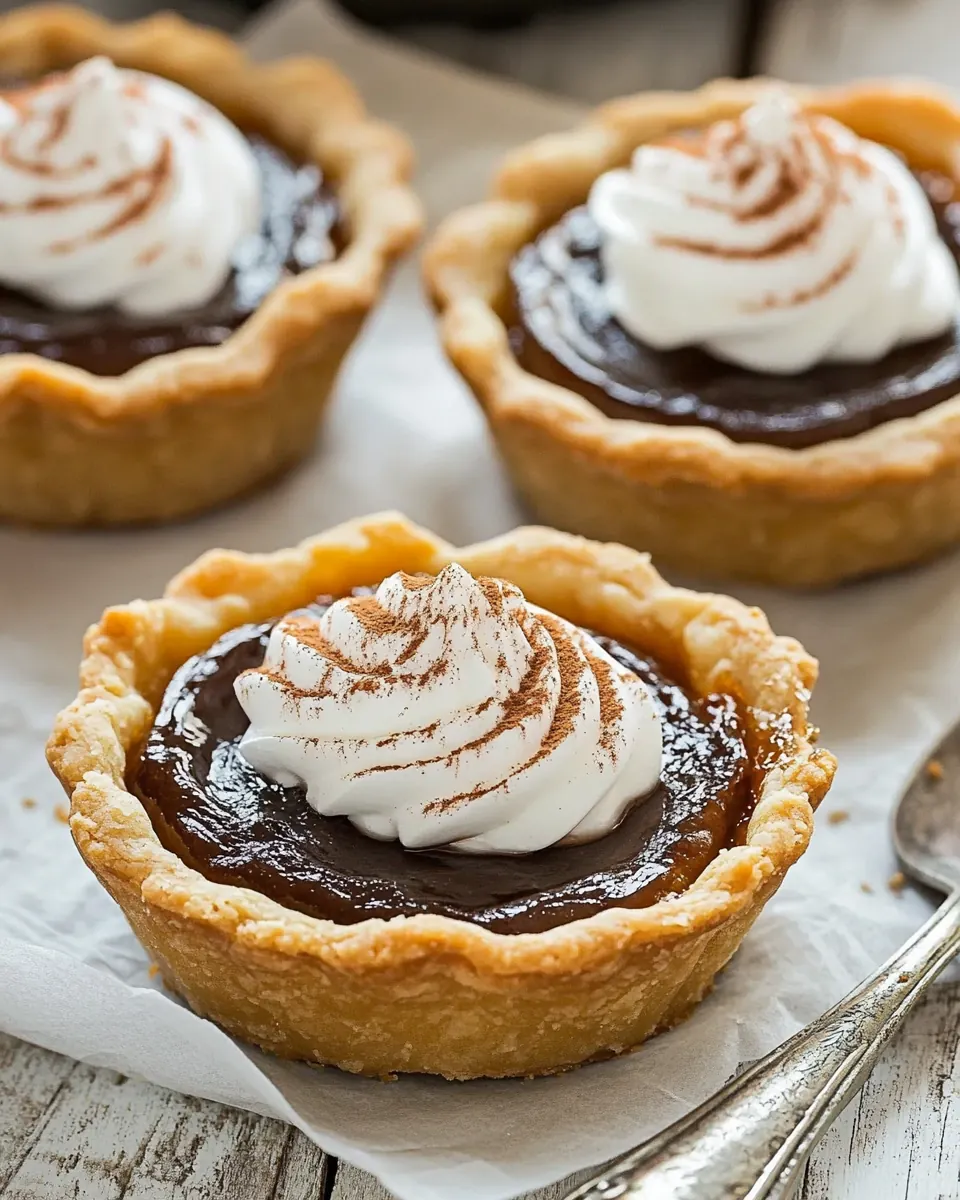
Pumpkin Nutella Tarts
Pumpkin Nutella Tarts came into my life on a blustery October afternoon when I needed something that felt festive but was ridiculously simple to pull together. I remember standing in my tiny kitchen with a box of frozen tart shells on the counter and a jar of Nutella daring me to be creative. I wanted a dessert that nodded to fall, carried the cozy warmth of pumpkin spice, and still allowed me time to chat with friends while the oven did most of the heavy lifting.
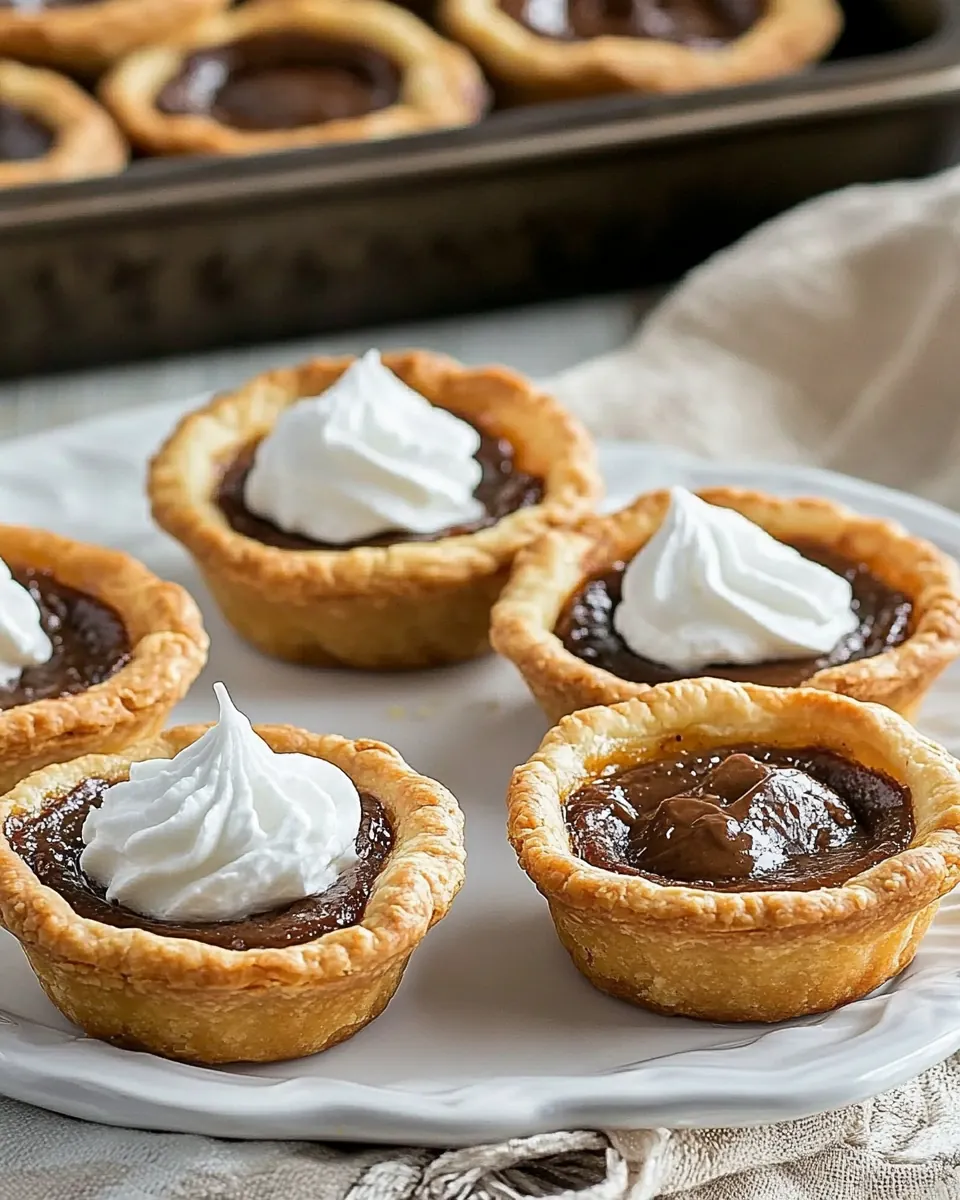
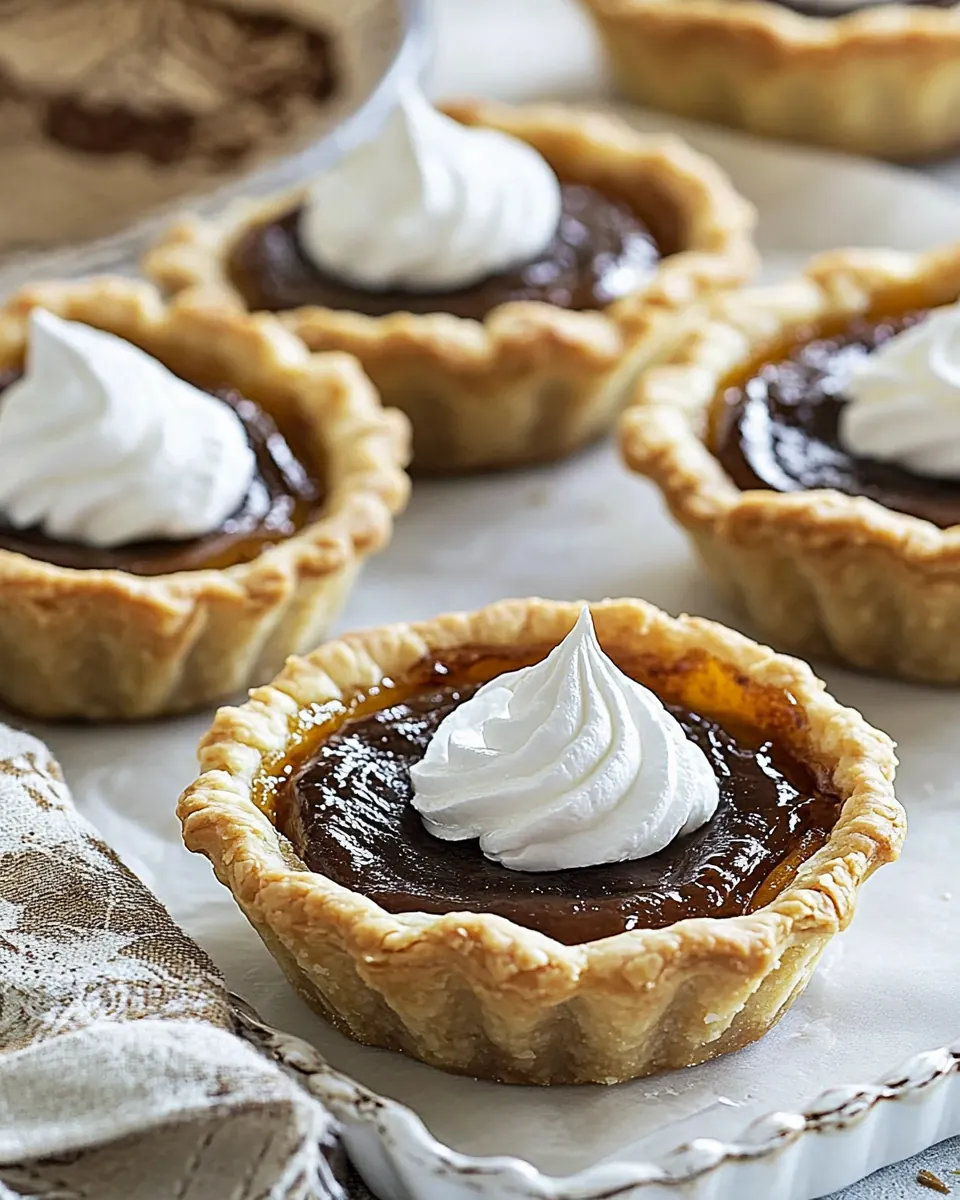
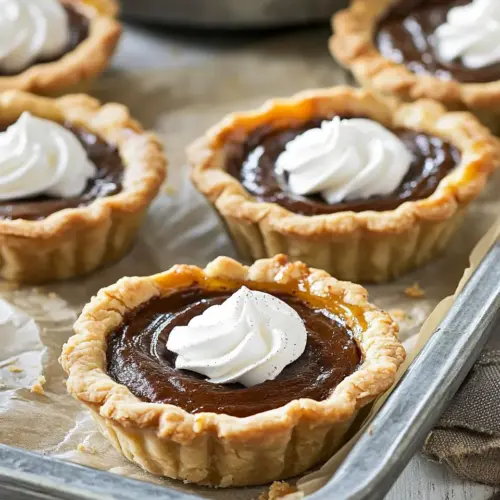
That day I mixed a silky filling of pumpkin puree, brown sugar, and a duo of milks, then spooned it into ready made shells. The trick of warming a spoonful of Nutella and swirling it on top before baking turned a humble tart into something playful and crave worthy. When the tarts came out, steaming and slightly puffed, the aroma of pumpkin spice filled the room and everyone paused mid conversation. We topped each tart with a cloud of Cool Whip or whipped cream, and I loved how the contrast of creamy topping and rich, slightly nutty chocolate made every bite sing.
Recipe Snapshot
30 mins
10 mins
20 mins
Easy
210 kcal
American
Gluten-Free, Low FODMAP
Desserts
Baking sheet, Stand mixer, Whisk attachment, Microwave, Zip close bag
What Sets This Pumpkin Nutella Tarts Apart
They are effortless crowd pleasers
I adore how Pumpkin Nutella Tarts take a small list of pantry items and turn them into thirty little celebration bites. You can assemble most of this while people are still arriving, which frees you up to be present with guests rather than stuck at the stove.
Playful flavor mash up
The marriage of warm pumpkin spice and the hazelnut chocolate of Nutella is unexpected in the best way. I find the creamy filling brightened by the tiny bursts of chocolate on top makes each tart complex but approachable.
Texture is everything
The crisp shell versus the smooth, almost custardy pumpkin filling creates a delightful contrast. When baked correctly the shells stay crunchy and the centers set to a silky firmness that holds up to a fork.
Make ahead friendly
I often prepare these a day in advance, storing them chilled and topping them right before serving. That flexibility makes them perfect for holidays, when I want to minimize last minute work and maximize time with family.
Adaptable and festive
As someone who loves seasonal menus, I appreciate how these tarts fit right into fall spreads. They look elegant on a platter, and the Nutella swirl adds a bit of showmanship without demanding pastry skills.
What You Need for Pumpkin Nutella Tarts
These ingredients are curated for balance. The star is pumpkin puree, which provides creamy body and earthy sweetness. The milks and eggs create a custard like texture, brown sugar brings caramel notes, and a small amount of pumpkin pie spice lifts the profile. Finally, the ready made tart shells and a touch of Nutella make everything approachable and delicious.
- 30 frozen tart shells, 3": Fill frozen tart shells to provide a crisp, pre-baked vessel that holds the pumpkin custard and supports the tart structure; frozen shells save time and ensure consistent texture after baking. Keep shells chilled until filling to prevent sogginess and maintain a flaky, golden crust once warmed.
- 15 oz pumpkin puree, can: Add pumpkin puree to supply concentrated pumpkin flavor, moisture, and body to the custard filling while contributing natural sweetness and color. Use a smooth, canned puree for consistent results and to create the classic autumnal profile of these tarts.
- 1/2 cup heavy cream: Pour heavy cream to enrich the filling with fat for a silky, luxurious texture and help set the custard with a creamy mouthfeel. Combine with eggs and evaporated milk to produce a balanced, rich custard that bakes to a tender interior.
- 1/2 cup evaporated milk: Stir in evaporated milk to add concentrated dairy richness without excess water, helping to create a smooth, custardy consistency and stabilize the filling during baking. Use it with heavy cream to achieve the ideal balance of richness and pourability for filling the tart shells.
- 1 cup brown sugar: Mix brown sugar to contribute deep, caramel-like sweetness and moisture that enhances the pumpkin flavor while helping to create a tender, slightly glossy custard. Adjust browning and sweetness uniformly by dissolving it into the wet mixture before combining with eggs.
- pinch salt: Season with a pinch of salt to intensify and balance the overall flavors, reducing cloying sweetness and highlighting the pumpkin and spice notes. Use sparingly to avoid overt salinity while ensuring a well-rounded taste in each bite.
- 1 tsp pumpkin pie spice: Sprinkle pumpkin pie spice to introduce warm, aromatic notes like cinnamon, nutmeg, and clove that define the seasonal flavor profile and complement the pumpkin. Measure carefully for consistent spice intensity across all tarts and to avoid overpowering the custard.
- 3 eggs: Beat eggs to act as the primary binding and setting agent that gives the filling structure and allows it to firm up into a custard during baking. Whisk thoroughly to incorporate air and ensure an even, smooth texture without curdling when combined with hot ingredients.
- 3 tbsp Nutella: Dollop Nutella to add a rich layer of chocolate-hazelnut flavor that complements the pumpkin, creating a decadent contrast and a swirl or ribbon within each tart. Warm slightly for easier spreading or spoon small amounts into each shell before filling for a marbled effect.
- Cool Whip, or Whip Cream for topping: Top with Cool Whip or whipped cream to provide a light, airy finish that balances the dense custard with creamy sweetness and visual appeal. Pipe or spoon a generous dollop just before serving to preserve its texture and enhance presentation.
Cooking Method for Pumpkin Nutella Tarts
These directions walk you through a simple assembly into tidy steps, while preserving sensory cues so you know when you are on track. Read each step fully, and trust the sights and aromas to guide you. I always keep a kitchen timer nearby and watch the tarts toward the end of baking to avoid overcooking.
- Preheat oven to 375 degrees F. Line the frozen tart shells on a large baking sheet while you prepare the pumpkin pie filling.: As the oven warms, you will feel a steady warmth and smell a faint dry heat from the coils, which primes the environment for even baking. Proper preheating ensures the custard sets properly and the tart shells get crisp, rather than the filling slowly cooking and making shells soggy. A common mistake is placing cold tart shells into an oven that is not fully up to temperature, causing uneven bake and a pale, underdone custard. I recommend checking your oven gauge and giving it the full time to stabilize before sliding the sheet in.
- Place the pumpkin puree, heavy cream, evaporated milk, brown sugar, salt and pumpkin pie spice in the bowl of your stand mixer and beat with the whisk attachment (or use a large bowl and a hand mixer), until smooth. Add in the eggs one at a time, beating in between. Beat for an additional 3 to 5 minutes or until light and fluffy.: Working on a rimmed baking sheet keeps things tidy and makes transferring tarts in and out of the oven simple, plus you can move thirty shells at once. As you arrange them, notice the shells feel rigid and frosty; that chill helps hold their shape until the filling is added. Avoid overcrowding the tray because crowded shells will heat unevenly, and space allows air to circulate for uniform browning. If a shell looks cracked, set it aside and use a spare to avoid leaks.
- Spoon enough pumpkin pie mixture into each tart shell to fill (approximately 2 to 3 tbsp each).: The mixture will start textured and grainy, then become glossy and smooth as the sugar dissolves and air is incorporated. I like to scrape the bowl once, ensuring nothing is hiding on the sides. This step promotes a silky custard by fully combining dairy and pumpkin ; incomplete mixing can leave pockets of dry spice or sugar. A frequent misstep is overwhipping; too much aeration can make the filling rise excessively and then collapse, so mix until smooth and homogenous.
- Place the Nutella into a zip close bag and microwave for 20 seconds to warm it up. Snip off the corner of the bag and swirl a little bit of Nutella right on top of each tart. Bake for 20 to 25 minutes. The pumpkin pie will rise up high in the oven and when cooled will settle back down. Let the pumpkin tarts cool before topping with cool whip or whip cream. Keep stored in the fridge until ready to serve.: As each egg is incorporated the mixture will grow creamier and slightly thicker, adopting a ribbon like consistency. Adding eggs slowly helps them emulsify into the custard, preventing curdling. If you add eggs too quickly or to a very hot mix, they may scramble, so temper gently and keep speeds moderate. I always stop and check the texture after each addition to ensure a cohesive batter.
- Beat for an additional 3 to 5 minutes or until light and fluffy: During this brief whipping, the batter develops air and becomes lighter in color and texture, which yields a delicate set after baking. You will notice the mixture fall into gentle peaks and feel aerated to the touch. This air makes for a tender bite, but overbeating will introduce too much air and cause the filling to puff dramatically then crack. Watch the texture closely and stop when the batter looks evenly aerated and smooth.
- Spoon enough pumpkin pie mixture into each tart shell to fill (approximately 2 to 3 tbsp each): As you spoon, the filling will glisten and settle gently into the shells, filling them to just below the rim so they bake without overflow. Aim for consistent portions so tarts cook evenly and finish at the same time. A common error is overfilling, which leads to spillover and sticky baking sheets. Using a small cookie scoop or measured spoon keeps the fill level uniform across all shells.
- Place the Nutella into a zip close bag and microwave for 20 seconds to warm it up: Warming the Nutella makes it glossy and pourable, and when you snip the corner it will flow smoothly for swirling, creating pretty marbled accents that bake into the top. Be careful not to overheat because overheated chocolate becomes too runny and can sink into the filling, losing its visual appeal. A quick test dot on a plate will show if it is the right consistency for piping.
- Snip off the corner of the bag and swirl a little bit of Nutella right on top of each tart: The warm Nutella will create dark, glossy motifs on the pale pumpkin surface, adding both flavor and visual contrast. Use light, deliberate motions so each tart receives a decorative touch without dragging the filling. If you over swirl, the chocolate can overly incorporate and lose its distinct pockets of hazelnut brightness. Keep your swirl delicate to retain texture differences.
- Bake for 20 to 25 minutes: During baking you will see the centers rise and edges set, and the aroma of pumpkin spice will become pronounced. Watch for a gentle jiggle in the very center, which indicates custard is done but still tender, and a golden rim around the shell for crispness. A typical mistake is leaving the tarts in until completely firm, which yields a dry, cakey texture; pull them when the center still has slight movement.
- The pumpkin pie will rise up high in the oven and when cooled will settle back down: Expect the tarts to puff dramatically, which is normal as steam forms and air expands, then gently deflate as they cool to a creamy finish. This natural settling results in a smooth, compact top that looks refined with your Nutella swirls. If a tart cracks, it is often due to overbaking or too hot an oven, so use visual cues rather than time alone to judge doneness.
- Let the pumpkin tarts cool before topping with cool whip or whip cream: Cooling allows the custard to finish setting, so the toppings sit neatly without melting away. You will notice the baked aroma giving way to a mellow sweetness as the tarts reach room temperature. Adding whipped toppings too soon causes them to weep or flatten, so patience here preserves texture and presentation. Chill briefly if you prefer firmer set and crisper shells.
- Keep stored in the fridge until ready to serve: Refrigeration keeps the custard safe and the whipped topping stable, and hundreds of small tarts will retain their shape and flavor when chilled. Store them in a single layer or on trays covered loosely to prevent condensation. A common problem is stacking warm tarts, which traps steam and softens shells, so always cool fully before covering and refrigerating.
Ways to Customize
If you want to make these tarts your own, small tweaks can elevate them without changing the easy workflow. Below are ideas to vary textures, presentation, and final flavor, each starting with a bold action to help you scan quickly.
- Swap the topping Try freshly whipped cream for a lighter finish, or use a stabilized whipped topping if you need extra hold for events.
- Adjust the sugar Reduce the brown sugar by a little if you prefer less sweet desserts, the spices and Nutella will still provide depth.
- Play with the swirl Use a toothpick to create prettier marbling with the warmed Nutella, drawing gentle lines for a refined look.
- Portion confidently Use a small cookie scoop to ensure each shell receives an even amount of filling, helping tarts bake at the same rate.
- Present with care Refrigerate the tarts on a flat tray uncovered until chilled through, then add whipped topping right before serving to maintain crisp shells.
Serving Options for Pumpkin Nutella Tarts
These little tarts are remarkably versatile for occasions from casual gatherings to holiday spreads. Serve them chilled with a dollop of whipped cream and watch them disappear, or plate them with a small garnish for a more elegant feel.
- Holiday platter Arrange the tarts on a large serving tray for Thanksgiving or fall parties, scattering little paper doilies for a festive presentation.
- Party finger food Serve at room temperature for buffets and cocktail hours, placing napkins nearby so guests can grab and go.
- Dessert after dinner Offer one or two tarts per person with a small scoop of ice cream for a richer course following a savory meal.
- Make ahead hosting Bake the tarts the day before and store them in the refrigerator, then add whipped topping right before guests arrive to keep shells crisp.
- Seasonal pairings These tarts pair well with spiced coffee, chai, or a warm non dairy beverage during cool weather gatherings.
- Storage tips Keep in an airtight container in the fridge up to three days, and avoid stacking to preserve the shell crunch.
FAQ
Conclusion
These Pumpkin Nutella Tarts shine because they combine seasonal spice with a playful Nutella swirl, creating a dessert that is both comforting and a little bit indulgent. Give them a try when you want an easy make ahead sweet that looks special but does not demand pastry mastery. They are ideal for holiday platters, casual gatherings, or any time you crave a small, flavorful fall treat that everyone will reach for.
Pumpkin Nutella Tarts
Equipment
- Baking Sheet
- Stand mixer
- Whisk attachment
- Microwave
- Zip close bag
Ingredients
- 30 frozen tart shells, 3" Fill frozen tart shells to provide a crisp, pre-baked vessel that holds the pumpkin custard and supports the tart structure; frozen shells save time and ensure consistent texture after baking. Keep shells chilled until filling to prevent sogginess and maintain a flaky, golden crust once warmed.
- 15 oz pumpkin puree, can Add pumpkin puree to supply concentrated pumpkin flavor, moisture, and body to the custard filling while contributing natural sweetness and color. Use a smooth, canned puree for consistent results and to create the classic autumnal profile of these tarts.
- 1/2 cup heavy cream Pour heavy cream to enrich the filling with fat for a silky, luxurious texture and help set the custard with a creamy mouthfeel. Combine with eggs and evaporated milk to produce a balanced, rich custard that bakes to a tender interior.
- 1/2 cup evaporated milk Stir in evaporated milk to add concentrated dairy richness without excess water, helping to create a smooth, custardy consistency and stabilize the filling during baking. Use it with heavy cream to achieve the ideal balance of richness and pourability for filling the tart shells.
- 1 cup brown sugar Mix brown sugar to contribute deep, caramel-like sweetness and moisture that enhances the pumpkin flavor while helping to create a tender, slightly glossy custard. Adjust browning and sweetness uniformly by dissolving it into the wet mixture before combining with eggs.
- pinch salt Season with a pinch of salt to intensify and balance the overall flavors, reducing cloying sweetness and highlighting the pumpkin and spice notes. Use sparingly to avoid overt salinity while ensuring a well-rounded taste in each bite.
- 1 tsp pumpkin pie spice Sprinkle pumpkin pie spice to introduce warm, aromatic notes like cinnamon, nutmeg, and clove that define the seasonal flavor profile and complement the pumpkin. Measure carefully for consistent spice intensity across all tarts and to avoid overpowering the custard.
- 3 eggs Beat eggs to act as the primary binding and setting agent that gives the filling structure and allows it to firm up into a custard during baking. Whisk thoroughly to incorporate air and ensure an even, smooth texture without curdling when combined with hot ingredients.
- 3 tbsp Nutella Dollop Nutella to add a rich layer of chocolate-hazelnut flavor that complements the pumpkin, creating a decadent contrast and a swirl or ribbon within each tart. Warm slightly for easier spreading or spoon small amounts into each shell before filling for a marbled effect.
- Cool Whip, or Whip Cream for topping Top with Cool Whip or whipped cream to provide a light, airy finish that balances the dense custard with creamy sweetness and visual appeal. Pipe or spoon a generous dollop just before serving to preserve its texture and enhance presentation.
Instructions
- Preheat oven to 375 degrees F. Line the frozen tart shells on a large baking sheet while you prepare the pumpkin pie filling.: As the oven warms, you will feel a steady warmth and smell a faint dry heat from the coils, which primes the environment for even baking. Proper preheating ensures the custard sets properly and the tart shells get crisp, rather than the filling slowly cooking and making shells soggy. A common mistake is placing cold tart shells into an oven that is not fully up to temperature, causing uneven bake and a pale, underdone custard. I recommend checking your oven gauge and giving it the full time to stabilize before sliding the sheet in.
- Place the pumpkin puree, heavy cream, evaporated milk, brown sugar, salt and pumpkin pie spice in the bowl of your stand mixer and beat with the whisk attachment (or use a large bowl and a hand mixer), until smooth. Add in the eggs one at a time, beating in between. Beat for an additional 3 to 5 minutes or until light and fluffy.: Working on a rimmed baking sheet keeps things tidy and makes transferring tarts in and out of the oven simple, plus you can move thirty shells at once. As you arrange them, notice the shells feel rigid and frosty; that chill helps hold their shape until the filling is added. Avoid overcrowding the tray because crowded shells will heat unevenly, and space allows air to circulate for uniform browning. If a shell looks cracked, set it aside and use a spare to avoid leaks.
- Spoon enough pumpkin pie mixture into each tart shell to fill (approximately 2 to 3 tbsp each).: The mixture will start textured and grainy, then become glossy and smooth as the sugar dissolves and air is incorporated. I like to scrape the bowl once, ensuring nothing is hiding on the sides. This step promotes a silky custard by fully combining dairy and pumpkin ; incomplete mixing can leave pockets of dry spice or sugar. A frequent misstep is overwhipping; too much aeration can make the filling rise excessively and then collapse, so mix until smooth and homogenous.
- Place the Nutella into a zip close bag and microwave for 20 seconds to warm it up. Snip off the corner of the bag and swirl a little bit of Nutella right on top of each tart. Bake for 20 to 25 minutes. The pumpkin pie will rise up high in the oven and when cooled will settle back down. Let the pumpkin tarts cool before topping with cool whip or whip cream. Keep stored in the fridge until ready to serve.: As each egg is incorporated the mixture will grow creamier and slightly thicker, adopting a ribbon like consistency. Adding eggs slowly helps them emulsify into the custard, preventing curdling. If you add eggs too quickly or to a very hot mix, they may scramble, so temper gently and keep speeds moderate. I always stop and check the texture after each addition to ensure a cohesive batter.
- Beat for an additional 3 to 5 minutes or until light and fluffy: During this brief whipping, the batter develops air and becomes lighter in color and texture, which yields a delicate set after baking. You will notice the mixture fall into gentle peaks and feel aerated to the touch. This air makes for a tender bite, but overbeating will introduce too much air and cause the filling to puff dramatically then crack. Watch the texture closely and stop when the batter looks evenly aerated and smooth.
- Spoon enough pumpkin pie mixture into each tart shell to fill (approximately 2 to 3 tbsp each): As you spoon, the filling will glisten and settle gently into the shells, filling them to just below the rim so they bake without overflow. Aim for consistent portions so tarts cook evenly and finish at the same time. A common error is overfilling, which leads to spillover and sticky baking sheets. Using a small cookie scoop or measured spoon keeps the fill level uniform across all shells.
- Place the Nutella into a zip close bag and microwave for 20 seconds to warm it up: Warming the Nutella makes it glossy and pourable, and when you snip the corner it will flow smoothly for swirling, creating pretty marbled accents that bake into the top. Be careful not to overheat because overheated chocolate becomes too runny and can sink into the filling, losing its visual appeal. A quick test dot on a plate will show if it is the right consistency for piping.
- Snip off the corner of the bag and swirl a little bit of Nutella right on top of each tart: The warm Nutella will create dark, glossy motifs on the pale pumpkin surface, adding both flavor and visual contrast. Use light, deliberate motions so each tart receives a decorative touch without dragging the filling. If you over swirl, the chocolate can overly incorporate and lose its distinct pockets of hazelnut brightness. Keep your swirl delicate to retain texture differences.
- Bake for 20 to 25 minutes: During baking you will see the centers rise and edges set, and the aroma of pumpkin spice will become pronounced. Watch for a gentle jiggle in the very center, which indicates custard is done but still tender, and a golden rim around the shell for crispness. A typical mistake is leaving the tarts in until completely firm, which yields a dry, cakey texture; pull them when the center still has slight movement.
- The pumpkin pie will rise up high in the oven and when cooled will settle back down: Expect the tarts to puff dramatically, which is normal as steam forms and air expands, then gently deflate as they cool to a creamy finish. This natural settling results in a smooth, compact top that looks refined with your Nutella swirls. If a tart cracks, it is often due to overbaking or too hot an oven, so use visual cues rather than time alone to judge doneness.
- Let the pumpkin tarts cool before topping with cool whip or whip cream: Cooling allows the custard to finish setting, so the toppings sit neatly without melting away. You will notice the baked aroma giving way to a mellow sweetness as the tarts reach room temperature. Adding whipped toppings too soon causes them to weep or flatten, so patience here preserves texture and presentation. Chill briefly if you prefer firmer set and crisper shells.
- Keep stored in the fridge until ready to serve: Refrigeration keeps the custard safe and the whipped topping stable, and hundreds of small tarts will retain their shape and flavor when chilled. Store them in a single layer or on trays covered loosely to prevent condensation. A common problem is stacking warm tarts, which traps steam and softens shells, so always cool fully before covering and refrigerating.
Notes
- Swap the topping Try freshly whipped cream for a lighter finish, or use a stabilized whipped topping if you need extra hold for events.
- Adjust the sugar Reduce the brown sugar by a little if you prefer less sweet desserts, the spices and Nutella will still provide depth.
- Play with the swirl Use a toothpick to create prettier marbling with the warmed Nutella, drawing gentle lines for a refined look.
- Portion confidently Use a small cookie scoop to ensure each shell receives an even amount of filling, helping tarts bake at the same rate.
- Present with care Refrigerate the tarts on a flat tray uncovered until chilled through, then add whipped topping right before serving to maintain crisp shells.