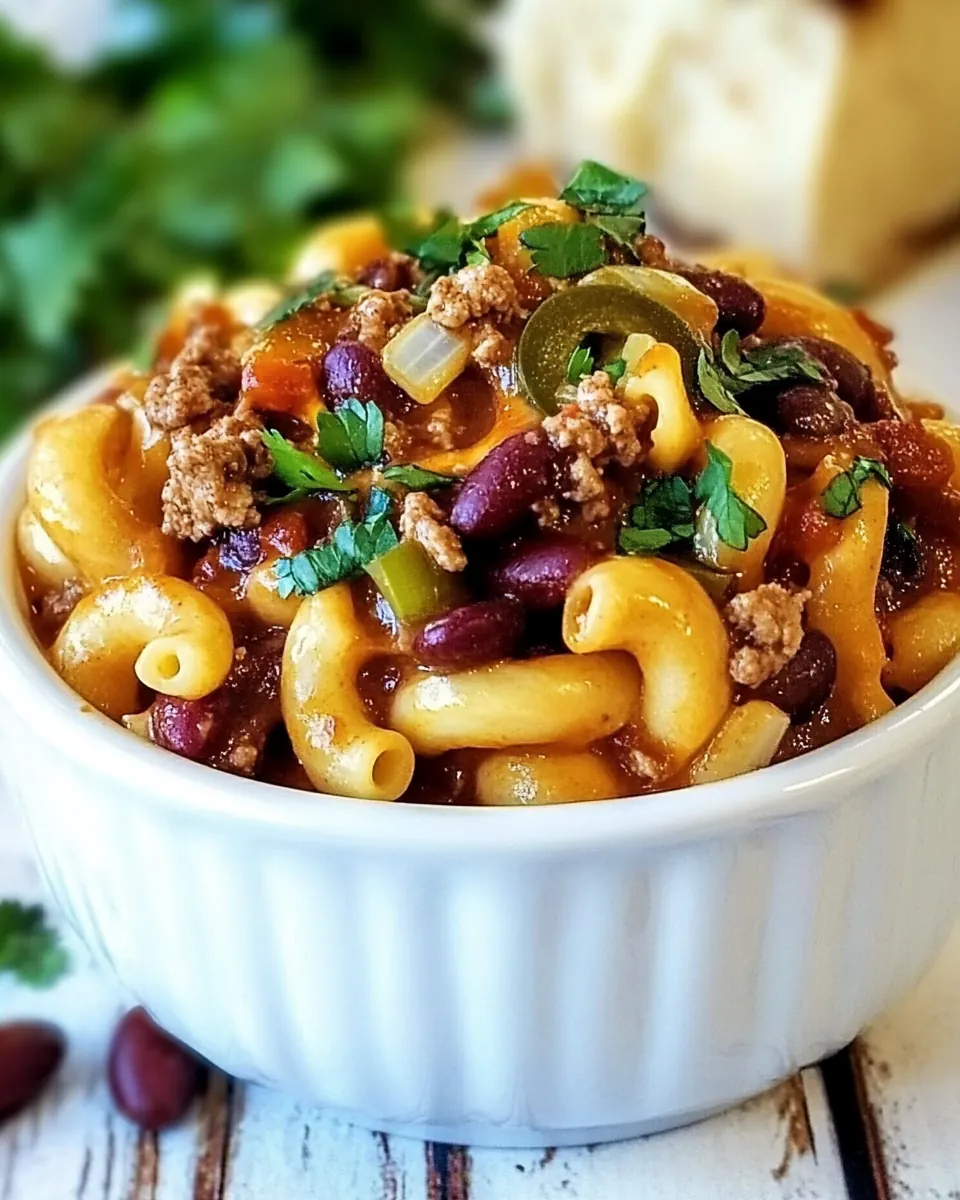
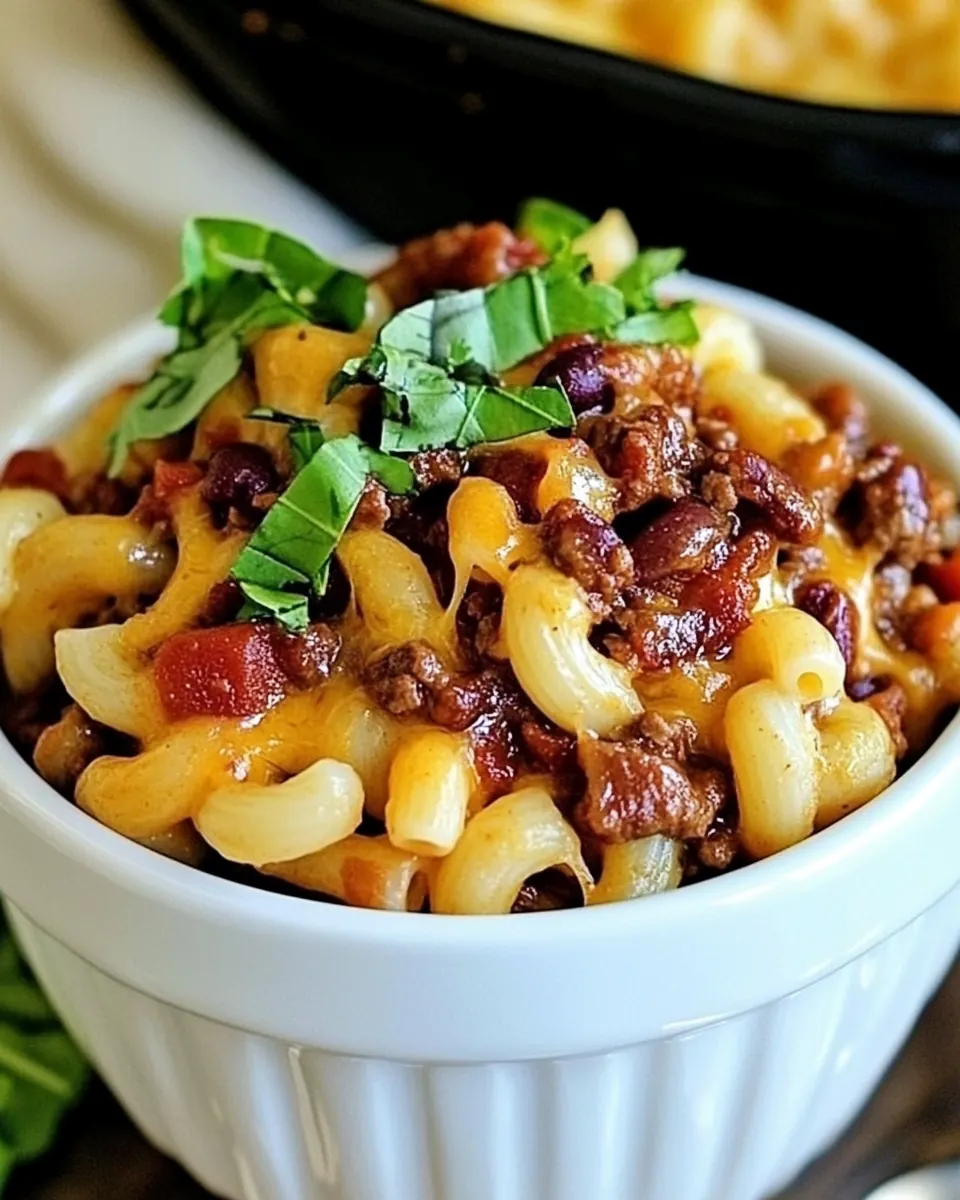
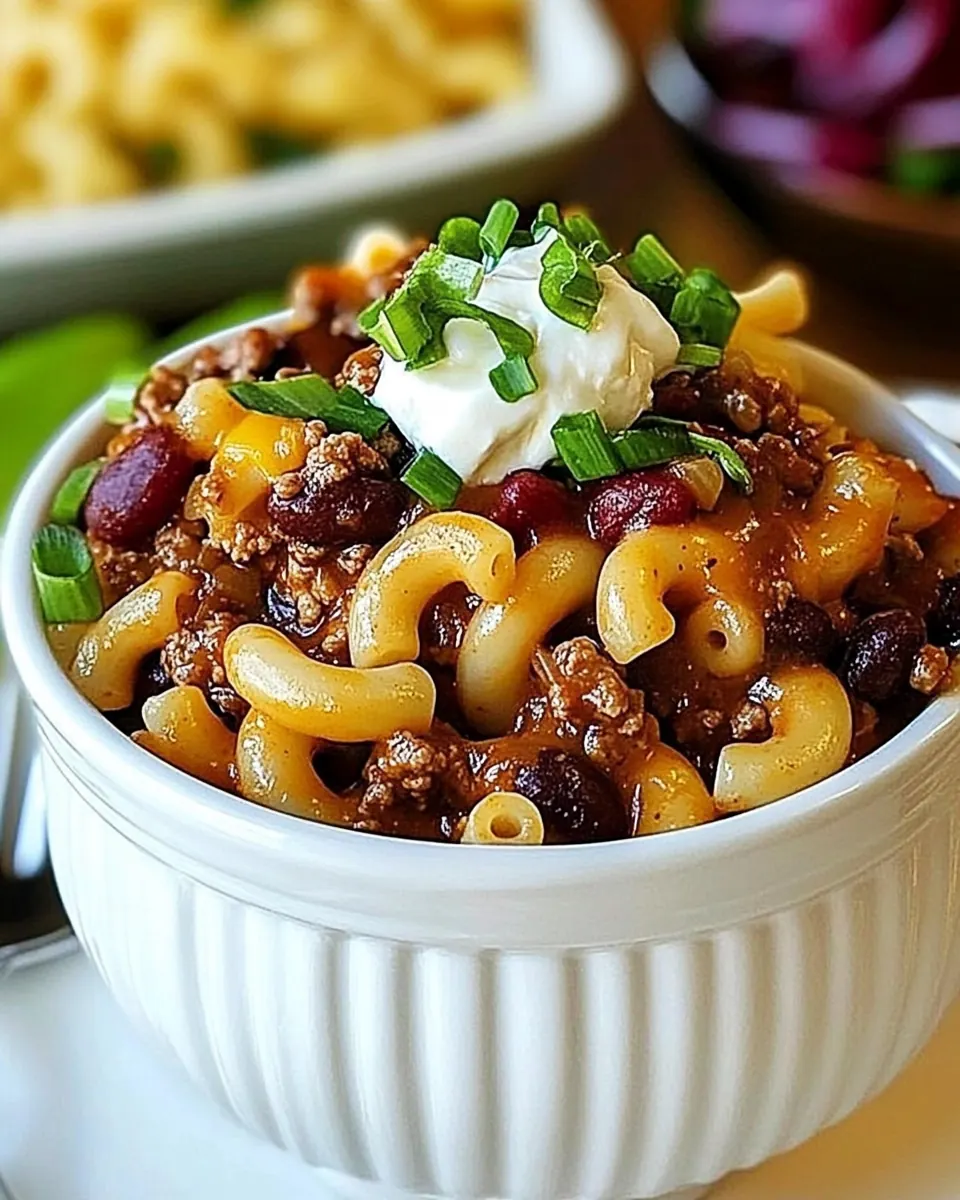
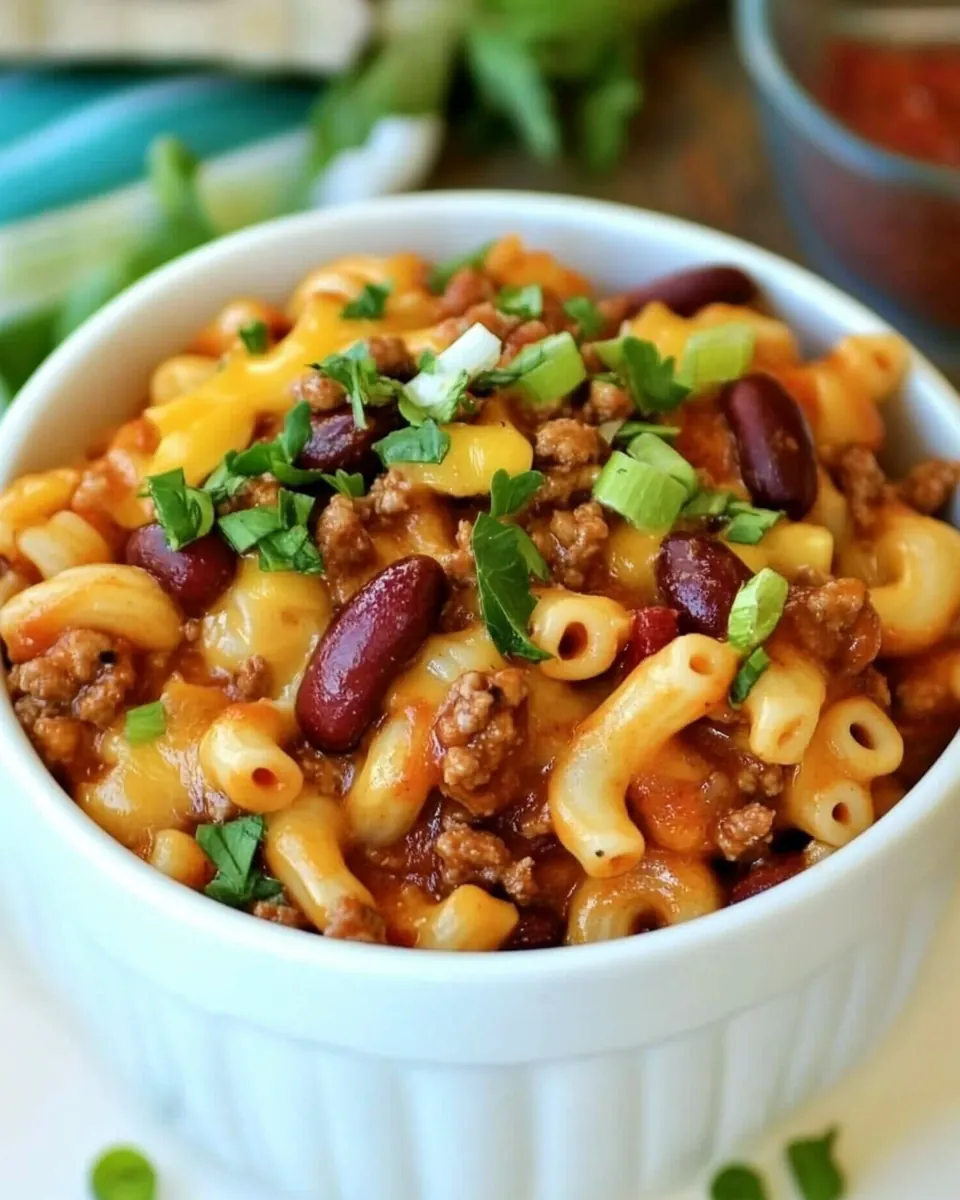
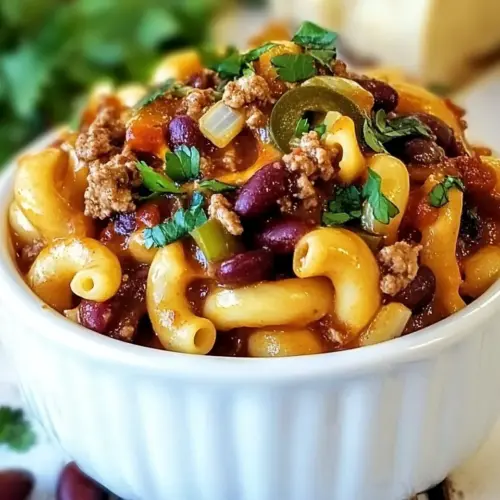
Chili Mac and Cheese
Chili Mac and Cheese is the kind of meal I turn to when I want comfort that fills the house with cozy, familiar aromas.
The first time I made Chili Mac and Cheese I was scrambling to feed a crowd after a chilly afternoon of yard work, and it quickly became the dish everyone asked for seconds of. The combination of simmering tomatoes and spices with bubbling, cheesy pasta felt like an instant hug. I remember the sound of the sauce reducing, a gentle chatter of bubbles that promised depth and warmth, and how those tiny moments made me trust the recipe more. There is something almost nostalgic about the mashup of two classics, and yet it stands on its own, hearty and unapologetic.
Over the years I tweaked little things, learning how to coax the best texture from the pasta and how to build layers of flavor without fuss. What I love most is how forgiving this recipe is, it lets you focus on timing and seasoning rather than precision, which makes it perfect for weeknights when you want something satisfying without a lot of ceremony. People bring their own memories to a bowl of Chili Mac and Cheese, and I enjoy hearing those stories while I ladle out servings that steam and shine with melted cheese on top.
Recipe Snapshot
40 mins
15 mins
25 mins
Medium
600 kcal
American
Gluten-Free, Low FODMAP
Dinner
Dutch oven, Large deep skillet, Pot for pasta, Colander
The Magic of This Chili Mac and Cheese
Hearty comfort in one pot
I adore how Chili Mac and Cheese delivers everything you want in a single, shareable pan. The marriage of a robust chili base with tender pasta creates texture contrast that feels both rustic and homey. When I serve this, people appreciate that each bite can offer meaty richness or a cheesy, creamy mouthful, depending on where their fork lands.
Easy to scale and feed a crowd
This recipe scales beautifully, which is why I reach for it when friends drop by unexpectedly. I can double or triple it without changing the method, and it still hits the same notes. I like that it reheats well too, so leftovers become a quick lunch that tastes nearly as good as the first night.
Layered flavors from simple pantry staples
What stands out to me is the clever use of canned tomatoes, tomato sauce, and tomato paste to build a rounded base, while spices like chili powder and smoked paprika add depth. These are ingredients most cooks have on hand, so it feels accessible. I appreciate how the cooking process coaxing out the aromatics from onion and garlic turns ordinary items into something soulful.
Comfort with a customizable kick
I love that you can adjust the heat and texture easily. A sprinkle of cayenne gives a whisper of warmth, and finishing with a generous handful of shredded cheese creates that irresistible gooey top. I often let guests add their own toppings so everyone gets the perfect mouthful for them.
Family friendly but grown up enough for dinner
From my perspective, Chili Mac and Cheese is kid approved yet satisfying for adults. Families gravitate toward its comforting profile, and it fits weeknight dinner needs without being dull. I enjoy serving it when I want to please a crowd without complicated steps.
Ingredients to Make Chili Mac and Cheese
I approach the ingredients for Chili Mac and Cheese as a balance between body, spice, and creaminess. The pasta provides a tender, starchy backbone, while the ground beef brings savory weight. Tomatoes and seasonings create a rich, layered sauce that clings to each bite, and the final cheese adds that silky finish everyone reaches for. These players work together because each element supports texture or flavor, ensuring the bowl is never flat.
- 8 ounces elbow macaroni pasta uncooked, dry: Cooked to al dente and tender, provides the hearty pasta base that soaks up sauce and binds the dish together; offers neutral flavor and satisfying texture to complement the chili and cheese components.
- 1 pound lean ground beef: Browned and crumbled to contribute savory, meaty richness and protein; renders fat that flavors the sauce and adds depth to the overall chili mac, creating a substantial main element.
- 1 medium yellow onion diced: Sautéed until soft and translucent to add sweet, aromatic flavor and body to the sauce; builds foundational savory notes and balances the acidity of tomatoes while enhancing overall complexity.
- 2 garlic cloves minced: Finely minced and lightly cooked to release pungent, aromatic oils that boost savory depth; provides a fragrant background note that elevates both meat and tomato flavors.
- 1 1/2 tablespoons chili powder: Added and toasted briefly to introduce warm, smoky, and mildly spicy chili flavor; acts as the primary spice blend defining the chili profile and ties other seasonings together.
- 1 teaspoon ground cumin: Measured and sprinkled to add earthy warmth and a slightly citrusy, smoky undertone; complements the chili powder and deepens the overall spice complexity without overpowering.
- 1/4 teaspoon cayenne (optional): Included optionally in small amounts to contribute concentrated heat and a sharp, spicy kick; enhances warmth for those who prefer a spicier finished dish while remaining easily adjustable.
- 1 teaspoon smoked paprika: Stirred in to lend a sweet-smoky complexity and rounded warmth; complements other spices and adds aromatic depth that enhances both meat and tomato flavors.
- 1/2 teaspoon salt: Added to season and balance flavors, drawing out savory notes and taming acidity; ensures the dish is properly seasoned so other components shine without tasting flat.
- 22 ounces crushed tomatoes use the entire can, juice and all: Poured in as the acidic tomato base that provides body, sweetness, and tang; supplies moisture and a rich tomato-forward backbone that melds with spices and beef for classic chili flavor.
- 8 ounces tomato sauce: Mixed in to boost tomato flavor and contribute smooth, saucy texture; helps create a cohesive sauce that clings to pasta and integrates with the crushed tomatoes.
- 2 tablespoons tomato paste: Incorporated to deepen tomato intensity and thicken the sauce; concentrated paste enriches flavor and improves mouthfeel, making the sauce cling to noodles and beef.
- 1 tablespoon Worcestershire sauce: Blended to add savory umami and a subtle tangy-sweet boost that enhances meaty flavors; works as a flavor amplifier that rounds out the sauce profile.
- 3/4 cup beef broth: Poured to adjust sauce consistency and add savory, beefy notes; provides liquid for simmering and helps meld flavors while maintaining a rich mouthfeel.
- 1 teaspoon hot sauce: Dotted in to lend an extra layer of heat and tang that brightens the sauce; a few dashes balance the richness and add a lively, peppery finish without dominating.
- 30 ounces kidney beans 2 cans, rinsed well and drained: Rinsed and drained then folded into the sauce to contribute creaminess, texture, and extra heartiness; beans add fiber and body while absorbing surrounding flavors.
- 8 ounces shredded cheese for serving: Sprinkled over the finished dish to melt into a gooey, savory topping that adds richness and creamy texture; provides salty, melty contrast that completes the comfort-food experience.
Recipe Steps for Chili Mac and Cheese
This is where everything comes together from pantry to plate. Follow the sequence and sense what each stage is doing to develop aroma, texture, and flavor.
- Cook macaroni according to package directions until al dente. Drain and set aside.: Your first cue will be the scent of boiling water and the steady, active sound of the pot; it signals starch loosening into the water. Al dente pasta should feel slightly firm at the center when you bite it, offering chew that will stand up to simmering with the chili. If you overcook it now, the pasta will continue softening in the sauce and become mushy. A helpful trick is to undercook by a minute if you plan to simmer it with the sauce. Drain well so the pasta does not water down the final dish. A common mistake here is cooking directly in the sauce which can cause uneven texture, so cook separately as instructed.
- While the macaroni is cooking, brown the ground beef in a dutch oven or large, deep skillet over medium heat until mostly cooked through. A little pink is fine.: As the beef hits the hot pan you will hear a satisfying sizzle and notice browned bits forming, these caramelized pieces pack flavor. Browning concentrates the meat taste and builds a foundation for the sauce, which is why medium heat is ideal; too low and the beef stews, too high and it can burn. Break the meat into even pieces for uniform cooking. A frequent error is stirring too often during browning which prevents the crust from forming, so let it sit briefly before turning.
- Add the diced onion and stir to combine, cooking over medium heat until onion is translucent. Add minced garlic and continue cooking for an additional minute.: The onions will soften and release a sweet aroma, while the garlic will give a fragrant lift if added at the right moment. Cook until the onion is soft and slightly glossy, which tells you the sugars have released; then stir in garlic just long enough for it to smell fragrant. If you cook the garlic too long, it will brown and deliver bitterness, so be attentive here. Stir regularly to prevent sticking, especially if your pot has browned bits from the beef you want to keep in the pan.
- Stir in the chili powder, cumin, smoked paprika, cayenne (if using) and salt until combined.: You will notice the spices blooming as they meet warm oil and meat juices, releasing a complex, warm perfume that signals depth. Blooming spices in the pan activates their oils and intensifies taste, which is why this step matters for a layered chili flavor. Mix thoroughly so the spices coat the meat and onions evenly. Avoid adding spices directly to a dry pan without fat, or they can scorch and taste acrid; a little fat from the beef provides the perfect vehicle.
- Add the crushed tomatoes, tomato sauce, tomato paste, Worcestershire sauce, beef broth, hot sauce and kidney beans.: When the liquids join the pan, the scent shifts to a robust tomato and savory blend, and you will see the sauce come together visually as it envelops the browned bits. The tomato paste helps thicken and concentrate flavors while Worcestershire and broth deepen the savory profile. Stir until everything is evenly incorporated, scraping up any fond. If you add cold liquids too quickly, the temperature drop can slow the simmer, so stir and bring back to heat steadily. A common pitfall is not rinsing the bean cans well, which can add excess sodium and unwanted canning flavors.
- Bring to a boil, reduce heat and let simmer for 15 minutes, stirring occasionally, or until chili has thickened.: The sauce will transform as water evaporates, becoming darker and more cohesive, and you will hear gentle bubbling as the flavors concentrate. Simmering melds the spices and builds mouthfeel, so allow the sauce to gently bubble rather than roil. Stir occasionally to prevent sticking on the bottom, and taste as it reduces to adjust seasoning. If you stop the simmer too early the sauce may taste flat, whereas over reducing can leave it too thick, so watch for a spoon coating that clings to the surface as a visual cue.
- Stir in the cooked macaroni and season with salt and pepper if needed.: As the pasta joins the sauce you will see it take on color and flavor, each elbow catching sauce in its curve. This step softens the barrier between textures, making the dish cohesive. Fold gently to avoid breaking the pasta, and taste to fine tune seasoning. If you add salt before tasting, you risk over-salting; always adjust at this stage based on taste. A common mistake is letting the combined pan sit too long off heat, which can cause pasta to absorb too much sauce and dry out.
- Top with shredded cheese, place a lid on the chili mac to melt the cheese or place under the broiler for a few minutes, just until cheese is melted and bubbling.: The cheese will melt into strands and glossy pools, creating a creamy finish that contrasts the tomato and spice. Using a lid traps heat and melts cheese gently, while a quick broil creates a browned, bubbly top with a crisp edge. Watch carefully if using the broiler, as cheese can go from melted to burned quickly. If you overbake, the cheese may separate, so remove when it is just bubbling.
- Serve with desired toppings such as shredded cheese, jalapenos, tomatoes, sour cream, etc.: The final presentation invites personal touches that brighten the bowl, from cool dollops to fresh slices adding texture contrast. Offer toppings to let each person tailor heat and creaminess. If you plan to add wet toppings like salsa, do so just before serving to avoid sogginess. A frequent oversight is adding cold toppings too early, which cools the dish and dulls the flavors.
Recipe Tips about Chili Mac and Cheese
This dish rewards small attentions that make a big difference, and these tips will help you get the most flavor and best texture. Read them and pick a couple you can commit to the first time.
- Toast your spices briefly to release their essential oils and deepen the overall flavor profile.
- Reserve pasta water just in case you need to loosen the sauce without diluting the taste.
- Use a wide pot for browning meat to allow even caramelization and to easily combine ingredients later.
- Adjust heat at the end with cayenne or hot sauce so you control the final kick precisely.
- Cover to melt cheese if you want a smooth, uniformly melted top without broiling.
How to Enjoy Chili Mac and Cheese
This dish is versatile and satisfying, ideal for relaxed family dinners or gatherings with friends. Think about how you want to present it and what companions will accent the bowl best.
- Comfort dinner: Serve hot as a main course for family weeknight dinners, letting each person add toppings like extra shredded cheese or a dash of hot sauce.
- Casual gatherings: Place the pot in the center of the table for a communal, family style meal where everyone serves themselves, which keeps things relaxed and social.
- Meal prep: Portion into airtight containers and refrigerate for up to three days for quick lunches or dinners; reheat gently to avoid drying out.
- Freezing: Cool fully and freeze in proper containers for up to three months, thaw overnight and warm slowly on the stovetop, adding a splash of beef broth if the texture tightens up.
- Seasonal pairing: It shines in cooler months like winter when you want something warming and hearty, pairing nicely with simple sides like a crisp salad or steamed greens for balance.
- Occasion suggestions: Great for casual game days, potlucks, or family gatherings where easy, crowd pleasing food is welcome.
FAQ
Conclusion
Chili Mac and Cheese brings together two beloved comfort foods into one deeply satisfying dish. It stands out because it balances savory, spicy, and cheesy elements in a way that feeds a crowd and keeps well for leftovers. Try it when you want a no fuss, crowd pleasing meal that warms the soul and fills the house with inviting aromas. Give it a go this week, and watch how quickly it becomes a requested favorite among family and friends.
Chili Mac and Cheese
Equipment
- Dutch Oven
- Large deep skillet
- Pot for Pasta
- Colander
Ingredients
- 8 ounces elbow macaroni pasta uncooked, dry Cooked to al dente and tender, provides the hearty pasta base that soaks up sauce and binds the dish together; offers neutral flavor and satisfying texture to complement the chili and cheese components.
- 1 pound lean ground beef Browned and crumbled to contribute savory, meaty richness and protein; renders fat that flavors the sauce and adds depth to the overall chili mac, creating a substantial main element.
- 1 medium yellow onion diced Sautéed until soft and translucent to add sweet, aromatic flavor and body to the sauce; builds foundational savory notes and balances the acidity of tomatoes while enhancing overall complexity.
- 2 garlic cloves minced Finely minced and lightly cooked to release pungent, aromatic oils that boost savory depth; provides a fragrant background note that elevates both meat and tomato flavors.
- 1 1/2 tablespoons chili powder Added and toasted briefly to introduce warm, smoky, and mildly spicy chili flavor; acts as the primary spice blend defining the chili profile and ties other seasonings together.
- 1 teaspoon ground cumin Measured and sprinkled to add earthy warmth and a slightly citrusy, smoky undertone; complements the chili powder and deepens the overall spice complexity without overpowering.
- 1/4 teaspoon cayenne optional Included optionally in small amounts to contribute concentrated heat and a sharp, spicy kick; enhances warmth for those who prefer a spicier finished dish while remaining easily adjustable.
- 1 teaspoon smoked paprika Stirred in to lend a sweet-smoky complexity and rounded warmth; complements other spices and adds aromatic depth that enhances both meat and tomato flavors.
- 1/2 teaspoon salt Added to season and balance flavors, drawing out savory notes and taming acidity; ensures the dish is properly seasoned so other components shine without tasting flat.
- 22 ounces crushed tomatoes use the entire can, juice and all Poured in as the acidic tomato base that provides body, sweetness, and tang; supplies moisture and a rich tomato-forward backbone that melds with spices and beef for classic chili flavor.
- 8 ounces tomato sauce Mixed in to boost tomato flavor and contribute smooth, saucy texture; helps create a cohesive sauce that clings to pasta and integrates with the crushed tomatoes.
- 2 tablespoons tomato paste Incorporated to deepen tomato intensity and thicken the sauce; concentrated paste enriches flavor and improves mouthfeel, making the sauce cling to noodles and beef.
- 1 tablespoon Worcestershire sauce Blended to add savory umami and a subtle tangy-sweet boost that enhances meaty flavors; works as a flavor amplifier that rounds out the sauce profile.
- 3/4 cup beef broth Poured to adjust sauce consistency and add savory, beefy notes; provides liquid for simmering and helps meld flavors while maintaining a rich mouthfeel.
- 1 teaspoon hot sauce Dotted in to lend an extra layer of heat and tang that brightens the sauce; a few dashes balance the richness and add a lively, peppery finish without dominating.
- 30 ounces kidney beans 2 cans, rinsed well and drained Rinsed and drained then folded into the sauce to contribute creaminess, texture, and extra heartiness; beans add fiber and body while absorbing surrounding flavors.
- 8 ounces shredded cheese for serving Sprinkled over the finished dish to melt into a gooey, savory topping that adds richness and creamy texture; provides salty, melty contrast that completes the comfort-food experience.
Instructions
- Cook macaroni according to package directions until al dente. Drain and set aside.: Your first cue will be the scent of boiling water and the steady, active sound of the pot; it signals starch loosening into the water. Al dente pasta should feel slightly firm at the center when you bite it, offering chew that will stand up to simmering with the chili. If you overcook it now, the pasta will continue softening in the sauce and become mushy. A helpful trick is to undercook by a minute if you plan to simmer it with the sauce. Drain well so the pasta does not water down the final dish. A common mistake here is cooking directly in the sauce which can cause uneven texture, so cook separately as instructed.
- While the macaroni is cooking, brown the ground beef in a dutch oven or large, deep skillet over medium heat until mostly cooked through. A little pink is fine.: As the beef hits the hot pan you will hear a satisfying sizzle and notice browned bits forming, these caramelized pieces pack flavor. Browning concentrates the meat taste and builds a foundation for the sauce, which is why medium heat is ideal; too low and the beef stews, too high and it can burn. Break the meat into even pieces for uniform cooking. A frequent error is stirring too often during browning which prevents the crust from forming, so let it sit briefly before turning.
- Add the diced onion and stir to combine, cooking over medium heat until onion is translucent. Add minced garlic and continue cooking for an additional minute.: The onions will soften and release a sweet aroma, while the garlic will give a fragrant lift if added at the right moment. Cook until the onion is soft and slightly glossy, which tells you the sugars have released; then stir in garlic just long enough for it to smell fragrant. If you cook the garlic too long, it will brown and deliver bitterness, so be attentive here. Stir regularly to prevent sticking, especially if your pot has browned bits from the beef you want to keep in the pan.
- Stir in the chili powder, cumin, smoked paprika, cayenne (if using) and salt until combined.: You will notice the spices blooming as they meet warm oil and meat juices, releasing a complex, warm perfume that signals depth. Blooming spices in the pan activates their oils and intensifies taste, which is why this step matters for a layered chili flavor. Mix thoroughly so the spices coat the meat and onions evenly. Avoid adding spices directly to a dry pan without fat, or they can scorch and taste acrid; a little fat from the beef provides the perfect vehicle.
- Add the crushed tomatoes, tomato sauce, tomato paste, Worcestershire sauce, beef broth, hot sauce and kidney beans.: When the liquids join the pan, the scent shifts to a robust tomato and savory blend, and you will see the sauce come together visually as it envelops the browned bits. The tomato paste helps thicken and concentrate flavors while Worcestershire and broth deepen the savory profile. Stir until everything is evenly incorporated, scraping up any fond. If you add cold liquids too quickly, the temperature drop can slow the simmer, so stir and bring back to heat steadily. A common pitfall is not rinsing the bean cans well, which can add excess sodium and unwanted canning flavors.
- Bring to a boil, reduce heat and let simmer for 15 minutes, stirring occasionally, or until chili has thickened.: The sauce will transform as water evaporates, becoming darker and more cohesive, and you will hear gentle bubbling as the flavors concentrate. Simmering melds the spices and builds mouthfeel, so allow the sauce to gently bubble rather than roil. Stir occasionally to prevent sticking on the bottom, and taste as it reduces to adjust seasoning. If you stop the simmer too early the sauce may taste flat, whereas over reducing can leave it too thick, so watch for a spoon coating that clings to the surface as a visual cue.
- Stir in the cooked macaroni and season with salt and pepper if needed.: As the pasta joins the sauce you will see it take on color and flavor, each elbow catching sauce in its curve. This step softens the barrier between textures, making the dish cohesive. Fold gently to avoid breaking the pasta, and taste to fine tune seasoning. If you add salt before tasting, you risk over-salting; always adjust at this stage based on taste. A common mistake is letting the combined pan sit too long off heat, which can cause pasta to absorb too much sauce and dry out.
- Top with shredded cheese, place a lid on the chili mac to melt the cheese or place under the broiler for a few minutes, just until cheese is melted and bubbling.: The cheese will melt into strands and glossy pools, creating a creamy finish that contrasts the tomato and spice. Using a lid traps heat and melts cheese gently, while a quick broil creates a browned, bubbly top with a crisp edge. Watch carefully if using the broiler, as cheese can go from melted to burned quickly. If you overbake, the cheese may separate, so remove when it is just bubbling.
- Serve with desired toppings such as shredded cheese, jalapenos, tomatoes, sour cream, etc.: The final presentation invites personal touches that brighten the bowl, from cool dollops to fresh slices adding texture contrast. Offer toppings to let each person tailor heat and creaminess. If you plan to add wet toppings like salsa, do so just before serving to avoid sogginess. A frequent oversight is adding cold toppings too early, which cools the dish and dulls the flavors.
Notes
- Toast your spices briefly to release their essential oils and deepen the overall flavor profile.
- Reserve pasta water just in case you need to loosen the sauce without diluting the taste.
- Use a wide pot for browning meat to allow even caramelization and to easily combine ingredients later.
- Adjust heat at the end with cayenne or hot sauce so you control the final kick precisely.
- Cover to melt cheese if you want a smooth, uniformly melted top without broiling.