Taffy Truffles
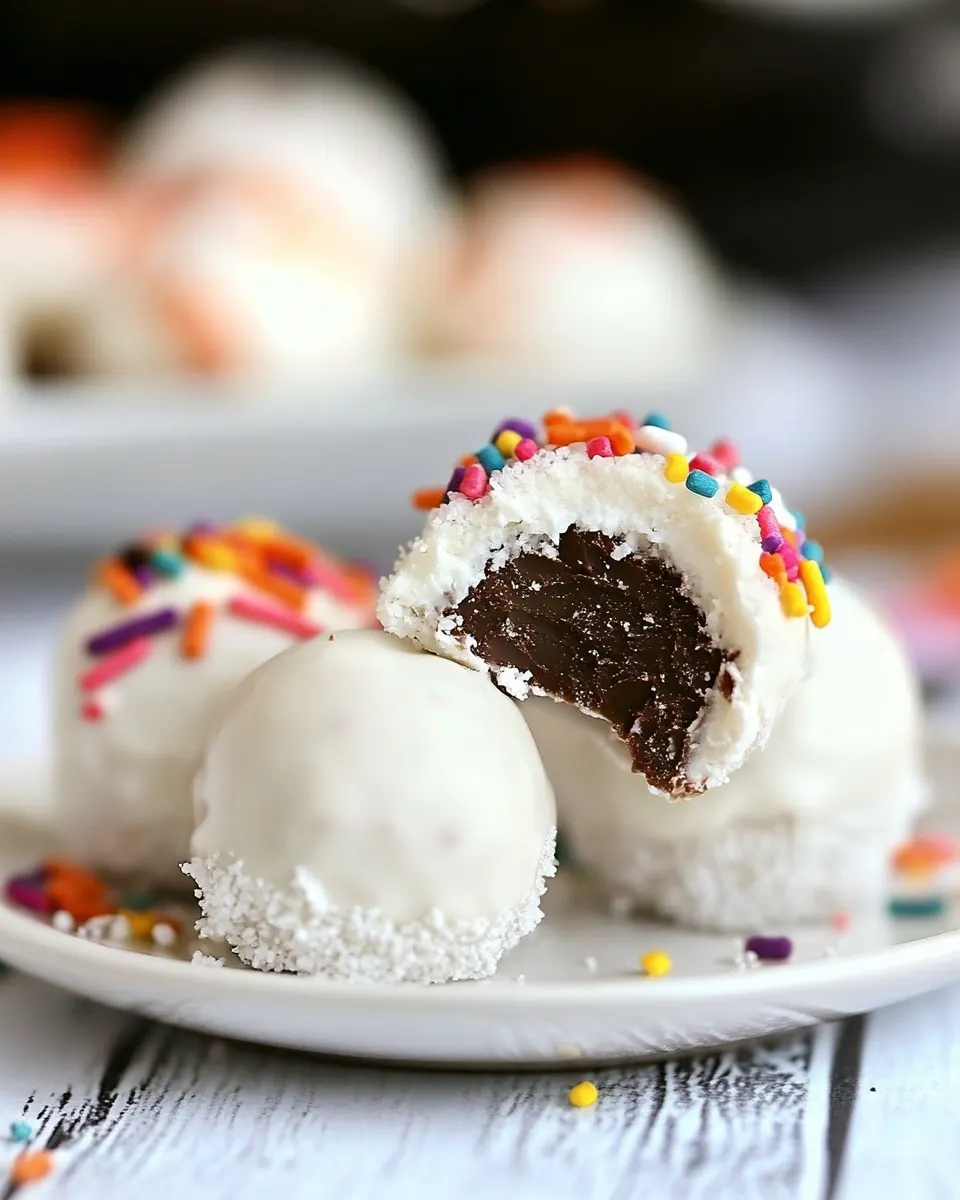
Taffy Truffles started as a little experiment on a rainy afternoon when I had a bag of nostalgic treats and a stubborn craving for something creamy and festive. I remember pulling out a childhood favorite, the chewy candy cookies, and thinking they deserved a grownup makeover. I mixed them with soft cream cheese and imagined tiny, bite sized rounds dipped in glossy chocolate, each one promising a mix of chewy memory and silky richness. That first batch vanished before I finished rinsing the bowl, and ever since, this version has been my go to when I want a quick, playful dessert to share.
There is a particular kind of joy in making Taffy Truffles with someone beside you, passing a bowl of sprinkles and laughing as we attempt to keep the coating neat. I often make these for small gatherings, because they travel well and they spark conversations about favorite candies from childhood. Over time I learned a few tricks to get the texture just right and to keep the dipping smooth and glossy, and those little techniques make all the difference between a decent sweet and a truly memorable treat.
Recipe Snapshot
40 mins
30 mins
10 mins
Easy
150 kcal
American
Keto, Gluten-Free
Desserts
Food Processor, Measuring Spoon, Cookie Sheet, Wax Paper, Microwave Safe Bowl or Double Boiler
Why This Taffy Truffles Is a Winner
Comforting nostalgia with a grown up twist
I love how Taffy Truffles take something simple and beloved, and elevate it into a playful, shareable dessert. The base is familiar, but the addition of cream cheese gives the mixture a silky mouthfeel that balances the candy sweetness. Every bite feels like a warm memory dressed up for a party.
Fast and fuss free
I often need a dessert I can make in under an hour, and this recipe delivers. From grinding the cookies to chilling the rolled truffles, the rhythm is quick. You will appreciate how efficient the process is when you want a last minute sweet to bring to a friend or to set out after dinner.
Customizable finishes
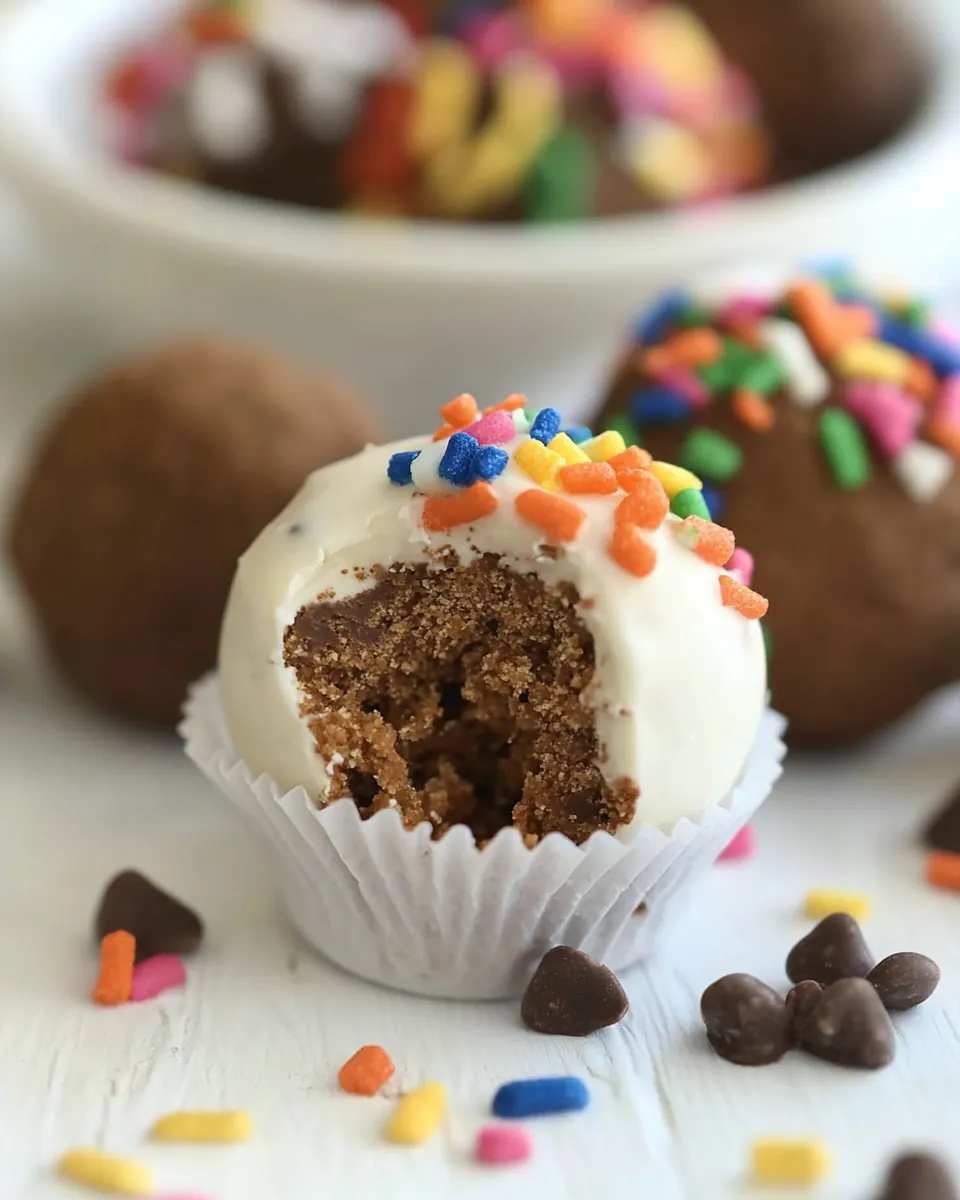
One of my favorite parts is the toppings. Whether you choose colorful sprinkles or toasted coconut, each option adds a different texture and visual pop. I like to switch toppings depending on the season or the mood, and the truffles always adapt beautifully.
Kid friendly and party ready
I’ve made Taffy Truffles with kids more than once, and the process becomes a communal craft project. Rolling, dipping, and decorating builds excitement. They are sturdy enough to pack for parties, yet delicate enough to feel special on a dessert tray.
Reliable crowd pleaser
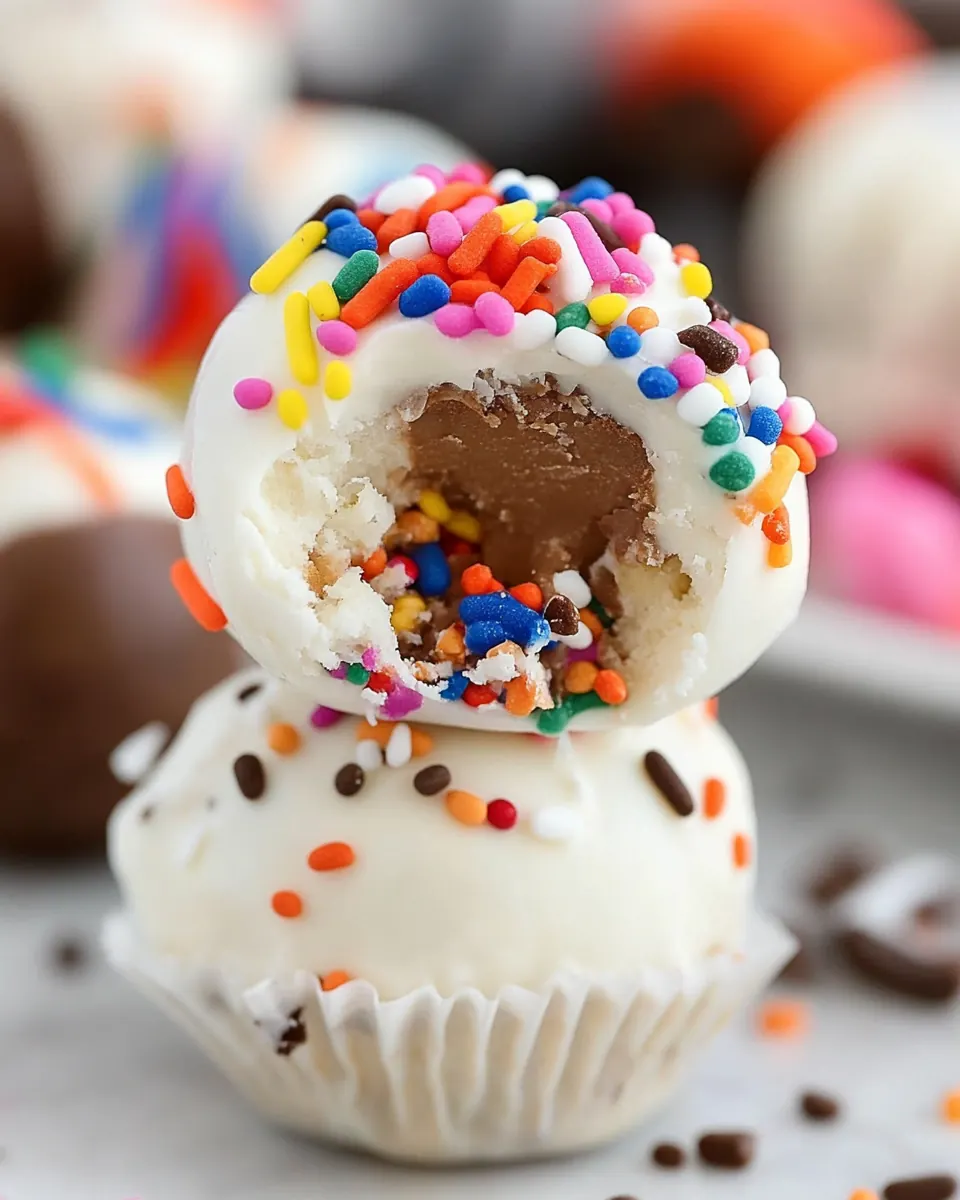
These truffles are consistently requested at gatherings. The mixture of crumbly cookie, tangy cream cheese, and glossy coating makes them addictive. I like that they are easy to scale if you need a larger batch, and they hold up well in the fridge until you are ready to serve.
Ingredients Overview for Taffy Truffles
When I think about the ingredients for Taffy Truffles, it’s all about harmony and ease. Each component plays a clear role: the cookies provide structure and nostalgia, the cream cheese brings creaminess and binding power, the dipping candy creates a shiny shell, and the toppings add texture and visual interest. Together they make a truffle that is simple to assemble yet feels indulgent.
- 8 Taffy Cookies Mother’s brand: Crush to provide the sweet, chewy cookie base that gives taffy truffles their signature texture and nostalgic flavor; finely crushing ensures even mixing and bite-sized pieces throughout the filling.
- 2 ounces cream cheese regular or low-fat: Soften to bind the crushed cookies into a smooth, creamy center while adding slight tang and richness; room-temperature cream cheese blends easily and helps the truffles hold their shape.
- 6 8 ounces Candiquik vanilla or chocolate or similar product (you can also use baking chocolate): Melt to coat or incorporate as the exterior shell or chocolate component, contributing glossy finish and snap or creamy chocolate flavor; choose vanilla or chocolate Candiquik or baking chocolate depending on desired sweetness and coating thickness.
- Sprinkles or toasted coconut for topping: Garnish to add visual appeal and complementary texture, offering a colorful or nutty finish that contrasts the smooth chocolate coating; sprinkle immediately after coating for best adhesion.
Directions for Taffy Truffles
Dipping and chilling truffles is one of those hands on tasks I actually enjoy. The steps below walk you through creating a smooth, scoopable center, chilling it properly, and coating each piece so that the shell is even and glossy. Take your time with the chilling and the dipping, those moments determine texture and presentation.
- Grind the cookies and cream cheese in a food processor until a ball forms. Scoop 1 tablespoon sized scoops of the mixture and roll into balls. Place on a wax paper lined cookie sheet and chill for 30 minutes.: The aroma as you pulse the mixture becomes noticeably sweet and slightly tangy, and you should smell the candy notes from the cookies mixing with the dairy scent of the cream cheese . This step creates the right consistency for rolling, and it matters because if the mixture is too dry the truffles will crumble, while too wet and they will be sticky. A common misstep is overprocessing until the mixture becomes paste like, which makes rolling messy. To avoid that, pulse in short bursts and stop when crumbs clump together into a cohesive mass that holds when squeezed. The texture should be moist but not shiny, and you will feel a slight resistance when you press it between your fingers.
- When ready to dip, melt your candy according to package directions. Dip each truffle, tapping off the excess and place back on your wax paper lined cookie sheet. Top with sprinkles or toasted coconut for topping. Chill until set.: As you scoop and roll, the center becomes smooth and compact, and the surface takes on a matte finish. Work quickly enough that the mixture does not warm up and soften too much under your hands, or else the rounds will lose their shape. If the mix feels too sticky, pop it back in the fridge for a few minutes to firm up, that chill will make rolling easier. A typical issue is inconsistent sizing, which affects chilling and coating times, so I use a measuring spoon to keep the balls uniform. When rolling, press gently, then smooth the surface with light fingertips to avoid cracks that will show after dipping.
- Place on a wax paper lined cookie sheet and chill for 30 minutes.: The cold sheet helps the truffles set and firm up, and the smell of chilled crumbs is faint but reassuring. Chilling solidifies the shape so the coating adheres evenly without causing the interior to collapse. If you skip this step, the centers may shift when dipped, leading to misshapen truffles. A mistake I have seen is crowding the tray; leave space so the cold air circulates and every truffle chills evenly. After chilling, the balls should feel firm to the touch and no longer squishy.
- When ready to dip, melt your candy according to package directions.: As the candy melts, its scent will shift from powdery to warm and sweet, and you will see it transform into a glossy, fluid coating. The temperature is important, because if the coating is too cool it will thicken and clump, while too hot it can become thin and runny, making application tricky. Always follow the package guidance, stirring gently to keep the texture uniform. A common error is overheating, which can cause the coating to scorch or separate. Use a gentle heat and remove from the heat source as soon as it reaches a smooth, pourable consistency.
- Dip each truffle, tapping off the excess and place back on your wax paper lined cookie sheet.: When you dip, the sound is a quiet splash followed by a soft tapping rhythm as you remove the excess coating. The visual cue to look for is a smooth, even shell that glistens without heavy drips. Tap lightly to release extra coating and rotate the truffle to ensure even coverage. Rushing this causes uneven shells or pooled coating underneath, which can create lumps. If the coating begins to thicken on the tray, refresh the candy by stirring or gently reheating to maintain a glossy finish.
- Top with sprinkles or toasted coconut for topping.: The toppings add contrast both in flavor and texture; sprinkles bring a sugary snap and bright color while toasted coconut contributes nuttiness and chew. Apply toppings immediately after dipping so they adhere to the wet coating, and press gently if needed so they stay put. A frequent slip up is waiting too long to decorate, which results in toppings not sticking. Keep your toppings nearby in shallow dishes for a smooth workflow, and vary them to create a pretty assortment on your tray.
- Chill until set.: The final chill is when everything comes together, and you will notice the coating go from tacky to firm, with a pleasant snap when bitten. This resting time seals flavors and firms the truffles so they handle well. Avoid stacking the pieces while they set, as contact points can mar the surface. If you move them too soon, the coating can crack or stick to the paper. The set is complete when the surface no longer gives to a light touch and the coating sounds firm when tapped.
Recipe Tips about Taffy Truffles
These tips reflect the small adjustments I make that yield the best textured truffles and the cleanest coating. Keep the workspace organized, and prioritize temperature control for both the filling and the coating.
- Chill the centers: After rolling, chill the truffles until firm to ensure the coating adheres without melting the interior, this prevents misshapen pieces and helps the shell set evenly.
- Uniform scoops: Use a tablespoon scoop for consistent size, which ensures even chilling and predictable coating behavior so every truffle finishes at the same time.
- Choose your coating wisely: Pick a candy coating or baking chocolate that melts smoothly and sets with a sheen, as some low quality coatings can bloom or become dull after setting.
- Keep toppings ready: Place sprinkles or toasted coconut in shallow dishes so you can quickly decorate while the coating is still wet, avoiding fallout and uneven coverage.
- Work with room temperature hands: If your hands get too warm, wear food safe gloves or chill your palms briefly to prevent the truffles from softening during rolling.
- Store properly: Keep finished truffles in a single layer in an airtight container in the fridge to maintain texture and prevent sweating from temperature shifts.
How to Serve Taffy Truffles
Serve Taffy Truffles in ways that accentuate their playful look and bite sized convenience. They work beautifully on dessert platters, as packaged favors, or as a sweet finish to a casual meal. Think about presentation, temperature, and pairing to make them shine.
- Party platter presentation: Arrange the truffles in neat rows on a decorative tray, alternating toppings so the colors pop and guests can choose visually appealing pieces.
- Gift packaging: Place truffles in small boxes or cellophane bags with tissue paper for an adorable homemade gift that travels well to parties and gatherings.
- Buffet dessert: Offer them alongside other bite sized sweets at events, spacing them out so each piece is easy to pick up without touching others.
- Seasonal touches: Match your toppings to the season, for example, use festive colored sprinkles for holidays or toasted coconut for summer themed gatherings.
- Storage for serving later: Keep the truffles chilled until thirty minutes before serving, then bring them to cool room temperature so the coating regains a slight snap without becoming soft.
- Occasions: These are great for casual get togethers, potlucks, or as a sweet treat during celebrations like Eid or family gatherings where small, shareable desserts are appreciated.
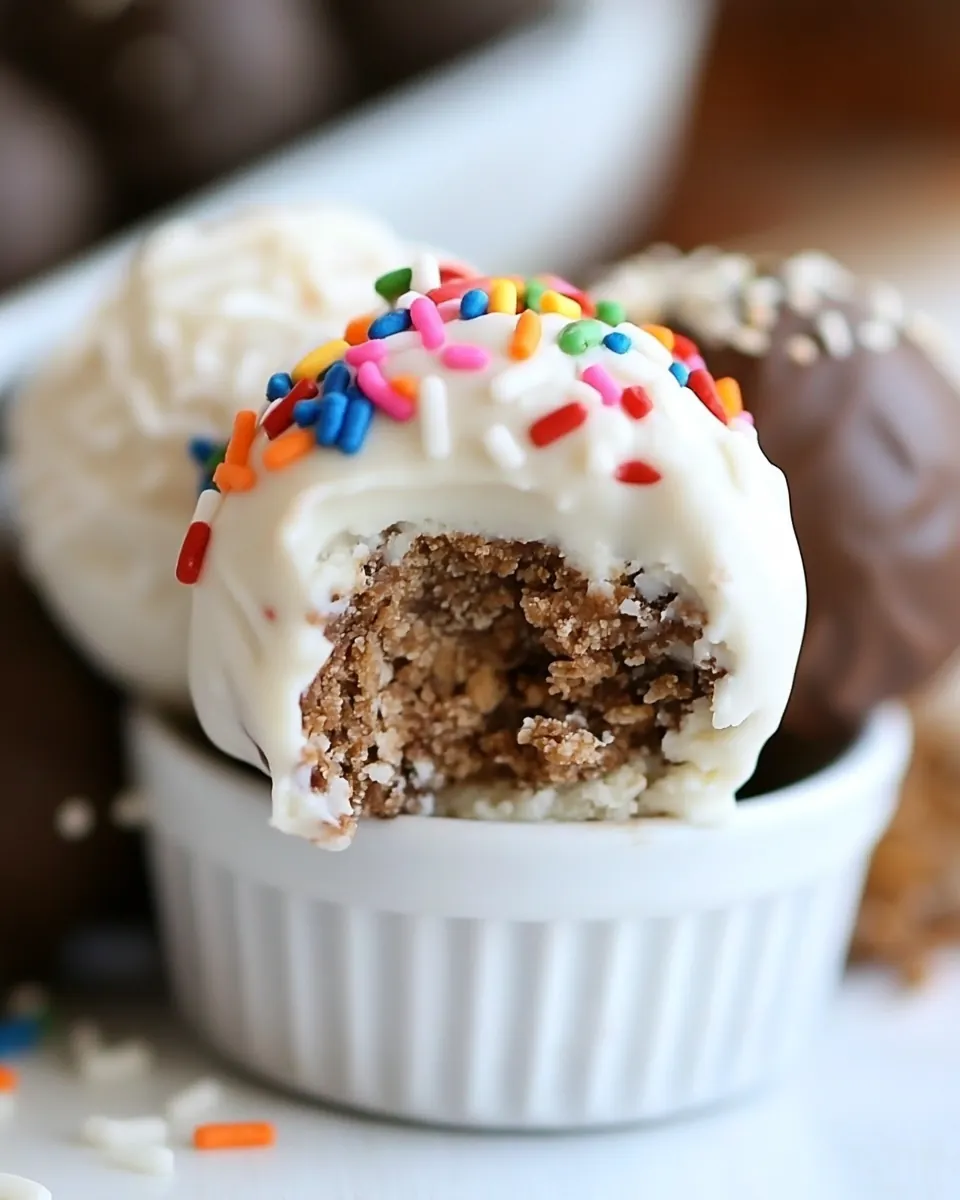
- Plating tips: Use doilies or small paper liners under each truffle to prevent sticking and to add a refined touch to your presentation.
FAQ
Conclusion
Taffy Truffles are special because they transform a familiar candy into an elegant little bite that balances creamy filling and a crisp shell. Give them a try when you want a fast, nostalgic dessert that looks impressive with minimal fuss. They are forgiving, quick to assemble, and perfect for sharing, so have fun with toppings and presentation, then watch how quickly they disappear.
Taffy Truffles
Equipment
- Food Processor
- Measuring Spoon
- Cookie Sheet
- Wax paper
- Microwave Safe Bowl or Double Boiler
Ingredients
- 8 Taffy Cookies Mother’s brand Crush to provide the sweet, chewy cookie base that gives taffy truffles their signature texture and nostalgic flavor; finely crushing ensures even mixing and bite-sized pieces throughout the filling.
- 2 ounces cream cheese regular or low-fat Soften to bind the crushed cookies into a smooth, creamy center while adding slight tang and richness; room-temperature cream cheese blends easily and helps the truffles hold their shape.
- 6 -8 ounces Candiquik vanilla or chocolate or similar product (you can also use baking chocolate) Melt to coat or incorporate as the exterior shell or chocolate component, contributing glossy finish and snap or creamy chocolate flavor; choose vanilla or chocolate Candiquik or baking chocolate depending on desired sweetness and coating thickness.
- Sprinkles or toasted coconut for topping Garnish to add visual appeal and complementary texture, offering a colorful or nutty finish that contrasts the smooth chocolate coating; sprinkle immediately after coating for best adhesion.
Instructions
- Grind the cookies and cream cheese in a food processor until a ball forms. Scoop 1 tablespoon sized scoops of the mixture and roll into balls. Place on a wax paper lined cookie sheet and chill for 30 minutes.: The aroma as you pulse the mixture becomes noticeably sweet and slightly tangy, and you should smell the candy notes from the cookies mixing with the dairy scent of the cream cheese . This step creates the right consistency for rolling, and it matters because if the mixture is too dry the truffles will crumble, while too wet and they will be sticky. A common misstep is overprocessing until the mixture becomes paste like, which makes rolling messy. To avoid that, pulse in short bursts and stop when crumbs clump together into a cohesive mass that holds when squeezed. The texture should be moist but not shiny, and you will feel a slight resistance when you press it between your fingers.
- When ready to dip, melt your candy according to package directions. Dip each truffle, tapping off the excess and place back on your wax paper lined cookie sheet. Top with sprinkles or toasted coconut for topping. Chill until set.: As you scoop and roll, the center becomes smooth and compact, and the surface takes on a matte finish. Work quickly enough that the mixture does not warm up and soften too much under your hands, or else the rounds will lose their shape. If the mix feels too sticky, pop it back in the fridge for a few minutes to firm up, that chill will make rolling easier. A typical issue is inconsistent sizing, which affects chilling and coating times, so I use a measuring spoon to keep the balls uniform. When rolling, press gently, then smooth the surface with light fingertips to avoid cracks that will show after dipping.
- Place on a wax paper lined cookie sheet and chill for 30 minutes.: The cold sheet helps the truffles set and firm up, and the smell of chilled crumbs is faint but reassuring. Chilling solidifies the shape so the coating adheres evenly without causing the interior to collapse. If you skip this step, the centers may shift when dipped, leading to misshapen truffles. A mistake I have seen is crowding the tray; leave space so the cold air circulates and every truffle chills evenly. After chilling, the balls should feel firm to the touch and no longer squishy.
- When ready to dip, melt your candy according to package directions.: As the candy melts, its scent will shift from powdery to warm and sweet, and you will see it transform into a glossy, fluid coating. The temperature is important, because if the coating is too cool it will thicken and clump, while too hot it can become thin and runny, making application tricky. Always follow the package guidance, stirring gently to keep the texture uniform. A common error is overheating, which can cause the coating to scorch or separate. Use a gentle heat and remove from the heat source as soon as it reaches a smooth, pourable consistency.
- Dip each truffle, tapping off the excess and place back on your wax paper lined cookie sheet.: When you dip, the sound is a quiet splash followed by a soft tapping rhythm as you remove the excess coating. The visual cue to look for is a smooth, even shell that glistens without heavy drips. Tap lightly to release extra coating and rotate the truffle to ensure even coverage. Rushing this causes uneven shells or pooled coating underneath, which can create lumps. If the coating begins to thicken on the tray, refresh the candy by stirring or gently reheating to maintain a glossy finish.
- Top with sprinkles or toasted coconut for topping.: The toppings add contrast both in flavor and texture; sprinkles bring a sugary snap and bright color while toasted coconut contributes nuttiness and chew. Apply toppings immediately after dipping so they adhere to the wet coating, and press gently if needed so they stay put. A frequent slip up is waiting too long to decorate, which results in toppings not sticking. Keep your toppings nearby in shallow dishes for a smooth workflow, and vary them to create a pretty assortment on your tray.
- Chill until set.: The final chill is when everything comes together, and you will notice the coating go from tacky to firm, with a pleasant snap when bitten. This resting time seals flavors and firms the truffles so they handle well. Avoid stacking the pieces while they set, as contact points can mar the surface. If you move them too soon, the coating can crack or stick to the paper. The set is complete when the surface no longer gives to a light touch and the coating sounds firm when tapped.
Notes
- Chill the centers: After rolling, chill the truffles until firm to ensure the coating adheres without melting the interior, this prevents misshapen pieces and helps the shell set evenly.
- Uniform scoops: Use a tablespoon scoop for consistent size, which ensures even chilling and predictable coating behavior so every truffle finishes at the same time.
- Choose your coating wisely: Pick a candy coating or baking chocolate that melts smoothly and sets with a sheen, as some low quality coatings can bloom or become dull after setting.
- Keep toppings ready: Place sprinkles or toasted coconut in shallow dishes so you can quickly decorate while the coating is still wet, avoiding fallout and uneven coverage.
- Work with room temperature hands: If your hands get too warm, wear food safe gloves or chill your palms briefly to prevent the truffles from softening during rolling.
- Store properly: Keep finished truffles in a single layer in an airtight container in the fridge to maintain texture and prevent sweating from temperature shifts.