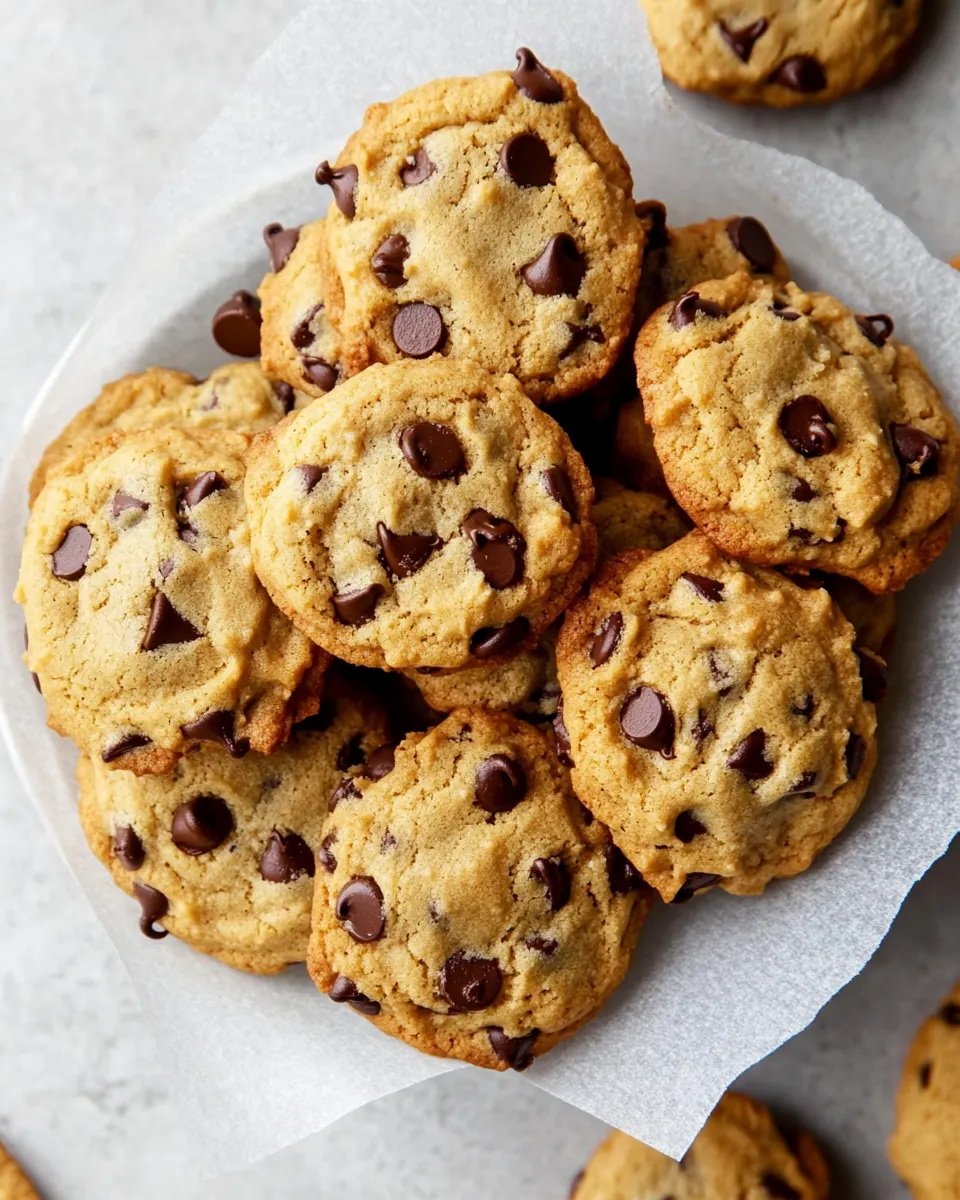
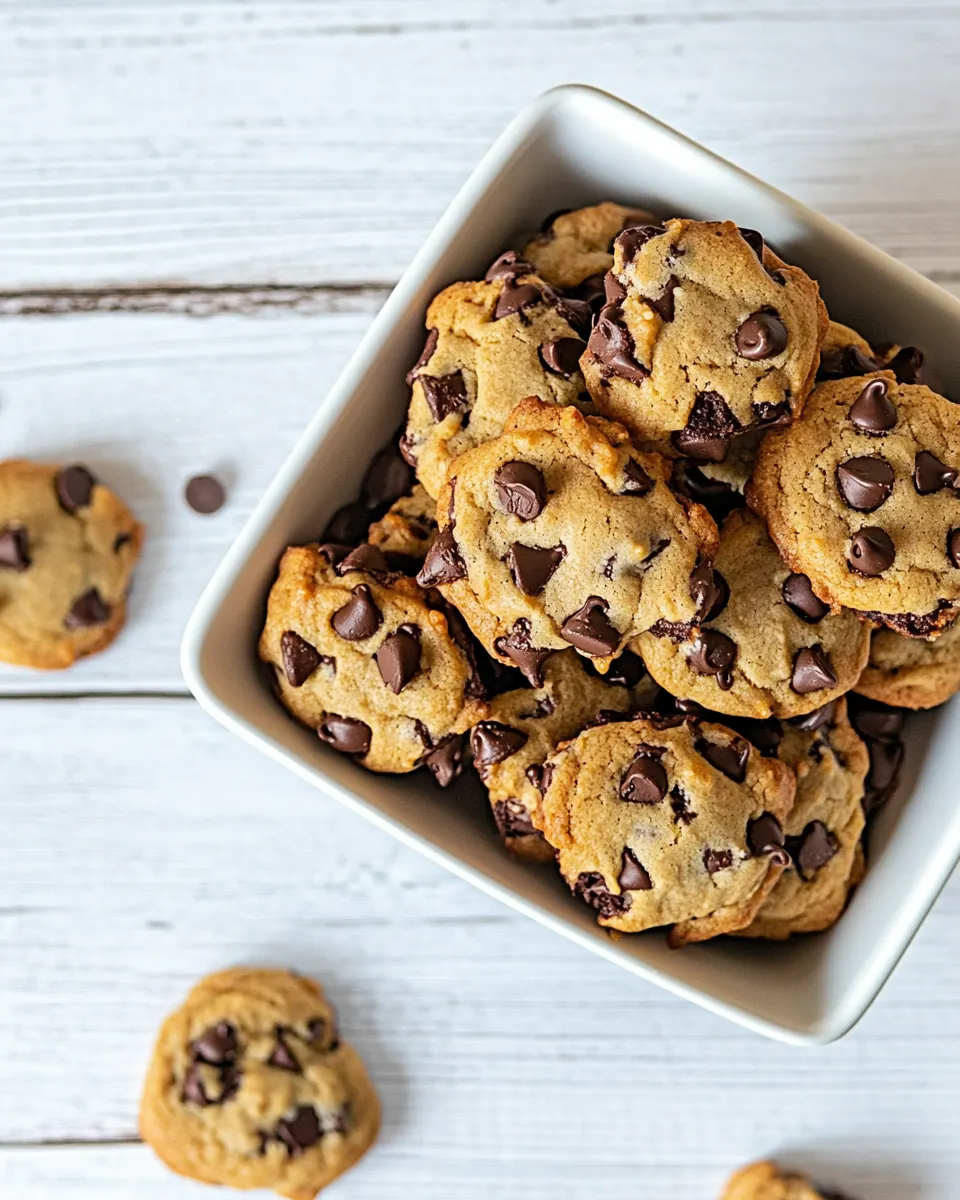
Chewy Chocolate Chip Cookies
Chewy Chocolate Chip Cookies came into my life on a rainy afternoon when I needed something cozy and simple, not fussy but utterly satisfying. I remember pulling together a few pantry staples, swapping in a touch of coconut oil for butter to keep things light, and watching warm, chocolate dotted rounds appear from the oven one after another. The first bite was a tiny triumph, slightly crisp at the edges, tender and chewy inside, with pockets of melted chocolate that felt like a small celebration. That moment convinced me these cookies belong in the rotation any time you need comfort without a long list of ingredients.
Over the years I have adjusted the balance between sweetness and texture, learning to trust small tweaks like a dash of sea salt on top and the gentle folding of the chips for an even distribution. These cookies are forgiving, so they are my go to when I want to involve family or friends in a relaxed baking session. We laugh, we measure, and the kitchen fills with a warm, toasty aroma that always earns compliments. If you are new to baking, this recipe gives you room to learn techniques while delivering consistent results.
Recipe Snapshot
20 mins
10 mins
10 mins
Easy
150 kcal
American
Gluten-Free, Paleo
Desserts
2 large sheet pans, silicon mat or parchment paper, mixing bowl, whisk
Why We Love This Chewy Chocolate Chip Cookies
Comforting Texture Every Time
I adore how Chewy Chocolate Chip Cookies produce that sought after chew without fuss. The combination of melted coconut oil and a bit of applesauce keeps the crumb tender, so each bite is soft yet holds together. That texture makes these cookies perfect for dunking into milk or coffee, and I love that you get a bakery style chew at home.
Simple Pantry Staples
One thing I keep returning to is how the ingredient list reads like a pantry inventory. With basics such as all purpose flour, granulated sugar, and brown sugar, you can whip these up on a whim. I often find I can improvise measurements and still get a reliable result, which is a big win for busy weeknights or impromptu gatherings.
Flavor That Balances Sweet and Salty
I make a point of sprinkling a little sea salt on top when the cookies come out of the oven. That tiny contrast amplifies the chocolate notes and makes the sweetness sing. I find this small ritual elevates a simple cookie into something memorable that friends always ask about.
Diet Friendly Tweaks Without Sacrifice
Because this version uses a modest amount of fat and includes apple sauce as a partial binder, it trims richness while preserving chew. I enjoy offering these to guests who appreciate lighter options, and I rarely miss any texture or taste. It is proof that you can make thoughtful swaps and still feel indulgent.
Reliable for Bakers at All Levels
Whether you are a tentative beginner or someone who bakes weekly, this recipe is forgiving. I like teaching this one to friends because each step makes sense, and small mistakes tend to correct themselves. The result is satisfying enough to build confidence, one batch at a time.
Ingredients to Make Chewy Chocolate Chip Cookies
These ingredients are chosen to work in harmony, creating a cookie that is chewy, slightly crisp at the edges, and rich with pockets of chocolate. The dry ingredients provide structure, while the sugars and fats contribute moisture and chewy texture. A touch of salt brightens the flavors. Each item plays a role in balancing tenderness, spread, and flavor, making this a thoughtfully simple list.
- 1/4 cup granulated sugar: Provide sweetness and structure to the cookie batter while promoting browning and caramelization during baking; balances other flavors and helps dissolve fat and liquids for an even texture.
- 1/4 cup brown sugar, no packed: Add moisture, complex sweetness, and chewiness to the cookies due to its molasses content; helps retain softness and contributes brown sugar flavor notes.
- 3 tablespoons coconut oil, or butter, melted: Bind ingredients and contribute fat for tenderness and mouthfeel; melted form easily incorporates with sugars and eggs to create a cohesive dough while adding subtle richness.
- 1 large egg: Act as a primary binder and leavening activator that helps set the cookie structure when cooked; contributes moisture and richness for a soft, chewy interior.
- 2 tablespoons apple sauce: Introduce additional moisture and tenderness while reducing gluten formation for a softer crumb; adds slight natural sweetness and helps keep cookies chewy.
- 1 teaspoon vanilla extract: Enhance and round out the cookie flavors by adding warm, aromatic sweetness; helps accentuate vanilla and chocolate notes for a more balanced taste.
- 1 cup all purpose flour: Provide the bulk of the dry structure and framework for the cookies; forms gluten when mixed with liquids which is controlled here to maintain chewiness and density.
- 1/4 teaspoon baking soda: Leaven slightly and contribute a subtle lift by reacting with acidic components; helps create a lighter crumb and affects final texture and spread.
- 1/8 teaspoon kosher salt: Enhance and balance sweetness by providing a faint savory counterpoint; helps strengthen dough structure slightly and brings out other flavors when dissolved.
- 1/2 cup chocolate chips, sugar-free such as Lily's (3 oz total): Deliver concentrated chocolate flavor and pockets of melting richness throughout the cookie; sugar–free chips contribute sweetness and texture without added sugar, impacting sweetness balance and bite.
- sea salt, for topping (optional): Offer an optional finishing contrast by adding crunchy bursts of saline brightness on top of baked cookies; enhances overall flavor perception and highlights chocolate notes.
The Process for Making Chewy Chocolate Chip Cookies
I like to walk you through this recipe like we are side by side in the kitchen, focusing on sensory cues so you know when each step is right. These cookies respond to small changes, so pay attention to texture and aroma as you go. The directions that follow are expanded so you can anticipate outcomes and avoid common pitfalls.
- Preheat the oven to 350 F. Line two cookie sheets with parchment paper and lightly spray with cooking spray.: Warmth from the oven gives the dough immediate lift, and the smell of wheat and toasting sugars begins to build as soon as heat is present. When the oven reaches 350 F , you will notice a steady, even heat, and that reliable environment helps cookies bake evenly. Lining two cookie sheets with parchment paper prevents sticking and ensures easy transfer, and a light spray adds extra insurance against adhesion. A typical mistake at this stage is skipping the preheat or baking on an oven that is not at temperature, which leads to uneven spread and denser cookies; always let the oven fully come to temp before putting trays in. Visual cues include a faintly warmed cookie sheet when you touch it briefly with an oven mitt and a consistent oven indicator light. If your oven runs hot or cool, consider using an oven thermometer for accuracy.
- In a large mixing bowl, combine the flour, baking soda and salt and stir to blend.: Right away you will notice the dry ingredients forming a uniform pale mixture, and stirring them together distributes the baking soda evenly so pockets of lift do not create odd rises. The texture should be light and free of clumps, which is important because uneven distribution can produce inconsistent texture in the baked cookie. Use a whisk or fork to aerate and blend; the sound is a soft, dry rustle as the ingredients mingle. A common error is dumping wet into dry without pre mixing, which can cause streaks of unreacted leavening; mixing first prevents that. If you see lumps of flour, sift or break them up with your fingers for a smoother dough.
- In another bowl, whisk the sugars, oil, egg, applesauce and vanilla together until light and fluffy.: As you whisk the granulated sugar , brown sugar , coconut oil , egg , apple sauce , and vanilla , you will feel the mixture thicken slightly and see air bubbles form, which contributes to texture and subtle lift. The aroma shifts to a richer, sweeter scent with citrus and vanilla notes mingling. Whisking until light and fluffy usually takes a few minutes by hand and creates a glossy, cohesive batter base. Avoid overbeating, which can incorporate too much air and change texture; stop when the mixture is smooth and homogenous. The noise is a faint rhythmic clink of whisk in bowl, and visually the color becomes a shade lighter. If the oil was too hot when mixed, it can partially cook the egg , so ensure it is just melted and not hot.
- Whisk the dry ingredients into the wet ingredients in two additions until the batter is very well blended. If the batter looks more 'crumbly' than smooth, add just a drop of water at a time (ONLY if needed) until it smooths out.: Start by adding about half of the dry mix, whisking gently to incorporate; then add the remainder and mix until there are no streaks of flour. The dough should come together into a slightly tacky mass that holds when scooped, not runny or overly stiff. As you fold the ingredients, you will notice a shift in texture from glossy to a softer, drier dough; this is normal. If the dough appears crumbly, a tiny amount of water can bring it together, but use restraint to avoid thinning the dough too much. Overmixing at this point can develop gluten and make cookies tough, so use gentle, deliberate strokes. A common mistake is adding too much liquid too quickly, which makes cookies spread more than intended; instead, add water sparingly and observe the feel between additions.
- Fold in chocolate chips. Drop by level tablespoons about 1 inch apart onto the prepared baking sheets.: When you fold in the chocolate chips , you will hear a soft, satisfying scrape as the chips are incorporated and see the dough decorated with dark flecks. Folding rather than vigorous stirring preserves the dough structure, ensuring chewiness and preventing the chips from melting into the batter prematurely. Aim for even distribution so each cookie gets a pleasing amount of chocolate, and use a spatula to gently turn the dough over itself until chips are scattered throughout. A common misstep is overmixing at this stage, which can warm the dough and cause chips to clump; work quickly and deliberately. Visually, the dough should be studded and cohesive, ready to be portioned.
- Bake 8 to 10 minutes. Remove from the oven, top with sea salt if using, and let them stand 5 minutes before removing the cookies from the pans to cool on wire racks.: As you portion the dough, you'll notice each scoop holds its shape fairly well, with slight rounding at the top. Placing them about 1 inch apart accounts for minimal spread in this recipe and helps them bake evenly. The tactile cue is a slightly tacky exterior that smooths when you press the back of the spoon lightly. A tip to keep batches consistent is to use a measuring spoon or small scoop so cookies bake at the same rate. Common mistakes include placing dough too close together, which yields merged cookies, or too far apart, which wastes space and may alter baking time slightly.
- Bake 8 to 10 minutes. Remove from the oven, top with sea salt if using, and let them stand 5 minutes before removing the cookies from the pans to cool on wire racks: During baking you will see the edges take on a light golden tone and the centers appear set but still soft; the aroma transitions to warm caramel and toasted sugar notes. The 8 to 10 minutes window is crucial because it preserves a tender center while establishing a slight crisp at the perimeter. When you take the trays out, the cookies will still look a little underdone in the middle, which is perfect because they continue to set as they rest. Sprinkle with sea salt if desired to enhance contrast. Letting them stand for 5 minutes before transferring prevents breakage and allows internal steam to finish the bake. Avoid leaving them on the hot tray too long, which can cause overbrowning; move them to wire racks for even cooling. A common error is overbaking, which yields dry, hard cookies, so watch the edges closely and err on the side of slightly soft centers.
How to Switch It Up
I like to offer small variations so you can keep the core Chewy Chocolate Chip Cookies idea while tailoring flavor and texture. These tips help you experiment with confidence and keep results consistent across tweaks.
- Opt for butter for richer flavor – Swap the coconut oil for melted butter to deepen the flavor profile, but ensure it is cooled slightly before mixing so it does not cook the egg.
- Use unsweetened applesauce carefully – When using apple sauce, choose unsweetened to control sweetness, and reduce added sugars marginally if you prefer subtler sweetness.
- Try different chocolate chips – Sugar free chips like Lily‘s work well, but you can use regular chocolate chips for a more classic sweetness, keeping in mind they may alter total sugar content.
- Add sea salt on top – A light sprinkle of sea salt after baking heightens the chocolate notes and balances sweetness effectively.
- Scale batch size with a scoop – Use a level tablespoon or small cookie scoop to keep cookie sizes uniform, which helps maintain consistent bake times across batches.
Best Served With
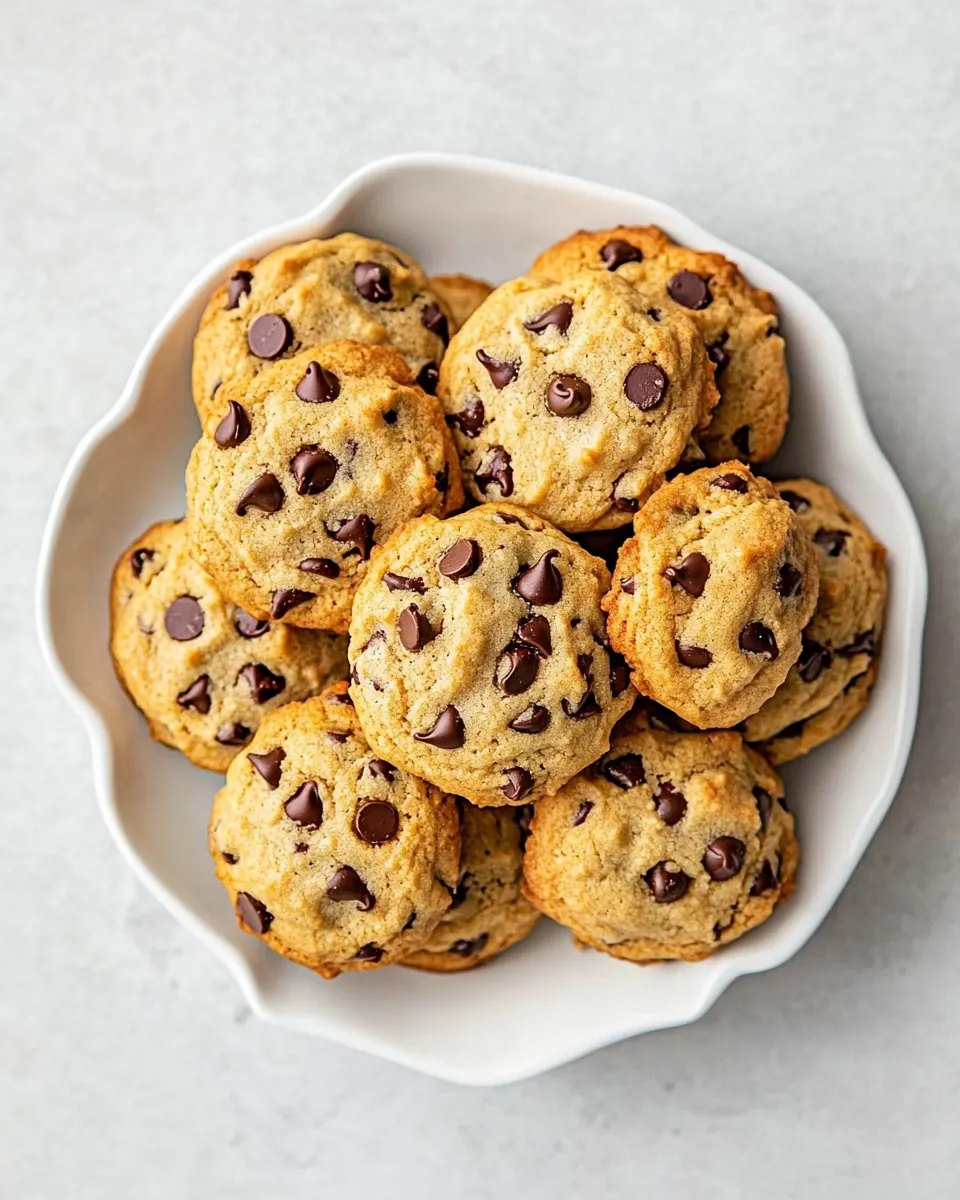
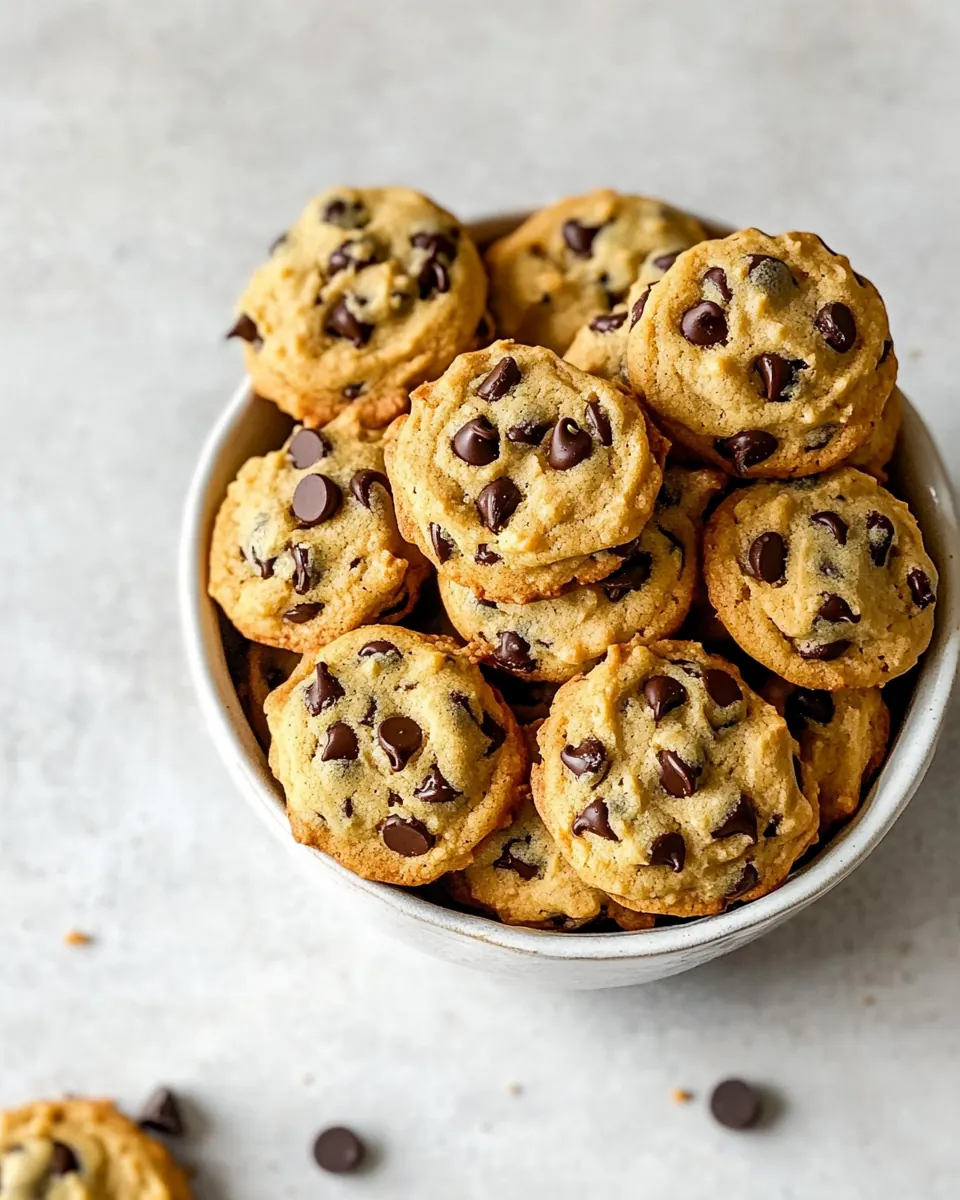
These cookies are wonderfully versatile, fitting casual snacks, dessert plates, and cozy gatherings. Serve them warm for the gooey chocolate experience, or pack them for lunchboxes and picnics. They pair well with simple beverages and fit a range of occasions, from informal coffee breaks to after dinner treats. Storage is straightforward, and they travel well.
- Serve warm on a platter – Arrange freshly baked cookies on a shallow platter for immediate sharing, ideal for coffee breaks or tea time.
- Pair with milk or coffee – A glass of cold milk or a warm cup of coffee complements the chewy texture and enhances chocolate notes.
- Pack as portable snacks – Layer cookies between parchment in a container for lunches, making them easy to transport without sticking together.
- Occasions – These are great for casual gatherings, bake sales, or as a simple dessert after weeknight dinners.
- Storage tips – Store cooled cookies in an airtight container at room temperature for up to three days, or freeze for longer keeping.
- Seasonal pairing – They are evergreen treats, suitable year round, and are especially welcome during cozy fall and winter afternoons.
FAQ
Conclusion
These Chewy Chocolate Chip Cookies stand out for their tender chew, simple pantry ingredients, and forgiving method. I encourage you to give them a try because they deliver bakery style texture with minimal fuss, and small tweaks let you tailor flavor and richness. Baking these can be a comforting, low stress activity that produces reliable results and lots of compliments. Try a batch today and savor the warm, chocolate studded bites that bring people together.

Chewy Chocolate Chip Cookies
Equipment
- 2 large sheet pans
- silicon mat or parchment paper
- Mixing Bowl
- Whisk
Ingredients
- 1/4 cup granulated sugar Provide sweetness and structure to the cookie batter while promoting browning and caramelization during baking; balances other flavors and helps dissolve fat and liquids for an even texture.
- 1/4 cup brown sugar, no packed Add moisture, complex sweetness, and chewiness to the cookies due to its molasses content; helps retain softness and contributes brown sugar flavor notes.
- 3 tablespoons coconut oil, or butter, melted Bind ingredients and contribute fat for tenderness and mouthfeel; melted form easily incorporates with sugars and eggs to create a cohesive dough while adding subtle richness.
- 1 large egg Act as a primary binder and leavening activator that helps set the cookie structure when cooked; contributes moisture and richness for a soft, chewy interior.
- 2 tablespoons apple sauce Introduce additional moisture and tenderness while reducing gluten formation for a softer crumb; adds slight natural sweetness and helps keep cookies chewy.
- 1 teaspoon vanilla extract Enhance and round out the cookie flavors by adding warm, aromatic sweetness; helps accentuate vanilla and chocolate notes for a more balanced taste.
- 1 cup all purpose flour Provide the bulk of the dry structure and framework for the cookies; forms gluten when mixed with liquids which is controlled here to maintain chewiness and density.
- 1/4 teaspoon baking soda Leaven slightly and contribute a subtle lift by reacting with acidic components; helps create a lighter crumb and affects final texture and spread.
- 1/8 teaspoon kosher salt Enhance and balance sweetness by providing a faint savory counterpoint; helps strengthen dough structure slightly and brings out other flavors when dissolved.
- 1/2 cup chocolate chips, sugar-free such as Lily's (3 oz total) Deliver concentrated chocolate flavor and pockets of melting richness throughout the cookie; sugar-free chips contribute sweetness and texture without added sugar, impacting sweetness balance and bite.
- sea salt, optional for topping Offer an optional finishing contrast by adding crunchy bursts of saline brightness on top of baked cookies; enhances overall flavor perception and highlights chocolate notes.
Instructions
- Preheat the oven to 350 F. Line two cookie sheets with parchment paper and lightly spray with cooking spray.: Warmth from the oven gives the dough immediate lift, and the smell of wheat and toasting sugars begins to build as soon as heat is present. When the oven reaches 350 F , you will notice a steady, even heat, and that reliable environment helps cookies bake evenly. Lining two cookie sheets with parchment paper prevents sticking and ensures easy transfer, and a light spray adds extra insurance against adhesion. A typical mistake at this stage is skipping the preheat or baking on an oven that is not at temperature, which leads to uneven spread and denser cookies; always let the oven fully come to temp before putting trays in. Visual cues include a faintly warmed cookie sheet when you touch it briefly with an oven mitt and a consistent oven indicator light. If your oven runs hot or cool, consider using an oven thermometer for accuracy.
- In a large mixing bowl, combine the flour, baking soda and salt and stir to blend.: Right away you will notice the dry ingredients forming a uniform pale mixture, and stirring them together distributes the baking soda evenly so pockets of lift do not create odd rises. The texture should be light and free of clumps, which is important because uneven distribution can produce inconsistent texture in the baked cookie. Use a whisk or fork to aerate and blend; the sound is a soft, dry rustle as the ingredients mingle. A common error is dumping wet into dry without pre mixing, which can cause streaks of unreacted leavening; mixing first prevents that. If you see lumps of flour, sift or break them up with your fingers for a smoother dough.
- In another bowl, whisk the sugars, oil, egg, applesauce and vanilla together until light and fluffy.: As you whisk the granulated sugar , brown sugar , coconut oil , egg , apple sauce , and vanilla , you will feel the mixture thicken slightly and see air bubbles form, which contributes to texture and subtle lift. The aroma shifts to a richer, sweeter scent with citrus and vanilla notes mingling. Whisking until light and fluffy usually takes a few minutes by hand and creates a glossy, cohesive batter base. Avoid overbeating, which can incorporate too much air and change texture; stop when the mixture is smooth and homogenous. The noise is a faint rhythmic clink of whisk in bowl, and visually the color becomes a shade lighter. If the oil was too hot when mixed, it can partially cook the egg , so ensure it is just melted and not hot.
- Whisk the dry ingredients into the wet ingredients in two additions until the batter is very well blended. If the batter looks more 'crumbly' than smooth, add just a drop of water at a time (ONLY if needed) until it smooths out.: Start by adding about half of the dry mix, whisking gently to incorporate; then add the remainder and mix until there are no streaks of flour. The dough should come together into a slightly tacky mass that holds when scooped, not runny or overly stiff. As you fold the ingredients, you will notice a shift in texture from glossy to a softer, drier dough; this is normal. If the dough appears crumbly, a tiny amount of water can bring it together, but use restraint to avoid thinning the dough too much. Overmixing at this point can develop gluten and make cookies tough, so use gentle, deliberate strokes. A common mistake is adding too much liquid too quickly, which makes cookies spread more than intended; instead, add water sparingly and observe the feel between additions.
- Fold in chocolate chips. Drop by level tablespoons about 1 inch apart onto the prepared baking sheets.: When you fold in the chocolate chips , you will hear a soft, satisfying scrape as the chips are incorporated and see the dough decorated with dark flecks. Folding rather than vigorous stirring preserves the dough structure, ensuring chewiness and preventing the chips from melting into the batter prematurely. Aim for even distribution so each cookie gets a pleasing amount of chocolate, and use a spatula to gently turn the dough over itself until chips are scattered throughout. A common misstep is overmixing at this stage, which can warm the dough and cause chips to clump; work quickly and deliberately. Visually, the dough should be studded and cohesive, ready to be portioned.
- Bake 8 to 10 minutes. Remove from the oven, top with sea salt if using, and let them stand 5 minutes before removing the cookies from the pans to cool on wire racks.: As you portion the dough, you'll notice each scoop holds its shape fairly well, with slight rounding at the top. Placing them about 1 inch apart accounts for minimal spread in this recipe and helps them bake evenly. The tactile cue is a slightly tacky exterior that smooths when you press the back of the spoon lightly. A tip to keep batches consistent is to use a measuring spoon or small scoop so cookies bake at the same rate. Common mistakes include placing dough too close together, which yields merged cookies, or too far apart, which wastes space and may alter baking time slightly.
- Bake 8 to 10 minutes. Remove from the oven, top with sea salt if using, and let them stand 5 minutes before removing the cookies from the pans to cool on wire racks: During baking you will see the edges take on a light golden tone and the centers appear set but still soft; the aroma transitions to warm caramel and toasted sugar notes. The 8 to 10 minutes window is crucial because it preserves a tender center while establishing a slight crisp at the perimeter. When you take the trays out, the cookies will still look a little underdone in the middle, which is perfect because they continue to set as they rest. Sprinkle with sea salt if desired to enhance contrast. Letting them stand for 5 minutes before transferring prevents breakage and allows internal steam to finish the bake. Avoid leaving them on the hot tray too long, which can cause overbrowning; move them to wire racks for even cooling. A common error is overbaking, which yields dry, hard cookies, so watch the edges closely and err on the side of slightly soft centers.
Notes
- Opt for butter for richer flavor - Swap the coconut oil for melted butter to deepen the flavor profile, but ensure it is cooled slightly before mixing so it does not cook the egg.
- Use unsweetened applesauce carefully - When using apple sauce, choose unsweetened to control sweetness, and reduce added sugars marginally if you prefer subtler sweetness.
- Try different chocolate chips - Sugar free chips like Lily's work well, but you can use regular chocolate chips for a more classic sweetness, keeping in mind they may alter total sugar content.
- Add sea salt on top - A light sprinkle of sea salt after baking heightens the chocolate notes and balances sweetness effectively.
- Scale batch size with a scoop - Use a level tablespoon or small cookie scoop to keep cookie sizes uniform, which helps maintain consistent bake times across batches.