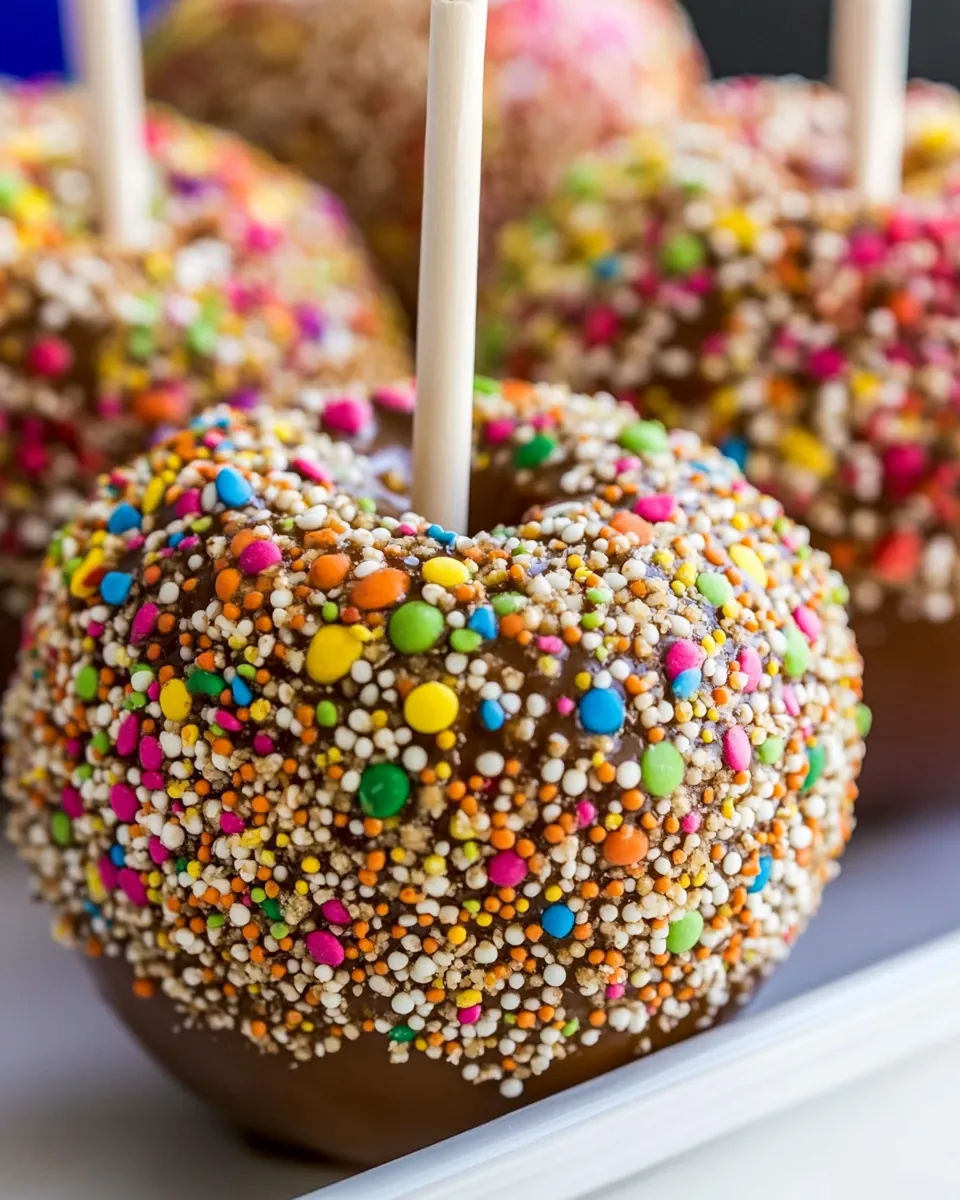
Caramel Apples
Caramel Apples have always been the centerpiece of my fall memories, a sticky, sweet trophy I chased from county fair booths to our kitchen counter. The first time I made them myself I learned quickly that the magic is equal parts timing, chilled fruit, and a patient hand. I still remember the sound of the caramel settling against the bowl, and the small victory of getting a smooth, glossy coating on that first apple.
I grew up watching relatives roll apples through melted caramels and sprinkle on whatever they had nearby, creating little monuments to seasonal joy. Over the years I refined my approach, turning those slightly chaotic afternoons into a small ritual I look forward to. Choosing crisp, cold apples and testing the caramel with a thermometer became my way of honoring the simple pleasures of autumn.
Recipe Snapshot
1 hr 15 mins
15 mins
60 mins
Medium
250 kcal
American
Gluten-Free, Vegan
Desserts
Heavy bottomed saucepan, Wooden spoon, Candy thermometer, Parchment lined baking sheet, Baking rack, Caramel apple sticks
The Beauty of This Caramel Apples
Classic nostalgia with an elevated technique
I love how Caramel Apples bring back memories, yet the method here is rooted in pastry school principles I picked up and adapted for home cooks. I want you to get that smooth, pourable caramel every time, not a clumpy mess. Using a heavy saucepan and a candy thermometer really makes the difference, and I explain why in the steps.
Simple pantry ingredients, big payoff
Most of the ingredients are things you probably already have: brown sugar, heavy cream, butter, and corn syrup. Those few elements combine into a caramel that is complex, silky, and reliable. I appreciate recipes that don’t require dozens of obscure items, and this one rewards you for keeping quality staples on hand.
Textural contrast
What makes these apples truly sing is the contrast between crisp, chilled apples and the warm, chewy caramel. The apple’s snap cuts through the richness of the candy coating. If you like a crunchy finish, roll the apples in toasted nuts or coconut right away to create layers of texture that elevate every bite.
Adaptable and fun to personalize
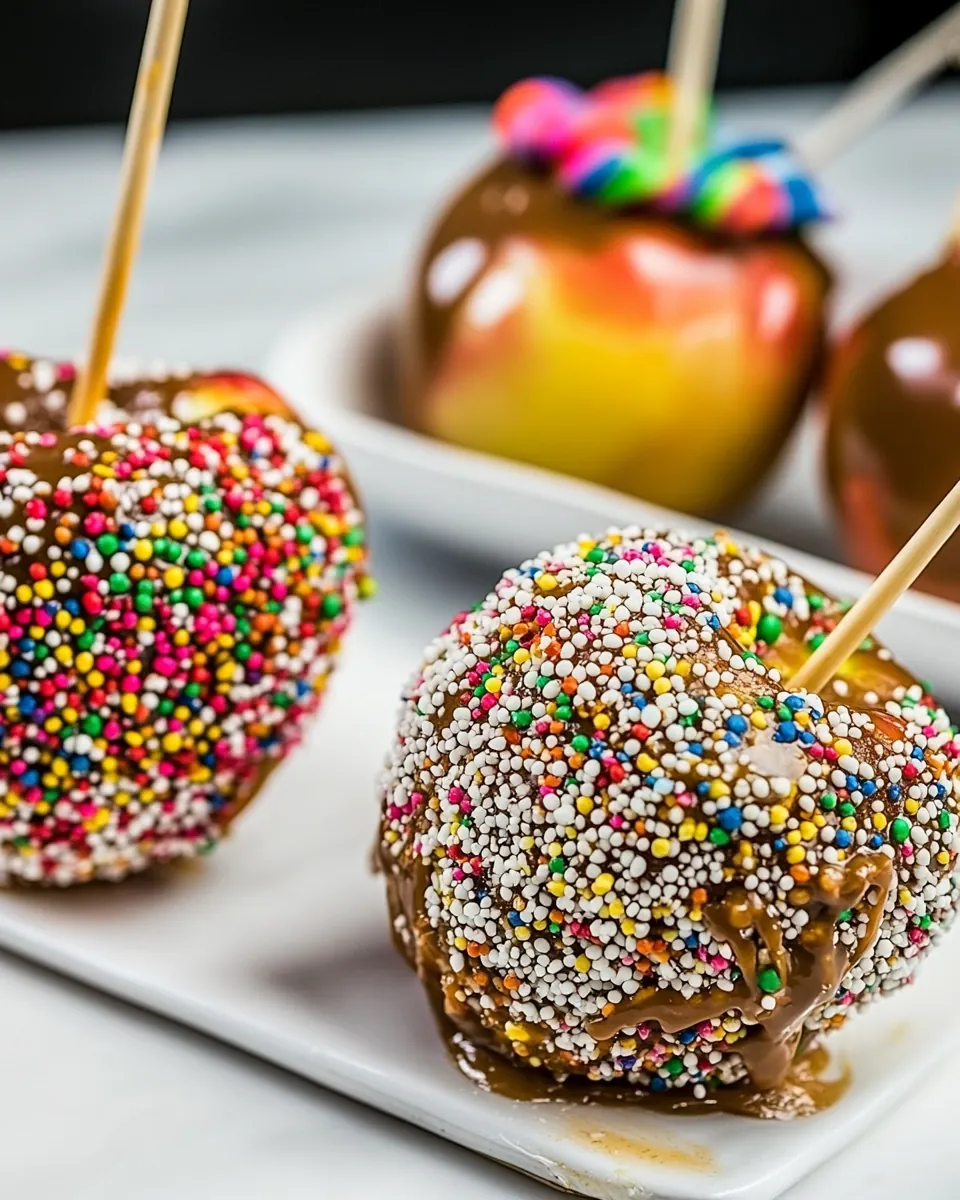
I enjoy setting up a toppings bar and letting people customize their own. The base caramel is a perfect canvas for sprinkles, toasted coconut, or chopped peanuts. It’s a fun activity for kids and adults alike, and I find it makes gatherings feel a little more festive and interactive.
Made for sharing
These Caramel Apples are easy to scale for a crowd, and they travel well for parties if you allow the caramel to set. They also make a lovely homemade gift when wrapped individually. I often prepare a tray for neighbors during the season, because they’re as joyful to give as they are to receive.
Everything You Need for Caramel Apples
The ingredients here are straightforward, but each plays a specific role. The chilled apples provide a firm, crisp base that helps the caramel adhere and set. Heavy cream and butter add richness and silkiness to the candy, while brown sugar delivers deep, molasses notes. Corn syrup helps prevent crystallization so your caramel stays glossy and smooth. A small amount of salt balances the sweetness, and vanilla extract adds warmth at the end. Toppings let you customize texture and flavor to taste.
- 8 apples cold (see note 1): Select firm, cold apples to provide a crisp, juicy base that contrasts with sticky caramel; chilling helps the caramel set quickly and reduces slippage. Choose apples with sturdy stems for easy dipping and consider varieties like Granny Smith for tartness or Honeycrisp for balanced sweetness. Wash and thoroughly dry to ensure caramel adheres evenly.
- 1 3/4 cups heavy cream: Heat heavy cream to add richness and smoothness to the caramel, creating a velvety texture and preventing crystallization. Incorporate gradually while cooking the sugar to control consistency and achieve a creamy, scoopable coating. Use full-fat cream for best mouthfeel and stability.
- 2 cups brown sugar packed: Dissolve packed brown sugar to supply deep, molasses-like sweetness and color, forming the caramel’s backbone when cooked. Cook to proper temperature to develop flavor without burning, and its moisture helps produce a chewy but pliable final texture. Measure packed tightly to maintain recipe proportions.
- 1 cup light corn syrup: Stabilize and soften the caramel with light corn syrup, which inhibits sugar crystallization and yields a glossy, smooth finish. Stir into the sugar mixture to improve elasticity and help the caramel set with a tender chew. Use light corn syrup for neutral flavor that won’t overpower the caramel.
- 1/4 cup butter (1/2 stick): Enrich the caramel with butter to add creaminess, shine, and a richer mouthfeel while contributing to a smoother texture. Add near the end of cooking to incorporate fat and enhance flavor without separating. Use unsalted or adjust salt separately if needed.
- 1/2 teaspoons salt: Enhance overall flavor balance with salt, which brightens sweetness and deepens caramel notes while preventing cloying taste. Dissolve into the caramel near completion to evenly distribute and bring out other ingredients’ nuances. Adjust slightly to preference but keep modest for classic balance.
- 1/2 teaspoon vanilla extract: Round out the caramel’s flavor with vanilla extract, imparting warm aromatic notes and a subtle complexity that complements the cooked sugar. Stir in off-heat to preserve volatile aroma compounds and maintain a fragrant finish. Use pure vanilla for best depth.
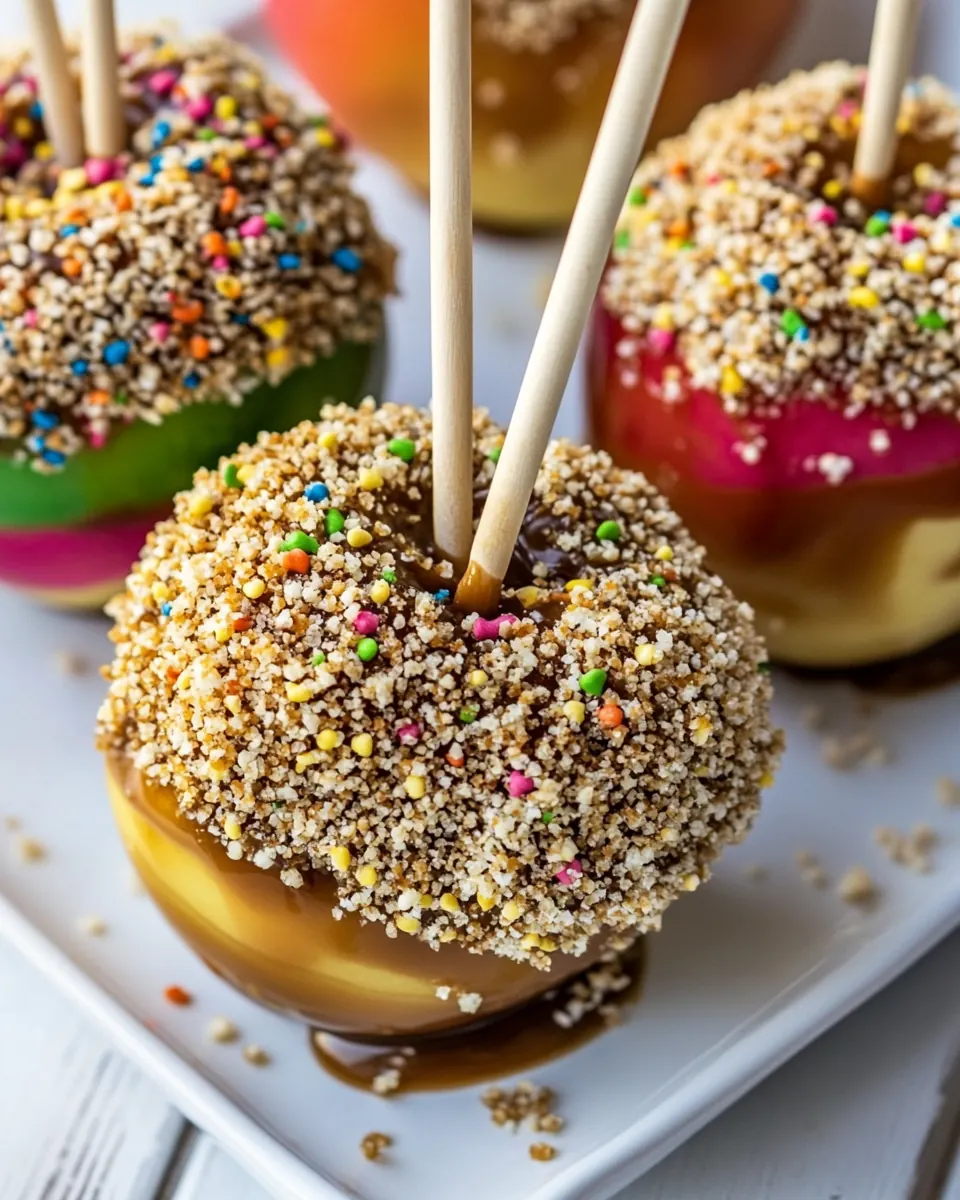
- Toppings such as toasted coconut, peanuts, or sprinkles: Provide optional texture and visual contrast with toppings such as toasted coconut, peanuts, or sprinkles that customize each apple’s flavor and appearance. Press toppings onto freshly dipped caramel so they adhere before the coating fully sets, creating varied crunch or chew. Offer a selection to accommodate different tastes.
How to Assemble Caramel Apples
Assembling these requires focus and timing, but the process is immensely satisfying. I walk you through preparing the apples, crafting the caramel, and dipping with confidence. Keep your tools ready, and expect to make a little mess that ends in a delicious payoff.
- To prepare the apples, thoroughly rinse the cold apples, and wipe well to remove the wax coating. Remove stem. Using a caramel apple stick, carefully push the stick into the apple, about 3/4 of the way. Place apples on a parchment-lined baking sheet with a baking rack.: The first sensory cue is the cool firmness of the apples in your hand and the faint sheen from any wax you remove. Proper washing and drying lets the caramel adhere, and pushing the stick in most of the way gives a secure hold so the apple does not spin while dipping. You will feel resistance as the stick enters the core, then a reassuring firmness when it is seated correctly. A common mistake is forcing the stick in too aggressively so it punctures through the bottom, which weakens the apple. Take your time, and place the prepared apples on a rack so excess caramel can drip evenly.
- To make the caramel, in a large heavy-bottomed saucepan over medium heat, combine the heavy cream, brown sugar, corn syrup, butter, and salt. Stir constantly with a wooden spoon until butter is melted.: As the mixture warms you will notice the brown sugar dissolving and the aroma shifting to warm, toasty notes. The heavy cream and melted butter will fuse into a glossy base, and the sound is a gentle, steady simmer rather than a vigorous bubble. Constant stirring helps incorporate the ingredients and prevents hot spots that could burn the sugar. If you stop stirring you risk localized scorching that makes the caramel grainy or bitter. Use a wooden spoon or heatproof spatula and keep the flame moderate for an even cook.
- Using a pastry brush dipped in water, brush the sides of the pan and place a candy thermometer into the mixture, ensuring it does not touch the bottom of the pan. Without stirring, allow the mixture to cook until mixture reaches 235 degrees, about 20 to 25 minutes. Remove from heat and gently stir in vanilla. Do not over-stir. Allow mixture to cool and thicken, about 10 to 15 minutes.: The bubbling will transform visually from small, rapid beads to larger, slower bubbles as the temperature rises, and the aroma becomes deeper and more caramelized. Brushing down sugar crystals prevents recrystallization which would ruin the texture. A candy thermometer not touching the pan bottom gives an accurate reading; if it reads lower because of contact you may undercook. When the mixture hits 235 degrees you have reached the soft ball stage that yields a chewy but set caramel. After removing from heat the caramel will still be fluid but will thicken as it cools, and stirring in the vanilla extract after heat preserves its fragrance. One common error is stirring too vigorously at the finish which can introduce air and alter texture, so stir gently.
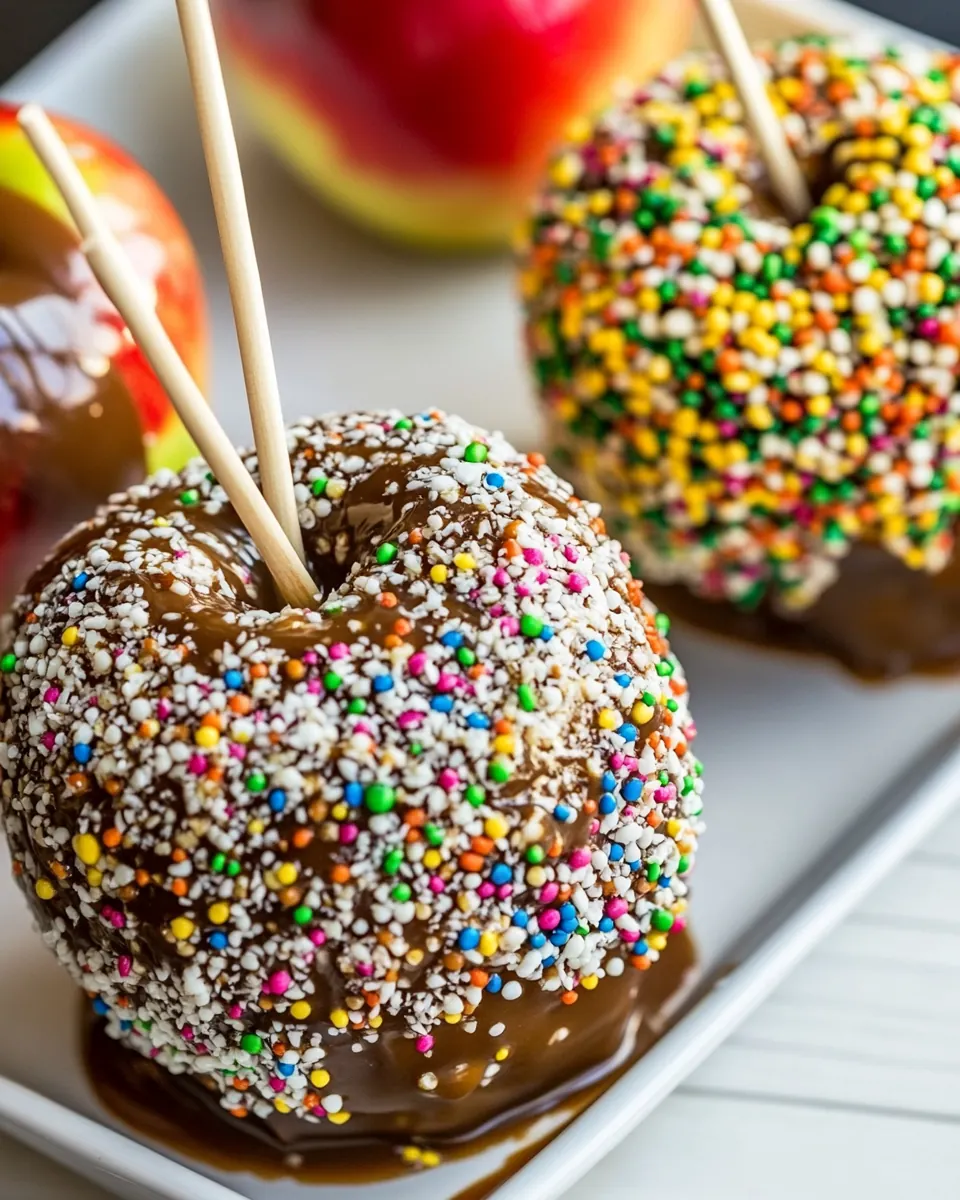
- To dip the apples, working one apple at a time, hold the apple by the stick, dip the apple into the caramel mixture, and thoroughly coat using a twirling motion. If using toppings, roll the apple into the topping.: You will feel the warmth of the caramel against the chilled apple, and the glossy coating will cling as you twirl. A steady, confident dip and twist ensures even coverage and prevents drips from concentrating on one side. Rolling in toppings immediately after dipping means they adhere while the surface is tacky. A typical mistake is letting the caramel cool too much before dipping, which results in a thick, clumpy coat that will not spread smoothly. Work methodically and keep a bowl of warm caramel gently heated if needed.
- Set apple on prepared baking sheet with rack, ensuring the apples do not touch. Cool slightly and serve immediately, or allow to sit until caramel hardens, about 45 minutes. Enjoy day of for best results.: Placing the dipped apple on a rack lets excess caramel drip away, and you will hear the faint settling sound as the coating relaxes. The visual cue to watch for is the caramel losing its glossy sheen as it cools and firming to the touch. Serving while slightly warm gives a pleasing chew, while waiting for full set provides a firmer bite. Avoid stacking or letting apples touch, because they may stick together. If you plan to store them, do so briefly and keep them upright to avoid deformation.
Make It Your Own
Personalizing Caramel Apples is part of the fun. You can change textures, flavors, and presentation to suit the crowd. Below are practical tips and variations to inspire you.
- Pick the right apple: Choose firmer varieties like Granny Smith or Honeycrisp to balance the sweetness and ensure the apple holds up when bitten into.
- Toast toppings: Lightly toast nuts or coconut to heighten flavor and improve crunch; spread them on a sheet and watch for golden edges.
- Set up a toppings bar: Arrange bowls of different toppings so guests can customize their own apples for a festive touch.
- Keep apples cold: Refrigerate the apples beforehand, because a colder core helps the caramel firm quickly and neatly.
- Rewarm carefully: If the caramel cools and thickens while you are dipping, return the pan to very low heat and stir until it loosens, but avoid boiling which can overcook the sugar.
- Wrap for gifting: Once set, wrap each apple in cellophane and tie with a ribbon for a charming homemade gift.
Pairing Suggestions for Caramel Apples
Caramel Apples are festive and versatile, fitting into casual gatherings or seasonal dessert tables. Consider serving them as a shared treat on a cool afternoon or as a sweet finish to a fall dinner. Their texture and sweetness pair well with simple, lighter accompaniments and warm beverages.
- Serve with warm beverages: Pair these apples with a cup of warm spiced tea or a caffeine free option for a cozy contrast between warm drink and cool fruit.
- Seasonal occasions: These are perfect for Halloween parties, fall festivals, school events, or a family dessert after a harvest meal.
- Presentation ideas: Arrange on a platter with parchment, add a sprinkling of nuts around the base, and label topping choices to make a festive display.
- Storage: For best texture, enjoy Caramel Apples the day they are made; store upright in the refrigerator if needed for a short time, but be aware the apple may soften slightly.
- Serving style: For children or smaller appetites, remove the stick after the caramel sets and slice into wedges for easy sharing.
- Party planning: Scale the recipe up for crowds and set up an assembly line for dipping and topping, keeping a baking rack handy for cooling and display.
FAQ
Conclusion
Caramel Apples are a timeless treat because they combine simple ingredients with a technique that rewards patience and attention. Try this recipe to enjoy a reliably smooth, chewy caramel coating on crisp, cold apples that everyone will remember. Gather your toppings, chill the fruit, and take your time with the caramel stage for the best results. I hope making these becomes a seasonal ritual you return to year after year.

Caramel Apples
Equipment
- Heavy-Bottomed Saucepan
- Wooden Spoon
- Candy thermometer
- Parchment lined baking sheet
- Baking rack
- Caramel apple sticks
Ingredients
- 8 apples cold (see note 1) Select firm, cold apples to provide a crisp, juicy base that contrasts with sticky caramel; chilling helps the caramel set quickly and reduces slippage. Choose apples with sturdy stems for easy dipping and consider varieties like Granny Smith for tartness or Honeycrisp for balanced sweetness. Wash and thoroughly dry to ensure caramel adheres evenly.
- 1 3/4 cups heavy cream Heat heavy cream to add richness and smoothness to the caramel, creating a velvety texture and preventing crystallization. Incorporate gradually while cooking the sugar to control consistency and achieve a creamy, scoopable coating. Use full-fat cream for best mouthfeel and stability.
- 2 cups brown sugar packed Dissolve packed brown sugar to supply deep, molasses-like sweetness and color, forming the caramel’s backbone when cooked. Cook to proper temperature to develop flavor without burning, and its moisture helps produce a chewy but pliable final texture. Measure packed tightly to maintain recipe proportions.
- 1 cup light corn syrup Stabilize and soften the caramel with light corn syrup, which inhibits sugar crystallization and yields a glossy, smooth finish. Stir into the sugar mixture to improve elasticity and help the caramel set with a tender chew. Use light corn syrup for neutral flavor that won’t overpower the caramel.
- 1/4 cup butter (1/2 stick) Enrich the caramel with butter to add creaminess, shine, and a richer mouthfeel while contributing to a smoother texture. Add near the end of cooking to incorporate fat and enhance flavor without separating. Use unsalted or adjust salt separately if needed.
- 1/2 teaspoons salt Enhance overall flavor balance with salt, which brightens sweetness and deepens caramel notes while preventing cloying taste. Dissolve into the caramel near completion to evenly distribute and bring out other ingredients’ nuances. Adjust slightly to preference but keep modest for classic balance.
- 1/2 teaspoon vanilla extract Round out the caramel’s flavor with vanilla extract, imparting warm aromatic notes and a subtle complexity that complements the cooked sugar. Stir in off-heat to preserve volatile aroma compounds and maintain a fragrant finish. Use pure vanilla for best depth.
- Toppings such as toasted coconut, peanuts, or sprinkles Provide optional texture and visual contrast with toppings such as toasted coconut, peanuts, or sprinkles that customize each apple’s flavor and appearance. Press toppings onto freshly dipped caramel so they adhere before the coating fully sets, creating varied crunch or chew. Offer a selection to accommodate different tastes.
Instructions
- To prepare the apples, thoroughly rinse the cold apples, and wipe well to remove the wax coating. Remove stem. Using a caramel apple stick, carefully push the stick into the apple, about 3/4 of the way. Place apples on a parchment-lined baking sheet with a baking rack.: The first sensory cue is the cool firmness of the apples in your hand and the faint sheen from any wax you remove. Proper washing and drying lets the caramel adhere, and pushing the stick in most of the way gives a secure hold so the apple does not spin while dipping. You will feel resistance as the stick enters the core, then a reassuring firmness when it is seated correctly. A common mistake is forcing the stick in too aggressively so it punctures through the bottom, which weakens the apple. Take your time, and place the prepared apples on a rack so excess caramel can drip evenly.
- To make the caramel, in a large heavy-bottomed saucepan over medium heat, combine the heavy cream, brown sugar, corn syrup, butter, and salt. Stir constantly with a wooden spoon until butter is melted.: As the mixture warms you will notice the brown sugar dissolving and the aroma shifting to warm, toasty notes. The heavy cream and melted butter will fuse into a glossy base, and the sound is a gentle, steady simmer rather than a vigorous bubble. Constant stirring helps incorporate the ingredients and prevents hot spots that could burn the sugar. If you stop stirring you risk localized scorching that makes the caramel grainy or bitter. Use a wooden spoon or heatproof spatula and keep the flame moderate for an even cook.
- Using a pastry brush dipped in water, brush the sides of the pan and place a candy thermometer into the mixture, ensuring it does not touch the bottom of the pan. Without stirring, allow the mixture to cook until mixture reaches 235 degrees, about 20 to 25 minutes. Remove from heat and gently stir in vanilla. Do not over-stir. Allow mixture to cool and thicken, about 10 to 15 minutes.: The bubbling will transform visually from small, rapid beads to larger, slower bubbles as the temperature rises, and the aroma becomes deeper and more caramelized. Brushing down sugar crystals prevents recrystallization which would ruin the texture. A candy thermometer not touching the pan bottom gives an accurate reading; if it reads lower because of contact you may undercook. When the mixture hits 235 degrees you have reached the soft ball stage that yields a chewy but set caramel. After removing from heat the caramel will still be fluid but will thicken as it cools, and stirring in the vanilla extract after heat preserves its fragrance. One common error is stirring too vigorously at the finish which can introduce air and alter texture, so stir gently.
- To dip the apples, working one apple at a time, hold the apple by the stick, dip the apple into the caramel mixture, and thoroughly coat using a twirling motion. If using toppings, roll the apple into the topping.: You will feel the warmth of the caramel against the chilled apple, and the glossy coating will cling as you twirl. A steady, confident dip and twist ensures even coverage and prevents drips from concentrating on one side. Rolling in toppings immediately after dipping means they adhere while the surface is tacky. A typical mistake is letting the caramel cool too much before dipping, which results in a thick, clumpy coat that will not spread smoothly. Work methodically and keep a bowl of warm caramel gently heated if needed.
- Set apple on prepared baking sheet with rack, ensuring the apples do not touch. Cool slightly and serve immediately, or allow to sit until caramel hardens, about 45 minutes. Enjoy day of for best results.: Placing the dipped apple on a rack lets excess caramel drip away, and you will hear the faint settling sound as the coating relaxes. The visual cue to watch for is the caramel losing its glossy sheen as it cools and firming to the touch. Serving while slightly warm gives a pleasing chew, while waiting for full set provides a firmer bite. Avoid stacking or letting apples touch, because they may stick together. If you plan to store them, do so briefly and keep them upright to avoid deformation.
Notes
- Pick the right apple: Choose firmer varieties like Granny Smith or Honeycrisp to balance the sweetness and ensure the apple holds up when bitten into.
- Toast toppings: Lightly toast nuts or coconut to heighten flavor and improve crunch; spread them on a sheet and watch for golden edges.
- Set up a toppings bar: Arrange bowls of different toppings so guests can customize their own apples for a festive touch.
- Keep apples cold: Refrigerate the apples beforehand, because a colder core helps the caramel firm quickly and neatly.
- Rewarm carefully: If the caramel cools and thickens while you are dipping, return the pan to very low heat and stir until it loosens, but avoid boiling which can overcook the sugar.
- Wrap for gifting: Once set, wrap each apple in cellophane and tie with a ribbon for a charming homemade gift.