Choco Lava Cakes
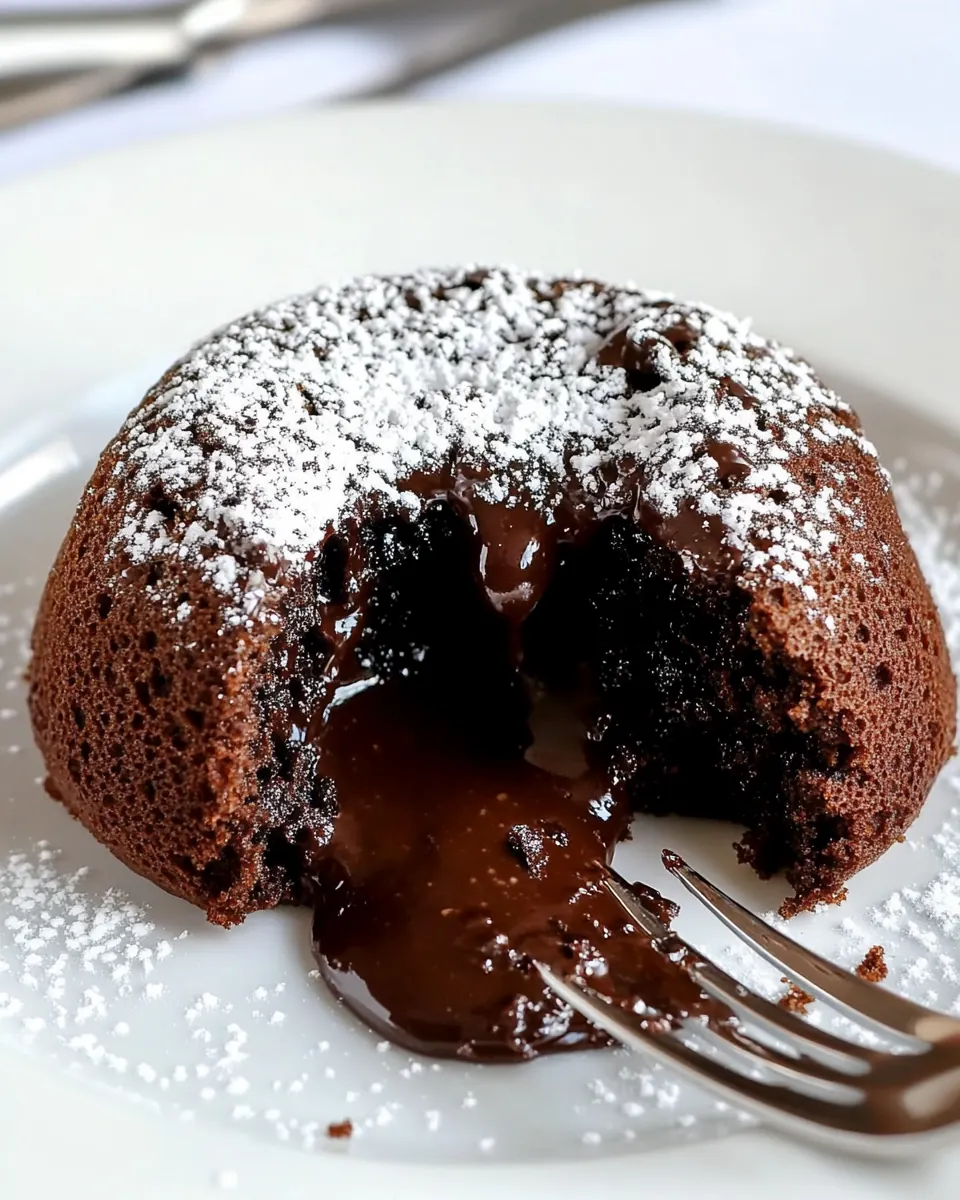
Choco Lava Cakes are the sort of dessert I reach for when I want something dramatic but not complicated, a warm chocolate hug that arrives in under an hour. The very first time I made these I was trying to impress a friend who loved chocolate more than most people love breathing, and watching the molten center spill out when I cut into the cake felt like a small triumph. I learned that the difference between a good lava cake and a great one is patience at a few tiny moments, and a willingness to pay attention to texture and timing.
There is something indulgent about the way hot chocolate aroma curls through the kitchen as the cakes bake, a scent that makes conversation slow and forks hover. Over the years I have adapted little tricks, like the exact way I grease the ramekins and how I nestle a marshmallow into the batter, that reliably produce that oozy center. I enjoy the ritual of preparing the batter quickly on the stove, then letting the oven do the magic while I set the table and find a plate that feels special.
Recipe Snapshot
35 mins
15 mins
20 mins
Medium
350 kcal
American
Gluten-Free, Low FODMAP
Desserts
Oven, Muffin tin or ramekins, Saucepan or microwave safe bowl, Whisk, Wide spatula
The Appeal of This Choco Lava Cakes
Molten chocolate magic
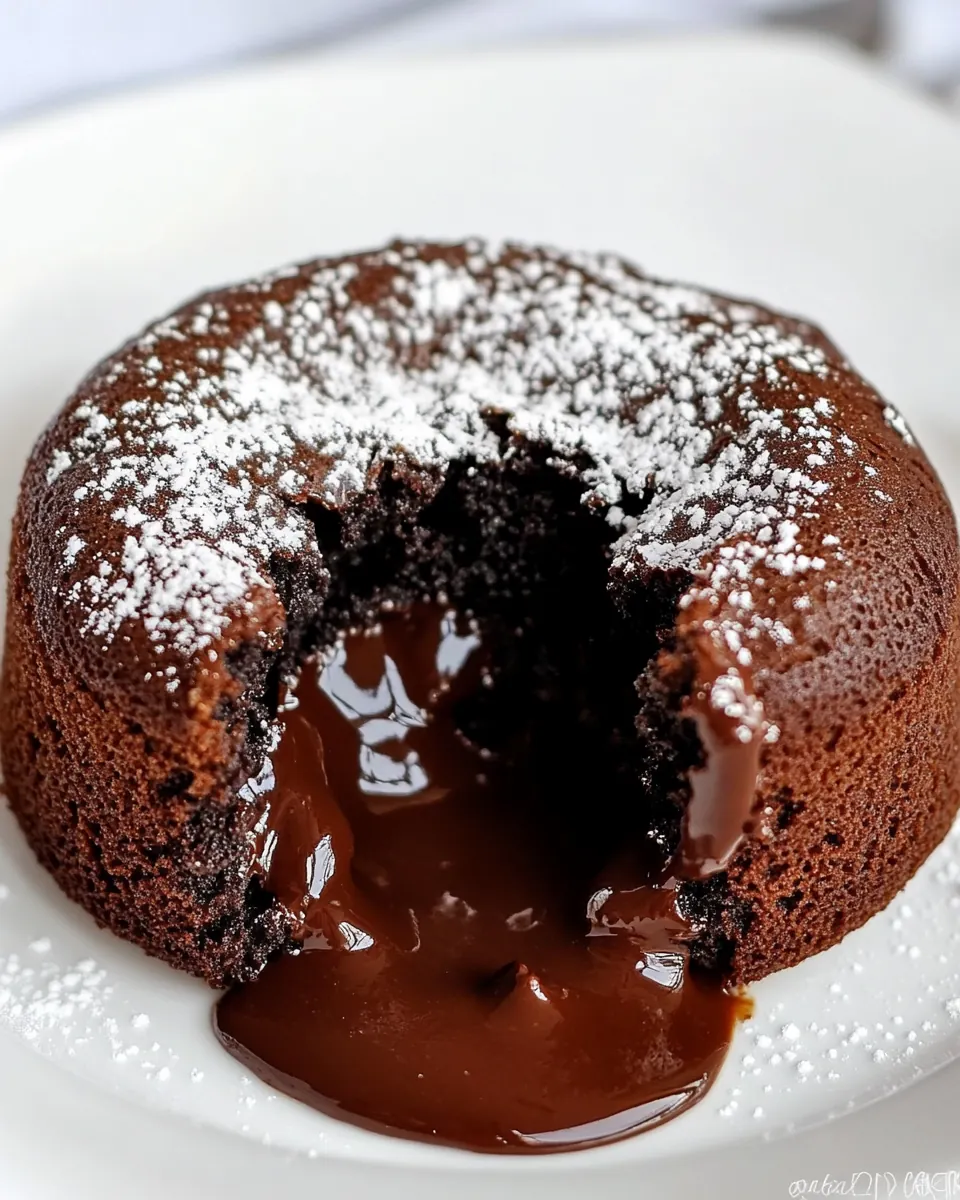
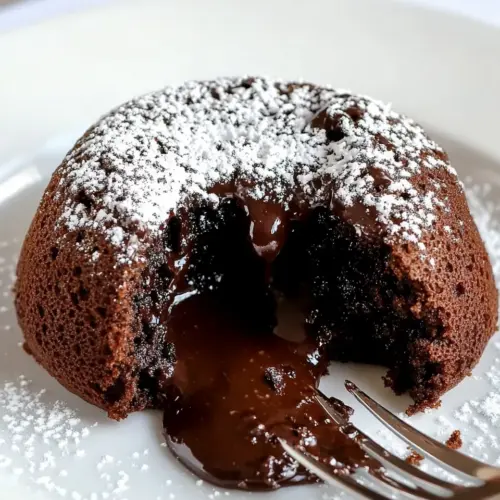
One thing I always mention when I talk about Choco Lava Cakes is how the center becomes molten without collapsing the exterior. I love this recipe because it balances an airy cake edge with a silky core. When the timing is right, the center flows like warm fudge, and that contrast is what keeps people swooning.
Speed without sacrificing flavor
I appreciate recipes that respect time, and Choco Lava Cakes are fast enough for a weeknight celebration yet rich enough for a dinner party. Melting dark chocolate with unsalted butter produces a concise, concentrated flavor in a fraction of the time it takes to bake layer cakes. I often find this recipe hits the sweet spot when I need something impressive but efficient.
Simple ingredients, big payoff
There is a real joy in seeing a short list of pantry staples transform into something sublime. With flour, sugar, eggs, and chocolate you get complexity and depth. I like that the ingredients are accessible, and that little decisions like the type of chocolate or the use of a marshmallow can tweak the final result dramatically.
Adaptable for different moments
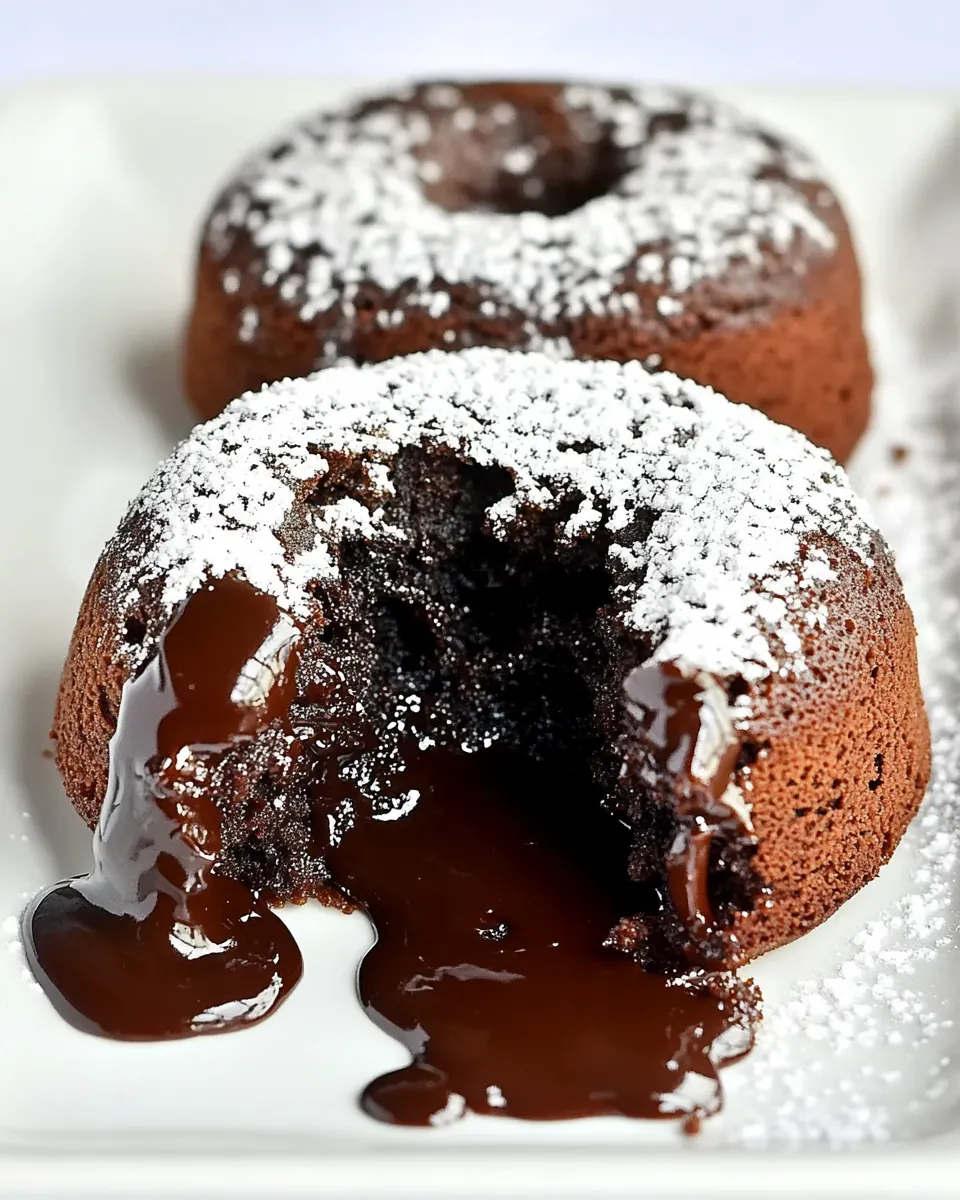
I often change the plating depending on the occasion. A dusting of confectioners sugar makes them feel delicate and refined, while a few extra marshmallows or a simple scoop of something cold on the side turns them into a cozy finish for casual meals. The recipe is a reliable canvas for creativity.
Comfort and celebration in one
Lastly, these cakes feel celebratory yet intimate. I reach for Choco Lava Cakes when I want to make an ordinary night feel special or when I need a showstopper for guests. They invite slow savoring, and that is why they keep showing up on my menu.
What You’ll Need for Choco Lava Cakes
The ingredients for Choco Lava Cakes are intentionally minimal, each playing a clear role. The dark chocolate and unsalted butter form the rich molten center, while the eggs and flour provide structure. Sugar sweetens and helps create a tender crumb, and the finishing confectioners sugar adds a light, elegant contrast. I like to view these items as collaborators, where technique brings out their best.
- 1/2 cup unsalted butter: Melted to provide rich fat and silkiness, contributes to the lava cake's tender crumb and glossy exterior; helps carry chocolate flavor and creates a smooth molten center when combined with chocolate.
- 3.5 oz dark chocolate I used Lindt 70%: Chopped and melted to supply intense cocoa depth and bitterness, balances sweetness and forms the core chocolate flavor; its cocoa solids contribute to aroma and structure in the molten middle.
- 1/2 cup caster sugar superfine sugar or white granulated sugar: Dissolved to sweeten and stabilize the batter, helps create a fine crumb and tender texture; its solubility aids in even mixing and consistent sweetness throughout the cake.
- 1 teaspoon pure vanilla extract: Added to impart a warm aromatic note, enhances overall flavor complexity and elevates the chocolate taste; small quantity prevents overpowering while rounding out sweetness.
- 1/4 cup flour: Sifted to provide body and structure, develops light gluten that supports the cake while keeping it tender; helps thicken the batter enough to encase the molten center without becoming cakey.
- 2 large eggs: Beaten to incorporate air and act as the primary leavening and binding agent, eggs add richness, moisture, and structure to the cakes; they set around the molten core to create the signature contrast between gooey center and firm exterior.
- 6 Marshmallows: Placed whole or halved into the center for a sweet, pillowy surprise, marshmallows melt to create an extra gooey, chewy pocket that complements the chocolate; they add novelty texture and additional sweetness when warmed.
- 1 teaspoon confectioners sugar or icing sugar, for dusting: Sprinkled lightly to finish and add visual contrast, confectioners sugar provides a delicate sweetness and a refined presentation; dusting helps highlight the cake's shape while offering a subtle surface sweetness.
The Method for Choco Lava Cakes
These steps move quickly, so I like to arrange everything before I begin. The method is straightforward, but the sensory cues are important to get the molten center just right. Keep your tools and a timer close, and enjoy the satisfying transformation from glossy batter to warm, gooey cakes.
- Preheat oven to 425°F (220°C). Lightly grease a 6-hole muffin tin (or 6 small ramekins) with butter or cooking oil spray; wipe excess over with a paper towel and set aside.: As the oven warms you will notice the kitchen becoming comfortably warm and ready to coax the centers into molten perfection, a crucial environment for structure to set quickly at the edges while the middle remains silky. The reason you grease and then wipe excess is to provide a thin, even coating so cakes release easily without slipping on a greasy puddle, which can cause them to collapse when turned out. A common mistake is skimping on greasing or over greasing, both of which make removing the cakes messy. Listen for the quiet hum of the oven and use a light touch with the paper towel to leave a sheen not a slick.
- Combine the butter and chocolate in a medium-sized saucepan over low heat. Cook while stirring until melted and smooth. ALTERNATIVELY: Combine butter and chocolate in a medium-sized microwave safe bowl; melt in 30 second increments stirring between each until chocolate and butter are melted and well combined.: Combine butter and chocolate in a medium-sized microwave safe bowl; melt in 30 second increments stirring between each until chocolate and butter are melted and well combined. : As the chocolate and butter melt together you will see a glossy, velvety mixture form and smell a deep, toasty cocoa aroma. Stirring constantly on low heat prevents scorching and keeps the texture satiny, which is essential for the final mouthfeel of the center. If using a microwave, the residual heat will finish melting any small bits while stirring, so stop when mostly melted and stir to completion. The pitfall to avoid here is overheating which causes the chocolate to seize or become grainy; gentle heat and patience keep it shiny and smooth.
- Remove from heat (or microwave); stir in sugar and vanilla.: Once off the heat you will feel the mixture slightly cool as the sugar and vanilla fold in, the aroma brightening as the vanilla blooms. Stirring at this stage dissolves the sugar and integrates the vanilla without cooking it off, preserving its fragrance. A too-hot mixture can cause volatile vanilla compounds to dissipate, so let it rest briefly if it seems very hot. Avoid adding sugar while the mixture is boiling, since that can lead to graininess.
- Add flour to the chocolate mixture in the pan; whisk until combined. Whisk one egg into the mixture at a time until a smooth chocolate batter is formed.: When you add the flour , it will absorb some of the fat and thicken the batter slightly, giving you a glossy, ribbonlike texture. Incorporating the eggs one at a time ensures even emulsification and prevents curdling, resulting in a smooth, homogeneous batter that will set correctly in the oven. You should see the batter become more cohesive and shiny as the eggs work in. The trick is not to overwhisk, which can incorporate excess air and lead to uneven rise; mix until just smooth.
- Pour the batter into the prepared muffin tray (or ramekins) until full. Add 1 marshmallow into each mould and press them down (they will float up slightly but sink while baking).: As you spoon the batter, observe its viscosity, it should be thick but pourable and coat the back of a spoon. Nestling a marshmallow into each cup will yield a tender, sweet core that complements the chocolate . The marshmallows may bob, but the heat during baking will allow them to settle and merge with the molten center. Be careful not to overfill the molds, which can cause spillage and uneven baking.
- Place muffin tray onto a baking tray and bake for 10 minutes or until the edges have set but the centre of each cake is a little soft. Allow to cool in the muffin tray for 5 minutes.: While baking you will notice the edges gain a matte sheen and lift slightly, while the centers remain glossy and tender, releasing a rich chocolate scent. This visual contrast is the guide for doneness, since the centers should wobble gently but not be liquid on top. Letting them rest for five minutes helps the structure set just enough to unmold without losing the molten core. A frequent error is overbaking by a minute or two which solidifies the center; watch the edges closely and trust the wobble test.
- Using a knife, gently pull cake away from the sides of the tray before turning out onto a baking tray lined with parchment/baking paper. Lift each cake onto a serving plate with a wide spatula while still warm and gooey (or they will stick to the tray if left for too long).: You will feel the slight resistance as the cake releases from the mold, and a thin knife helps separate the cake evenly. Turning them out while warm preserves the molten center; if you wait too long they may adhere or lose their ooze. Use a wide spatula to support the base when transferring, and have your serving plates ready. Forcing unmolding or tipping them when too cool risks tearing the delicate crust.
- To serve, dust with powdered/icing sugar.: A gentle rain of confectioners sugar adds a snowy contrast to the dark surface and a hint of sweetness on the first bite, enhancing both look and flavor. Dust just before serving to keep the sugar pristine against the warm cake. Avoid using coarse sugar which will not settle evenly, and apply sparingly so the sugar does not melt into sticky patches on the warm surface.
Recipe Notes about Choco Lava Cakes
I keep notes close when making Choco Lava Cakes because a few small choices shape the final result. Below are practical tips I rely on, expanded into actionable items to help you nail the texture and presentation every time.
- Choose quality chocolate, ideally around 60 to 70 percent cocoa, for balanced bitterness and depth; chop it finely so it melts quickly and evenly without overheating.
- Temper your heat by melting on low or in short microwave bursts, stirring between intervals to maintain a glossy, non grainy mixture and avoid seizing.
- Measure precisely especially the flour and sugar, since too much dry ingredient makes the center cakier and too little risks collapse; use a scale if you have one.
- Time the bake carefully and set a timer for the minimum indicated time, checking visually for set edges and a soft centre; even small ovens vary, so adjust as needed.
- Unmold while warm and transfer with a wide spatula to preserve the molten middle and avoid sticking; cooling too long makes them cling to the tin.
Perfect Pairings for Choco Lava Cakes
Choco Lava Cakes pair beautifully with a few simple companions that contrast temperature and texture, turning a single ramekin into a composed dessert experience. Think cold and creamy, bright and acidic, or crisp and textural to balance the warm, molten chocolate.
- Scoop of cold vanilla ice cream, placed next to a warm cake so the temperature contrast creates a luscious meld of melting cream and flowing chocolate, making each bite both hot and cool.
- Fresh berries or a berry coulis add acidity and brightness that cut through the richness, refreshing the palate between bites and providing a colorful, tart counterpoint.
- Espresso or strong coffee serves as a bitter, aromatic partner that enhances cocoa notes and helps balance the sugar; serve small demitasse portions alongside plated cakes.
- Toasted nuts or a brittle provide crunch to contrast the soft cake exterior and gooey center, delivering a pleasurable textural interplay when sprinkled on the plate.
- Elegant plating for occasions makes this suitable for dinner parties, romantic evenings, or special holiday desserts in winter; these cakes are intimate, so they shine at small gatherings.
- Storage advice is simple, keep unfrosted cakes cooled then covered in the fridge for up to two days; rewarm gently in a low oven to revive the center before serving.
- Seasonal note, in winter these feel especially comforting when paired with warm spices in the beverage or a tart compote to evoke cozy flavors.
FAQ
Conclusion
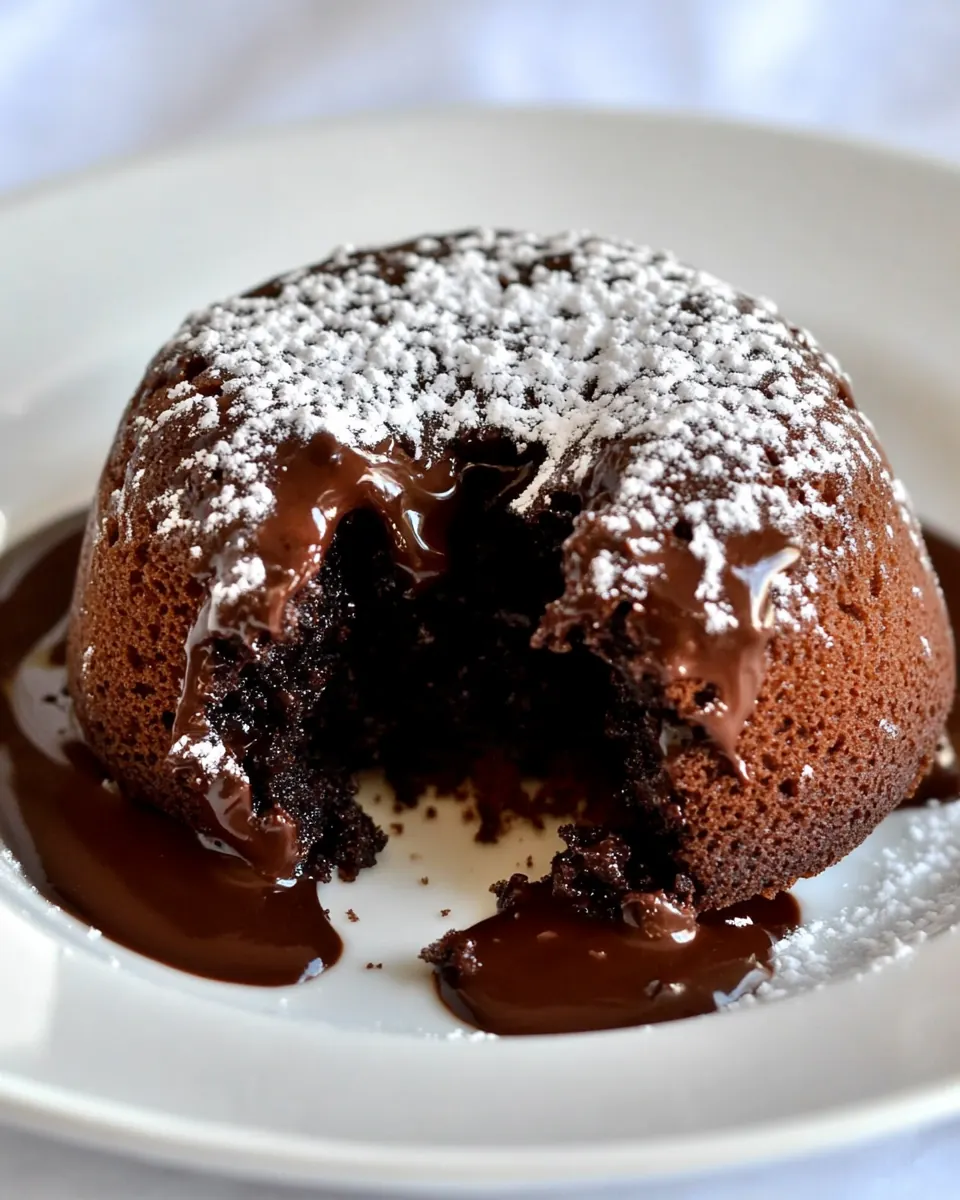
What makes these Choco Lava Cakes special is the contrast between a tender cake shell and a rich, molten chocolate heart that pours out with a graceful cut. I encourage you to give them a try because they combine speed and showmanship, turning pantry staples into a memorable dessert. Enjoy the ritual of melting chocolate, the excitement of the timer, and the reward of that first oozing spoonful with someone you want to impress or simply treat.
Choco Lava Cakes
Equipment
- Oven
- Muffin tin or ramekins
- Saucepan or microwave safe bowl
- Whisk
- Wide spatula
Ingredients
- 1/2 cup unsalted butter Melted to provide rich fat and silkiness, contributes to the lava cake's tender crumb and glossy exterior; helps carry chocolate flavor and creates a smooth molten center when combined with chocolate.
- 3.5 oz dark chocolate I used Lindt 70% Chopped and melted to supply intense cocoa depth and bitterness, balances sweetness and forms the core chocolate flavor; its cocoa solids contribute to aroma and structure in the molten middle.
- 1/2 cup caster sugar superfine sugar or white granulated sugar Dissolved to sweeten and stabilize the batter, helps create a fine crumb and tender texture; its solubility aids in even mixing and consistent sweetness throughout the cake.
- 1 teaspoon pure vanilla extract Added to impart a warm aromatic note, enhances overall flavor complexity and elevates the chocolate taste; small quantity prevents overpowering while rounding out sweetness.
- 1/4 cup flour Sifted to provide body and structure, develops light gluten that supports the cake while keeping it tender; helps thicken the batter enough to encase the molten center without becoming cakey.
- 2 large eggs Beaten to incorporate air and act as the primary leavening and binding agent, eggs add richness, moisture, and structure to the cakes; they set around the molten core to create the signature contrast between gooey center and firm exterior.
- 6 Marshmallows Placed whole or halved into the center for a sweet, pillowy surprise, marshmallows melt to create an extra gooey, chewy pocket that complements the chocolate; they add novelty texture and additional sweetness when warmed.
- 1 teaspoon confectioners sugar or icing sugar, for dusting Sprinkled lightly to finish and add visual contrast, confectioners sugar provides a delicate sweetness and a refined presentation; dusting helps highlight the cake's shape while offering a subtle surface sweetness.
Instructions
- Preheat oven to 425°F (220°C). Lightly grease a 6-hole muffin tin (or 6 small ramekins) with butter or cooking oil spray; wipe excess over with a paper towel and set aside.: As the oven warms you will notice the kitchen becoming comfortably warm and ready to coax the centers into molten perfection, a crucial environment for structure to set quickly at the edges while the middle remains silky. The reason you grease and then wipe excess is to provide a thin, even coating so cakes release easily without slipping on a greasy puddle, which can cause them to collapse when turned out. A common mistake is skimping on greasing or over greasing, both of which make removing the cakes messy. Listen for the quiet hum of the oven and use a light touch with the paper towel to leave a sheen not a slick.
- Combine the butter and chocolate in a medium-sized saucepan over low heat. Cook while stirring until melted and smooth. ALTERNATIVELY: Combine butter and chocolate in a medium-sized microwave safe bowl; melt in 30 second increments stirring between each until chocolate and butter are melted and well combined.: Combine butter and chocolate in a medium-sized microwave safe bowl; melt in 30 second increments stirring between each until chocolate and butter are melted and well combined. : As the chocolate and butter melt together you will see a glossy, velvety mixture form and smell a deep, toasty cocoa aroma. Stirring constantly on low heat prevents scorching and keeps the texture satiny, which is essential for the final mouthfeel of the center. If using a microwave, the residual heat will finish melting any small bits while stirring, so stop when mostly melted and stir to completion. The pitfall to avoid here is overheating which causes the chocolate to seize or become grainy; gentle heat and patience keep it shiny and smooth.
- Remove from heat (or microwave); stir in sugar and vanilla.: Once off the heat you will feel the mixture slightly cool as the sugar and vanilla fold in, the aroma brightening as the vanilla blooms. Stirring at this stage dissolves the sugar and integrates the vanilla without cooking it off, preserving its fragrance. A too-hot mixture can cause volatile vanilla compounds to dissipate, so let it rest briefly if it seems very hot. Avoid adding sugar while the mixture is boiling, since that can lead to graininess.
- Add flour to the chocolate mixture in the pan; whisk until combined. Whisk one egg into the mixture at a time until a smooth chocolate batter is formed.: When you add the flour , it will absorb some of the fat and thicken the batter slightly, giving you a glossy, ribbonlike texture. Incorporating the eggs one at a time ensures even emulsification and prevents curdling, resulting in a smooth, homogeneous batter that will set correctly in the oven. You should see the batter become more cohesive and shiny as the eggs work in. The trick is not to overwhisk, which can incorporate excess air and lead to uneven rise; mix until just smooth.
- Pour the batter into the prepared muffin tray (or ramekins) until full. Add 1 marshmallow into each mould and press them down (they will float up slightly but sink while baking).: As you spoon the batter, observe its viscosity, it should be thick but pourable and coat the back of a spoon. Nestling a marshmallow into each cup will yield a tender, sweet core that complements the chocolate . The marshmallows may bob, but the heat during baking will allow them to settle and merge with the molten center. Be careful not to overfill the molds, which can cause spillage and uneven baking.
- Place muffin tray onto a baking tray and bake for 10 minutes or until the edges have set but the centre of each cake is a little soft. Allow to cool in the muffin tray for 5 minutes.: While baking you will notice the edges gain a matte sheen and lift slightly, while the centers remain glossy and tender, releasing a rich chocolate scent. This visual contrast is the guide for doneness, since the centers should wobble gently but not be liquid on top. Letting them rest for five minutes helps the structure set just enough to unmold without losing the molten core. A frequent error is overbaking by a minute or two which solidifies the center; watch the edges closely and trust the wobble test.
- Using a knife, gently pull cake away from the sides of the tray before turning out onto a baking tray lined with parchment/baking paper. Lift each cake onto a serving plate with a wide spatula while still warm and gooey (or they will stick to the tray if left for too long).: You will feel the slight resistance as the cake releases from the mold, and a thin knife helps separate the cake evenly. Turning them out while warm preserves the molten center; if you wait too long they may adhere or lose their ooze. Use a wide spatula to support the base when transferring, and have your serving plates ready. Forcing unmolding or tipping them when too cool risks tearing the delicate crust.
- To serve, dust with powdered/icing sugar.: A gentle rain of confectioners sugar adds a snowy contrast to the dark surface and a hint of sweetness on the first bite, enhancing both look and flavor. Dust just before serving to keep the sugar pristine against the warm cake. Avoid using coarse sugar which will not settle evenly, and apply sparingly so the sugar does not melt into sticky patches on the warm surface.
Notes
- Choose quality chocolate, ideally around 60 to 70 percent cocoa, for balanced bitterness and depth; chop it finely so it melts quickly and evenly without overheating.
- Temper your heat by melting on low or in short microwave bursts, stirring between intervals to maintain a glossy, non grainy mixture and avoid seizing.
- Measure precisely especially the flour and sugar, since too much dry ingredient makes the center cakier and too little risks collapse; use a scale if you have one.
- Time the bake carefully and set a timer for the minimum indicated time, checking visually for set edges and a soft centre; even small ovens vary, so adjust as needed.
- Unmold while warm and transfer with a wide spatula to preserve the molten middle and avoid sticking; cooling too long makes them cling to the tin.