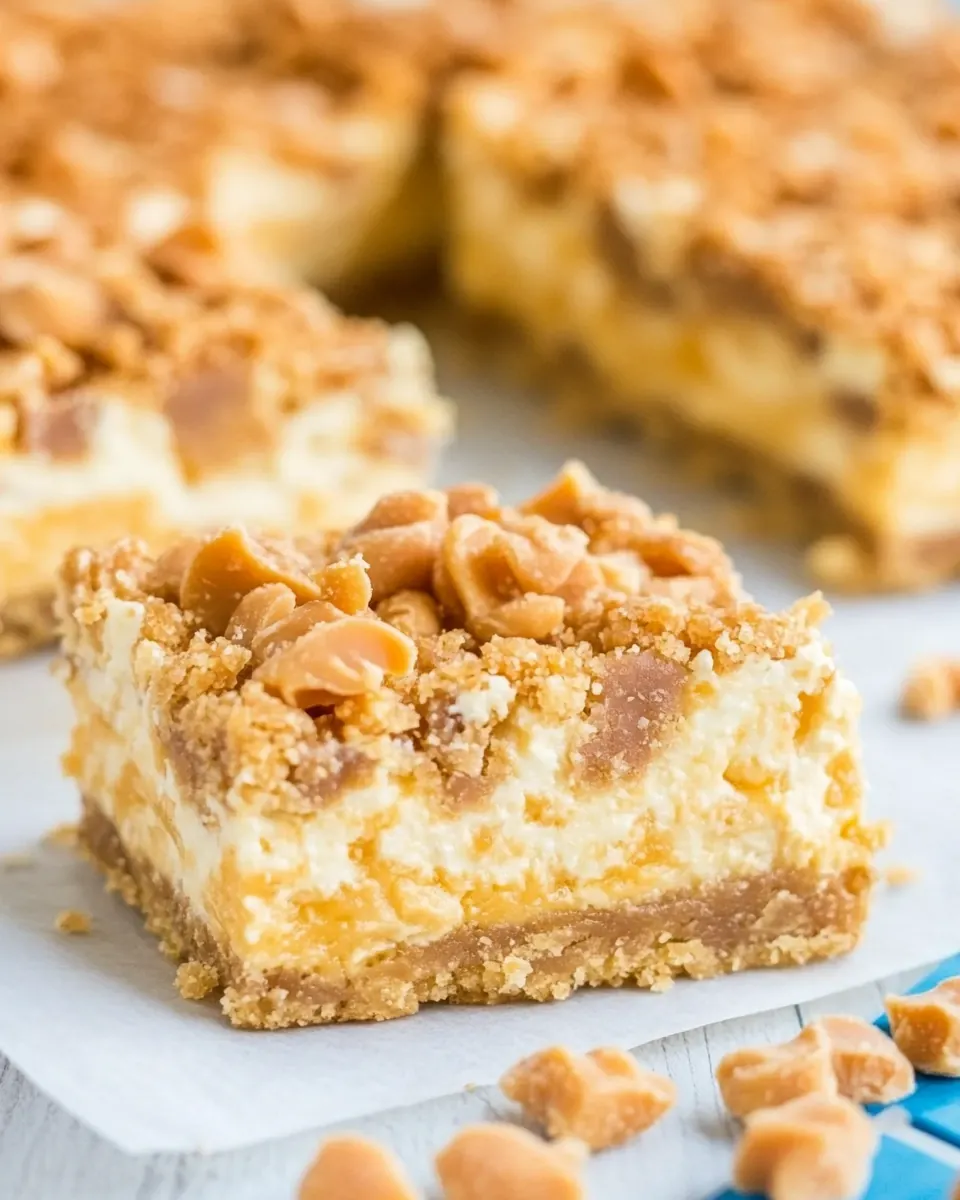
Butterscotch Toffee Cheesecake Bars
Butterscotch Toffee Cheesecake Bars changed the way I think about sheet pan desserts the first time I baked them for a frantic holiday potluck. I remember hauling a warm pan through a crowded kitchen, the aroma of baked cake mix and melted butterscotch chips weaving through conversations, and watching people line up to try a square. That initial batch vanished so fast I had to scribble the method on a napkin for a friend, and ever since this recipe has been my go to when I want an easy, show stopping dessert.
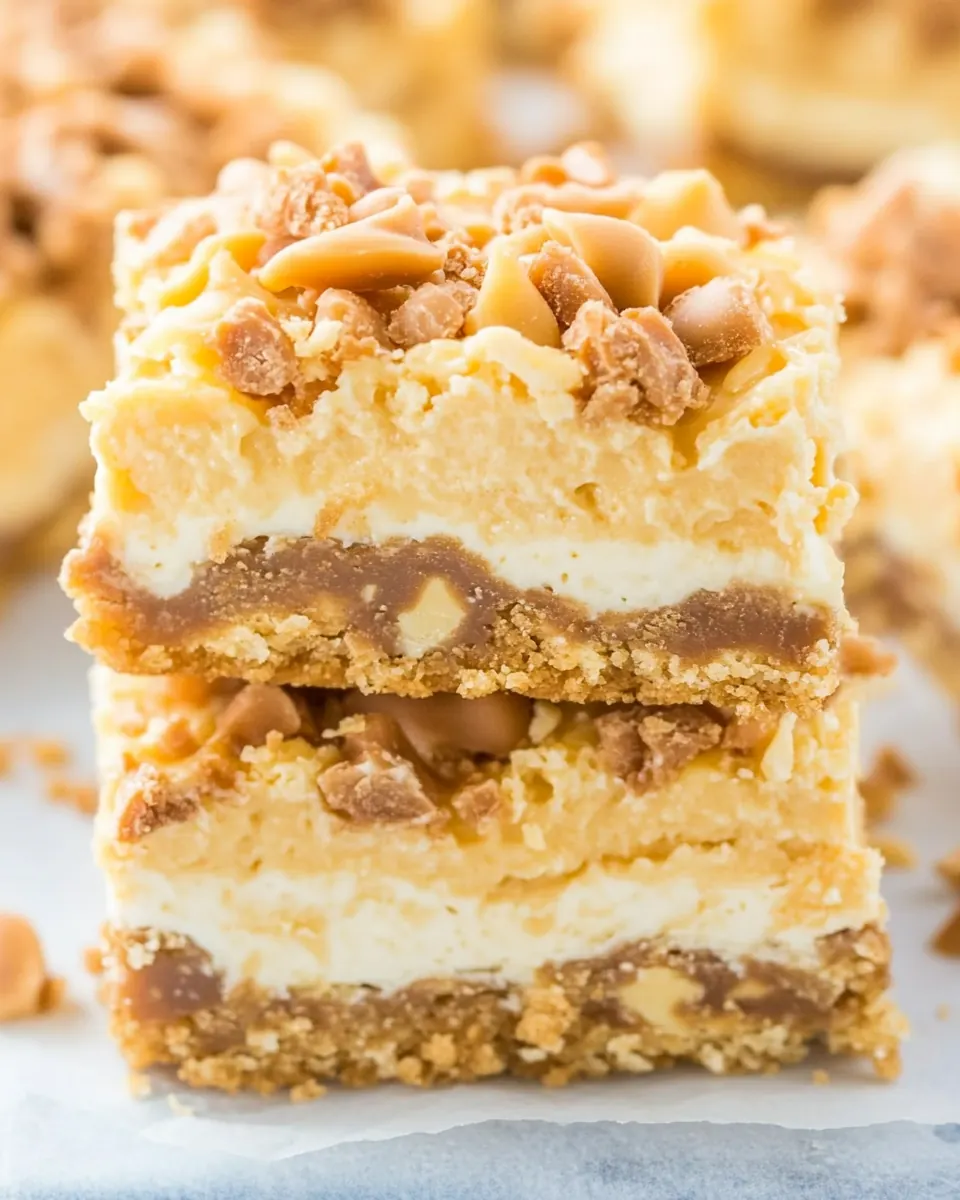
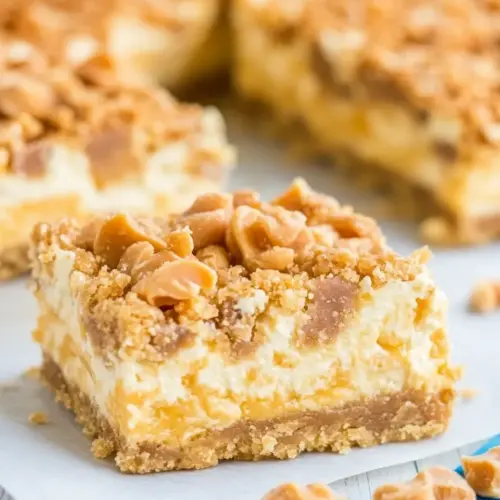
Over the years I have tweaked little things based on what I learned from kitchen missteps and praise alike. I like the balance between a crisp, slightly crumbly crust made from the dry yellow cake mix and the lush, tangy texture of the cream cheese filling, studded with crunchy toffee bits and glossy butterscotch chips. When I slice these bars warm they are creamy and yielding, and when cooled they hold neat edges that look polished on a dessert tray. Friends keep asking for the secret, but really the magic is in the simple ingredients and timing.
Recipe Snapshot
35 mins
10 mins
25 mins
Easy
250 kcal
American
Keto, Gluten-Free
Desserts
9 x 13-inch pan, Hand-held mixer, Rubber spatula, Mixing bowl
What Makes This Butterscotch Toffee Cheesecake Bars Special
Comforting texture contrast
I love how Butterscotch Toffee Cheesecake Bars combine a slightly crumbly crust with a custardy, dense filling. The crispness from the crust plays off the silky cream cheese layer, and the scattered toffee bits add a pleasing crunch. I often serve these when I want something that feels indulgent without being fussy.
Speed without compromise
One of the reasons I keep coming back to this recipe is how quickly it comes together. With the dry yellow cake mix and instant pudding, you skip tedious mixing and still get great structure. I can prep the pan, bake the crust, and whip the filling in the time it takes to tidy up the kitchen, which is why this is a go to for last minute gatherings.
Kid and crowd friendly
This dessert is a crowd pleaser. Kids are drawn to the sweet toffee notes, and adults appreciate the creamy cheesecake center. I like that you can make a full 9 x 13 pan and cut it into neat squares, so it travels well and feeds a crowd without fuss.
Flexible but reliable
Even though the recipe is straightforward, it tolerates slight adjustments. You can hold back some toffee for topping or bake a little longer for a firmer set. I tend to watch for visual cues more than the timer, because ovens vary. That adaptability means I can trust the recipe in different kitchens and still get consistent results.
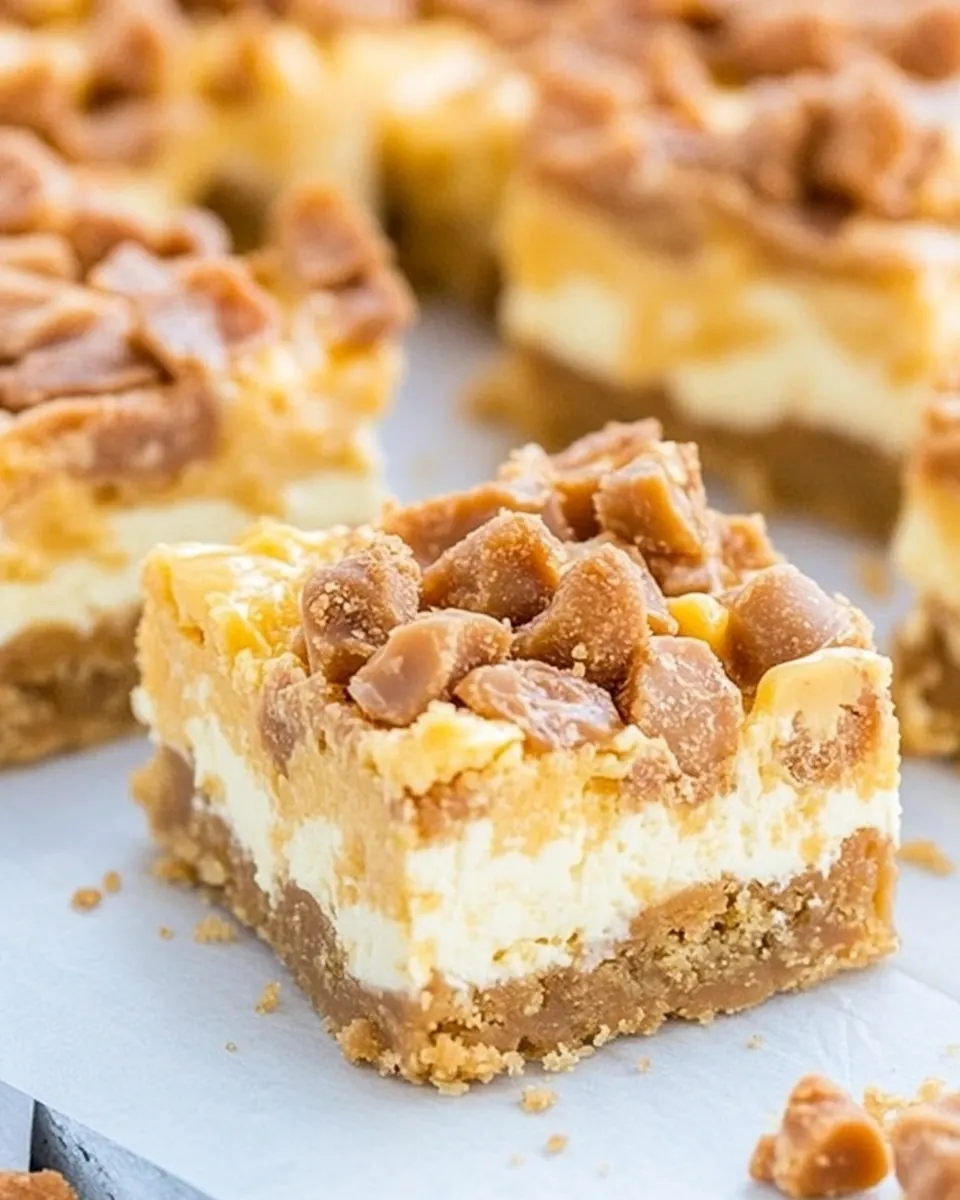
Textural finish and presentation
Finishing with extra toffee bits and butterscotch chips gives the bars an attractive sparkle and extra texture. I often pop the pan back in the oven for a minute to barely melt the chips so they glisten, which makes the bars look bakery made. It is a small flourish that guests always notice.
Recipe Ingredients for Butterscotch Toffee Cheesecake Bars
These ingredients are deliberately simple and pantry friendly, which is part of the recipe philosophy. The dry yellow cake mix and instant pudding provide structure and flavor without fuss, while the cream cheese brings tang and creaminess that transforms the mixture into a true cheesecake bar. The toffee bits and butterscotch chips are the key players that add crunch and warm caramel notes, and minimal wet ingredients let the bars set properly in the pan.
- 1 package yellow cake mix, regular size: Creates a sturdy and slightly sweet base for the bars; provides bulk and structure when combined with oil and eggs. Adds a familiar cake-like texture and helps the crust/bottom layer set during baking. Offers a neutral flavor that allows the butterscotch components to stand out while maintaining moisture.
- 1 (3.4-ounce) box instant butterscotch pudding mix: Adds intense butterscotch flavor and quick thickening to the filling without baking time. Dissolves easily into wet ingredients to deliver creamy, caramel-like notes and a smooth texture. Contributes sweetness and depth that complements the toffee bits and chips throughout the bars.
- 1/3 cup Vegetable oil: Provides necessary fat to moisten the cake mix and bind the crust components together, promoting tenderness and richness. Helps the crust achieve a slightly crisp edge while remaining soft underneath the cheesecake layer. Balances the dryness of the cake mix to create a cohesive base.
- 2 large eggs, divided: Enriches and binds both the crust and cheesecake layers; one egg typically incorporated into the crust while the other helps set the filling. Adds structure and a glossy finish to the baked bars, improving overall firmness and sliceability. Contributes to leavening and emulsification for a consistent texture.
- 1 (8-ounce) package cream cheese, softened: Introduces creamy, tangy richness that forms the cheesecake layer’s body and smooth mouthfeel. Softening ensures easy blending with sugar and pudding mix, preventing lumps and creating a velvety filling. Balances sweetness with slight acidity for a well-rounded flavor profile against the toffee elements.
- 1/3 cup sugar: Sweetens and stabilizes the cheesecake filling while aiding in achieving a smooth consistency when creamed with the cream cheese. Helps to balance the savory tang of the cream cheese and intensify the dessert’s overall sweetness. Also contributes to slight caramelization on the surface when baked.
- 1 cup brickle toffee bits, divided: Provides crunchy toffee texture and concentrated caramelized sugar flavor, with some reserved for sprinkling on top for garnish. Dividing them allows incorporation into the filling as well as a finishing touch for added contrast. Enhances the butterscotch theme and gives satisfying bite throughout each bar.
- 1/2 cup butterscotch chips: Delivers concentrated butterscotch flavor and pockets of melted sweetness within the bars when baked. Melts into gooey bursts that reinforce the toffee notes and add a chewy, candy-like element. Complements the pudding mix and toffee bits to create layers of caramelized taste.
Instructions for Butterscotch Toffee Cheesecake Bars
These instructions will guide you step by step in a very hands on way, so you know what to look for and how to avoid common slip ups. I find that focusing on sensory cues and small troubleshooting tips makes baking these bars feel less like following a checklist and more like cooking with intent.
- Preheat oven to 350 degrees and lightly grease a 9 x 13-inch pan.: You should notice the kitchen warming as the oven reaches 350 degrees , and a faint metallic hum from the preheat is normal. Greasing the pan ensures the bars release cleanly, and the light shimmer of oil or spray on the pan surface is a good visual cue. If the pan is not well greased the crust can stick, so take a moment to cover corners thoroughly. A common mistake is under greasing, which causes tearing when you lift the bars out.
- In a large bowl, use a hand-held mixer to mix yellow cake mix, butterscotch pudding mix, oil, and 1 egg until mixture is crumbly. Set 1 cup of mixture aside and press remaining mixture into the bottom of the prepared pan. Note: Just use the dry pudding mix. Do not add any milk.: Just use the dry pudding mix. Do not add any milk. : As you blend the dry yellow cake mix and dry butterscotch pudding mix with vegetable oil and 1 egg , you will hear the mixer shift from a loose powder to a coarse, sandy texture, with small clumps forming. The aroma will carry a concentrated sweet and vanilla like smell from the cake mix and butterscotch. When you press the remaining mixture into the pan, you should feel it pack firmly but not soggy, creating an even layer. Reserving exactly 1 cup gives you a crumb topping with similar flavor and texture. If you overmix into a paste the crust will be dense, so stop when it becomes crumbly.
- Bake for 10 minutes and then cool.: During the 10 minutes in the oven you will notice the crust set and the edges begin to take on light golden notes. The kitchen will fill with a toasty, sweet scent. After removing from the oven let it cool until it is warm to the touch, not piping hot, so the filling does not melt into the crust. Cooling also firms the base, which helps the filling stay distinct. A common mistake is trying to add filling while the crust is too hot, which can cause the layers to blend and a soggy texture.
- Beat cream cheese and sugar until smooth and creamy. Beat in remaining egg. Stir in 1/2 cup toffee bits. Spread mixture over crust. Sprinkle with the 1 cup of set aside crumb mixture.: When you beat the softened cream cheese with sugar , the motion should transform a slightly chalky block into a glossy, silky mass. You will see the mixture lighten in color and the graininess disappear, and the sound of the mixer will change to a smooth whirl. Adding the second egg loosens the mixture and helps it spread easily. Folding in 1/2 cup of brickle toffee bits introduces nutty crunch, and you should distribute them evenly so every bite has texture. When you spread the filling over the warm but not hot crust, use a rubber spatula to achieve a smooth surface. Finish by sprinkling the reserved crumb evenly for a rustic top. Avoid overbeating the filling, which traps air and can cause cracks during baking.
- Bake 15 to 20 minutes or until filling is set.: As the bars bake the filling will puff slightly and then settle; listen for a gentle silence from the oven, and look for the center to be just set with a slight jiggle only when nudged. The aroma now becomes richer, with caramel and baked dairy notes. Baking within 15 to 20 minutes usually yields a silky center that slices cleanly after cooling. If you overbake the filling becomes dry and crumbly, so check early and err on the side of a slightly soft center which firms as it cools.
- Sprinkle remaining toffee bits and butterscotch chips on top. Return to oven for 1 minute.: Once out of the oven, distributing the last toffee bits and butterscotch chips over the hot surface allows them to warm and just begin to melt where they touch, creating glossy spots and intensified flavor. Pop the pan back in the oven for about 1 minute , watching closely so the chips soften but do not fully collapse. The visual cue is a faint sheen on the chips and a slightly darker color on the toffee bits. A common mistake is leaving the bars in too long here, which can overmelt the chips and make the topping bleed into the filling.
Making Adjustments
Small tweaks can make a big difference when you are making Butterscotch Toffee Cheesecake Bars. Below are practical adjustments and ideas I have used over time, expanded into detailed tips to help you personalize the bars while keeping the core texture and flavor intact.
- Soften the cream cheese properly If the cream cheese is not fully softened, you will get lumps in the filling. Remove it from the refrigerator at least 30 minutes ahead, or briefly warm the sealed package in a bowl of warm water for a few minutes, then beat until perfectly smooth for the creamiest texture.
- Even pressing for a steady crust Press the crust using the bottom of a measuring cup to achieve uniform thickness. Even pressure prevents thin spots that bake faster and helps the filling maintain consistent structure across the pan.
- Reserve crumbs for texture Reserve exactly 1 cup of the crumbly mix as instructed, and sprinkle it on top rather than mixing it into the filling. This preserves a crunchy contrast and prevents the topping from dissolving into the warm filling.
- Watch oven hot spots Rotate the pan halfway through the initial crust bake if your oven runs hot in places. This prevents uneven browning and ensures the crust sets consistently across the pan.
- Quick melt finish For glossy chips, add the chips on top and return to the oven for about 1 minute. Watch carefully to avoid overmelting, which can turn the chips into thin puddles rather than shiny pockets.
- Cooling matters Allow the bars to cool until just warm before cutting. Cooling helps the filling set and yields cleaner slices, making presentation much easier and more attractive.
Perfect Matches for Butterscotch Toffee Cheesecake Bars
These bars are versatile and work for many occasions. Here are serving ideas, pairings, and storage notes to help you present them beautifully and keep leftovers at their best.
- Casual gatherings Serve squares on a simple platter for family game night or a casual potluck, where guests can grab a portion and enjoy the mix of creamy filling and crunchy toffee.
- Holiday dessert table These bars fit right into a holiday spread; arrange them in neat rows with festive paper liners for a tidy presentation that still feels home made.
- Make ahead strategy Bake and cool the pan, then cover tightly and refrigerate for up to 72 hours. Chilled bars slice very cleanly and the flavors meld, making them ideal when you want to prepare in advance.
- Occasions These are great for gatherings like birthdays, brunch treats, or Ramadan if you serve them after iftar as a sweet finish to the meal. Their easy portioning and crowd friendly nature make them reliable for many events.
- Storage tips Keep leftovers in an airtight container in the refrigerator for up to 5 days. For longer storage freeze individual squares between parchment layers and seal in a freezer safe container for up to 2 months.
- Presentation flourish Warm briefly in a low oven to revive gloss on the butterscotch chips before serving if they have dulled in the fridge, making them look fresh and bakery ready.
FAQ
Conclusion
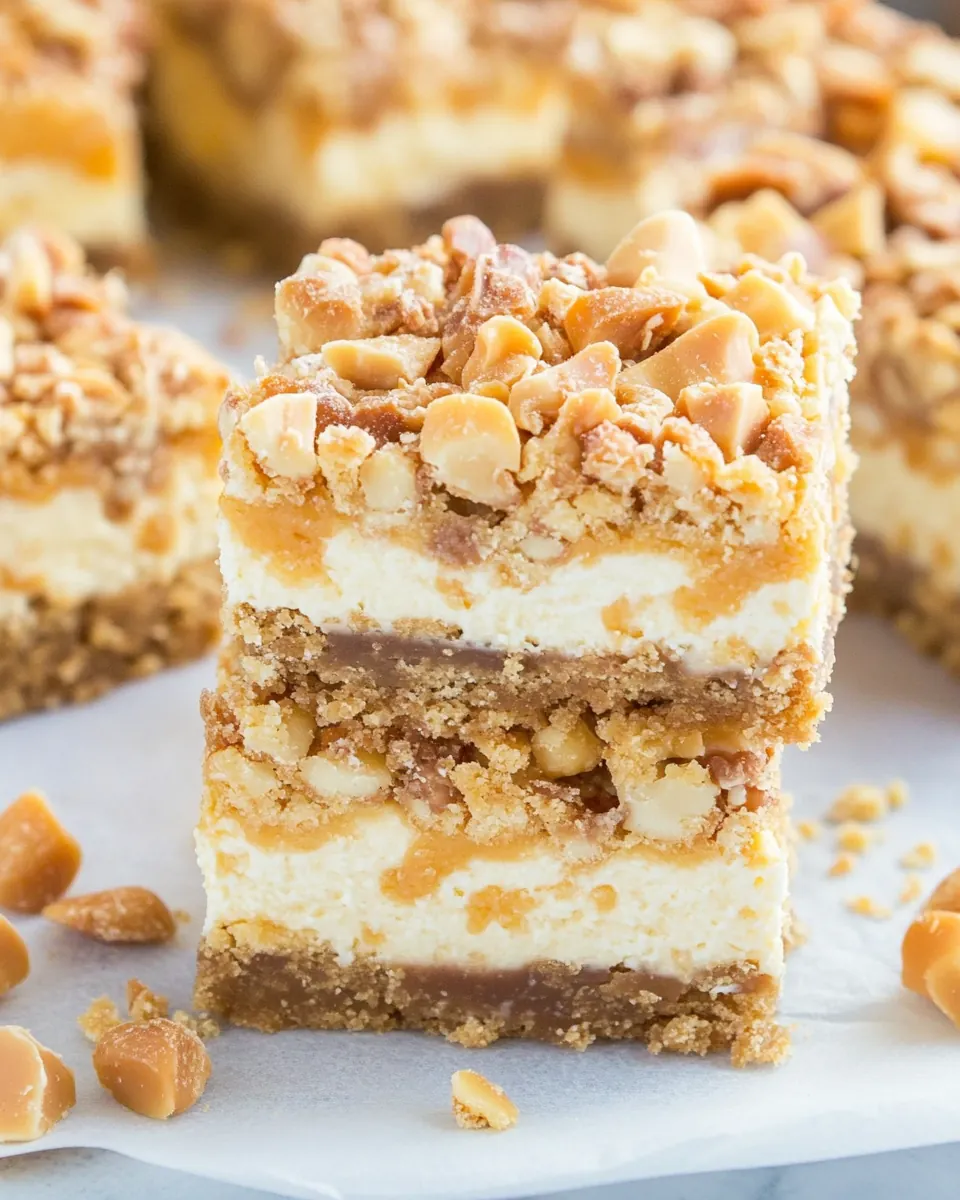
The ease and contrast of textures make these bars truly special, with a buttery crumb base, creamy cheesecake center, and crunchy toffee finish. Give them a try when you want a dessert that looks impressive yet comes together quickly from pantry staples. They are forgiving, travel well, and always seem to disappear fast at gatherings, so I hope you enjoy sharing them as much as I do.
Butterscotch Toffee Cheesecake Bars
Equipment
- 9 x 13-inch pan
- Hand Held Mixer
- Rubber spatula
- Mixing Bowl
Ingredients
- 1 package yellow cake mix, regular size Creates a sturdy and slightly sweet base for the bars; provides bulk and structure when combined with oil and eggs. Adds a familiar cake-like texture and helps the crust/bottom layer set during baking. Offers a neutral flavor that allows the butterscotch components to stand out while maintaining moisture.
- 1 (3.4-ounce) box instant butterscotch pudding mix Adds intense butterscotch flavor and quick thickening to the filling without baking time. Dissolves easily into wet ingredients to deliver creamy, caramel-like notes and a smooth texture. Contributes sweetness and depth that complements the toffee bits and chips throughout the bars.
- 1/3 cup Vegetable oil Provides necessary fat to moisten the cake mix and bind the crust components together, promoting tenderness and richness. Helps the crust achieve a slightly crisp edge while remaining soft underneath the cheesecake layer. Balances the dryness of the cake mix to create a cohesive base.
- 2 large eggs, divided Enriches and binds both the crust and cheesecake layers; one egg typically incorporated into the crust while the other helps set the filling. Adds structure and a glossy finish to the baked bars, improving overall firmness and sliceability. Contributes to leavening and emulsification for a consistent texture.
- 1 (8-ounce) package cream cheese, softened Introduces creamy, tangy richness that forms the cheesecake layer’s body and smooth mouthfeel. Softening ensures easy blending with sugar and pudding mix, preventing lumps and creating a velvety filling. Balances sweetness with slight acidity for a well-rounded flavor profile against the toffee elements.
- 1/3 cup sugar Sweetens and stabilizes the cheesecake filling while aiding in achieving a smooth consistency when creamed with the cream cheese. Helps to balance the savory tang of the cream cheese and intensify the dessert’s overall sweetness. Also contributes to slight caramelization on the surface when baked.
- 1 cup brickle toffee bits, divided Provides crunchy toffee texture and concentrated caramelized sugar flavor, with some reserved for sprinkling on top for garnish. Dividing them allows incorporation into the filling as well as a finishing touch for added contrast. Enhances the butterscotch theme and gives satisfying bite throughout each bar.
- 1/2 cup butterscotch chips Delivers concentrated butterscotch flavor and pockets of melted sweetness within the bars when baked. Melts into gooey bursts that reinforce the toffee notes and add a chewy, candy-like element. Complements the pudding mix and toffee bits to create layers of caramelized taste.
Instructions
- Preheat oven to 350 degrees and lightly grease a 9 x 13-inch pan.: You should notice the kitchen warming as the oven reaches 350 degrees , and a faint metallic hum from the preheat is normal. Greasing the pan ensures the bars release cleanly, and the light shimmer of oil or spray on the pan surface is a good visual cue. If the pan is not well greased the crust can stick, so take a moment to cover corners thoroughly. A common mistake is under greasing, which causes tearing when you lift the bars out.
- In a large bowl, use a hand-held mixer to mix yellow cake mix, butterscotch pudding mix, oil, and 1 egg until mixture is crumbly. Set 1 cup of mixture aside and press remaining mixture into the bottom of the prepared pan. Note: Just use the dry pudding mix. Do not add any milk.: Just use the dry pudding mix. Do not add any milk. : As you blend the dry yellow cake mix and dry butterscotch pudding mix with vegetable oil and 1 egg , you will hear the mixer shift from a loose powder to a coarse, sandy texture, with small clumps forming. The aroma will carry a concentrated sweet and vanilla like smell from the cake mix and butterscotch. When you press the remaining mixture into the pan, you should feel it pack firmly but not soggy, creating an even layer. Reserving exactly 1 cup gives you a crumb topping with similar flavor and texture. If you overmix into a paste the crust will be dense, so stop when it becomes crumbly.
- Bake for 10 minutes and then cool.: During the 10 minutes in the oven you will notice the crust set and the edges begin to take on light golden notes. The kitchen will fill with a toasty, sweet scent. After removing from the oven let it cool until it is warm to the touch, not piping hot, so the filling does not melt into the crust. Cooling also firms the base, which helps the filling stay distinct. A common mistake is trying to add filling while the crust is too hot, which can cause the layers to blend and a soggy texture.
- Beat cream cheese and sugar until smooth and creamy. Beat in remaining egg. Stir in 1/2 cup toffee bits. Spread mixture over crust. Sprinkle with the 1 cup of set aside crumb mixture.: When you beat the softened cream cheese with sugar , the motion should transform a slightly chalky block into a glossy, silky mass. You will see the mixture lighten in color and the graininess disappear, and the sound of the mixer will change to a smooth whirl. Adding the second egg loosens the mixture and helps it spread easily. Folding in 1/2 cup of brickle toffee bits introduces nutty crunch, and you should distribute them evenly so every bite has texture. When you spread the filling over the warm but not hot crust, use a rubber spatula to achieve a smooth surface. Finish by sprinkling the reserved crumb evenly for a rustic top. Avoid overbeating the filling, which traps air and can cause cracks during baking.
- Bake 15 to 20 minutes or until filling is set.: As the bars bake the filling will puff slightly and then settle; listen for a gentle silence from the oven, and look for the center to be just set with a slight jiggle only when nudged. The aroma now becomes richer, with caramel and baked dairy notes. Baking within 15 to 20 minutes usually yields a silky center that slices cleanly after cooling. If you overbake the filling becomes dry and crumbly, so check early and err on the side of a slightly soft center which firms as it cools.
- Sprinkle remaining toffee bits and butterscotch chips on top. Return to oven for 1 minute.: Once out of the oven, distributing the last toffee bits and butterscotch chips over the hot surface allows them to warm and just begin to melt where they touch, creating glossy spots and intensified flavor. Pop the pan back in the oven for about 1 minute , watching closely so the chips soften but do not fully collapse. The visual cue is a faint sheen on the chips and a slightly darker color on the toffee bits. A common mistake is leaving the bars in too long here, which can overmelt the chips and make the topping bleed into the filling.
Notes
- Soften the cream cheese properly If the cream cheese is not fully softened, you will get lumps in the filling. Remove it from the refrigerator at least 30 minutes ahead, or briefly warm the sealed package in a bowl of warm water for a few minutes, then beat until perfectly smooth for the creamiest texture.
- Even pressing for a steady crust Press the crust using the bottom of a measuring cup to achieve uniform thickness. Even pressure prevents thin spots that bake faster and helps the filling maintain consistent structure across the pan.
- Reserve crumbs for texture Reserve exactly 1 cup of the crumbly mix as instructed, and sprinkle it on top rather than mixing it into the filling. This preserves a crunchy contrast and prevents the topping from dissolving into the warm filling.
- Watch oven hot spots Rotate the pan halfway through the initial crust bake if your oven runs hot in places. This prevents uneven browning and ensures the crust sets consistently across the pan.
- Quick melt finish For glossy chips, add the chips on top and return to the oven for about 1 minute. Watch carefully to avoid overmelting, which can turn the chips into thin puddles rather than shiny pockets.
- Cooling matters Allow the bars to cool until just warm before cutting. Cooling helps the filling set and yields cleaner slices, making presentation much easier and more attractive.