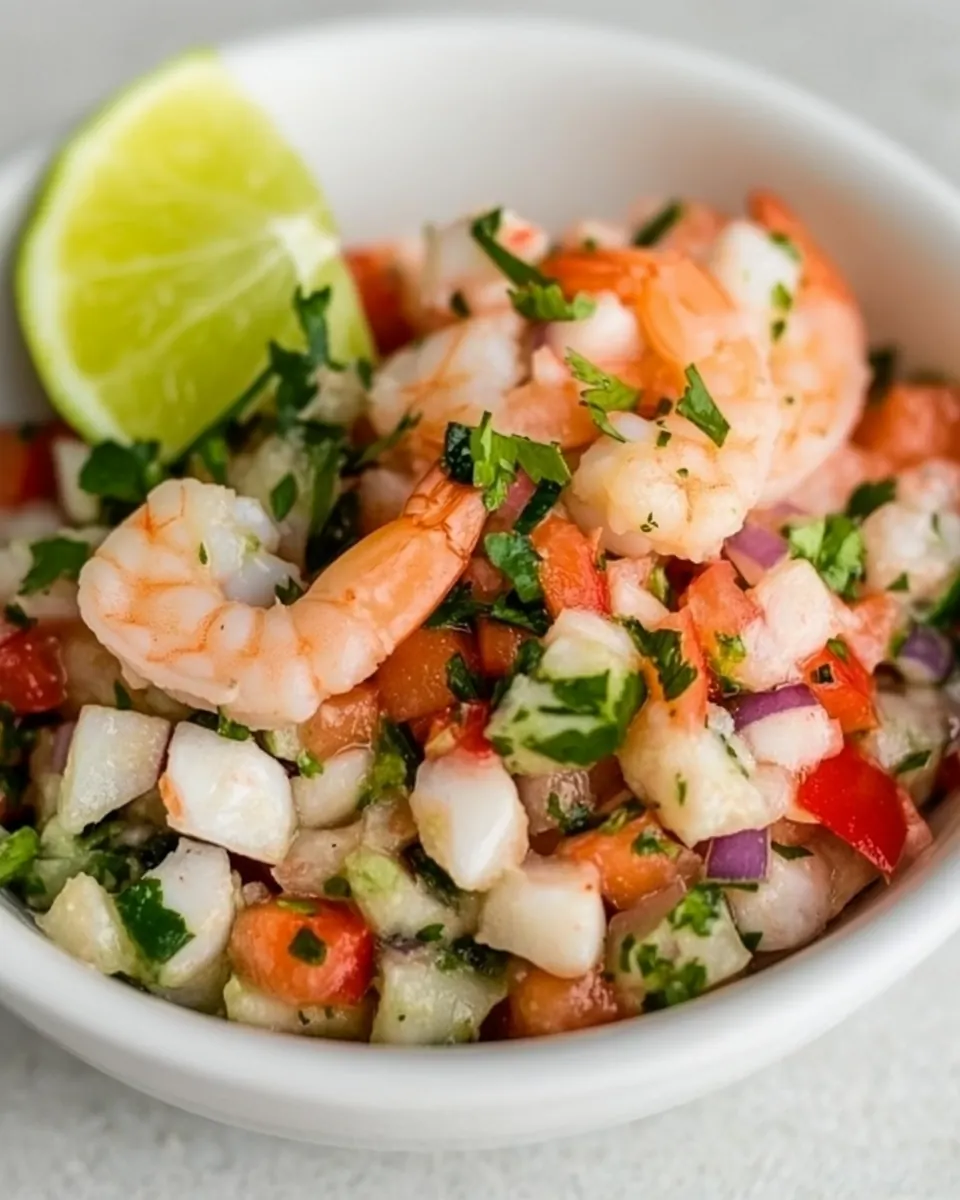
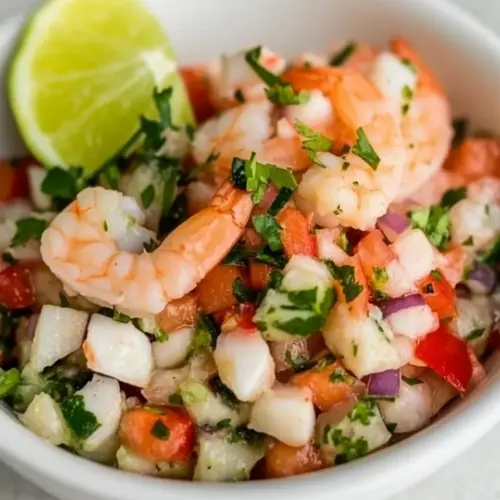
Shrimp Ceviche
Shrimp Ceviche is the kind of bright, bracing dish that instantly transports me back to a sunlit weekend at the coast when I first learned to trust acid as a cooking agent. I remember the day I nervously poured citrus over diced shrimp and watched the flesh turn from translucent to opaque, like a little miracle. The mix of crisp onion, sweet carrot, and the herbaceous lift of cilantro felt unexpected and fresh, and I kept spooning it onto tostadas until the bowl was nearly empty.
Another memory that sticks is serving Shrimp Ceviche at a casual summer gathering when someone asked if it was ‘cooked’ and I explained, with a grin, that citrus does the work. Guests loved the contrast of textures, especially the pop of tomato and the gentle heat from jalapeño peppers. I find it rewarding that such a simple combination becomes more interesting when you pay attention to small details like uniform knife cuts and how long the shrimp rests in the juice.
Over the years I’ve tweaked quantities and learned a few tricks, but the heart of this version remains honest and straightforward. I often prepare the components ahead of time and assemble just before a crowd arrives so the flavors feel fresh and lively. Whether you are serving it on crisp tostadas or scooping it with saltine crackers, Shrimp Ceviche is one of those dishes that invites conversation and second helpings. Give it a try the next warm afternoon, and you might find a new family favorite.
Recipe Snapshot
2 hr 40 mins
10 mins
150 mins
Hard
200 kcal
Mexican
Paleo, Whole30
Appetizers
Knife, Cutting board, Glass or stainless steel bowl, Refrigerator
What Makes This Shrimp Ceviche Special
Vibrant, Fresh Flavor
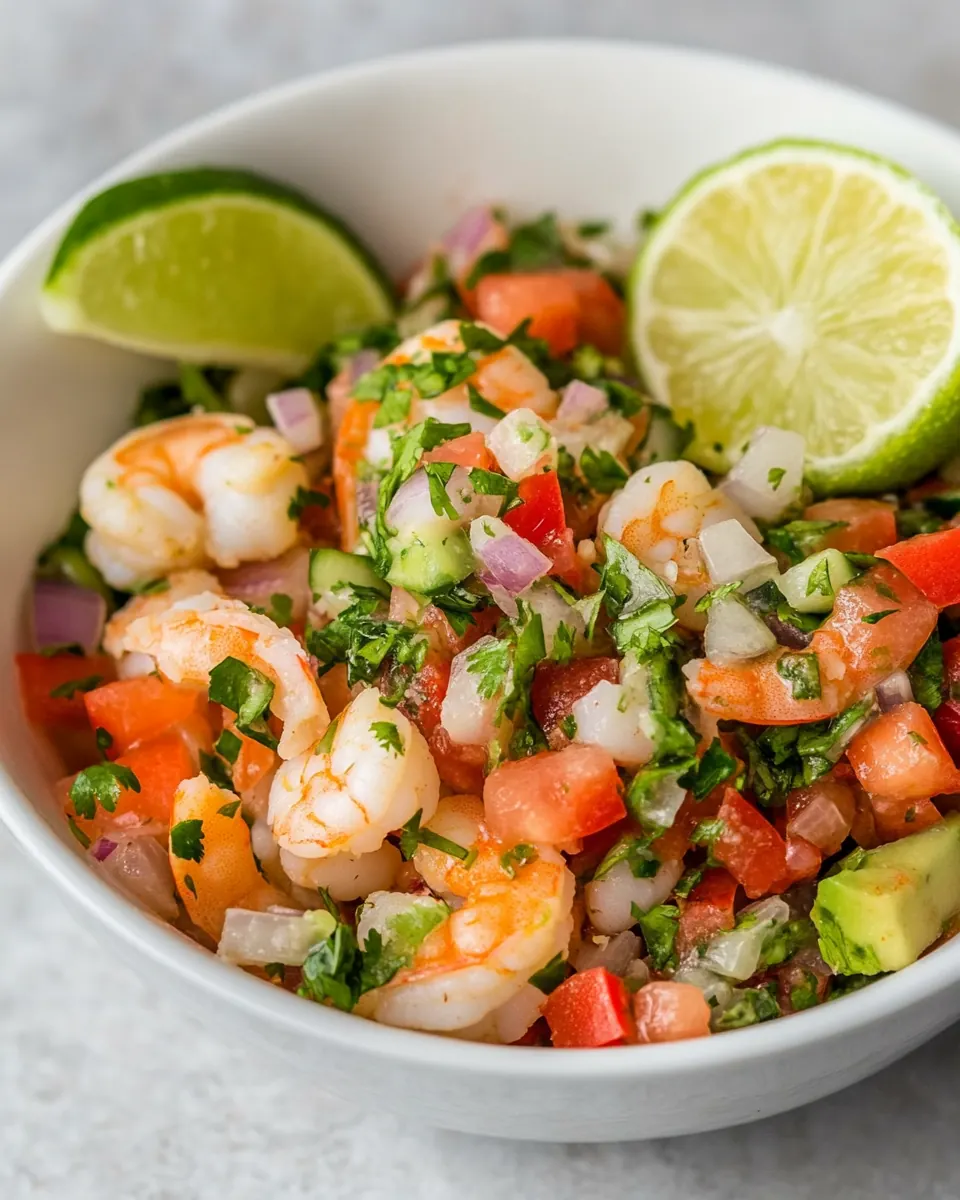
I love how Shrimp Ceviche delivers a bright, clean taste that feels lighter than many seafood dishes. The citrus juice transforms the shrimp while keeping the natural sweetness intact, so each bite feels lively. I often say that this recipe tastes like sunshine on a plate.
Textural Contrast
The mix of finely diced onion and crunchy carrot against tender shrimp is a major reason I return to this recipe. I enjoy how the crunch keeps the mouthfeel interesting, and the soft, slightly firm texture of the shrimp balances it perfectly. You get both snap and silkiness in one forkful.
Easy to Scale and Prep Ahead
I find Shrimp Ceviche perfect for feeding a group because you can prepare much of it before guests arrive. The citrus ‘cook’ happens in the fridge, freeing you to mingle. I typically chop the vegetables early and refrigerate them, so assembly is quick and stress free.
Customizable Heat and Acidity
One of my favorite aspects is how easily you can tune the recipe. Want more zing? Add more citrus juice. Prefer milder heat? Remove the seeds from the jalapeño peppers. I often adjust the balance to suit the crowd, and that flexibility makes this recipe a winner at potlucks.
Great for Sharing
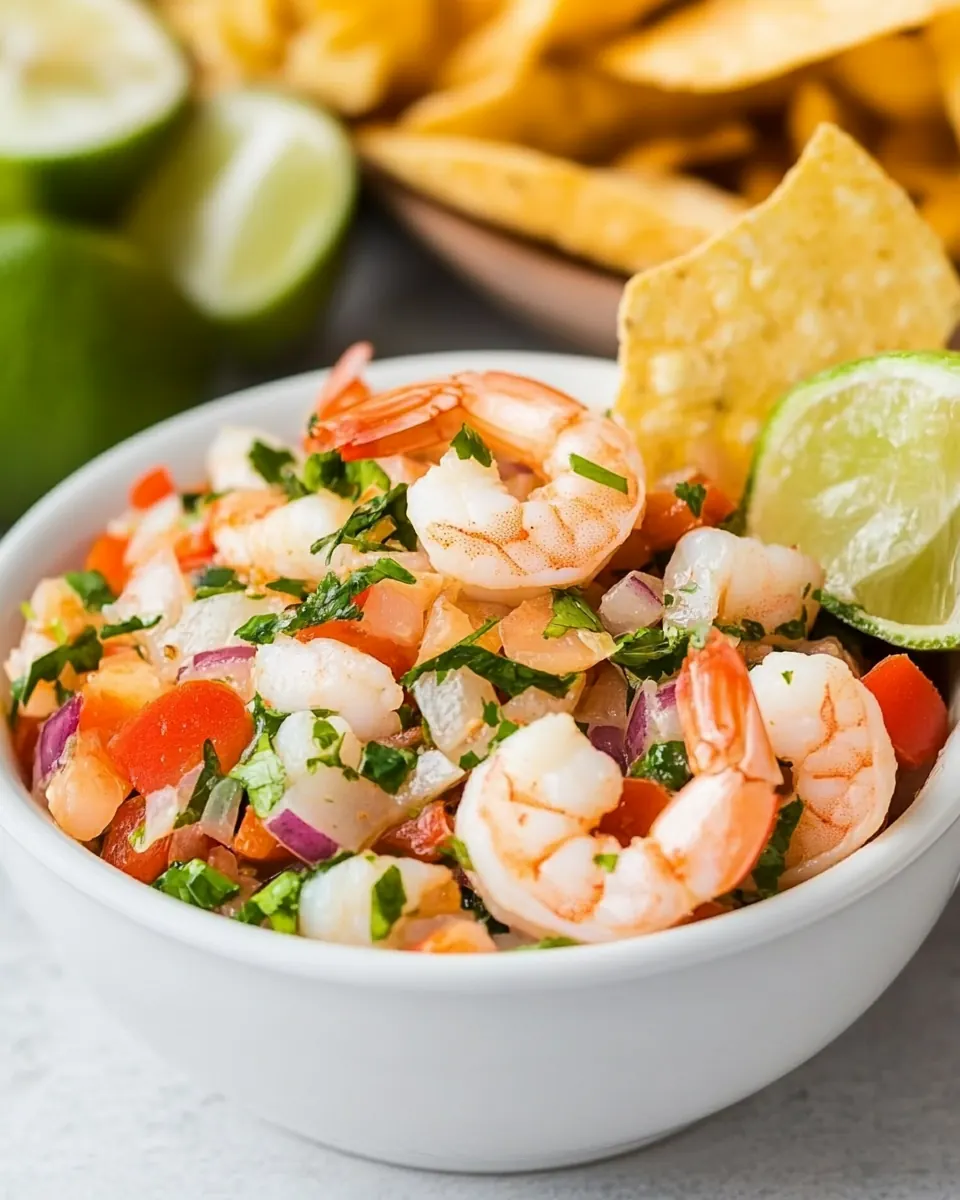
Lastly, I adore how social Shrimp Ceviche is. Serving it with tostadas or chips invites communal eating, and the simple presentation means you spend less time in the kitchen and more time with friends. It’s a recipe that encourages lingering at the table.
What’s In This Shrimp Ceviche
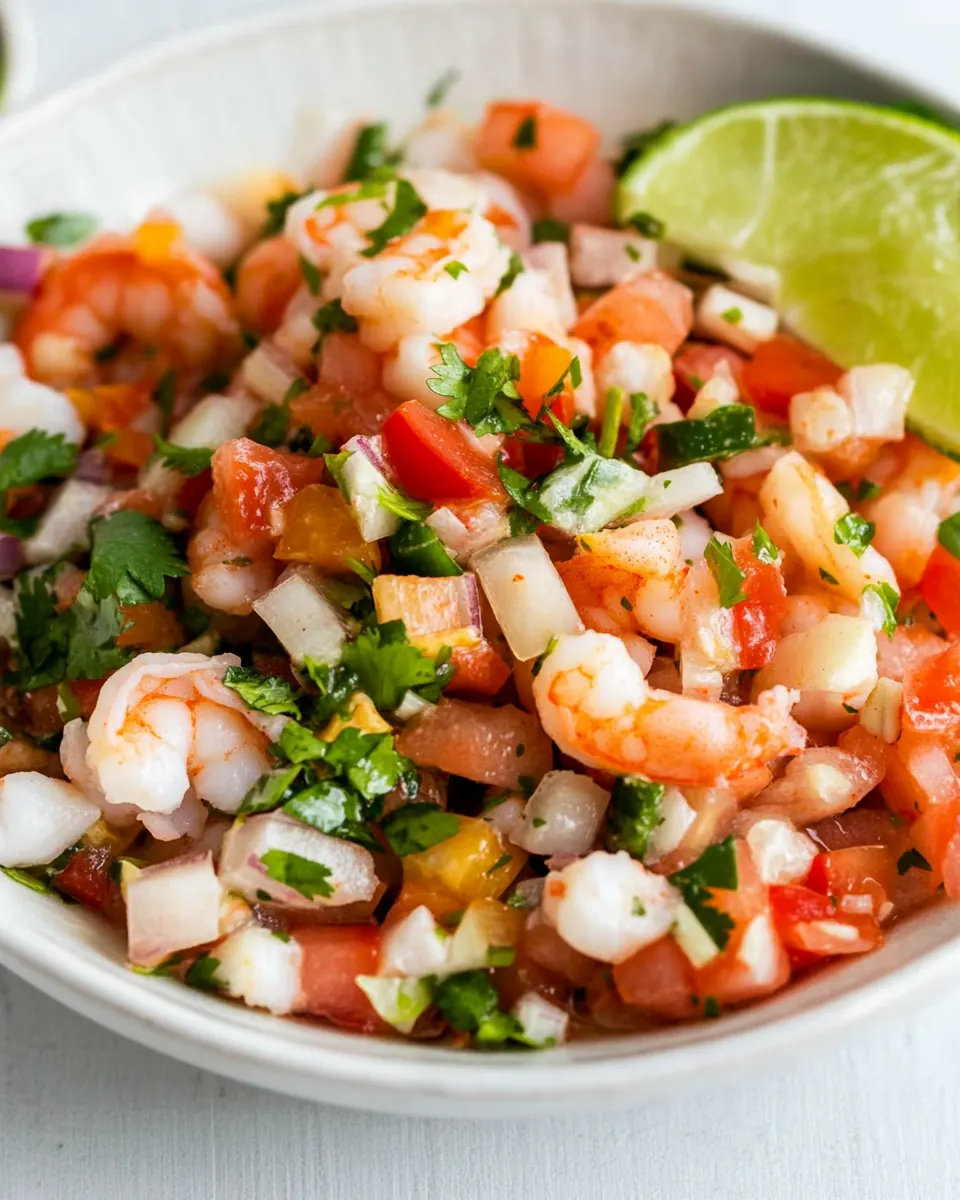
These ingredients work together to create a balance of bright acidity, crunch, and herbaceous aroma. The shrimp supplies the main protein and sweet seafood flavor, while the citrus juice acts as the curing agent that ‘cooks’ the seafood. The aromatic and textural players like onion, carrot, and jalapeño peppers add contrast, and cilantro brings a fresh green lift. The end result is a lively toss of flavors that shine together without competing.
- 1 pound raw shrimp thawed (see note 1): Use to provide the primary seafood element; devein and peel if needed, then allow the citrus to cure the shrimp until opaque and firm, yielding a tender ceviche texture and fresh ocean flavor.
- 1 cup citrus juice (see note 2): Provide the acidic cure that cooks the shrimp; combine lime, lemon, or orange juices to fully submerge the shrimp and balance brightness with a touch of sweetness for proper acid denaturation.
- 1 medium onion peeled and finely diced (about 1 cup): Add a crisp, sharp bite by finely dicing to distribute even texture and mild pungency throughout the ceviche without overpowering the other fresh ingredients.
- 1 large carrot peeled and finely chopped (about 1/2 cup, see note 3): Contribute subtle sweetness and firm crunch when peeled and finely chopped, helping to balance acidity and offer a pleasant contrast to the soft shrimp.
- 1 2 roma tomatoes seeded and finely chopped (about 1/2 cup): Bring ripe, juicy acidity and a mild tomato earthiness when seeded and finely chopped, adding body and freshness without excess liquid.
- 1 2 jalapeño peppers minced (seeded if desired, see note 4): Introduce a bright, spicy kick when minced, with seeds removed if less heat is desired; adjust amount to taste to control the overall heat level.
- 1 bunch fresh cilantro stems removed, minced (see note 5): Add a fragrant, citrusy-herb note when stems are removed and leaves minced; fold in toward the end to preserve color and fresh aroma.
- Salt: Season to taste to enhance and balance flavors; sprinkle gradually and taste as acidity and other ingredients can change salt needs.
- tortilla chips or tostadas or saltine crackers: Provide a crunchy or scoopable accompaniment to serve with the ceviche; choose tortilla chips, tostadas, or saltines depending on desired presentation and texture.
- mayonnaise and hot sauce, for serving: Offer a creamy and tangy finishing option when served alongside the ceviche; combine mayonnaise and hot sauce lightly if a richer dipping sauce is preferred.
Step by Step Instructions for Shrimp Ceviche
This ceviche comes together with a few straightforward actions, and patience during the citrus cure makes all the difference. I like to work in stages: clean and chop the shrimp, cure it in the citrus, then fold in the vegetables just before serving. Below I expand each step with sensory cues and helpful warnings so you feel confident at every turn.
- To peel and clean shrimp, start by pinching off the tail, then the rest of the shell should peel off fairly easily. Use a knife to make a shallow slice on the shrimp’s back, from its head to its tail.: Begin with the tactile task of shelling the shrimp , enjoying the quiet rhythm of removing each shell as the kitchen fills with a faint briny scent. As you make the shallow slice along the back, you will notice a slight change in texture where the knife meets the flesh, and that incision makes it easier to remove the vein. Keep the pieces uniform so the citrus cures evenly, and work over a bowl to catch any liquid. A common mistake is rushing and leaving shells or bits of membrane attached, which can make the texture unpleasant, so take your time and use a sharp paring knife to keep cuts clean.
- Carefully pick out the black or green vein that runs along the back and discard it, then rinse out the vein with water. Chop the shrimp into 1/2-inch pieces.: When you pull the vein you may notice a slightly metallic or earthy smell, which is why removal improves both flavor and appearance. Rinsing briefly under cold water removes any residue, then pat the shrimp dry so the citrus can contact the flesh directly. As you chop into 1/2 inch pieces, watch for consistent sizes; visually the bowl should look uniform, and the texture will be even when cured. Avoid over chopping which makes the pieces mushy, and beware of leaving the shrimp too wet because excess moisture dilutes the citrus and alters curing.
- In a medium glass or stainless-steel bowl, add shrimp and citrus juice and toss to coat. Cover and refrigerate until the shrimp is opaque and 'cooked' through, about 2 to 4 hours depending on the size of the shrimp (see note 1).: As the citrus hits the shrimp , you will see the color shift from translucent to a firm, opaque tone, and the kitchen will smell bright and zesty. Tossing ensures all surfaces are contacted, and covering the bowl prevents other fridge odors from interfering. Place the bowl on a lower shelf to keep the temperature steady. A typical error is checking too frequently, which interrupts the cure and can lead to uneven texture; instead, trust the time guidance and only test once near the end of the suggested window.
- Drain off and discard excess citrus juice. Add onion, carrots, tomatoes, jalapeños, and cilantro and toss until evenly coated. Season to taste with salt and more fresh citrus juice if desired.: Carefully pour off the excess citrus so the ceviche remains lively instead of soupy, and listen for the quiet clink as liquid leaves the bowl. When you fold in the diced onion , carrot , tomato , jalapeño peppers , and cilantro , inhale the layered aromas of citrus, herb, and pepper. Toss gently so the pieces stay intact. Taste at this stage and adjust salt or a splash more citrus if the mixture feels flat. A frequent slip is over seasoning before flavors meld; seasoning lightly first then tasting is a safer approach.
- Serve with tostadas, tortilla chips, or saltine crackers, passing hot sauce and mayonnaise separately.: Present the ceviche chilled, spooning it onto crisp tostadas or offering a bowl with chips for scooping, and watch how the textures contrast pleasingly. The first bite should start cool and tangy, then finish with the herb and pepper notes. If you offer hot sauce and mayonnaise on the side, guests can tailor each bite. One mistake to avoid is letting the assembled ceviche sit too long on crispy carriers, as they will soften; serve promptly for the best crunch.
Making Adjustments
Small tweaks can transform this ceviche into a range of experiences, from mild and family friendly to fiery and bold. Below are practical adjustments I recommend, each expanded into a detailed tip so you can adapt the recipe confidently.
- Adjust the heat by removing seeds from the jalapeño peppers or using less of them, mincing finely so a little spreads easily; this keeps the dish approachable for children while still offering a hint of warmth.
- Vary the citrus by combining lime and lemon or adding grapefruit for subtle sweetness; taste as you go because different juices change acidity levels and can make the cure faster or slower.
- Control texture by chopping the carrot and onion finer for a smoother mouthfeel or leaving them slightly larger if you want more crunch in every bite.
- Make it ahead by curing the shrimp earlier in the day and adding vegetables just before serving to preserve crispness; store the cured seafood in the fridge covered until you are ready to combine.
- Present with variety by offering tostadas, tortilla chips, and saltine crackers so guests can choose their preferred base; each carrier changes the experience and invites sharing.
Serving Suggestions
I like to think of serving as the final layer of flavor and hospitality. Shrimp Ceviche is naturally celebratory, and you can pace the presentation to suit casual snacking or a plated appetizer. Below are detailed serving ideas, pairing suggestions, and storage notes laid out in a helpful list format.
- Serve chilled on tostadas, spooning the ceviche onto crisp tostadas right before serving so the texture remains crunchy; this presentation is excellent for outdoor gatherings and summer lunches.
- Offer tortilla chips in a bowl alongside the ceviche for a relaxed party setup, letting guests scoop as they like and pass hot sauce and mayonnaise for customization.
- Saltine crackers make an easy, pantry friendly option that contrasts with the tender shrimp, and they are great when you want a lighter, less oily carrier than chips or tostadas.
- Occasions: This recipe is perfect for summer barbecues, beach picnics, light lunch gatherings, or serving as a starter at a dinner party; its bright flavors are especially welcome in warm weather.
- Storage: Store leftover ceviche in an airtight container in the refrigerator and consume within 24 hours for best quality, as the citrus will continue to change the texture of the shrimp over time.
- Seasonal pairings: In summer pair with simple salads and cold beverages, while in transitional seasons serve as a refreshing counterpoint to richer mains; the dish’s acidity cuts through heavier flavors.
- Serving style: For a family style spread, put the ceviche in a large bowl with plates of tostadas and bowls of condiments, encouraging guests to build their own bites and creating a convivial atmosphere.
FAQ
Conclusion
What makes this Shrimp Ceviche special is its ability to combine simple ingredients into a lively, textural dish that feels both effortless and thoughtful. The citrus cure transforms the shrimp while the diced vegetables and fresh cilantro keep every bite interesting. I encourage you to give it a try when you want a light, celebratory dish that is easy to scale for friends and family. Enjoy the process of assembling the components, and savor how a few well chosen ingredients can create something memorable.
Shrimp Ceviche
Equipment
- Knife
- Cutting Board
- Glass or stainless steel bowl
- Refrigerator
Ingredients
- 1 pound raw shrimp thawed (see note 1) Use to provide the primary seafood element; devein and peel if needed, then allow the citrus to cure the shrimp until opaque and firm, yielding a tender ceviche texture and fresh ocean flavor.
- 1 cup citrus juice (see note 2) Provide the acidic cure that cooks the shrimp; combine lime, lemon, or orange juices to fully submerge the shrimp and balance brightness with a touch of sweetness for proper acid denaturation.
- 1 medium onion peeled and finely diced (about 1 cup) Add a crisp, sharp bite by finely dicing to distribute even texture and mild pungency throughout the ceviche without overpowering the other fresh ingredients.
- 1 large carrot peeled and finely chopped (about 1/2 cup, see note 3) Contribute subtle sweetness and firm crunch when peeled and finely chopped, helping to balance acidity and offer a pleasant contrast to the soft shrimp.
- 1 -2 roma tomatoes seeded and finely chopped (about 1/2 cup) Bring ripe, juicy acidity and a mild tomato earthiness when seeded and finely chopped, adding body and freshness without excess liquid.
- 1 -2 jalapeño peppers minced (seeded if desired, see note 4) Introduce a bright, spicy kick when minced, with seeds removed if less heat is desired; adjust amount to taste to control the overall heat level.
- 1 bunch fresh cilantro stems removed, minced (see note 5) Add a fragrant, citrusy-herb note when stems are removed and leaves minced; fold in toward the end to preserve color and fresh aroma.
- Salt Season to taste to enhance and balance flavors; sprinkle gradually and taste as acidity and other ingredients can change salt needs.
- tortilla chips or tostadas or saltine crackers Provide a crunchy or scoopable accompaniment to serve with the ceviche; choose tortilla chips, tostadas, or saltines depending on desired presentation and texture.
- mayonnaise and hot sauce, for serving Offer a creamy and tangy finishing option when served alongside the ceviche; combine mayonnaise and hot sauce lightly if a richer dipping sauce is preferred.
Instructions
- To peel and clean shrimp, start by pinching off the tail, then the rest of the shell should peel off fairly easily. Use a knife to make a shallow slice on the shrimp’s back, from its head to its tail.: Begin with the tactile task of shelling the shrimp , enjoying the quiet rhythm of removing each shell as the kitchen fills with a faint briny scent. As you make the shallow slice along the back, you will notice a slight change in texture where the knife meets the flesh, and that incision makes it easier to remove the vein. Keep the pieces uniform so the citrus cures evenly, and work over a bowl to catch any liquid. A common mistake is rushing and leaving shells or bits of membrane attached, which can make the texture unpleasant, so take your time and use a sharp paring knife to keep cuts clean.
- Carefully pick out the black or green vein that runs along the back and discard it, then rinse out the vein with water. Chop the shrimp into 1/2-inch pieces.: When you pull the vein you may notice a slightly metallic or earthy smell, which is why removal improves both flavor and appearance. Rinsing briefly under cold water removes any residue, then pat the shrimp dry so the citrus can contact the flesh directly. As you chop into 1/2 inch pieces, watch for consistent sizes; visually the bowl should look uniform, and the texture will be even when cured. Avoid over chopping which makes the pieces mushy, and beware of leaving the shrimp too wet because excess moisture dilutes the citrus and alters curing.
- In a medium glass or stainless-steel bowl, add shrimp and citrus juice and toss to coat. Cover and refrigerate until the shrimp is opaque and 'cooked' through, about 2 to 4 hours depending on the size of the shrimp (see note 1).: As the citrus hits the shrimp , you will see the color shift from translucent to a firm, opaque tone, and the kitchen will smell bright and zesty. Tossing ensures all surfaces are contacted, and covering the bowl prevents other fridge odors from interfering. Place the bowl on a lower shelf to keep the temperature steady. A typical error is checking too frequently, which interrupts the cure and can lead to uneven texture; instead, trust the time guidance and only test once near the end of the suggested window.
- Drain off and discard excess citrus juice. Add onion, carrots, tomatoes, jalapeños, and cilantro and toss until evenly coated. Season to taste with salt and more fresh citrus juice if desired.: Carefully pour off the excess citrus so the ceviche remains lively instead of soupy, and listen for the quiet clink as liquid leaves the bowl. When you fold in the diced onion , carrot , tomato , jalapeño peppers , and cilantro , inhale the layered aromas of citrus, herb, and pepper. Toss gently so the pieces stay intact. Taste at this stage and adjust salt or a splash more citrus if the mixture feels flat. A frequent slip is over seasoning before flavors meld; seasoning lightly first then tasting is a safer approach.
- Serve with tostadas, tortilla chips, or saltine crackers, passing hot sauce and mayonnaise separately.: Present the ceviche chilled, spooning it onto crisp tostadas or offering a bowl with chips for scooping, and watch how the textures contrast pleasingly. The first bite should start cool and tangy, then finish with the herb and pepper notes. If you offer hot sauce and mayonnaise on the side, guests can tailor each bite. One mistake to avoid is letting the assembled ceviche sit too long on crispy carriers, as they will soften; serve promptly for the best crunch.
Notes
- Adjust the heat by removing seeds from the jalapeño peppers or using less of them, mincing finely so a little spreads easily; this keeps the dish approachable for children while still offering a hint of warmth.
- Vary the citrus by combining lime and lemon or adding grapefruit for subtle sweetness; taste as you go because different juices change acidity levels and can make the cure faster or slower.
- Control texture by chopping the carrot and onion finer for a smoother mouthfeel or leaving them slightly larger if you want more crunch in every bite.
- Make it ahead by curing the shrimp earlier in the day and adding vegetables just before serving to preserve crispness; store the cured seafood in the fridge covered until you are ready to combine.
- Present with variety by offering tostadas, tortilla chips, and saltine crackers so guests can choose their preferred base; each carrier changes the experience and invites sharing.