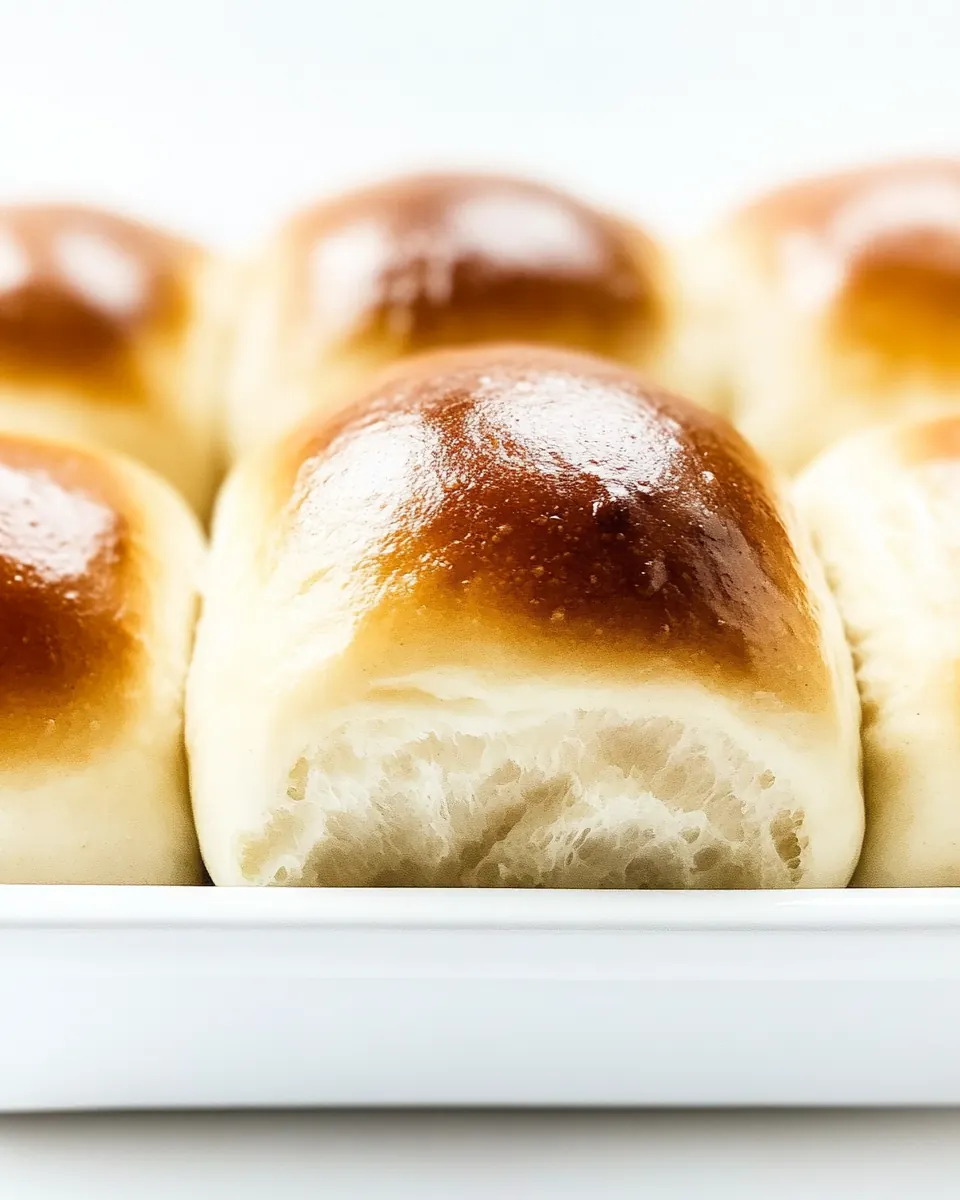
1 Hour Rolls
1 Hour Rolls are the kind of bread I make when the house smells like comfort and someone announces they are coming over in under an hour.
I first learned to love these rolls on a chaotic Saturday morning when I had to stretch time and patience into something delicious. I remember pulling a warm pan from the oven, the tops glossy from melted butter, and everyone arguing over who would get the smallest one. That memory taught me that simple technique and respectful timing can turn a handful of pantry staples into a tray of soft, pillowy rolls that disappear fast. Over the years I have adjusted water, warmth, and handling so the dough behaves predictably, and I love sharing the little tricks that stop the sticky dough panic and keep the crumb tender.
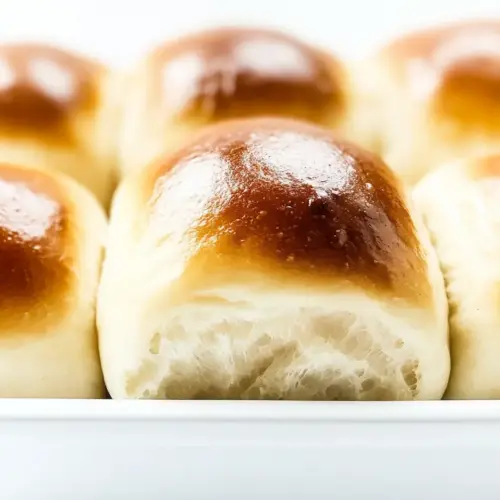
There is a rhythm to making 1 Hour Rolls that I enjoy, from measuring the flour with a steady hand to listening for the faint, reassuring clack of the mixer when the dough finally comes together. I like how they fit into weeknight dinners or holiday spreads, and how they are forgiving when life complicates plans. Friends tell me they feel both homey and a little bit luxurious, which is exactly the balance I aim for when I bake. The result is always warm rolls with a buttery sheen, delicate crumbs, and a simple golden top that invites one more bite.
Recipe Snapshot
1 hr 3 mins
45 mins
18 mins
Medium
150 kcal
American
Gluten-Free, Low FODMAP
Side Dishes
Mixer with dough hook, 9×13 baking pan, Mixing bowls, Kitchen scale, Measuring cups and spoons
Why This 1 Hour Rolls Hits Different
Fast but impressive
I love that 1 Hour Rolls deliver bakery vibes in a short time. When I serve them, guests often assume I started the dough hours earlier, but the quick rise technique and warm oven trick make them possible on a tight schedule. That surprise moment, when someone tastes a roll and asks how long it took, is one of my favorite reactions.
Simple ingredients, big payoff
The ingredient list is intentionally minimal. With basic pantry items like all-purpose flour, granulated sugar, and rapid rise yeast, you get a reliable structure and tender crumb. Using unsalted butter and milk gives the rolls a rich flavor and soft texture, and I appreciate recipes that do more with less.
Technique driven for consistency
I often tell home bakers that technique beats perfection. The way you knead, rest, and shape the dough determines whether your rolls are light or dense. I share practical cues for smooth elastic dough and how to spot the right rise, so you can reproduce this result without guessing.
Versatile for occasions
These rolls work for lazy weeknights, celebratory dinners, and potlucks. I bring them to gatherings because they travel well and pair with savory mains or sweet spreads. Their neutral, buttery profile makes them adaptable to many menus.
Comfort that travels well
I appreciate that 1 Hour Rolls store and reheat beautifully. You can refresh them in a warm oven or microwave for a minute, and they regain their soft texture. That resilience makes them a practical choice for busy households where food needs to be flexible and forgiving.
Ingredients for 1 Hour Rolls
These ingredients are straightforward and work together through contrast and support. The flour gives structure, the rapid rise yeast provides speed, milk and unsalted butter enrich the dough, while granulated sugar feeds the yeast and balances flavor. Salt ties it all together, enhancing the taste without making the rolls salty.
- 3 1/2 cups all-purpose flour: Provides structure and body to the dough, forming the gluten network when hydrated and kneaded; helps create the tender crumb and chew expected in soft rolls. Measures accurately for consistent dough hydration and rise times.
- 3 tablespoons granulated sugar: Adds sweetness and feeds the yeast for fermentation, promoting browning and a slightly sweet flavor in the crust; helps tenderize the crumb by interacting with gluten and starch. Dissolves into the liquid for even distribution throughout the dough.
- 1 tablespoon rapid rise yeast: Leavens the dough quickly by producing carbon dioxide when activated in warm liquid, enabling the rolls to rise within an hour; choose rapid rise yeast for a fast, reliable fermentation. Mixes evenly with the dry ingredients or rehydrated in milk for best activation.
- 1 1/2 teaspoons salt: Enhances flavor and controls fermentation rate, strengthening gluten and balancing the overall taste; helps regulate yeast activity so the dough doesn't overproof. Sprinkle or mix into dry ingredients to ensure even seasoning throughout the dough.
- 1 1/4 cup milk, warmed: Hydrates flour to form the dough and activates yeast while contributing milk solids for a richer flavor and softer crumb; warmed milk helps speed yeast activation for a quicker rise. Use at the right temperature to avoid killing yeast while promoting fermentation.
- 6 tablespoons unsalted butter, melted and divided: Adds richness, flavor, and tenderness to the rolls; melted butter improves dough softness and contributes to browning. Reserve some melted butter for brushing the tops after baking to impart shine and extra flavor.
How to Assemble 1 Hour Rolls

These directions move briskly from mixing to shaping to baking. I find it helps to read through once, gather equipment, and prep the butter and milk so everything flows. Below I expand every step with sensory cues and troubleshooting advice so you can feel confident the dough is doing what it should.
- Set the oven to warm or alternately as low as you can set it if you don’t have a warm option, about 170 degrees Fahrenheit. Lightly spray a 9×13 pan with pan spray and set it aside.: You will sense a gentle warmth when the oven is right, not hot or stifling. This low heat gives the dough a friendly environment to begin proofing, so the yeast wakes up steadily instead of rushing and collapsing. If your oven does not have a warm setting, the lowest temperature works fine, and you can test with your hand near the glass to confirm a steady gentle heat. A common mistake is making the oven too hot, which can start baking the outside of the dough and prevent proper rising. The pan should feel neutral to the touch after spraying, and arranging the rack in the center ensures even warmth. Use a 9×13 pan so the rolls have enough surface contact to support rising, and avoid thicker pans that trap too much heat close to the metal.
- In the bowl of your mixer whisk together the flour, sugar, yeast, and salt.: As you whisk, notice the dry mixture take on a uniform pale hue and a fine texture. Combining these dry ingredients evenly ensures the rapid rise yeast is distributed so every roll rises consistently. If you detect clumps, break them up with the whisk so the dough will hydrate uniformly. A frequent error is adding ingredients in a haphazard way, which can leave pockets of yeast or salt and lead to uneven proofing. Take a moment to sift or whisk thoroughly, and you will see a smooth, homogenous mix that smells faintly of flour and sugar.
- In another bowl combine the warm milk and 4 tablespoons of melted butter. Using the dough hook on low, slowly add the liquid to the dry ingredients. Knead the dough for about 4 minutes or so, until it is smooth and elastic. If the dough is still very sticky, add more flour 1-2 tablespoons at a time.: When you pour the warm milk and melted butter into the dry mix, the scent of butter becomes noticeable and the dough starts to cohere. Using the dough hook on low prevents overworking the gluten while encouraging development; you should hear a steady light whir as the dough cleans the bowl sides. After about four minutes the dough should feel springy and slightly tacky, and visually it will smooth out with small air pockets forming. If it remains sticky after kneading, add a tablespoon or two of all purpose flour sparingly; too much flour will dry the dough. Avoid kneading at high speed, because that can heat the dough and tighten gluten excessively, creating a firmer crumb. A common trap is to stop kneading too soon, leaving dough shaggy and unable to hold shape. Keep kneading until you can press the surface lightly and see a slight bounce back.
- Once you have achieved a smooth dough, cover the bowl and let rest for about 5-10 minutes.: During this brief rest the dough relaxes and develops subtle air pockets, and the surface will lose some tackiness. You will notice a calmer texture when you come back to it, and it becomes easier to divide and shape. Covering traps gentle humidity so the dough does not form a dry skin. A usual error is letting it rest too long at warm temperature, which can overproof the dough and make shaping difficult. Set a timer for about five to ten minutes and check for a slightly puffed look, not a fully doubled size, before proceeding.
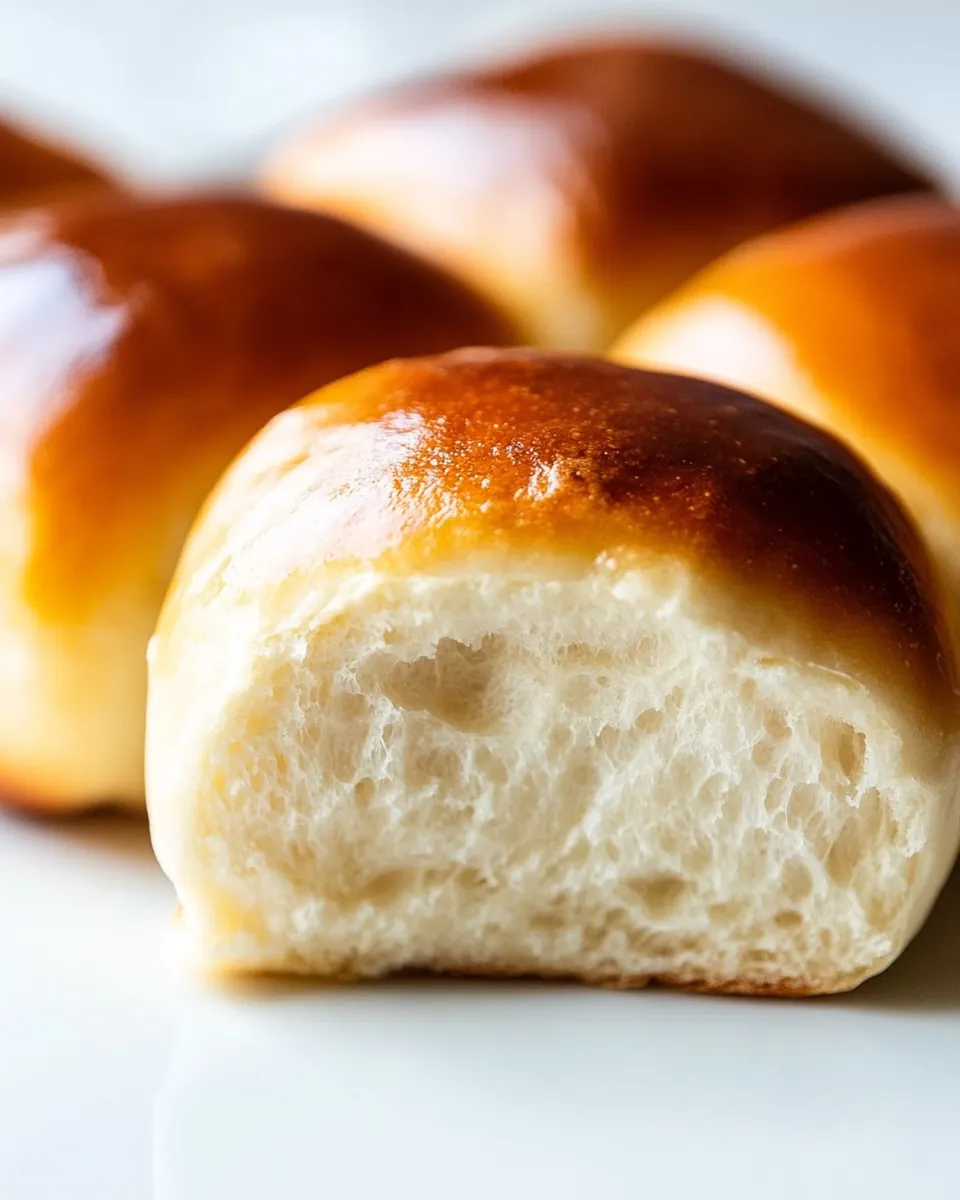
- Once the dough has rested, turn it out onto a lightly floured surface and divide the dough as evenly as you can into 15 pieces. I like to use a kitchen scale so I can get them equal in size. Weigh the whole ball of dough in grams and then divide it by 15. That’s the weight each roll should be. Shape each piece into a ball and pinch the dough together on the bottom.: The dough will feel soft and slightly tacky as you portion it. If you use a scale you will get perfectly uniform rolls that bake evenly, otherwise aim for similar sizes by eye. Shaping into tight balls creates surface tension which helps the rolls rise upward instead of spreading outward. You should hear a faint whisper of dough moving as you cup and roll each piece; the bottom seam needs to be sealed by pinching to preserve shape. Beginners sometimes handle the dough too roughly, deflating the air pockets you worked to create. Be gentle, and if a piece seems under tension, re-roll lightly to create the smooth dome that bakes into a golden top.
- Place the dough balls into the baking pan and use your fingers to rub a little bit of water over the tops of the balls so they don’t dry out while baking. Transfer to the warm oven and let rise for 20 minutes, or up to 30 minutes if they have not doubled in size after 20. I find it can be helpful to use a spray bottle to spray the bottom of the oven to create steam to help the rolls rise faster.: Arranging the balls in the pan, you will feel them nudge each other, promising tender sides. Lightly wetting the tops prevents crusting during the rise and keeps the surface supple. As they proof in the warm oven you will see them swell and press against each other, softening and becoming pillowy. If you do not observe a noticeable increase after 20 minutes, give them a few more minutes; sometimes colder ingredients slow the rise. A common mistake is overproofing so the rolls collapse in the oven; watch for a gentle doubling rather than a runaway puff. If your oven is dry, a quick spray at the bottom adds humid heat that fosters a lively rise and a fine crumb structure.
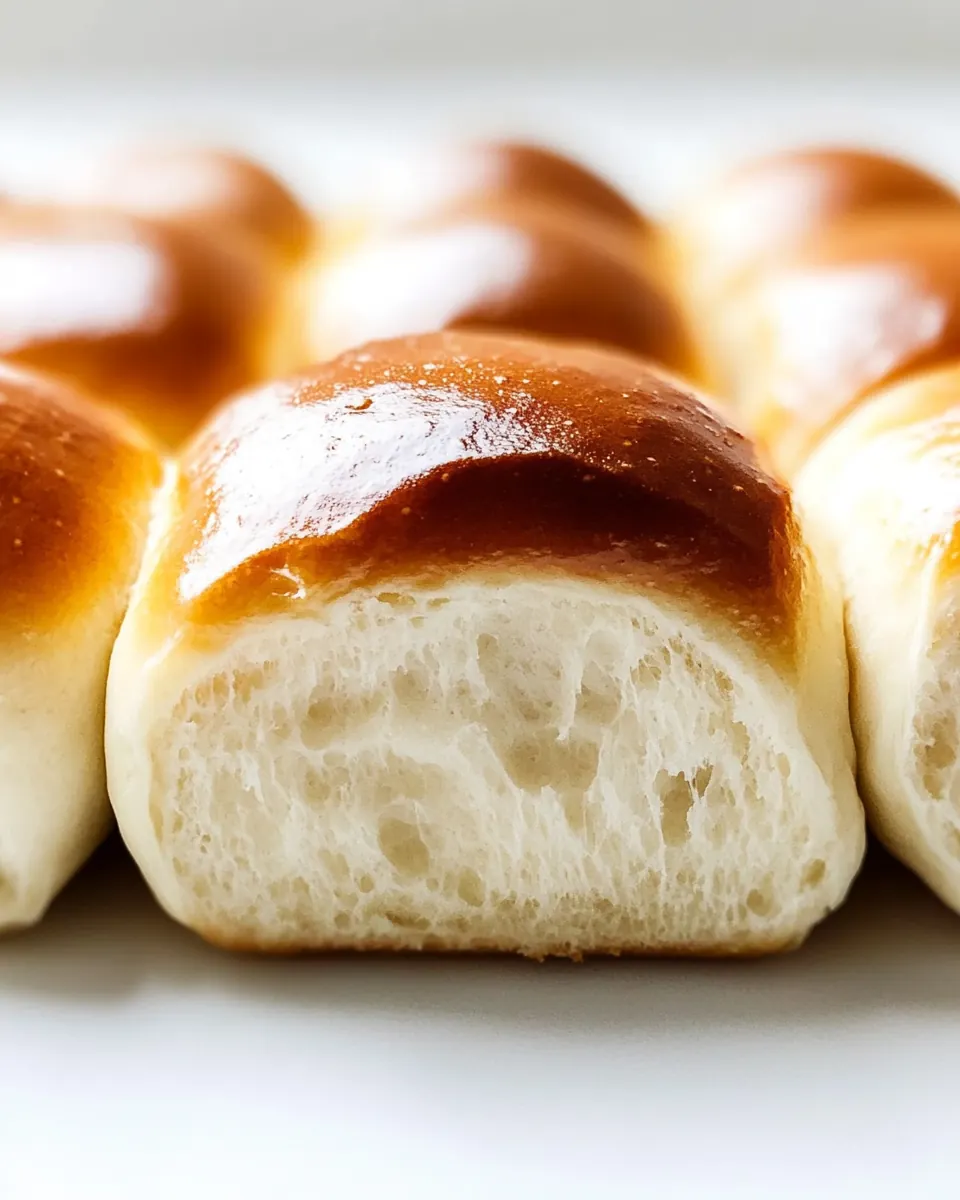
- Remove the risen rolls from the oven and bump the heat up to 375 degrees Fahrenheit. As soon as the oven has preheated, bake the rolls for 16-18 minutes, until the tops are golden brown. Brush with melted butter as soon as they come out of the oven.: The transition from warm proof to active baking is audible as the oven temperature climbs, and the smell changes from yeasty to sweet and toasty. During baking you will see the tops turn from pale to glossy to a rich golden hue; that color and a light hollow sound when tapped indicate doneness. Brushing with the reserved melted unsalted butter right after baking gives a soft sheen and an extra layer of flavor. A common pitfall is removing them too early, which leaves a dense center, or leaving them just a touch too long so the outer crust becomes firm. Aim for a uniform golden brown and rotate the pan if your oven has hot spots to achieve even color.
Recipe Notes about 1 Hour Rolls
These notes expand on common variations and handling advice I use in my kitchen. They reflect things I learned the hard way and now rely on every time I make this recipe.
- Weigh for uniformity Use a kitchen scale to divide the dough into 15 equal portions, this ensures even baking and consistent texture across the tray.
- Milk temperature matters Aim for warm milk that feels like a warm bath, not hot, to safely activate the rapid rise yeast and preserve its strength.
- Butter strategy Reserve two tablespoons of the melted unsalted butter for brushing after baking, it gives the rolls a glossy finish and an inviting aroma.
- Watch proofing times Keep an eye on volume rather than strict minutes, because ambient temperature affects how quickly the rolls rise.
- Fix sticky dough gently Add flour a tablespoon at a time if needed, and knead briefly between additions to avoid over-drying the dough.
- Reheat carefully To refresh leftovers, wrap in foil and warm at low oven temperature for a few minutes to restore softness without drying the crumb.
Serving Suggestions
These rolls are a wonderful complement to many meals, and they are easy to adapt for different occasions and pairings. Below are practical serving ideas and storage notes to help you present them beautifully.
- Family dinners Serve warm from the oven alongside roasted vegetables and a main course for a comforting weeknight meal.
- Holiday tables Arrange in a bread basket lined with a cloth napkin for Thanksgiving, Eid, or festive gatherings where soft rolls are expected.
- Sandwiches and sliders Split the rolls for small sandwiches, filling them with warm fillings so the bread soaks up flavors without falling apart.
- Storage tips Store cooled rolls in an airtight container at room temperature for up to two days, or freeze for longer storage. Reheat gently to revive texture.
- Meal prep Make a double batch and freeze extras unbaked or baked, so you can have fresh rolls on demand for spontaneous guests or busy evenings.
- Seasonal pairings In cooler months they pair well with hearty soups and stews, while in warmer seasons they are nice with lighter salads and grilled vegetables.
FAQ
Conclusion
These 1 Hour Rolls stand out for their combination of speed and comforting texture. They are fast enough for busy evenings, yet offer the rich, buttery softness of a homemade roll that feels special. Give them a try when you want warm bread without an all day commitment, and watch how quickly they become a favorite at your table. I hope they bring the same cozy, hands-on joy to your kitchen that they do to mine.
1 Hour Rolls
Equipment
- Mixer with dough hook
- 9×13 baking pan
- Mixing Bowls
- Kitchen Scale
- Measuring Cups and Spoons
Ingredients
- 3 1/2 cups all-purpose flour Provides structure and body to the dough, forming the gluten network when hydrated and kneaded; helps create the tender crumb and chew expected in soft rolls. Measures accurately for consistent dough hydration and rise times.
- 3 tablespoons granulated sugar Adds sweetness and feeds the yeast for fermentation, promoting browning and a slightly sweet flavor in the crust; helps tenderize the crumb by interacting with gluten and starch. Dissolves into the liquid for even distribution throughout the dough.
- 1 tablespoon rapid rise yeast Leavens the dough quickly by producing carbon dioxide when activated in warm liquid, enabling the rolls to rise within an hour; choose rapid rise yeast for a fast, reliable fermentation. Mixes evenly with the dry ingredients or rehydrated in milk for best activation.
- 1 1/2 teaspoons salt Enhances flavor and controls fermentation rate, strengthening gluten and balancing the overall taste; helps regulate yeast activity so the dough doesn't overproof. Sprinkle or mix into dry ingredients to ensure even seasoning throughout the dough.
- 1 1/4 cup milk, warmed Hydrates flour to form the dough and activates yeast while contributing milk solids for a richer flavor and softer crumb; warmed milk helps speed yeast activation for a quicker rise. Use at the right temperature to avoid killing yeast while promoting fermentation.
- 6 tablespoons unsalted butter, melted and divided Adds richness, flavor, and tenderness to the rolls; melted butter improves dough softness and contributes to browning. Reserve some melted butter for brushing the tops after baking to impart shine and extra flavor.
Instructions
- Set the oven to warm or alternately as low as you can set it if you don’t have a warm option, about 170 degrees Fahrenheit. Lightly spray a 9×13 pan with pan spray and set it aside.: You will sense a gentle warmth when the oven is right, not hot or stifling. This low heat gives the dough a friendly environment to begin proofing, so the yeast wakes up steadily instead of rushing and collapsing. If your oven does not have a warm setting, the lowest temperature works fine, and you can test with your hand near the glass to confirm a steady gentle heat. A common mistake is making the oven too hot, which can start baking the outside of the dough and prevent proper rising. The pan should feel neutral to the touch after spraying, and arranging the rack in the center ensures even warmth. Use a 9×13 pan so the rolls have enough surface contact to support rising, and avoid thicker pans that trap too much heat close to the metal.
- In the bowl of your mixer whisk together the flour, sugar, yeast, and salt.: As you whisk, notice the dry mixture take on a uniform pale hue and a fine texture. Combining these dry ingredients evenly ensures the rapid rise yeast is distributed so every roll rises consistently. If you detect clumps, break them up with the whisk so the dough will hydrate uniformly. A frequent error is adding ingredients in a haphazard way, which can leave pockets of yeast or salt and lead to uneven proofing. Take a moment to sift or whisk thoroughly, and you will see a smooth, homogenous mix that smells faintly of flour and sugar.
- In another bowl combine the warm milk and 4 tablespoons of melted butter. Using the dough hook on low, slowly add the liquid to the dry ingredients. Knead the dough for about 4 minutes or so, until it is smooth and elastic. If the dough is still very sticky, add more flour 1-2 tablespoons at a time.: When you pour the warm milk and melted butter into the dry mix, the scent of butter becomes noticeable and the dough starts to cohere. Using the dough hook on low prevents overworking the gluten while encouraging development; you should hear a steady light whir as the dough cleans the bowl sides. After about four minutes the dough should feel springy and slightly tacky, and visually it will smooth out with small air pockets forming. If it remains sticky after kneading, add a tablespoon or two of all purpose flour sparingly; too much flour will dry the dough. Avoid kneading at high speed, because that can heat the dough and tighten gluten excessively, creating a firmer crumb. A common trap is to stop kneading too soon, leaving dough shaggy and unable to hold shape. Keep kneading until you can press the surface lightly and see a slight bounce back.
- Once you have achieved a smooth dough, cover the bowl and let rest for about 5-10 minutes.: During this brief rest the dough relaxes and develops subtle air pockets, and the surface will lose some tackiness. You will notice a calmer texture when you come back to it, and it becomes easier to divide and shape. Covering traps gentle humidity so the dough does not form a dry skin. A usual error is letting it rest too long at warm temperature, which can overproof the dough and make shaping difficult. Set a timer for about five to ten minutes and check for a slightly puffed look, not a fully doubled size, before proceeding.
- Once the dough has rested, turn it out onto a lightly floured surface and divide the dough as evenly as you can into 15 pieces. I like to use a kitchen scale so I can get them equal in size. Weigh the whole ball of dough in grams and then divide it by 15. That’s the weight each roll should be. Shape each piece into a ball and pinch the dough together on the bottom.: The dough will feel soft and slightly tacky as you portion it. If you use a scale you will get perfectly uniform rolls that bake evenly, otherwise aim for similar sizes by eye. Shaping into tight balls creates surface tension which helps the rolls rise upward instead of spreading outward. You should hear a faint whisper of dough moving as you cup and roll each piece; the bottom seam needs to be sealed by pinching to preserve shape. Beginners sometimes handle the dough too roughly, deflating the air pockets you worked to create. Be gentle, and if a piece seems under tension, re-roll lightly to create the smooth dome that bakes into a golden top.
- Place the dough balls into the baking pan and use your fingers to rub a little bit of water over the tops of the balls so they don’t dry out while baking. Transfer to the warm oven and let rise for 20 minutes, or up to 30 minutes if they have not doubled in size after 20. I find it can be helpful to use a spray bottle to spray the bottom of the oven to create steam to help the rolls rise faster.: Arranging the balls in the pan, you will feel them nudge each other, promising tender sides. Lightly wetting the tops prevents crusting during the rise and keeps the surface supple. As they proof in the warm oven you will see them swell and press against each other, softening and becoming pillowy. If you do not observe a noticeable increase after 20 minutes, give them a few more minutes; sometimes colder ingredients slow the rise. A common mistake is overproofing so the rolls collapse in the oven; watch for a gentle doubling rather than a runaway puff. If your oven is dry, a quick spray at the bottom adds humid heat that fosters a lively rise and a fine crumb structure.
- Remove the risen rolls from the oven and bump the heat up to 375 degrees Fahrenheit. As soon as the oven has preheated, bake the rolls for 16-18 minutes, until the tops are golden brown. Brush with melted butter as soon as they come out of the oven.: The transition from warm proof to active baking is audible as the oven temperature climbs, and the smell changes from yeasty to sweet and toasty. During baking you will see the tops turn from pale to glossy to a rich golden hue; that color and a light hollow sound when tapped indicate doneness. Brushing with the reserved melted unsalted butter right after baking gives a soft sheen and an extra layer of flavor. A common pitfall is removing them too early, which leaves a dense center, or leaving them just a touch too long so the outer crust becomes firm. Aim for a uniform golden brown and rotate the pan if your oven has hot spots to achieve even color.
Notes
- Weigh for uniformity Use a kitchen scale to divide the dough into 15 equal portions, this ensures even baking and consistent texture across the tray.
- Milk temperature matters Aim for warm milk that feels like a warm bath, not hot, to safely activate the rapid rise yeast and preserve its strength.
- Butter strategy Reserve two tablespoons of the melted unsalted butter for brushing after baking, it gives the rolls a glossy finish and an inviting aroma.
- Watch proofing times Keep an eye on volume rather than strict minutes, because ambient temperature affects how quickly the rolls rise.
- Fix sticky dough gently Add flour a tablespoon at a time if needed, and knead briefly between additions to avoid over-drying the dough.
- Reheat carefully To refresh leftovers, wrap in foil and warm at low oven temperature for a few minutes to restore softness without drying the crumb.