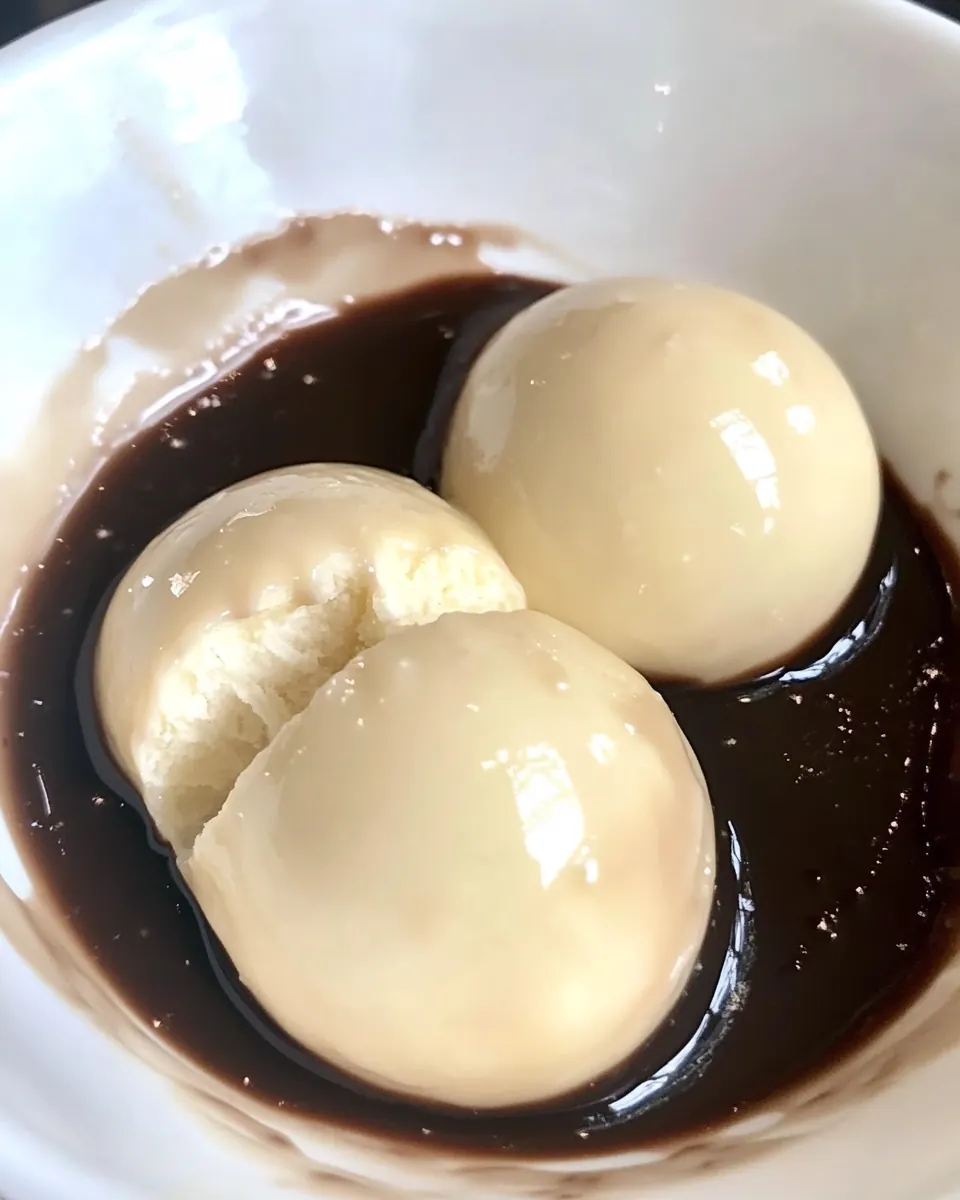
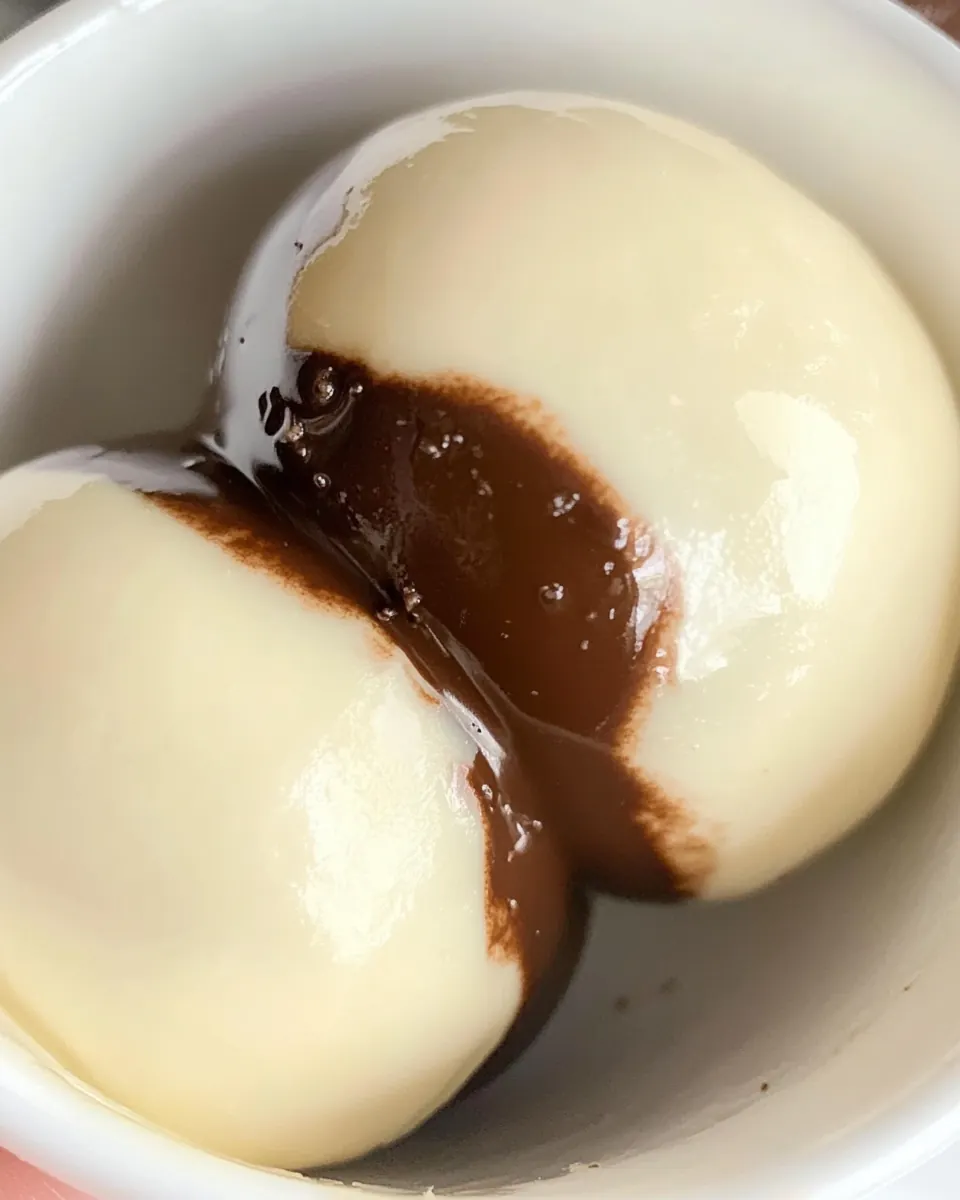
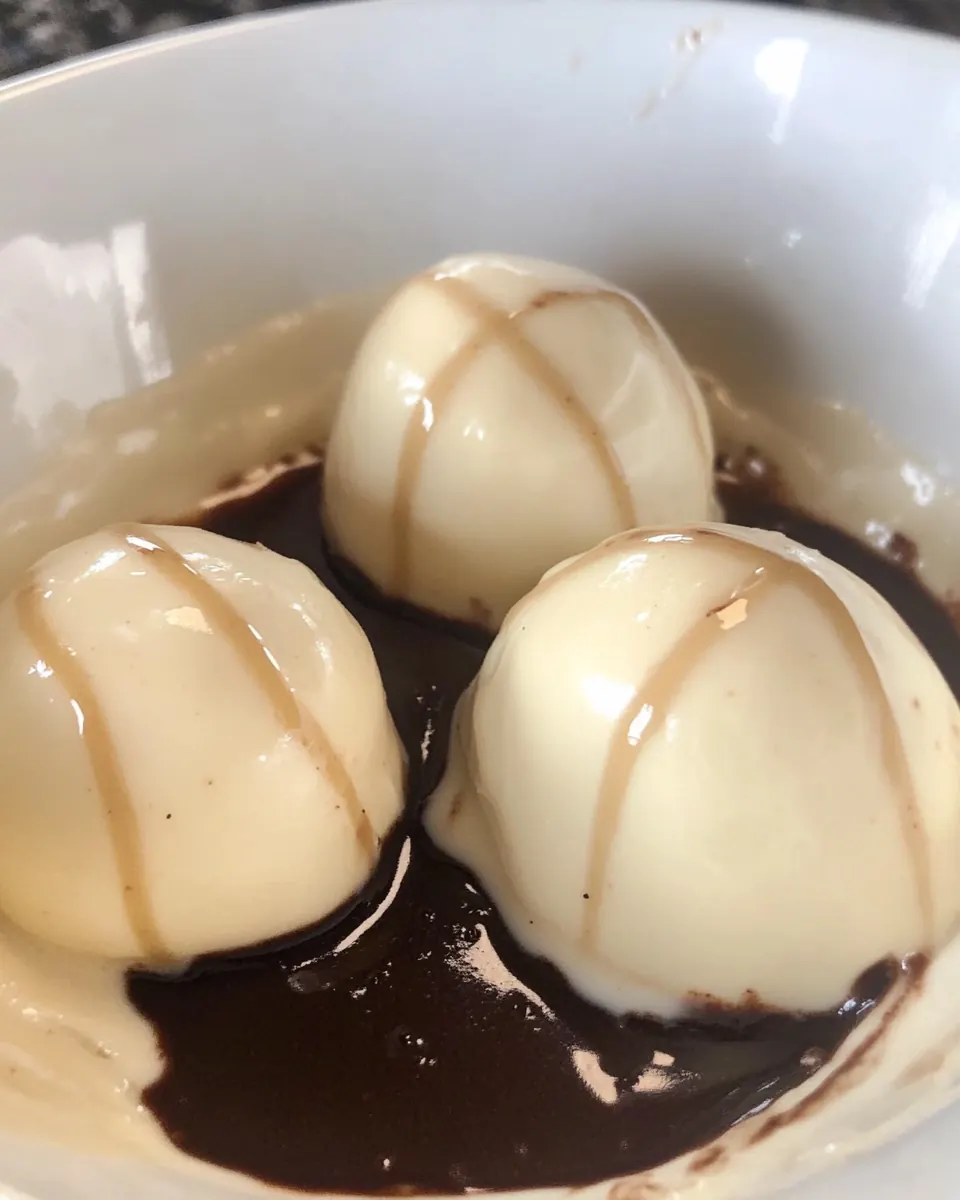
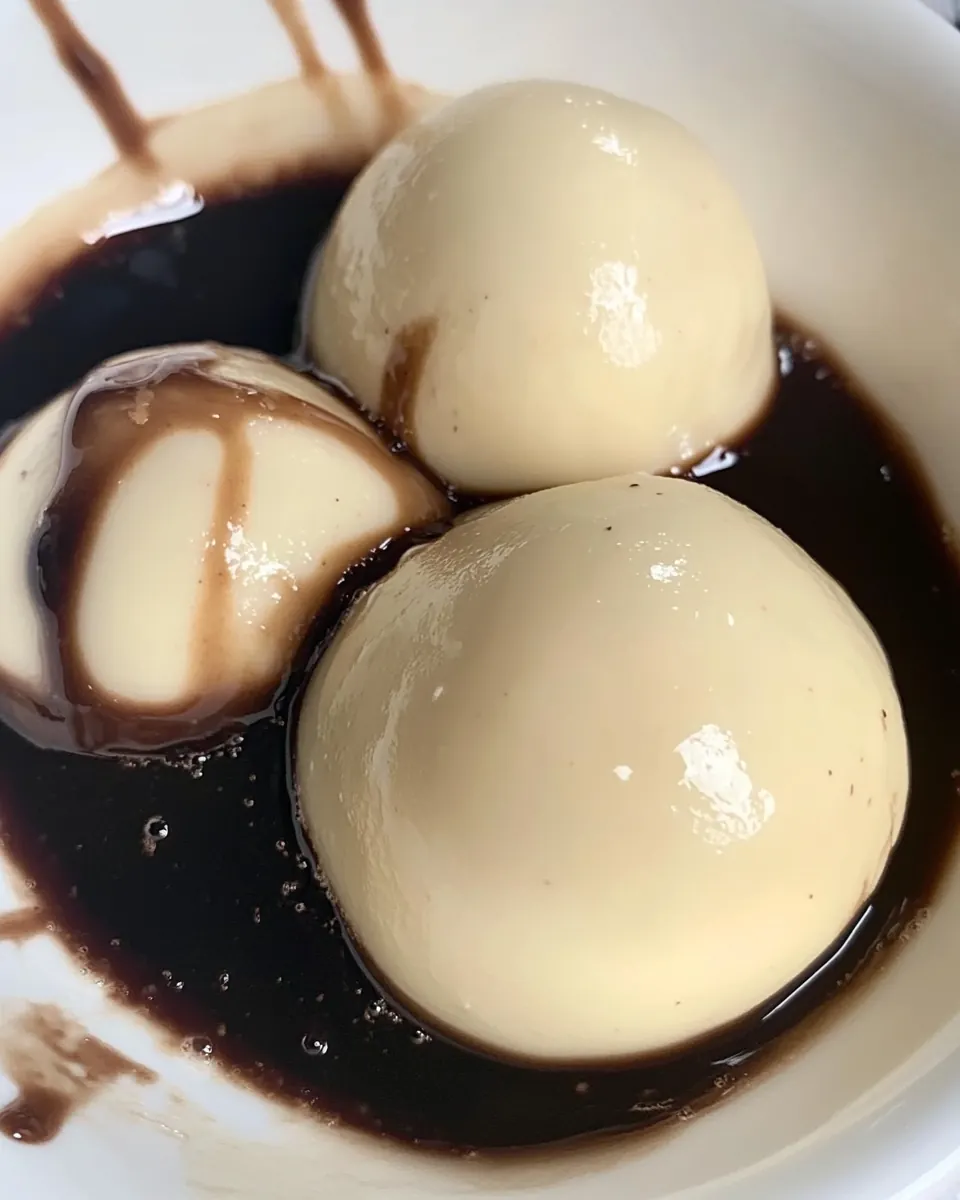
White Chocolate Cocoa Bombs
White Chocolate Cocoa Bombs are the sort of playful treat that got me hooked on candy making the first winter I tried them with a handful of friends. I remember the kitchen being loud with chatter, and the deep, sweet scent of melting white melting chocolate filling the air as we nervously tried to coax perfect spheres from silicone molds. I laughed at my messy fingers, and one friend kept saying they felt like a kid again as we pressed halves together and hid tiny surprises inside.
That night we learned quickly that patience matters more than precision, and that a slightly imperfect seam does not ruin the joy of watching a cocoa bomb dissolve into a steaming mug. Since then I make these for cozy gatherings, and I love how each cup becomes a tiny, theatrical moment when the shell melts and the filling spills out. You can change the fillings to surprise people, but the warm, creamy payoff is always the same.
Recipe Snapshot
30 mins
20 mins
10 mins
Medium
150 kcal
American
Keto, Paleo
Desserts
White Dipping Chocolate, Jet-Puffed Mini Marshmallows, Silicone Circle Mold
The Magic of This White Chocolate Cocoa Bombs
Comforting showstoppers
I adore how White Chocolate Cocoa Bombs turn a basic cup of cocoa into a small event. You get the silky mouthfeel of melted white melting chocolate, then the rush of hot liquid releasing the interior treats, and that contrast is incredibly satisfying. I often bring them to winter gatherings because they create instant smiles.
Simple ingredient list
What I love is that this recipe leans on just a few dependable players, like white melting chocolate and marshmallows. That means less time shopping and more time crafting. For home cooks who shy away from long shopping lists, these bombs feel refreshingly achievable.
Flexible and playful
I’ve found this technique forgiving. The silicone mold tolerates a little mess, and you can be inventive with tiny fillings. I like that you can make them minimal or fanciful, depending on the crowd. They work for a cozy family night or a festive cookie table.
Great for gifting and presentation
Once you master sealing the seams, these become lovely homemade gifts. I package a few in a small box and everyone comments on the presentation. They look professional even when made in a casual kitchen, and that makes giving them more fun.
Fast to execute
From my experience, the whole process moves quickly if you stay organized. Between melting, brushing molds, and sealing, you can have several finished bombs in under an hour. That speed makes them ideal for last minute treats when you want to impress without a marathon baking session.
Shopping List for White Chocolate Cocoa Bombs
These ingredients are intentionally focused and purposeful. The core idea is to create a thin, stable shell of white melting chocolate that can hold small fillings, then melt cleanly in hot liquid. Each component plays a role: the chocolate provides structure and flavor, the silicone mold shapes and supports the shell, and the marshmallows add texture and nostalgia when revealed.
- white melting chocolate: Melted in a double boiler or microwave, provides a smooth, sweet shell that solidifies into a glossy, crisp sphere; tempering or careful heating prevents burning and graininess. Adds sweetness and a creamy mouthfeel that complements hot cocoa when the bomb melts in milk. Can be flavored or colored to customize appearance and taste for festive presentations.
- circle baking mold: Flexible silicone or polycarbonate circle baking mold allows creation of uniform hemispherical shells that assemble into a complete bomb; ensure molds are clean and dry to promote proper chocolate release. Facilitates precise shaping and consistent thickness for reliable melting behavior, and can be chilled briefly to speed setting. Choose sturdy molds to avoid warping and to produce smooth outer surfaces for sealing halves together.
- marshmallows: Soft toasted or mini marshmallows create a gooey, melty interior that fills the hot cocoa as the chocolate shell dissolves; they contribute texture and added sweetness. Serve as a surprise center that puffs and softens in warm milk, enhancing visual appeal and flavor contrast. Use size-appropriate pieces to avoid overcrowding the shell while maximizing marshmallow impact.
The Method for White Chocolate Cocoa Bombs
Working with chocolate asks for a calm, steady pace, and this method matches that rhythm. I walk you through melting, molding, sealing, and the final reveal. Keep patience nearby and treat each step like a small craft project, paying attention to texture and temperature.
- The first thing you need to know is that chocolate is fussy. It can easily be burned or re-hardened. Melting chocolate does a good job taking away some of the frustration with chocolate but the key with any candy making is PATIENCE.: The kitchen will smell sweet and clean when you start melting, with a warm, milky aroma rising from the bowl. Touch the bowl carefully, it should feel warm not hot. This stage matters because overheated white melting chocolate can seize and become grainy, which ruins the shell finish. If it clumps, pause and stir gently to redistribute the heat. A common mistake is setting the microwave too long; always heat in short bursts and stir between each session to avoid burning.
- For enough chocolate to fill a mold, take HALF A BAG of white melting chocolate (approximately 8 oz) and heat at 30 seconds at a time, stirring and heating, until melted. This typically only takes about a minute to two minutes depending on your microwave.: You'll notice steam and a sheen returning as you stir after each 30 second burst. Aim for a smooth, pourable texture that holds on a spoon but drips off slowly. The why here is consistency, because thin chocolate will not form a sturdy shell, while overly thick chocolate will be hard to brush. If your chocolate seems too thick after cooling a bit, warm it briefly again. Avoid adding water or liquid, as that will seize your chocolate.
- Working with a few semi-circles at a time, use a spoon to spoon white chocolate into mold. Use a pasty brush to brush chocolate into mold.: When you fill a few semi circles, you should hear quiet plops as the chocolate lands and see it coat the curved interior. Use a pastry brush to push the chocolate up the sides for even coverage, watching for thin spots showing the mold beneath. The brush strokes help create a uniform wall that crisps well. A frequent error is brushing too little, leaving thin areas that crack when unmolded.
- Use clean fingers in a circle motion to push up the chocolate if its not too hot. Because chocolate hardens so quickly, I like to use fingers, although its not as flattering on film, it IS more practical in a kitchen setting.: Touch the chocolate only when it is cool enough to handle, and use circular motions to smooth and lift the chocolate toward the rim. Your fingers add precision and warmth, which can be helpful for shaping, but be careful not to melt too much with prolonged contact. The tactile feedback tells you if the shell thickness is consistent. If you press too hard you might leave fingerprints or thin patches that break later.
- Once your molds have chocolate, put into the freezer for about 10 minutes for chocolate to harden and set. Remove and careful peel back the silicone mold, one at a time on each semi-circle, and place on a plate.: The cold makes a satisfying snap as the chocolate firms and the gloss dulls slightly. Freezing helps the shell release cleanly from the silicone and preserves the shape while you work on other halves. Remove the molds gently and peel back to see neat semi circles. A common pitfall is leaving them in too long and causing condensation when returning to room temp, which can blur the finish; work quickly between freezer and assembly.
- You will note that the seams on the edge of the molds are jagged. There are several ways to seal your seams. Fill chocolate bombs with chosen items, put two halves together to make a circle and paint a seam around the middle, which you can also use to add additional sprinkles.: When you lift the halves, you may spot ragged edges at the rims. I seal seams by painting a rim with melted chocolate then pressing halves together, or by very briefly warming a skillet and touching rims to melt and smooth. This step is crucial for a tidy final look and to prevent leaks. If you overheat the rim while sealing, the shell can warp, so use the gentlest heat that does the job.
- The other way is to heat a skillet on SUPER LOW and press your chocolate down for a few seconds to give a perfect bottom circle. Then quickly fill, do the second chocolate circle, and press together. The melted chocolate should mold into each other, giving a seamless white chocolate bomb. Place on a plate.: Warm the pan so it barely registers heat, then touch the rim of a half to the surface for a second to create a flat edge. The smell will be faint and toasty when done correctly, and the rim should fuse without losing shape. This method gives a quick, mechanical seal that can look professional. Avoid leaving chocolate on the skillet too long, which can cause it to melt excessively and lose its roundness.
- Simply drop your white chocolate cocoa bomb into a hot cup of cocoa or coffee and watch the magic happen! As the white chocolate is heated by the hot liquid, the chocolate melts and reveals the inside treats.: Once rims are sealed, add a few marshmallows or other tiny treats inside before joining halves. The act of pressing the two warmed rims together should make them bond and form a nearly invisible seam. You will feel a slight give as the chocolate melds. If you find gaps, apply a thin bead of melted chocolate around the seam to finish. A typical mistake is overfilling, which prevents a clean union and causes cracking.
- Place on a plate: Arrange finished bombs on a flat surface to set fully. The shells will firm further to a crisp snap, and the room will carry that sweet, chocolate scent. Let them rest undisturbed until any seal has fully hardened. If they shift while cooling, seams can split, so give them space and avoid stacking.
- Drop into hot liquid: When you drop a bomb into a cup of steaming cocoa or coffee, the shell melts and the filling spills out in a small, delightful cascade. The smell of hot chocolate intensifies and marshmallows begin to soften immediately. This final reveal is the reward for careful work, so use a cup of truly hot liquid to ensure the shell melts quickly. A common error is using warm rather than hot liquid, which delays the reveal and can frustrate guests.
Helpful Notes about White Chocolate Cocoa Bombs
These notes expand on common questions and small hacks that save time and frustration. I include tried and true points from my own kitchen missteps so you can skip the learning curve and make confident bombs faster.
- Chocolate handling: Melt in short increments and stir thoroughly to preserve a silky texture, which helps the shells unmold without graininess.
- Mold care: Wipe the rim of the silicone mold clean between uses to avoid trapped bits that can create jagged seams on future shells.
- Freezing strategy: Freeze semi circles just long enough for solidity, then work steadily to seal so you avoid condensation forming on the shells.
- Seam sealing: If you prefer not to use heat, paint a thin layer of melted chocolate around the rim and press gently to form the bond.
- Storage: Keep finished bombs in a cool, dry place in an airtight container, separated by parchment to prevent sticking.
Great Combinations for White Chocolate Cocoa Bombs
Serving these is part presentation and part theater. I recommend pairing them thoughtfully to amplify texture and warmth, and I always consider the occasion when deciding fillings and sides.
- Classic cocoa service: Serve each bomb with a cup of piping hot milk or hot chocolate. The contrast of the crisp shell and soft marshmallows inside makes a cozy afternoon treat, ideal for cold winter evenings or casual get togethers.
- Festive bundles: Package a set of three in a small box with a ribbon for holiday gifting. They make charming hostess presents for seasonal parties and are well suited to cookie exchanges or winter market stalls.
- Occasion ideas: Offer them at small gatherings like family movie nights, holiday tea, or Ramadan dessert tables where a warm, indulgent item is welcomed. The visual reveal of the filling is a delightful moment for guests.
- Storage suggestions: Store in an airtight container in a cool, dry cupboard. If you need longer storage, a cool pantry is better than the refrigerator to avoid condensation that can blur the shell finish.
- Serving presentation: Place one bomb in a shallow bowl or small plate beside a mug, then pour hot liquid in front of guests for the reveal. This adds ceremony and makes simple cocoa feel special.
- Seasonal pairings: For winter, pair with warm spices or a side of cookies. The smoothness of the white melting chocolate complements crisp, buttery cookies and adds a creamy counterpoint to spiced treats.
FAQ
Conclusion
White Chocolate Cocoa Bombs shine because they turn a simple cup of hot cocoa into a small, joyful performance that is easy to recreate at home. The combination of a crisp white chocolate shell and a soft, playful filling makes every sip feel special. Try making a batch for a winter gathering or as a handcrafted gift they are quick to assemble once you get the hang of melting and sealing. Have fun with the fillings and presentation, and enjoy the warm reactions when each bomb dissolves in a steaming mug.
White Chocolate Cocoa Bombs
Equipment
- White Dipping Chocolate
- Jet-Puffed Mini Marshmallows
- Silicone Circle Mold
Ingredients
- white melting chocolate Melted in a double boiler or microwave, provides a smooth, sweet shell that solidifies into a glossy, crisp sphere; tempering or careful heating prevents burning and graininess. Adds sweetness and a creamy mouthfeel that complements hot cocoa when the bomb melts in milk. Can be flavored or colored to customize appearance and taste for festive presentations.
- circle baking mold Flexible silicone or polycarbonate circle baking mold allows creation of uniform hemispherical shells that assemble into a complete bomb; ensure molds are clean and dry to promote proper chocolate release. Facilitates precise shaping and consistent thickness for reliable melting behavior, and can be chilled briefly to speed setting. Choose sturdy molds to avoid warping and to produce smooth outer surfaces for sealing halves together.
- marshmallows Soft toasted or mini marshmallows create a gooey, melty interior that fills the hot cocoa as the chocolate shell dissolves; they contribute texture and added sweetness. Serve as a surprise center that puffs and softens in warm milk, enhancing visual appeal and flavor contrast. Use size-appropriate pieces to avoid overcrowding the shell while maximizing marshmallow impact.
Instructions
- The first thing you need to know is that chocolate is fussy. It can easily be burned or re-hardened. Melting chocolate does a good job taking away some of the frustration with chocolate but the key with any candy making is PATIENCE.: The kitchen will smell sweet and clean when you start melting, with a warm, milky aroma rising from the bowl. Touch the bowl carefully, it should feel warm not hot. This stage matters because overheated white melting chocolate can seize and become grainy, which ruins the shell finish. If it clumps, pause and stir gently to redistribute the heat. A common mistake is setting the microwave too long; always heat in short bursts and stir between each session to avoid burning.
- For enough chocolate to fill a mold, take HALF A BAG of white melting chocolate (approximately 8 oz) and heat at 30 seconds at a time, stirring and heating, until melted. This typically only takes about a minute to two minutes depending on your microwave.: You'll notice steam and a sheen returning as you stir after each 30 second burst. Aim for a smooth, pourable texture that holds on a spoon but drips off slowly. The why here is consistency, because thin chocolate will not form a sturdy shell, while overly thick chocolate will be hard to brush. If your chocolate seems too thick after cooling a bit, warm it briefly again. Avoid adding water or liquid, as that will seize your chocolate.
- Working with a few semi-circles at a time, use a spoon to spoon white chocolate into mold. Use a pasty brush to brush chocolate into mold.: When you fill a few semi circles, you should hear quiet plops as the chocolate lands and see it coat the curved interior. Use a pastry brush to push the chocolate up the sides for even coverage, watching for thin spots showing the mold beneath. The brush strokes help create a uniform wall that crisps well. A frequent error is brushing too little, leaving thin areas that crack when unmolded.
- Use clean fingers in a circle motion to push up the chocolate if its not too hot. Because chocolate hardens so quickly, I like to use fingers, although its not as flattering on film, it IS more practical in a kitchen setting.: Touch the chocolate only when it is cool enough to handle, and use circular motions to smooth and lift the chocolate toward the rim. Your fingers add precision and warmth, which can be helpful for shaping, but be careful not to melt too much with prolonged contact. The tactile feedback tells you if the shell thickness is consistent. If you press too hard you might leave fingerprints or thin patches that break later.
- Once your molds have chocolate, put into the freezer for about 10 minutes for chocolate to harden and set. Remove and careful peel back the silicone mold, one at a time on each semi-circle, and place on a plate.: The cold makes a satisfying snap as the chocolate firms and the gloss dulls slightly. Freezing helps the shell release cleanly from the silicone and preserves the shape while you work on other halves. Remove the molds gently and peel back to see neat semi circles. A common pitfall is leaving them in too long and causing condensation when returning to room temp, which can blur the finish; work quickly between freezer and assembly.
- You will note that the seams on the edge of the molds are jagged. There are several ways to seal your seams. Fill chocolate bombs with chosen items, put two halves together to make a circle and paint a seam around the middle, which you can also use to add additional sprinkles.: When you lift the halves, you may spot ragged edges at the rims. I seal seams by painting a rim with melted chocolate then pressing halves together, or by very briefly warming a skillet and touching rims to melt and smooth. This step is crucial for a tidy final look and to prevent leaks. If you overheat the rim while sealing, the shell can warp, so use the gentlest heat that does the job.
- The other way is to heat a skillet on SUPER LOW and press your chocolate down for a few seconds to give a perfect bottom circle. Then quickly fill, do the second chocolate circle, and press together. The melted chocolate should mold into each other, giving a seamless white chocolate bomb. Place on a plate.: Warm the pan so it barely registers heat, then touch the rim of a half to the surface for a second to create a flat edge. The smell will be faint and toasty when done correctly, and the rim should fuse without losing shape. This method gives a quick, mechanical seal that can look professional. Avoid leaving chocolate on the skillet too long, which can cause it to melt excessively and lose its roundness.
- Simply drop your white chocolate cocoa bomb into a hot cup of cocoa or coffee and watch the magic happen! As the white chocolate is heated by the hot liquid, the chocolate melts and reveals the inside treats.: Once rims are sealed, add a few marshmallows or other tiny treats inside before joining halves. The act of pressing the two warmed rims together should make them bond and form a nearly invisible seam. You will feel a slight give as the chocolate melds. If you find gaps, apply a thin bead of melted chocolate around the seam to finish. A typical mistake is overfilling, which prevents a clean union and causes cracking.
- Place on a plate: Arrange finished bombs on a flat surface to set fully. The shells will firm further to a crisp snap, and the room will carry that sweet, chocolate scent. Let them rest undisturbed until any seal has fully hardened. If they shift while cooling, seams can split, so give them space and avoid stacking.
- Drop into hot liquid: When you drop a bomb into a cup of steaming cocoa or coffee, the shell melts and the filling spills out in a small, delightful cascade. The smell of hot chocolate intensifies and marshmallows begin to soften immediately. This final reveal is the reward for careful work, so use a cup of truly hot liquid to ensure the shell melts quickly. A common error is using warm rather than hot liquid, which delays the reveal and can frustrate guests.
Notes
- Chocolate handling: Melt in short increments and stir thoroughly to preserve a silky texture, which helps the shells unmold without graininess.
- Mold care: Wipe the rim of the silicone mold clean between uses to avoid trapped bits that can create jagged seams on future shells.
- Freezing strategy: Freeze semi circles just long enough for solidity, then work steadily to seal so you avoid condensation forming on the shells.
- Seam sealing: If you prefer not to use heat, paint a thin layer of melted chocolate around the rim and press gently to form the bond.
- Storage: Keep finished bombs in a cool, dry place in an airtight container, separated by parchment to prevent sticking.