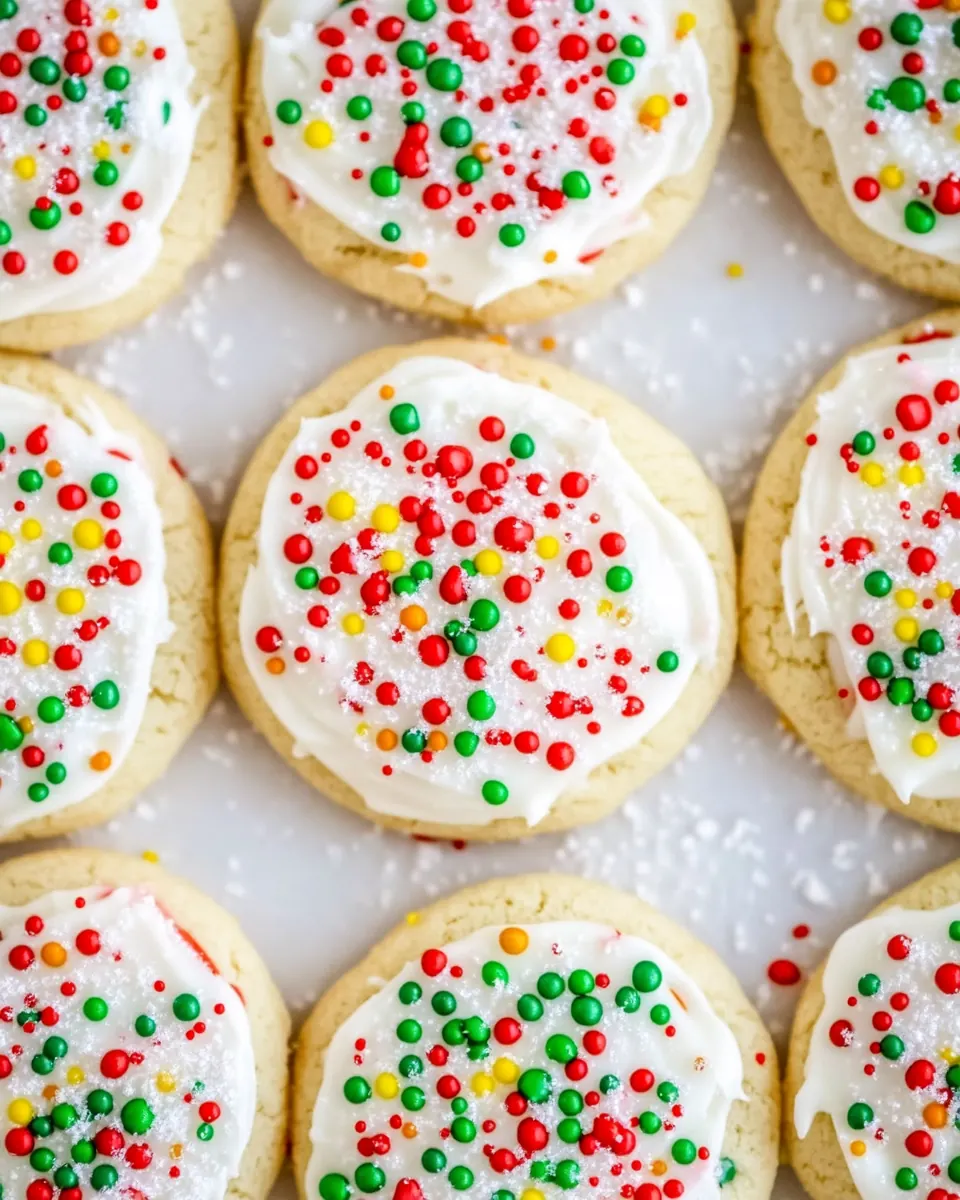
Christmas Lofthouse Cookies
Christmas Lofthouse Cookies have been one of my go to holiday treats for years, and from the very first bite they transport me back to cozy kitchen afternoons with holiday music playing softly in the background. I remember learning to make these with my grandmother, who insisted that the dough had to be chilled until it felt firm to the touch, and that the frosting should be spread while the cookies were completely cool so it would hold a soft, pillowy edge. That advice stuck with me, and now every year I return to that ritual, measuring, mixing, and laughing with anyone who stops by to help.
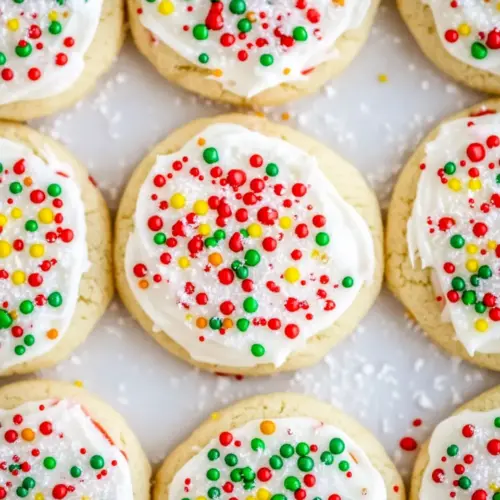
Every batch I make carries small variations depending on who is visiting and what sprinkles we find in the pantry, but the essence stays the same: tender, cake like Christmas Lofthouse Cookies topped with a creamy, vanilla frosting and festive sprinkles. I like to keep things simple so the cookie crumb and the frosting really sing together, and I always tell friends that the little touches, like chilling the dough and using a glass dipped in sugar to flatten the cookies, are what make these stand out.
Recipe Snapshot
53 mins
40 mins
13 mins
Medium
150 kcal
American
Gluten-Free, Low FODMAP
Desserts
Electric mixer, Cookie scoop, Baking sheets, Parchment paper, Mixing bowls, Wire rack
The Appeal of This Christmas Lofthouse Cookies
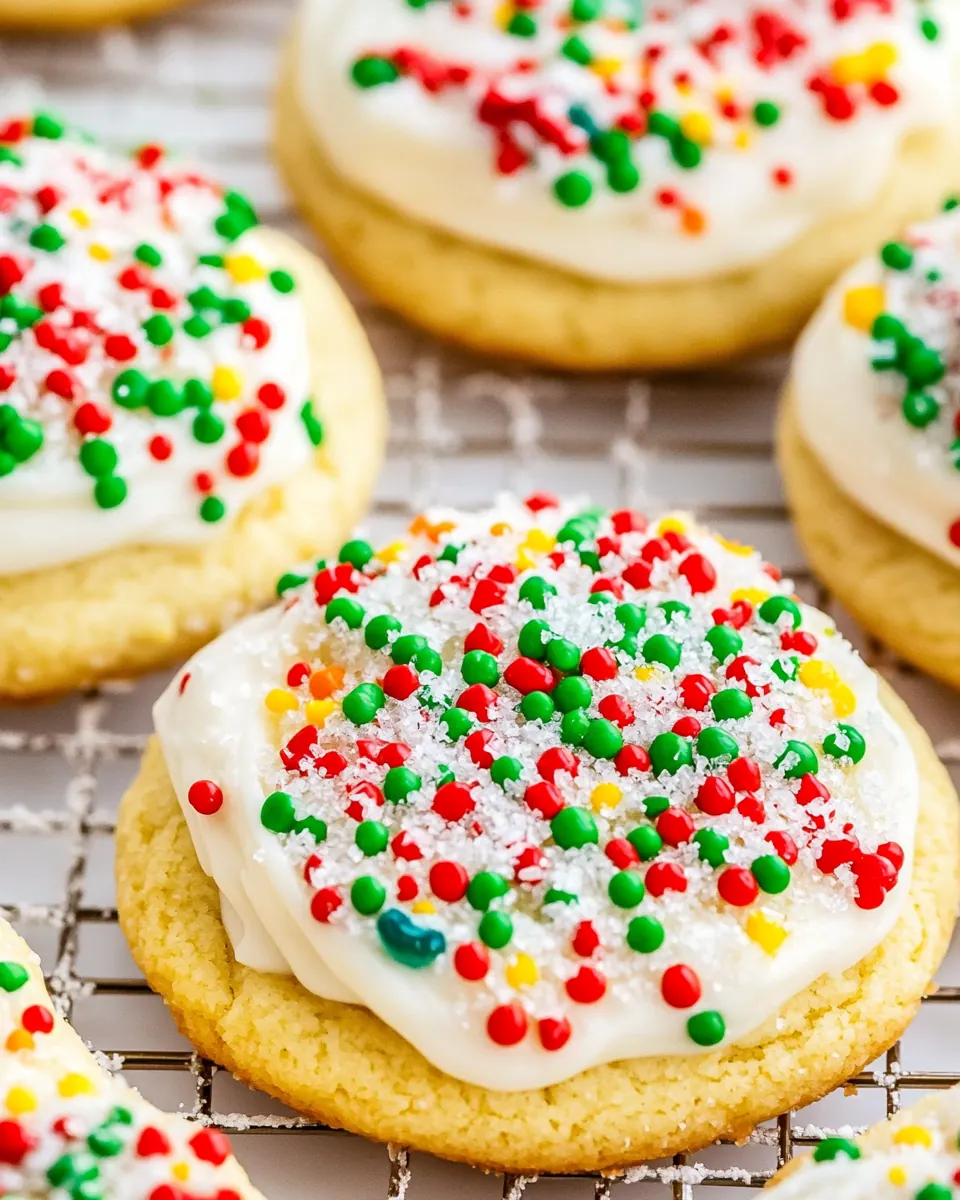
Soft, cake like texture
I adore how these Christmas Lofthouse Cookies are almost like a mini cake in cookie form. The use of cake flour and cream cheese in the dough yields a tender crumb that melts in your mouth, and I often find myself sneaking a leftover cookie with my afternoon tea.
Reliable, crowd pleasing frosting
The frosting is simple but transformative. With a base of whipped butter and sifted powdered sugar, and a touch of vanilla, you get a smooth, spreadable topping that holds its shape yet remains soft in the refrigerator. Guests always comment on the texture, and I think that balance is what keeps people coming back.
Easy to personalize
These cookies are a fantastic canvas for creativity. I love swapping sprinkles or adjusting the frosting thickness with a little heavy whipping cream to suit the season. The recipe is forgiving, so even if you tweak a little, the results are still excellent.
Holiday nostalgia factor
There is something about Christmas Lofthouse Cookies that says celebration. They look festive, and the act of frosting and decorating becomes a social moment in itself. For me, this recipe bridges generations, bringing the same warm feelings we crave during the holidays.
Simple technique, big payoff
You do not need fancy skills to pull these off. A mixer, some patience chilling the dough, and careful spreading of the frosting yield bakery quality treats. I appreciate recipes that reward small, mindful steps, and this one absolutely does.
Ingredients for Christmas Lofthouse Cookies
These ingredients are intentionally straightforward to create a tender, soft cookie with a creamy frosting. The key players, like cake flour and cream cheese, deliver that signature texture while the dual uses of butter in the dough and in the frosting provide richness and structure. Everything works together to balance crumb, spreadability, and shelf life.
- 1/2 cup (1 stick) salted butter, at room temperature: Soften and cream to provide a rich, tender base for the cookie dough; contributes moisture, flavor, and helps create a tender crumb when creamed with sugar. Use at room temperature to ensure even incorporation and smooth texture in the batter.
- 3 ounces cream cheese, at room temperature: Soften and blend to add tangy richness and extra tenderness to the dough; balances sweetness and contributes to a softer, cakey texture. Ensure at room temperature to prevent lumps and allow smooth mixing.
- 1 cup granulated white sugar: Cream together with butter to aerate the batter and provide sweetness; helps create structure during creaming and contributes to caramelized notes when baked. Measure accurately to maintain proper dough consistency and texture.
- 1/2 teaspoon kosher salt: Season and enhance overall flavor while balancing sweetness; helps control the dough’s taste profile and can strengthen gluten slightly for texture. Use the specified amount to avoid overpowering the cookies with saltiness.
- 2 large eggs, at room temperature: Tenderize and enrich the dough while aiding structure and leavening; eggs add moisture, fat, and act as a binding agent to create cohesive cookie dough. Bring to room temperature so they incorporate more evenly and help with proper emulsion.
- 1 tablespoon vanilla extract: Flavor and fragrance the dough with a warm, sweet aroma; enhances other flavors and provides a familiar vanilla profile in the cookie. Add with the wet ingredients to evenly distribute flavor throughout the batter.
- 2 3/4 cups cake flour: Provide a light, delicate structure with a softer crumb compared to all-purpose flour; helps achieve the signature cakey, tender texture of Lofthouse-style cookies. Spoon and level when measuring to avoid packing and maintain proper dough consistency.
- 2 teaspoons baking powder: Leaven and lift the batter to produce a light, airy, cakey texture; works with the eggs and creaming process to give subtle rise and tenderness. Mix thoroughly but avoid overworking to preserve tender crumb.
- 1/2 cup (1 stick) salted butter, at room temperature: Cream and pipeable frosting base when softened with other frosting ingredients; adds richness and stability to the buttercream. Keep at room temperature to ensure smooth, lump-free icing consistency.
- 1/2 teaspoon vanilla extract: Add a secondary vanilla note to the frosting for balanced flavor; concentrates vanilla aroma in the icing to match the cookies’ sweet profile. Stir into the frosting gradually to taste and avoid over-flavoring.
- 2 cups powdered sugar: Sweeten and stabilize the frosting while providing structure and smoothness; creates the signature opaque, fluffy buttercream when beaten with butter and liquid. Sift if necessary to prevent lumps and achieve a silky texture.
- 2 to 3 tablespoons heavy whipping cream: Thin and smooth the frosting to the desired consistency while adding richness; small amounts adjust spreadability and mouthfeel without watering down flavor. Add gradually until the frosting reaches a pipeable, creamy texture.
- holiday sprinkles: Decorate and add visual festive appeal while providing a crunchy contrast to the soft cookie and creamy frosting; use sparingly to maintain overall texture balance. Apply immediately after frosting to ensure sprinkles adhere properly.
The Method for Christmas Lofthouse Cookies
I approach baking these with a calm rhythm, giving each stage the attention it needs so the final cookie is tender and reliably festive. Below are the rewritten directions expanded into personal, sensory rich steps to guide you through the process.
- Preheat the oven to 350℉. Line two baking sheets with parchment paper or silpat mats.: The moment you start, you will notice the warm hum of the oven kicking on, and having it at 350℉ ensures the cookies bake evenly, creating a delicate domed profile rather than spreading too thin. This temperature gives the edges just enough structure while keeping the center soft. A common mistake is putting cookies into a cold oven, which causes them to spread unpredictably and results in a greasy, flat texture. Make sure your oven racks are centered for even heat distribution, and allow the oven to fully reach temperature before baking.
- In a large bowl, use an electric mixer to combine the butter, cream cheese, sugar and salt. Beat until smooth and fluffy – 3 to 4 minutes. Add the eggs and vanilla extract and mix for another minute. In a medium bowl, whisk together the flour and baking powder. Slowly add the flour to the wet ingredients and mix just until it’s all incorporated. Cover the bowl with plastic wrap and refrigerate until the dough is firm.: The faint rustle of parchment and the stable surface of a silpat mean the cookies will release cleanly, preventing bottoms from browning too quickly. Using parchment also makes clean up simple and helps maintain consistent baking between sheets. Avoid placing cookies directly on an unlined pan as they will stick and may brown unevenly. If you notice the first tray browning faster, rotate between racks halfway through the bake.
- Use a cookie scoop to measure an even scoop of dough (1 1/2 to 2 tablespoons). Roll the blob of dough into a ball. Place it onto the baking sheet, and use the bottom of a glass that has been dipped in water and sugar to flatten it into a round cookie shape. Repeat with the remaining dough. sheet (space about 2-inches apart).: Right after creaming these together with an electric mixer, you will see a pale, fluffy mixture form; it should look velvety and smell slightly tangy from the cream cheese . That aeration is crucial to the soft texture. If you cream too briefly, the mixture will be dense and the cookies may be heavy. Conversely, over creaming can incorporate too much air, which could lead to excessive spreading in the oven. Scrape the bowl occasionally to ensure everything is fully incorporated and even in texture.
- Bake 12 to 14 minutes until the cookies are no longer looking raw in the middle. Let them cool completely on the pan before transferring them to a rack.: Once the eggs and vanilla extract join, the batter will become smoother and glossier, with a gentle vanilla aroma rising. The eggs add structure while keeping the dough moist and tender. If your eggs are cold they can cause the mixture to seize slightly, creating tiny lumps; always use room temperature eggs for a seamless blend. Mix just until combined to avoid overdeveloping any gluten.
- In a large bowl, use an electric mixer to cream the butter. Then mix in the vanilla. Add the powdered sugar and mix to combine. Mix in 1 tablespoon of cream, and then another. The consistency at this point might be what you are looking for (a nice, spreadable consistency), or you may need a little more powdered sugar or a little more cream.: When you whisk the cake flour and baking powder you are making sure the leavening is evenly distributed, which is why the cookies rise uniformly. The flour will look light and powdery, and breaking up any clumps ensures a smooth dough. Skipping this step can leave pockets of baking powder which create odd bumps during baking. Use a sifter or a fine mesh if your flour seems packed.
- Frost the cookies leaving a visible rim around the edge of the cookie, and add sprinkles on top. Lofthouse cookies should be refrigerated in a covered container.: As the dry ingredients fold in, the dough will shift from glossy batter to a soft, slightly sticky dough that holds together. The tactile cue here is key; stop mixing the moment you see no streaks of flour to prevent gluten from tightening the crumb. Over mixing will make the cookies tougher and less tender. Use a spatula to finish combining if needed, working gently to protect that soft texture.
- Cover the bowl with plastic wrap and refrigerate until the dough is firm.: Chilling the dough firms the fats and hydrates the flour, which controls spread and improves texture, creating that sought after cake like interior. You will feel the dough become denser and easier to scoop after refrigeration. A typical error is skipping this chilling step, which results in overly thin, flat cookies. Aim for at least 30 minutes or until the dough holds shape when scooped.
- Use a cookie scoop to measure an even scoop of dough.: When you scoop uniform amounts, the cookies bake at the same rate and finish together, so that each cookie has the same tender interior. Use a 1 1/2 to 2 tablespoon scoop for consistent size, and roll each portion gently into a ball to seal the surface. If you eyeball the portions, you may end up with uneven cookies where some are under baked while others are overdone.
- Roll into a ball and flatten with the bottom of a glass dipped in water and sugar.: Pressing with a glass gives a soft rounded top and even thickness. Dipping the glass in water and sugar creates a delicate sugared surface that helps shape the cookie without sticking, and it adds a faint sparkle along the edge. If you press too hard the cookies become too thin and lose their cake like center. Aim for a gentle, even press so the edges remain slightly thicker than the center.
- Bake 12 to 14 minutes until the cookies are no longer looking raw in the middle.: The oven will transform the dough into a cookie with faintly golden edges and a center that looks set but still soft; that visual cue is the best indicator of doneness. You might hear a quiet settling sound as steam escapes, and the aroma will shift from sugary to warm and buttery. Avoid overbaking, which dries the cookie and eliminates the pillowy texture. Remove them as soon as the centers look set and allow them to cool on the pan to finish gently.
- Let them cool completely on the pan before transferring them to a rack.: Cooling on the pan for a few minutes helps the cookies firm just enough to move without breaking, and finishing on a rack ensures any residual steam escapes so the bottoms do not become soggy. If you attempt to frost while the cookies are warm, the frosting will melt and slide off. Be patient, and you will be rewarded with a stable surface for icing.
- Cream the butter then mix in the vanilla for the frosting.: Whipping the frosting butter until light and fluffy introduces air that makes the frosting feel light on the palate, and the vanilla extract brings a sweet aromatic lift. The texture should be silky and slightly billowy. Underwhipped butter yields a dense frosting that resists spreading, so whip until you see those soft peaks forming.
- Add the powdered sugar and mix to combine.: As you blend in the powdered sugar , the frosting will thicken and become opaque, producing a smooth, sweet coating. Sift the sugar if needed to avoid lumps and mix at low speed at first to prevent the kitchen from becoming a cloud of sugar. Overmixing at high speed can make the frosting too airy and unstable.
- Mix in 1 tablespoon of cream, then another, adjusting consistency.: Adding heavy whipping cream slowly lets you reach the perfect spreadable texture, from thick to silky. The frosting should hold its shape but still glide when you spread it. If you add too much cream at once, the frosting becomes runny and will not hold the defined rim typical of Lofthouse style cookies. If that happens, thicken with a bit more powdered sugar.
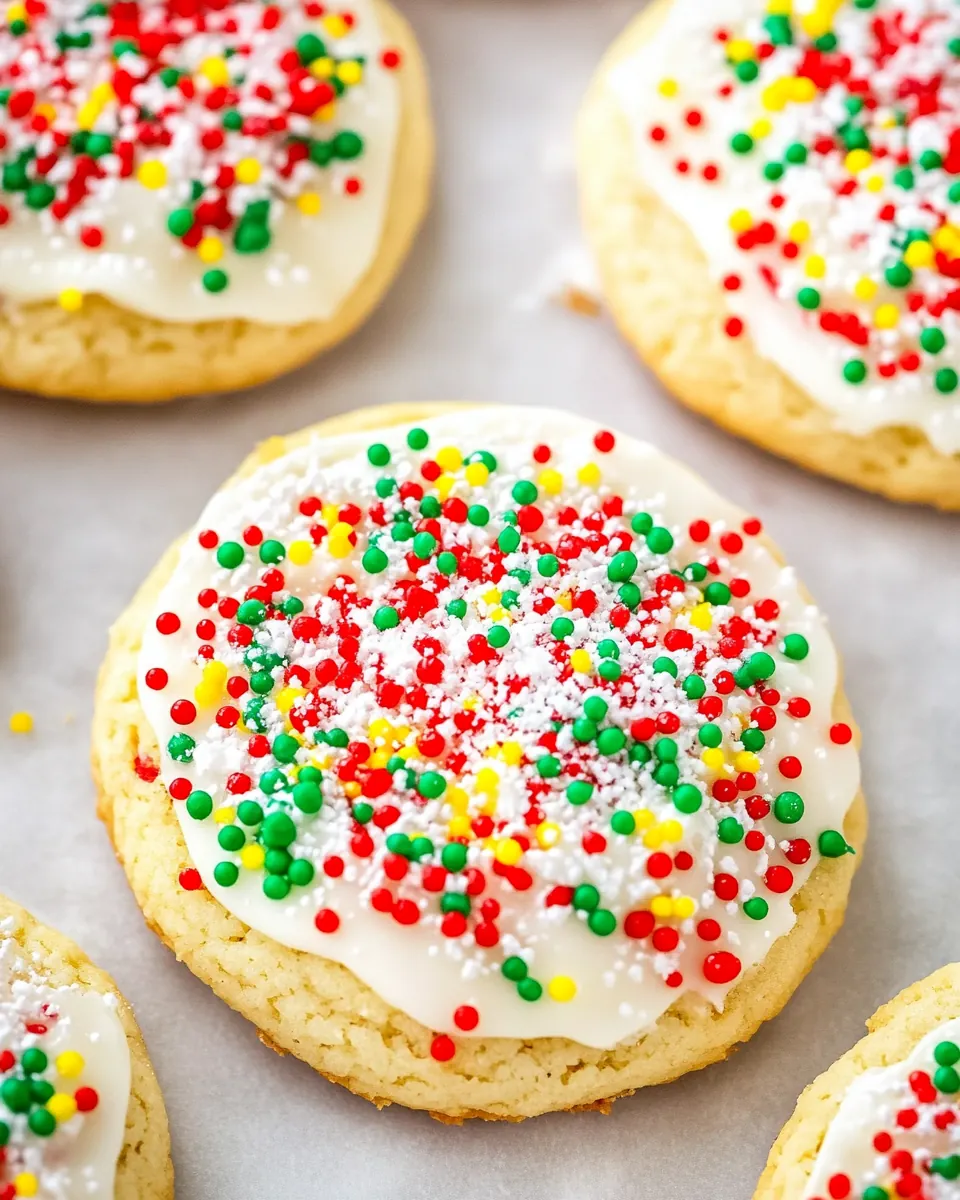
- Frost the cookies leaving a visible rim around the edge and add sprinkles on top.: The sensory joy here is the soft sweep of frosting and the bright pop of holiday sprinkles . Leaving a rim shows off the cookie edge and keeps the look authentic. Apply sprinkles immediately so they stick, and refrigerate the finished cookies. A common mistake is piling frosting too high; aim for a smooth, even layer that complements the cookie rather than overwhelms it.
- Refrigerate in a covered container.: Chilling the finished cookies sets the frosting and keeps them fresh, while the covered container prevents the sprinkles from absorbing moisture. The cool temperature also enhances the texture when you bite in, offering a slight resistance followed by a tender crumb. If you leave them uncovered, the frosting may dry out or pick up aromas from the fridge, so always use a sealed container.
Ways to Customize
I like offering simple, focused customization ideas so you can make Christmas Lofthouse Cookies your own without breaking the recipe. Below are practical approaches that change appearance, texture, or flavor while respecting the original balance.
- Change the sprinkles to match a party theme, using larger jimmies or finer nonpareils to create different textures and looks.
- Adjust frosting thickness by adding 1 tablespoon increments of heavy whipping cream until you reach a spreadable consistency that holds a rim.
- Make smaller or larger cookies by changing the scoop size, which affects bake time; smaller cookies need less oven time while larger ones need a few extra minutes.
- Batch chilling allows you to refrigerate shaped dough for up to two days before baking, making it easier to plan ahead for holiday baking sessions.
- Use room temperature ingredients consistently to ensure even incorporation and a smooth frosting texture every time.
How to Enjoy Christmas Lofthouse Cookies
These cookies shine in festive settings, and how you serve them can elevate the experience. Below are thoughtful serving ideas and storage tips to keep every plate inviting.
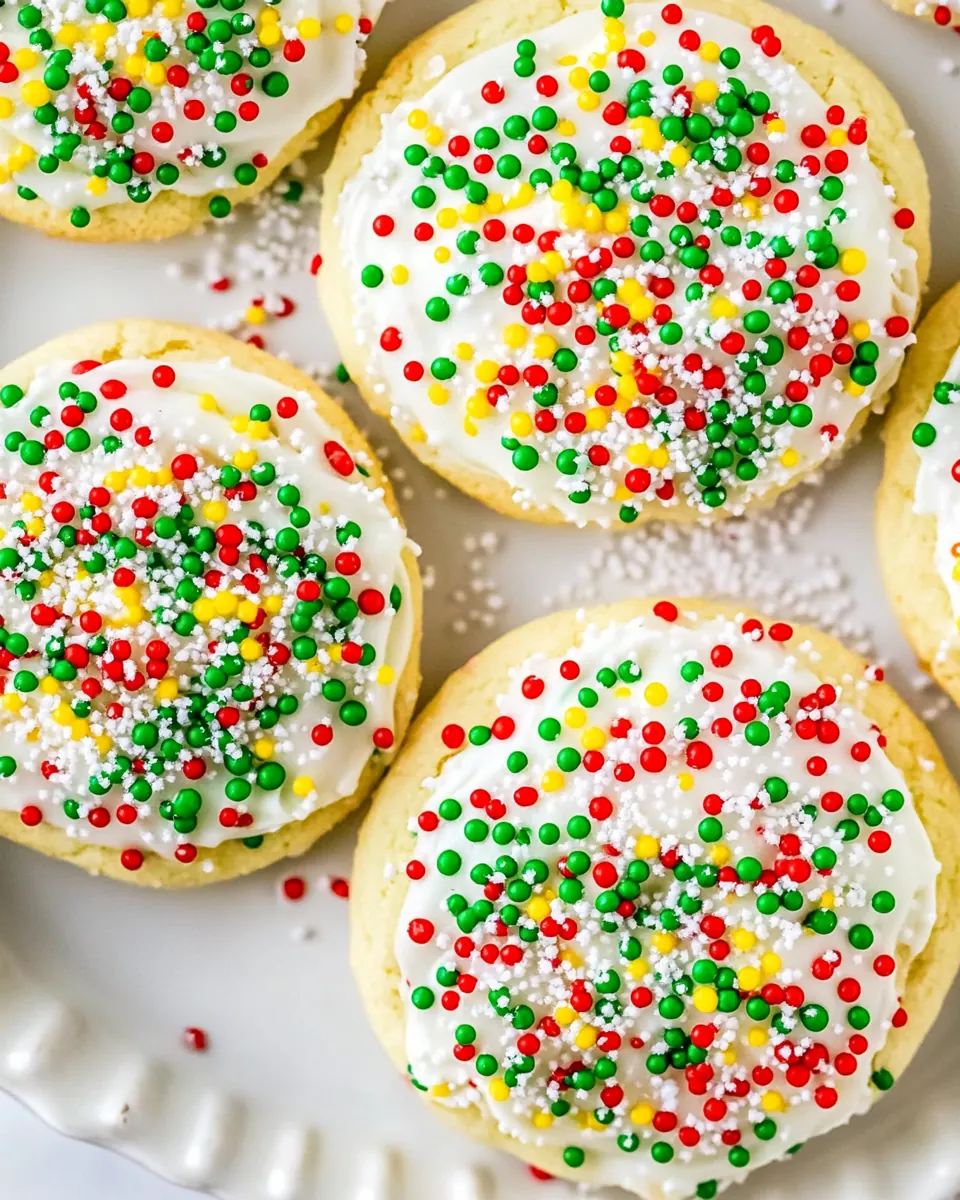
- Party platter Arrange the cookies on a large platter with a few plain cookies interspersed so guests can choose a simple option or a decorated one.
- Gift boxes Layer the cookies between sheets of parchment in a decorative box for a charming homemade gift during the holidays.
- Cookie exchange Bring these to a cookie swap; their visual appeal and soft texture make them an instant favorite at exchanges and office parties.
- After dinner treat Serve the cookies with a warm cup of tea or coffee as a sweet finish to a holiday meal.
- Storage Keep refrigerated in a covered container for up to one week, or freeze unfrosted cookies for up to three months and frost after thawing.
FAQ
Conclusion
These cookies stand out because they combine a tender, cake like crumb with a creamy, spreadable frosting that feels both nostalgic and celebratory. Give them a try this season, and invite a friend or family member to help with scooping and decorating to make the process part of the fun. With simple steps and a few mindful touches like chilling the dough and frosting cooled cookies, you will end up with bakery quality treats that brighten any holiday gathering. I hope you enjoy making and sharing them as much as I do.
Christmas Lofthouse Cookies
Equipment
- Electric Mixer
- Cookie Scoop
- Baking Sheets
- Parchment Paper
- Mixing Bowls
- Wire Rack
Ingredients
- 1/2 cup (1 stick) salted butter, at room temperature Soften and cream to provide a rich, tender base for the cookie dough; contributes moisture, flavor, and helps create a tender crumb when creamed with sugar. Use at room temperature to ensure even incorporation and smooth texture in the batter.
- 3 ounces cream cheese, at room temperature Soften and blend to add tangy richness and extra tenderness to the dough; balances sweetness and contributes to a softer, cakey texture. Ensure at room temperature to prevent lumps and allow smooth mixing.
- 1 cup granulated white sugar Cream together with butter to aerate the batter and provide sweetness; helps create structure during creaming and contributes to caramelized notes when baked. Measure accurately to maintain proper dough consistency and texture.
- 1/2 teaspoon kosher salt Season and enhance overall flavor while balancing sweetness; helps control the dough’s taste profile and can strengthen gluten slightly for texture. Use the specified amount to avoid overpowering the cookies with saltiness.
- 2 large eggs, at room temperature Tenderize and enrich the dough while aiding structure and leavening; eggs add moisture, fat, and act as a binding agent to create cohesive cookie dough. Bring to room temperature so they incorporate more evenly and help with proper emulsion.
- 1 tablespoon vanilla extract Flavor and fragrance the dough with a warm, sweet aroma; enhances other flavors and provides a familiar vanilla profile in the cookie. Add with the wet ingredients to evenly distribute flavor throughout the batter.
- 2 3/4 cups cake flour Provide a light, delicate structure with a softer crumb compared to all-purpose flour; helps achieve the signature cakey, tender texture of Lofthouse-style cookies. Spoon and level when measuring to avoid packing and maintain proper dough consistency.
- 2 teaspoons baking powder Leaven and lift the batter to produce a light, airy, cakey texture; works with the eggs and creaming process to give subtle rise and tenderness. Mix thoroughly but avoid overworking to preserve tender crumb.
- 1/2 cup (1 stick) salted butter, at room temperature Cream and pipeable frosting base when softened with other frosting ingredients; adds richness and stability to the buttercream. Keep at room temperature to ensure smooth, lump-free icing consistency.
- 1/2 teaspoon vanilla extract Add a secondary vanilla note to the frosting for balanced flavor; concentrates vanilla aroma in the icing to match the cookies’ sweet profile. Stir into the frosting gradually to taste and avoid over-flavoring.
- 2 cups powdered sugar Sweeten and stabilize the frosting while providing structure and smoothness; creates the signature opaque, fluffy buttercream when beaten with butter and liquid. Sift if necessary to prevent lumps and achieve a silky texture.
- 2 to 3 tablespoons heavy whipping cream Thin and smooth the frosting to the desired consistency while adding richness; small amounts adjust spreadability and mouthfeel without watering down flavor. Add gradually until the frosting reaches a pipeable, creamy texture.
- holiday sprinkles Decorate and add visual festive appeal while providing a crunchy contrast to the soft cookie and creamy frosting; use sparingly to maintain overall texture balance. Apply immediately after frosting to ensure sprinkles adhere properly.
Instructions
- Preheat the oven to 350℉. Line two baking sheets with parchment paper or silpat mats.: The moment you start, you will notice the warm hum of the oven kicking on, and having it at 350℉ ensures the cookies bake evenly, creating a delicate domed profile rather than spreading too thin. This temperature gives the edges just enough structure while keeping the center soft. A common mistake is putting cookies into a cold oven, which causes them to spread unpredictably and results in a greasy, flat texture. Make sure your oven racks are centered for even heat distribution, and allow the oven to fully reach temperature before baking.
- In a large bowl, use an electric mixer to combine the butter, cream cheese, sugar and salt. Beat until smooth and fluffy - 3 to 4 minutes. Add the eggs and vanilla extract and mix for another minute. In a medium bowl, whisk together the flour and baking powder. Slowly add the flour to the wet ingredients and mix just until it’s all incorporated. Cover the bowl with plastic wrap and refrigerate until the dough is firm.: The faint rustle of parchment and the stable surface of a silpat mean the cookies will release cleanly, preventing bottoms from browning too quickly. Using parchment also makes clean up simple and helps maintain consistent baking between sheets. Avoid placing cookies directly on an unlined pan as they will stick and may brown unevenly. If you notice the first tray browning faster, rotate between racks halfway through the bake.
- Use a cookie scoop to measure an even scoop of dough (1 1/2 to 2 tablespoons). Roll the blob of dough into a ball. Place it onto the baking sheet, and use the bottom of a glass that has been dipped in water and sugar to flatten it into a round cookie shape. Repeat with the remaining dough. sheet (space about 2-inches apart).: Right after creaming these together with an electric mixer, you will see a pale, fluffy mixture form; it should look velvety and smell slightly tangy from the cream cheese . That aeration is crucial to the soft texture. If you cream too briefly, the mixture will be dense and the cookies may be heavy. Conversely, over creaming can incorporate too much air, which could lead to excessive spreading in the oven. Scrape the bowl occasionally to ensure everything is fully incorporated and even in texture.
- Bake 12 to 14 minutes until the cookies are no longer looking raw in the middle. Let them cool completely on the pan before transferring them to a rack.: Once the eggs and vanilla extract join, the batter will become smoother and glossier, with a gentle vanilla aroma rising. The eggs add structure while keeping the dough moist and tender. If your eggs are cold they can cause the mixture to seize slightly, creating tiny lumps; always use room temperature eggs for a seamless blend. Mix just until combined to avoid overdeveloping any gluten.
- In a large bowl, use an electric mixer to cream the butter. Then mix in the vanilla. Add the powdered sugar and mix to combine. Mix in 1 tablespoon of cream, and then another. The consistency at this point might be what you are looking for (a nice, spreadable consistency), or you may need a little more powdered sugar or a little more cream.: When you whisk the cake flour and baking powder you are making sure the leavening is evenly distributed, which is why the cookies rise uniformly. The flour will look light and powdery, and breaking up any clumps ensures a smooth dough. Skipping this step can leave pockets of baking powder which create odd bumps during baking. Use a sifter or a fine mesh if your flour seems packed.
- Frost the cookies leaving a visible rim around the edge of the cookie, and add sprinkles on top. Lofthouse cookies should be refrigerated in a covered container.: As the dry ingredients fold in, the dough will shift from glossy batter to a soft, slightly sticky dough that holds together. The tactile cue here is key; stop mixing the moment you see no streaks of flour to prevent gluten from tightening the crumb. Over mixing will make the cookies tougher and less tender. Use a spatula to finish combining if needed, working gently to protect that soft texture.
- Cover the bowl with plastic wrap and refrigerate until the dough is firm.: Chilling the dough firms the fats and hydrates the flour, which controls spread and improves texture, creating that sought after cake like interior. You will feel the dough become denser and easier to scoop after refrigeration. A typical error is skipping this chilling step, which results in overly thin, flat cookies. Aim for at least 30 minutes or until the dough holds shape when scooped.
- Use a cookie scoop to measure an even scoop of dough.: When you scoop uniform amounts, the cookies bake at the same rate and finish together, so that each cookie has the same tender interior. Use a 1 1/2 to 2 tablespoon scoop for consistent size, and roll each portion gently into a ball to seal the surface. If you eyeball the portions, you may end up with uneven cookies where some are under baked while others are overdone.
- Roll into a ball and flatten with the bottom of a glass dipped in water and sugar.: Pressing with a glass gives a soft rounded top and even thickness. Dipping the glass in water and sugar creates a delicate sugared surface that helps shape the cookie without sticking, and it adds a faint sparkle along the edge. If you press too hard the cookies become too thin and lose their cake like center. Aim for a gentle, even press so the edges remain slightly thicker than the center.
- Bake 12 to 14 minutes until the cookies are no longer looking raw in the middle.: The oven will transform the dough into a cookie with faintly golden edges and a center that looks set but still soft; that visual cue is the best indicator of doneness. You might hear a quiet settling sound as steam escapes, and the aroma will shift from sugary to warm and buttery. Avoid overbaking, which dries the cookie and eliminates the pillowy texture. Remove them as soon as the centers look set and allow them to cool on the pan to finish gently.
- Let them cool completely on the pan before transferring them to a rack.: Cooling on the pan for a few minutes helps the cookies firm just enough to move without breaking, and finishing on a rack ensures any residual steam escapes so the bottoms do not become soggy. If you attempt to frost while the cookies are warm, the frosting will melt and slide off. Be patient, and you will be rewarded with a stable surface for icing.
- Cream the butter then mix in the vanilla for the frosting.: Whipping the frosting butter until light and fluffy introduces air that makes the frosting feel light on the palate, and the vanilla extract brings a sweet aromatic lift. The texture should be silky and slightly billowy. Underwhipped butter yields a dense frosting that resists spreading, so whip until you see those soft peaks forming.
- Add the powdered sugar and mix to combine.: As you blend in the powdered sugar , the frosting will thicken and become opaque, producing a smooth, sweet coating. Sift the sugar if needed to avoid lumps and mix at low speed at first to prevent the kitchen from becoming a cloud of sugar. Overmixing at high speed can make the frosting too airy and unstable.
- Mix in 1 tablespoon of cream, then another, adjusting consistency.: Adding heavy whipping cream slowly lets you reach the perfect spreadable texture, from thick to silky. The frosting should hold its shape but still glide when you spread it. If you add too much cream at once, the frosting becomes runny and will not hold the defined rim typical of Lofthouse style cookies. If that happens, thicken with a bit more powdered sugar.
- Frost the cookies leaving a visible rim around the edge and add sprinkles on top.: The sensory joy here is the soft sweep of frosting and the bright pop of holiday sprinkles . Leaving a rim shows off the cookie edge and keeps the look authentic. Apply sprinkles immediately so they stick, and refrigerate the finished cookies. A common mistake is piling frosting too high; aim for a smooth, even layer that complements the cookie rather than overwhelms it.
- Refrigerate in a covered container.: Chilling the finished cookies sets the frosting and keeps them fresh, while the covered container prevents the sprinkles from absorbing moisture. The cool temperature also enhances the texture when you bite in, offering a slight resistance followed by a tender crumb. If you leave them uncovered, the frosting may dry out or pick up aromas from the fridge, so always use a sealed container.
Notes
- Change the sprinkles to match a party theme, using larger jimmies or finer nonpareils to create different textures and looks.
- Adjust frosting thickness by adding 1 tablespoon increments of heavy whipping cream until you reach a spreadable consistency that holds a rim.
- Make smaller or larger cookies by changing the scoop size, which affects bake time; smaller cookies need less oven time while larger ones need a few extra minutes.
- Batch chilling allows you to refrigerate shaped dough for up to two days before baking, making it easier to plan ahead for holiday baking sessions.
- Use room temperature ingredients consistently to ensure even incorporation and a smooth frosting texture every time.