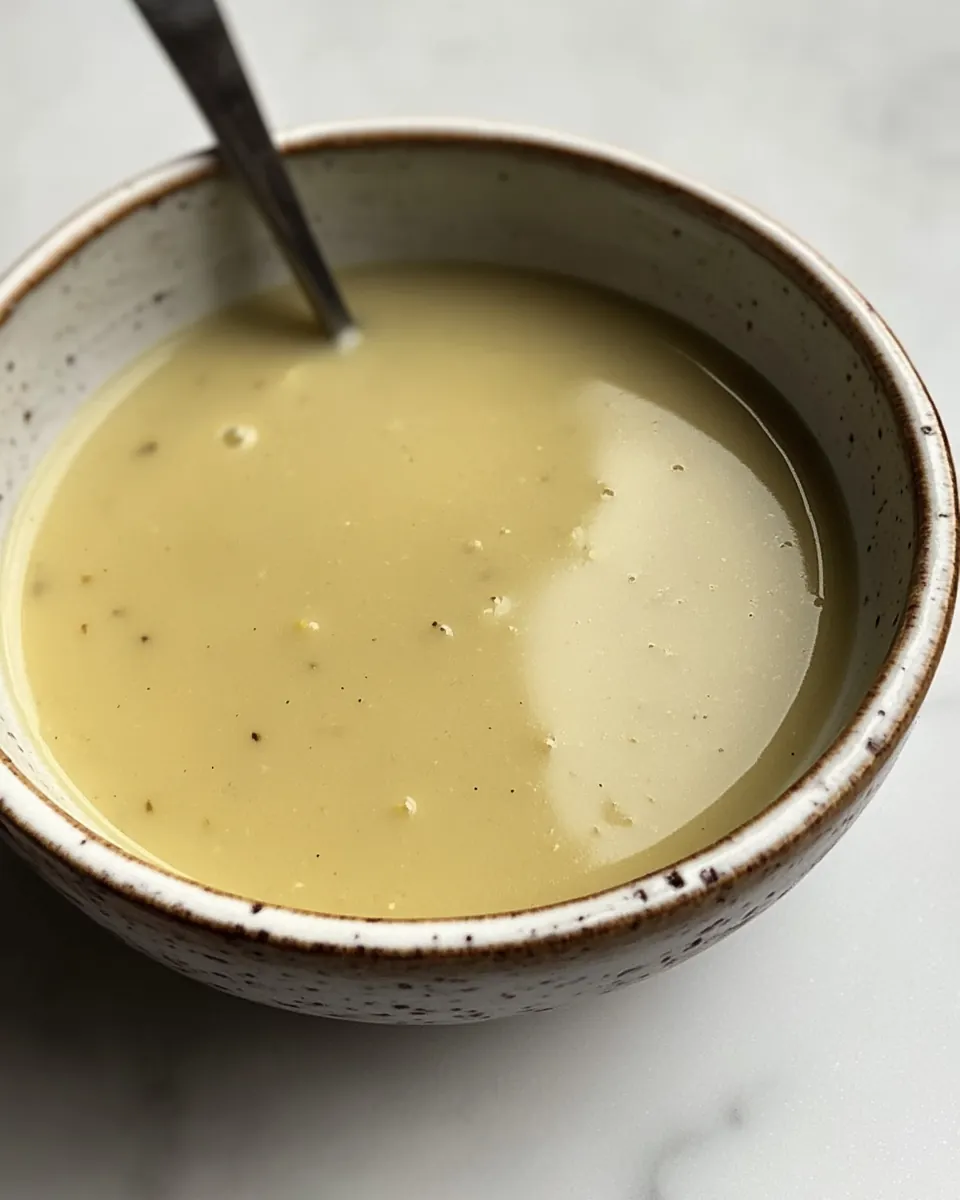
Turkey Gravy Recipe
Turkey Gravy Recipe is the kind of simple, soulful sauce that turns plain slices into a meal worth lingering over.
I remember the first time I learned to make this sauce properly, standing beside my grandmother as she steady-handedly skimmed and stirred the glossy pan juices from a golden roasted bird. We chatted about everything from family stories to which oven rack gives the best browning, and I soaked up the small, patient techniques that make the sauce sing. That afternoon taught me that good gravy is equal parts attention and good ingredients, and that a few careful moves will reward you with deep savory flavor.
On another occasion, when I was rushing between tasks in the kitchen, I discovered that keeping the skimmed drippings and fat separated makes the process almost foolproof. From that day on I always measure out the fat, cook the roux until it smells nutty, and gradually add the skimmed drippings while whisking. These rituals are small, but they create a glossy, velvety sauce that clings to the meat and soaks into mashed potatoes.
Recipe Snapshot
15 mins
5 mins
10 mins
Easy
150 kcal
American
Gluten-Free, Low FODMAP
Side Dishes
Fine mesh sieve, Measuring cup, Medium saucepan, Whisk
Why You Need This Turkey Gravy Recipe
Rich, natural flavor from the turkey itself
What I love most about Turkey Gravy Recipe is that its backbone is real turkey drippings. You are not masking taste with heavy seasonings, you are amplifying the roast, and that results in a gravy that tastes like the bird, but deeper. When the drippings are skimmed and used thoughtfully, the result is a savory, layered profile that store bought jars cannot match.
Simple technique, spectacular payoff
There is beauty in how few steps deliver such a satisfying outcome. A bit of rendered fat, a quick roux with flour, and steady whisking yield a sauce that is smooth and luscious. Because the method is straightforward, I find it calming rather than stressful, even when I am juggling other elements of a big meal.
Customizable texture and richness
I appreciate that this recipe lets you control body and silkiness. Want a thinner pour to lightly coat slices, or a spoon-thick gravy for mashed potatoes? Adjusting the amount of skimmed drippings and adding a splash of milk or extra stock is easy. That flexibility makes this gravy ideal for different plates and preferences.
Reliable for holiday meals and weeknight dinners
While many people save special techniques for celebrations, this gravy performs beautifully for both a grand feast and a humble dinner. It scales naturally, and because it relies on roast pan juices, you can make it with leftover drippings and still feel like you are serving something fresh and considered.
Minimal ingredients, maximum comfort
With only a few pantry staples like all purpose flour, measured fat, and the clarified drippings, it is one of those recipes I return to when I want comfort without fuss. The seasoning is straightforward, meaning the turkey remains the star, while the gravy provides warmth and cohesion to the plate.
Shopping List for Turkey Gravy Recipe
The philosophy behind these ingredients is all about clarity and concentration. Each item plays a specific role: the rendered fat provides flavor and a medium for the roux, the flour thickens and creates body, and the skimmed drippings supply deep turkey richness. A small splash of milk or extra stock lets you tune the texture, while a final seasoning of salt and pepper brings everything into balance. Together, they create a glossy, satisfying sauce that complements roasted turkey and sides without overwriting them.
- 3 tablespoons all-purpose flour: Thicken the gravy by forming a smooth roux that cooks until slightly bubbly and nutty, removing any raw flour taste; whisk constantly to prevent lumps and ensure a glossy finish.
- 3 tablespoons fat drippings from roasted turkey: Render flavor and richness by combining with flour to create the fat base for the roux, imparting savory depth and an appealing mouthfeel to the finished gravy.
- 2 cups turkey drippings skimmed of fat: Provide the primary liquid component that carries concentrated turkey flavor; skimmed of excess fat to balance richness while retaining savory pan juices for deglazing and simmering.
- 1/4 cup milk or stock as needed: Adjust consistency and add creaminess or additional stock depth as needed; incorporate gradually while whisking to reach the desired pourable texture without diluting flavor.
- Salt and pepper, to taste: Season to taste, enhancing and balancing savory, salty, and peppery notes; add incrementally and taste frequently to achieve a well-rounded gravy profile.
Recipe Steps for Turkey Gravy Recipe
These steps guide you through creating a glossy, well balanced gravy that enhances roasted turkey and sides. I like to move deliberately, whisking steadily and keeping an eye on texture. Follow the sensory signals and tasting cues, and you will end up with a sauce that is smooth, flavorful, and perfectly suited to the rest of the meal.
- Strain the turkey drippings from the roasting pan through a fine mesh sieve into a large measuring cup. Allow the drippings to settle so the fat rises to the top.: You will notice the rich, meaty aroma as the warm juices pour through the sieve, and then a layer of pale fat will collect on the surface as it cools. This separation is crucial because the clear liquid beneath is what gives gravy a clean, concentrated turkey flavor, while the fat is used separately to make the roux. A common error here is trying to whisk the entire mixture without skimming, which can lead to greasy gravy. Be patient while it settles, use a tall measuring cup so you can see the layers, and tilt the cup slightly when pouring later to avoid disturbing the fat layer.
- Skim off 3 tablespoons of the fat and transfer it to a medium saucepan. Heat over medium heat.: As the fat melts in the pan, it will shimmer and produce a light, savory scent that tells you the pan is ready. The goal is to have enough hot fat to coat the bottom of the pan and evenly cook the flour . If the fat bubbles vigorously, reduce the heat slightly, because overly high temperatures will brown the fat too fast and make the roux dark. A frequent mistake is overheating, which creates spots of burnt flavor. Keep the flame moderate and give the pan a gentle swirl so the fat spreads uniformly.
- Whisk in the flour and cook, stirring constantly, until the mixture turns a light golden brown, about 2 minutes.: When you add the flour , it will form a paste with the hot fat that initially clumps, then smooths out with continuous whisking. Listen for a faint popping or sizzling as moisture leaves and the flour toasts; you should smell a warm, slightly nutty aroma when it is ready. This brief cook time eliminates raw starchiness and builds the foundation for a glossy finish. Avoid walking away, because even a minute too long will deepen the color and change the flavor toward bitter. Keep whisking in a steady motion for consistency.
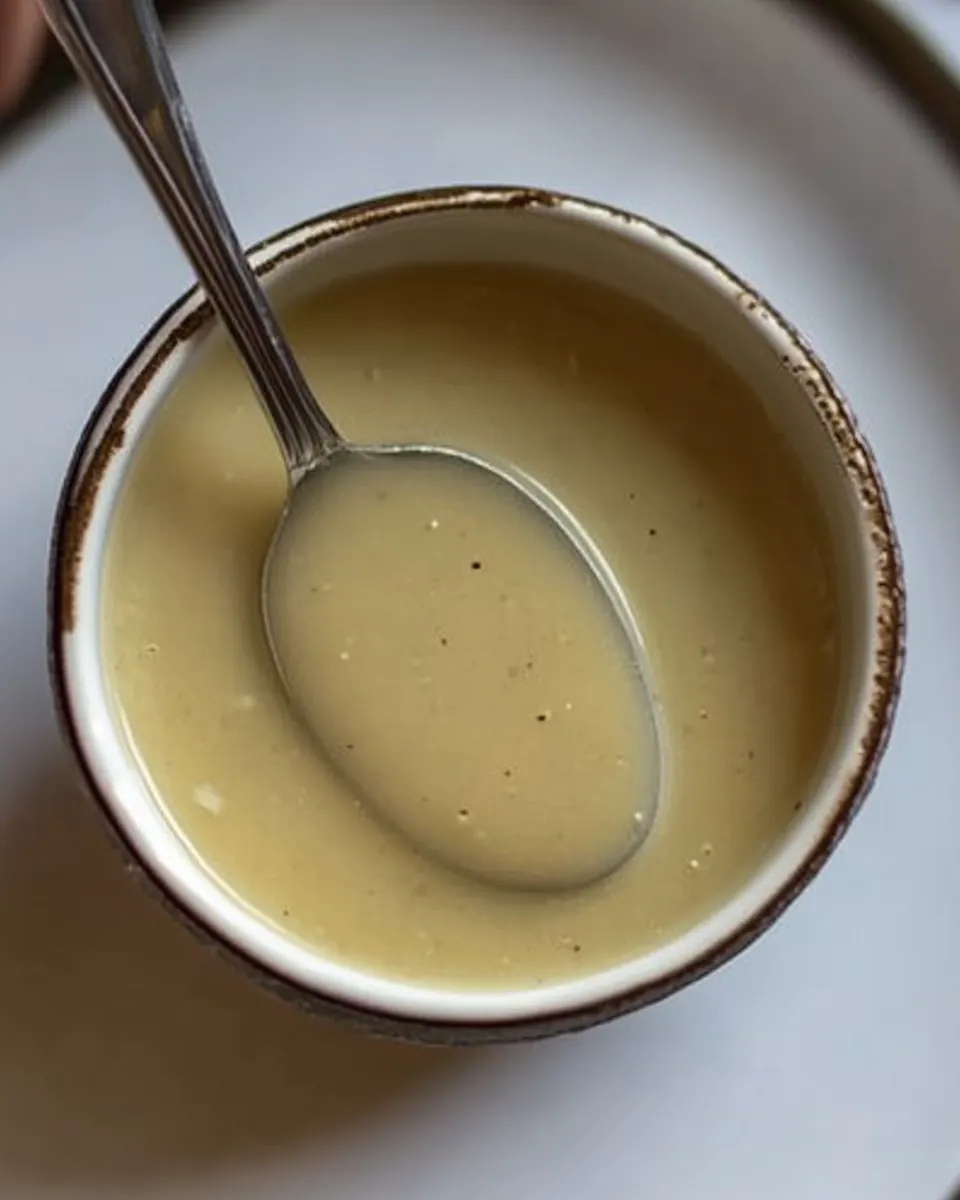
- Gradually add the skimmed drippings while whisking constantly. Bring the mixture to a light boil to thicken.: As you pour the clear turkey drippings in a thin stream, the mixture will loosen, steam, and thicken. The sound becomes a soft bubbling, and the surface will gloss over as the starches swell. Whisking constantly prevents lumps and ensures a smooth emulsion. When the gravy reaches a gentle boil, it will visibly thicken and coat the back of a spoon. Mistakes here include adding the liquid too quickly, which creates a lumpy texture, or not whisking vigorously enough, which allows pockets of dry flour to persist. If lumps form, strain the gravy through the sieve or use a whisk to briskly break them up.
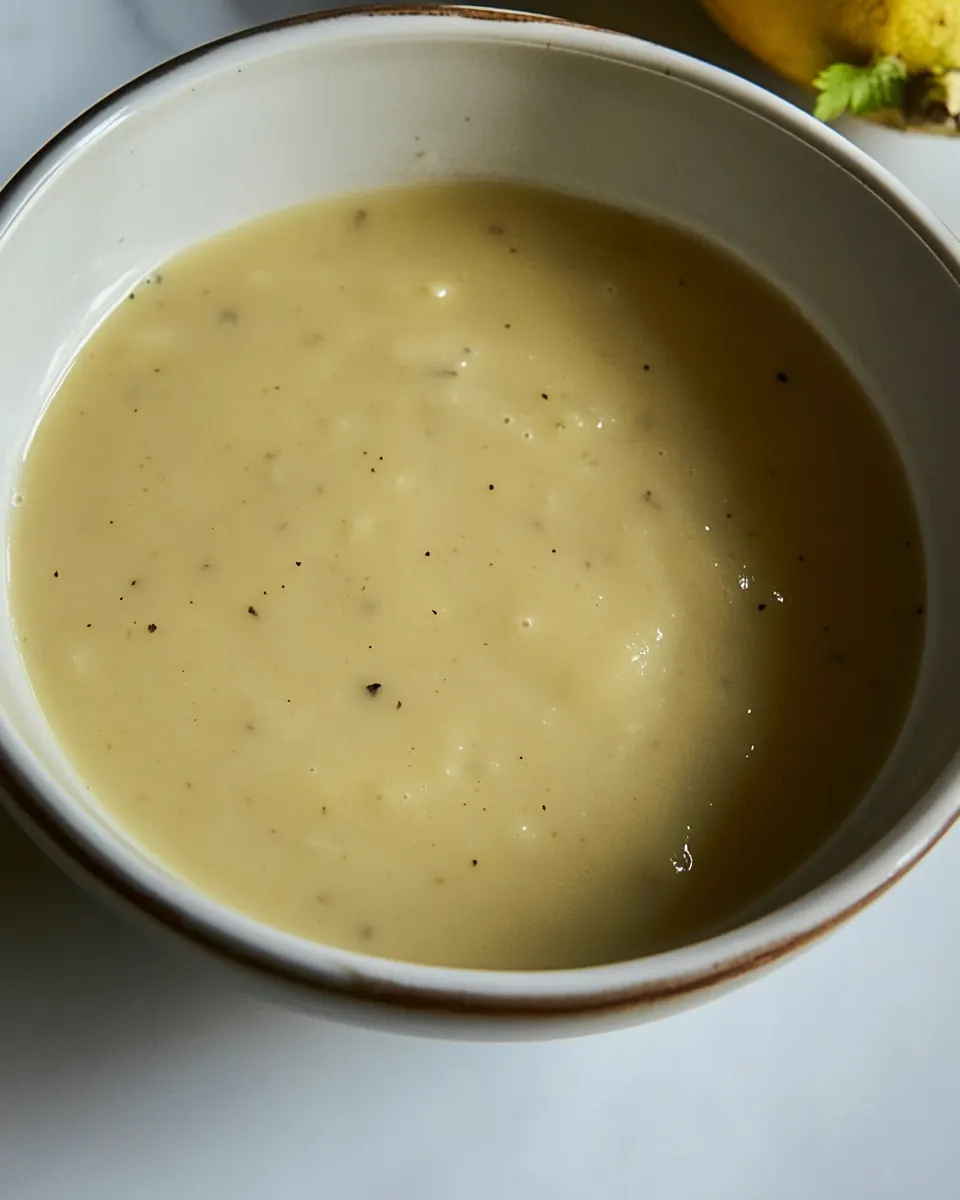
- Adjust the consistency with milk or stock if needed. Season with salt and pepper to taste. Serve warm.: After the initial thickening, the gravy may feel too thick for pouring, especially as it cools. Adding up to 1/4 cup of milk or extra stock gradually will thin it to your preferred body. As you add liquid, the sauce will relax and the aroma will open, becoming milder and more integrated. Make adjustments in small increments, stirring and tasting between additions. A frequent misstep is over thinning, which dilutes the turkey flavor; if that happens, simmer briefly to concentrate, or whisk in a small pinch more flour melted in warm fat to rethicken.
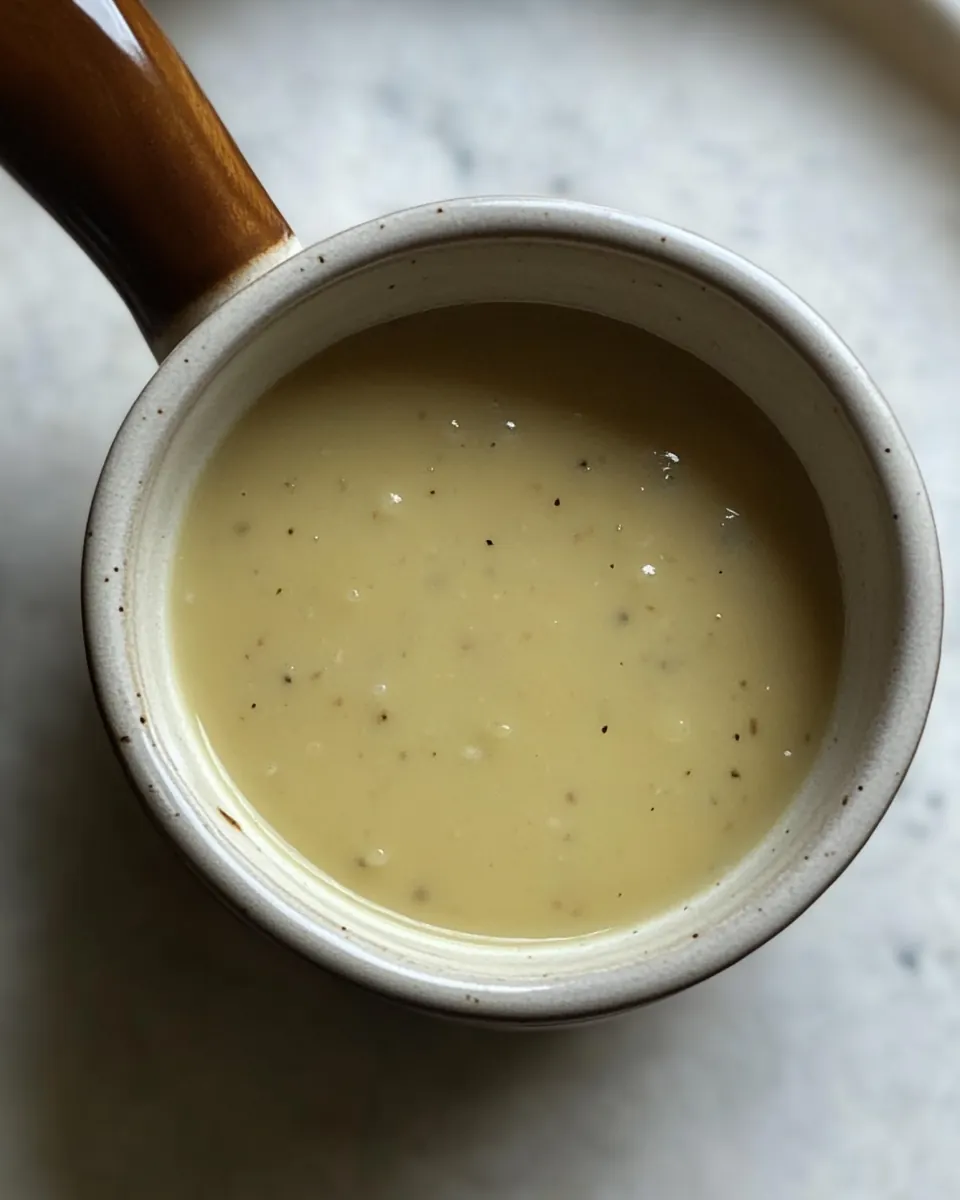
- Season with salt and pepper to taste. Serve warm.: Seasoning is best done last because the reduced drippings already carry salt. Sprinkle in a little at a time and taste when the gravy is hot, because heat unlocks savory nuances. Freshly ground black pepper brightens the overall profile, and serving warm ensures the gravy pours smoothly over slices and sides. The most common mistake is oversalting, so I always err on the lighter side and let guests add more at the table. Keep the gravy warm over low heat, stirring occasionally, to maintain texture before serving.
Helpful Hints
These tips reflect years of making gravies for gatherings and quick dinners alike. I focus on control, timing, and sensory signals to keep the sauce smooth and flavorful. Each note highlights a practical habit that saves time and improves results, whether you are finishing a holiday roast or stretching leftovers into a new meal.
- Measure your fat precisely: Use a tablespoon measure so the ratio of fat to flour is consistent, preventing a greasy or overly thin roux.
- Reserve drippings properly: Pour pan juices into a tall container and chill briefly if necessary to make skimming easier and cleaner.
- Toast the flour gently: Cook the roux only until it smells warm and turns pale golden, this removes the raw taste without adding bitterness.
- Add liquid slowly: Introduce the skimmed drippings in a steady stream while whisking to maintain a lump free, silky texture.
- Adjust with small amounts: Thin or thicken in small increments so you do not overshoot the ideal consistency.
What to Serve Alongside Turkey Gravy Recipe
Gravy transforms a plate, and pairing it thoughtfully makes the meal memorable. Consider textures, temperatures, and the occasion when choosing accompaniments. Below are ideas for sides and settings where this gravy truly shines.
- Mashed potatoes: Creamy mashed potatoes are the classic partner, their soft texture soaking up the gravy beautifully for a comforting bite.
- Roasted turkey slices: Of course the gravy belongs with carved turkey, adding moisture and amplifying roast flavors, ideal for holiday dinners.
- Stuffing or dressing: Spoon a little gravy over the stuffing to add moisture and a savory depth that ties both elements together.
- Green vegetable sides: Steamed or roasted green vegetables provide freshness and a color contrast, balancing the rich sauce.
- Occasions and storage: This gravy is perfect for Thanksgiving and fall gatherings, and it stores well in the fridge for up to three days. Reheat gently over low heat, whisking in a splash of stock or milk to revive its texture.
FAQ
Conclusion
This Turkey Gravy Recipe stands out because it transforms simple pan juices into a glossy, savory sauce that elevates the entire plate. Give it a try the next time you roast a bird, and you may find it becomes your go to finishing touch. With minimal ingredients and a few focused techniques, you can produce a sauce that feels both celebratory and homey, and it will likely earn a spot on your table for many meals to come.
Turkey Gravy Recipe
Equipment
- Fine mesh sieve
- Measuring Cup
- Medium Saucepan
- Whisk
Ingredients
- 3 tablespoons all-purpose flour Thicken the gravy by forming a smooth roux that cooks until slightly bubbly and nutty, removing any raw flour taste; whisk constantly to prevent lumps and ensure a glossy finish.
- 3 tablespoons fat drippings from roasted turkey Render flavor and richness by combining with flour to create the fat base for the roux, imparting savory depth and an appealing mouthfeel to the finished gravy.
- 2 cups turkey drippings skimmed of fat Provide the primary liquid component that carries concentrated turkey flavor; skimmed of excess fat to balance richness while retaining savory pan juices for deglazing and simmering.
- 1/4 cup milk or stock as needed Adjust consistency and add creaminess or additional stock depth as needed; incorporate gradually while whisking to reach the desired pourable texture without diluting flavor.
- Salt and pepper, to taste Season to taste, enhancing and balancing savory, salty, and peppery notes; add incrementally and taste frequently to achieve a well-rounded gravy profile.
Instructions
- Strain the turkey drippings from the roasting pan through a fine mesh sieve into a large measuring cup. Allow the drippings to settle so the fat rises to the top.: You will notice the rich, meaty aroma as the warm juices pour through the sieve, and then a layer of pale fat will collect on the surface as it cools. This separation is crucial because the clear liquid beneath is what gives gravy a clean, concentrated turkey flavor, while the fat is used separately to make the roux. A common error here is trying to whisk the entire mixture without skimming, which can lead to greasy gravy. Be patient while it settles, use a tall measuring cup so you can see the layers, and tilt the cup slightly when pouring later to avoid disturbing the fat layer.
- Skim off 3 tablespoons of the fat and transfer it to a medium saucepan. Heat over medium heat.: As the fat melts in the pan, it will shimmer and produce a light, savory scent that tells you the pan is ready. The goal is to have enough hot fat to coat the bottom of the pan and evenly cook the flour . If the fat bubbles vigorously, reduce the heat slightly, because overly high temperatures will brown the fat too fast and make the roux dark. A frequent mistake is overheating, which creates spots of burnt flavor. Keep the flame moderate and give the pan a gentle swirl so the fat spreads uniformly.
- Whisk in the flour and cook, stirring constantly, until the mixture turns a light golden brown, about 2 minutes.: When you add the flour , it will form a paste with the hot fat that initially clumps, then smooths out with continuous whisking. Listen for a faint popping or sizzling as moisture leaves and the flour toasts; you should smell a warm, slightly nutty aroma when it is ready. This brief cook time eliminates raw starchiness and builds the foundation for a glossy finish. Avoid walking away, because even a minute too long will deepen the color and change the flavor toward bitter. Keep whisking in a steady motion for consistency.
- Gradually add the skimmed drippings while whisking constantly. Bring the mixture to a light boil to thicken.: As you pour the clear turkey drippings in a thin stream, the mixture will loosen, steam, and thicken. The sound becomes a soft bubbling, and the surface will gloss over as the starches swell. Whisking constantly prevents lumps and ensures a smooth emulsion. When the gravy reaches a gentle boil, it will visibly thicken and coat the back of a spoon. Mistakes here include adding the liquid too quickly, which creates a lumpy texture, or not whisking vigorously enough, which allows pockets of dry flour to persist. If lumps form, strain the gravy through the sieve or use a whisk to briskly break them up.
- Adjust the consistency with milk or stock if needed. Season with salt and pepper to taste. Serve warm.: After the initial thickening, the gravy may feel too thick for pouring, especially as it cools. Adding up to 1/4 cup of milk or extra stock gradually will thin it to your preferred body. As you add liquid, the sauce will relax and the aroma will open, becoming milder and more integrated. Make adjustments in small increments, stirring and tasting between additions. A frequent misstep is over thinning, which dilutes the turkey flavor; if that happens, simmer briefly to concentrate, or whisk in a small pinch more flour melted in warm fat to rethicken.
- Season with salt and pepper to taste. Serve warm.: Seasoning is best done last because the reduced drippings already carry salt. Sprinkle in a little at a time and taste when the gravy is hot, because heat unlocks savory nuances. Freshly ground black pepper brightens the overall profile, and serving warm ensures the gravy pours smoothly over slices and sides. The most common mistake is oversalting, so I always err on the lighter side and let guests add more at the table. Keep the gravy warm over low heat, stirring occasionally, to maintain texture before serving.
Notes
- Measure your fat precisely: Use a tablespoon measure so the ratio of fat to flour is consistent, preventing a greasy or overly thin roux.
- Reserve drippings properly: Pour pan juices into a tall container and chill briefly if necessary to make skimming easier and cleaner.
- Toast the flour gently: Cook the roux only until it smells warm and turns pale golden, this removes the raw taste without adding bitterness.
- Add liquid slowly: Introduce the skimmed drippings in a steady stream while whisking to maintain a lump free, silky texture.
- Adjust with small amounts: Thin or thicken in small increments so you do not overshoot the ideal consistency.