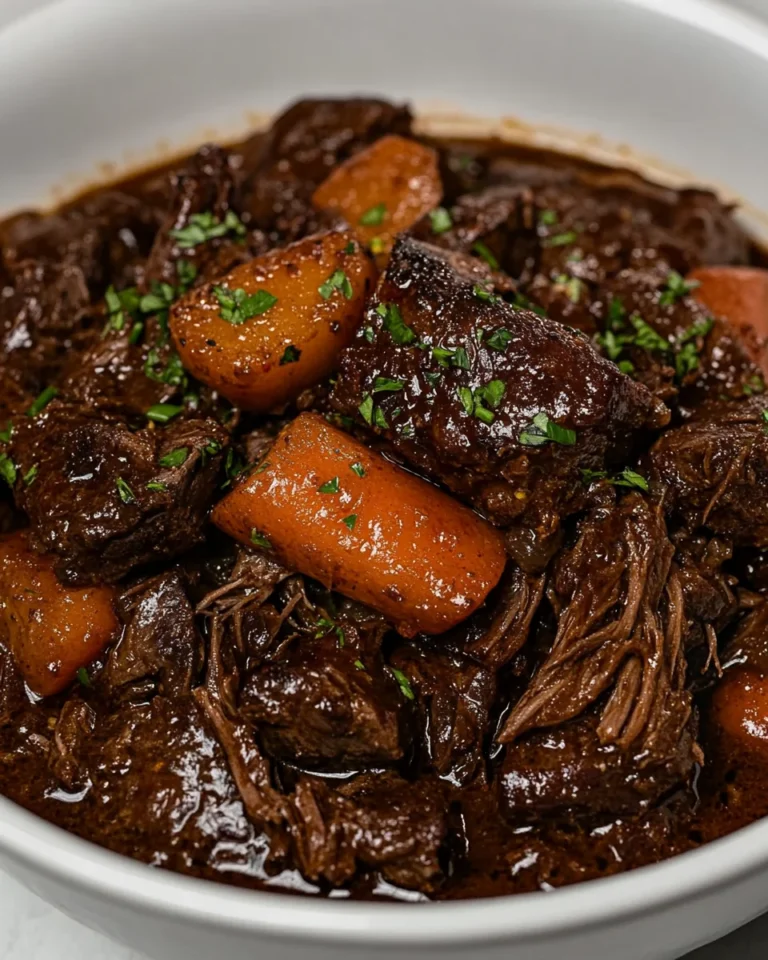
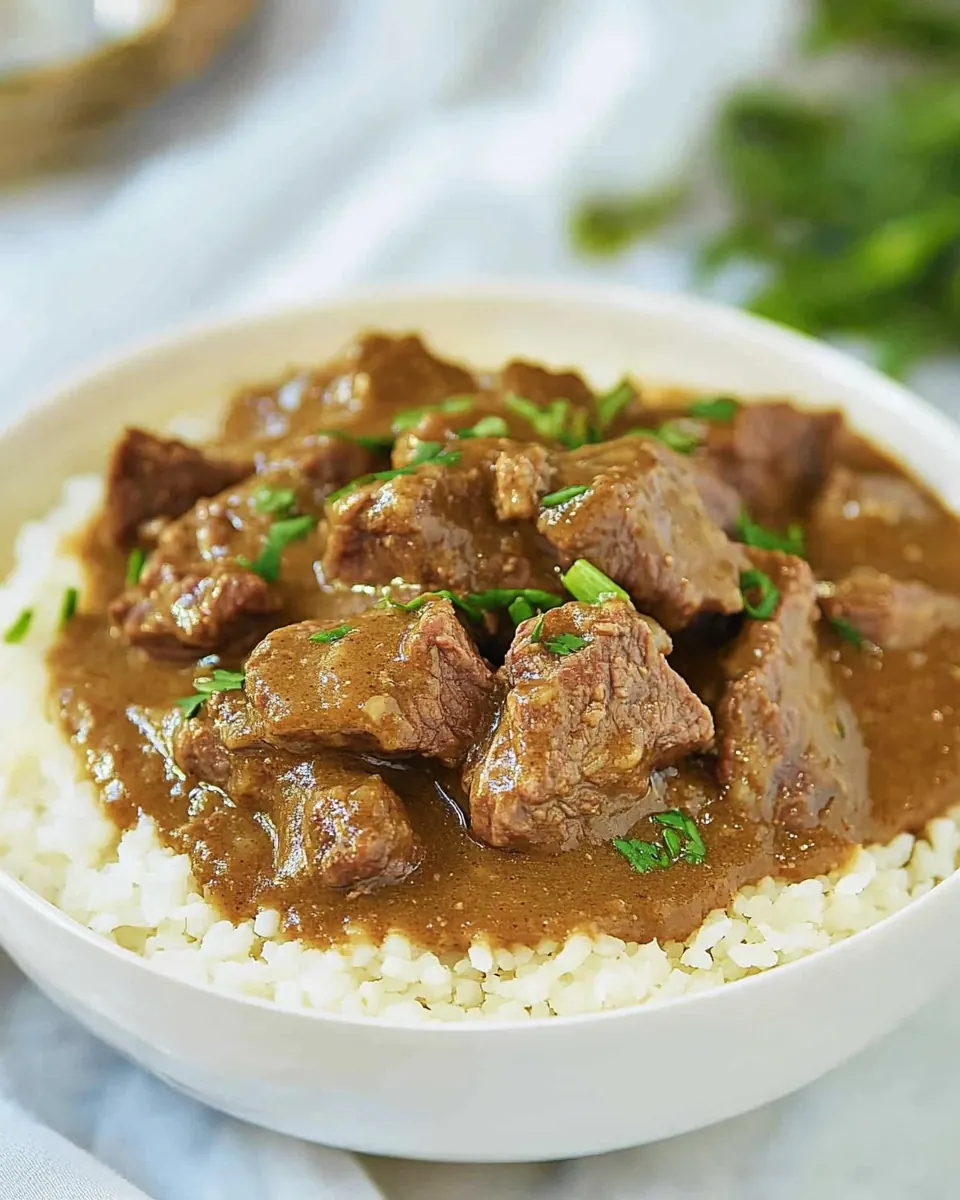
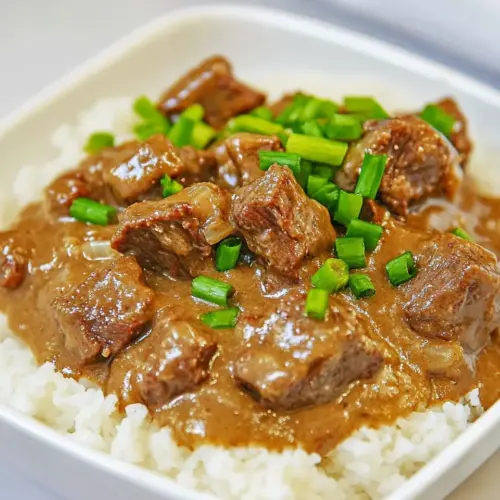
Tender Beef Tips and Gravy
Tender Beef Tips and Gravy is one of those comforting dishes I turn to when I need food that feels like a warm hug after a long day. I remember the first time I made it for a Sunday family dinner, juggling a million little things while the kitchen filled with the scent of searing beef and sweet, caramelizing onion. That aroma alone pulled everyone into the kitchen, and we ended up talking late into the evening over bowls of gravy drenched noodles.
Over the years I’ve adapted the recipe to suit busy weeknights and relaxed weekends alike, learning which small choices make the biggest difference. Using a well trimmed chuck and a seasoned flour coating gives the beef a silky exterior that helps the gravy thicken naturally, while adding a splash of concentrated umami brings the sauce to life. I love how this dish rewards a bit of patience, letting the flavors settle together so each bite feels rich and balanced.
Recipe Snapshot
40 mins
10 mins
30 mins
Medium
350 kcal
American
Gluten-Free, Whole30
Dinner
Instant Pot, Large skillet, Slow cooker
What We Adore About This Tender Beef Tips and Gravy
Comforting, familiar flavor
There is something deeply reassuring about Tender Beef Tips and Gravy. I often serve it when friends need a little culinary comfort, because the combination of browned beef, savory gravy, and starchy noodles or rice is universally satisfying. The seasoning is straightforward, which lets the natural meat flavor shine through while the gravy carries a glossy, saucy finish that coats every forkful.
Versatile for many occasions
I appreciate that this recipe scales easily, making it perfect for a family dinner or a casual gathering. You can keep the method simple for weeknight cooking, or take your time on the weekend for deeper flavor development. The base works well for potlucks and holiday meals when you need something hearty that pairs with many sides.
Time saving options
One of the best parts is how adaptable the cooking method is. Whether you want the speed of pressure cooking or the low and slow comfort of a crock pot, each approach produces tender beef and rich gravy. I often switch methods depending on how much time I have, and both paths give reliably good results.
Simple ingredient list, big payoff
We use pantry staples like flour, salt, and pepper to build the sauce, and a few strategic ingredients amplify flavor without fuss. The simplicity means you can make this even when your grocery options are limited, yet it still tastes intentionally prepared and well composed.
Kid friendly and crowd pleasing
I find children and picky eaters often enjoy this dish because of the familiar textures and mild flavors. The gravy soaks into noodles or rice, making every bite easy to eat, and you can adjust salt and seasoning to taste. I love that it brings people together around a shared bowl.
Ingredients Overview for Tender Beef Tips and Gravy
This ingredient lineup is built for hearty, comforting results. The key players are the beef for richness, the seasoned flour for body and thickening, and the beef stock for depth. Each item has a clear role that supports the others, creating a balanced gravy that clings to noodles or rice.
- 1 cup flour: Provide a light coating for dredging beef to help form a golden crust while also slightly thickening the gravy when combined with pan drippings. Use an even dusting to prevent clumping and shake off excess for optimal browning. Flour also helps bind seasonings and moisture to each piece of meat during searing.
- 1 teaspoons salt: Enhance overall savory balance and bring out natural beef flavors when used in measured amounts. Dissolve evenly into the flour for seasoning the meat before browning to ensure consistent taste. Salt also aids in tenderizing meat fibers when applied before cooking.
- 1/4 teaspoon black pepper: Add a subtle, sharp heat that complements beef and balances richness in the gravy when used sparingly. Grind fresh or measure carefully to avoid overpowering other seasonings. Black pepper also contributes aromatic complexity to cooked dishes.
- 3 pounds lean chuck roast: Provide the primary protein and hearty texture for the dish, yielding rich flavor after searing and slow cooking. Trim excess fat while keeping enough marbling to ensure tenderness and moistness during braising. Cut into uniform pieces for even cooking and optimal sauce absorption.
- 48 ounces beef stock: Contribute a deep, savory liquid base that forms the body of the gravy and infuses the beef with robust flavor during simmering. Choose a well-seasoned beef stock to control salt levels and enrich the sauce with meaty undertones. Use the full amount to ensure adequate braising liquid and to finish with a silky gravy consistency.
- 1 tablespoon vegetable oil: Facilitate high-heat searing to develop a flavorful crust on the beef and prevent sticking in the pan. Use just enough to coat the cooking surface so meat browns evenly without steaming. Neutral vegetable oil maintains the beef’s true flavor without adding competing aromas.
- 2 teaspoons gravy master: Intensify color and add concentrated savory-sweet notes to the gravy, enhancing overall umami depth when mixed into the braising liquid. Measure carefully since it can be potent and salty, adjusting additional seasoning accordingly. Stir in toward the end of cooking to build layered flavor.
- 1 cup onions chopped: Supply aromatic sweetness and a tender texture that mellows into the gravy, contributing to a balanced sauce and complementing the beef. Chop uniformly to ensure even caramelization during searing and braising. Onions also release natural sugars that enrich the sauce's complexity.
- 16 ounces noodles or rice for serving: Serve as a hearty starch to soak up the flavorful gravy and provide a satisfying base for the beef tips. Cook according to package directions until al dente, then combine with the finished gravy to meld flavors. Choose noodles or rice based on preferred texture and presentation.
How to Assemble Tender Beef Tips and Gravy
This recipe moves from seasoning to searing to simmering, and then to finishing. Below I expand on each step with sensory cues, troubleshooting, and why the technique matters so you can get reliably tender results every time.
- In a small bowl add flour, salt, and pepper. Stir the salt and pepper into the flour. Cut and trim roast into small bite-sized pieces. Dredge beef pieces in seasoned flour shake off excess flour.: The air will fill with a faint, toasty flour scent as you mix, and the specks of black pepper will be visible against the white flour . I like to use a shallow dish so each piece of beef gets evenly coated without clumping. The light coating creates a fragile crust that crisps when it hits hot oil and releases browned flour aromas into the pan, which are essential for building the sauce base. A common mistake is overcoating; if the pieces look dusty and cakey you should tap off excess, because too much flour will clump in the liquid and make the texture gummy. Work methodically so the pieces are similar in size for even cooking, and if the flour gets wet or sticky, refresh it for a clean dredge.
- Set the Instant Pot to saute, add oil. When the oil has heated drop in several pieces of the beef. Cook seasoned beef on all sides until lightly browned. Cook beef in small batches. When all of the beef is cooked add it back to the Instant Pot.: As the vegetable oil heats, you will see a shimmer and hear a quiet ripple when the first pieces hit the pan. That initial sizzle is a good sign for a proper sear. Small batches prevent overcrowding, so the surface crisps rather than steams; if you pile it in, the pan temperature will drop and you will get soggy surfaces. The visual cue to look for is a light golden brown edge and the development of fond, those brown bits that cling to the pot bottom. Those bits dissolve into the cooking liquid and bring intense flavor. A pitfall here is turning too often; let the edges color before moving them, and use tongs to flip. If you smell a burnt or acrid note, reduce heat slightly and scrape any charred bits to avoid bitterness.
- Add 1 cup of onion, two teaspoons of Gravy Master, and beef stock. Place lid on high and cook for 15 minutes on high pressure. Release pot after cooking with either a quick release or a natural release.: When you add the chopped onion , it will hiss and begin to soften, releasing sweet aromatic steam that mixes with the meaty scent in the pot. The Gravy Master will lend a dark, savory gloss that deepens the color of the liquid. Pouring in the warm beef stock will loosen the fond, and you may hear a gentle bubbling as the stock warms. Pressure cooking tenderizes chuck quickly, breaking down connective tissue into silky strands, which is why 15 minutes is often enough. If you opt for quick release, expect a burst of steam and an intensified aroma; natural release gives the meat a gentler finish but takes longer. One mistake to avoid is undercooking; if the pieces still feel too firm after release, run another short cook cycle to reach true tenderness.
- Brown the beef in a large skillet in small batches with some vegetable oil. Add the browned beef, beef broth, onion, and Gravy Master to the slow cooker. Cook for 4 to 6 hours on low.: Browning in a skillet creates the deepest crust and richest fond, filling your kitchen with savory roasted notes and a caramelized aroma. Each batch should produce a satisfying sizzle and a golden brown surface. Transferring everything into a slow cooker brings all the layers together as the low heat coaxes gelatin from the connective tissue, producing an opulent mouthfeel. During the slow cook you will notice the scent become rounder and more cohesive. Avoid rushing this stage by using higher heat; a very hot pan can blacken the outside before the inside softens. If your gravy seems thin after hours of cooking, it may mean there was too much liquid or not enough surface area for evaporation, which you can correct in the next step.
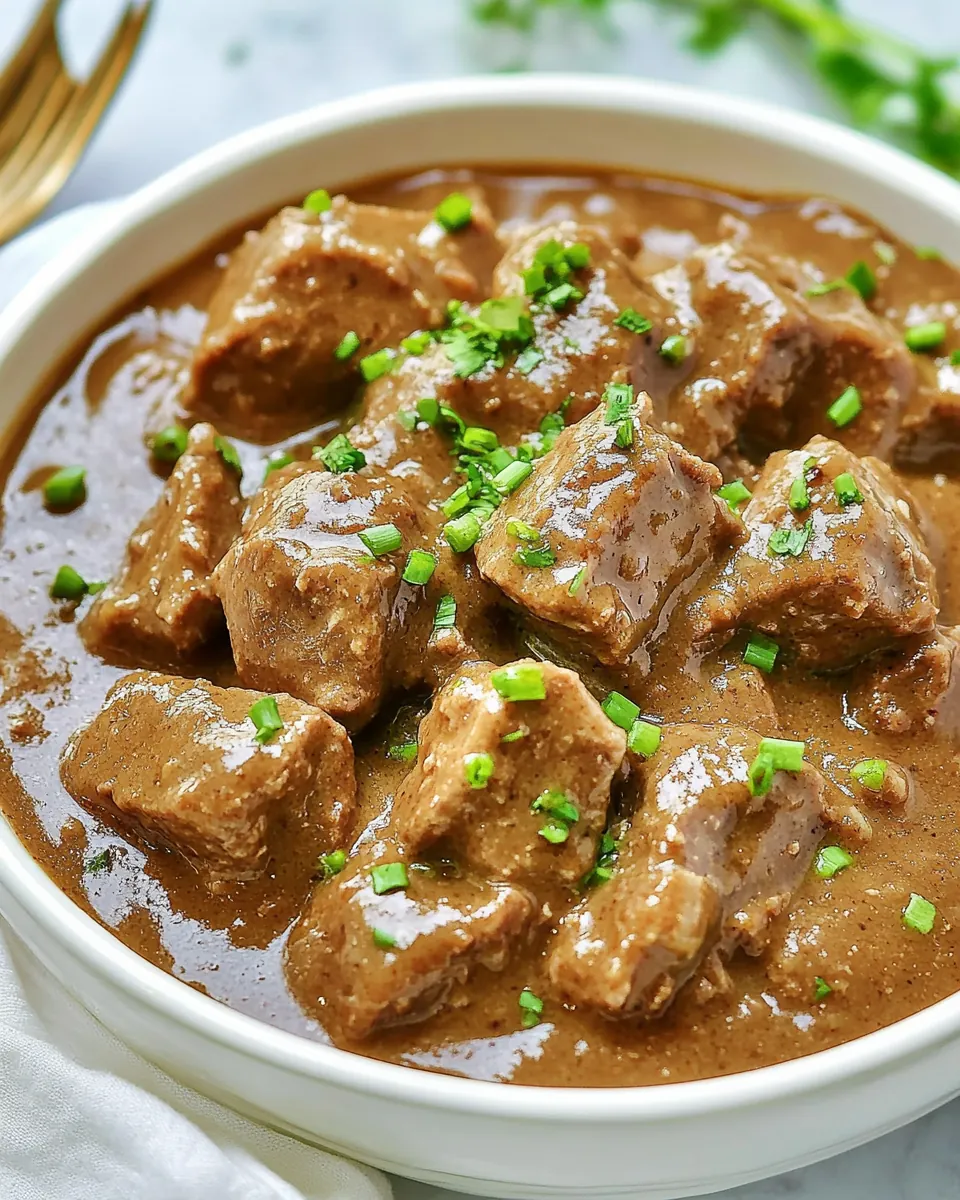
- If the liquid hasn't thickened up to your desired consistency, you can thicken it up by mixing 1 tablespoon of butter and one tablespoon of flour together. Stir this into the liquid and it will thicken up the gravy in the slow cooker.: Combining softened butter and flour into a paste creates a quick roux like slurry that blends smoothly into hot liquid, producing a glossy, velvety gravy. When you stir it in, you should see the sauce take on more body and cling to the beef and spoon. The aroma will become richer and slightly nutty as the starch swells. A common error is adding the mixture straight into a rolling boil, which can create lumps; whisk it in gradually and stir constantly until fully incorporated. If lumps appear, pass the sauce through a fine sieve or whisk vigorously to smooth them out.
- Prepare noodles or rice according to package instructions.: Cooking the noodles or rice will fill the stovetop with toasty steam and starch scent, and properly cooked starch should be tender without collapsing. For noodles , aim for al dente so they hold shape under the gravy; for rice , fluff with a fork to separate the grains. Overcooking will make them mushy and unable to support the sauce, so follow package times closely and taste early. If you plan to hold them before serving, toss with a little oil to prevent sticking.
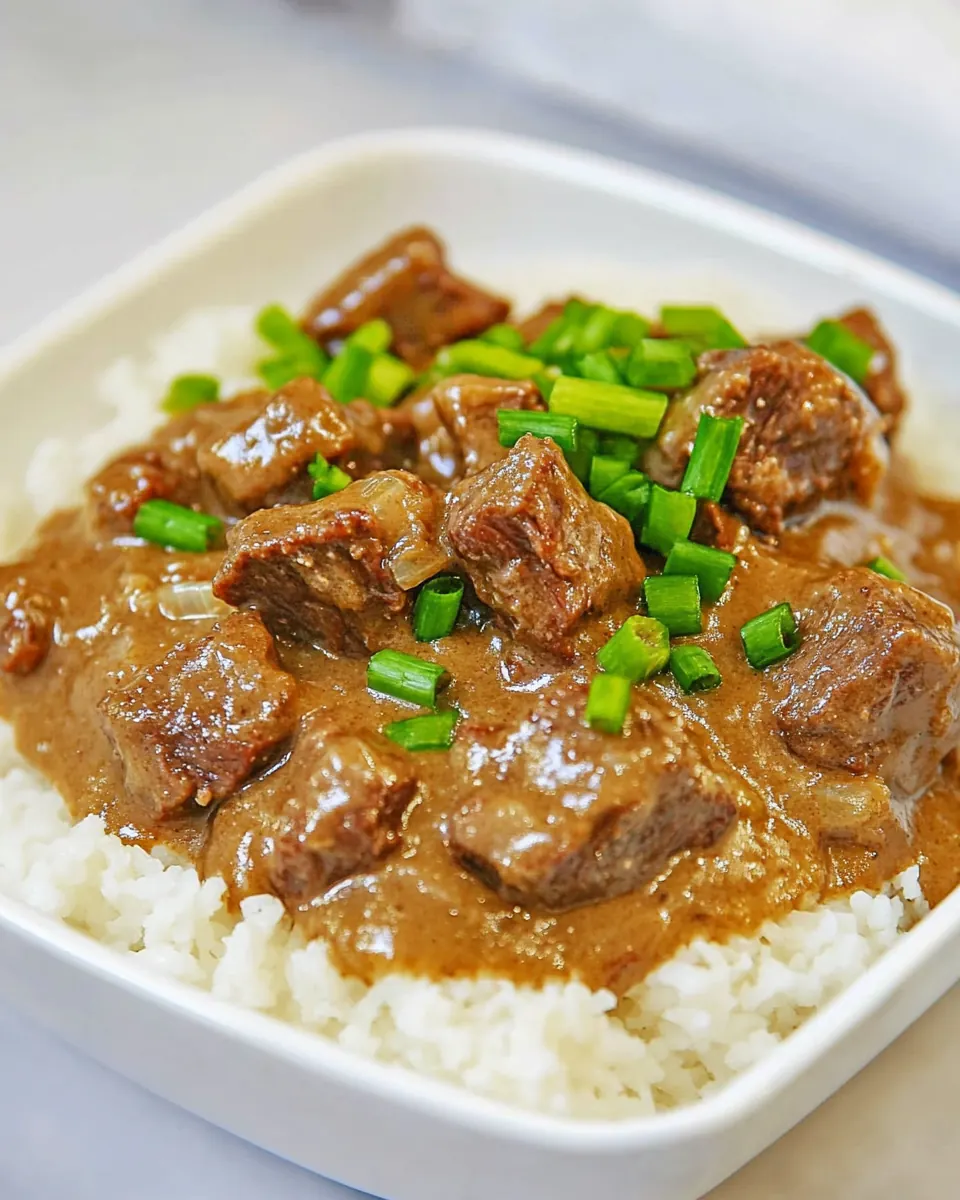
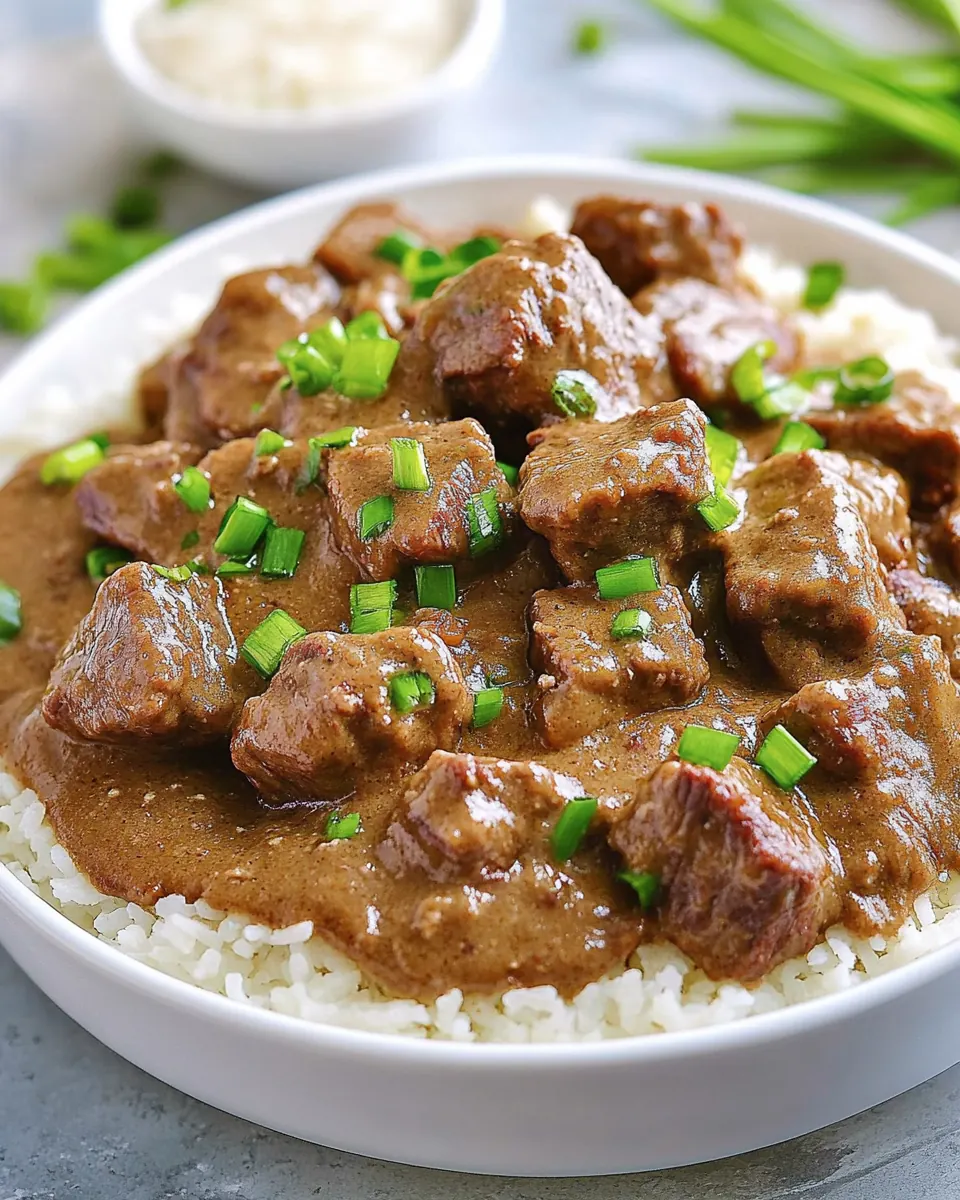
- Serve beef tips and gravy over noodles or rice.: The final presentation should show glossy gravy pooled over steaming noodles or fluffy rice , with tender chunks of beef nestled in. When you spoon it, the gravy should cling to the starch, leaving a ribbon as it falls back into the bowl. The first bite will combine soft tender meat, savory sauce, and the comforting texture of your chosen base. A serving tip is to ladle hot gravy directly onto warm bowls to keep everything at the right temperature. Avoid plating on cold dishes, which will make the gravy congeal faster and dull the flavor impact.
Expert Tips about Tender Beef Tips and Gravy
I like to collect a few reliable tricks that make this dish shine, whether I am cooking for a weeknight or welcoming guests. Below are focused tips that help with texture, flavor, and holding the final dish for serving.
- Trim and size the beef Make sure the beef pieces are trimmed of large fat pockets and cut to consistent bite size for even cooking and a pleasing mouthfeel.
- Don’t overcrowd the pan Sear in small batches so each piece browns properly rather than steams, preserving caramelization that deepens the gravy‘s flavor.
- Save the fond After searing, deglaze the pan with a bit of warmed beef stock to lift browned bits into the sauce, which boosts umami and color.
- Use quality stock A good beef stock elevates the sauce dramatically, so choose one with rich savory notes or make your own if you can.
- Finish with a roux paste For a silky, lump free gravy, mix softened butter and flour into a smooth paste before whisking it into hot liquid and cook until the sauce thickens and loses any raw flour taste.
Serving Options for Tender Beef Tips and Gravy
This dish is inherently flexible in terms of how and when you serve it. Think about the role you want it to play at the table, and pair it with sides and serving styles that complement its rich, saucy character.
- Classic family dinner Serve over hot noodles with a simple green vegetable on the side for a balanced weeknight meal that warms everyone up.
- Comfort gathering Ladle over steamed rice for a cozy potluck style dish that travels well and feeds a crowd, ideal for a chilly winter evening.
- Holiday-style Keep it as a hearty main for informal holiday dinners where the gravy pairs nicely with mashed potatoes and roasted vegetables.
- Make ahead and hold Prepare the gravy and beef earlier in the day and keep warm in a slow cooker on low, then cook noodles or rice right before serving to preserve texture.
- Storage tips Cool completely, then refrigerate in a sealed container for up to three days, or freeze for up to three months; thaw slowly in the fridge before reheating gently to preserve the texture of the beef.
- Seasonal pairing This is a winter friendly recipe, pairing beautifully with roasted root vegetables and a bright, acidic side to cut through the richness.
FAQ
Conclusion
Tender Beef Tips and Gravy stands out because it combines simple pantry ingredients with techniques that bring big, comforting flavor. The interplay of browned beef, glossy gravy, and a starchy base creates a bowl that is both homey and satisfying. I encourage you to try this recipe when you want a dependable dish that feeds a crowd and warms the room. It is forgiving, adaptable, and reliably delicious, making it an excellent addition to your weeknight or weekend repertoire.
Tender Beef Tips and Gravy
Equipment
- Instant Pot
- Large Skillet
- Slow Cooker
Ingredients
- 1 cup flour Provide a light coating for dredging beef to help form a golden crust while also slightly thickening the gravy when combined with pan drippings. Use an even dusting to prevent clumping and shake off excess for optimal browning. Flour also helps bind seasonings and moisture to each piece of meat during searing.
- 1 teaspoons salt Enhance overall savory balance and bring out natural beef flavors when used in measured amounts. Dissolve evenly into the flour for seasoning the meat before browning to ensure consistent taste. Salt also aids in tenderizing meat fibers when applied before cooking.
- 1/4 teaspoon black pepper Add a subtle, sharp heat that complements beef and balances richness in the gravy when used sparingly. Grind fresh or measure carefully to avoid overpowering other seasonings. Black pepper also contributes aromatic complexity to cooked dishes.
- 3 pounds lean chuck roast Provide the primary protein and hearty texture for the dish, yielding rich flavor after searing and slow cooking. Trim excess fat while keeping enough marbling to ensure tenderness and moistness during braising. Cut into uniform pieces for even cooking and optimal sauce absorption.
- 48 ounces beef stock Contribute a deep, savory liquid base that forms the body of the gravy and infuses the beef with robust flavor during simmering. Choose a well-seasoned beef stock to control salt levels and enrich the sauce with meaty undertones. Use the full amount to ensure adequate braising liquid and to finish with a silky gravy consistency.
- 1 tablespoon vegetable oil Facilitate high-heat searing to develop a flavorful crust on the beef and prevent sticking in the pan. Use just enough to coat the cooking surface so meat browns evenly without steaming. Neutral vegetable oil maintains the beef’s true flavor without adding competing aromas.
- 2 teaspoons gravy master Intensify color and add concentrated savory-sweet notes to the gravy, enhancing overall umami depth when mixed into the braising liquid. Measure carefully since it can be potent and salty, adjusting additional seasoning accordingly. Stir in toward the end of cooking to build layered flavor.
- 1 cup onions chopped Supply aromatic sweetness and a tender texture that mellows into the gravy, contributing to a balanced sauce and complementing the beef. Chop uniformly to ensure even caramelization during searing and braising. Onions also release natural sugars that enrich the sauce's complexity.
- 16 ounces noodles or rice for serving Serve as a hearty starch to soak up the flavorful gravy and provide a satisfying base for the beef tips. Cook according to package directions until al dente, then combine with the finished gravy to meld flavors. Choose noodles or rice based on preferred texture and presentation.
Instructions
- In a small bowl add flour, salt, and pepper. Stir the salt and pepper into the flour. Cut and trim roast into small bite-sized pieces. Dredge beef pieces in seasoned flour shake off excess flour.: The air will fill with a faint, toasty flour scent as you mix, and the specks of black pepper will be visible against the white flour . I like to use a shallow dish so each piece of beef gets evenly coated without clumping. The light coating creates a fragile crust that crisps when it hits hot oil and releases browned flour aromas into the pan, which are essential for building the sauce base. A common mistake is overcoating; if the pieces look dusty and cakey you should tap off excess, because too much flour will clump in the liquid and make the texture gummy. Work methodically so the pieces are similar in size for even cooking, and if the flour gets wet or sticky, refresh it for a clean dredge.
- Set the Instant Pot to saute, add oil. When the oil has heated drop in several pieces of the beef. Cook seasoned beef on all sides until lightly browned. Cook beef in small batches. When all of the beef is cooked add it back to the Instant Pot.: As the vegetable oil heats, you will see a shimmer and hear a quiet ripple when the first pieces hit the pan. That initial sizzle is a good sign for a proper sear. Small batches prevent overcrowding, so the surface crisps rather than steams; if you pile it in, the pan temperature will drop and you will get soggy surfaces. The visual cue to look for is a light golden brown edge and the development of fond, those brown bits that cling to the pot bottom. Those bits dissolve into the cooking liquid and bring intense flavor. A pitfall here is turning too often; let the edges color before moving them, and use tongs to flip. If you smell a burnt or acrid note, reduce heat slightly and scrape any charred bits to avoid bitterness.
- Add 1 cup of onion, two teaspoons of Gravy Master, and beef stock. Place lid on high and cook for 15 minutes on high pressure. Release pot after cooking with either a quick release or a natural release.: When you add the chopped onion , it will hiss and begin to soften, releasing sweet aromatic steam that mixes with the meaty scent in the pot. The Gravy Master will lend a dark, savory gloss that deepens the color of the liquid. Pouring in the warm beef stock will loosen the fond, and you may hear a gentle bubbling as the stock warms. Pressure cooking tenderizes chuck quickly, breaking down connective tissue into silky strands, which is why 15 minutes is often enough. If you opt for quick release, expect a burst of steam and an intensified aroma; natural release gives the meat a gentler finish but takes longer. One mistake to avoid is undercooking; if the pieces still feel too firm after release, run another short cook cycle to reach true tenderness.
- Brown the beef in a large skillet in small batches with some vegetable oil. Add the browned beef, beef broth, onion, and Gravy Master to the slow cooker. Cook for 4 to 6 hours on low.: Browning in a skillet creates the deepest crust and richest fond, filling your kitchen with savory roasted notes and a caramelized aroma. Each batch should produce a satisfying sizzle and a golden brown surface. Transferring everything into a slow cooker brings all the layers together as the low heat coaxes gelatin from the connective tissue, producing an opulent mouthfeel. During the slow cook you will notice the scent become rounder and more cohesive. Avoid rushing this stage by using higher heat; a very hot pan can blacken the outside before the inside softens. If your gravy seems thin after hours of cooking, it may mean there was too much liquid or not enough surface area for evaporation, which you can correct in the next step.
- If the liquid hasn't thickened up to your desired consistency, you can thicken it up by mixing 1 tablespoon of butter and one tablespoon of flour together. Stir this into the liquid and it will thicken up the gravy in the slow cooker.: Combining softened butter and flour into a paste creates a quick roux like slurry that blends smoothly into hot liquid, producing a glossy, velvety gravy. When you stir it in, you should see the sauce take on more body and cling to the beef and spoon. The aroma will become richer and slightly nutty as the starch swells. A common error is adding the mixture straight into a rolling boil, which can create lumps; whisk it in gradually and stir constantly until fully incorporated. If lumps appear, pass the sauce through a fine sieve or whisk vigorously to smooth them out.
- Prepare noodles or rice according to package instructions.: Cooking the noodles or rice will fill the stovetop with toasty steam and starch scent, and properly cooked starch should be tender without collapsing. For noodles , aim for al dente so they hold shape under the gravy; for rice , fluff with a fork to separate the grains. Overcooking will make them mushy and unable to support the sauce, so follow package times closely and taste early. If you plan to hold them before serving, toss with a little oil to prevent sticking.
- Serve beef tips and gravy over noodles or rice.: The final presentation should show glossy gravy pooled over steaming noodles or fluffy rice , with tender chunks of beef nestled in. When you spoon it, the gravy should cling to the starch, leaving a ribbon as it falls back into the bowl. The first bite will combine soft tender meat, savory sauce, and the comforting texture of your chosen base. A serving tip is to ladle hot gravy directly onto warm bowls to keep everything at the right temperature. Avoid plating on cold dishes, which will make the gravy congeal faster and dull the flavor impact.
Notes
- Trim and size the beef Make sure the beef pieces are trimmed of large fat pockets and cut to consistent bite size for even cooking and a pleasing mouthfeel.
- Don't overcrowd the pan Sear in small batches so each piece browns properly rather than steams, preserving caramelization that deepens the gravy's flavor.
- Save the fond After searing, deglaze the pan with a bit of warmed beef stock to lift browned bits into the sauce, which boosts umami and color.
- Use quality stock A good beef stock elevates the sauce dramatically, so choose one with rich savory notes or make your own if you can.
- Finish with a roux paste For a silky, lump free gravy, mix softened butter and flour into a smooth paste before whisking it into hot liquid and cook until the sauce thickens and loses any raw flour taste.