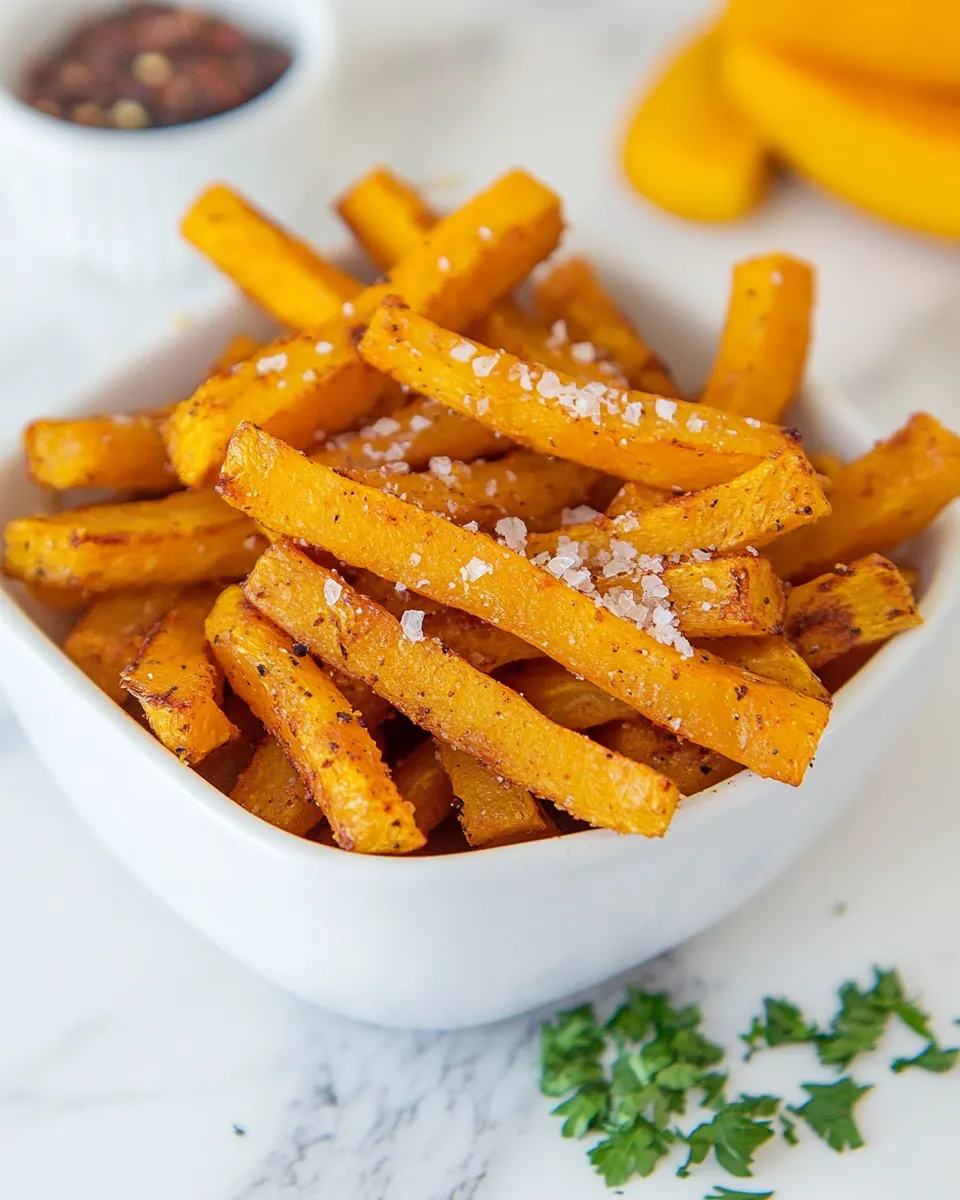
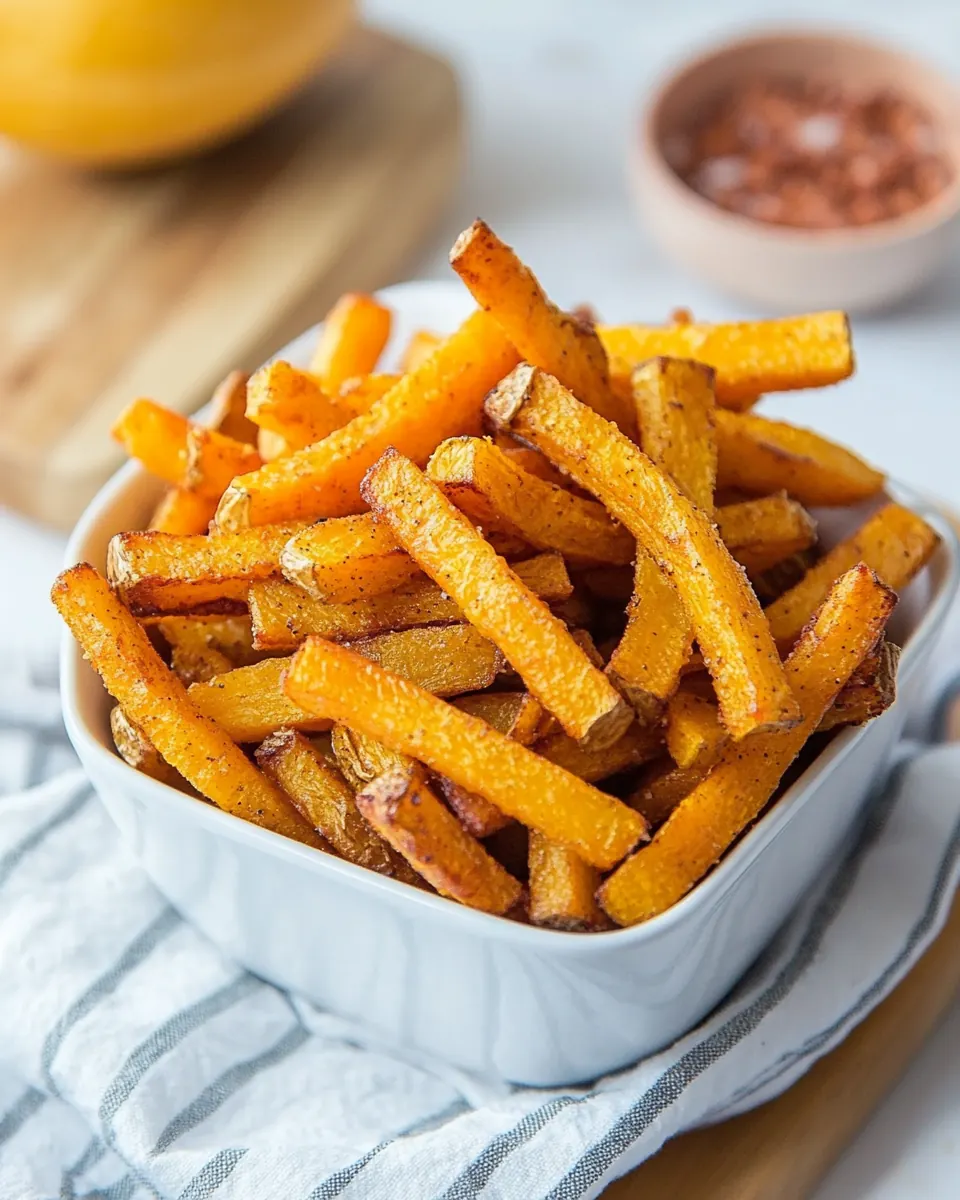
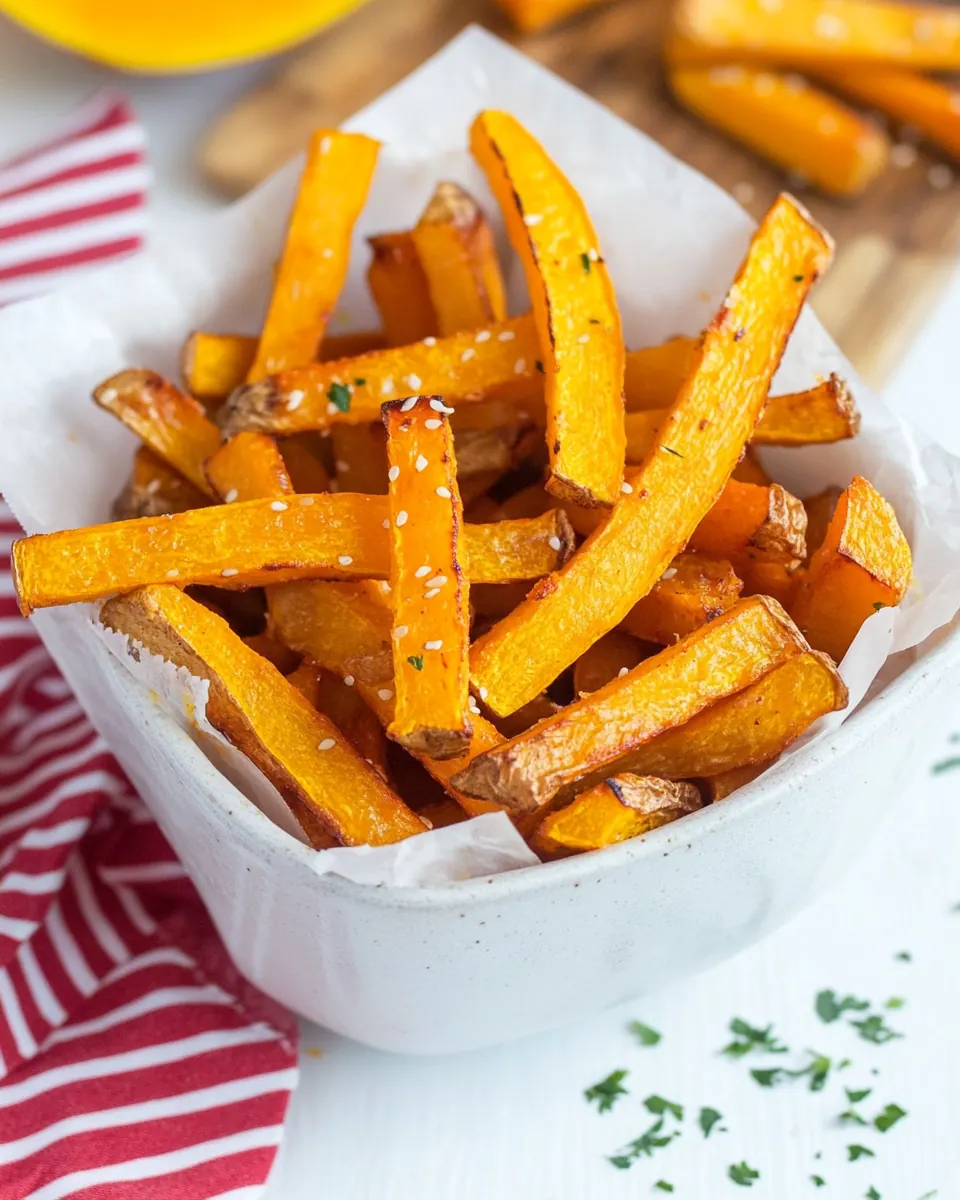
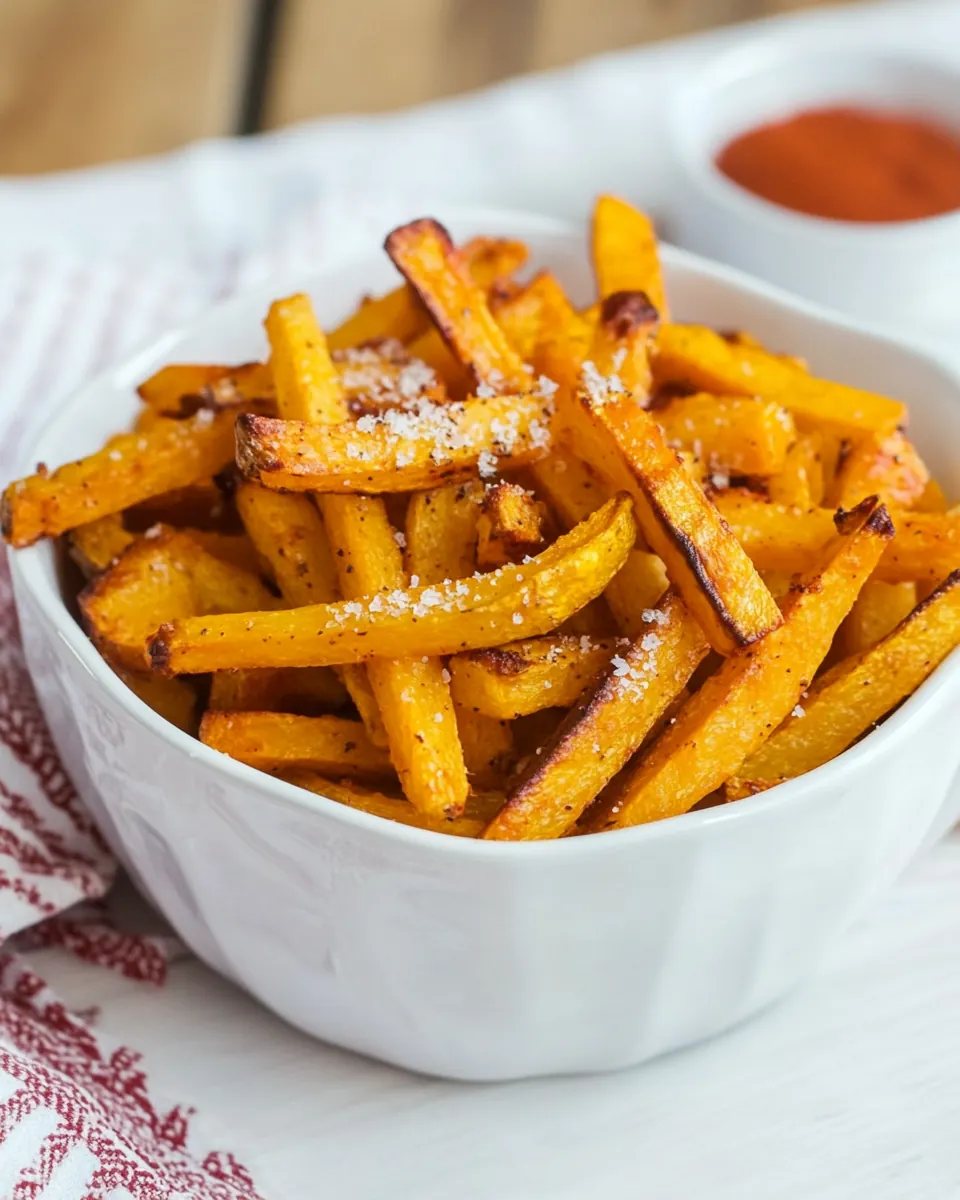
Sweet and Salty Butternut Squash Fries
Sweet and Salty Butternut Squash Fries came into my weeknight rotation after a solo Sunday afternoon experiment when I wanted something cozy, crispy, and a little unexpected. I grew up with roasted potatoes, but one autumn I found a hefty butternut at the market and decided to see if it could stand in for fries, with a touch of sweet and a whisper of salt. The first batch surprised me, turning tender and caramelized on the inside, with edges that blistered and crisped just enough to satisfy that fry craving.
I remember sitting at my small kitchen table with a mug of something warm and a plate of these fries, feeling like I had discovered a new comfort food. The texture is what hooked me first, then the flavor contrast, and finally the ease of preparation. Since then I bring them to potlucks, serve them next to salads for a textured lunch, and sometimes snack on them straight from the pan while the house fills with that roasted squash aroma.
Recipe Snapshot
1 hr 25 mins
15 mins
70 mins
Medium
150 kcal
American
Keto, Gluten-Free
Side Dishes
Oven, Cookie sheet, Sturdy knife, Spoon
The Magic of This Sweet and Salty Butternut Squash Fries
A crave worthy contrast of flavors
I love how butternut squash balances natural sweetness with a touch of savory salt. When roasted properly, the sugars concentrate, giving you edges that sing with caramel notes while the sprinkle of salt pulls everything together. It feels indulgent without being heavy, and I always get asked how I made something so simple taste so complex.
Simple technique, big payoff
The approach here is deceptively straightforward. Gently softening the whole squash first changes the game, making it far easier to cut consistent sticks. That small extra step ensures you get uniform fries that cook evenly, which is the difference between a few underdone pieces and a whole pan of evenly golden delights.
Comfort food that fits many meals
These fries work as a snack, a side, or even a lighter main when paired with a salad. I find them especially handy in the fall, when squash is at its sweetest. They complement roasted proteins and greens without competing, and they show up with style on casual dinner plates.
Kid friendly and versatile
My nieces adore them, and they are an easy way to get extra vegetables on the plate. You can keep the seasoning minimal for kids, or amp it up for adults. I often experiment with different seasonings, but the base—butternut squash, olive oil, and salt—is so satisfying I rarely overcomplicate it.
Low fuss, high reward
I appreciate recipes that respect my time, and this one does that while still delivering bold sensory payoff. The aroma of roasting squash, the sight of ambered edges, and that first crisp bite are reward enough. Once you get the simple timing down, it becomes a reliable favorite.
What’s In This Sweet and Salty Butternut Squash Fries
These ingredients are about harmony and texture. I keep the list short so each item has a job: the butternut squash brings sweetness and body, olive oil encourages browning and crisp edges, while the salts heighten flavor and season the flesh. Together they deliver a balanced, satisfying fry with minimal fuss.
- 3 pound butternut squash: Peel and cube to provide the starchy, sweet base for the fries; roasting concentrates its natural sugars and yields tender interiors with crisped edges. Adds bulk and visual appeal while carrying flavors of oil and seasonings throughout the dish.
- 1/2 teaspoons salt: Enhance overall flavor by bringing subtle mineral salinity that balances sweetness; sprinkle evenly to season the flesh before or after roasting for consistent taste. Helps draw out moisture for slightly crisper edges when used judiciously.
- 1 tablespoon olive oil: Coat pieces lightly to promote even browning and crisp texture; heat transfer from the oil helps achieve caramelization and prevents sticking. Contributes a mild fruity flavor that complements the squash without overwhelming it.
- 1/4 teaspoon garlic salt: Season with a garlicky, savory kick to elevate the fries; a light dusting imparts aromatic depth and complements both the sweetness and saltiness. Works well combined with salt to create a balanced, flavorful crust.
Cooking Method for Sweet and Salty Butternut Squash Fries
This method is forgiving but precise enough to reward attention. I walk you through a two stage roast so you get tender insides and crisp, browned outsides. Read through before you start so you understand the timing and sensory cues you should watch for.
- First, place butternut squash in its whole form in the oven at about 350 degrees for 30-45 minutes. This will just soften it up enough to cut it up, while not cooking it.: The oven warmth gently softens the squash, making it far safer and easier to cut, and it begins to concentrate sugars which later caramelize. You will notice a warm, sweet squash aroma filling the kitchen, and the skin will yield slightly when pressed, which signals readiness. This step matters because trying to chop a rock hard squash leads to uneven sticks and potential injury. Common mistake, skipping this softening and forcing the knife, which results in ragged pieces and uneven cooking.
- Once soft, cut in half. Scoop out the seeds, and cut away the skin.: After the initial roast the squash will be hot, so let it cool until manageable. Cut it lengthwise with a sturdy knife, then scoop out the seeds with a spoon. You should see a moist, fragrant interior that smells toasted and sweet. Carefully remove the skin, which should peel away more easily after softening. Why this helps, the softened flesh is firm enough to slice into uniform fries yet tender enough to become creamy inside as they finish roasting. A frequent error is trying to peel or cut while the squash is too hot, which risks burns, or too cold, which makes cutting harder.
- Slice flesh into french fry size sticks.: Aim for consistent thickness so they cook at the same rate; about a half inch to three quarters inch is a good target. As you slice, you can feel the texture becoming smooth and creamy, and the sticks will show clean edges if cut evenly. Uniform pieces give you predictable browning and prevent some sticks from burning while others remain undercooked. Avoid irregular cuts, because smaller bits will crisp too quickly and larger ones will stay mushy inside.
- Arrange in a single layer on a cookie sheet, and drizzle with olive oil. Sprinkle with salt, garlic salt and any other seasonings you choose.: Spread the sticks on the sheet so there is breathing room between them, and drizzle the olive oil evenly before tossing gently to coat. The oil will shimmer slightly and help the surface develop that desirable blistered look in the higher heat stage. Crowding the pan traps steam, leading to limp fries, so use two sheets if needed. A common oversight is piling them together which yields steaming not roasting, so keep them single layer.
- Increase temperature to 425 and cook for about 25 minutes, or until the fries get browned, yet not burned. (time will vary depending on the size of your sticks): Lightly dust with the measured salt and garlic salt , distributing evenly so each fry gets a touch of seasoning. You will catch a savory scent that complements the squash sweetness. Seasoning before roasting allows the salts to meld into the flesh rather than just sitting on the surface, which improves overall flavor. Beware of over-salting at this stage since seasoning concentrates as the moisture reduces during roasting.
- Increase temperature to 425 and cook for about 25 minutes, or until the fries get browned, yet not burned: The higher heat is where the magic happens, creating crisp edges and caramelized surfaces while the interior stays tender. Expect sizzling sounds and a brown, glossy sheen on the edges, and rotate the pan once if your oven has hot spots so browning is even. Time will vary with the size of your sticks, so check visually for deep golden color, and test a piece to ensure a tender interior. The main pitfall, leaving them too long so they char rather than brown, which yields a bitter note instead of a sweet roast.
Make It Your Own
These tweaks help you personalize the recipe without changing the core flavors. Small adjustments alter texture and aroma, so experiment a little until you find your preferred balance.
- Swap oil thoughtfully: Try a neutral oil if you want less olive flavor, it still promotes browning but changes the aroma profile slightly.
- Finish with flaky salt: After roasting, a pinch of flaky salt brightens the edges and gives a satisfying crunch that contrasts the soft interior.
- Make ahead trick: You can soften the whole squash earlier in the day and finish the fries just before serving to save active time.
- Adjust stick size: Thinner sticks crisp faster and make a snackable fry, while thicker sticks give a creamier interior for a heartier side.
- Keep seasoning simple: The base of salt and garlic salt emphasizes the squash, so only add more spices if you want a distinct flavor profile.
What Goes Well With This Sweet and Salty Butternut Squash Fries
These fries pair beautifully with fresh salads, protein mains, and casual platters. They are flexible for different meals, and they shine in seasonal menus when squash is at its peak. Consider texture contrasts and complementary flavors when planning a plate.
- Serve alongside a crisp green salad: The fresh, bright greens cut through the sweetness, offering a balanced plate for lunch or dinner.
- Pair with roasted chicken or turkey: The warm squash tones match well with roasted poultry for a cozy fall meal, making a comforting dinner pairing.
- Offer as a party snack: Arrange on a platter with toothpicks and a simple dipping sauce for casual gatherings and potlucks.
- Use for seasonal menus: These fries work well at Thanksgiving or fall dinners as a lighter alternative to heavier sides, fitting into harvest-themed spreads.
- Storage and reheating: Store cooled fries in an airtight container in the fridge and reheat in a hot oven to restore crispness rather than microwaving, which makes them limp.
- Portioning for meals: Serve as a side for four, or increase quantity for sharing at brunches or casual dinners where people graze.
FAQ
Conclusion
These Sweet and Salty Butternut Squash Fries stand out because they combine simple ingredients with smart technique to deliver a satisfying texture and flavor contrast. They are easy to make, versatile on the table, and bring a seasonal touch to weeknight dinners and gatherings alike. Give them a try the next time you want a veggie forward side that feels indulgent yet wholesome, and enjoy the warm, roasted aroma that fills the kitchen as they cook.
Sweet and Salty Butternut Squash Fries
Equipment
- Oven
- Cookie Sheet
- Sturdy knife
- Spoon
Ingredients
- 3 pound butternut squash Peel and cube to provide the starchy, sweet base for the fries; roasting concentrates its natural sugars and yields tender interiors with crisped edges. Adds bulk and visual appeal while carrying flavors of oil and seasonings throughout the dish.
- 1/2 teaspoons salt Enhance overall flavor by bringing subtle mineral salinity that balances sweetness; sprinkle evenly to season the flesh before or after roasting for consistent taste. Helps draw out moisture for slightly crisper edges when used judiciously.
- 1 tablespoon olive oil Coat pieces lightly to promote even browning and crisp texture; heat transfer from the oil helps achieve caramelization and prevents sticking. Contributes a mild fruity flavor that complements the squash without overwhelming it.
- 1/4 teaspoon garlic salt Season with a garlicky, savory kick to elevate the fries; a light dusting imparts aromatic depth and complements both the sweetness and saltiness. Works well combined with salt to create a balanced, flavorful crust.
Instructions
- First, place butternut squash in its whole form in the oven at about 350 degrees for 30-45 minutes. This will just soften it up enough to cut it up, while not cooking it.: The oven warmth gently softens the squash, making it far safer and easier to cut, and it begins to concentrate sugars which later caramelize. You will notice a warm, sweet squash aroma filling the kitchen, and the skin will yield slightly when pressed, which signals readiness. This step matters because trying to chop a rock hard squash leads to uneven sticks and potential injury. Common mistake, skipping this softening and forcing the knife, which results in ragged pieces and uneven cooking.
- Once soft, cut in half. Scoop out the seeds, and cut away the skin.: After the initial roast the squash will be hot, so let it cool until manageable. Cut it lengthwise with a sturdy knife, then scoop out the seeds with a spoon. You should see a moist, fragrant interior that smells toasted and sweet. Carefully remove the skin, which should peel away more easily after softening. Why this helps, the softened flesh is firm enough to slice into uniform fries yet tender enough to become creamy inside as they finish roasting. A frequent error is trying to peel or cut while the squash is too hot, which risks burns, or too cold, which makes cutting harder.
- Slice flesh into french fry size sticks.: Aim for consistent thickness so they cook at the same rate; about a half inch to three quarters inch is a good target. As you slice, you can feel the texture becoming smooth and creamy, and the sticks will show clean edges if cut evenly. Uniform pieces give you predictable browning and prevent some sticks from burning while others remain undercooked. Avoid irregular cuts, because smaller bits will crisp too quickly and larger ones will stay mushy inside.
- Arrange in a single layer on a cookie sheet, and drizzle with olive oil. Sprinkle with salt, garlic salt and any other seasonings you choose.: Spread the sticks on the sheet so there is breathing room between them, and drizzle the olive oil evenly before tossing gently to coat. The oil will shimmer slightly and help the surface develop that desirable blistered look in the higher heat stage. Crowding the pan traps steam, leading to limp fries, so use two sheets if needed. A common oversight is piling them together which yields steaming not roasting, so keep them single layer.
- Increase temperature to 425 and cook for about 25 minutes, or until the fries get browned, yet not burned. (time will vary depending on the size of your sticks): Lightly dust with the measured salt and garlic salt , distributing evenly so each fry gets a touch of seasoning. You will catch a savory scent that complements the squash sweetness. Seasoning before roasting allows the salts to meld into the flesh rather than just sitting on the surface, which improves overall flavor. Beware of over-salting at this stage since seasoning concentrates as the moisture reduces during roasting.
- Increase temperature to 425 and cook for about 25 minutes, or until the fries get browned, yet not burned: The higher heat is where the magic happens, creating crisp edges and caramelized surfaces while the interior stays tender. Expect sizzling sounds and a brown, glossy sheen on the edges, and rotate the pan once if your oven has hot spots so browning is even. Time will vary with the size of your sticks, so check visually for deep golden color, and test a piece to ensure a tender interior. The main pitfall, leaving them too long so they char rather than brown, which yields a bitter note instead of a sweet roast.
Notes
- Swap oil thoughtfully: Try a neutral oil if you want less olive flavor, it still promotes browning but changes the aroma profile slightly.
- Finish with flaky salt: After roasting, a pinch of flaky salt brightens the edges and gives a satisfying crunch that contrasts the soft interior.
- Make ahead trick: You can soften the whole squash earlier in the day and finish the fries just before serving to save active time.
- Adjust stick size: Thinner sticks crisp faster and make a snackable fry, while thicker sticks give a creamier interior for a heartier side.
- Keep seasoning simple: The base of salt and garlic salt emphasizes the squash, so only add more spices if you want a distinct flavor profile.