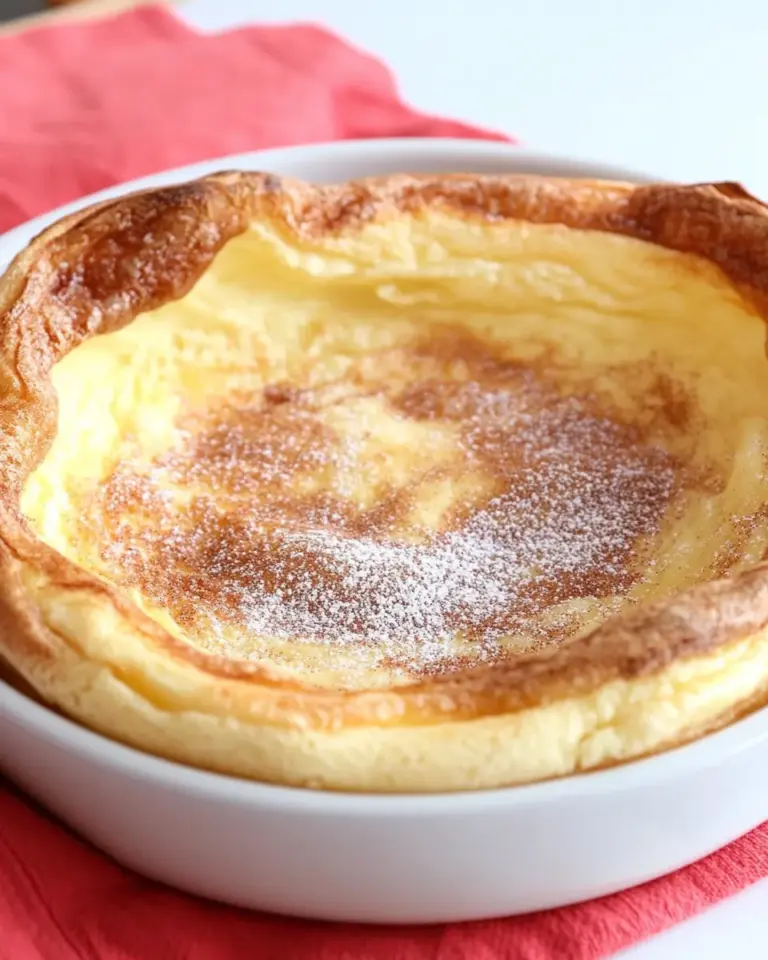
Magic Mug Low Carb Bread
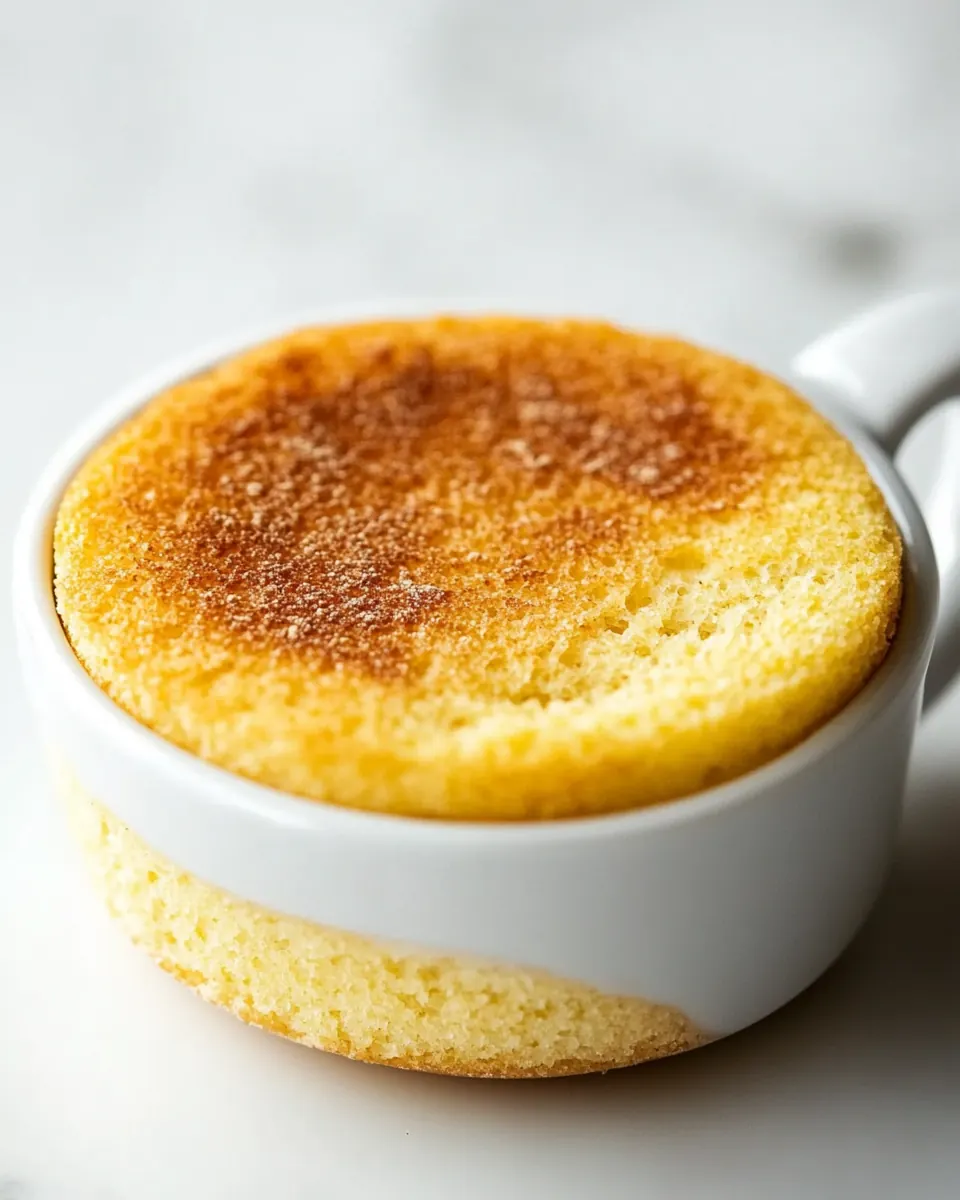
Magic Mug Low Carb Bread has been my kitchen lifesaver on mornings when I need something warm, filling, and fast. The first time I made it, I was half asleep and craving toast but did not want the carb overload, so I grabbed a mug, whisked a few simple things together, and in minutes I had a tender, fragrant loaf that fit perfectly into my busy routine. That morning stuck with me because the texture was unexpectedly close to real bread, and the aroma of toasted almond flour made the whole apartment feel cozy.
Over the months I have treated this recipe like a tiny experiment station. Sometimes I brush the mug with a neutral oil and that yields a crisp bottom crust, other times I skip greasing and get a softer exterior. I love how forgiving the formula is, and how a single serving fits in my hand, ready to be sliced and slathered. It became my go to when I needed something portable, and I started making several mugs at once for quick breakfasts on the go. Friends who taste it invariably ask how something so simple can be so satisfying.
Recipe Snapshot
5 mins
2 mins
3 mins
Easy
150 kcal
American
Keto, Gluten-Free
Breakfast
Microwave, Tall straight mug, Fork, Serrated knife
Why You’ll Love This Magic Mug Low Carb Bread
Speed that actually helps your morning
I adore how quickly Magic Mug Low Carb Bread comes together. You can whisk everything in the mug, pop it in the microwave, and in three minutes you have a loaf. That speed has saved me countless rushed mornings, and it means you can eat something homemade even when time is tight.
Perfect portion control
This recipe is brilliant for individual servings. I can make one mug for myself or several for a gathering, and each loaf is compact and consistent. That makes it easy to control calories and carbs without feeling deprived, because you get the satisfaction of a real bread slice without an entire loaf to tempt you.
Low carb, big flavor
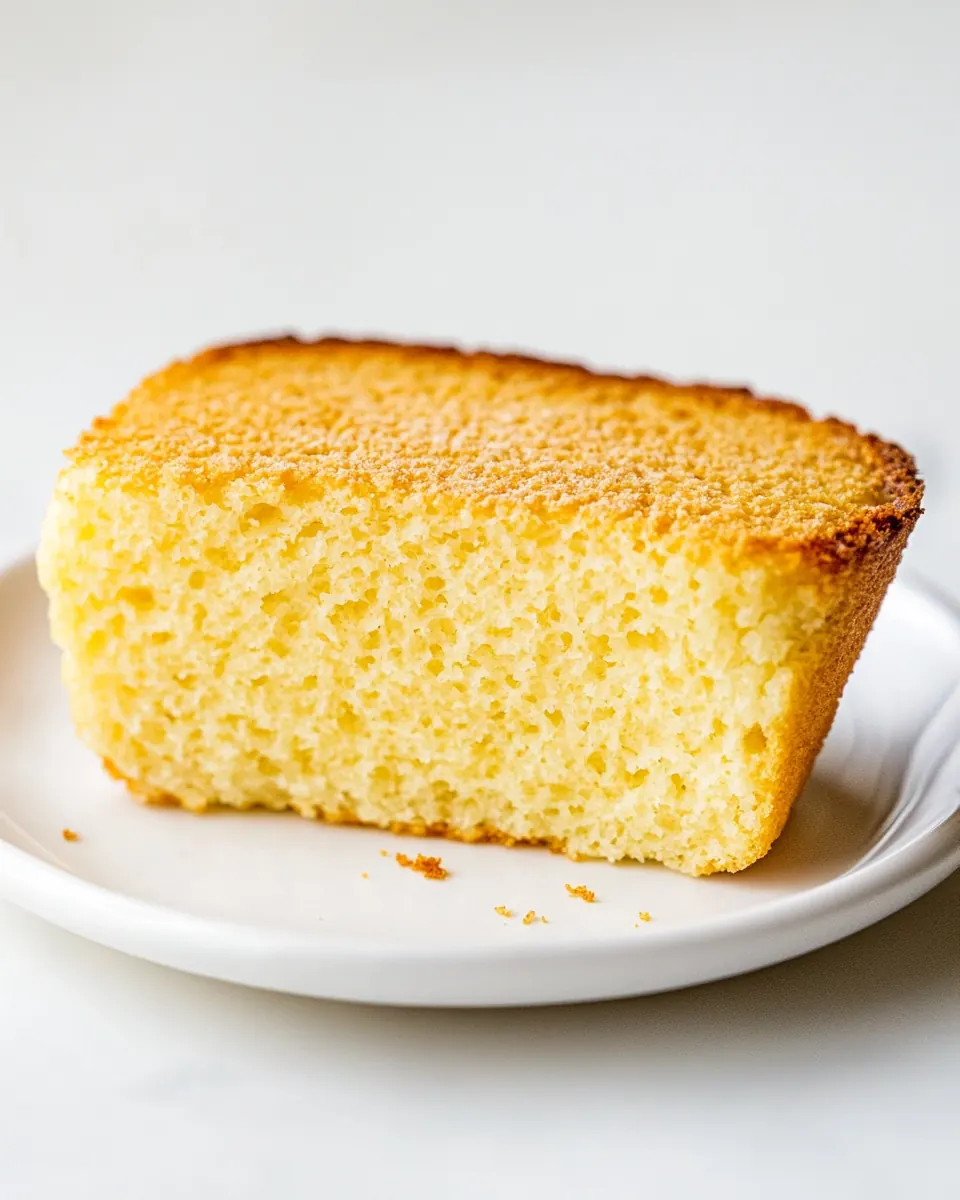
The use of almond flour puts the emphasis on texture and nutty flavor, so you do not miss heavy wheat. The crumb is tender and slightly moist, and the faint toasted aroma when it finishes microwaving is reassuring. I find it pairs well with both savory and sweet toppings, so it works for different cravings.
Minimal equipment and fuss
One mug, a fork, and a microwave, that is all you need. I love recipes that reduce dishes and decision fatigue. Because it demands so little setup, I make it on weekdays and weekends alike, and it feels like a small kitchen victory every time.
Adaptable and forgiving
I’ve experimented with small swaps, and the recipe stays stable. The texture tolerates slight variations in egg size and minor measuring slips. That forgiving nature makes it a recipe I recommend to beginner cooks who want a reliable result without drama.
What’s In This Magic Mug Low Carb Bread
These ingredients were chosen to create a compact, low carb loaf that still feels like bread. The list is short but purposeful. The key players are the almond flour for structure and flavor, the eggs for lift and moisture, a pinch of baking powder to give it a light crumb, salt to balance, and a touch of oil to prevent sticking and promote a tender crust. Together they form a simple matrix that holds up when microwaved and produces a satisfying bite.
- 1/2 teaspoon oil any variety: Adds lubrication and prevents sticking while contributing a slight richness and tender crumb; suitable oils include neutral or flavorful varieties depending on preference.
- 2 large eggs or liquid vegan egg substitute: Provides structure, moisture, and leavening through coagulation when heated; can be substituted with a liquid vegan egg replacer for a plant-based option.
- 1/2 cup fine ground almond flour (I used Bob’s Red Mill): Supplies bulk, low-carb texture, and a mildly nutty flavor while absorbing moisture to create the bread matrix; fine grind ensures a smoother, less crumbly result.
- 1/2 teaspoon grain-free baking powder: Lightens the batter by introducing trapped air and promotes rise without grains; grain–free formulation keeps the recipe suitable for gluten-free diets.
- 1/4 teaspoons ea salt: Balances flavor by enhancing savory notes and suppressing bitterness; small amounts also support yeast-free chemical leavening reactions and overall seasoning.
Magic Mug Low Carb Bread Instructions
This set of steps walks you through creating a single microwave loaf that is tender and well textured. Read the directions in order so each sensory cue lines up, and keep an eye on the mug while microwaving since microwaves vary. Below, each core step from the original directions is preserved, and I explain the sensory details, reasons, and troubleshooting for each action.
- Drizzle the oil into a tall straight mug, about 3.5 inches wide and 5 inches tall. Brush the oil around the edges to grease the mug.: As you add the oil , you will notice it bead and coat the ceramic surface, creating a thin shiny layer that ensures the loaf releases cleanly when inverted. Brushing it around guarantees the edge will not stick, which helps maintain the loaf's shape and prevents tearing when you remove it. If the mug is not oiled evenly, parts of the loaf will cling and might tear, so take a moment to cover the base and sides. A common mistake is using a mug that is too shallow or flared, which can cause the loaf to overflow as it rises slightly; stick to a tall straight mug for best results.
- Place the eggs, almond flour, baking powder, and salt in the mug. Whisk with a fork until very smooth. Tap the mug on the counter to remove air pockets.: When you crack the eggs into the mug and add the dry ingredients, start whisking slowly so the almond flour absorbs the liquid evenly. You should aim for a homogenous batter without lumps, and the surface will look satiny and slightly glossy. Tapping the mug helps settle the batter and forces out large air pockets that could create uneven holes in the crumb. The batter will smell faintly nutty from the almond flour , and the texture should be viscous but not soupy. If you see visible streaks of dry flour, whisk longer and scrape down the sides. Overwhisking to a froth is unnecessary and can create larger air bubbles that collapse, so stop once smooth.
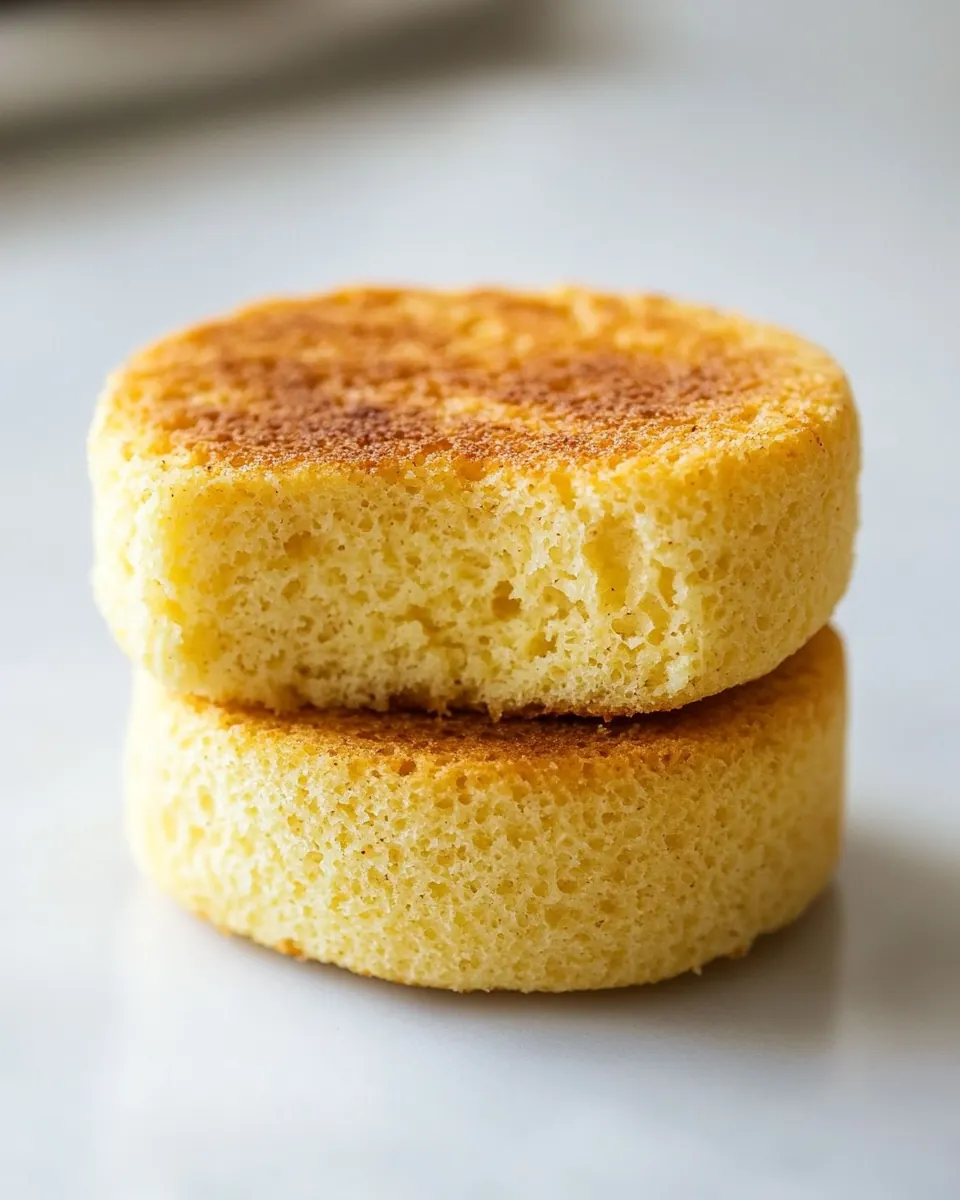
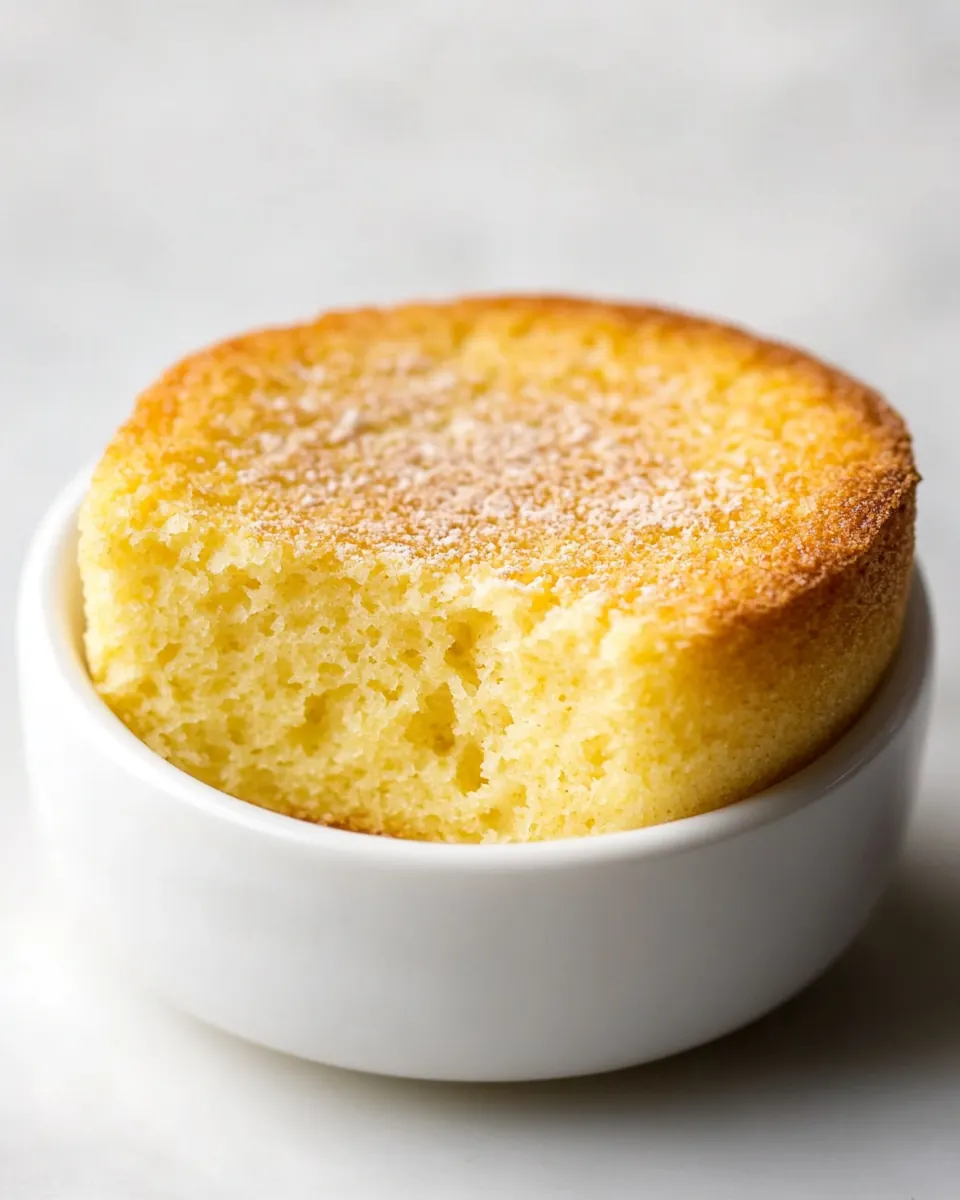
- Microwave on high heat for 3 minutes. Shake the bread loaf out of the mug. Slice with a serrated knife and serve.: Once the batter is smooth, place the mug in the microwave. As it heats, you will see the batter rise and the surface set; the aroma will shift to toasted nuts. The high heat rapidly firms the proteins in the eggs , creating structure, while the interior cooks through. Cooking time can vary by microwave wattage, so if your appliance is less powerful you may need an extra 15 to 30 seconds, and if it is extremely powerful reduce by 10 to 20 seconds to avoid rubbery texture. A common pitfall is overcooking, which yields dry, dense bread, so watch the mug, and when the center is set but still slightly springy, remove it from the microwave.
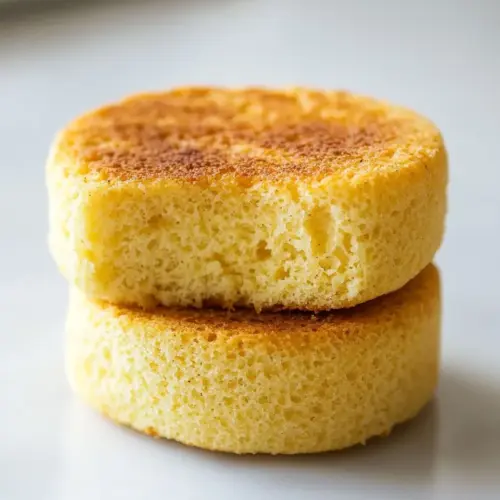
- Wrap well and store in the refrigerator.: After microwaving, let the mug sit for a short moment to cool slightly and finish setting; the loaf will contract a touch from the mug’s sides. To remove it, run a small spatula or butter knife around the edge if needed, then invert the mug over a plate and give it a gentle shake. The crust will feel lightly firm, and the interior should be soft and tender with a fine crumb. Slice with a serrated knife for clean cuts, and you will notice a faint toasted scent and a nutty flavor. If the loaf sticks, it likely needs more oil next time or the mug’s shape was not optimal. Avoid sawing aggressively, which can compress the crumb.
- Wrap well and store in the refrigerator: If you have leftovers, wrap the loaf tightly in plastic wrap or place it in an airtight container. Chilling helps it hold shape and slows spoilage. In the fridge, the loaf will firm up and the texture will tighten slightly, which is normal; to refresh, warm briefly in the microwave for a few seconds or toast slices lightly. A common error is leaving the bread uncovered at room temperature for too long, which can dry it out, so always seal it properly. Proper storage keeps the flavor bright and maintains the ideal mouthfeel for up to a few days.
Recipe Variations about Magic Mug Low Carb Bread
This recipe welcomes small, careful swaps that keep the low carb profile intact. Below are practical variations and expansion ideas based on tried experiments and common adjustments. Each tip begins with a bolded short phrase, and then explains how to execute the variation successfully and what to expect.
- Make multiple loaves at once: If you want to batch this recipe, whisk a triple or quadruple amount in a bowl, then pour into several oiled mugs. Microwave them one at a time, and add roughly one minute of cook time for each additional mug you cook back to back. Keep an eye on each mug since slight differences in batter distribution can change timing.
- Switch to a liquid vegan egg substitute: Use a commercial liquid substitute measured to equal two large eggs to keep structure while making the loaf vegan. Texture will be slightly different, often a touch denser, so ensure a smooth batter and consider an extra 10 to 20 seconds of cook time depending on your product.
- Adjust oil for softer crust: If you prefer a softer exterior, reduce the amount of oil very slightly or wipe the mug with oil instead of drizzling. For a crisper exterior, leave the full measurement and let the mug sit a minute before inverting to encourage slight cooling and surface firming.
- Use very fine almond flour: For the best, tender crumb, choose blanched, fine ground almond flour. Coarser meals can create a toothier texture, so sift if you suspect larger pieces. This single choice makes a big difference in mouthfeel.
- Store properly for maximum freshness: Wrap the loaf tightly in plastic wrap or in an airtight container and refrigerate. For short term counter storage, wrap very tightly and consume within a day to avoid drying. Reheat gently to restore the fresh just baked quality.
Pairing Suggestions for Magic Mug Low Carb Bread
This compact loaf works across meals and occasions, and it pairs well with both simple and elevated accompaniments. Below are thoughtful serving ideas for different times of day, storage advice, and seasonal or occasion based pairings to help you get the most from each loaf.
- Breakfast simple serving: Serve a warm slice with a smear of soft cheese or a thin layer of nut butter for a quick morning plate. The nutty base of the loaf complements creamy spreads and will keep you satisfied through a busy morning.
- Light lunch option: Use two slices as a base for an open faced sandwich topped with sliced avocado and a pinch of salt. This keeps the meal low carb while offering a pleasant contrast of creamy and tender textures.
- Snack or portable bite: Wrap a cooled slice in parchment and pack it for an afternoon pick me up. The compact loaf travels well and will stay intact if wrapped tightly, making it ideal for picnics or work snacks.
- Occasion planning: For Ramadan or communal breakfasts, make multiple mugs and arrange slices on a platter with spreads and small plates of fruit. The individual size makes it easy for guests to take one portion without cuts from a larger loaf.
- Storage and reheating: Store in the refrigerator wrapped tightly for up to several days. To refresh the slice, microwave for a few seconds or toast gently until warm. For longer storage, freeze wrapped slices, then thaw and warm when ready to eat.
- Seasonal serving: In cooler months, serve warm with a pat of butter and a sprinkle of cinnamon for a cozy treat. In warmer months, top with fresh sliced tomatoes and a drizzle of olive oil for a lighter profile that highlights the almond base.
FAQ
Conclusion
This Magic Mug Low Carb Bread proves that quick, low carb baking can feel indulgent and homemade at the same time. It stands out for its speed, portion friendly size, and the comforting nutty flavor of almond flour, which gives a satisfying bite without heavy carbs. I encourage you to try it on a busy morning or during a relaxed weekend; its ease and dependable results make it a small but reliable kitchen win. Share your tweaks and favorite toppings, because part of the fun is discovering the variations that fit your daily rhythm.
Magic Mug Low Carb Bread
Equipment
- Microwave
- Tall straight mug
- Fork
- Serrated Knife
Ingredients
- 1/2 teaspoon oil any variety Adds lubrication and prevents sticking while contributing a slight richness and tender crumb; suitable oils include neutral or flavorful varieties depending on preference.
- 2 large eggs or liquid vegan egg substitute Provides structure, moisture, and leavening through coagulation when heated; can be substituted with a liquid vegan egg replacer for a plant-based option.
- 1/2 cup fine ground almond flour (I used Bob’s Red Mill) Supplies bulk, low-carb texture, and a mildly nutty flavor while absorbing moisture to create the bread matrix; fine grind ensures a smoother, less crumbly result.
- 1/2 teaspoon grain-free baking powder Lightens the batter by introducing trapped air and promotes rise without grains; grain-free formulation keeps the recipe suitable for gluten-free diets.
- 1/4 teaspoons ea salt Balances flavor by enhancing savory notes and suppressing bitterness; small amounts also support yeast-free chemical leavening reactions and overall seasoning.
Instructions
- Drizzle the oil into a tall straight mug, about 3.5 inches wide and 5 inches tall. Brush the oil around the edges to grease the mug.: As you add the oil , you will notice it bead and coat the ceramic surface, creating a thin shiny layer that ensures the loaf releases cleanly when inverted. Brushing it around guarantees the edge will not stick, which helps maintain the loaf's shape and prevents tearing when you remove it. If the mug is not oiled evenly, parts of the loaf will cling and might tear, so take a moment to cover the base and sides. A common mistake is using a mug that is too shallow or flared, which can cause the loaf to overflow as it rises slightly; stick to a tall straight mug for best results.
- Place the eggs, almond flour, baking powder, and salt in the mug. Whisk with a fork until very smooth. Tap the mug on the counter to remove air pockets.: When you crack the eggs into the mug and add the dry ingredients, start whisking slowly so the almond flour absorbs the liquid evenly. You should aim for a homogenous batter without lumps, and the surface will look satiny and slightly glossy. Tapping the mug helps settle the batter and forces out large air pockets that could create uneven holes in the crumb. The batter will smell faintly nutty from the almond flour , and the texture should be viscous but not soupy. If you see visible streaks of dry flour, whisk longer and scrape down the sides. Overwhisking to a froth is unnecessary and can create larger air bubbles that collapse, so stop once smooth.
- Microwave on high heat for 3 minutes. Shake the bread loaf out of the mug. Slice with a serrated knife and serve.: Once the batter is smooth, place the mug in the microwave. As it heats, you will see the batter rise and the surface set; the aroma will shift to toasted nuts. The high heat rapidly firms the proteins in the eggs , creating structure, while the interior cooks through. Cooking time can vary by microwave wattage, so if your appliance is less powerful you may need an extra 15 to 30 seconds, and if it is extremely powerful reduce by 10 to 20 seconds to avoid rubbery texture. A common pitfall is overcooking, which yields dry, dense bread, so watch the mug, and when the center is set but still slightly springy, remove it from the microwave.
- Wrap well and store in the refrigerator.: After microwaving, let the mug sit for a short moment to cool slightly and finish setting; the loaf will contract a touch from the mug’s sides. To remove it, run a small spatula or butter knife around the edge if needed, then invert the mug over a plate and give it a gentle shake. The crust will feel lightly firm, and the interior should be soft and tender with a fine crumb. Slice with a serrated knife for clean cuts, and you will notice a faint toasted scent and a nutty flavor. If the loaf sticks, it likely needs more oil next time or the mug’s shape was not optimal. Avoid sawing aggressively, which can compress the crumb.
- Wrap well and store in the refrigerator: If you have leftovers, wrap the loaf tightly in plastic wrap or place it in an airtight container. Chilling helps it hold shape and slows spoilage. In the fridge, the loaf will firm up and the texture will tighten slightly, which is normal; to refresh, warm briefly in the microwave for a few seconds or toast slices lightly. A common error is leaving the bread uncovered at room temperature for too long, which can dry it out, so always seal it properly. Proper storage keeps the flavor bright and maintains the ideal mouthfeel for up to a few days.
Notes
- Make multiple loaves at once: If you want to batch this recipe, whisk a triple or quadruple amount in a bowl, then pour into several oiled mugs. Microwave them one at a time, and add roughly one minute of cook time for each additional mug you cook back to back. Keep an eye on each mug since slight differences in batter distribution can change timing.
- Switch to a liquid vegan egg substitute: Use a commercial liquid substitute measured to equal two large eggs to keep structure while making the loaf vegan. Texture will be slightly different, often a touch denser, so ensure a smooth batter and consider an extra 10 to 20 seconds of cook time depending on your product.
- Adjust oil for softer crust: If you prefer a softer exterior, reduce the amount of oil very slightly or wipe the mug with oil instead of drizzling. For a crisper exterior, leave the full measurement and let the mug sit a minute before inverting to encourage slight cooling and surface firming.
- Use very fine almond flour: For the best, tender crumb, choose blanched, fine ground almond flour. Coarser meals can create a toothier texture, so sift if you suspect larger pieces. This single choice makes a big difference in mouthfeel.
- Store properly for maximum freshness: Wrap the loaf tightly in plastic wrap or in an airtight container and refrigerate. For short term counter storage, wrap very tightly and consume within a day to avoid drying. Reheat gently to restore the fresh just baked quality.