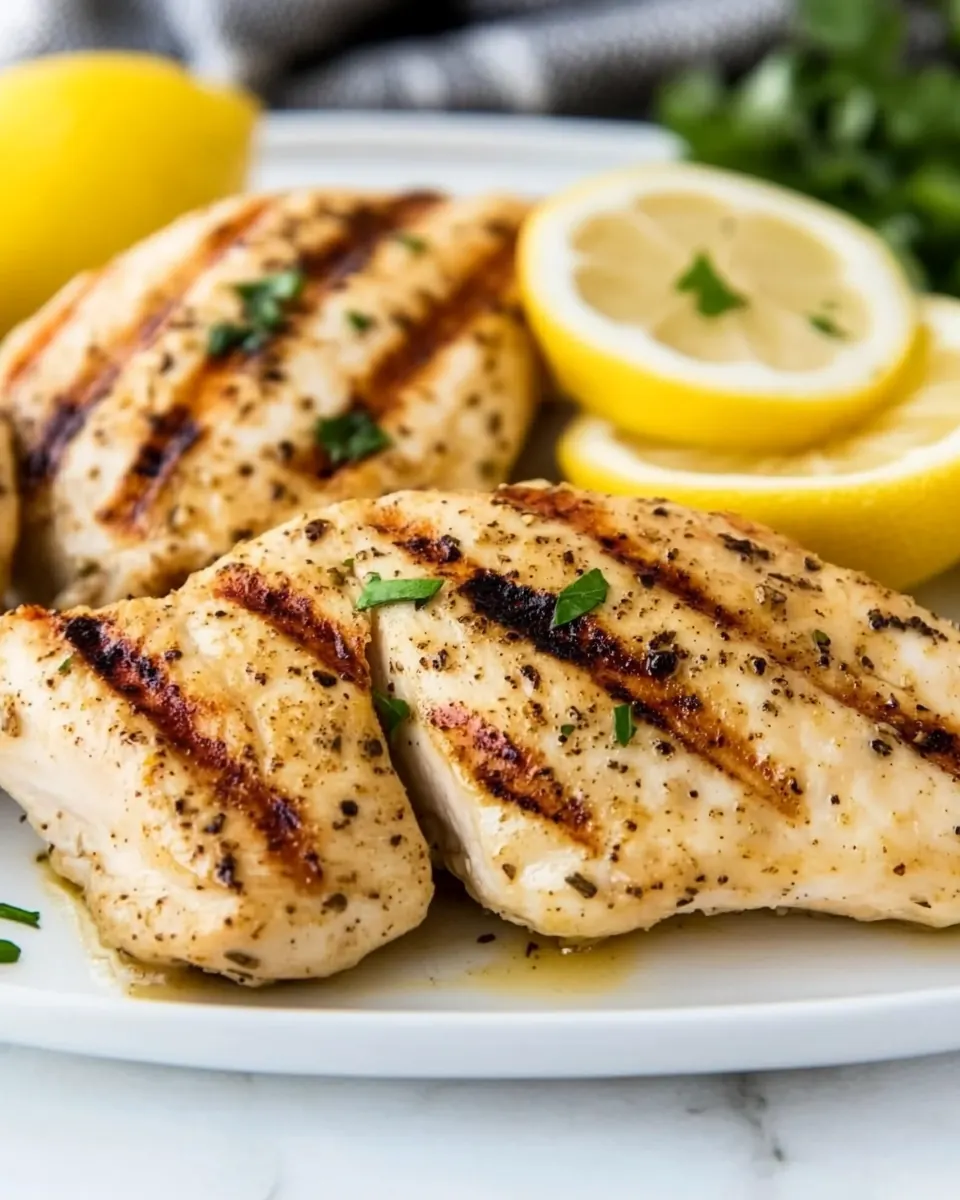
Lemon Pepper Grilled Chicken
Lemon Pepper Grilled Chicken started showing up at my table the summer I finally learned to trust my grill. I remember the first time I marinated a stack of chicken breasts in a bright, lemony bath and watched the pepper form a crisp crust when it hit the grates. That evening felt like a small victory, because I coaxed juicy texture from a lean cut and delivered bold, fresh flavor with almost no fuss.
Over the years I have tweaked the balance between olive oil and lemon juice, and I learned how patience and a quick rest make a huge difference in the final bite. I often prepare a double batch when guests arrive, because everyone dives in. There is something reliably comforting about the tang of citrus paired with the warm pepper bite, and it keeps showing up on my weeknight rotation.
Recipe Snapshot
26 mins
10 mins
16 mins
Easy
350 kcal
American
Paleo, Gluten-Free
Dinner
Grill, Instant read thermometer, Mixing bowl, Plastic bag, Meat mallet
Why This Lemon Pepper Grilled Chicken Stands Out
Bright and Balanced Flavor
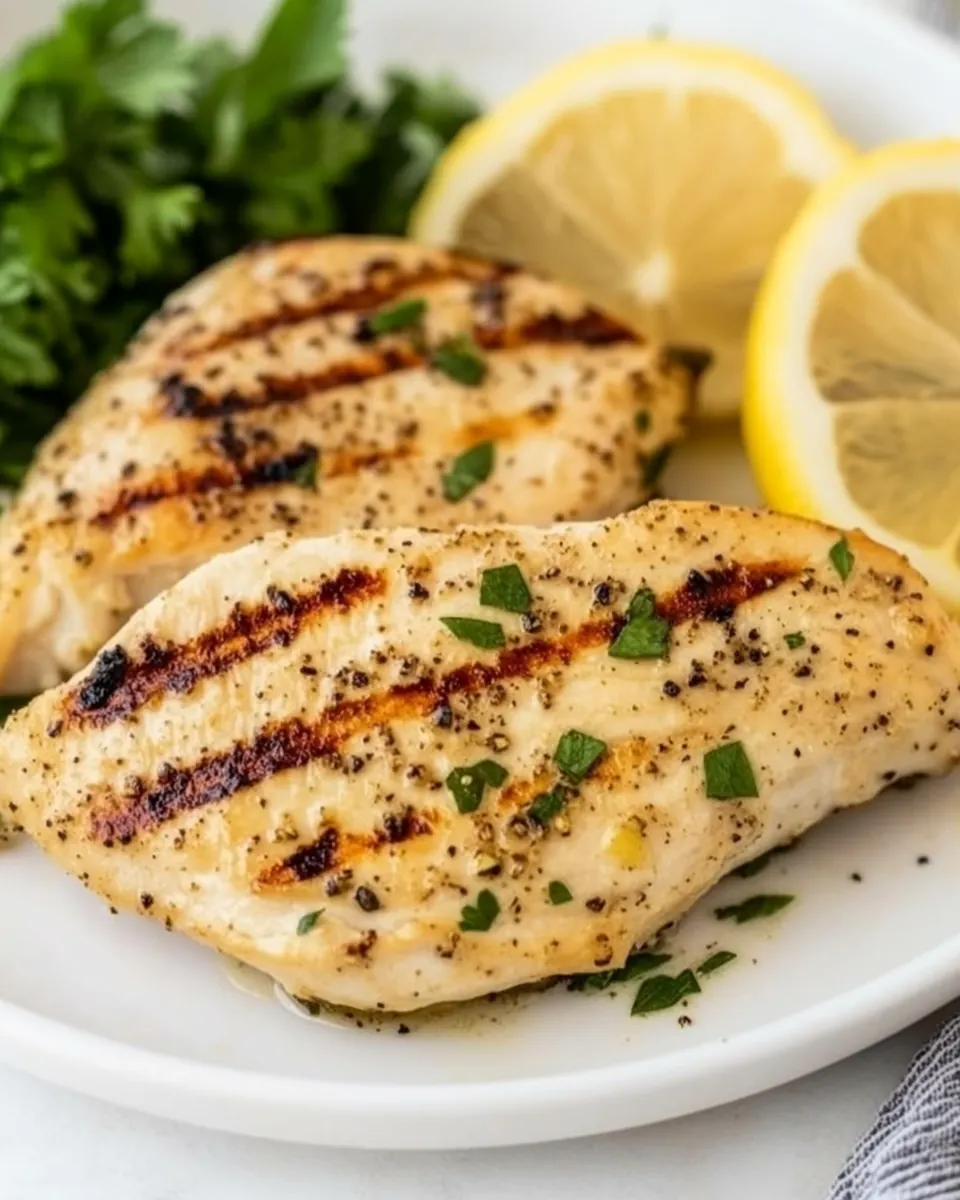
I love how Lemon Pepper Grilled Chicken sings with clean acidity from the lemon juice and subtle sweetness from the honey. The interplay of citrus and pepper means each bite is lively, never one note. I find this balance keeps even picky eaters coming back for more.
Quick and Weeknight Friendly
One of the best parts for me is how fast this comes together. With a simple marinade and a short grill time, Lemon Pepper Grilled Chicken becomes an easy weeknight solution that still feels special. I often throw together the marinade while I clear dishes from dinner, and before I know it the grill is ready.
Versatile Serving Options
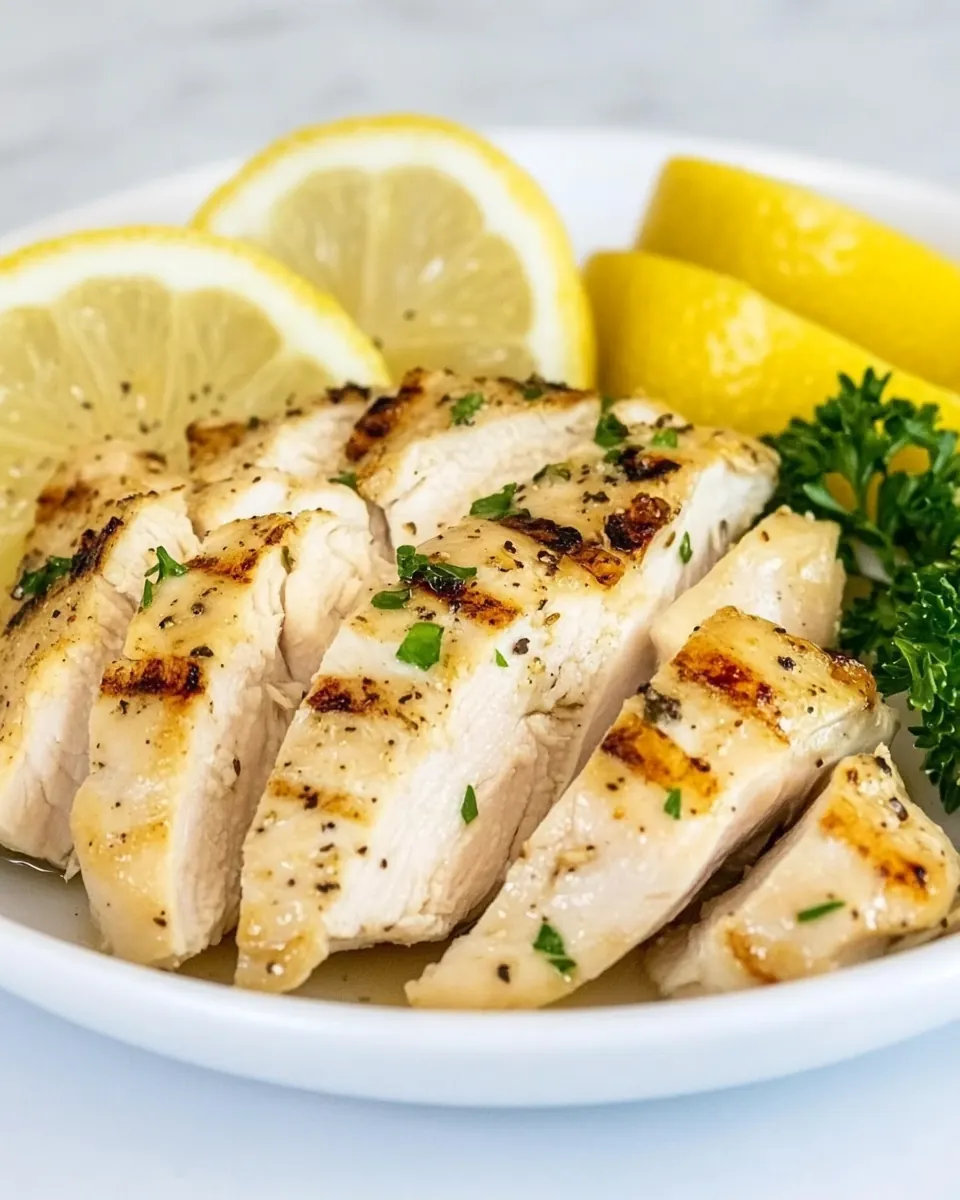
I constantly use this chicken for sandwiches, salads, and family dinners. The straightforward flavors let the chicken pair easily with so many sides. Because the seasoning is clean, you can dress it up with herbs or keep it plain and still have a winner.
Reliable Technique
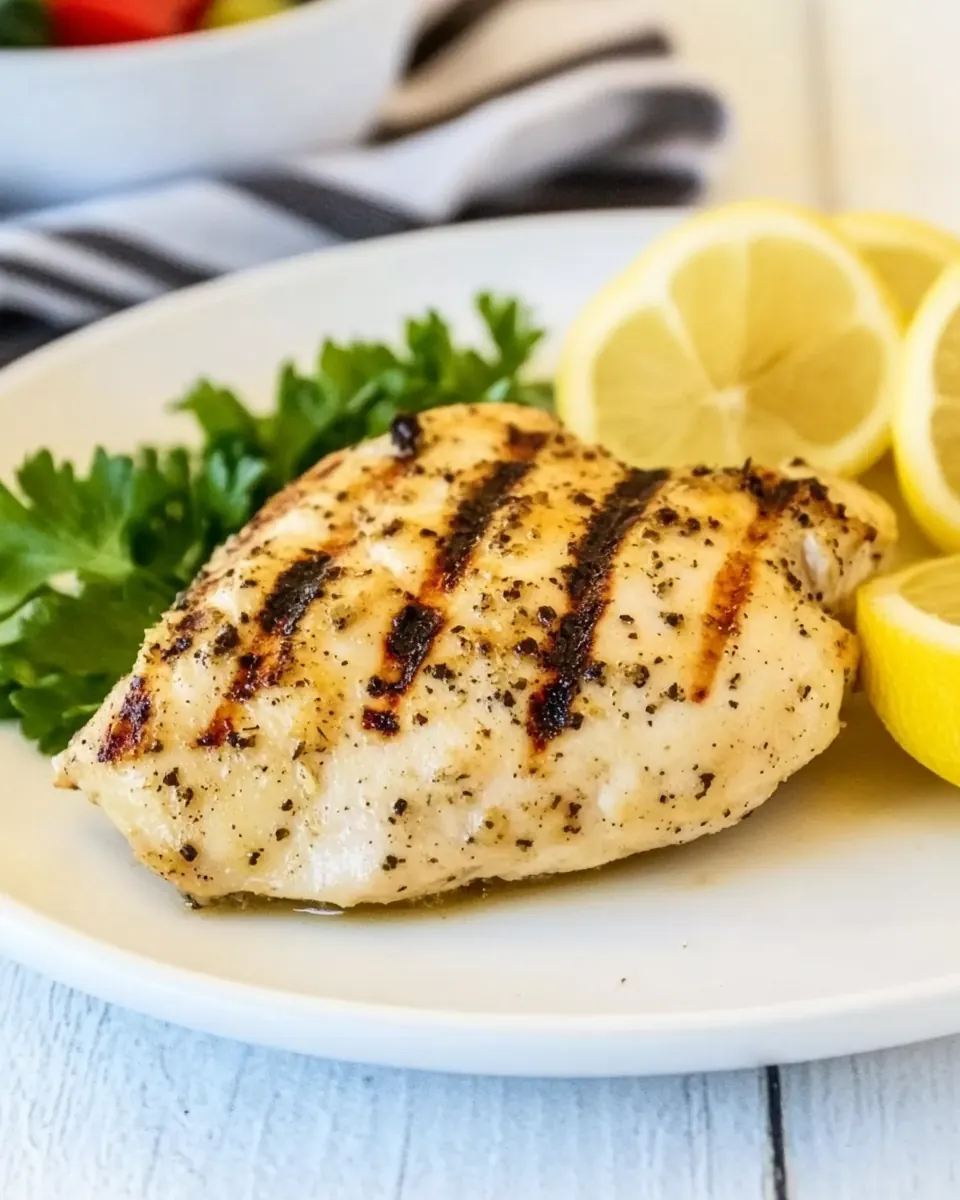
Grilling teaches you to listen to subtle visual cues, and this recipe gives you predictable signs: golden edges, slight charring, and that satisfying sizzle as juices bubble. Over time I learned to watch the way the meat releases from the grill before flipping, which prevents tearing and sticking, and results in better presentation.
Great for Make Ahead and Leftovers
I appreciate how well leftovers store. Once cooled and wrapped, the flavors hold up in the fridge, and slices work perfectly in quick lunches. I’ll often double the batch so I have protein ready for salads and grain bowls all week.
Ingredients You’ll Need for Lemon Pepper Grilled Chicken
These ingredients are simple and purposeful. The key players are the chicken, the acid from lemon juice, the fat from olive oil, and aromatics like garlic. Together they create a marinade that both flavors and tenderizes the meat, while the cracked pepper forms a bright, textured crust on the grill.
- 1 1/2 lb chicken breasts, about 3-4: Tenderize and provide the primary protein for the dish while absorbing marinade flavors; slice or pound evenly to ensure uniform cooking and juicy results. Pair with acidic components to help break down fibers and enhance tenderness during grilling.
- 1/3 c fresh lemon juice: Brighten and tenderize the chicken with acidity while imparting fresh citrus aroma; juice should be strained if pulp is undesirable. Balance with oil and seasonings to prevent over-acidifying the meat and to create a flavorful marinade base.
- 1/3 c olive oil: Coat and bind the marinade, helping to distribute other flavors evenly while promoting moistness during grilling; choose extra-virgin for fruity notes or light olive oil for a neutral profile. Combine thoroughly with lemon juice and aromatics to form an emulsion that clings to the chicken.
- 1 T honey: Sweeten and balance the lemon's acidity while contributing a subtle glaze during grilling; adjust quantity to taste for desired sweetness level. Dissolve into the marinade to help create a caramelized exterior on the chicken when grilled over medium-high heat.
- 1 tsp lemon zest: Concentrate and intensify lemon flavor through oils and aromatic compounds, complementing the fresh juice; use finely grated zest to avoid bitter pith. Add at mixing to maximize citrus fragrance without adding extra liquid to the marinade.
- 2 garlic cloves, minced: Infuse savory depth and aromatic heat to the marinade, promoting a robust background flavor when minced finely; crush slightly to release oils while preventing large pieces from burning on the grill. Combine with other seasonings to build complexity and round out the citrus notes.
- 1/2 tsp onion powder: Add subtle savory sweetness and umami-enhancing backbone without adding moisture; use a light hand to avoid overpowering more prominent flavors. Sprinkle into the marinade to support roasted garlic and lemon elements without creating a raw onion bite.
- 1 1/2 tsp cracked pepper, divided: Introduce a sharp, aromatic heat and textural contrast; reserve part for finishing to enhance surface flavor and visual appeal. Grind coarsely for a bright pop in the marinade and cracked texture on the grilled chicken’s exterior.
- 1/2 tsp salt: Season and enhance overall flavor, balancing acidity and sweetness while helping to tenderize slightly; use measured amounts to avoid oversalting the chicken. Dissolve into the marinade early to distribute evenly and draw out the natural juices for better flavor penetration.
How to Cook Lemon Pepper Grilled Chicken
This method is straightforward and built around a simple marinade and focused grilling. I walk you through every sensory cue and little trick I use to get juicy, flavorful chicken with a peppery crust. Keep the grill tools nearby and your instant read thermometer within reach.
- Whisk together the olive oil, lemon juice, garlic, honey, lemon zest, onion powder, 1 teaspoon of pepper, and salt. Add the chicken breasts to a large plastic bag and pound to make them even thickness. Add the marinade to the bag and gently massage into the chicken. Refrigerate for 30 minutes and up to overnight.: The first aroma you notice is the bright citrus combined with the warm scent of garlic and the faint sweetness of honey . Vigorously whisking emulsifies the olive oil and lemon juice so that the marinade clings evenly to the chicken , ensuring every surface tastes the same. You should smell an immediate citrus perfume with a hint of garlic, which signals the marinade is balanced. A common mistake is under-whisking, which causes the oil to separate and gives uneven coverage; if that happens, whisk again until the mixture looks homogenous.
- Before preheating the grill, transfer the chicken to a dish and top with remaining 1/2 teaspoon of cracked pepper and brush excess marinade over top. Allow to come to room temperature for even cooking.: Pounding creates a consistent thickness that translates to even cooking and predictable timing, and you will notice the meat becoming more pliable under your mallet. Use gentle, firm taps rather than heavy blows, you want to avoid tearing the fibers. Even thickness also prevents the outside from charring before the center reaches a safe temperature. A frequent error is skipping this step and ending up with one piece overcooked and another underdone, so take the extra two minutes to flatten them evenly.
- Preheat your grill to medium high heat, about 400°F. Oil and clean before or after preheating (different schools of thought on this, but we do before). When grill is ready, place the chicken, presentation side down.: As you massage, the marinade should coat each piece, and you will see the meat glisten. This tactile step helps the oil and acid work into the surface, aiding flavor penetration and a tender bite. Make sure every spot is covered, including the thinner edges. Avoid vigorous shaking which can damage the meat; a gentle press and rub is all you need.
- Cook the chicken breasts 6-8 minutes per side. If you go to flip the chicken and it doesn't pull away from the grill easily, allow it to cook another minute. The chicken is safe to eat at 165°F but it's best to pull off of the grill around 155°F-160°F. It will continue to cook off the grill as well.: During this rest, the acid in the lemon juice lightly tenderizes the exterior and the aromatics penetrate the surface. If you marinate longer, the flavor intensifies, but very long marinating with a high acid ratio can alter texture too much, so do not exceed overnight. A common mistake is leaving it on the counter; always refrigerate to keep the chicken safe and fresh.
- Allow the chicken to rest for about 5 minutes before serving.: This finishing touch adds visual texture and a last layer of peppery bite. Brushing the marinade across the surface gives a glossy finish that caramelizes on the hot grates, creating a fragrant crust. If you skip the final pepper, the flavor will be milder, so I always apply it just before grilling.
- Store leftovers in an airtight container for 3-4 days or wrapped tightly in foil. You can also freeze leftovers. Allow to cool completely and then add to a freezer safe bag or container. Freeze for up to 2 months.: Letting the chicken sit briefly takes the chill off and reduces the chance of the outside overcooking while the center warms. You will notice the meat loses a touch of rigidity and becomes more flexible. Avoid leaving it out too long, as food safety is important; aim for about 15 to 20 minutes maximum.
- Preheat your grill to medium high heat, about 400°F: A properly preheated grill gives an immediate sizzle and helps create the signature sear. Aim for around 400°F to allow rapid browning without drying the interior. Oil and clean the grates so the chicken slides and does not stick; you should hear a confident sizzle when the meat hits the surface. A frequent error is grilling on a cool grate, which causes sticking and poor caramelization, so always confirm the heat is right.
- Place the chicken, presentation side down: When the chicken meets the grate you want to hear a steady sizzle and see immediate color development. The presentation side is the smooth top that will become the face of the dish, so start it down to create the best sear. After a few minutes you will see grill marks and edges beginning to brown. If you try to lift and it resists, it needs more time; forcing a flip too early tears the surface.
- Cook the chicken breasts 6 to 8 minutes per side: As it cooks, listen for a steady sizzling sound and watch the edges turn from pale to golden to slightly charred. The surface should feel firm but not rock hard. Use an instant read thermometer and remove the chicken a few degrees below 165°F, around 155°F to 160°F, because carryover heat will finish the job and keep the meat juicy. A common pitfall is overcooking, which yields dry chicken , so rely on temperature, not time alone.
- If you go to flip the chicken and it doesn't pull away from the grill easily, allow it to cook another minute: This release is your checkpoint; when the chicken has formed a crust it will naturally let go. Patience here prevents tears and preserves the seared surface. The sound will change subtly to a lighter sizzle when the crust is ready. Trying to force the flip will ruin the sear and cause sticking, so wait until the meat releases cleanly.
- The chicken is safe to eat at 165°F but it's best to pull off of the grill around 155°F to 160°F: Removing the chicken slightly early accounts for residual heat, so the final internal temperature rises while the meat rests. You will notice the juices settling and the texture springing back gently. Overcooking is the most common error here, so trust the thermometer and not guesswork to preserve juicy results.
- It will continue to cook off the grill as well: Carryover heat is your ally for finishing the internal temperature without direct heat. Place the pieces on a clean plate and watch the temperature climb a few degrees, and you will see the juices redistribute for a more tender mouthfeel. Cutting immediately will release juices and lead to dryness, which is why this step matters.
- Allow the chicken to rest for about 5 minutes before serving: Resting gives the juices a chance to settle and keeps each slice moist and glossy. You will feel the meat firm slightly and the aroma will intensify as it cools just a touch. A major mistake is skipping this rest, which causes the juices to run out when sliced, leaving the chicken dry.
- Store leftovers in an airtight container for 3 to 4 days or wrapped tightly in foil: Once cooled, the flavors remain stable in the fridge and the texture holds up well for several meals. I recommend slicing before storing for convenient lunches. If you plan to freeze, use a freezer safe bag and remove excess air to prevent freezer burn.
- You can also freeze leftovers. Allow to cool completely and then add to a freezer safe bag or container. Freeze for up to 2 months: Proper freezing preserves the bright flavors and makes reheating straightforward. Thaw overnight in the fridge before reheating slowly to avoid drying out the meat. Avoid reheating at very high heat straight from frozen, which risks uneven warming and dryness.
Recipe Notes about Lemon Pepper Grilled Chicken
These notes come from years of grilling this simple recipe. I expand on the original points to give you reliable, practical guidance for perfectly cooked chicken every time.
- Temperature matters: Aim for about 400°F on your grill for the right balance of browning and juiciness, and use an instant read thermometer to remove the chicken around 155°F to 160°F so carryover heat finishes it to 165°F.
- Marinade timing: Marinate for at least 30 minutes for good flavor penetration, but no more than overnight to avoid altering texture with too much acid from the lemon juice.
- Pound for even cooking: Flatten thicker breasts to an even thickness so the entire batch finishes at the same time and you avoid tearing when flipping.
- Keep some marinade for basting: Brush a light coat on just before grilling to encourage caramelization, but do not reuse raw marinade after contact with uncooked meat.
- Rest before slicing: A five minute rest is enough to let juices redistribute and yields a moister serving, so resist the urge to cut immediately off the grill.
Great Combinations for Lemon Pepper Grilled Chicken
This chicken is flexible across meals and seasons. It is equally at home on a casual weeknight table or as part of a larger summer gathering. Below are thoughtful serving ideas and pairings that highlight the bright, peppery profile.
- Simple grilled vegetables: Serve with lightly charred asparagus or zucchini for a low fuss summer plate that complements the citrus notes.
- Fresh green salad: Slice the chicken over mixed greens with a light vinaigrette to create a balanced, bright lunch or dinner.
- Grain bowls: Add sliced chicken to warm farro or quinoa with roasted vegetables for a hearty, make ahead meal.
- Family dinners: This recipe works well for casual gatherings; double the batch and keep extras warm in a low oven until ready to serve.
- Picnics and packed lunches: Chilled slices are perfect for sandwiches or salads, and they store well for several days in an airtight container.
- Storage tips: Refrigerate leftovers within two hours, keep in an airtight container for three to four days, or freeze for up to two months for meal prep convenience.
- Seasonal pairing: In summer I pair the chicken with tomatoes and cucumbers for a bright plate; in cooler months it pairs nicely with roasted root vegetables.
FAQ
Conclusion
What makes this recipe special is its bright, uncomplicated combination of lemon and cracked pepper that produces juicy, flavorful grilled chicken every time. Try it because the technique is forgiving, the ingredients are pantry friendly, and the results are versatile enough for weeknight dinners or weekend gatherings. Give it a go, and you may find yourself making this simple, satisfying chicken again and again for salads, sandwiches, and family meals.

Lemon Pepper Grilled Chicken
Equipment
- Grill
- Instant read thermometer
- Mixing Bowl
- Plastic Bag
- Meat Mallet
Ingredients
- 1 1/2 lb chicken breasts, about 3-4 Tenderize and provide the primary protein for the dish while absorbing marinade flavors; slice or pound evenly to ensure uniform cooking and juicy results. Pair with acidic components to help break down fibers and enhance tenderness during grilling.
- 1/3 c fresh lemon juice Brighten and tenderize the chicken with acidity while imparting fresh citrus aroma; juice should be strained if pulp is undesirable. Balance with oil and seasonings to prevent over-acidifying the meat and to create a flavorful marinade base.
- 1/3 c olive oil Coat and bind the marinade, helping to distribute other flavors evenly while promoting moistness during grilling; choose extra-virgin for fruity notes or light olive oil for a neutral profile. Combine thoroughly with lemon juice and aromatics to form an emulsion that clings to the chicken.
- 1 T honey Sweeten and balance the lemon's acidity while contributing a subtle glaze during grilling; adjust quantity to taste for desired sweetness level. Dissolve into the marinade to help create a caramelized exterior on the chicken when grilled over medium-high heat.
- 1 tsp lemon zest Concentrate and intensify lemon flavor through oils and aromatic compounds, complementing the fresh juice; use finely grated zest to avoid bitter pith. Add at mixing to maximize citrus fragrance without adding extra liquid to the marinade.
- 2 garlic cloves, minced Infuse savory depth and aromatic heat to the marinade, promoting a robust background flavor when minced finely; crush slightly to release oils while preventing large pieces from burning on the grill. Combine with other seasonings to build complexity and round out the citrus notes.
- 1/2 tsp onion powder Add subtle savory sweetness and umami-enhancing backbone without adding moisture; use a light hand to avoid overpowering more prominent flavors. Sprinkle into the marinade to support roasted garlic and lemon elements without creating a raw onion bite.
- 1 1/2 tsp cracked pepper, divided Introduce a sharp, aromatic heat and textural contrast; reserve part for finishing to enhance surface flavor and visual appeal. Grind coarsely for a bright pop in the marinade and cracked texture on the grilled chicken’s exterior.
- 1/2 tsp salt Season and enhance overall flavor, balancing acidity and sweetness while helping to tenderize slightly; use measured amounts to avoid oversalting the chicken. Dissolve into the marinade early to distribute evenly and draw out the natural juices for better flavor penetration.
Instructions
- Whisk together the olive oil, lemon juice, garlic, honey, lemon zest, onion powder, 1 teaspoon of pepper, and salt. Add the chicken breasts to a large plastic bag and pound to make them even thickness. Add the marinade to the bag and gently massage into the chicken. Refrigerate for 30 minutes and up to overnight.: The first aroma you notice is the bright citrus combined with the warm scent of garlic and the faint sweetness of honey . Vigorously whisking emulsifies the olive oil and lemon juice so that the marinade clings evenly to the chicken , ensuring every surface tastes the same. You should smell an immediate citrus perfume with a hint of garlic, which signals the marinade is balanced. A common mistake is under-whisking, which causes the oil to separate and gives uneven coverage; if that happens, whisk again until the mixture looks homogenous.
- Before preheating the grill, transfer the chicken to a dish and top with remaining 1/2 teaspoon of cracked pepper and brush excess marinade over top. Allow to come to room temperature for even cooking.: Pounding creates a consistent thickness that translates to even cooking and predictable timing, and you will notice the meat becoming more pliable under your mallet. Use gentle, firm taps rather than heavy blows, you want to avoid tearing the fibers. Even thickness also prevents the outside from charring before the center reaches a safe temperature. A frequent error is skipping this step and ending up with one piece overcooked and another underdone, so take the extra two minutes to flatten them evenly.
- Preheat your grill to medium high heat, about 400°F. Oil and clean before or after preheating (different schools of thought on this, but we do before). When grill is ready, place the chicken, presentation side down.: As you massage, the marinade should coat each piece, and you will see the meat glisten. This tactile step helps the oil and acid work into the surface, aiding flavor penetration and a tender bite. Make sure every spot is covered, including the thinner edges. Avoid vigorous shaking which can damage the meat; a gentle press and rub is all you need.
- Cook the chicken breasts 6-8 minutes per side. If you go to flip the chicken and it doesn't pull away from the grill easily, allow it to cook another minute. The chicken is safe to eat at 165°F but it's best to pull off of the grill around 155°F-160°F. It will continue to cook off the grill as well.: During this rest, the acid in the lemon juice lightly tenderizes the exterior and the aromatics penetrate the surface. If you marinate longer, the flavor intensifies, but very long marinating with a high acid ratio can alter texture too much, so do not exceed overnight. A common mistake is leaving it on the counter; always refrigerate to keep the chicken safe and fresh.
- Allow the chicken to rest for about 5 minutes before serving.: This finishing touch adds visual texture and a last layer of peppery bite. Brushing the marinade across the surface gives a glossy finish that caramelizes on the hot grates, creating a fragrant crust. If you skip the final pepper, the flavor will be milder, so I always apply it just before grilling.
- Store leftovers in an airtight container for 3-4 days or wrapped tightly in foil. You can also freeze leftovers. Allow to cool completely and then add to a freezer safe bag or container. Freeze for up to 2 months.: Letting the chicken sit briefly takes the chill off and reduces the chance of the outside overcooking while the center warms. You will notice the meat loses a touch of rigidity and becomes more flexible. Avoid leaving it out too long, as food safety is important; aim for about 15 to 20 minutes maximum.
- Preheat your grill to medium high heat, about 400°F: A properly preheated grill gives an immediate sizzle and helps create the signature sear. Aim for around 400°F to allow rapid browning without drying the interior. Oil and clean the grates so the chicken slides and does not stick; you should hear a confident sizzle when the meat hits the surface. A frequent error is grilling on a cool grate, which causes sticking and poor caramelization, so always confirm the heat is right.
- Place the chicken, presentation side down: When the chicken meets the grate you want to hear a steady sizzle and see immediate color development. The presentation side is the smooth top that will become the face of the dish, so start it down to create the best sear. After a few minutes you will see grill marks and edges beginning to brown. If you try to lift and it resists, it needs more time; forcing a flip too early tears the surface.
- Cook the chicken breasts 6 to 8 minutes per side: As it cooks, listen for a steady sizzling sound and watch the edges turn from pale to golden to slightly charred. The surface should feel firm but not rock hard. Use an instant read thermometer and remove the chicken a few degrees below 165°F, around 155°F to 160°F, because carryover heat will finish the job and keep the meat juicy. A common pitfall is overcooking, which yields dry chicken , so rely on temperature, not time alone.
- If you go to flip the chicken and it doesn't pull away from the grill easily, allow it to cook another minute: This release is your checkpoint; when the chicken has formed a crust it will naturally let go. Patience here prevents tears and preserves the seared surface. The sound will change subtly to a lighter sizzle when the crust is ready. Trying to force the flip will ruin the sear and cause sticking, so wait until the meat releases cleanly.
- The chicken is safe to eat at 165°F but it's best to pull off of the grill around 155°F to 160°F: Removing the chicken slightly early accounts for residual heat, so the final internal temperature rises while the meat rests. You will notice the juices settling and the texture springing back gently. Overcooking is the most common error here, so trust the thermometer and not guesswork to preserve juicy results.
- It will continue to cook off the grill as well: Carryover heat is your ally for finishing the internal temperature without direct heat. Place the pieces on a clean plate and watch the temperature climb a few degrees, and you will see the juices redistribute for a more tender mouthfeel. Cutting immediately will release juices and lead to dryness, which is why this step matters.
- Allow the chicken to rest for about 5 minutes before serving: Resting gives the juices a chance to settle and keeps each slice moist and glossy. You will feel the meat firm slightly and the aroma will intensify as it cools just a touch. A major mistake is skipping this rest, which causes the juices to run out when sliced, leaving the chicken dry.
- Store leftovers in an airtight container for 3 to 4 days or wrapped tightly in foil: Once cooled, the flavors remain stable in the fridge and the texture holds up well for several meals. I recommend slicing before storing for convenient lunches. If you plan to freeze, use a freezer safe bag and remove excess air to prevent freezer burn.
- You can also freeze leftovers. Allow to cool completely and then add to a freezer safe bag or container. Freeze for up to 2 months: Proper freezing preserves the bright flavors and makes reheating straightforward. Thaw overnight in the fridge before reheating slowly to avoid drying out the meat. Avoid reheating at very high heat straight from frozen, which risks uneven warming and dryness.
Notes
- Temperature matters: Aim for about 400°F on your grill for the right balance of browning and juiciness, and use an instant read thermometer to remove the chicken around 155°F to 160°F so carryover heat finishes it to 165°F.
- Marinade timing: Marinate for at least 30 minutes for good flavor penetration, but no more than overnight to avoid altering texture with too much acid from the lemon juice.
- Pound for even cooking: Flatten thicker breasts to an even thickness so the entire batch finishes at the same time and you avoid tearing when flipping.
- Keep some marinade for basting: Brush a light coat on just before grilling to encourage caramelization, but do not reuse raw marinade after contact with uncooked meat.
- Rest before slicing: A five minute rest is enough to let juices redistribute and yields a moister serving, so resist the urge to cut immediately off the grill.