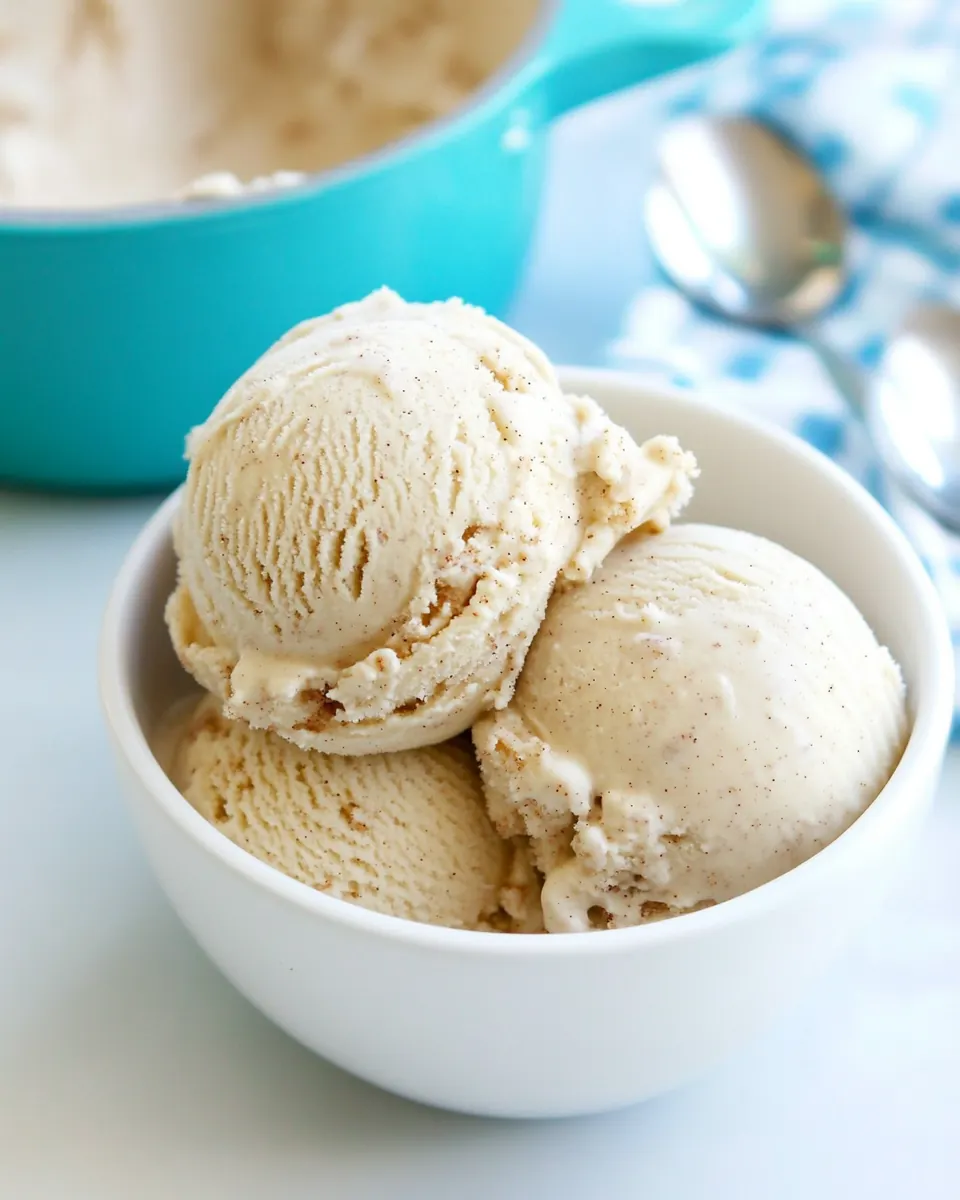
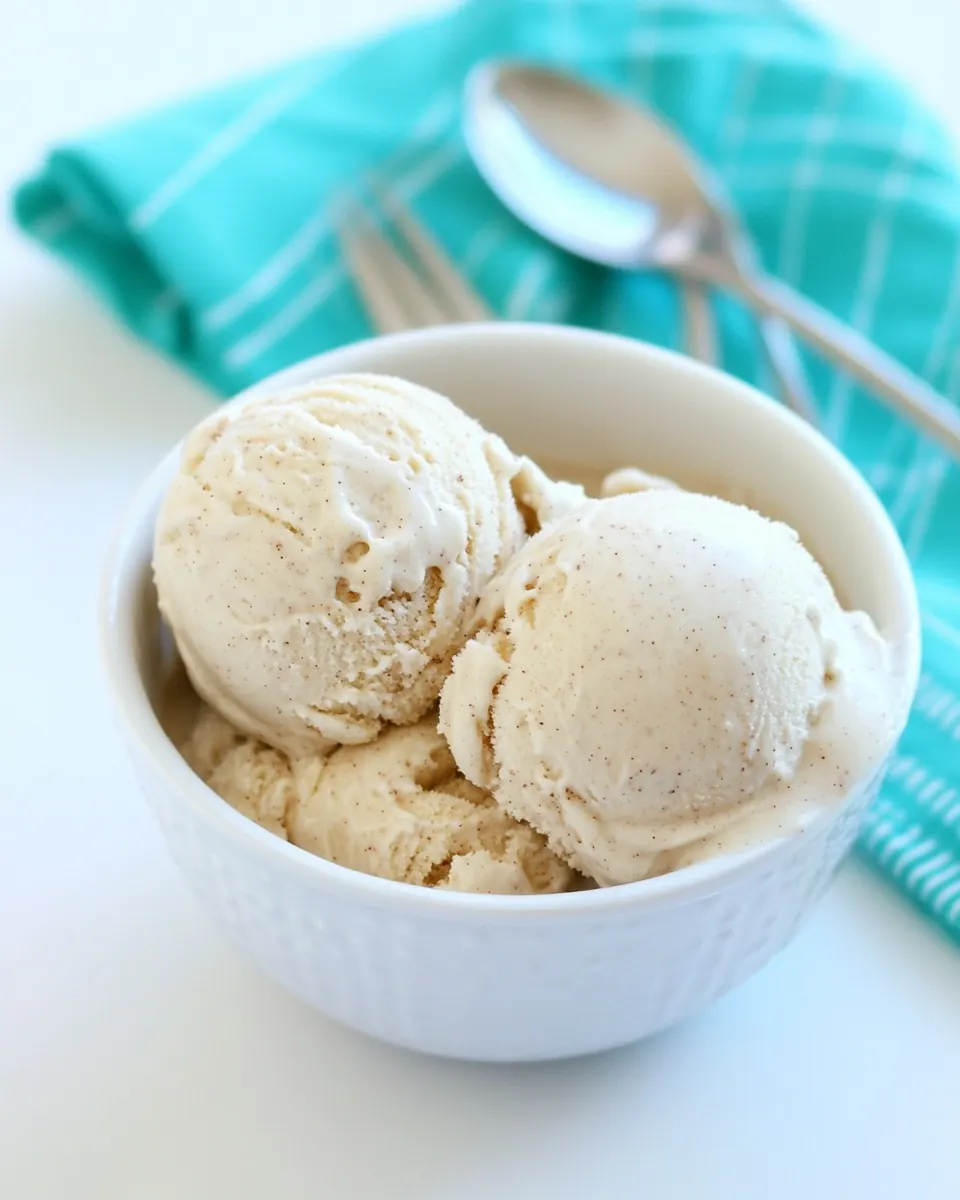
Snickerdoodle Ice Cream
Snickerdoodle Ice Cream started as a late night craving that turned into one of my favorite summer rituals. I still remember stirring a bowl of cream and sugars while the kitchen hummed quietly, thinking about the way cinnamon and nutmeg lift a simple mix into something comforting and nostalgic.
That first batch was a happy accident, an experiment after baking a few cookies and wondering if their warm spiced profile could become something cold and creamy. I tested textures and proportions over several evenings, tasting a little here, adjusting a touch there, learning how the balance of heavy whipping cream and half and half cream creates a silky mouthfeel that carries the warm spice notes without being cloying. Each iteration taught me how important chilling is, and why patience matters when you want that perfect scoopable texture.
Now I make Snickerdoodle Ice Cream for backyard gatherings and quiet nights at home. Guests always comment on the cozy aroma that wafts up as the bowl comes out of the freezer, and I love watching them close their eyes on the first spoonful. It feels familiar, yet a little bit special, because it blends cookie inspired flavors into an ice cream that is surprisingly elegant. I hope you find it as rewarding to make and share as I do.
Recipe Snapshot
1 hr 5 mins
35 mins
30 mins
Medium
200 kcal
American
Gluten-Free, Low FODMAP
Desserts
Mixing bowl, Whisk, Ice cream maker, Freezer safe container
Why You Need This Snickerdoodle Ice Cream
Warm Cookie Flavor in a Cool Form
I adore how Snickerdoodle Ice Cream captures the essence of a freshly baked cookie without any baking required. The blend of granulated white sugar, packed brown sugar, and ground cinnamon gives that instantly recognizable snickerdoodle profile. When you scoop it, you get that comforting cinnamon aroma, yet the texture is luxuriously smooth, which makes it appealing for both kids and grown ups.
Simple Ingredients, Big Impact
One reason I keep coming back to this recipe is its simplicity. With just a handful of pantry staples and rich dairy, you create something that tastes layered and sophisticated. Heavy whipping cream and half and half cream are the true heroes here, delivering a creamy body that lets the spices sing without oily heaviness.
Very Little Fuss, Very Rewarding Results
From my kitchen to yours, the technique is forgiving. The steps are straightforward, so you can focus on chilling and machines rather than complicated emulsions. Even if you are new to churning ice cream, this recipe yields consistent results, provided you chill the base thoroughly and follow your ice cream maker’s timing.
Versatile and Crowd Friendly
I often serve Snickerdoodle Ice Cream alongside fruit compotes, warm pies, or simply as a solo scoop at the end of a meal. It travels well to picnics and summer parties, and because the flavors are familiar, it tends to be a crowd pleaser. I’ve also found it pairs beautifully with a drizzle of caramel or a few crushed cookies for texture contrast.
A Treat That Evokes Memory
There is something about the cinnamon and nutmeg in this ice cream that sparks memories. Each spoonful feels like a hug from a favorite dessert, making it perfect for holidays, cozy evenings, or anytime you want a little nostalgic comfort. I make it to share stories as much as to satisfy cravings.
Essential Ingredients for Snickerdoodle Ice Cream
These ingredients are intentionally minimal to spotlight the classic snickerdoodle spices while delivering a luxuriously creamy texture. The dairy creates a smooth, rich base that carries the warm spice blend, while the sugars not only sweeten but also affect freezing point and mouthfeel. Together, they form a harmonious balance between flavor and texture.
- 1/2 cup granulated white sugar: Provide sweetness and help balance flavors while contributing a fine, crystalline texture that dissolves easily into cold mixtures; aids in preventing iciness and enhances overall mouthfeel when churned into ice cream.
- 1/2 cup packed brown sugar: Add a deep, molasses-like sweetness and moistness that complements the white sugar; impart subtle caramel notes and round out the flavor profile while promoting a richer, creamier texture.
- 1/2 teaspoon ground cinnamon: Impart warm, aromatic spice and a signature snickerdoodle flavor; enhance the overall sweetness with cinnamon’s fragrant complexity and blend seamlessly into the custard base.
- 1/8 teaspoon ground nutmeg: Contribute a subtle, warm nutty nuance that layers with cinnamon to create depth; use sparingly to avoid overpowering and to support the traditional snickerdoodle spice profile.
- 2 cups heavy whipping cream: Provide a luxurious, rich fat component that creates the ice cream’s creamy body and smooth texture; stabilize air incorporation during churning and deliver a satisfying mouth-coating richness.
- 1 1/2 cups half and half cream: Supply the primary liquid dairy and lighter fat content that balances richness while improving scoopability; help control freezing point and maintain a smooth, soft-serve like consistency.
- 1 1/2 teaspoons vanilla extract: Introduce aromatic complexity and enhance the perception of sweetness while rounding out dairy flavors; bind and elevate other flavors without adding extra sweetness.
Snickerdoodle Ice Cream Instructions
This churned ice cream is simple to prepare but benefits from patience and attention to chilling. Below you will find the cleaned steps expanded into detailed, sensory rich guidance to help you achieve a silky, scoopable result.
- In a large bowl, combine the sugars with the spices. Add the remaining ingredients and mix until smooth. Cover and refrigerate the mixture until very cold (several hours, or overnight).: The moment you stir these dry ingredients together you will notice a warm, fragrant cloud of cinnamon and nutmeg that hints at the snickerdoodle heritage. Whisking them before adding liquid ensures even spice distribution so every bite is balanced. The reason this step matters is it prevents clumps of spice or pockets of intensely sweet spots in the finished ice cream. A typical mistake is adding spices directly to cold dairy which can lead to uneven flavor. If you find clumps, press them through a fine mesh sieve before proceeding. As you whisk, listen for the faint rustle of sugar grains, and inhale the cozy, sweet aroma that tells you you are on the right track.
- Pour the cold mixture into an ice cream maker and freeze according to the manufacturer's instructions (usually about 25 to 30 minutes.): As you pour in the heavy whipping cream , half and half cream , and vanilla extract , the mixture will transform from a dusty blend into a glossy, pale custard colored base. Use a whisk or spatula to fold until the surface is uniformly smooth, scraping the bowl so no dry pockets remain. This step matters because an even emulsion promotes a consistent freeze and a creamy mouthfeel. A common error is insufficient mixing which can leave grainy sugar pockets. If the base seems thin, that is okay, chilling will firm it. Notice the subtle sheen and how the aroma deepens as the liquid carries the spices.
- Scoop the frozen ice cream into a freezer-safe container. Freeze.: Chilling the base for several hours or overnight is crucial, you will feel the temperature drop and the mixture will thicken slightly. Cold liquid churns into smoother ice cream because the fat and water droplets are already stabilized and the churning process needs less time to freeze. If you rush this step, the churn may produce icy, coarse texture rather than a creamy one. To avoid contamination, cover the bowl tightly, and place it on a low shelf away from strong smelling foods which could transfer aroma. The silent hum of the fridge is part of the patience; resist the temptation to skip this chilling stage for best results.
- Pour the cold mixture into an ice cream maker and freeze according to the manufacturer's instructions: As you pour the chilled base into the machine, you will see it begin to thicken and cling to the paddle. The sound changes to a gentle churn and the mixture will slowly increase in viscosity, developing that soft serve like ribbon. Following the manufacturer timing ensures the texture sets properly without overworking the mix. Over-churning can incorporate too much air, leading to a fluffy rather than dense scoop, while under-churning leaves it too soft. A useful cue is when the mixture holds peaks or the paddle resistance increases, that indicates near completion. Expect about 25 to 30 minutes depending on your machine, and keep a watchful ear and eye for the change in consistency.
- Scoop the frozen ice cream into a freezer-safe container: Transfer the churned ice cream into a container that seals well to prevent freezer burn. As you spoon it in, you will notice the ice cream becoming firmer as it acclimates to the freezer temperature; press a piece of parchment or plastic wrap directly on the surface to minimize ice crystals. This step matters because the way you store it affects texture and longevity. A common issue is leaving air space on top which accelerates freezer drying. Label the container with the date, and position it where it will not be jostled to preserve smoothness. When scooping later, let it sit at room temperature for a few minutes so the ice cream softens for perfect scoops.
Expert Tips about Snickerdoodle Ice Cream
A few thoughtful tips will help you get the best texture and flavor from your Snickerdoodle Ice Cream. Read through these before starting, and keep the ideas in mind as you churn and freeze.
- Chill the base thoroughly, chilling for several hours or overnight allows the flavors to meld and the mixture to reach the right temperature for efficient churning, which produces a smoother, creamier texture.
- Measure sugars accurately, levelling your cups prevents overly sweet or grainy results and ensures the balance between sweetness and spice remains just right for that snickerdoodle character.
- Use fresh ground spices, freshly ground cinnamon and nutmeg will give a brighter, more aromatic profile than older pre ground spices, enhancing the overall nose and taste.
- Follow your ice cream maker’s timing, each machine performs differently, so using the suggested churn times avoids under or over churning which impacts texture and density.
- Press wrap on the surface before freezing, covering the ice cream directly minimizes ice crystals and preserves the silky texture achieved during churning, especially during longer storage.
How to Serve Snickerdoodle Ice Cream
Serving Snickerdoodle Ice Cream can be as simple or as creative as you like. It works beautifully on its own and also pairs well with a range of desserts for seasonal or celebratory occasions.
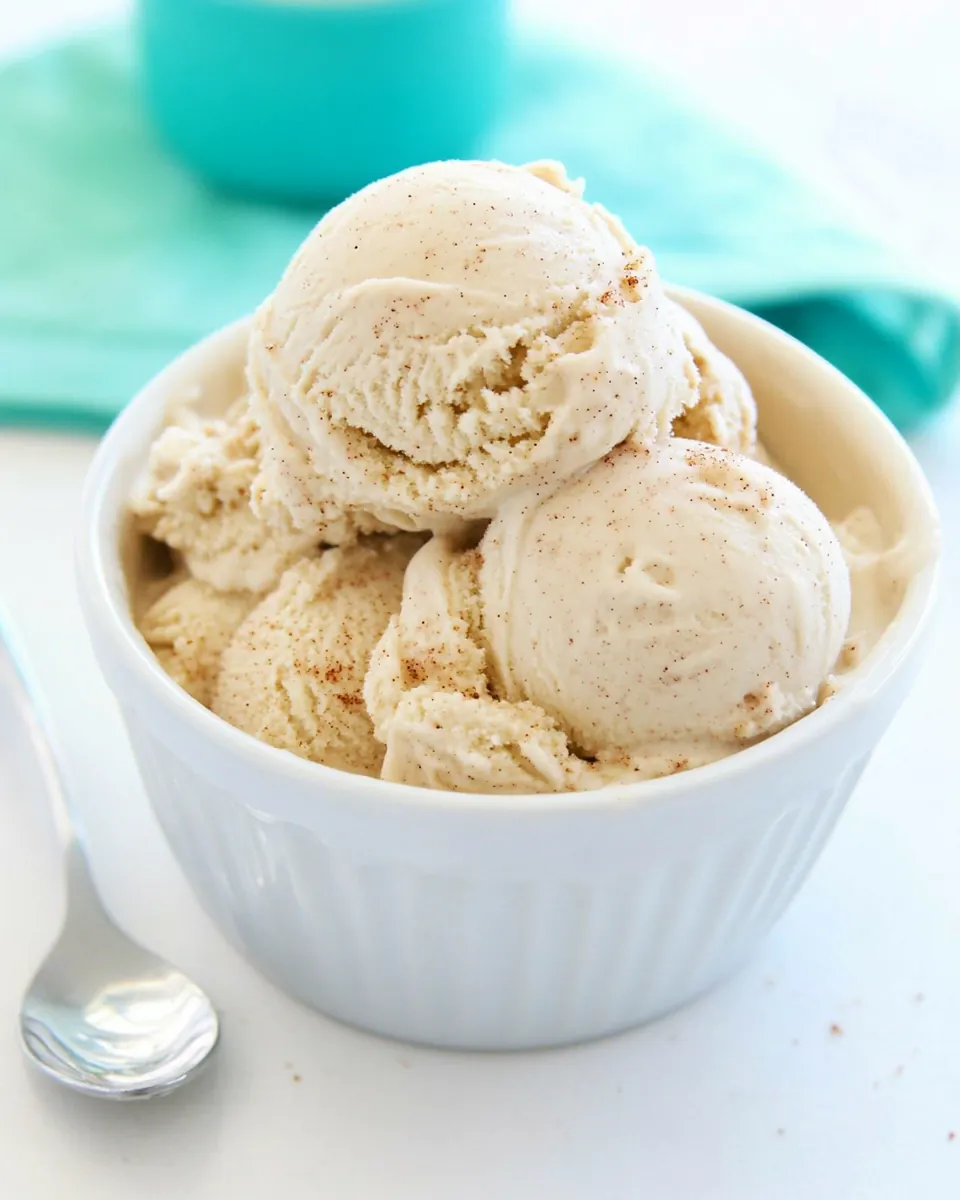
- Classic scoops, serve in chilled bowls for a clean presentation, letting the cinnamon aroma shine; small ramekins keep portions tidy for parties.
- Alongside warm desserts, offer a scoop with warm pies or fruit crisps so the contrast of hot and cold creates a pleasant textural interplay and enhances spice notes.
- Simple garnishes, sprinkle a pinch of extra ground cinnamon or a few crushed cookies on top for a rustic finish that echoes the snickerdoodle inspiration.
- Party scoops, set up a small sundae station with toppings like caramel sauce and chopped toasted nuts so guests can customize while the base remains the star.
- Storage guidance, store in an airtight freezer safe container and consume within two weeks for best flavor, letting it rest at room temperature a few minutes before scooping to soften slightly.
- Occasion ideas, this ice cream is perfect for summer gatherings, casual dinners, or anytime you want a nostalgic dessert that feels both familiar and refined.
FAQ
Conclusion
Snickerdoodle Ice Cream stands out because it transforms familiar cookie flavors into a luxuriously creamy frozen treat. Give it a try and you will discover how simple spices and quality dairy can produce a nostalgic dessert that feels special yet approachable. I hope this recipe becomes one of your go to sweets, bringing warmth and comfort to warm weather gatherings and quiet evenings alike.
Snickerdoodle Ice Cream
Equipment
- Mixing Bowl
- Whisk
- Ice Cream Maker
- Freezer safe container
Ingredients
- 1/2 cup granulated white sugar Provide sweetness and help balance flavors while contributing a fine, crystalline texture that dissolves easily into cold mixtures; aids in preventing iciness and enhances overall mouthfeel when churned into ice cream.
- 1/2 cup packed brown sugar Add a deep, molasses-like sweetness and moistness that complements the white sugar; impart subtle caramel notes and round out the flavor profile while promoting a richer, creamier texture.
- 1/2 teaspoon ground cinnamon Impart warm, aromatic spice and a signature snickerdoodle flavor; enhance the overall sweetness with cinnamon’s fragrant complexity and blend seamlessly into the custard base.
- 1/8 teaspoon ground nutmeg Contribute a subtle, warm nutty nuance that layers with cinnamon to create depth; use sparingly to avoid overpowering and to support the traditional snickerdoodle spice profile.
- 2 cups heavy whipping cream Provide a luxurious, rich fat component that creates the ice cream’s creamy body and smooth texture; stabilize air incorporation during churning and deliver a satisfying mouth-coating richness.
- 1 1/2 cups half and half cream Supply the primary liquid dairy and lighter fat content that balances richness while improving scoopability; help control freezing point and maintain a smooth, soft-serve like consistency.
- 1 1/2 teaspoons vanilla extract Introduce aromatic complexity and enhance the perception of sweetness while rounding out dairy flavors; bind and elevate other flavors without adding extra sweetness.
Instructions
- In a large bowl, combine the sugars with the spices. Add the remaining ingredients and mix until smooth. Cover and refrigerate the mixture until very cold (several hours, or overnight).: The moment you stir these dry ingredients together you will notice a warm, fragrant cloud of cinnamon and nutmeg that hints at the snickerdoodle heritage. Whisking them before adding liquid ensures even spice distribution so every bite is balanced. The reason this step matters is it prevents clumps of spice or pockets of intensely sweet spots in the finished ice cream. A typical mistake is adding spices directly to cold dairy which can lead to uneven flavor. If you find clumps, press them through a fine mesh sieve before proceeding. As you whisk, listen for the faint rustle of sugar grains, and inhale the cozy, sweet aroma that tells you you are on the right track.
- Pour the cold mixture into an ice cream maker and freeze according to the manufacturer's instructions (usually about 25 to 30 minutes.): As you pour in the heavy whipping cream , half and half cream , and vanilla extract , the mixture will transform from a dusty blend into a glossy, pale custard colored base. Use a whisk or spatula to fold until the surface is uniformly smooth, scraping the bowl so no dry pockets remain. This step matters because an even emulsion promotes a consistent freeze and a creamy mouthfeel. A common error is insufficient mixing which can leave grainy sugar pockets. If the base seems thin, that is okay, chilling will firm it. Notice the subtle sheen and how the aroma deepens as the liquid carries the spices.
- Scoop the frozen ice cream into a freezer-safe container. Freeze.: Chilling the base for several hours or overnight is crucial, you will feel the temperature drop and the mixture will thicken slightly. Cold liquid churns into smoother ice cream because the fat and water droplets are already stabilized and the churning process needs less time to freeze. If you rush this step, the churn may produce icy, coarse texture rather than a creamy one. To avoid contamination, cover the bowl tightly, and place it on a low shelf away from strong smelling foods which could transfer aroma. The silent hum of the fridge is part of the patience; resist the temptation to skip this chilling stage for best results.
- Pour the cold mixture into an ice cream maker and freeze according to the manufacturer's instructions: As you pour the chilled base into the machine, you will see it begin to thicken and cling to the paddle. The sound changes to a gentle churn and the mixture will slowly increase in viscosity, developing that soft serve like ribbon. Following the manufacturer timing ensures the texture sets properly without overworking the mix. Over-churning can incorporate too much air, leading to a fluffy rather than dense scoop, while under-churning leaves it too soft. A useful cue is when the mixture holds peaks or the paddle resistance increases, that indicates near completion. Expect about 25 to 30 minutes depending on your machine, and keep a watchful ear and eye for the change in consistency.
- Scoop the frozen ice cream into a freezer-safe container: Transfer the churned ice cream into a container that seals well to prevent freezer burn. As you spoon it in, you will notice the ice cream becoming firmer as it acclimates to the freezer temperature; press a piece of parchment or plastic wrap directly on the surface to minimize ice crystals. This step matters because the way you store it affects texture and longevity. A common issue is leaving air space on top which accelerates freezer drying. Label the container with the date, and position it where it will not be jostled to preserve smoothness. When scooping later, let it sit at room temperature for a few minutes so the ice cream softens for perfect scoops.
Notes
- Chill the base thoroughly, chilling for several hours or overnight allows the flavors to meld and the mixture to reach the right temperature for efficient churning, which produces a smoother, creamier texture.
- Measure sugars accurately, levelling your cups prevents overly sweet or grainy results and ensures the balance between sweetness and spice remains just right for that snickerdoodle character.
- Use fresh ground spices, freshly ground cinnamon and nutmeg will give a brighter, more aromatic profile than older pre ground spices, enhancing the overall nose and taste.
- Follow your ice cream maker's timing, each machine performs differently, so using the suggested churn times avoids under or over churning which impacts texture and density.
- Press wrap on the surface before freezing, covering the ice cream directly minimizes ice crystals and preserves the silky texture achieved during churning, especially during longer storage.