Red Velvet Cupcakes
Red Velvet Cupcakes have been my go to for celebrations ever since I baked my first batch years ago, when a flurry of mismatched birthday candles and a very impatient toddler tested my patience and baking instincts. I still remember the way the kitchen smelled warm and sweet, how the bright red batter stood out against the white mixer, and how the whole house seemed to hold its breath until the cupcakes cooled enough to be frosted. That first imperfect batch taught me patience, and I learned that small rituals, like tapping the pan to release bubbles and letting batter rest for just a moment, make a big difference in the final crumb.
Over time I refined the recipe into the version I use now, one that balances tender crumb and tangy richness without fuss. When I bring a tray of Red Velvet Cupcakes to a gathering people always ask for the recipe, and I love telling the story behind it, because each batch carries a memory. There are little tricks I always use, and the psychology of baking these treats is part chemistry, part rhythm. You will find that familiar comfort in the first bite, a soft cake that yields to a creamy, cool icing.
Recipe Snapshot
35 mins
15 mins
20 mins
Medium
200 kcal
American
Gluten-Free, Low FODMAP
Desserts
Kitchen Scale, Cupcake Tin, Stand Mixer
Why This Red Velvet Cupcakes Is a Winner
Perfectly Balanced Texture
I adore how Red Velvet Cupcakes deliver a tender, fine crumb that is never heavy. The combination of all purpose flour, vegetable oil, and buttermilk creates structure while keeping the cake moist, so you get a fluffy result without feeling weighed down. I notice the crumb stays soft even a day later when stored properly.
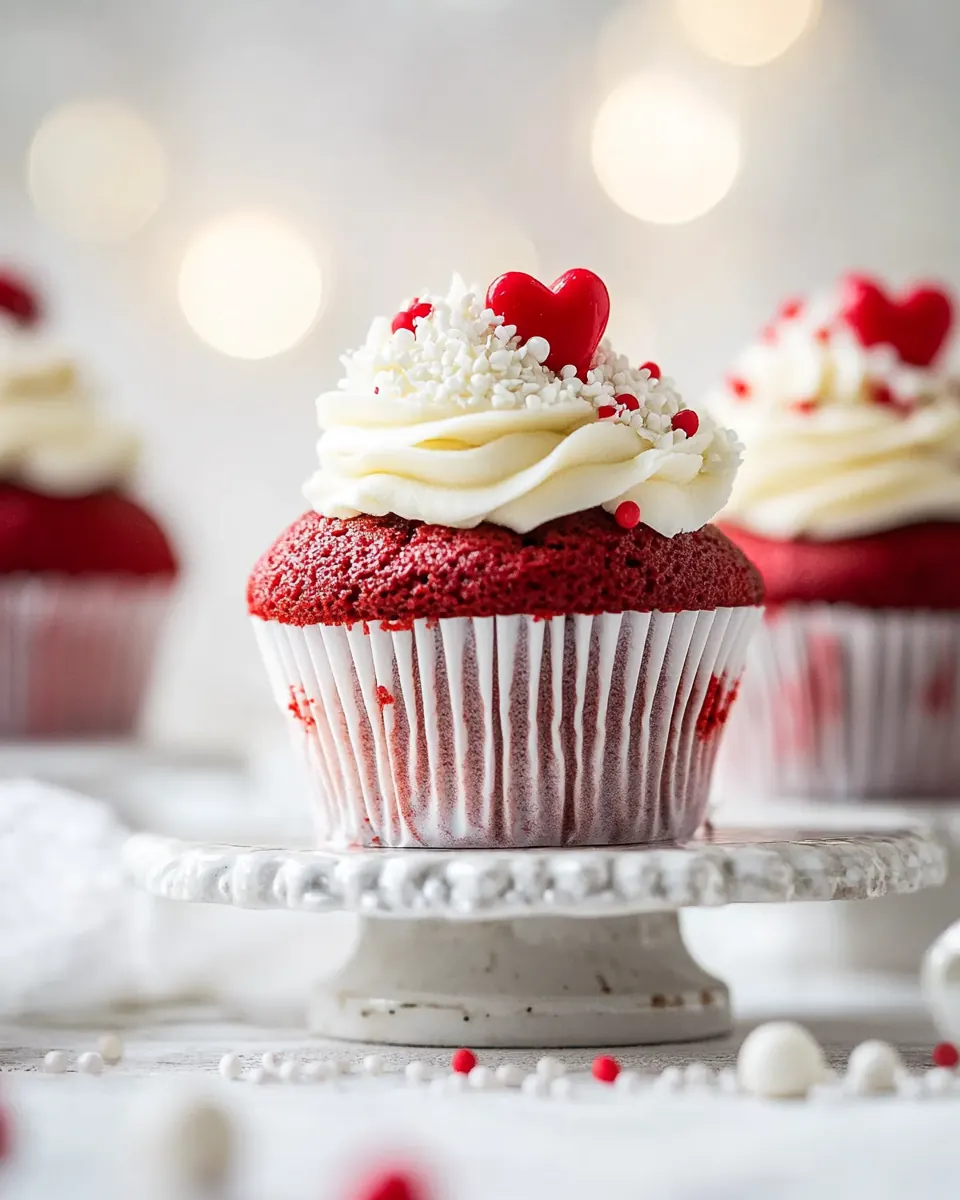
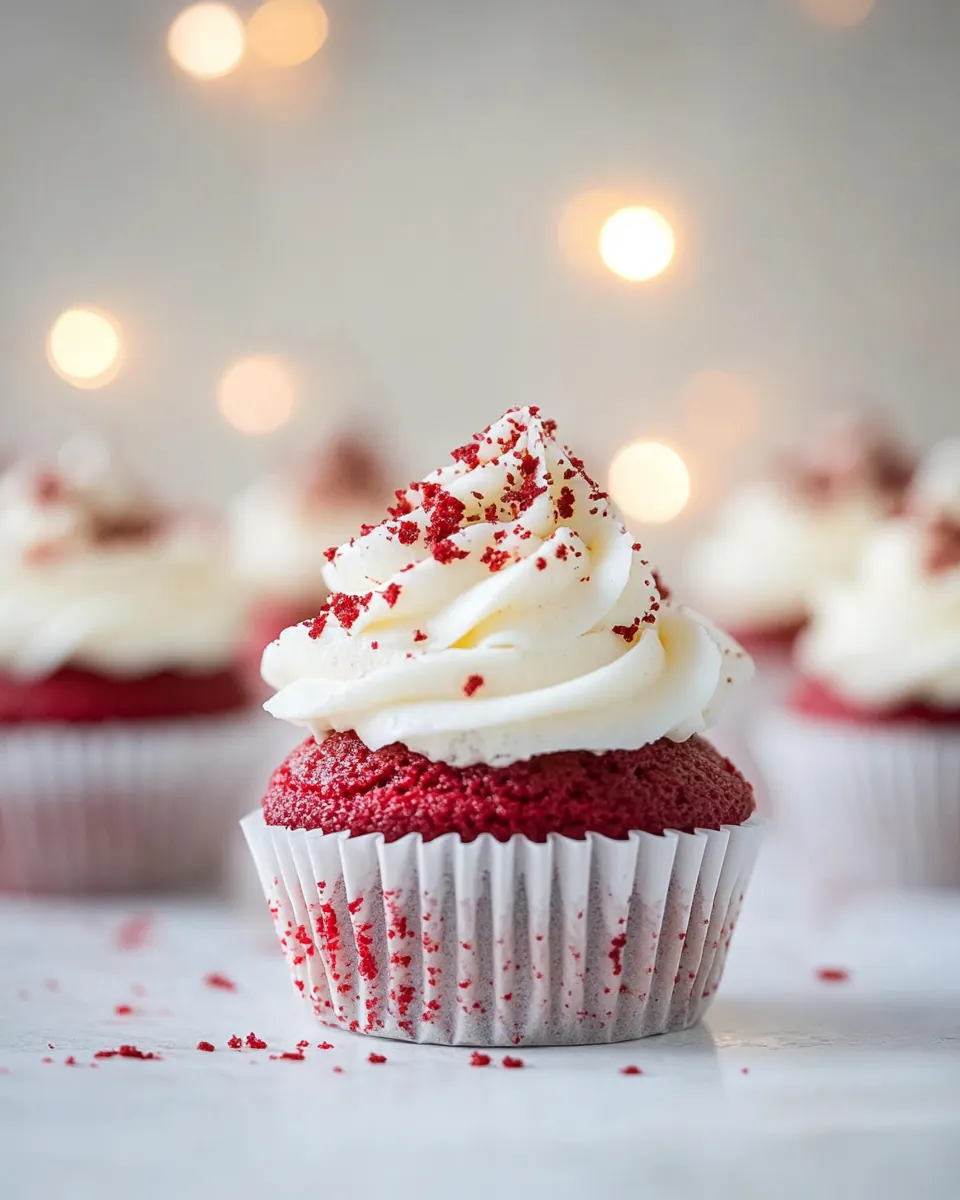
Bright Visual Appeal
These cupcakes are a showstopper. The vivid red from the red food coloring pops against a smooth white icing. I love serving them at parties because they draw people’s eyes first, then their curiosity, and finally their compliments.
Simple, Reliable Technique
I appreciate recipes that are forgiving and repeatable, and this one is exactly that. A few straightforward steps, like whisking the eggs and combining wet and dry ingredients at the right moment, produce consistent results. That reliability means less stress when you are baking for guests.
Versatile for Occasions
Whether it is a Valentine celebration or a casual get together, Red Velvet Cupcakes fit right in. The flavor profile is lightly cocoa forward, complemented by the tang of buttermilk and a hint of white vinegar. I often bring them to holidays because they feel festive without being fussy.
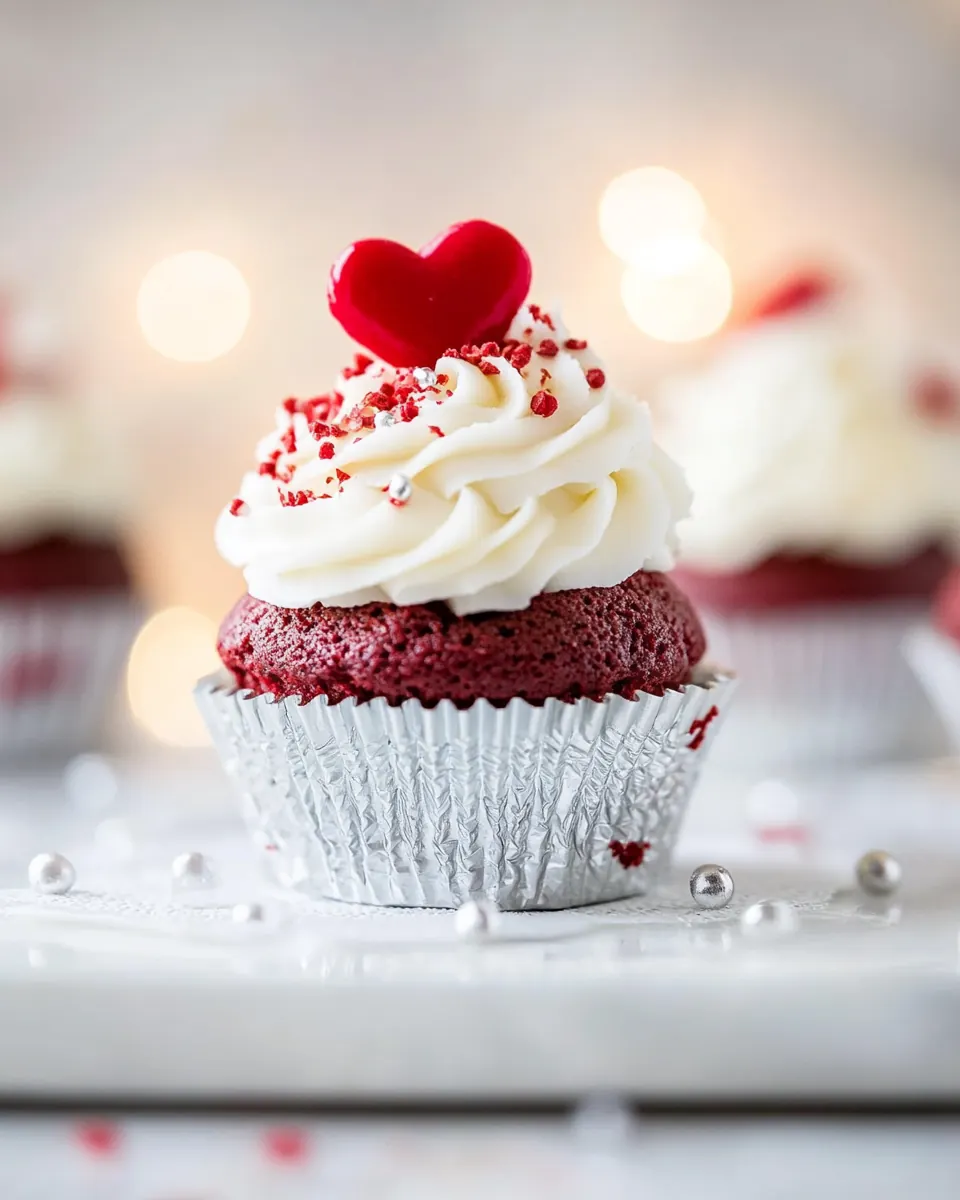
Icing That Elevates
The right icing transforms these cupcakes from good to unforgettable. I keep my preferred frosting chilled before assembling so it stays stable and glossy on top. When I spoon it on, the contrast of cool, creamy icing with the warm cake underneath is delightful and keeps people coming back for seconds.
Ingredients You’ll Need for Red Velvet Cupcakes

These ingredients form a harmonious ensemble that produces a velvety, tender cupcake. The interplay between wet and dry elements creates a cake that is moist, tender, and flavorful. Key players like all purpose flour, vegetable oil, and buttermilk control crumb and moisture. The small addition of unsweetened cocoa powder gives subtle depth while red food coloring provides the iconic hue. Each item has a role, from structure to lift to flavor balance.
- 21/2 cups all-purpose flour 300 grams: Provide the primary structure and bulk to the cupcakes, supplying gluten for lightness when properly mixed and sifted; measure accurately to maintain texture and crumb. Combine with leaveners and liquids to create the batter base that defines rise and mouthfeel.
- 2 cups granulated sugar 400 grams: Sweeten the batter and help with moisture retention, contributing to tenderness and caramelization during baking; dissolve granulated sugar thoroughly for even sweetness. Adjust quantity only as listed to preserve balance with wet ingredients and leavening.
- 1 tablespoon unsweetened cocoa powder 5 grams: Add subtle chocolate flavor and deepen the red hue by providing a touch of cocoa bitterness; sift cocoa with dry ingredients to prevent lumps. Use unsweetened cocoa in small amount to complement the classic red velvet profile without overpowering sweetness.
- 1 teaspoon kosher salt 3 grams: Enhance overall flavor balance while aiding leavening control by moderating taste and strengthening gluten interaction; measure precisely to avoid over-salinity. Use kosher salt to bring out other flavors and counterbalance sugar.
- 1 teaspoon baking soda 6 grams: Provide chemical leavening to help the cupcakes rise and create a tender crumb when reacting with acidic components like buttermilk and vinegar. Distribute baking soda evenly in the dry mix to ensure consistent lift and avoid metallic aftertaste.
- 2 large eggs 100 grams: Contribute richness, structure, and emulsification while adding moisture and stability to the batter; beat eggs slightly before incorporating for uniform texture. Use large eggs to help bind ingredients and support leavening for a fine crumb.
- 11/2 cups vegetable oil 300 grams: Supply fat for moistness and tenderness, coat flour proteins to limit gluten formation, and create a soft mouthfeel; measure carefully as oil influences crumb density. Use neutral vegetable oil to let other flavors shine and maintain consistent moisture.
- 1 cup buttermilk 227 grams: Provide acidity, moisture, and tang that reacts with baking soda for leavening while contributing to the cake’s tender texture; keep at room temperature to blend smoothly. Buttermilk helps create characteristic flavor and lightness in red velvet.
- 1 tablespoon white vinegar 14 grams: Increase acidity to react with baking soda for additional lift and a tender crumb while subtly brightening flavor; add vinegar directly to wet ingredients for best reaction. Use white vinegar to avoid imparting off-flavors while activating leavening.
- 1 teaspoon pure vanilla extract 4 grams: Enhance overall aroma and provide a sweet, floral vanillin note that rounds out flavors; add vanilla to the liquid mixture for even distribution. Use pure vanilla extract for best flavor depth compared with artificial alternatives.
- 2 ounces red food coloring 57 grams: Impart the signature red hue and visual appeal to the cupcakes, dispersing color evenly throughout the batter when mixed thoroughly; follow recipe amount to avoid overpowering flavor. Use food coloring designed for baking to retain color after baking and frosting.
- The Best Icing Ever (click for recipe): Serve as the topping component providing creaminess, sweetness, and visual finish to the cupcakes; prepare according to the linked recipe for best results. Use the specified icing to complement the cake’s flavor and deliver a stable, spreadable frosting.
Cooking Method for Red Velvet Cupcakes
Cooking these cupcakes is a rhythmic process that rewards attention to detail and small pauses. The method is straightforward, but the texture and appearance depend on timing and sensory cues. Follow each step with care, and you will be rewarded with consistently tender cupcakes and a vibrant color.
- NOTE: The flour/milk mixture for the icing needs time to cool completely in the fridge, so start the icing at least 1 hour before starting the cake.: The flour/milk mixture for the icing needs time to cool completely in the fridge, so start the icing at least 1 hour before starting the cake : The kitchen may smell faintly of dairy when you prepare the icing, and the patience invested here ensures a stable, silky frosting later. Cooling allows the icing components to set and thicken, which prevents melting when it meets the warm cupcakes. I often begin the icing early and let it chill with a timer to avoid rushing. A common mistake is to skip this chill time, which leads to runny frosting that slides off the cupcakes.
- Preheat oven to 350°F. Line a 12-count cupcake tin with paper liners.: As the oven warms you will notice a faint dry heat that readies the environment for even baking. Proper preheating ensures the cupcakes start baking immediately, producing a reliable rise and uniform texture. Lining the tin helps with release and cleanup. One error to avoid is putting unbaked trays into an oven that is still cold, which can cause dense, underbaked centers.
- In a medium bowl, whisk the eggs together until homogenous.: The motion creates a smooth, even color and slightly aerates the eggs, which helps with emulsification when combined with oil. You can hear a soft swish as they come together and see a glossy surface forming. If the eggs are lumpy or cold, they will incorporate unevenly, so bring them to room temperature first to avoid separation when combined with oil.
- Add the remaining liquid ingredients and whisk until well incorporated. Set aside.: Once you add vegetable oil , buttermilk , white vinegar , and pure vanilla extract , the mixture should become smooth and slightly viscous. The combined liquids should show a uniform color and gloss, signaling readiness. Set aside so the liquids and dry components will integrate without overmixing. A common slip is to skip the brief rest, which can make final mixing uneven and leave streaks of dry flour.
- In the bowl of a stand mixer fitted with the paddle attachment, stir all dry ingredients together until completely combined.: As you sift and stir the all purpose flour , granulated sugar , unsweetened cocoa powder , kosher salt , and baking soda , look for a uniform pale mixture free of lumps. The sound is a light, gentle rustle as the dry powders mingle. Thoroughly combining prevents pockets of leavening or salt, which would create uneven texture or flavor. Avoid overbeating at this stage since that can develop gluten and stiffen the final crumb.
- Add the wet ingredients to the dry ingredients.: When the wet stream meets the dry, you should see the batter begin to come together into a thick, cohesive mass. The color will deepen and become uniform, and any streaks should disappear after mixing. This moment matters because even incorporation ensures even rise and crumb. A frequent error is dumping everything in too quickly and overworking the batter, which can yield a dense texture.
- Mix on medium-high speed until completely incorporated, about 1 minute.: At medium-high you will hear a steady, rhythmic hum from the mixer and watch the batter smooth out and cling to the paddle slightly. The goal is a homogenous batter with no lumps, but not to overmix, which can make the cupcakes tough. Stop once there are no visible streaks of flour and the batter is glossy. Over mixing beyond this point is the most common cause of tight crumb.
- Fill the wells of the cupcake tins 2/3 full with batter.: As you spoon or portion the batter, the texture should be thick yet pourable, holding its shape briefly before settling. Filling to two thirds gives room for a domed top without overflowing. I often use a scoop to keep portions even, which helps cupcakes bake uniformly. Filling too full will cause spillover and uneven baking.
- Gently tap the pans on the counter a few times to release any air bubbles from the batter.: The soft thud you hear settles the batter and encourages trapped air pockets to rise and pop, preventing large holes in the finished cupcakes. After tapping, the surface should look smooth and even. Avoid vigorous knocks that may splash batter out of liners. Missing this step can leave uneven crumb with air pockets.
- Bake 15-20 minutes, or until a toothpick inserted in the middle of a middle cupcake comes out clean.: In the oven you will notice a warm, sweet aroma developing and the tops turning set and slightly springy. Check at the lower end of the time range first, because ovens vary. The clean toothpick means the interior is set but still tender. Overbaking will dry the cupcakes, so watch closely and remove as soon as they pass the test.
- Let the cupcakes rest 10 minutes, then remove from pans and cool completely on a cooling rack.: Resting allows the crumb to finish setting and makes removal easier, while cooling on a rack prevents moisture buildup from soggy bottoms. The cupcakes will release a faint sweet steam as they cool. If you try to frost while warm, the icing will melt, so be patient and wait until they are thoroughly cool.
- Find our favorite icing recipe HERE. Enjoy!: A chilled, stable icing will contrast with the cupcake's tender crumb, and when you pipe or spread it the texture should be smooth and satiny. The finishing touch brings temperature contrast and creaminess, completing the experience. Rushing to ice warm cupcakes is the most frequent mistake, leading to runny or sliding frosting.
Change It Up
There are a few small variations and practical tricks that can make your cupcake baking even more satisfying. These ideas keep the base recipe intact while offering flexibility for texture, presentation, and preparation style.
- Use gel food coloring to achieve a vivid red with less liquid, preserving batter consistency while creating an intense hue.
- Substitute homemade buttermilk by adding a tablespoon of white vinegar to a cup of milk and letting it sit for a few minutes if store bought buttermilk is unavailable.
- Weigh ingredients for the most reliable cupcakes across different kitchens, as cups can vary by how they are packed.
- Chill the batter briefly if your kitchen is very warm, which can help control rise and prevent excessive doming.
- Use an ice cream scoop to portion batter equally and minimize wasted batter on spoons or bowls.
- Rotate pans halfway through baking if your oven has hot spots, ensuring even color and rise across all cupcakes.
- Let cupcakes cool completely before icing to avoid melted frosting and a glossy but runny finish on top of the cake.
How to Enjoy Red Velvet Cupcakes
These cupcakes are versatile and festive, suitable for small gatherings or larger celebrations. They pair well with a variety of accompaniments and store well when properly wrapped. Below are ideas for serving and occasions to make the most of them.
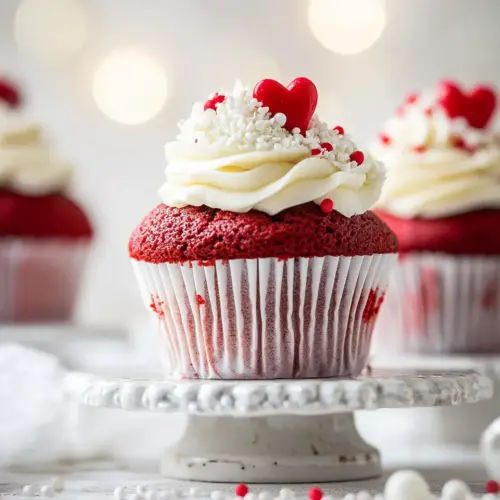
- Serve at parties by arranging cupcakes on a tiered stand to highlight their color and make them easy for guests to grab.
- Pair with warm beverages like coffee or tea to balance the sweet creaminess of the icing with a slightly bitter or herbal drink.
- Bring to holiday gatherings such as Valentine’s Day, where the bright color feels particularly festive and thematic.
- Storage tips include keeping cupcakes in an airtight container in the refrigerator for up to three days to maintain the icing and crumb quality.
- Make ahead by baking the cupcakes a day early and chilling the icing separately, then assemble when ready to serve for the freshest presentation.
- Occasion flexibility allows these cupcakes to work for birthdays, office treats, or casual weekend baking sessions, since they are easy to transport and enjoy.
FAQ
Conclusion
These Red Velvet Cupcakes stand out for their tender crumb, vivid color, and balanced flavor. They are approachable to make, rewarding to share, and strike a pleasing contrast between the soft cake and cool icing. Give them a try at your next celebration and see how a few small techniques can elevate a simple cupcake into something memorable. Baking them is a warm, satisfying project that yields reliably impressive results and plenty of compliments.
Red Velvet Cupcakes
Equipment
- Kitchen Scale
- Cupcake Tin
- Stand mixer
Ingredients
- 21/2 cups all-purpose flour 300 grams Provide the primary structure and bulk to the cupcakes, supplying gluten for lightness when properly mixed and sifted; measure accurately to maintain texture and crumb. Combine with leaveners and liquids to create the batter base that defines rise and mouthfeel.
- 2 cups granulated sugar 400 grams Sweeten the batter and help with moisture retention, contributing to tenderness and caramelization during baking; dissolve granulated sugar thoroughly for even sweetness. Adjust quantity only as listed to preserve balance with wet ingredients and leavening.
- 1 tablespoon unsweetened cocoa powder 5 grams Add subtle chocolate flavor and deepen the red hue by providing a touch of cocoa bitterness; sift cocoa with dry ingredients to prevent lumps. Use unsweetened cocoa in small amount to complement the classic red velvet profile without overpowering sweetness.
- 1 teaspoon kosher salt 3 grams Enhance overall flavor balance while aiding leavening control by moderating taste and strengthening gluten interaction; measure precisely to avoid over-salinity. Use kosher salt to bring out other flavors and counterbalance sugar.
- 1 teaspoon baking soda 6 grams Provide chemical leavening to help the cupcakes rise and create a tender crumb when reacting with acidic components like buttermilk and vinegar. Distribute baking soda evenly in the dry mix to ensure consistent lift and avoid metallic aftertaste.
- 2 large eggs 100 grams Contribute richness, structure, and emulsification while adding moisture and stability to the batter; beat eggs slightly before incorporating for uniform texture. Use large eggs to help bind ingredients and support leavening for a fine crumb.
- 11/2 cups vegetable oil 300 grams Supply fat for moistness and tenderness, coat flour proteins to limit gluten formation, and create a soft mouthfeel; measure carefully as oil influences crumb density. Use neutral vegetable oil to let other flavors shine and maintain consistent moisture.
- 1 cup buttermilk 227 grams Provide acidity, moisture, and tang that reacts with baking soda for leavening while contributing to the cake’s tender texture; keep at room temperature to blend smoothly. Buttermilk helps create characteristic flavor and lightness in red velvet.
- 1 tablespoon white vinegar 14 grams Increase acidity to react with baking soda for additional lift and a tender crumb while subtly brightening flavor; add vinegar directly to wet ingredients for best reaction. Use white vinegar to avoid imparting off-flavors while activating leavening.
- 1 teaspoon pure vanilla extract 4 grams Enhance overall aroma and provide a sweet, floral vanillin note that rounds out flavors; add vanilla to the liquid mixture for even distribution. Use pure vanilla extract for best flavor depth compared with artificial alternatives.
- 2 ounces red food coloring 57 grams Impart the signature red hue and visual appeal to the cupcakes, dispersing color evenly throughout the batter when mixed thoroughly; follow recipe amount to avoid overpowering flavor. Use food coloring designed for baking to retain color after baking and frosting.
- The Best Icing Ever (click for recipe) Serve as the topping component providing creaminess, sweetness, and visual finish to the cupcakes; prepare according to the linked recipe for best results. Use the specified icing to complement the cake’s flavor and deliver a stable, spreadable frosting.
Instructions
- NOTE: The flour/milk mixture for the icing needs time to cool completely in the fridge, so start the icing at least 1 hour before starting the cake.: The flour/milk mixture for the icing needs time to cool completely in the fridge, so start the icing at least 1 hour before starting the cake : The kitchen may smell faintly of dairy when you prepare the icing, and the patience invested here ensures a stable, silky frosting later. Cooling allows the icing components to set and thicken, which prevents melting when it meets the warm cupcakes. I often begin the icing early and let it chill with a timer to avoid rushing. A common mistake is to skip this chill time, which leads to runny frosting that slides off the cupcakes.
- Preheat oven to 350°F. Line a 12-count cupcake tin with paper liners.: As the oven warms you will notice a faint dry heat that readies the environment for even baking. Proper preheating ensures the cupcakes start baking immediately, producing a reliable rise and uniform texture. Lining the tin helps with release and cleanup. One error to avoid is putting unbaked trays into an oven that is still cold, which can cause dense, underbaked centers.
- In a medium bowl, whisk the eggs together until homogenous.: The motion creates a smooth, even color and slightly aerates the eggs, which helps with emulsification when combined with oil. You can hear a soft swish as they come together and see a glossy surface forming. If the eggs are lumpy or cold, they will incorporate unevenly, so bring them to room temperature first to avoid separation when combined with oil.
- Add the remaining liquid ingredients and whisk until well incorporated. Set aside.: Once you add vegetable oil , buttermilk , white vinegar , and pure vanilla extract , the mixture should become smooth and slightly viscous. The combined liquids should show a uniform color and gloss, signaling readiness. Set aside so the liquids and dry components will integrate without overmixing. A common slip is to skip the brief rest, which can make final mixing uneven and leave streaks of dry flour.
- In the bowl of a stand mixer fitted with the paddle attachment, stir all dry ingredients together until completely combined.: As you sift and stir the all purpose flour , granulated sugar , unsweetened cocoa powder , kosher salt , and baking soda , look for a uniform pale mixture free of lumps. The sound is a light, gentle rustle as the dry powders mingle. Thoroughly combining prevents pockets of leavening or salt, which would create uneven texture or flavor. Avoid overbeating at this stage since that can develop gluten and stiffen the final crumb.
- Add the wet ingredients to the dry ingredients.: When the wet stream meets the dry, you should see the batter begin to come together into a thick, cohesive mass. The color will deepen and become uniform, and any streaks should disappear after mixing. This moment matters because even incorporation ensures even rise and crumb. A frequent error is dumping everything in too quickly and overworking the batter, which can yield a dense texture.
- Mix on medium-high speed until completely incorporated, about 1 minute.: At medium-high you will hear a steady, rhythmic hum from the mixer and watch the batter smooth out and cling to the paddle slightly. The goal is a homogenous batter with no lumps, but not to overmix, which can make the cupcakes tough. Stop once there are no visible streaks of flour and the batter is glossy. Over mixing beyond this point is the most common cause of tight crumb.
- Fill the wells of the cupcake tins 2/3 full with batter.: As you spoon or portion the batter, the texture should be thick yet pourable, holding its shape briefly before settling. Filling to two thirds gives room for a domed top without overflowing. I often use a scoop to keep portions even, which helps cupcakes bake uniformly. Filling too full will cause spillover and uneven baking.
- Gently tap the pans on the counter a few times to release any air bubbles from the batter.: The soft thud you hear settles the batter and encourages trapped air pockets to rise and pop, preventing large holes in the finished cupcakes. After tapping, the surface should look smooth and even. Avoid vigorous knocks that may splash batter out of liners. Missing this step can leave uneven crumb with air pockets.
- Bake 15-20 minutes, or until a toothpick inserted in the middle of a middle cupcake comes out clean.: In the oven you will notice a warm, sweet aroma developing and the tops turning set and slightly springy. Check at the lower end of the time range first, because ovens vary. The clean toothpick means the interior is set but still tender. Overbaking will dry the cupcakes, so watch closely and remove as soon as they pass the test.
- Let the cupcakes rest 10 minutes, then remove from pans and cool completely on a cooling rack.: Resting allows the crumb to finish setting and makes removal easier, while cooling on a rack prevents moisture buildup from soggy bottoms. The cupcakes will release a faint sweet steam as they cool. If you try to frost while warm, the icing will melt, so be patient and wait until they are thoroughly cool.
- Find our favorite icing recipe HERE. Enjoy!: A chilled, stable icing will contrast with the cupcake's tender crumb, and when you pipe or spread it the texture should be smooth and satiny. The finishing touch brings temperature contrast and creaminess, completing the experience. Rushing to ice warm cupcakes is the most frequent mistake, leading to runny or sliding frosting.
Notes
- Use gel food coloring to achieve a vivid red with less liquid, preserving batter consistency while creating an intense hue.
- Substitute homemade buttermilk by adding a tablespoon of white vinegar to a cup of milk and letting it sit for a few minutes if store bought buttermilk is unavailable.
- Weigh ingredients for the most reliable cupcakes across different kitchens, as cups can vary by how they are packed.
- Chill the batter briefly if your kitchen is very warm, which can help control rise and prevent excessive doming.
- Use an ice cream scoop to portion batter equally and minimize wasted batter on spoons or bowls.
- Rotate pans halfway through baking if your oven has hot spots, ensuring even color and rise across all cupcakes.
- Let cupcakes cool completely before icing to avoid melted frosting and a glossy but runny finish on top of the cake.