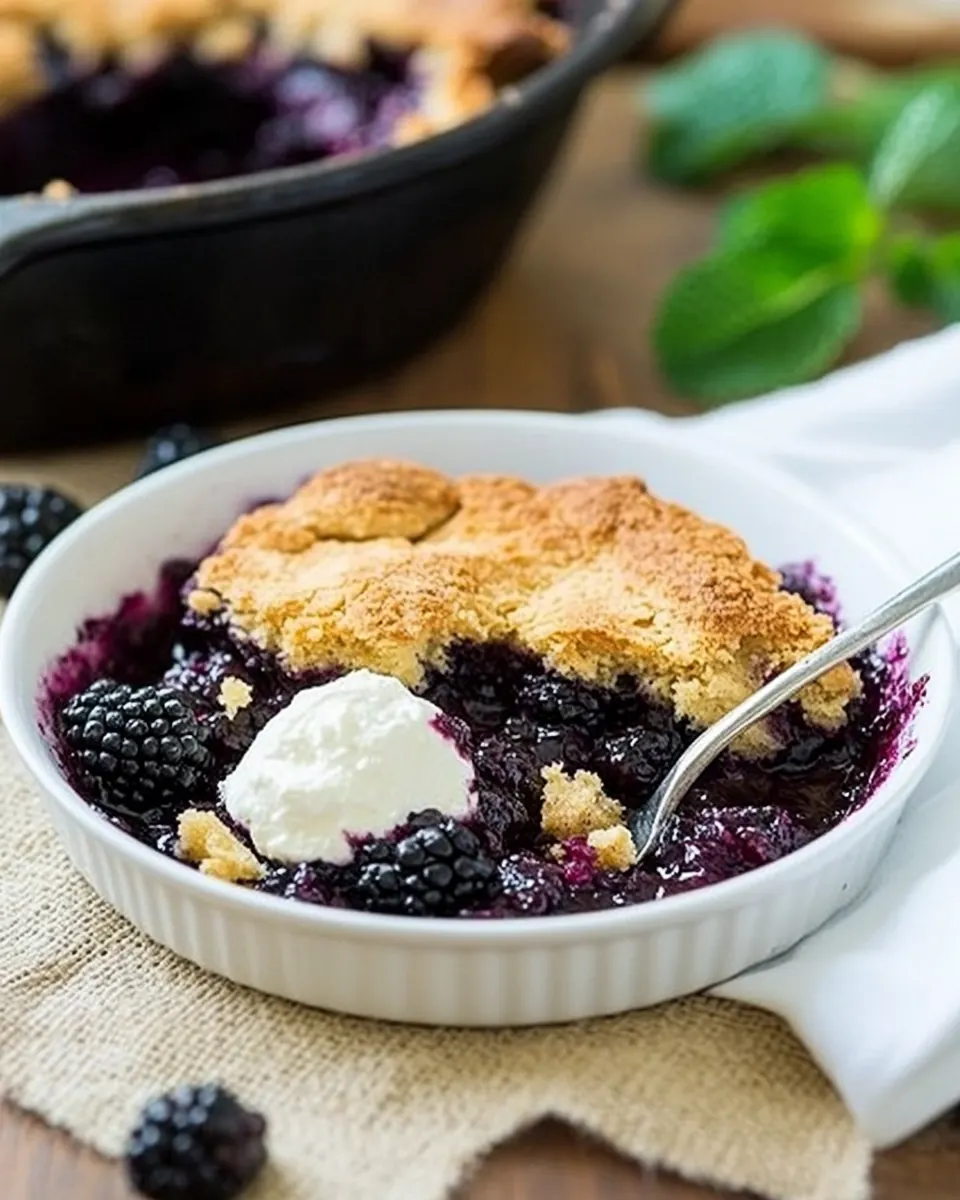
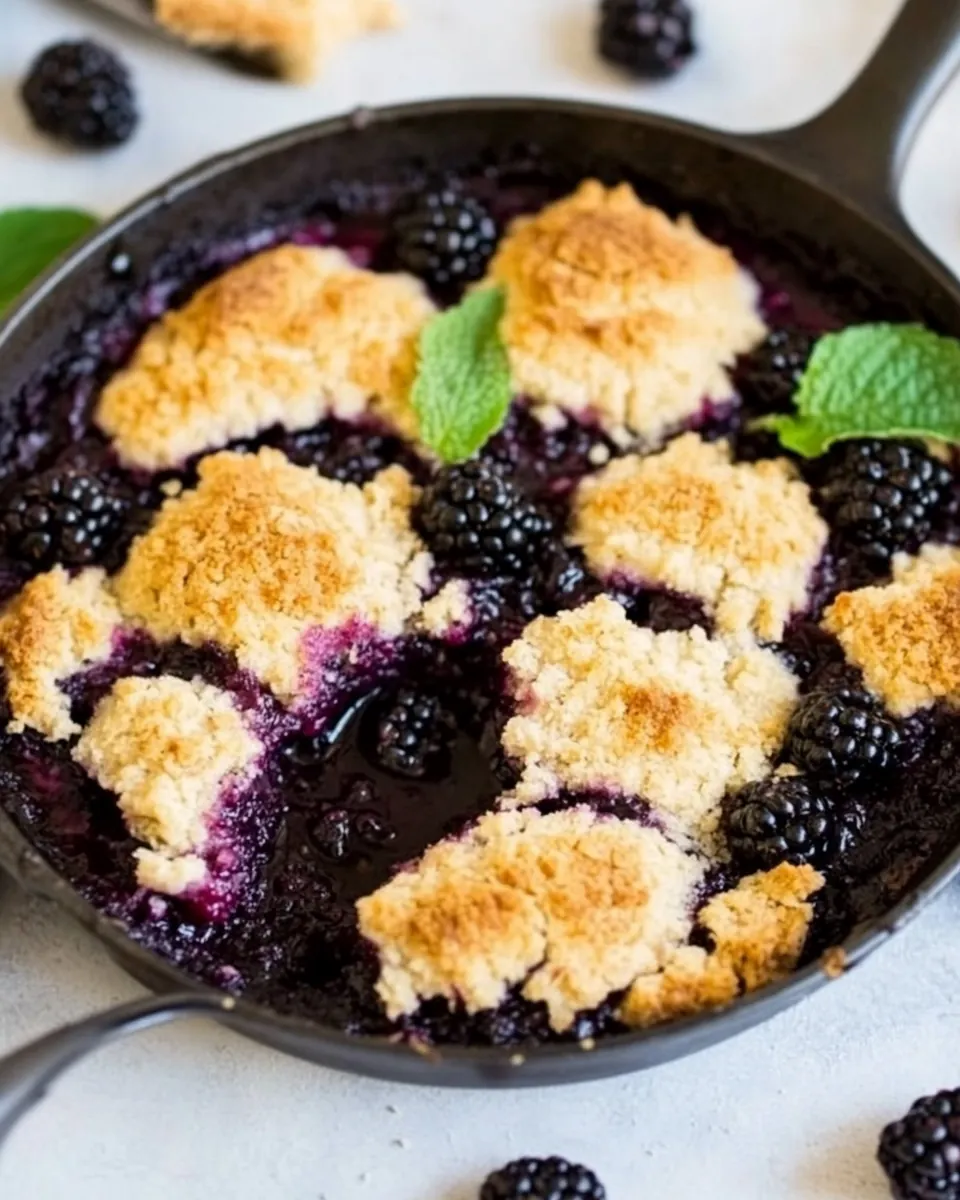
Easy Skillet Blackberry Cobbler
Easy Skillet Blackberry Cobbler is the kind of dessert I reach for when late summer blackberries start showing up at the farmer market and I want something quick that still feels homemade and special. The first time I made this recipe I was short on time but determined to impress friends who had dropped by unexpectedly. I grabbed a skillet, a bowl, and a few pantry staples, and within an hour the kitchen smelled sweet and warm, and everyone leaned over the pan asking for a spoon.
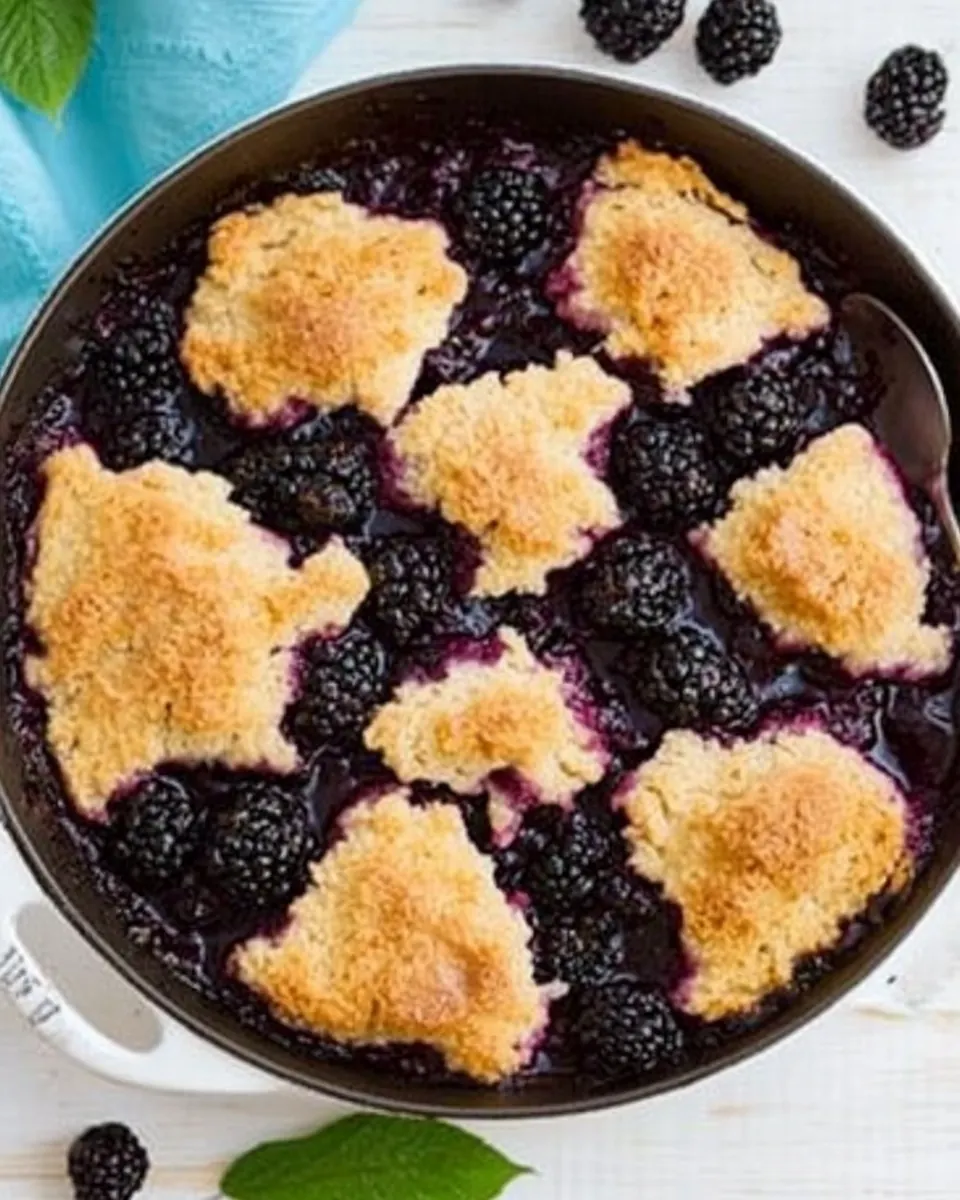
There is something comforting about the contrast of bubbling, slightly syrupy blackberries and a golden, tender cobbler crust. I love that this version uses simple ingredients like butter, self-rising flour, and milk so it’s approachable for bakers at any level. Over time I learned small tricks, like how to tell when the crust is perfectly set by watching tiny bubbles peek through the fruit, and how melting the butter in the skillet first creates those crisp edges that everyone raves about. Sharing this dish feels like sharing a small, sunny moment from my day, and it travels well to potlucks or a cozy night in.
Recipe Snapshot
40 mins
10 mins
30 mins
Easy
300 kcal
American
Gluten-Free, Low FODMAP
Desserts
9-inch cast iron skillet, Oven, Mixing bowl, Measuring cups and spoons
Why This Easy Skillet Blackberry Cobbler Is a Winner
One pan convenience
I adore how Easy Skillet Blackberry Cobbler uses a single skillet for most of the work. For me, fewer dishes means I actually make dessert more often, and the skillet helps develop crispy edges where the melted butter meets the heat.
Fresh seasonal flavor
I pick this recipe in summer when blackberries are at their peak. The fruit cooks down into a glossy, slightly tart sauce that balances the sweet batter, making each bite lively rather than cloying.
Simple pantry ingredients
There is no need for fancy supplies. With self-rising flour, sugar, milk, and a bit of butter, you can get a comforting dessert on the table fast. That reliability makes it my go to for last minute guests.
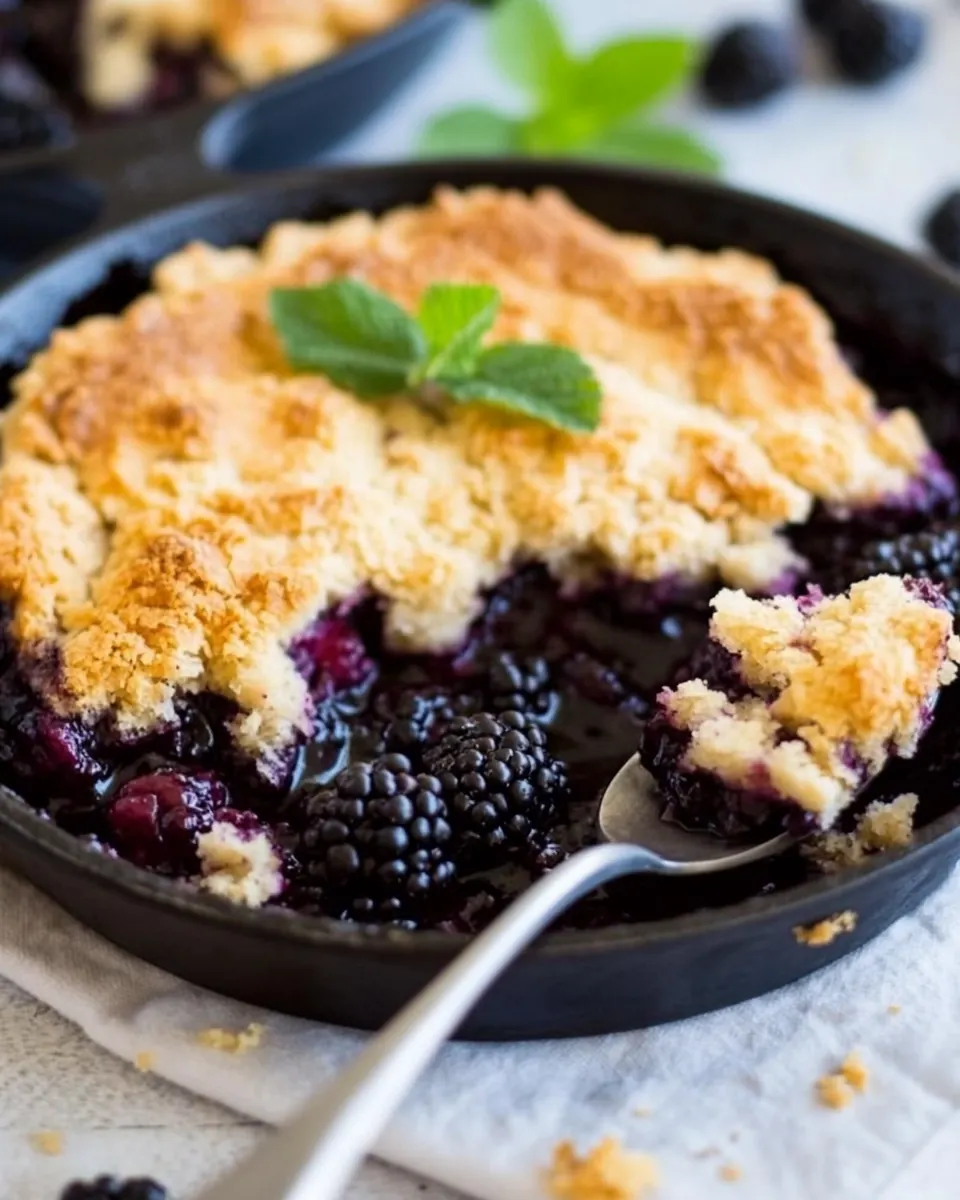
Textural contrast
I love the interplay between the tender cobbler topping and the jammy fruit beneath. When the edges turn golden and the center bubbles, you get a pleasing mix of textures that keeps people coming back for more.
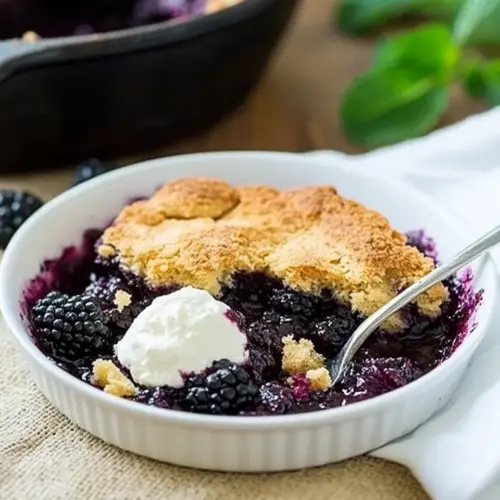
Versatile serving options
Serve warm with ice cream, or enjoy slightly cooled with a cup of coffee. I often experiment with toppings and find that even small tweaks make the dish feel new, while preserving the comforting core of blackberries and buttery batter.
Main Ingredients for Easy Skillet Blackberry Cobbler
These ingredients work together to create a classic skillet cobbler with minimal fuss. The batter bakes into a tender, slightly cakey topping while the fruit releases juices that bubble up around the edges, creating pockets of concentrated flavor. Each component plays a clear role, from fat for browning to flour for structure and sugar for sweetness and caramelization.
- 6 tablespoons butter: Melted to provide a rich, golden base and help crisp the cobbler edges; contributes buttery flavor and moist mouthfeel to the batter during baking. Adds fat that enhances tenderness and carries flavors like vanilla and cinnamon throughout the dish.
- 1 cup self-rising flour: Used as the primary structure-building ingredient that creates the batter's body and light crumb; self–rising flour already contains leavening and salt to help the cobbler rise and set. Whisk into the wet ingredients to form a smooth, pourable batter that bakes into a tender cake-like layer under the berries.
- 1/4 teaspoons salt: Added in a small amount to balance sweetness and enhance overall flavor; helps amplify other spices and provides a subtle savory note to the batter. Measure carefully to avoid over-salting while supporting texture and taste in the finished cobbler.
- 1/4 teaspoon cinnamon: Sprinkled in to introduce warm, aromatic notes that complement the blackberries; contributes depth and complexity without overpowering the fruit. Combine with sugar so it distributes evenly and flavors the batter and topping as it bakes.
- 1 cup plus 2 tablespoons sugar: Incorporated to sweeten the batter and create a golden caramelized surface; the larger total amount accounts for sweetness in both the cake-like base and any topping that forms. Dissolves into the milk and butter mixture to help create a tender, moist crumb and a lightly crisp top.
- 1 cup milk: Poured in to hydrate the dry ingredients and form the batter; provides moisture and contributes to a tender, cake-like texture once baked. Use at room temperature to ensure even mixing and consistent rise from the self–rising flour.
- 1 teaspoon vanilla extract: Stirred in to add aromatic depth and enhance the overall flavor profile; vanilla brings a sweet, rounded note that complements both sugar and berries. Mix into wet ingredients so the flavor disperses evenly through the batter.
- 2 cups fresh blackberries: Layered as the star fruit to provide juicy tartness, vibrant color, and natural sweetness; blackberries soften and release juices that mingle with the batter to create syrupy pockets. Scatter evenly so every serving has a balance of fruit and tender cobbler beneath.
Directions for Easy Skillet Blackberry Cobbler
This cobbler is straightforward, but timing and sensory cues make the difference between good and great. Read through the steps so you know what visual and aromatic signals to watch for, and why each action matters for texture and flavor.
- Preheat oven to 375 degrees.: Before you begin, notice the warm, dry air as the oven comes up to temperature, which ensures even baking. Preheating helps the batter start setting immediately upon hitting the hot pan, giving the topping a tender crumb while the edges crisp. A common mistake is skipping preheat, which can lead to uneven rise and a denser center. If your oven runs hot, use an oven thermometer to confirm the real temperature.
- Place butter in a 9-inch cast iron pan or a baking dish. Place in oven until butter melts.: When the butter melts, it releases a nutty aroma and pools across the pan, foreshadowing those delicious browned edges. The sizzling when it first hits a hot pan is a good sound cue. You want fully melted but not browned butter , because darkened butter can add a bitter note. Use oven mitts when removing the pan, and avoid leaving it in too long, which may scorch the fat.
- Meanwhile, in a medium bowl stir together all remaining ingredients except the blackberries.: As you whisk the batter, you should smell the sweet notes of sugar and the faint warmth of cinnamon and vanilla extract . The texture should be smooth and pourable, indicating the milk and self–rising flour have combined properly. Overmixing can develop gluten and make the topping tough, so stir until just combined and free of large lumps.
- Once butter has melted, remove pan from oven using a potholder. Pour batter into pan and sprinkle blackberries on top.: Pouring the batter into the hot butter gives an immediate sizzle and begins to form crisp edges. As you scatter the blackberries , listen for the gentle plop of fruit hitting the batter and watch small berries settle; this helps them stay partly visible and release juices during baking. A common error is pressing the berries into the batter, which can sink them entirely and prevent the desired bubbling effect.
- Bake for about 30 minutes. Serve warm with vanilla ice cream.: While baking, the kitchen will fill with a warm, fruity scent and you will see small bubbles forming around the fruit. The topping should be golden brown and slightly springy in the center, and the juices should be bubbling at the edges. Use a toothpick in the center to check doneness, aiming for a few moist crumbs, not raw batter. Avoid overbaking, which dries the topping; remove when it is still tender and let it rest briefly before serving so the juices thicken slightly.
How to Switch It Up
This section offers practical variations and ideas to adapt Easy Skillet Blackberry Cobbler while keeping the core technique intact. The tips below provide ways to tweak texture, sweetness, and serving style while staying true to the recipe.
- Use frozen berries: If fresh blackberries are not available, frozen berries can be used straight from the freezer. They release more juice, so reduce any added liquids slightly and expect a looser filling. Toss frozen berries with a tablespoon of the sugar before adding to help control excess moisture.
- Swap milk varieties: Whole milk yields a richer texture, but you can use lower fat milk for a lighter result. The batter may be slightly less tender with low fat options, so handle gently and avoid overmixing.
- Boost aroma: Increasing the vanilla extract by a small amount enhances the overall aroma. Stick to no more than an extra half teaspoon to avoid an overly perfumed batter.
- Skillet choice matters: A cast iron skillet will develop the crispiest edges and hold heat well, creating lovely browning. If using a glass or ceramic baking dish, watch the edges closely as they may brown faster or slower depending on the material.
- Make ahead option: You can assemble the batter in advance and store it refrigerated for a few hours. Pour into the hot skillet right before baking to preserve the immediate sizzle and ensure the best edge development.
- Serving warmth: Always serve slightly warm so the filling is syrupy and the topping is tender. Reheat gently in a low oven if needed, and avoid the microwave which can make the topping gummy.
Side Dish Ideas for Easy Skillet Blackberry Cobbler
Easy Skillet Blackberry Cobbler pairs beautifully with a few simple accompaniments to turn it into a memorable dessert experience. Whether youre serving after a casual lunch or a more formal dinner, these ideas will help you plan the full plate and atmosphere.
- Classic scoop: A scoop of vanilla ice cream is timeless, offering cold creaminess that contrasts with hot, jammy blackberries.
- Whipped topping: Lightly sweetened whipped cream adds airiness and balances the fruits brightness, perfect for a lighter finish.
- Cheese board accompaniment: For a relaxed gathering, serve small cubes of mild cheese alongside the cobbler so guests can alternate bites of sweet and savory.
- Occasion ideas: This cobbler fits casual family dinners, summer potlucks, and holiday gatherings in warm months. Its especially welcome at backyard meals where seasonal fruits shine.
- Storage tips: Store leftovers in an airtight container in the refrigerator for up to three days. Reheat gently in a 325 degree oven until warmed through to preserve texture.
- Seasonal pairings: In summer, pair with fresh berries and light salads for a full seasonal menu; in cooler months, serve with warm beverages for cozy appeal.
FAQ
Conclusion
What makes this recipe special is its balance of quick comfort and bright, seasonal fruit. I love how simple pantry ingredients transform into a warm, homey dessert with crisp edges and jammy blackberries. Give it a try when blackberries are ripe or when you want a no fuss sweet that still feels celebratory. Share it warm with friends or family, and enjoy those small, delicious moments together.
Easy Skillet Blackberry Cobbler
Equipment
- 9-inch cast iron skillet
- Oven
- Mixing Bowl
- Measuring Cups and Spoons
Ingredients
- 6 tablespoons butter Melted to provide a rich, golden base and help crisp the cobbler edges; contributes buttery flavor and moist mouthfeel to the batter during baking. Adds fat that enhances tenderness and carries flavors like vanilla and cinnamon throughout the dish.
- 1 cup self-rising flour Used as the primary structure-building ingredient that creates the batter's body and light crumb; self-rising flour already contains leavening and salt to help the cobbler rise and set. Whisk into the wet ingredients to form a smooth, pourable batter that bakes into a tender cake-like layer under the berries.
- 1/4 teaspoons salt Added in a small amount to balance sweetness and enhance overall flavor; helps amplify other spices and provides a subtle savory note to the batter. Measure carefully to avoid over-salting while supporting texture and taste in the finished cobbler.
- 1/4 teaspoon cinnamon Sprinkled in to introduce warm, aromatic notes that complement the blackberries; contributes depth and complexity without overpowering the fruit. Combine with sugar so it distributes evenly and flavors the batter and topping as it bakes.
- 1 cup plus 2 tablespoons sugar Incorporated to sweeten the batter and create a golden caramelized surface; the larger total amount accounts for sweetness in both the cake-like base and any topping that forms. Dissolves into the milk and butter mixture to help create a tender, moist crumb and a lightly crisp top.
- 1 cup milk Poured in to hydrate the dry ingredients and form the batter; provides moisture and contributes to a tender, cake-like texture once baked. Use at room temperature to ensure even mixing and consistent rise from the self-rising flour.
- 1 teaspoon vanilla extract Stirred in to add aromatic depth and enhance the overall flavor profile; vanilla brings a sweet, rounded note that complements both sugar and berries. Mix into wet ingredients so the flavor disperses evenly through the batter.
- 2 cups fresh blackberries Layered as the star fruit to provide juicy tartness, vibrant color, and natural sweetness; blackberries soften and release juices that mingle with the batter to create syrupy pockets. Scatter evenly so every serving has a balance of fruit and tender cobbler beneath.
Instructions
- Preheat oven to 375 degrees.: Before you begin, notice the warm, dry air as the oven comes up to temperature, which ensures even baking. Preheating helps the batter start setting immediately upon hitting the hot pan, giving the topping a tender crumb while the edges crisp. A common mistake is skipping preheat, which can lead to uneven rise and a denser center. If your oven runs hot, use an oven thermometer to confirm the real temperature.
- Place butter in a 9-inch cast iron pan or a baking dish. Place in oven until butter melts.: When the butter melts, it releases a nutty aroma and pools across the pan, foreshadowing those delicious browned edges. The sizzling when it first hits a hot pan is a good sound cue. You want fully melted but not browned butter , because darkened butter can add a bitter note. Use oven mitts when removing the pan, and avoid leaving it in too long, which may scorch the fat.
- Meanwhile, in a medium bowl stir together all remaining ingredients except the blackberries.: As you whisk the batter, you should smell the sweet notes of sugar and the faint warmth of cinnamon and vanilla extract . The texture should be smooth and pourable, indicating the milk and self-rising flour have combined properly. Overmixing can develop gluten and make the topping tough, so stir until just combined and free of large lumps.
- Once butter has melted, remove pan from oven using a potholder. Pour batter into pan and sprinkle blackberries on top.: Pouring the batter into the hot butter gives an immediate sizzle and begins to form crisp edges. As you scatter the blackberries , listen for the gentle plop of fruit hitting the batter and watch small berries settle; this helps them stay partly visible and release juices during baking. A common error is pressing the berries into the batter, which can sink them entirely and prevent the desired bubbling effect.
- Bake for about 30 minutes. Serve warm with vanilla ice cream.: While baking, the kitchen will fill with a warm, fruity scent and you will see small bubbles forming around the fruit. The topping should be golden brown and slightly springy in the center, and the juices should be bubbling at the edges. Use a toothpick in the center to check doneness, aiming for a few moist crumbs, not raw batter. Avoid overbaking, which dries the topping; remove when it is still tender and let it rest briefly before serving so the juices thicken slightly.
Notes
- Use frozen berries: If fresh blackberries are not available, frozen berries can be used straight from the freezer. They release more juice, so reduce any added liquids slightly and expect a looser filling. Toss frozen berries with a tablespoon of the sugar before adding to help control excess moisture.
- Swap milk varieties: Whole milk yields a richer texture, but you can use lower fat milk for a lighter result. The batter may be slightly less tender with low fat options, so handle gently and avoid overmixing.
- Boost aroma: Increasing the vanilla extract by a small amount enhances the overall aroma. Stick to no more than an extra half teaspoon to avoid an overly perfumed batter.
- Skillet choice matters: A cast iron skillet will develop the crispiest edges and hold heat well, creating lovely browning. If using a glass or ceramic baking dish, watch the edges closely as they may brown faster or slower depending on the material.
- Make ahead option: You can assemble the batter in advance and store it refrigerated for a few hours. Pour into the hot skillet right before baking to preserve the immediate sizzle and ensure the best edge development.
- Serving warmth: Always serve slightly warm so the filling is syrupy and the topping is tender. Reheat gently in a low oven if needed, and avoid the microwave which can make the topping gummy.