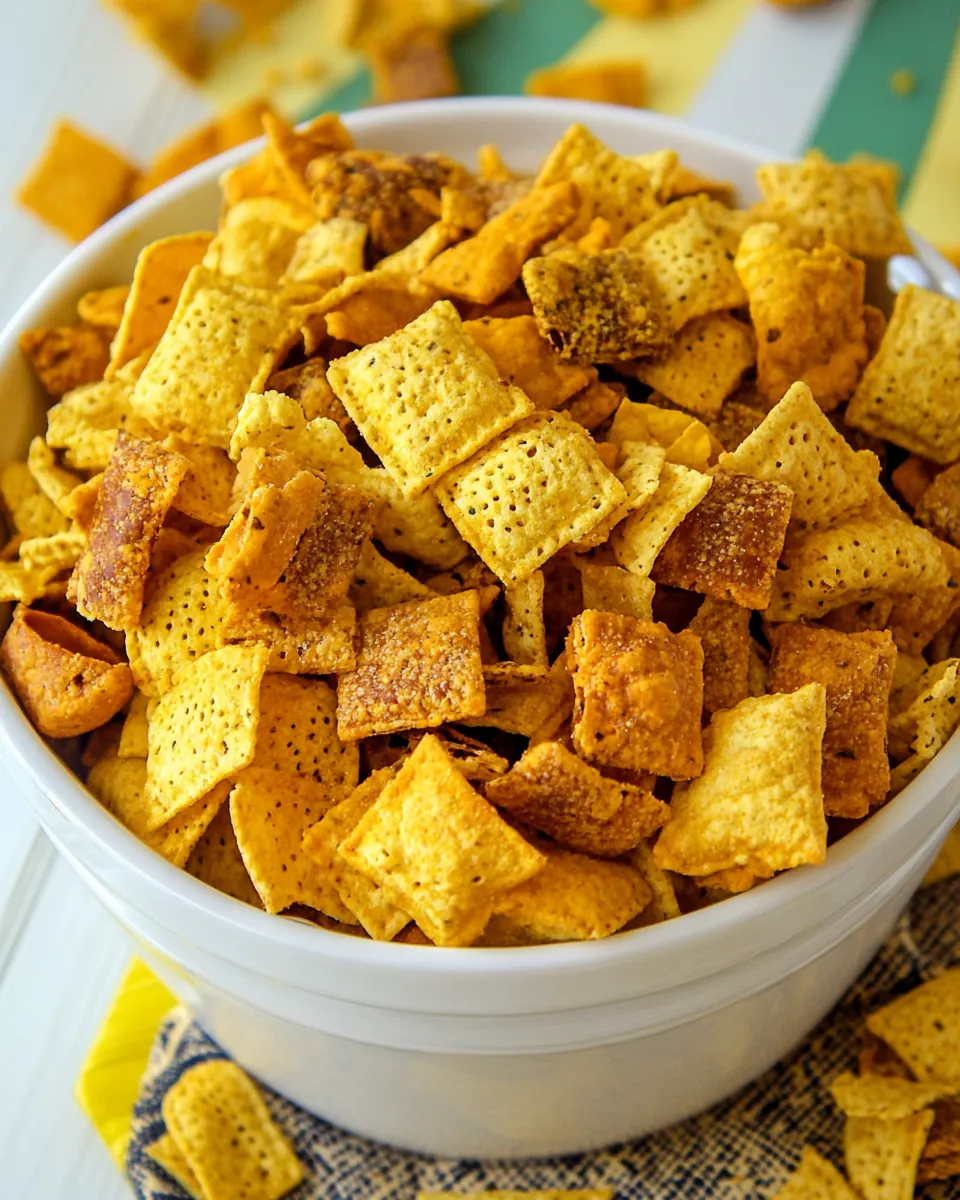
Ranch Snack Mix
Ranch Snack Mix came into my life the same way many favorite party foods do, as a humble request from a friend who needed something crunchy, salty, and effortless for a last minute gathering. I remember standing in my tiny kitchen with a crate of snacks and a bottle of seasoning on the counter, thinking that a simple twist of flavor could turn ordinary pantry items into something memorable. That first batch filled the living room with a cozy, savory aroma and vanished before I could refill the bowl.
Since then I’ve perfected the balance between crisp textures and bold seasoning so that every handful is addictive but never cloying. I love that Ranch Snack Mix lets me use shelf stable ingredients I already have, while still feeling homemade and thoughtful. When guests arrive, I set out a big shallow bowl and watch people graze and chat, the mix acting like edible conversation fuel. Each bite tells the story of casual entertaining made easy, and I often send leftovers home with friends so they can recreate the moment.
Recipe Snapshot
1 hr 15 mins
15 mins
60 mins
Medium
150 kcal
American
Gluten-Free, Vegan
Appetizers
Microwave safe bowl, Large mixing bowl or roasting pan, Baking sheets, Wax paper
Why This Ranch Snack Mix Hits Different
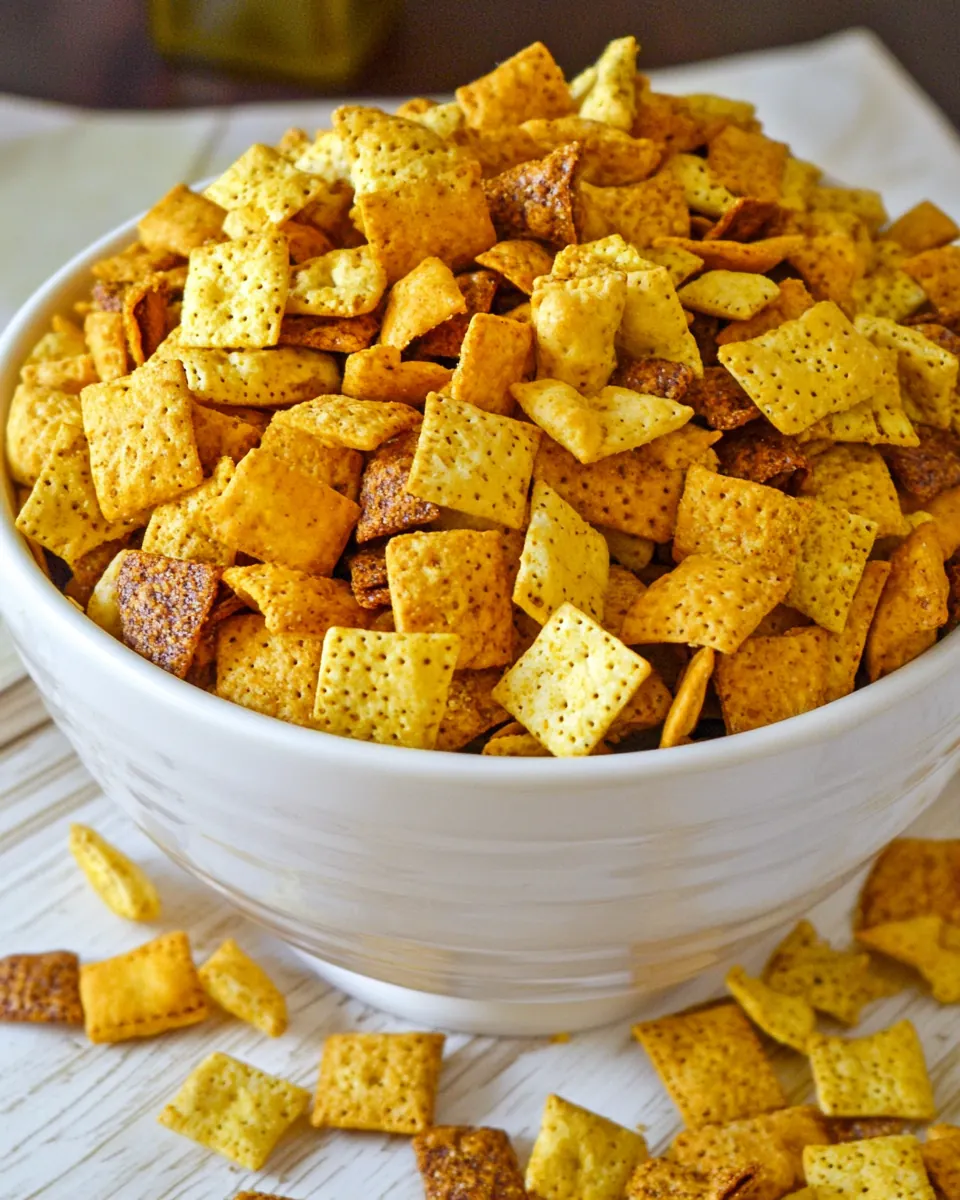
Crunch and Comfort in One Bite
I adore how Ranch Snack Mix combines textures, so every mouthful gives you that satisfying crunch. The contrast between sturdy pieces and lighter crackers keeps the palette engaged, and I always catch myself reaching for one more handful. It’s the kind of snack that works whether we are watching a game or catching up over coffee.
Speed Without Sacrificing Flavor
We all want big taste with minimal fuss, and this mix delivers. A quick microwave step to bloom the seasoning, followed by a slow oven toast, lets flavors deepen without active babysitting. I like how the ranch mix clings to each piece, creating pockets of intense savory notes that pop through the overall seasoning.
Pantry Friendly and Crowd Ready
I often improvise with what I have, which is why this recipe is a staple for impromptu parties. You can scale it up easily, and it stores well in airtight containers, so it’s perfect for prepping ahead. When I make a double batch, I label it and everyone knows to grab a bag on their way out.
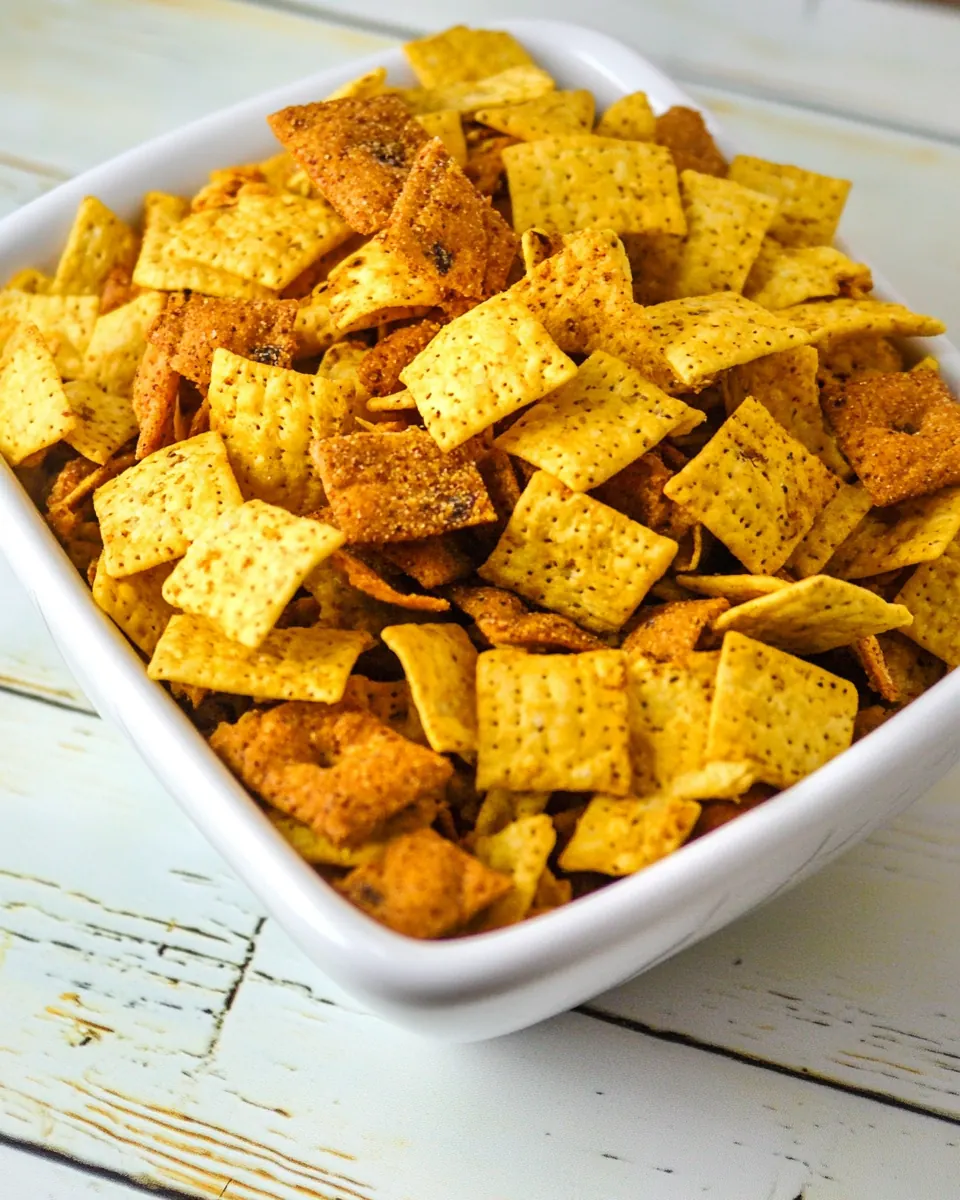
Versatile for Any Occasion
From casual movie nights to potlucks, Ranch Snack Mix fits in. I enjoy offering it alongside dips and finger foods, yet it is substantial enough to stand on its own. Its approachable flavor profile appeals to picky eaters and adventurous snackers alike, which makes it my go to whenever I need a safe, beloved option.
Kid Friendly, Yet Grown Up
One of the reasons I keep making this is that kids love the cheesy crunch, while adults appreciate the savory ranch seasoning. It bridges generations at family gatherings, and I’ve taught my niece how to stir and spread the mix, passing down a small ritual that’s become part of our holidays and casual get togethers.
What’s In This Ranch Snack Mix
These ingredients are a study in pantry pragmatism, chosen to deliver an array of textures and a unified ranch seasoned profile. The key players provide structure, salt, and a little cheesy comfort so that the seasoning has surfaces to cling to and flavors to amplify.
- 112 oz bottle popcorn oil: Provides a neutral, high-heat frying medium to evenly coat and bake snack pieces; helps distribute seasonings and promotes crisp texture when heated. Adds a subtle mouthfeel without overwhelming flavors, allowing the ranch seasoning to adhere. Use sparingly for coating or warming to avoid greasiness.
- 11 oz package ranch dip mix: Adds concentrated savory, tangy, and herby ranch flavor to the mix; dissolves and clings to oily or buttery surfaces for consistent seasoning. Balances salt and herbs to create that classic ranch profile that defines the snack mix. Can be mixed with oil or melted butter for uniform application.
- 114 oz box Wheat Chex: Contributes a light, crunchy cereal component that absorbs seasonings well and offers a neutral grain backbone. Adds bulk and texture contrast to chips and crackers while keeping calories moderate per serving. Holds up well to tossing and coating without turning soggy.
- 17.5 oz original Bugles: Provides a salty, corn-based crunch shaped for bite-sized scoops that catch seasoning; offers bold texture and nostalgic corn-chip flavor. Adds visual variety and robust crispness that contrasts with softer crackers and cereals. Stands up well to coating and retains crunch over time.
- 16.6 oz bag cheddar Goldfish: Supplies a cheesy, baked cracker element with a buttery, cheddar flavor that complements ranch seasoning. Adds small, crispy pieces that distribute cheesy umami throughout the mix for balanced taste. Enhances both texture and savory depth.
- 112.4 oz box White Cheddar Cheez-Its: Delivers a bolder, extra-cheesy baked square component that intensifies the cheddar profile in the snack mix. Provides firm crispness and concentrated cheesy notes that contrast with milder pieces. Helps carry salt and seasoning for a satisfying savory bite.
- 19 oz bag oyster crackers: Offers a light, bite-sized cracker that soaks up seasoning and provides a mild, slightly salty crunch. Adds bulk and an airy texture that balances heavier, denser chips and cheese crackers. Helps extend the mix and create varied mouthfeel.
The Method for Ranch Snack Mix
This method is approachable and forgiving, designed to coax maximum flavor from minimal intervention. I like the two stage approach of warming the seasoning in oil and then slowly toasting the mix in the oven so the texture stays crisp and the flavors deepen. Read each step, and trust your senses as you watch color and aroma evolve.
- Preheat oven to 250 degrees.: The room fills with a faint warmth as the oven approaches 250 degrees , which sets the stage for gentle toasting rather than aggressive baking, ensuring the mix crisps uniformly without burning. You should notice the air becoming quietly warm and dry, ideal for removing residual moisture from the snacks, which keeps them crunchy after cooling. If the oven is hotter than intended, the edges will brown too quickly, so double check the dial. A common issue is placing the racks too close together, which can lead to uneven airflow, so use a single middle rack when possible.
- Mix together microwave safe bowl combine popcorn oil and ranch dip mix. Heat in microwave for two minutes.: Warmth and fat activate the herbs, and when you stir popcorn oil with ranch dip mix in a microwave safe bowl, the aroma blooms quickly, releasing herbaceous notes that will coat the mix. Expect a scent that is tangy and savory, and you may see the powder dissolve into the oil, creating a glossy emulsion that clings to pieces. Heat for two minutes in short increments to prevent overheating, as scorched oil will taste off. Avoid microwaving in plastic that is not microwave safe, which can warp or leach flavors.
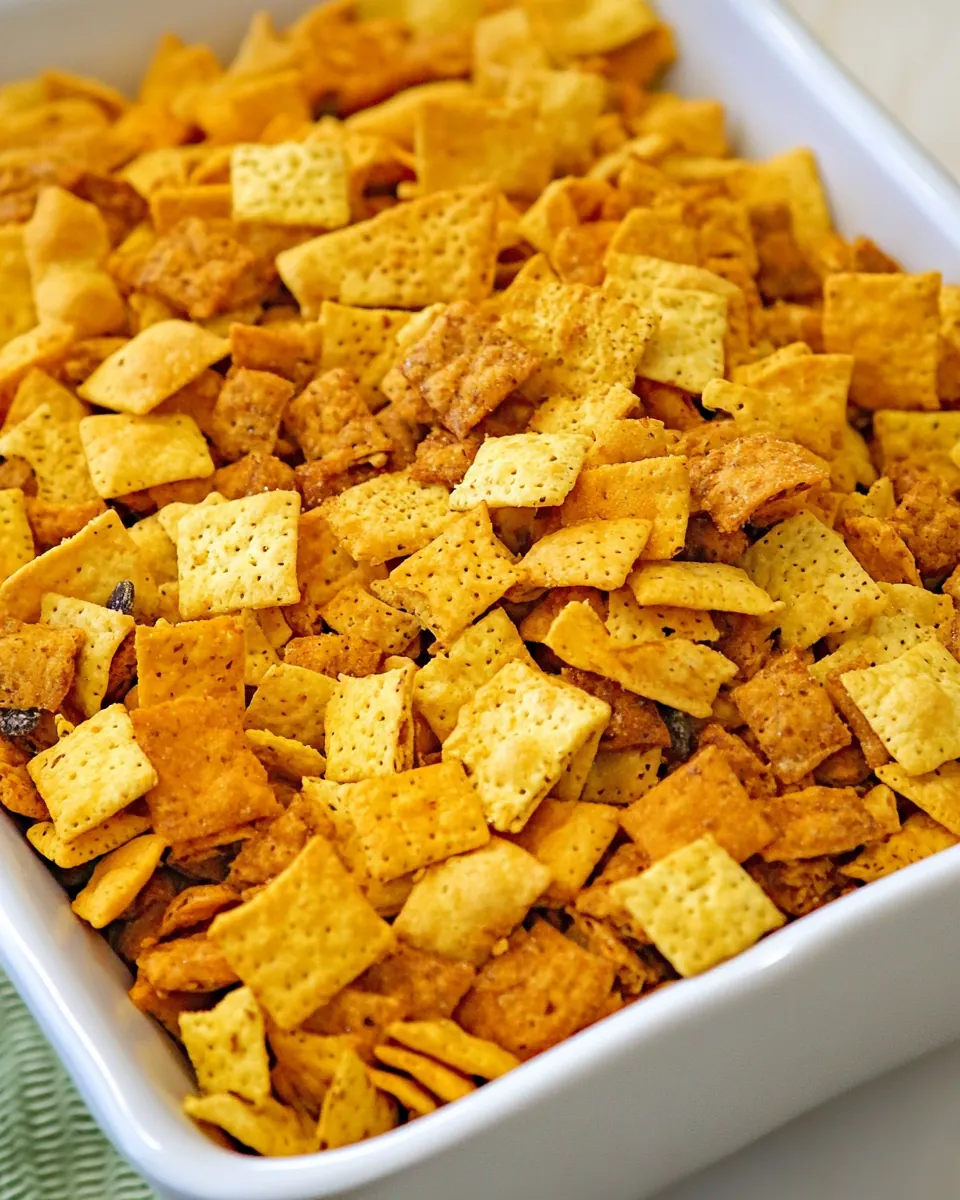
- In a large mixing bowl or roasting pan combine the rest of the ingredients. Stir to mix. Drizzle oil mixture over the snack mix and stir well.: When you pour the assortment of Wheat Chex , Bugles , cheddar Goldfish , White Cheddar Cheez-Its , and oyster crackers into a single large vessel, the visual mix of shapes and colors is instantly pleasing. Take a moment to notice the contrast in textures, from dense Chex to airy crackers. Use a bowl large enough to allow thorough coating, because crowding will lead to uneven distribution of the oil mixture. A typical pitfall is using too small a bowl, which results in clumps and missed pieces, so transfer to a roomy pan if needed.
- Spread on baking sheets. Bake the mixture for 1 hour, stirring every 15 minutes. Remove from oven and spread on wax paper. Cool. Store in airtight containers.: After combining the dry components, stirring incorporates them so they are evenly dispersed, reducing the chance that any single texture dominates a scoop. The sound of this action changes as the mix becomes coated, shifting from a hollow rattle to a quieter, slightly muted clink as oil adheres. Stir gently to avoid breaking fragile items, and scrape the sides so no unseasoned pockets remain. Over stirring can create dust, resulting in uneven seasoning cling and a dusty mouthfeel.
- Drizzle oil mixture over the snack mix and stir well: As you drizzle the warmed oil and ranch dip mix across the bowl, watch for the glossy sheen that indicates coverage, and listen for a subtle softening sound as the spices meet the cereal and crackers. Stir immediately and thoroughly so the seasoning distributes, working in folds rather than pounding, which preserves shape. If you pour the oil in one spot, it will pool and leave others dry, so move the bowl as you drizzle. The most common mistake here is adding the oil too quickly, which saturates some pieces while leaving others untouched.
- Spread on baking sheets: Spreading the coated mix in a single layer on baking sheets encourages even air movement and predictable toasting, and you will notice the pieces sit separately instead of clumped together. Use rimmed sheets lined with parchment or lightly oiled to prevent sticking, and spread gently with your hands or a spatula. Crowding the pan leads to steaming rather than toasting, making pieces limp instead of crisp.
- Bake the mixture for 1 hour stirring every 15 minutes: Low and slow baking for 1 hour at 250 degrees allows moisture to escape while flavors deepen, and every 15 minutes stirring redistributes heat so all pieces brown evenly. You will observe subtle color changes, with edges becoming a touch deeper, and the aroma will turn from raw seasoning to a warm roasted scent. The sound in the oven shifts to a low whisper as the mix dries. If you forget to stir, some clusters will over brown, so set a timer to avoid uneven results.
- Remove from oven and spread on wax paper: Bringing the pan out, the surface will still be warm and the mix will continue to crisp as it cools, so spreading on wax paper helps separate pieces and prevent residual heat from steaming them. You may notice small pockets of steam rise initially, but they dissipate quickly as the mix relaxes to room temperature. If you leave it piled on the sheet, trapped heat can soften the bottom layers, so give it space to breathe immediately.
- Cool: ing is where texture finalizes, and as the mix reaches room temperature you will feel the crunch fully set, with flavors mellowing and rounding out. The cooling stage also reduces the risk of condensation if you later store the mix, which preserves crispness. A mistake to avoid is sealing the mix while still warm, which traps moisture and ruins the crunch.
- Store in airtight containers: Once completely cool, transferring to airtight containers locks in the crisp texture and keeps flavors stable for days, and a dry, sealed environment prevents staling. I like clear jars so I can see the mix, but resealable bags work well for gifting. Make sure pieces are fully cool to avoid condensation, and do not overpack containers which can crush delicate shapes.
Pro Tips and Tweaks
I like to treat Ranch Snack Mix as a flexible canvas that benefits from small adjustments. These tips help you get consistent texture, avoid common pitfalls, and present a bowl that disappears fast at any gathering. Below are practical tweaks and reminders I use every time.
- Measure the oil carefully, because too much will make the mix limp while too little keeps the seasoning from sticking properly, so aim for a light glossy coating across pieces.
- Heat the seasoning with the oil, which brings out herbal aromatics and helps powders dissolve, creating a more even flavor distribution than tossing dry.
- Use rimmed baking sheets, they prevent spillage and allow you to stir without losing pieces, making the bake process tidier and more efficient.
- Stir gently but consistently, as rough handling will break delicate shapes like Bugles and Goldfish, resulting in dust that clings unevenly to the mix.
- Cool fully before sealing, to avoid condensation which ruins crunch, and store in airtight containers for best shelf life.
Pairing Suggestions for Ranch Snack Mix
This mix pairs beautifully with casual gatherings and relaxed snacks. Consider the context and complementary elements to elevate the serving experience, from presentation to occasion. Below are detailed ideas and practical suggestions for serving, storing, and pairing over different seasons and events.
- Casual movie nights, serve the mix in a large communal bowl with small individual cups for easy grabbing, and place napkins nearby so guests can snack comfortably without crumbs.
- Game day, set out multiple bowls around the room so guests can snack without crowding, and rotate fresh batches if you expect long tail snacking to keep the mix crisp.
- Potluck or picnic, pack the mix in airtight containers and label them, offering small scoops so people can portion into paper cones, which makes distribution tidy outdoors.
- Kid friendly gatherings, present in colorful bowls at kid height so children can help themselves, and consider sending small sealed bags home as favors with a handwritten note.
- Storage tips, keep in a cool dry place in airtight containers for up to two weeks, and if you need longer storage, divide into resealable bags and freeze for up to two months, thawing to room temperature before opening.
- Seasonal touches, for holidays or themed events, place the mix in festive bowls and add decorative scoops, letting the snack double as table decor that guests can nibble as they mingle.
FAQ
Conclusion
What makes this Ranch Snack Mix special is its effortless transformation of pantry staples into an addictive, crunchy treat that’s simultaneously kid friendly and grown up. The slow bake deepens the ranch flavor while preserving crispness, making it a reliable option for parties, travel, or casual snacking. Give it a try the next time you need a quick, crowd pleasing bite, and enjoy how easily it disappears from the bowl as people keep coming back for more.
Ranch Snack Mix
Equipment
- Microwave-safe Bowl
- Large mixing bowl or roasting pan
- Baking Sheets
- Wax paper
Ingredients
- 112 oz bottle popcorn oil Provides a neutral, high-heat frying medium to evenly coat and bake snack pieces; helps distribute seasonings and promotes crisp texture when heated. Adds a subtle mouthfeel without overwhelming flavors, allowing the ranch seasoning to adhere. Use sparingly for coating or warming to avoid greasiness.
- 11 oz package ranch dip mix Adds concentrated savory, tangy, and herby ranch flavor to the mix; dissolves and clings to oily or buttery surfaces for consistent seasoning. Balances salt and herbs to create that classic ranch profile that defines the snack mix. Can be mixed with oil or melted butter for uniform application.
- 114 oz box Wheat Chex Contributes a light, crunchy cereal component that absorbs seasonings well and offers a neutral grain backbone. Adds bulk and texture contrast to chips and crackers while keeping calories moderate per serving. Holds up well to tossing and coating without turning soggy.
- 17.5 oz original Bugles Provides a salty, corn-based crunch shaped for bite-sized scoops that catch seasoning; offers bold texture and nostalgic corn-chip flavor. Adds visual variety and robust crispness that contrasts with softer crackers and cereals. Stands up well to coating and retains crunch over time.
- 16.6 oz bag cheddar Goldfish Supplies a cheesy, baked cracker element with a buttery, cheddar flavor that complements ranch seasoning. Adds small, crispy pieces that distribute cheesy umami throughout the mix for balanced taste. Enhances both texture and savory depth.
- 112.4 oz box White Cheddar Cheez-Its Delivers a bolder, extra-cheesy baked square component that intensifies the cheddar profile in the snack mix. Provides firm crispness and concentrated cheesy notes that contrast with milder pieces. Helps carry salt and seasoning for a satisfying savory bite.
- 19 oz bag oyster crackers Offers a light, bite-sized cracker that soaks up seasoning and provides a mild, slightly salty crunch. Adds bulk and an airy texture that balances heavier, denser chips and cheese crackers. Helps extend the mix and create varied mouthfeel.
Instructions
- Preheat oven to 250 degrees.: The room fills with a faint warmth as the oven approaches 250 degrees , which sets the stage for gentle toasting rather than aggressive baking, ensuring the mix crisps uniformly without burning. You should notice the air becoming quietly warm and dry, ideal for removing residual moisture from the snacks, which keeps them crunchy after cooling. If the oven is hotter than intended, the edges will brown too quickly, so double check the dial. A common issue is placing the racks too close together, which can lead to uneven airflow, so use a single middle rack when possible.
- Mix together microwave safe bowl combine popcorn oil and ranch dip mix. Heat in microwave for two minutes.: Warmth and fat activate the herbs, and when you stir popcorn oil with ranch dip mix in a microwave safe bowl, the aroma blooms quickly, releasing herbaceous notes that will coat the mix. Expect a scent that is tangy and savory, and you may see the powder dissolve into the oil, creating a glossy emulsion that clings to pieces. Heat for two minutes in short increments to prevent overheating, as scorched oil will taste off. Avoid microwaving in plastic that is not microwave safe, which can warp or leach flavors.
- In a large mixing bowl or roasting pan combine the rest of the ingredients. Stir to mix. Drizzle oil mixture over the snack mix and stir well.: When you pour the assortment of Wheat Chex , Bugles , cheddar Goldfish , White Cheddar Cheez-Its , and oyster crackers into a single large vessel, the visual mix of shapes and colors is instantly pleasing. Take a moment to notice the contrast in textures, from dense Chex to airy crackers. Use a bowl large enough to allow thorough coating, because crowding will lead to uneven distribution of the oil mixture. A typical pitfall is using too small a bowl, which results in clumps and missed pieces, so transfer to a roomy pan if needed.
- Spread on baking sheets. Bake the mixture for 1 hour, stirring every 15 minutes. Remove from oven and spread on wax paper. Cool. Store in airtight containers.: After combining the dry components, stirring incorporates them so they are evenly dispersed, reducing the chance that any single texture dominates a scoop. The sound of this action changes as the mix becomes coated, shifting from a hollow rattle to a quieter, slightly muted clink as oil adheres. Stir gently to avoid breaking fragile items, and scrape the sides so no unseasoned pockets remain. Over stirring can create dust, resulting in uneven seasoning cling and a dusty mouthfeel.
- Drizzle oil mixture over the snack mix and stir well: As you drizzle the warmed oil and ranch dip mix across the bowl, watch for the glossy sheen that indicates coverage, and listen for a subtle softening sound as the spices meet the cereal and crackers. Stir immediately and thoroughly so the seasoning distributes, working in folds rather than pounding, which preserves shape. If you pour the oil in one spot, it will pool and leave others dry, so move the bowl as you drizzle. The most common mistake here is adding the oil too quickly, which saturates some pieces while leaving others untouched.
- Spread on baking sheets: Spreading the coated mix in a single layer on baking sheets encourages even air movement and predictable toasting, and you will notice the pieces sit separately instead of clumped together. Use rimmed sheets lined with parchment or lightly oiled to prevent sticking, and spread gently with your hands or a spatula. Crowding the pan leads to steaming rather than toasting, making pieces limp instead of crisp.
- Bake the mixture for 1 hour stirring every 15 minutes: Low and slow baking for 1 hour at 250 degrees allows moisture to escape while flavors deepen, and every 15 minutes stirring redistributes heat so all pieces brown evenly. You will observe subtle color changes, with edges becoming a touch deeper, and the aroma will turn from raw seasoning to a warm roasted scent. The sound in the oven shifts to a low whisper as the mix dries. If you forget to stir, some clusters will over brown, so set a timer to avoid uneven results.
- Remove from oven and spread on wax paper: Bringing the pan out, the surface will still be warm and the mix will continue to crisp as it cools, so spreading on wax paper helps separate pieces and prevent residual heat from steaming them. You may notice small pockets of steam rise initially, but they dissipate quickly as the mix relaxes to room temperature. If you leave it piled on the sheet, trapped heat can soften the bottom layers, so give it space to breathe immediately.
- Cool: ing is where texture finalizes, and as the mix reaches room temperature you will feel the crunch fully set, with flavors mellowing and rounding out. The cooling stage also reduces the risk of condensation if you later store the mix, which preserves crispness. A mistake to avoid is sealing the mix while still warm, which traps moisture and ruins the crunch.
- Store in airtight containers: Once completely cool, transferring to airtight containers locks in the crisp texture and keeps flavors stable for days, and a dry, sealed environment prevents staling. I like clear jars so I can see the mix, but resealable bags work well for gifting. Make sure pieces are fully cool to avoid condensation, and do not overpack containers which can crush delicate shapes.
Notes
- Measure the oil carefully, because too much will make the mix limp while too little keeps the seasoning from sticking properly, so aim for a light glossy coating across pieces.
- Heat the seasoning with the oil, which brings out herbal aromatics and helps powders dissolve, creating a more even flavor distribution than tossing dry.
- Use rimmed baking sheets, they prevent spillage and allow you to stir without losing pieces, making the bake process tidier and more efficient.
- Stir gently but consistently, as rough handling will break delicate shapes like Bugles and Goldfish, resulting in dust that clings unevenly to the mix.
- Cool fully before sealing, to avoid condensation which ruins crunch, and store in airtight containers for best shelf life.