Quick and Easy Fairy Bread
Quick and Easy Fairy Bread is the cheerful little sandwich that always brings a smile to my face, whether I am prepping for a spontaneous afternoon tea or a kiddo’s party. The first time I made it, I remember hovering over the counter with a loaf of soft white bread and a tub of salted butter, thinking how such tiny components could create a moment of pure joy. It felt almost nostalgic, like a shortcut back to carefree weekends when simplicity ruled and sprinkles were a valid food group.
Over the years I have learned to lean into the ritual: spreading, sprinkling, slicing, and watching the colors land on the butter like confetti. Guests always comment on how playful the result looks, and children will invariably volunteer to help, fingers gleaming with rainbow dust. There is something delightfully tactile about it, the soft give of white bread under the knife, the faint salty counterpoint from the salted butter, and the crunchy, sugary pop from the nonpareils sprinkles hundreds and thousands.
Recipe Snapshot
3 mins
3 mins
Easy
150 kcal
Australian
Gluten-Free, Low FODMAP
Desserts
Knife, Shallow bowl, Cutting board
Why We Love This Quick and Easy Fairy Bread
It is ridiculously quick
I love that Quick and Easy Fairy Bread comes together in moments, perfect for when I need a last minute treat. No chopping, no baking, just a few motions and you have something festive. That makes it my go to when time is short but I still want a homemade touch.
Kid friendly and interactive
We are often hosting little friends, and this recipe invites participation. I let the kids spread the salted butter and sprinkle the nonpareils sprinkles hundreds and thousands, which becomes a tiny creative workshop. It turns snack time into a shared memory rather than just another plate of food.
Minimal, pantry friendly ingredients
There is an honesty to Quick and Easy Fairy Bread that I admire. With just white bread, salted butter, and nonpareils sprinkles hundreds and thousands, you can make something celebratory without a special grocery run. I keep those items on hand for impromptu celebrations and last minute entertaining.
Visually joyful
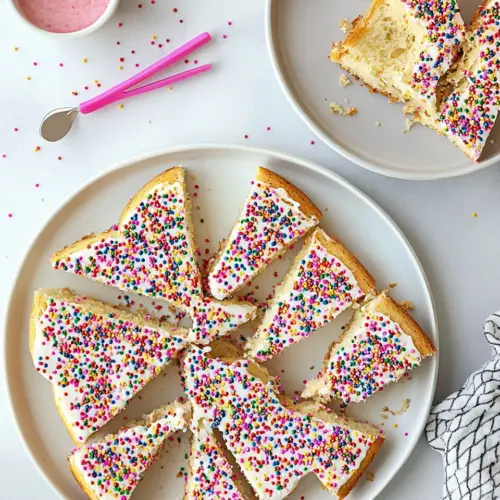
I find presentation matters. The scattered color of the nonpareils sprinkles hundreds and thousands looks stunning against the pale canvas of the buttered white bread. It photographs beautifully, and that makes it great for social occasions or for brightening up a gloomy day.
Flexible and forgiving
This recipe tolerates variation, and that comfort level is something I value. I have tried thicker slices, thinner slathers of salted butter, and different sprinkle densities, and each variation still delivers a happy result. It is simple enough for novices, and yet it still elicits genuine delight from seasoned snack lovers.
Ingredients for Quick and Easy Fairy Bread

These ingredients are intentionally straightforward, chosen to work in harmony. The soft texture of white bread provides a tender base, while the salted butter adds a creamy, slightly savory layer that helps the nonpareils sprinkles hundreds and thousands adhere. Together they create a pleasing contrast of tender bread, rich butter, and crunchy, sweet sprinkles, which is why this combination endures.
- white bread: Soften and spread easily at room temperature, providing a rich, creamy layer that helps sprinkles adhere to the bread while contributing a mild, buttery flavor that balances the sweetness.
- salted butter room temperature: Remain lightly salted to enhance overall flavor and counter sweetness; spread thinly and evenly to create a tacky surface that secures the sprinkles and ensures each bite has consistent texture and taste.
- nonpareils sprinkles hundreds and thousands: Provide bright, crunchy decoration with varied colors and tiny spherical shapes that add playful texture and visual appeal; sprinkle generously over buttered bread to create the classic fairy-bread appearance children enjoy.
Preparation Steps for Quick and Easy Fairy Bread
These steps are short and approachable, but I like to give each one a bit of context so you know what to expect and how to avoid small slip ups. Keep your tools nearby and your sprinkles in an easy to reach bowl.
- Spread a generous amount of butter on however many slices of bread you’d like, making sure to go all the way to the edge.: The first sensory cue you will notice is the smooth, slightly glossy sheen of the salted butter as it meets the surface of the white bread , and the gentle resistance as your knife glides, indicating the butter is at the correct softness. Doing this all the way to the edge ensures that every bite has a consistent balance of bread and butter, preventing dry corners. A common mistake is using butter that is too cold, which tears the bread, or too warm, which soaks through; aim for spreadable firmness. Work with a flat, broad knife to get an even layer, pressing lightly to avoid compressing the loaf. Smell-wise, you may catch a faint dairy richness and a hint of salt that will play well with the sweet sprinkles later. The visual should be a thin, even coat that looks slightly glossy, not greasy. If your bread compresses, give it a brief rest to rebound before continuing.
- Sprinkle the nonpareils over the butter until it is completely covered.: As you tap the tiny beads onto the butter, you will hear a soft pattering and see the rainbow colors accumulate, creating a confetti effect that visually signals success. Pressing the nonpareils sprinkles hundreds and thousands gently into the salted butter helps them adhere and prevents them from slipping off when you lift the slice. The tactile sensation is playful, and you will notice a subtle crunch forming once a few bites are taken. Avoid dumping too many sprinkles in one spot which can create uneven pockets that fall off during handling. If you want a denser coverage, sprinkle from a close distance to control distribution. The smell will remain mostly sweet and neutral, but the look becomes instantly festive. Clean up stray sprinkles promptly as they scatter easily.
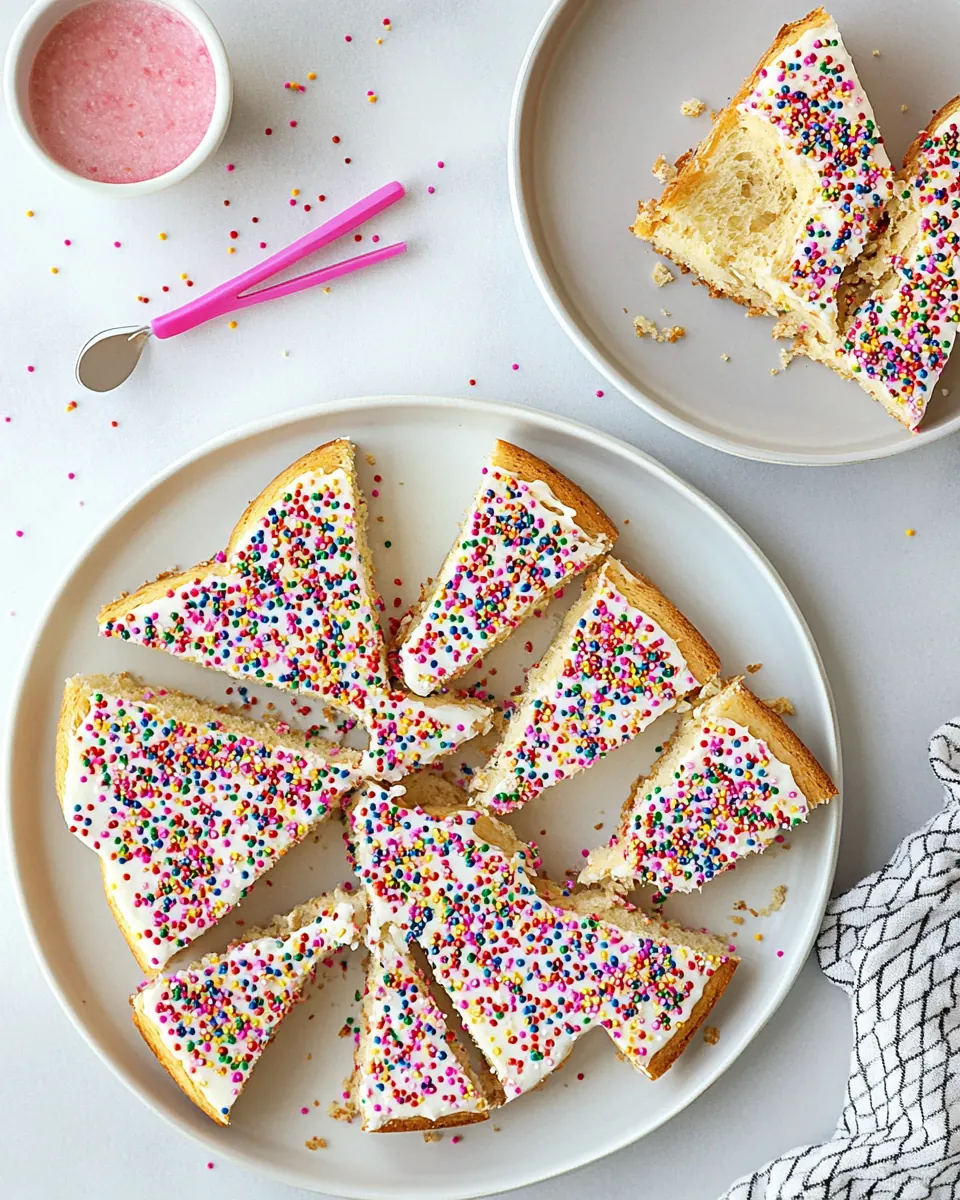
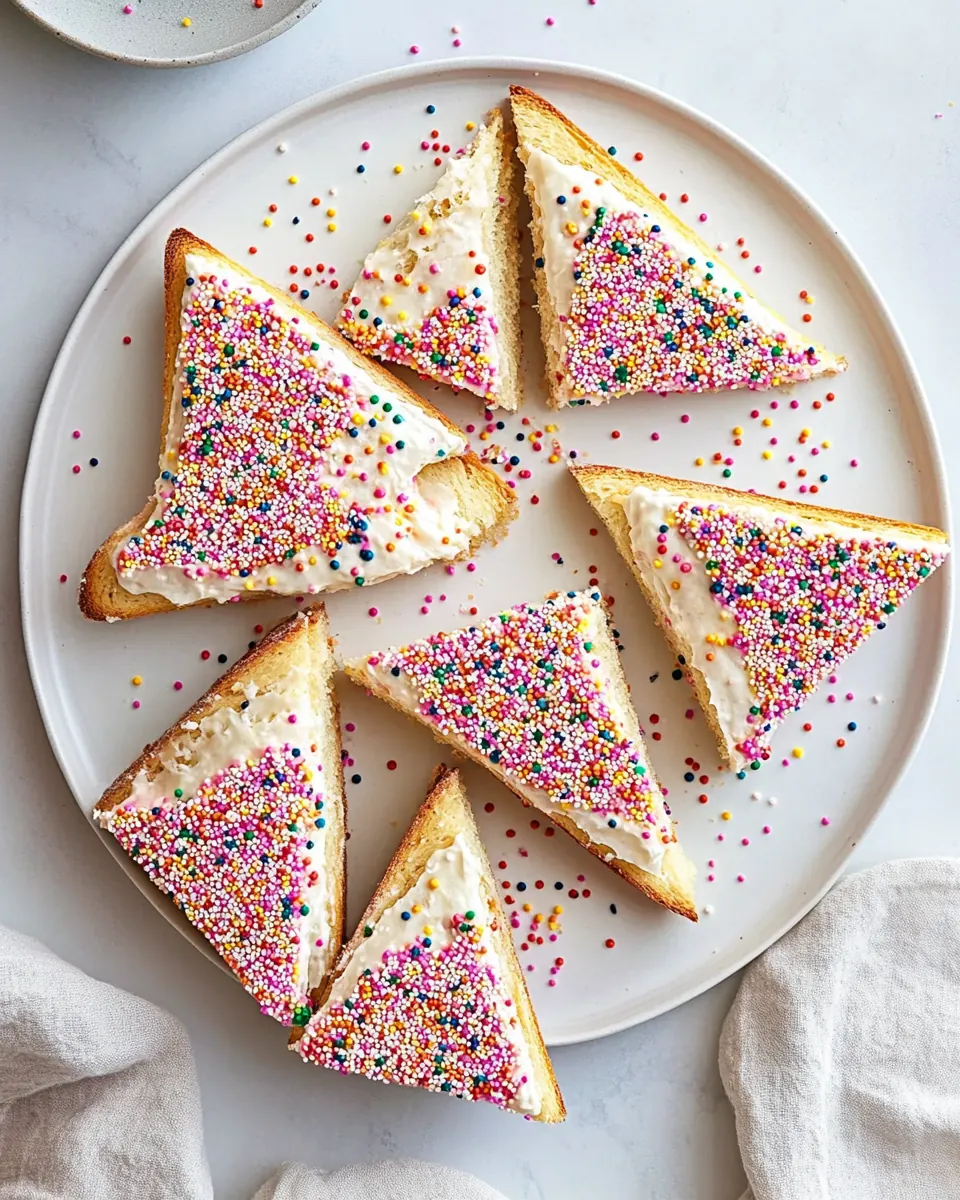
- Slice into triangles and enjoy!: When you cut through the buttery, bejeweled surface, the knife should glide with minimal drag, revealing a neat cross section where sprinkles sit on top of the white bread . The sound is soft, with a slight crinkle as the knife passes through the sprinkles and bread crumb. Triangular slices are classic and easy to eat, and the angled edges show off the colorful topping. A misstep here is pressing too hard while slicing, which can smoosh the bread and dislodge sprinkles; use a gentle sawing motion if your loaf is very soft. The first bite will give you contrast, a creamy smear of salted butter meeting the crunchy pop of the nonpareils sprinkles hundreds and thousands and the tender crumb of the white bread . Serve immediately for best texture, because if left too long the sprinkles can lose some of their crunch as the butter condition changes.
Expert Tips about Quick and Easy Fairy Bread

I like to treat these tips as small hacks that make the process smoother, neater, and more enjoyable. Below are practical pointers I rely on when making Quick and Easy Fairy Bread for friends and family.
- Prep your workspace: Clear a flat surface and use a tray to catch runaway sprinkles, which keeps cleanup manageable and prevents them scattering across the floor.
- Room temperature matters: Keep the salted butter soft but not melted, so it spreads without tearing and holds the nonpareils sprinkles hundreds and thousands in place.
- Even coverage: Spread the butter all the way to the edges to ensure each bite has flavor and that the sprinkles adhere uniformly.
- Control distribution: Sprinkle from close to the bread for targeted coverage, and tap off excess to minimize waste and mess.
- Serve promptly: For the best contrast in texture, present the sandwiches right after slicing so the sprinkles remain crisp.
Side Dish Ideas for Quick and Easy Fairy Bread
This simple treat pairs well with many light accompaniments and works for a range of events from casual snacks to festive gatherings. Below are serving ideas, occasions, and storage notes to help you present Quick and Easy Fairy Bread in the best light.
- Afternoon tea pairing: Serve with small cups of milk or mild herbal tea for a child friendly afternoon spread, balancing the sweetness with a soothing drink.
- Party platter: Arrange triangles on a colorful platter alongside plain buttered soldiers so guests can choose between playful and classic options.
- Birthday celebrations: Use as a whimsical finger food at birthday parties, especially for young children who love the bright colors and simple flavors.
- Picnic friendly: Pack the slices in a shallow container with parchment paper layers to keep them intact during transport for outdoor gatherings.
- Storage tip: If you must store leftovers, place them in an airtight container for a short period, but expect the sprinkles to soften over time as the butter interacts with them.
- Seasonal variations: For holidays or themed events, swap the nonpareils sprinkles hundreds and thousands for color specific mixes to coordinate with the occasion.
FAQ
Conclusion
Quick and Easy Fairy Bread stands out for its joyful simplicity and instant party appeal. It combines soft white bread, creamy salted butter, and crunchy nonpareils sprinkles hundreds and thousands to create a treat that is both playful and satisfying. Give it a try next time you need a bright, last minute snack or a kid friendly centerpiece; it is quick to assemble and always brings smiles. I hope you enjoy making this small, colorful ritual and that it becomes a nostalgic favorite in your home as it is in mine.
Quick and Easy Fairy Bread
Equipment
- Knife
- Shallow Bowl
- Cutting Board
Ingredients
- white bread Soften and spread easily at room temperature, providing a rich, creamy layer that helps sprinkles adhere to the bread while contributing a mild, buttery flavor that balances the sweetness.
- salted butter room temperature Remain lightly salted to enhance overall flavor and counter sweetness; spread thinly and evenly to create a tacky surface that secures the sprinkles and ensures each bite has consistent texture and taste.
- nonpareils sprinkles hundreds and thousands Provide bright, crunchy decoration with varied colors and tiny spherical shapes that add playful texture and visual appeal; sprinkle generously over buttered bread to create the classic fairy-bread appearance children enjoy.
Instructions
- Spread a generous amount of butter on however many slices of bread you’d like, making sure to go all the way to the edge.: The first sensory cue you will notice is the smooth, slightly glossy sheen of the salted butter as it meets the surface of the white bread , and the gentle resistance as your knife glides, indicating the butter is at the correct softness. Doing this all the way to the edge ensures that every bite has a consistent balance of bread and butter, preventing dry corners. A common mistake is using butter that is too cold, which tears the bread, or too warm, which soaks through; aim for spreadable firmness. Work with a flat, broad knife to get an even layer, pressing lightly to avoid compressing the loaf. Smell-wise, you may catch a faint dairy richness and a hint of salt that will play well with the sweet sprinkles later. The visual should be a thin, even coat that looks slightly glossy, not greasy. If your bread compresses, give it a brief rest to rebound before continuing.
- Sprinkle the nonpareils over the butter until it is completely covered.: As you tap the tiny beads onto the butter, you will hear a soft pattering and see the rainbow colors accumulate, creating a confetti effect that visually signals success. Pressing the nonpareils sprinkles hundreds and thousands gently into the salted butter helps them adhere and prevents them from slipping off when you lift the slice. The tactile sensation is playful, and you will notice a subtle crunch forming once a few bites are taken. Avoid dumping too many sprinkles in one spot which can create uneven pockets that fall off during handling. If you want a denser coverage, sprinkle from a close distance to control distribution. The smell will remain mostly sweet and neutral, but the look becomes instantly festive. Clean up stray sprinkles promptly as they scatter easily.
- Slice into triangles and enjoy!: When you cut through the buttery, bejeweled surface, the knife should glide with minimal drag, revealing a neat cross section where sprinkles sit on top of the white bread . The sound is soft, with a slight crinkle as the knife passes through the sprinkles and bread crumb. Triangular slices are classic and easy to eat, and the angled edges show off the colorful topping. A misstep here is pressing too hard while slicing, which can smoosh the bread and dislodge sprinkles; use a gentle sawing motion if your loaf is very soft. The first bite will give you contrast, a creamy smear of salted butter meeting the crunchy pop of the nonpareils sprinkles hundreds and thousands and the tender crumb of the white bread . Serve immediately for best texture, because if left too long the sprinkles can lose some of their crunch as the butter condition changes.
Notes
- Prep your workspace: Clear a flat surface and use a tray to catch runaway sprinkles, which keeps cleanup manageable and prevents them scattering across the floor.
- Room temperature matters: Keep the salted butter soft but not melted, so it spreads without tearing and holds the nonpareils sprinkles hundreds and thousands in place.
- Even coverage: Spread the butter all the way to the edges to ensure each bite has flavor and that the sprinkles adhere uniformly.
- Control distribution: Sprinkle from close to the bread for targeted coverage, and tap off excess to minimize waste and mess.
- Serve promptly: For the best contrast in texture, present the sandwiches right after slicing so the sprinkles remain crisp.