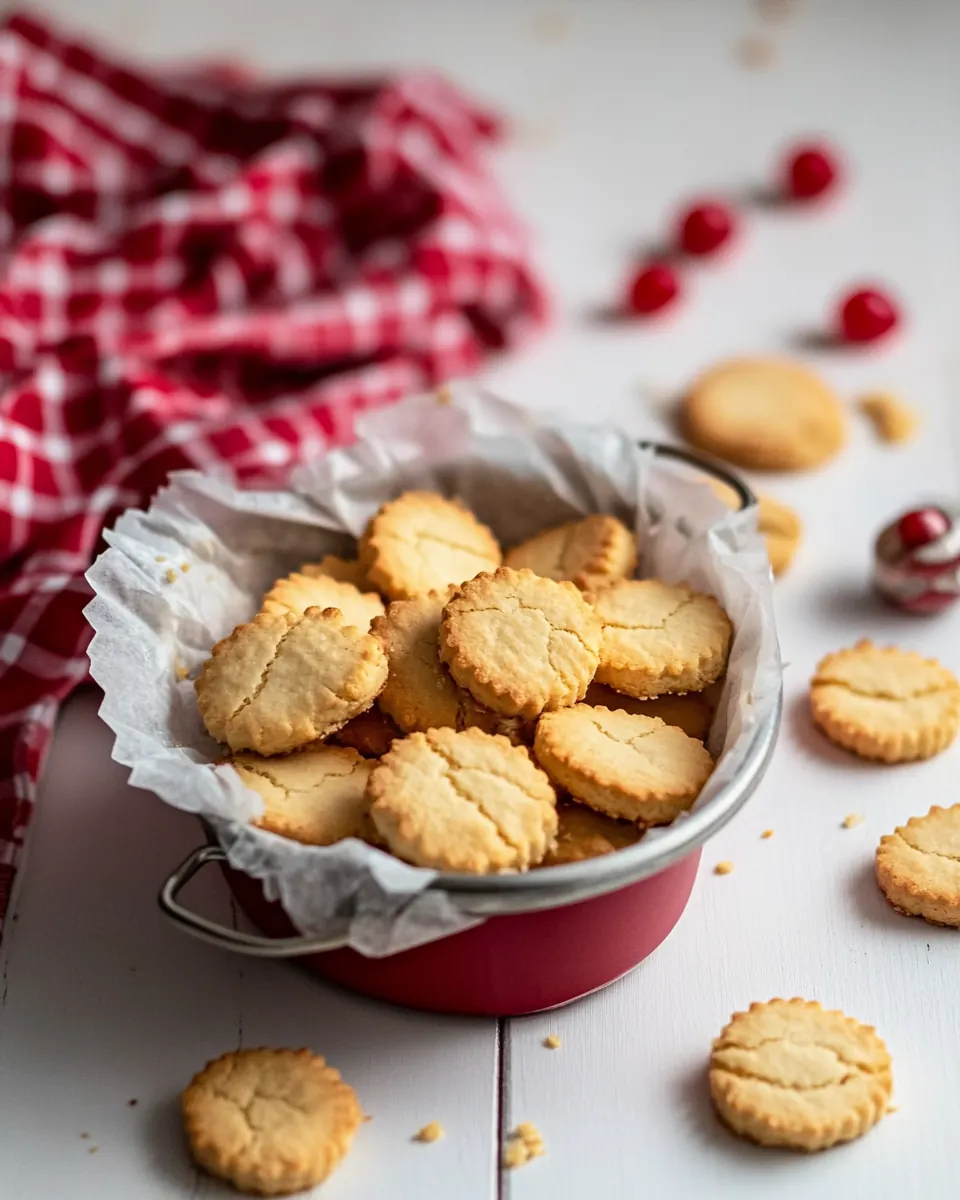
The Best Ever Whipped Vanilla Shortbread Biscuits
The Best Ever Whipped Vanilla Shortbread Biscuits came into my baking lane on a rainy afternoon when I wanted something both comforting and a little celebratory. I remember pulling a battered mixing bowl from the cupboard, feeling a quiet sort of excitement because these biscuits promised simplicity, a tender crumb, and a nostalgic vanilla scent that filled the kitchen. From that first batch, they became my go to when I wanted to bring a plate to a neighbor or keep a jar on the counter for unexpected guests.
My family and I have adapted the technique over time. At one point I switched out piping for dropped teaspoonfuls when time was tight, and another season we decorated them with bright sprinkles and halved glacé cherries to make afternoons feel festive. Baking these became an occasion, a low fuss way to include children in measuring, piping, and, of course, the proud moment of placing the finished biscuits on a cooling rack. I love how they travel well to picnics and tea time, and how the delicate crumb sings of butter and vanilla without being cloying.
Recipe Snapshot
30 mins
10 mins
20 mins
Easy
150 kcal
American
Gluten-Free, Low FODMAP
Desserts
Electric mixer, Mixing bowl, Piping bag, Baking trays, Cooling rack
The Appeal of This The Best Ever Whipped Vanilla Shortbread Biscuits
1. A supremely tender texture
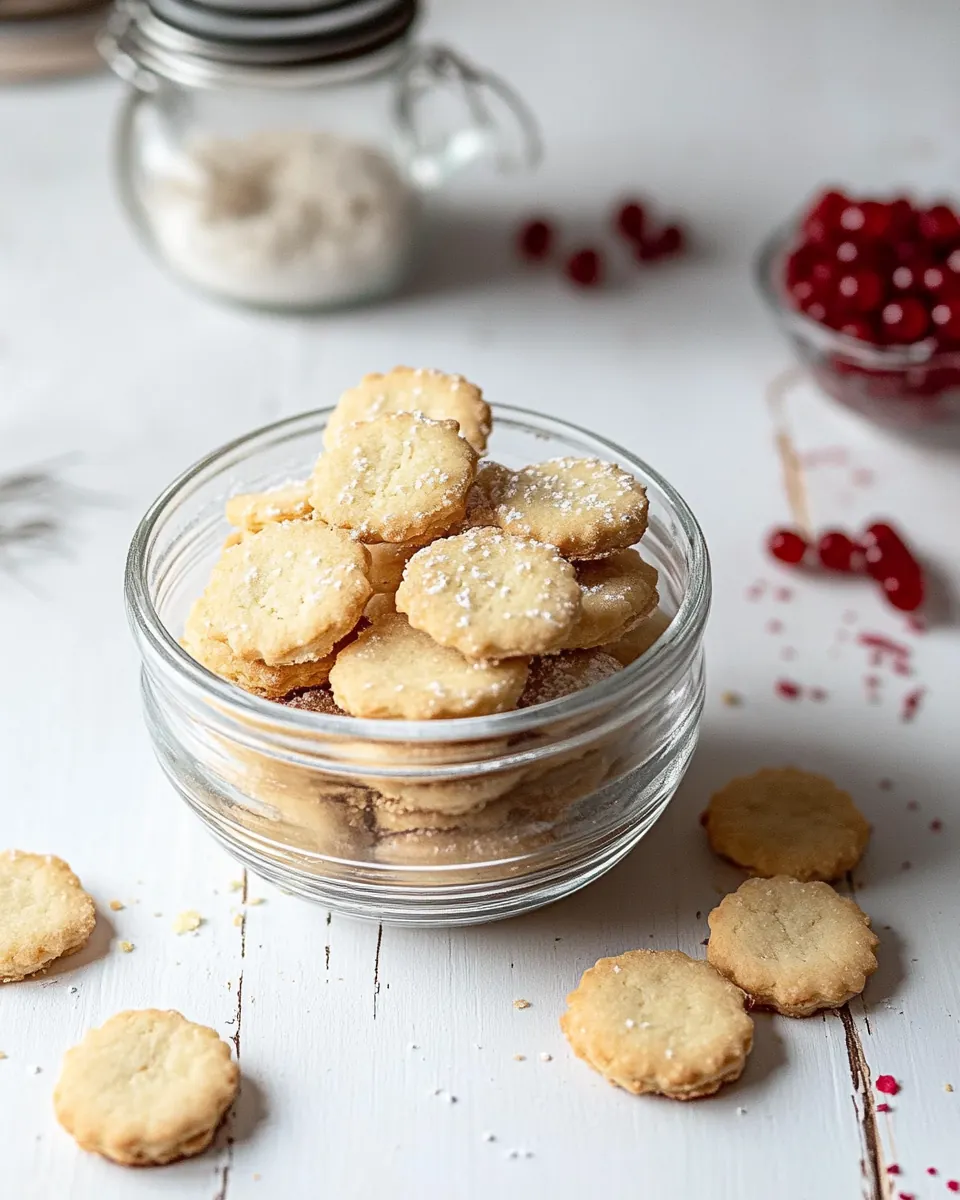
I adore how The Best Ever Whipped Vanilla Shortbread Biscuits deliver a melt in your mouth texture. Because we whip the butter until it is airy, the final biscuit is feather light, rather than dense. This matters, since a heavy shortbread can feel stale quickly, while these stay delicate and inviting.
2. Pure, simple flavor focus
We keep the flavor list short and deliberate, so the vanilla extract and butter truly shine. With only a few subtle players like icing sugar and cornflour, nothing competes. I find this clarity comforting, because each bite tastes clean and nostalgic.
3. Kid friendly and fun to decorate
These biscuits are playful to finish. When I bake with kids, the decorating step becomes the highlight. Whether you use sprinkles or halved glacé cherries, it is an easy way to personalize each biscuit, and the results always make everyone grin.
4. Scales for a crowd
This recipe yields a large batch, which I appreciate for parties and school events. I often halve the batch for weekday baking, but when I want to stock up or gift tins to neighbors, the full yield is perfect. Making a big batch means fewer repeated baking sessions, which saves time and energy.
5. Versatile shaping methods
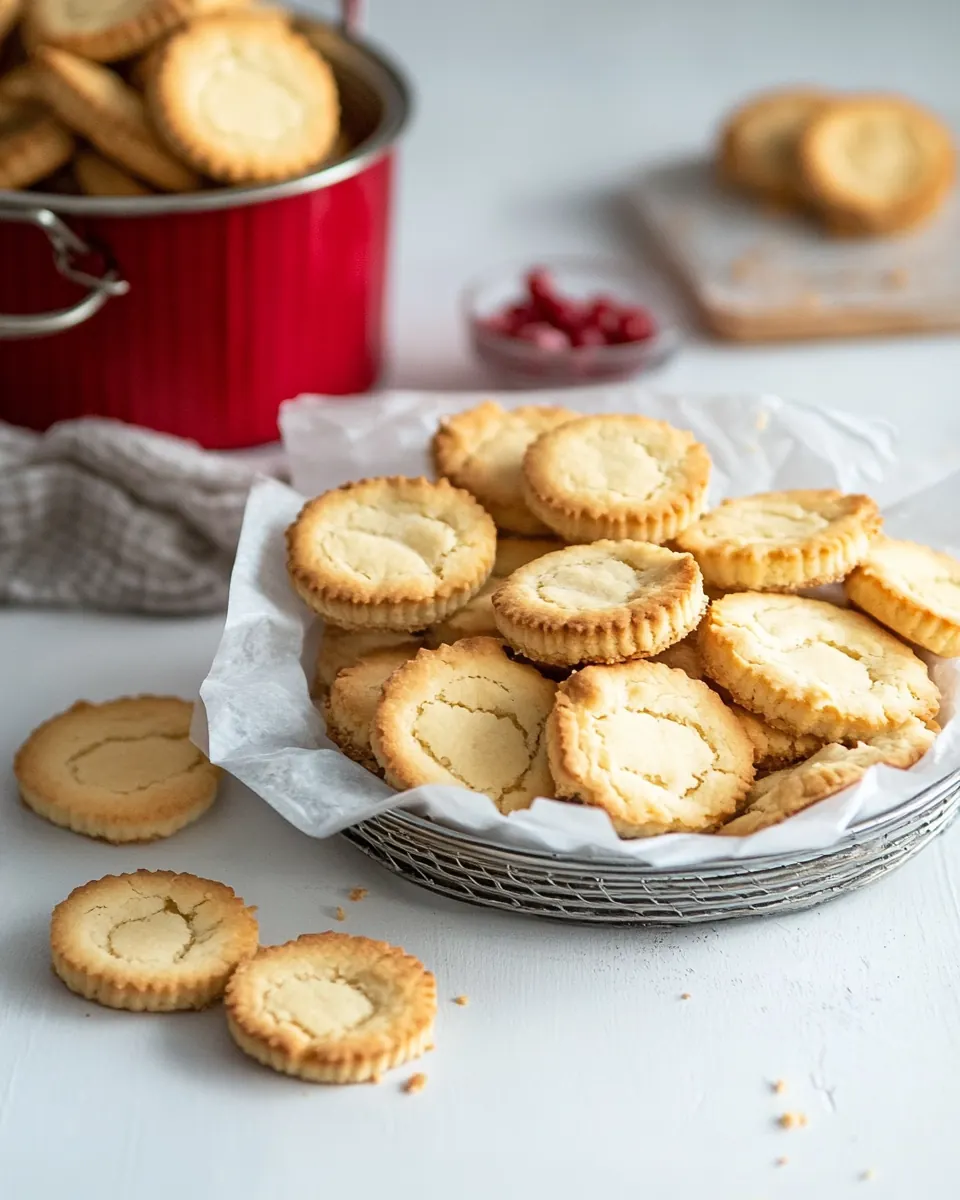
We can pipe neat rounds for consistent shapes or drop teaspoonfuls for a rustic look. I like piping when I want uniformity, and dropping when I want a more homey appearance. Both techniques produce the same delicate crumb, so you can choose based on how much time you have and how you want the final presentation to look.
Recipe Ingredients for The Best Ever Whipped Vanilla Shortbread Biscuits
These ingredients are intentionally minimal, each one playing a clear role in texture and flavor. The butter is the backbone for richness and mouthfeel. The icing sugar sweetens gently while contributing to a tender crumb, and the cornflour keeps the bite light and slightly tender. The cake flour provides structure without toughness, and the vanilla extract brings aromatic warmth. The decorations add visual charm and a contrasting crunch.
- 500 g m butter room temperature: Softens and enriches the dough by providing moisture, tenderness, and a rich mouthfeel; room temperature butter whips easily with sugar to incorporate air for lighter, melt-in-the-mouth biscuits. Contributes to the shortbread texture by coating flour proteins, limiting gluten formation and creating a crumbly structure when baked.
- 130 g m icing sugar: Sweetens and helps create a fine, smooth texture when creamed with butter; icing sugar dissolves quickly into the fat, preventing grittiness and promoting aeration. A small amount also aids in achieving a delicate crust and balanced sweetness in each biscuit.
- 60 g m cornflour: Lightens the crumb and contributes to a tender, melt-away texture by reducing gluten development when mixed with flours; cornflour adds silkiness and a subtle tenderness. Used in shortbread to produce a finer, softer bite and to help control moisture.
- 420 g m cake flour: Provides the primary structure and bulk for the biscuits; cake flour's lower protein content yields a delicate, tender crumb ideal for shortbread. Blended with cornflour, it creates a fine, soft texture while supporting shape and bake stability.
- 5 ml vanilla extract: Adds aromatic vanilla flavor and enhances overall sweetness perception; vanilla extract brings warm, familiar notes that complement the buttery shortbread. A small amount infuses the dough with depth without overpowering the delicate texture.
- decorations of your choice halved glacé cherries, coloured sprinkles, hundreds and thousands, etc.: Provides visual appeal and festive finishing touches when applied after baking; halved glacé cherries, sprinkles, and hundreds and thousands add color and textural contrast. Used sparingly, decorations elevate presentation while keeping the shortbread's classic buttery flavor prominent.
Preparation Steps for The Best Ever Whipped Vanilla Shortbread Biscuits
I like to move steadily through these steps, keeping tools close and an eye on texture. Below I expand the directions into rich, sensory guidance so you can sense when things are right and avoid common pitfalls.
- Preheat the oven to 180 °C. Line 2 large baking trays with silicone sheets or baking paper.: You should feel the kitchen warming as the oven approaches 180 °C , and the aroma from a warm oven feels reassuring. Proper tray preparation ensures even baking and easy release, so line two large trays with silicone sheets or baking paper to prevent sticking. If you crowd the tray, biscuits will spread into each other instead of keeping round shapes. One mistake is not rotating trays midway, which can cause uneven browning, so plan to swap positions halfway through baking.
- Using an electric mixer, cream the butter.: As you beat the softened butter , you should see it transform from pale and dense to light and slightly fluffy, with tiny air bubbles forming. This aeration is crucial for a tender texture, because trapped air expands in the oven and lifts the dough. If you rush this step, the butter will remain heavy and the biscuits will be dense. Avoid overheating the butter with vigorous mixing at high speed for too long, which can make it greasy and reduce the biscuit lift.
- Sift together the icing sugar, cornflour, and cake flour, then add this, along with the vanilla extract, to the creamed butter and beat until you have a light, fluffy dough.: When you sift the icing sugar , cornflour , and cake flour , you remove lumps and introduce air, producing a silkier dough. After adding the sifted dry ingredients and vanilla extract to the creamed butter , beat just until the mixture holds together as a pale, slightly billowy dough. You should notice a fine, delicate scent of vanilla and a smooth texture. Overmixing at this point develops gluten and can make the biscuits tougher, so stop as soon as the dough is cohesive. A common trap is adding extra liquid if the dough seems dry, which will change the texture and spreading behavior.
- To create evenly sized biscuits, put the mixture into a piping bag and pipe out rounds onto the baking tray, leaving space in between for the biscuits to spread. Alternatively, simply drop teaspoonfuls of the mixture onto the tray. Decorate any way you like.: Piping produces uniform rounds with pretty ridges, while dropping teaspoonfuls gives a more rustic look. As the dough hits the tray, you should notice a slight sheen and a smooth surface ready for decoration. Leave adequate space between rounds so they can spread to their natural size, and press halved glacé cherries or sprinkles gently onto the tops so they adhere. A frequent error is piping too close together which causes the biscuits to fuse; space them well and keep the tray level when transferring to the oven.
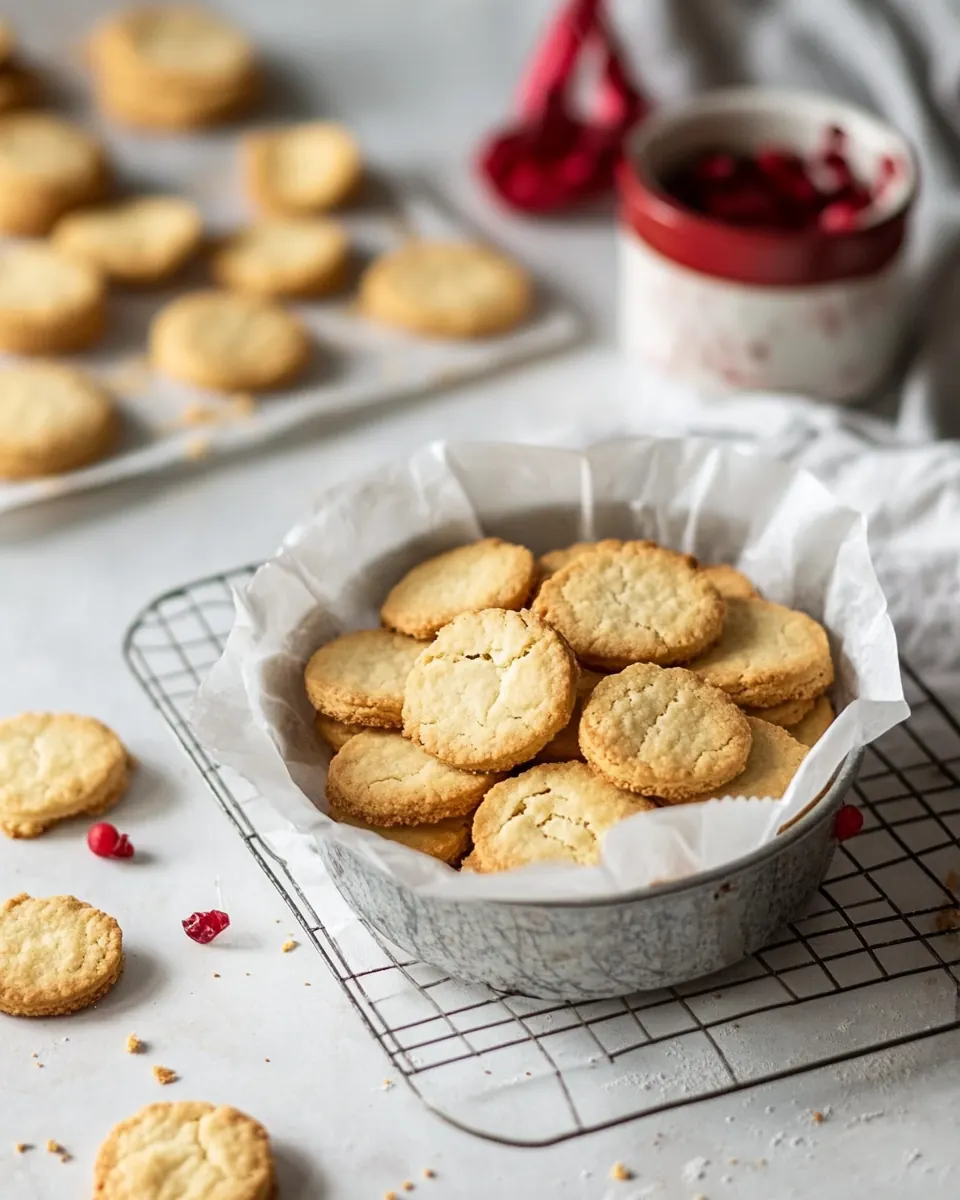
- Bake for 15–20 minutes, or until they just start browning on top. Leave to cool on a cooling rack.: During baking you will hear a quiet settling and see edges turn slightly paler gold while centers remain light, which signals readiness. Aim for the moment they just begin to brown on top; this ensures a tender center and a delicate, slightly crisp edge. Once out of the oven, transfer to a cooling rack so air circulates and they set without steaming underneath. Leaving them too long on a hot tray can lead to overbrowning, and underbaking will cause them to crumble. If you notice uneven browning, check oven temperature accuracy or rotate trays next time.
Helpful Notes about The Best Ever Whipped Vanilla Shortbread Biscuits
These notes expand on small choices that make a big difference when baking a large batch. I include ways to scale, store, and involve helpers while keeping texture and flavor consistent.
- Scale confidently: If you want fewer biscuits, halve the ingredients evenly, and remember baking time is similar, but check a few minutes earlier.
- Storage method: Keep cooled biscuits in an airtight container at room temperature for up to five days, layering with parchment to protect delicate surfaces.
- Freezing tips: Freeze unbaked piped rounds on a tray, then transfer to a sealed bag; bake from frozen, adding a minute or two to the time if needed.
- Kid friendly prep: Let children press decorations on the rounds, which is safe and builds excitement for eating the finished biscuits.
- Oven check: Ovens vary, so start checking at 12 minutes; look for the faintest golden edge to catch the perfect tender center.
What to Pair With The Best Ever Whipped Vanilla Shortbread Biscuits
These biscuits pair beautifully with simple beverages and seasonal accents, making them suitable for breakfast, tea, festive gatherings, or casual snacking. Below I describe serving ideas, storage suggestions, and occasion pairing in detail to help you present them with style.
- Tea time classics: Serve the biscuits with a pot of black tea or herbal blends. The tender texture and vanilla notes complement tea without overpowering it, and the sweetness balances astringent brews.
- Coffee pairing: A mild coffee or latte highlights the buttery crumb; arrange a small plate with biscuits and let guests dunk gently to soften the center.
- Party platter: Use the decorated biscuits to anchor a dessert tray. Combine with simple fruit and plain cookies for texture contrast and visual appeal at gatherings.
- Gift tins: Layer biscuits with parchment in shallow tins and add a ribbon. They make thoughtful homemade gifts for neighbors and friends, especially during holidays or school events.
- Storage for events: If preparing ahead, bake two days before and store in an airtight container; for longer storage freeze as directed in the tips and finish decorating just before serving.
- Seasonal touches: Use themed sprinkles or halved glacé cherries to reflect holidays or special occasions, giving the biscuits an immediate festive feel.
FAQ
Conclusion
These biscuits stand out for their light whipped texture and pure vanilla flavor, making them an easy favorite for gatherings and everyday treats. Give them a try the next time you want something simple but special, and you might find they become a repeat request in your home. Enjoy the process of whipping, piping, and decorating, and share a few with friends to spread the joy.
The Best Ever Whipped Vanilla Shortbread Biscuits
Equipment
- Electric Mixer
- Mixing Bowl
- Piping Bag
- Baking trays
- Cooling rack
Ingredients
- 500 g m butter room temperature Softens and enriches the dough by providing moisture, tenderness, and a rich mouthfeel; room temperature butter whips easily with sugar to incorporate air for lighter, melt-in-the-mouth biscuits. Contributes to the shortbread texture by coating flour proteins, limiting gluten formation and creating a crumbly structure when baked.
- 130 g m icing sugar Sweetens and helps create a fine, smooth texture when creamed with butter; icing sugar dissolves quickly into the fat, preventing grittiness and promoting aeration. A small amount also aids in achieving a delicate crust and balanced sweetness in each biscuit.
- 60 g m cornflour Lightens the crumb and contributes to a tender, melt-away texture by reducing gluten development when mixed with flours; cornflour adds silkiness and a subtle tenderness. Used in shortbread to produce a finer, softer bite and to help control moisture.
- 420 g m cake flour Provides the primary structure and bulk for the biscuits; cake flour's lower protein content yields a delicate, tender crumb ideal for shortbread. Blended with cornflour, it creates a fine, soft texture while supporting shape and bake stability.
- 5 ml vanilla extract Adds aromatic vanilla flavor and enhances overall sweetness perception; vanilla extract brings warm, familiar notes that complement the buttery shortbread. A small amount infuses the dough with depth without overpowering the delicate texture.
- decorations of your choice halved glacé cherries, coloured sprinkles, hundreds and thousands, etc. Provides visual appeal and festive finishing touches when applied after baking; halved glacé cherries, sprinkles, and hundreds and thousands add color and textural contrast. Used sparingly, decorations elevate presentation while keeping the shortbread's classic buttery flavor prominent.
Instructions
- Preheat the oven to 180 °C. Line 2 large baking trays with silicone sheets or baking paper.: You should feel the kitchen warming as the oven approaches 180 °C , and the aroma from a warm oven feels reassuring. Proper tray preparation ensures even baking and easy release, so line two large trays with silicone sheets or baking paper to prevent sticking. If you crowd the tray, biscuits will spread into each other instead of keeping round shapes. One mistake is not rotating trays midway, which can cause uneven browning, so plan to swap positions halfway through baking.
- Using an electric mixer, cream the butter.: As you beat the softened butter , you should see it transform from pale and dense to light and slightly fluffy, with tiny air bubbles forming. This aeration is crucial for a tender texture, because trapped air expands in the oven and lifts the dough. If you rush this step, the butter will remain heavy and the biscuits will be dense. Avoid overheating the butter with vigorous mixing at high speed for too long, which can make it greasy and reduce the biscuit lift.
- Sift together the icing sugar, cornflour, and cake flour, then add this, along with the vanilla extract, to the creamed butter and beat until you have a light, fluffy dough.: When you sift the icing sugar , cornflour , and cake flour , you remove lumps and introduce air, producing a silkier dough. After adding the sifted dry ingredients and vanilla extract to the creamed butter , beat just until the mixture holds together as a pale, slightly billowy dough. You should notice a fine, delicate scent of vanilla and a smooth texture. Overmixing at this point develops gluten and can make the biscuits tougher, so stop as soon as the dough is cohesive. A common trap is adding extra liquid if the dough seems dry, which will change the texture and spreading behavior.
- To create evenly sized biscuits, put the mixture into a piping bag and pipe out rounds onto the baking tray, leaving space in between for the biscuits to spread. Alternatively, simply drop teaspoonfuls of the mixture onto the tray. Decorate any way you like.: Piping produces uniform rounds with pretty ridges, while dropping teaspoonfuls gives a more rustic look. As the dough hits the tray, you should notice a slight sheen and a smooth surface ready for decoration. Leave adequate space between rounds so they can spread to their natural size, and press halved glacé cherries or sprinkles gently onto the tops so they adhere. A frequent error is piping too close together which causes the biscuits to fuse; space them well and keep the tray level when transferring to the oven.
- Bake for 15–20 minutes, or until they just start browning on top. Leave to cool on a cooling rack.: During baking you will hear a quiet settling and see edges turn slightly paler gold while centers remain light, which signals readiness. Aim for the moment they just begin to brown on top; this ensures a tender center and a delicate, slightly crisp edge. Once out of the oven, transfer to a cooling rack so air circulates and they set without steaming underneath. Leaving them too long on a hot tray can lead to overbrowning, and underbaking will cause them to crumble. If you notice uneven browning, check oven temperature accuracy or rotate trays next time.
Notes
- Scale confidently: If you want fewer biscuits, halve the ingredients evenly, and remember baking time is similar, but check a few minutes earlier.
- Storage method: Keep cooled biscuits in an airtight container at room temperature for up to five days, layering with parchment to protect delicate surfaces.
- Freezing tips: Freeze unbaked piped rounds on a tray, then transfer to a sealed bag; bake from frozen, adding a minute or two to the time if needed.
- Kid friendly prep: Let children press decorations on the rounds, which is safe and builds excitement for eating the finished biscuits.
- Oven check: Ovens vary, so start checking at 12 minutes; look for the faintest golden edge to catch the perfect tender center.