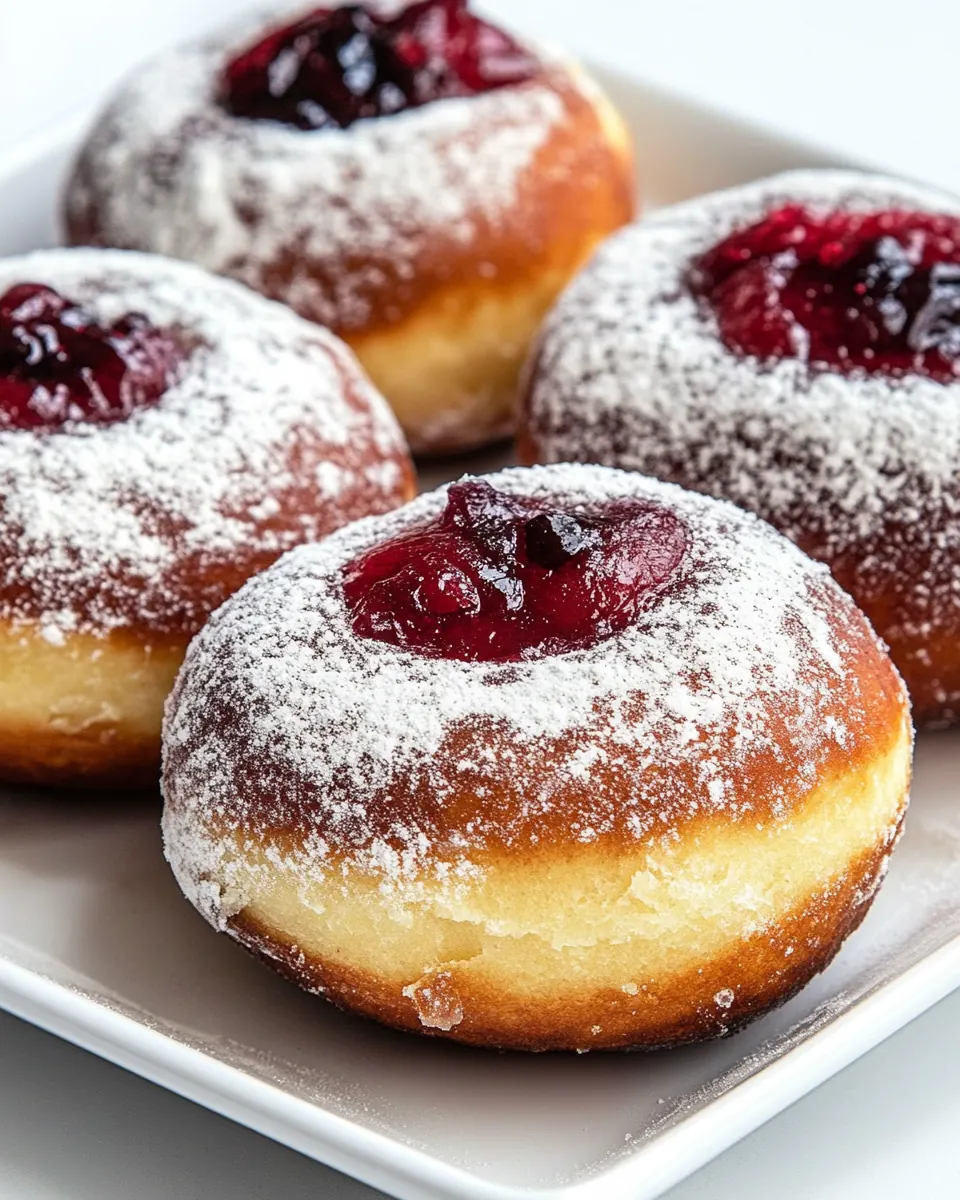
Paczki
Paczki have been one of my favorite weekend projects since I first tasted one at a small bakery during a snowy afternoon, and every bite still brings back that warm, slightly sticky joy.
I remember the hum of the kitchen and the smell of frying oil mingled with sweet jam, while I jotted notes on paper towels. That day I learned that making Paczki is as much about patience as it is about the dough, and the ritual of double rising transforms simple pantry staples into light, pillowy treats that feel celebratory. I liked chatting with the baker, trading tips about proofing and oil temperature, and walking away with a paper bag that steamed through by the time I reached the car.
Since then, I’ve adapted that memory into a straightforward method I make whenever I want something special, but not overly complicated. These Paczki are the kind I turn to when friends drop by unexpectedly, because the dough is forgiving and the filling options let you tailor each one to a different taste. Over the years, I’ve learned to watch the dough and trust the rises, and that small attentions like warming the milk and monitoring oil temperature change everything.
Recipe Snapshot
35 mins
15 mins
20 mins
Medium
250 kcal
Polish
Gluten-Free, Low FODMAP
Desserts
Mixing bowl, Stand mixer with dough hook, Rolling pin, Dutch oven or deep frying pan, Candy thermometer, Piping bag with tip
Why We Love This Paczki
Light, airy texture that feels handmade
I love how Paczki rise into soft, cloud like rounds. With the double proofing, the crumb becomes tender and airy, so each bite gives way without being gummy. I always pay attention to the dough feel rather than the clock, because that tactile cue tells me the yeast did its job.
Customizable sweet fillings
I adore the freedom to use whatever preserves I have on hand. Whether I reach for fruit preserves or something thicker like custard, the dough acts like a gentle vessel that highlights the filling. I often make a few flavors at once, and it feels like hosting a tiny tasting board at home.
Comforting, nostalgic flavor profile
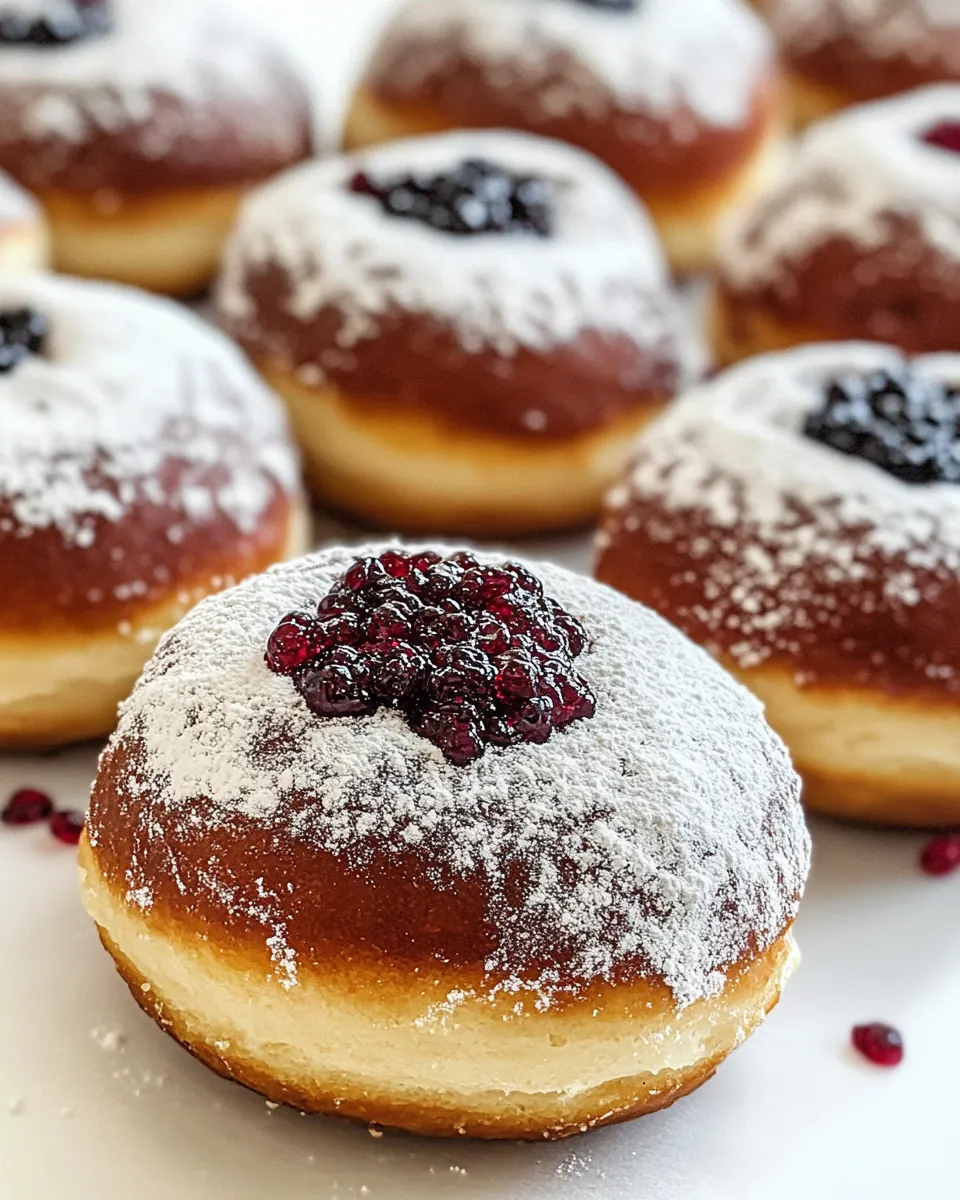
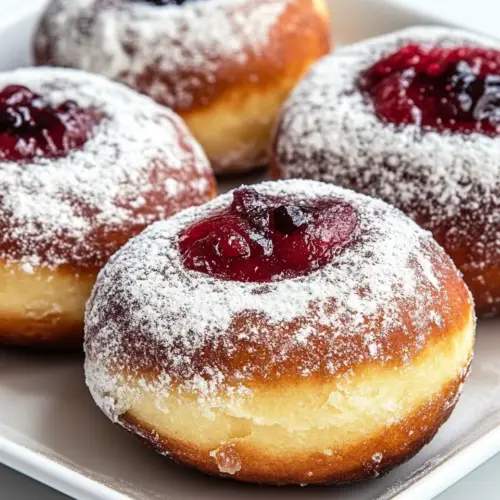
There is something deeply comforting about the combination of warm fried dough dusted in powdered sugar. For me, these flavors evoke holidays and family kitchens, and that cozy association makes them an instant favorite at gatherings. The simple mix of eggs, milk, and butter gives a rich, slightly eggy backbone that supports the sweet topping.
A hands on process that rewards attention
I appreciate recipes that invite involvement, and making Paczki is delightfully hands on. Kneading, rolling, cutting, and filling keep you involved, and you learn so much from the dough’s response. I find that this engagement makes the end result more satisfying, because you’ve invested time and senses into each step.
Great for making ahead and sharing
While these shine fresh, they travel well for a day or two, making them perfect for sharing. I often bring a box to neighbors or brunches, and the smiles prove they’re worth the effort. The recipe scales nicely, so you can feed a crowd without fuss when you plan ahead.
What to Buy for Paczki
The philosophy behind these ingredients is about balance and simplicity. A few quality staples combine to create a tender enriched dough that fries beautifully. The key players are the flour for structure, the eggs and butter for richness, and the yeast for lift. Meanwhile, the preserves and powdered sugar finish the experience with bright sweetness and inviting texture.
- 2 large eggs: Provide structure and richness to the dough while contributing moisture and aiding leavening; beaten to incorporate air and help create a tender crumb in the paczki.
- 1/2 cup milk (lukewarm): Add warmth and activate yeast while contributing to dough moisture; lukewarm temperature ensures yeast fermentation without killing the yeast.
- 2 tablespoons butter (unsalted, melted): Add fat and tenderness while enriching flavor; melted unsalted butter helps create a soft, rich dough without adding extra salt.
- 2 tablespoons sugar: Contribute sweetness and help with browning; sugar also feeds the yeast slightly and balances flavors in the fried pastry.
- 1/4 teaspoons salt: Enhance overall flavor balance and control sweetness; a small amount of salt strengthens gluten and brightens the dough's taste.
- 1 teaspoon vanilla extract: Provide aromatic flavor and sweetness to complement the filling; vanilla extract enhances the overall aroma of the paczki.
- 1 teaspoon instant yeast: Leaven the dough by producing carbon dioxide during fermentation; instant yeast quickly activates when mixed into dough for rise.
- 2 cups all-purpose flour: Form the bulk of the dough and provide gluten structure; all-purpose flour gives the paczki their chewy, pillowy texture.
- vegetable oil (for frying): Serve as the cooking medium for frying the paczki; neutral vegetable oil reaches and maintains the high temperatures needed for even frying.
- fruit preserves (for filling, such as raspberry or strawberry jam, custard, lemon curd): Provide a sweet, fruity or creamy center that contrasts with the fried dough; preserves or custards are piped into cooked paczki for filling.
- powdered sugar (for coating): Finish and sweeten the paczki with a light, decorative coating; powdered sugar adds a classic presentation and extra sweetness.
Putting Together Paczki
These directions walk you through mixing, proofing, shaping, frying, and filling. Stay present and use your senses, because dough behavior and oil temperature are where the recipe truly comes alive. Each step builds toward a light, tender interior and a golden exterior.
- In a medium size bowl combine the eggs, milk, butter, sugar, salt and vanilla extract. Add the yeast and mix well.: The bowl will smell faintly sweet and buttery as the eggs and butter come together, and the lukewarm milk releases a delicate warmth that helps the yeast awaken. You should sense a slightly glossy texture in the liquid mixture and see tiny bubbles appear after a bit if the yeast is active, which signals fermentation readiness. This step matters because a well blended wet mixture ensures even distribution of the yeast and flavor molecules, preventing pockets of dry or overly sweet dough later on. If the mixture feels cold, the yeast will lag behind, so pause and warm slightly if needed; conversely, too hot a mix will harm the yeast. A common mistake is adding the yeast to milk that is too hot, which can kill it and stall the rise, so always test the temperature on your wrist before combining.
- Add the flour to the bowl of your mixer, then pour in the milk/egg mixture. Using the dough hook, mix well until well incorporated. You will know that the dough is done when it comes clean from the sides of the bowl. The dough will be a soft dough.: As the flour hydrates, the texture changes from shaggy to elastic, and you will hear a gentle slapping sound as the dough hook works. Watch for the dough pulling away and leaving a clean bowl, that visual cue means gluten has developed enough to hold structure while remaining soft. The dough should feel supple, slightly tacky, and smooth to the touch. This stage is important because it creates the gluten network that traps gas pockets for lift, producing the classic airy crumb. If you mix too little, the dough will be dense, and if you overmix, the dough can become too tight and resist rising properly. A frequent error is adding too much flour at this stage; avoid correcting by dumping extra flour in quickly, instead knead briefly and assess texture carefully.
- Turn over the dough onto a floured surface and knead for a couple minutes, then place the dough in a bowl that's sprayed with cooking spray. I also like to spray the dough with some cooking spray so that it doesn't dry out. Cover with plastic wrap or a clean kitchen towel and let rise for a couple hours. The dough should double in size.: Kneading by hand adds warmth and refines the gluten, and you will notice the dough become even smoother and more elastic under your palms. Place it in a lightly oiled bowl so that the surface remains tender and does not form a crust. The aroma of yeast will grow faintly sweeter as the dough ferments, and over the next hour or two you will see the volume expand dramatically. Allowing the dough to double is crucial for that open, airy structure inside each Paczki . A typical mishap is rushing the rise in a cool kitchen; if your dough stalls, move the bowl to a warmer spot or extend the time until it truly doubles, rather than proceeding on the clock alone.
- Roll out the dough on a floured surface so that it's about 1/4 inch in thickness. Cut out rounds using a glass or a cookie cutter. Repeat with the remaining dough. Place the donuts on a baking sheet lined with parchment paper and let them rise again for about 30 minutes until doubled in size.: Rolling yields a soft, slightly springy sheet that smells of butter and yeast, and the 1/4 inch thickness gives the ideal ratio of exterior crust to tender interior. Cutting rounds produces clean edges that puff nicely, and the little piles of dough on parchment will puff into domed shapes as they proof. The second rise refines the interior pocketing and ensures the paczki cook through without compressing the crumb. If the rounds flatten during this stage, it’s often due to overhandling or a dough that was rolled too thin; handle each round gently and give them space to expand on the tray to avoid sticking together.
- Add about 3 inches of oil to a deep frying pan, I used a Dutch Oven. Before frying the donuts make sure the oil is hot, it needs to be 350℉. Fry the donuts, about 5 or 6 at a time until golden brown on both sides. Make sure you turn them on both sides to fry them evenly.: When the oil reaches a steady 350 degrees Fahrenheit, it will shimmer lightly and emit a faint, neutral scent. Carefully lower the dough rounds into the oil and listen for that consistent, medium sizzle which signals proper frying. The exterior will quickly turn a deep golden brown, and turning them ensures symmetrical color and even cooking. Maintaining temperature is critical because oil that is too hot will brown the outside before the center cooks, while oil that is too cool allows excess oil absorption, leaving the paczki greasy. A common trap is crowding the pan; frying too many at once drops the temperature drastically, so work in batches and use a thermometer to keep the heat constant.
- Transfer the donuts to a large bowl lined with paper towels to drain some of the excess oil. Allow them to cool until you are able to handle them.: The first sensation is the warmth radiating from the fried dough and a faint sweet butter aroma. Draining on paper towels helps wick away surface oil so the exterior stays crisp rather than oily. Letting them cool briefly also prevents the filling process from becoming messy, because overly hot paczki can make fillings run. If you try to fill them while piping hot, the pressure and heat may rupture the dough, so let them rest until they are warm but not scalding. A common oversight is skipping the draining step which leaves an oily sheen and masks the intended texture.
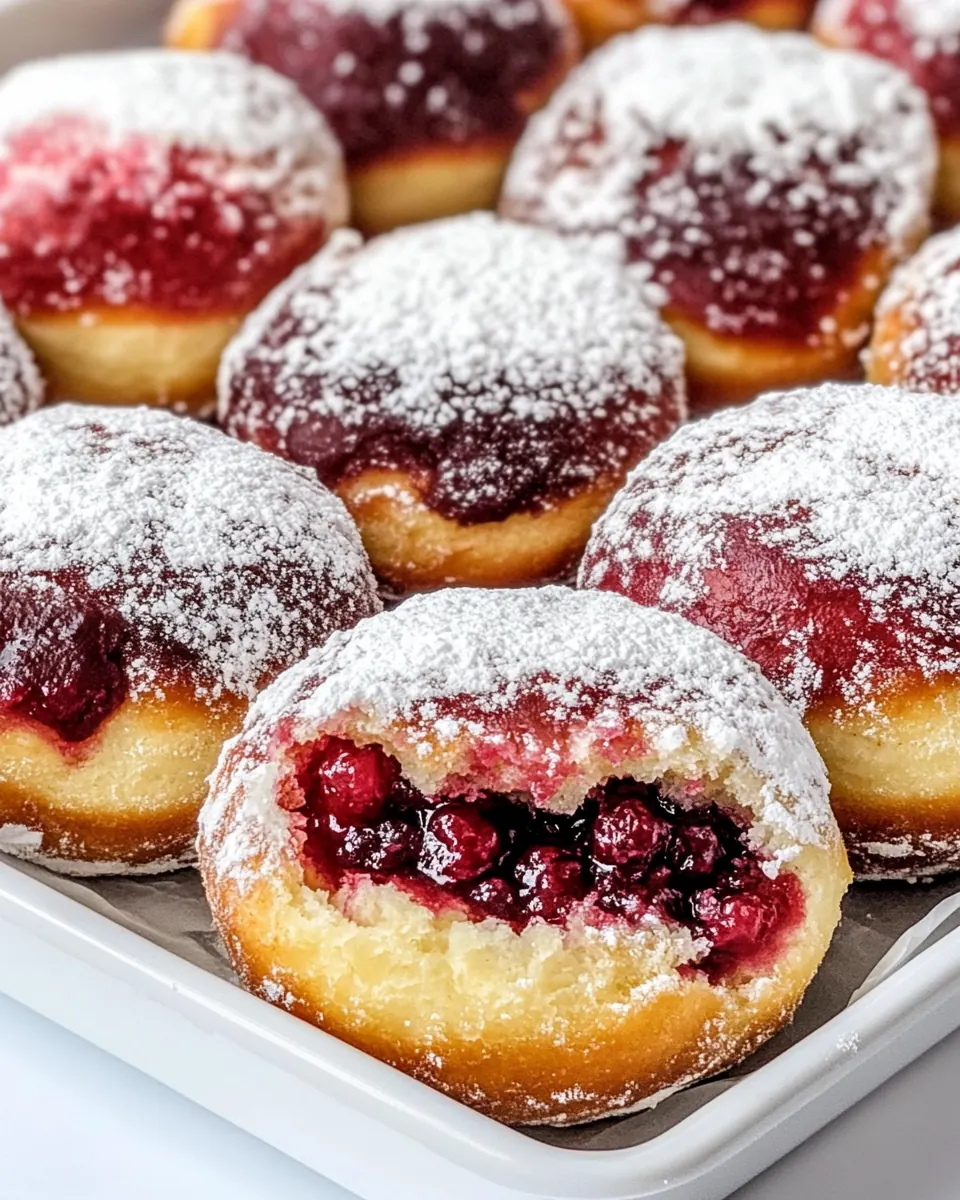
- Using a piping bag and a filling tip, pipe your favorite filling into the sides of the paczki.: When you insert the tip into the side and gently squeeze, you can often feel a slight give as the filling moves into the pocket, and the sound is a quiet plop as preserves settle. Go slow and monitor how full each paczek gets, because overfilling can cause splits and leaks that diminish presentation. The right amount of filling should be satisfying yet contained, so work methodically and pause if you see any bulging. If a paczek splits, either reduce pressure or switch to spooning and sealing the opening with a bit of powdered sugar to mask imperfections.
- Roll the donuts in powdered or granulated sugar then serve.: The final coating adds a soft matte finish and a delicate sweetness that contrasts the warm interior. Rolling also smooths any small surface flaws and gives a bakery finishing touch. When you bite in, the powedered sugar dusting will melt slightly into the warm dough, releasing the aroma of the filling and butter. Serve while still pleasantly warm for the best sensory experience, and avoid stacking them tightly which can bruise the coating and cause moisture transfer. One easy mistake is waiting too long to coat them, which reduces how well the sugar adheres to the dough.
Ways to Customize
There are simple ways to vary flavors and presentation while keeping the classic technique intact. Below are practical suggestions to experiment with fillings, coatings, and minor method tweaks, each beginning with a quick highlight to guide your choice.
- Try different preserves — Swap between raspberry, strawberry, or apricot preserves to create a range of fruit forward paczki that suit different palates.
- Use custard or lemon curd — For a creamy interior, pipe in custard or lemon curd which adds richness and a tangy contrast to the sweet dough.
- Adjust sugar coating — Dust with powdered sugar for a delicate finish or roll in granulated sugar for a slightly crunchier exterior.
- Control filling amount — Fill slowly with a piping bag to avoid burst paczki and to maintain neat presentation when serving.
- Scale the recipe — Double the batch for a crowd, keeping frying batches consistent to preserve oil temperature and texture.
What to Pair With Paczki
Paczki shine as a sweet centerpiece, and the right accompaniments elevate them for brunches, celebrations, or cozy afternoon tea. Below are thoughtful serving suggestions, storage guidance, and ideas for seasonal pairings to make the most of each batch.
- Serve with hot beverages — Pair Paczki with coffee or tea to balance the sweet, fried dough with warm aromatic drinks during brunch or a cozy afternoon snack.
- Offer a variety of fillings — Lay out multiple fruit preserves or custard options so guests can try different flavors and discover favorites.
- Present for celebrations — These are perfect for festive gatherings in winter months, and they make a lovely treat for holiday breakfasts or dessert tables.
- Storage for leftovers — Keep any extras in an airtight container at room temperature for up to two days, which preserves tenderness without sogginess.
- Seasonal pairings — In winter, pair with spiced hot drinks; in spring, lighter fruit preserves and floral teas accentuate the pastry’s airy quality.
- Transporting tips — Place paczki in a single layer with parchment between to avoid sticking when bringing them to a gathering.
FAQ
Conclusion
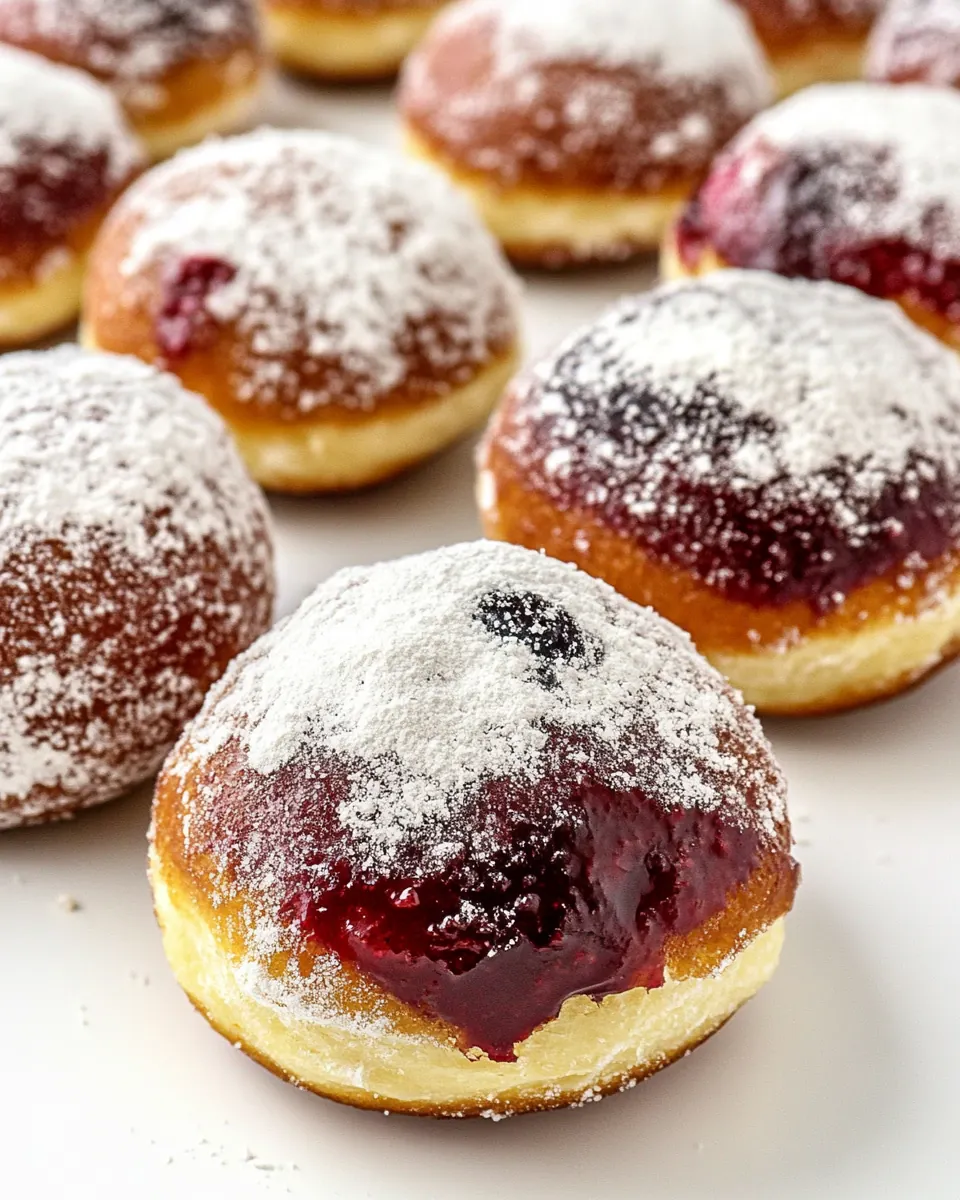
Paczki stand out for their pillowy texture and the joyful combination of warm fried dough with sweet, vibrant fillings. They reward a bit of time and attention with a bakery quality finish that feels celebratory and comforting. I encourage you to give this recipe a try, taking delight in the sensory moments from kneading the dough to that first warm bite dusted in powdered sugar. Share them with friends or savor them slowly, and enjoy the small ritual of making something by hand.
Paczki
Equipment
- Mixing Bowl
- Stand mixer with dough hook
- Rolling Pin
- Dutch oven or deep frying pan
- Candy thermometer
- Piping bag with tip
Ingredients
- 2 large eggs Provide structure and richness to the dough while contributing moisture and aiding leavening; beaten to incorporate air and help create a tender crumb in the paczki.
- 1/2 cup milk (lukewarm) Add warmth and activate yeast while contributing to dough moisture; lukewarm temperature ensures yeast fermentation without killing the yeast.
- 2 tablespoons butter (unsalted, melted) Add fat and tenderness while enriching flavor; melted unsalted butter helps create a soft, rich dough without adding extra salt.
- 2 tablespoons sugar Contribute sweetness and help with browning; sugar also feeds the yeast slightly and balances flavors in the fried pastry.
- 1/4 teaspoons salt Enhance overall flavor balance and control sweetness; a small amount of salt strengthens gluten and brightens the dough's taste.
- 1 teaspoon vanilla extract Provide aromatic flavor and sweetness to complement the filling; vanilla extract enhances the overall aroma of the paczki.
- 1 teaspoon instant yeast Leaven the dough by producing carbon dioxide during fermentation; instant yeast quickly activates when mixed into dough for rise.
- 2 cups all-purpose flour Form the bulk of the dough and provide gluten structure; all-purpose flour gives the paczki their chewy, pillowy texture.
- vegetable oil (for frying) Serve as the cooking medium for frying the paczki; neutral vegetable oil reaches and maintains the high temperatures needed for even frying.
- fruit preserves (for filling, such as raspberry or strawberry jam, custard, lemon curd) Provide a sweet, fruity or creamy center that contrasts with the fried dough; preserves or custards are piped into cooked paczki for filling.
- powdered sugar (for coating) Finish and sweeten the paczki with a light, decorative coating; powdered sugar adds a classic presentation and extra sweetness.
Instructions
- In a medium size bowl combine the eggs, milk, butter, sugar, salt and vanilla extract. Add the yeast and mix well.: The bowl will smell faintly sweet and buttery as the eggs and butter come together, and the lukewarm milk releases a delicate warmth that helps the yeast awaken. You should sense a slightly glossy texture in the liquid mixture and see tiny bubbles appear after a bit if the yeast is active, which signals fermentation readiness. This step matters because a well blended wet mixture ensures even distribution of the yeast and flavor molecules, preventing pockets of dry or overly sweet dough later on. If the mixture feels cold, the yeast will lag behind, so pause and warm slightly if needed; conversely, too hot a mix will harm the yeast. A common mistake is adding the yeast to milk that is too hot, which can kill it and stall the rise, so always test the temperature on your wrist before combining.
- Add the flour to the bowl of your mixer, then pour in the milk/egg mixture. Using the dough hook, mix well until well incorporated. You will know that the dough is done when it comes clean from the sides of the bowl. The dough will be a soft dough.: As the flour hydrates, the texture changes from shaggy to elastic, and you will hear a gentle slapping sound as the dough hook works. Watch for the dough pulling away and leaving a clean bowl, that visual cue means gluten has developed enough to hold structure while remaining soft. The dough should feel supple, slightly tacky, and smooth to the touch. This stage is important because it creates the gluten network that traps gas pockets for lift, producing the classic airy crumb. If you mix too little, the dough will be dense, and if you overmix, the dough can become too tight and resist rising properly. A frequent error is adding too much flour at this stage; avoid correcting by dumping extra flour in quickly, instead knead briefly and assess texture carefully.
- Turn over the dough onto a floured surface and knead for a couple minutes, then place the dough in a bowl that's sprayed with cooking spray. I also like to spray the dough with some cooking spray so that it doesn't dry out. Cover with plastic wrap or a clean kitchen towel and let rise for a couple hours. The dough should double in size.: Kneading by hand adds warmth and refines the gluten, and you will notice the dough become even smoother and more elastic under your palms. Place it in a lightly oiled bowl so that the surface remains tender and does not form a crust. The aroma of yeast will grow faintly sweeter as the dough ferments, and over the next hour or two you will see the volume expand dramatically. Allowing the dough to double is crucial for that open, airy structure inside each Paczki . A typical mishap is rushing the rise in a cool kitchen; if your dough stalls, move the bowl to a warmer spot or extend the time until it truly doubles, rather than proceeding on the clock alone.
- Roll out the dough on a floured surface so that it's about 1/4 inch in thickness. Cut out rounds using a glass or a cookie cutter. Repeat with the remaining dough. Place the donuts on a baking sheet lined with parchment paper and let them rise again for about 30 minutes until doubled in size.: Rolling yields a soft, slightly springy sheet that smells of butter and yeast, and the 1/4 inch thickness gives the ideal ratio of exterior crust to tender interior. Cutting rounds produces clean edges that puff nicely, and the little piles of dough on parchment will puff into domed shapes as they proof. The second rise refines the interior pocketing and ensures the paczki cook through without compressing the crumb. If the rounds flatten during this stage, it’s often due to overhandling or a dough that was rolled too thin; handle each round gently and give them space to expand on the tray to avoid sticking together.
- Add about 3 inches of oil to a deep frying pan, I used a Dutch Oven. Before frying the donuts make sure the oil is hot, it needs to be 350℉. Fry the donuts, about 5 or 6 at a time until golden brown on both sides. Make sure you turn them on both sides to fry them evenly.: When the oil reaches a steady 350 degrees Fahrenheit, it will shimmer lightly and emit a faint, neutral scent. Carefully lower the dough rounds into the oil and listen for that consistent, medium sizzle which signals proper frying. The exterior will quickly turn a deep golden brown, and turning them ensures symmetrical color and even cooking. Maintaining temperature is critical because oil that is too hot will brown the outside before the center cooks, while oil that is too cool allows excess oil absorption, leaving the paczki greasy. A common trap is crowding the pan; frying too many at once drops the temperature drastically, so work in batches and use a thermometer to keep the heat constant.
- Transfer the donuts to a large bowl lined with paper towels to drain some of the excess oil. Allow them to cool until you are able to handle them.: The first sensation is the warmth radiating from the fried dough and a faint sweet butter aroma. Draining on paper towels helps wick away surface oil so the exterior stays crisp rather than oily. Letting them cool briefly also prevents the filling process from becoming messy, because overly hot paczki can make fillings run. If you try to fill them while piping hot, the pressure and heat may rupture the dough, so let them rest until they are warm but not scalding. A common oversight is skipping the draining step which leaves an oily sheen and masks the intended texture.
- Using a piping bag and a filling tip, pipe your favorite filling into the sides of the paczki.: When you insert the tip into the side and gently squeeze, you can often feel a slight give as the filling moves into the pocket, and the sound is a quiet plop as preserves settle. Go slow and monitor how full each paczek gets, because overfilling can cause splits and leaks that diminish presentation. The right amount of filling should be satisfying yet contained, so work methodically and pause if you see any bulging. If a paczek splits, either reduce pressure or switch to spooning and sealing the opening with a bit of powdered sugar to mask imperfections.
- Roll the donuts in powdered or granulated sugar then serve.: The final coating adds a soft matte finish and a delicate sweetness that contrasts the warm interior. Rolling also smooths any small surface flaws and gives a bakery finishing touch. When you bite in, the powedered sugar dusting will melt slightly into the warm dough, releasing the aroma of the filling and butter. Serve while still pleasantly warm for the best sensory experience, and avoid stacking them tightly which can bruise the coating and cause moisture transfer. One easy mistake is waiting too long to coat them, which reduces how well the sugar adheres to the dough.
Notes
- Try different preserves — Swap between raspberry, strawberry, or apricot preserves to create a range of fruit forward paczki that suit different palates.
- Use custard or lemon curd — For a creamy interior, pipe in custard or lemon curd which adds richness and a tangy contrast to the sweet dough.
- Adjust sugar coating — Dust with powdered sugar for a delicate finish or roll in granulated sugar for a slightly crunchier exterior.
- Control filling amount — Fill slowly with a piping bag to avoid burst paczki and to maintain neat presentation when serving.
- Scale the recipe — Double the batch for a crowd, keeping frying batches consistent to preserve oil temperature and texture.