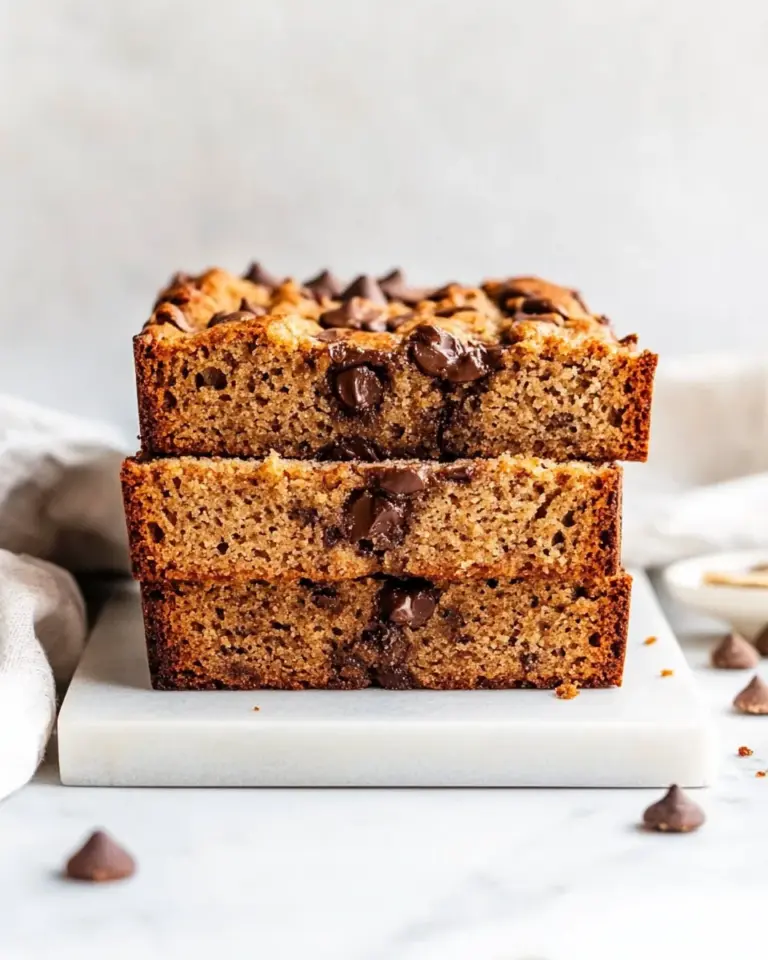
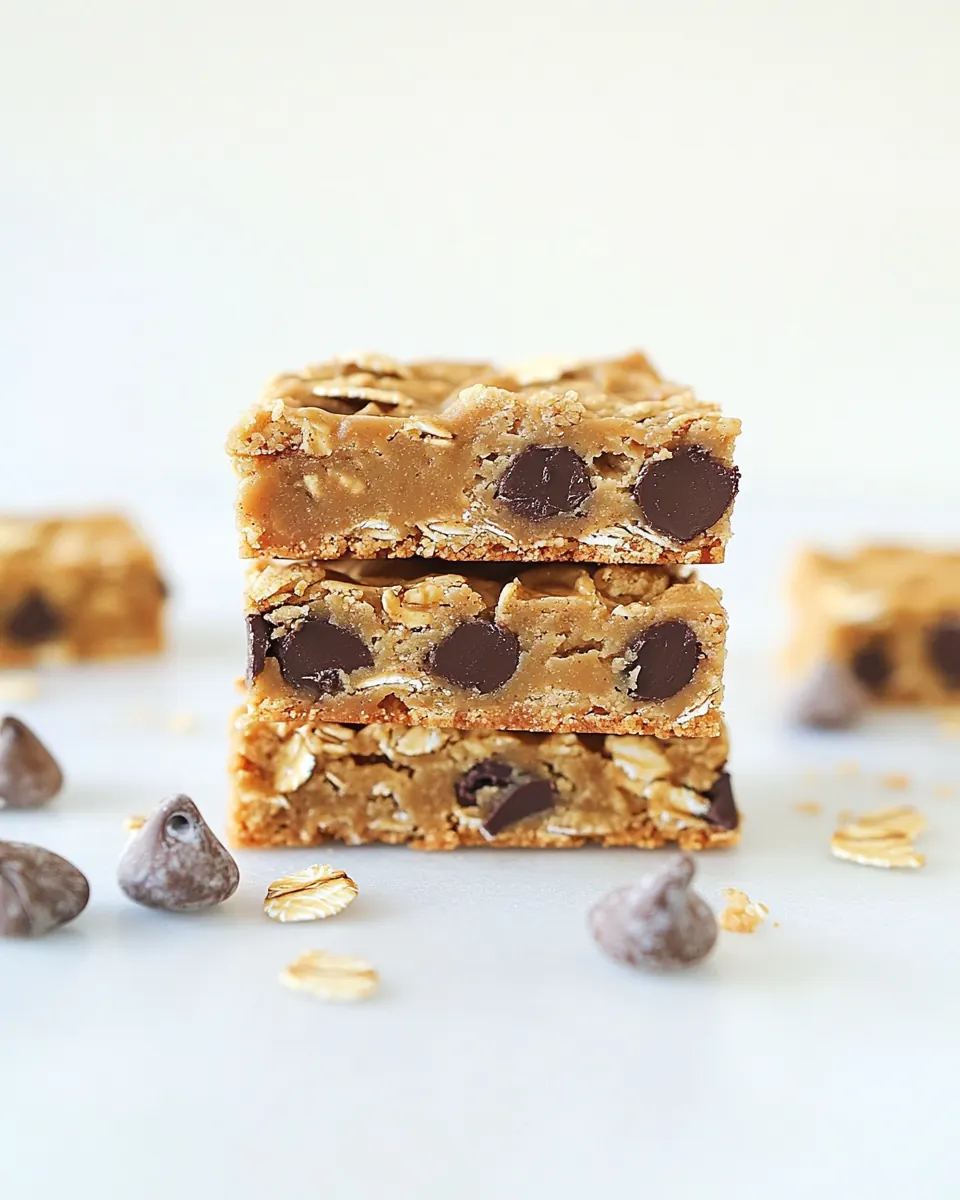
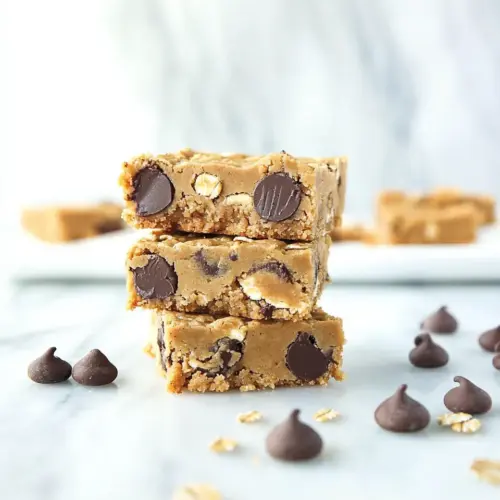
Oatmeal Peanut Butter Cookie Bars
Oatmeal Peanut Butter Cookie Bars have been a constant in my kitchen when I need something comforting that travels well to potlucks and school lunches.
I first made Oatmeal Peanut Butter Cookie Bars on a rainy afternoon when a stack of old recipe cards and a nearly empty jar of peanut butter were sitting on my counter. The kitchen smelled warm and nutty as the butter melted and brown sugar dissolved, and I remember thinking how a simple bar could feel like a hug. Over the years I have tweaked the mix ins and learned which little tricks keep the middle soft yet sliceable. Family members started asking for them at gatherings, and I began bringing them to casual get togethers rather than elaborate desserts.
One memorable batch followed a long hike, the bars packed in a small tin and handed out while we watched late afternoon light skim the trees. The crunch of the oats and the melt of chocolate chips always draws a smile, and I love how these bars balance chewy texture with pockets of peanut butter goodness. When I make them now I often think of that hike and the cozy kitchen afternoons that started it all.
Recipe Snapshot
43 mins
15 mins
28 mins
Easy
200 kcal
American
Gluten-Free, Low FODMAP
Desserts
Mixing bowls, Whisk, Spatula, 13 by 9 inch baking pan, Parchment paper
What Makes This Oatmeal Peanut Butter Cookie Bars Special
Chewy yet crisp texture that pleases everyone
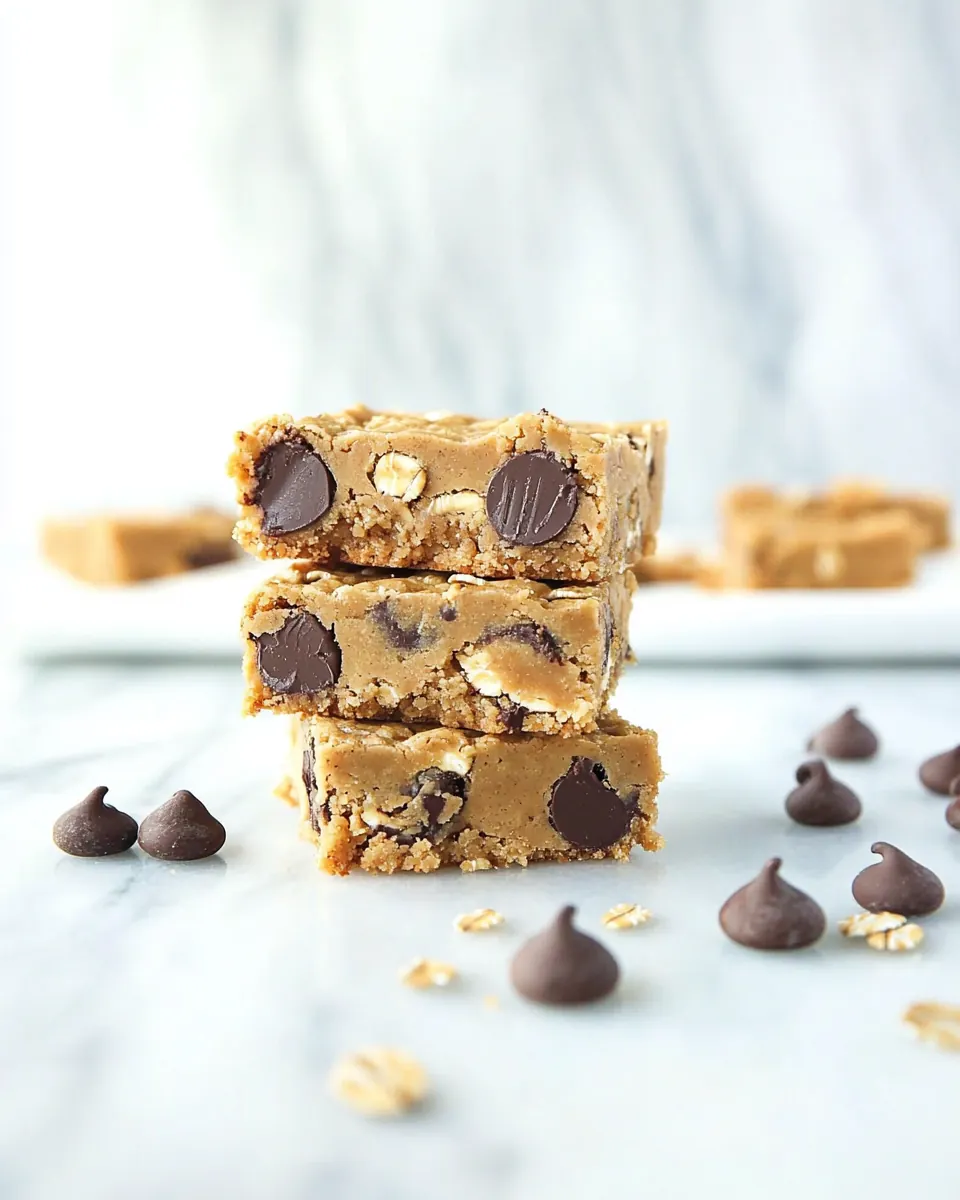
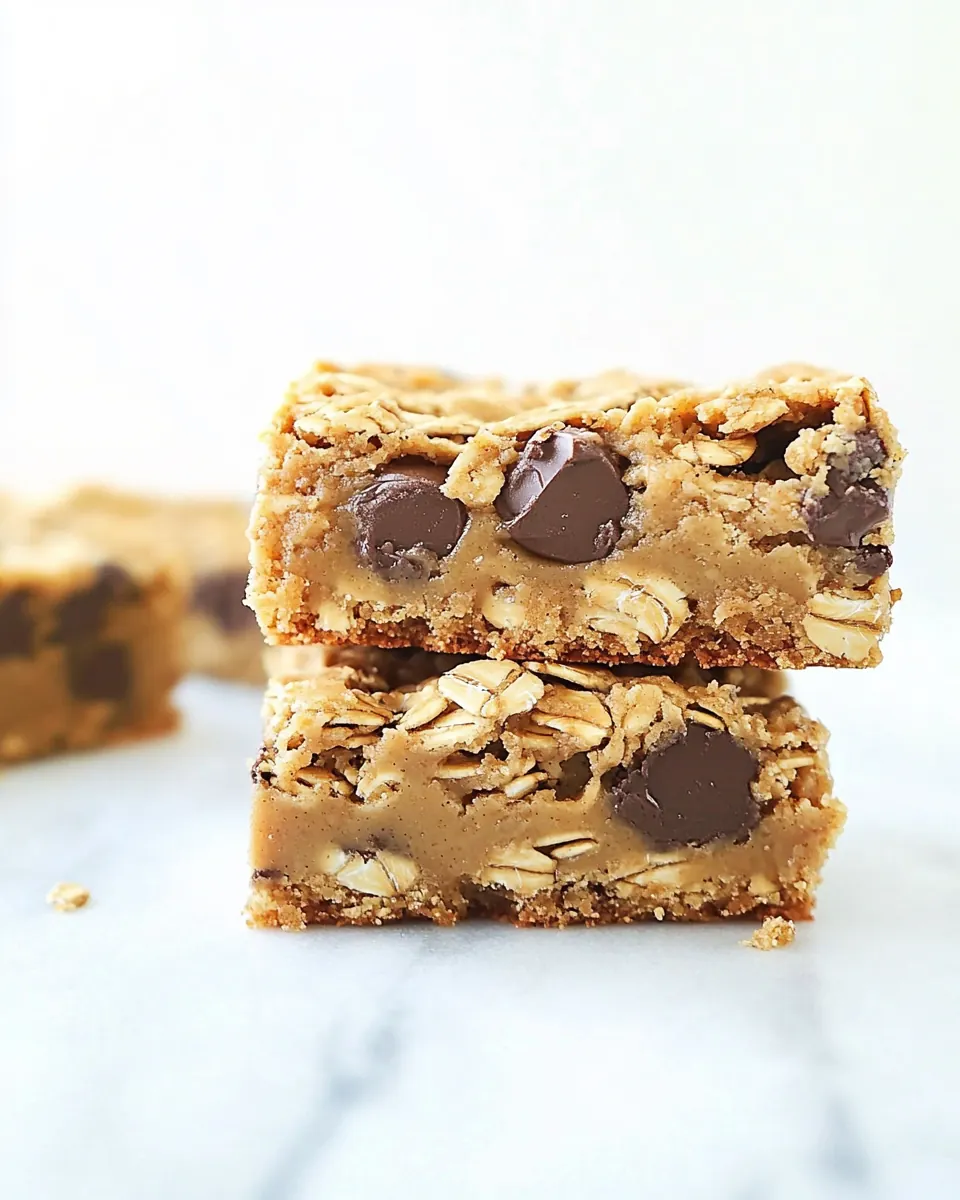
I adore how Oatmeal Peanut Butter Cookie Bars hit both chewy and crisp notes. The combination of all purpose flour and old fashioned oats creates a sturdy crumb with intimate chew, while the outer edges brown and crisp in the oven. I often cut the bars while still slightly warm so the center holds together, and the contrast keeps people coming back for another piece.
Peanut butter depth and sweetness balance
Using creamy peanut butter and light brown sugar layers a deep nutty flavor and molasses warmth. The peanut butter lends a silky, rich mouthfeel, and the brown sugar keeps the bars tender. I like that the flavors are straightforward and familiar, which makes these bars a reliable crowd pleaser.
Playful mix ins for texture and fun
The semisweet chocolate chips, peanut butter chips, and mini peanut butter cups add bursts of chocolate and extra peanut punch. I often reserve a few chips to scatter on top so each slice looks inviting. The mix ins also introduce pockets of melting chocolate, which makes every bite a little different.
Simple technique, big results
This recipe is forgiving, and that is one reason I keep returning to it. The steps are straightforward, so even if you are juggling kids or errands you can still produce beautiful bars. Melting the unsalted butter and folding ingredients gently keeps the texture right, and the recipe tolerates small timing variations without disaster.
Great for sharing and storage
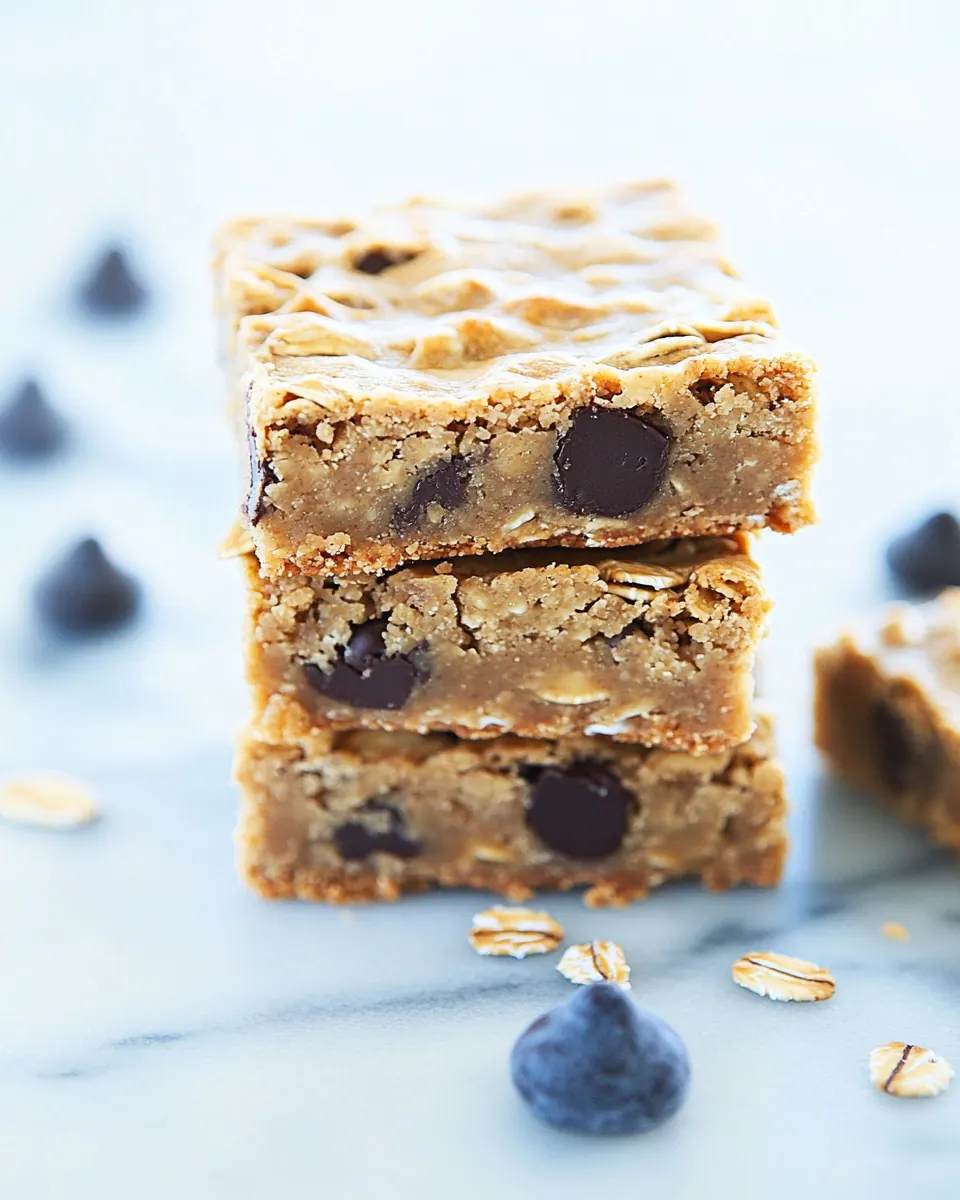
I love that these bars travel well, and they keep for several days in an airtight container. Whether you need a bake for a school event, a neighbor, or a simple afternoon treat, Oatmeal Peanut Butter Cookie Bars are dependable and portable. The flaky sea salt sprinkled on top adds a finishing flourish that elevates each bite.
What Goes Into Oatmeal Peanut Butter Cookie Bars
The ingredients in Oatmeal Peanut Butter Cookie Bars are about harmony. I choose a balance of starch from all purpose flour, chew from old fashioned oats, and richness from unsalted butter and creamy peanut butter. Sweetness and structure come from light brown sugar and the eggs, while the chips and mini cups create delightful pockets of flavor. Each component has a job, and together they form a bar that is sturdy enough to hold, yet tender inside.
- 2 1/4 cups all-purpose flour: Provide structure and bulk to the bars while creating a tender crumb; sifts or measures accurately to ensure consistent texture and proper gluten development when mixed with wet ingredients.
- 1 1/2 cups old fashioned oats: Add hearty chew and rustic texture while contributing whole-grain flavor; stir into the dough to complement oats' softness and help absorb moisture for proper bar density.
- 3/4 teaspoon baking powder: Lightly leaven the bars to give a modest lift and prevent heaviness; blends with baking soda to balance rise and maintain a tender yet slightly airy crumb.
- 1/4 teaspoon baking soda: React with acidic components to help leaven and tenderize; used in small amount to control spread and to contribute subtle lift for a pleasant bar height.
- 1/2 teaspoon fine sea salt: Enhance overall flavor by balancing sweetness and highlighting other ingredients; helps strengthen dough and improves taste perception while moderating yeast and chemical reactions.
- 3/4 cup (1 1/2 sticks) unsalted butter, melted: Provide fat for richness, moisture, and a tender mouthfeel; melted form makes the dough easier to combine, promotes chewiness, and helps create a slightly crisp exterior.
- 2 cups packed light brown sugar: Sweeten and add deep caramel notes while contributing moisture and chew; packed brown sugar helps bind ingredients and intensifies color and flavor in baked bars.
- 3/4 cup creamy peanut butter, room temperature: Deliver nutty flavor and creamy fat that enhances texture and peanut profile; room temperature state ensures smooth incorporation and even distribution throughout the dough.
- 2 large eggs: Bind ingredients together and add lift, moisture, and richness; eggs contribute to structure, emulsification, and a soft, cohesive bar when properly mixed.
- 2 teaspoons vanilla extract: Introduce aromatic sweetness and enhance other flavors; vanilla extract rounds out the profile and elevates perceived sweetness without adding extra sugar.
- 1 cup semisweet chocolate chips: Provide pockets of melty chocolate richness and contrast to the peanut butter; melting during baking creates gooey bites and balances saltiness with sweet.
- 1 cup peanut butter chips: Contribute concentrated peanut flavor and additional creamy pockets; peanut butter chips hold shape while softening slightly to deliver bursts of peanut throughout the bars.
- 2/3 cup mini peanut butter cups (or peanut butter M&Ms): Add small bursts of peanut-candy flavor and textural interest; mini peanut butter cups or M&Ms offer a mix of chocolate, peanut butter, and occasional crunch for variety.
- 1/2 teaspoon flake sea salt (such as Maldon), for sprinkling: Offer a final bright, briny contrast to sweetness to heighten flavors; sprinkling flake sea salt on top accentuates chocolate and peanut notes and adds visual finish.
The Process for Making Oatmeal Peanut Butter Cookie Bars
I like to keep a relaxed rhythm when making Oatmeal Peanut Butter Cookie Bars, so the steps feel mindful rather than rushed. Gathering your ingredients first makes the process flow, and a lined pan saves time at the end. Below I expand each direction into sensory rich guidance so you can bake with confidence.
- Preheat oven to 350 degrees F. Line a 13-by-9-inch baking pan with parchment paper.: You will notice the oven gradually warming and a faint dry heat filling the kitchen, which sets the stage for even baking. Preheating ensures the edges start to color right away, preventing a gummy center. Lining the pan with parchment creates a clean release and keeps the bottom from overbrowning. A common mistake is skipping the parchment, which can make bars stick and tear when you try to lift them. If your oven runs hot, use an oven thermometer to confirm the set temperature so the bars bake evenly.
- In a bowl, whisk together flour, oats, baking powder, baking soda, and salt; set aside.: The dry mix smells faintly of toasted grain and anticipates the final texture. Whisking aerates the mixture, helping the leaveners distribute evenly so every bite rises uniformly. This step prevents pockets of baking soda or powder that could create uneven flavor. Avoid overworking the oats and flour together, which can crush the oats and reduce chew. If you detect lumps, give the mixture one more gentle whisk to ensure a smooth, combined dry base.
- In a large bowl, combine melted butter, brown sugar and peanut butter and stir until smooth. Whisk in eggs and vanilla. Fold in dry ingredients until just incorporated, then stir in chocolate and peanut butter chips and peanut butter cups, reserving a few tablespoons of each for the top (optional, but makes for extra pretty bars).: At first the bowl releases a warm, nutty steam as the melted butter and creamy peanut butter meld with the brown sugar . The mixture should feel glossy and slightly thick. Whisking in the eggs and vanilla produces a silky emulsion. Folding the dry ingredients gently preserves tenderness, so stop as soon as streaks of flour disappear. Stirring in the chips and mini cups distributes pockets of sweetness throughout. A typical error is overmixing here which can lead to dense bars, so use a spatula and fold just until combined. If the batter seems too stiff, a teaspoon of milk can loosen it, though usually the balance is fine as written.
- Press dough into prepared pan. Scatter remaining chips and peanut butter cups on top, then sprinkle with sea salt.: As you press the dough, you will feel the texture change from loose to compact, and the surface will smooth under gentle pressure. Firm, even pressure prevents air pockets and helps the bars bake uniformly. The scattered chips on top will toast slightly and give attractive pockets of melted chocolate, while the flake sea salt provides a bright finish. Avoid pressing too hard which can compact the bars excessively and reduce chew. If the dough sticks to your fingers, moisten them slightly or use a piece of parchment to press it down evenly.
- Bake for 25 to 28 minutes or until edges are lightly browned and center is just set. Do not overbake. Remove from oven and let cool to room temperature before lifting out of the pan and slicing into squares, rectangles, or triangles. Bars will keep, stored in an airtight container, for up to 5 days.: While baking you will hear the gentle quiet of the oven and the kitchen will fill with toasty, caramel notes. The edges will turn a gentle golden brown while the center should look slightly glossy and stable to the touch, not wet. Pulling the bars too early will cause them to crumble, and overbaking will yield dry edges, so aim for the moment the center has just set. Cooling in the pan allows the bars to firm up, making clean slicing possible; lifting them while too warm invites tearing. A common issue is uneven baking from a warped pan, so use a sturdy rimmed pan and rotate it halfway if your oven has hot spots. Store cooled bars in an airtight container and they will stay tender for several days, though they are best within the first two days for peak texture.
Tips and Variations
I like to think of these suggestions as ways to make Oatmeal Peanut Butter Cookie Bars your own while preserving the core comforts. Below are practical tips and small tweaks that yield big differences in texture and presentation.
- Swap mix ins thoughtfully Keep the core batter the same but swap a portion of the chocolate chips for dark chocolate to deepen the flavor, or reduce the candy if you prefer less sweetness. This maintains texture while customizing taste.
- Adjust chew with oats If you prefer a softer chew, pulse the old fashioned oats briefly in a food processor. That slight milling will soften the bite but still leave characteristic oat body.
- Control sweetness Reduce the mini peanut butter cups by one third for a less candy forward bar, letting the peanut butter and chocolate chips shine without becoming cloying.
- Make ahead and freeze Slice bars and freeze between layers of parchment in an airtight container, then thaw at room temperature for a quick treat that retains texture.
- Top presentation Press a few extra semisweet chocolate chips and peanut butter chips on top before baking for a glossy, photo ready finish after melting into the surface.
Perfect Pairings for Oatmeal Peanut Butter Cookie Bars
These bars are versatile and pair well with simple beverages and occasions from casual to celebratory. Below are ways I like to serve them and contexts where they shine.
- Sweet snack for gatherings Serve on a platter at afternoon gatherings or potlucks where guests can grab a bar and continue mingling. Their portability makes them ideal for casual social events.
- School lunches and snack boxes Pack a bar in a lunchbox for a filling, kid friendly treat that travels well and does not require refrigeration for a day.
- After hike or picnic Bring along a tin of bars for outdoor activities; their chewy, energy dense nature makes them a satisfying post activity pick me up.
- Storage and make ahead Keep bars in an airtight container at room temperature for up to five days, or freeze slices for longer storage to enjoy whenever you need a quick sweet.
- Seasonal celebrations These bars fit into many occasions, from casual holiday cookie exchanges to weekend brunch spreads, and the flake sea salt on top makes them feel a touch special.
FAQ
Conclusion
These bars stand out for their comforting combination of chewy oats, rich peanut butter, and pockets of melty chocolate. Give Oatmeal Peanut Butter Cookie Bars a try when you want a dependable bake that travels and stores well. Once you taste that sweet salty balance, I think you will understand why they become a go to for casual gatherings and cozy afternoons alike.
Oatmeal Peanut Butter Cookie Bars
Equipment
- Mixing Bowls
- Whisk
- Spatula
- 13 by 9 inch baking pan
- Parchment Paper
Ingredients
- 2 1/4 cups all-purpose flour Provide structure and bulk to the bars while creating a tender crumb; sifts or measures accurately to ensure consistent texture and proper gluten development when mixed with wet ingredients.
- 1 1/2 cups old fashioned oats Add hearty chew and rustic texture while contributing whole-grain flavor; stir into the dough to complement oats' softness and help absorb moisture for proper bar density.
- 3/4 teaspoon baking powder Lightly leaven the bars to give a modest lift and prevent heaviness; blends with baking soda to balance rise and maintain a tender yet slightly airy crumb.
- 1/4 teaspoon baking soda React with acidic components to help leaven and tenderize; used in small amount to control spread and to contribute subtle lift for a pleasant bar height.
- 1/2 teaspoon fine sea salt Enhance overall flavor by balancing sweetness and highlighting other ingredients; helps strengthen dough and improves taste perception while moderating yeast and chemical reactions.
- 3/4 cup (1 1/2 sticks) unsalted butter, melted Provide fat for richness, moisture, and a tender mouthfeel; melted form makes the dough easier to combine, promotes chewiness, and helps create a slightly crisp exterior.
- 2 cups packed light brown sugar Sweeten and add deep caramel notes while contributing moisture and chew; packed brown sugar helps bind ingredients and intensifies color and flavor in baked bars.
- 3/4 cup creamy peanut butter, room temperature Deliver nutty flavor and creamy fat that enhances texture and peanut profile; room temperature state ensures smooth incorporation and even distribution throughout the dough.
- 2 large eggs Bind ingredients together and add lift, moisture, and richness; eggs contribute to structure, emulsification, and a soft, cohesive bar when properly mixed.
- 2 teaspoons vanilla extract Introduce aromatic sweetness and enhance other flavors; vanilla extract rounds out the profile and elevates perceived sweetness without adding extra sugar.
- 1 cup semisweet chocolate chips Provide pockets of melty chocolate richness and contrast to the peanut butter; melting during baking creates gooey bites and balances saltiness with sweet.
- 1 cup peanut butter chips Contribute concentrated peanut flavor and additional creamy pockets; peanut butter chips hold shape while softening slightly to deliver bursts of peanut throughout the bars.
- 2/3 cup mini peanut butter cups (or peanut butter M&Ms) Add small bursts of peanut-candy flavor and textural interest; mini peanut butter cups or M&Ms offer a mix of chocolate, peanut butter, and occasional crunch for variety.
- 1/2 teaspoon flake sea salt (such as Maldon), for sprinkling Offer a final bright, briny contrast to sweetness to heighten flavors; sprinkling flake sea salt on top accentuates chocolate and peanut notes and adds visual finish.
Instructions
- Preheat oven to 350 degrees F. Line a 13-by-9-inch baking pan with parchment paper.: You will notice the oven gradually warming and a faint dry heat filling the kitchen, which sets the stage for even baking. Preheating ensures the edges start to color right away, preventing a gummy center. Lining the pan with parchment creates a clean release and keeps the bottom from overbrowning. A common mistake is skipping the parchment, which can make bars stick and tear when you try to lift them. If your oven runs hot, use an oven thermometer to confirm the set temperature so the bars bake evenly.
- In a bowl, whisk together flour, oats, baking powder, baking soda, and salt; set aside.: The dry mix smells faintly of toasted grain and anticipates the final texture. Whisking aerates the mixture, helping the leaveners distribute evenly so every bite rises uniformly. This step prevents pockets of baking soda or powder that could create uneven flavor. Avoid overworking the oats and flour together, which can crush the oats and reduce chew. If you detect lumps, give the mixture one more gentle whisk to ensure a smooth, combined dry base.
- In a large bowl, combine melted butter, brown sugar and peanut butter and stir until smooth. Whisk in eggs and vanilla. Fold in dry ingredients until just incorporated, then stir in chocolate and peanut butter chips and peanut butter cups, reserving a few tablespoons of each for the top (optional, but makes for extra pretty bars).: At first the bowl releases a warm, nutty steam as the melted butter and creamy peanut butter meld with the brown sugar . The mixture should feel glossy and slightly thick. Whisking in the eggs and vanilla produces a silky emulsion. Folding the dry ingredients gently preserves tenderness, so stop as soon as streaks of flour disappear. Stirring in the chips and mini cups distributes pockets of sweetness throughout. A typical error is overmixing here which can lead to dense bars, so use a spatula and fold just until combined. If the batter seems too stiff, a teaspoon of milk can loosen it, though usually the balance is fine as written.
- Press dough into prepared pan. Scatter remaining chips and peanut butter cups on top, then sprinkle with sea salt.: As you press the dough, you will feel the texture change from loose to compact, and the surface will smooth under gentle pressure. Firm, even pressure prevents air pockets and helps the bars bake uniformly. The scattered chips on top will toast slightly and give attractive pockets of melted chocolate, while the flake sea salt provides a bright finish. Avoid pressing too hard which can compact the bars excessively and reduce chew. If the dough sticks to your fingers, moisten them slightly or use a piece of parchment to press it down evenly.
- Bake for 25 to 28 minutes or until edges are lightly browned and center is just set. Do not overbake. Remove from oven and let cool to room temperature before lifting out of the pan and slicing into squares, rectangles, or triangles. Bars will keep, stored in an airtight container, for up to 5 days.: While baking you will hear the gentle quiet of the oven and the kitchen will fill with toasty, caramel notes. The edges will turn a gentle golden brown while the center should look slightly glossy and stable to the touch, not wet. Pulling the bars too early will cause them to crumble, and overbaking will yield dry edges, so aim for the moment the center has just set. Cooling in the pan allows the bars to firm up, making clean slicing possible; lifting them while too warm invites tearing. A common issue is uneven baking from a warped pan, so use a sturdy rimmed pan and rotate it halfway if your oven has hot spots. Store cooled bars in an airtight container and they will stay tender for several days, though they are best within the first two days for peak texture.
Notes
- Swap mix ins thoughtfully Keep the core batter the same but swap a portion of the chocolate chips for dark chocolate to deepen the flavor, or reduce the candy if you prefer less sweetness. This maintains texture while customizing taste.
- Adjust chew with oats If you prefer a softer chew, pulse the old fashioned oats briefly in a food processor. That slight milling will soften the bite but still leave characteristic oat body.
- Control sweetness Reduce the mini peanut butter cups by one third for a less candy forward bar, letting the peanut butter and chocolate chips shine without becoming cloying.
- Make ahead and freeze Slice bars and freeze between layers of parchment in an airtight container, then thaw at room temperature for a quick treat that retains texture.
- Top presentation Press a few extra semisweet chocolate chips and peanut butter chips on top before baking for a glossy, photo ready finish after melting into the surface.