Moms Holiday Brown Rice
Moms Holiday Brown Rice is the kind of dish that always brings the house together, a recipe I grew up with and still reach for when I want something comforting and reliably satisfying.
My earliest memory of Moms Holiday Brown Rice is the warm, buttery scent that would greet me the moment I opened the oven after a long holiday meal. I remember the way the edges would crisp into tiny golden shards, and how everyone claimed their favorite corner. Over the years I have tweaked little things here and there, but the soul of the dish remains the same: simple pantry ingredients that turn into something cozy and memorable. I love that it feels a little nostalgic, yet it is fuss free enough for busy weeknights.
When I make Moms Holiday Brown Rice now, I like to think about texture first, then flavor. The combination of creamy, savory soup with the melt of butter on top yields rice that is both tender and layered with richness. Whenever guests ask for the recipe, I tell them it is a brilliant example of how humble ingredients can sing when treated with patience and a hot oven. Every time I take the foil off after it rests, I still get a small thrill watching the steam rise.
Recipe Snapshot
1 hr 5 mins
5 mins
60 mins
Medium
250 kcal
American
Gluten-Free, Low FODMAP
Side Dishes
Oven, 9 x 13 baking dish, Aluminum foil, Fork, Measuring cups
The Beauty of This Moms Holiday Brown Rice
Comforting Simplicity
I adore Moms Holiday Brown Rice because it takes ingredients most of us already have and turns them into a warm, satisfying side. I find that when life gets busy, this recipe is a dependable ally, delivering a comforting texture and savory flavor without a lot of tending.
Hands Off Baking
One of the things I love is how hands off the process is. After a little stirring and a careful placement of butter pats, the oven does the heavy lifting. That gives me time to finish other dishes, set the table, or relax with family, and it consistently produces evenly cooked rice with that coveted creamy interior.
Textural Contrast
The dish manages to be both soft and slightly crisp at the same time. I always go for the corners first because they develop a crunchy edge that contrasts wonderfully with the tender grains. That contrast makes every bite interesting, and I often get asked how I achieve that balance.
Versatile and Crowd Friendly
This recipe scales well, so I’ll double it for larger gatherings and bake in a bigger dish. It plays nicely with a variety of mains, and because it is unfussy, I’ll bring it to potlucks or holiday dinners where it disappears quickly.
Reliable, Nostalgic Flavor
Finally, the savory notes from the canned soup and a splash of Worcestershire provide a deep, homey flavor that tastes like tradition. I keep coming back to it because it evokes comfort, and it’s one of those recipes that becomes a family favorite quickly.
Ingredients to Make Moms Holiday Brown Rice
These ingredients are intentionally simple and pantry driven. They work together by combining tender, starchy grains with savory, creamy binder and finishing fat, so the rice cooks through while absorbing flavor, and the butter on top creates richness and a slightly glossy finish. The key players here are the rice, the canned soup which acts as both liquid and flavoring, and the butter which brings mouthfeel and a golden crust.
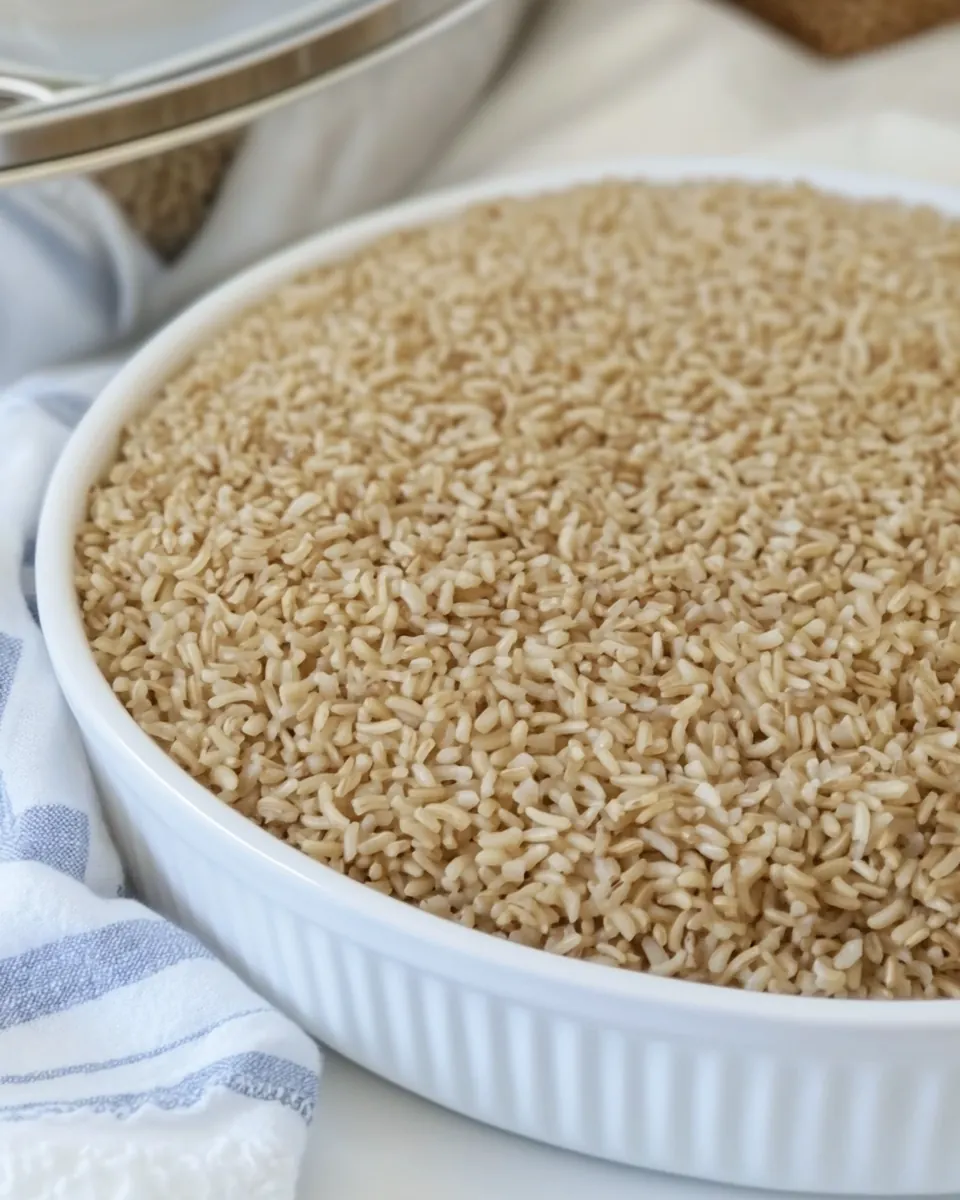
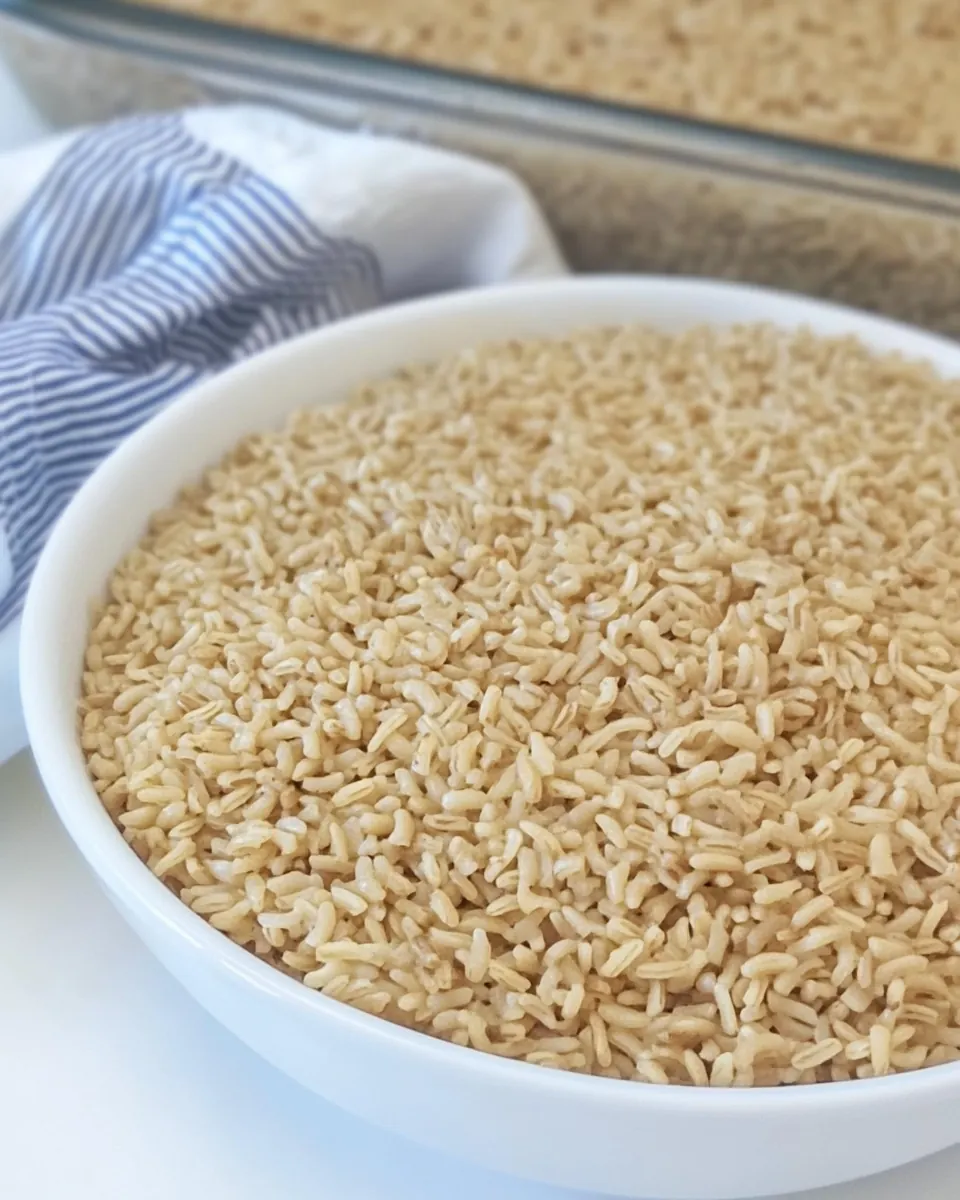
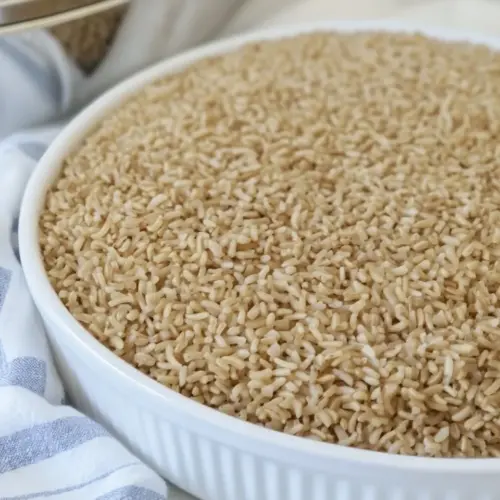
- 1 1/2 cups white rice: Provide a tender, fluffy base by cooking until grains are separate; absorbs flavors from broths and seasonings while adding bulk to the dish.
- 2 10 oz cans of beef consume soup I used Campbell’s: Add a savory, concentrated broth component that enriches the rice with meaty umami and moisture; helps create a cohesive, hearty texture.
- 1 Tbs Worcestershire: Contribute a tangy, savory depth that enhances the overall flavor profile and balances sweetness and richness in the finished rice.
- 2 teaspoons onion powder: Impart a warm, oniony background flavor that distributes evenly through the rice and boosts savory notes without adding moisture.
- 1 teaspoon garlic powder: Offer mellow, aromatic garlic presence that rounds out savory flavors and supports the meaty broth and Worcestershire for complexity.
- 1/4 teaspoons salt: Provide subtle salinity to heighten and balance flavors; used sparingly to avoid over-salting given the concentrated soup base.
- 1/2 teaspoon pepper: Introduce mild heat and aromatic bite that lifts flavors and prevents the dish from tasting flat; adjust to personal preference.
- 1/2 cup 1 stick of sweet cream unsalted butter: Deliver rich creaminess and buttery mouthfeel that enriches texture, aids in coating grains, and adds a pleasant, indulgent finish.
Recipe Steps for Moms Holiday Brown Rice
These steps guide you through an easy, oven baked method that yields creamy, tender rice with a satisfying crust at the edges. Below, I expand each instruction so you can rely on sensory cues and avoid common pitfalls while making the dish exactly as intended.
- Preheat the oven to 350 and prepare a 9 x 13 baking dish with non stick cooking spray.: The first sensory cue is the gentle warmth of the oven when you open it, and a consistent preheat ensures even cooking throughout the dish. Spraying the pan prevents sticking and helps release those crispy corners, which I love. If you skip preheating you risk uneven cooking, where the center may remain underdone while the edges get over crisp. Make sure the oven rack is centered so the top heat is balanced and the rice cooks evenly.
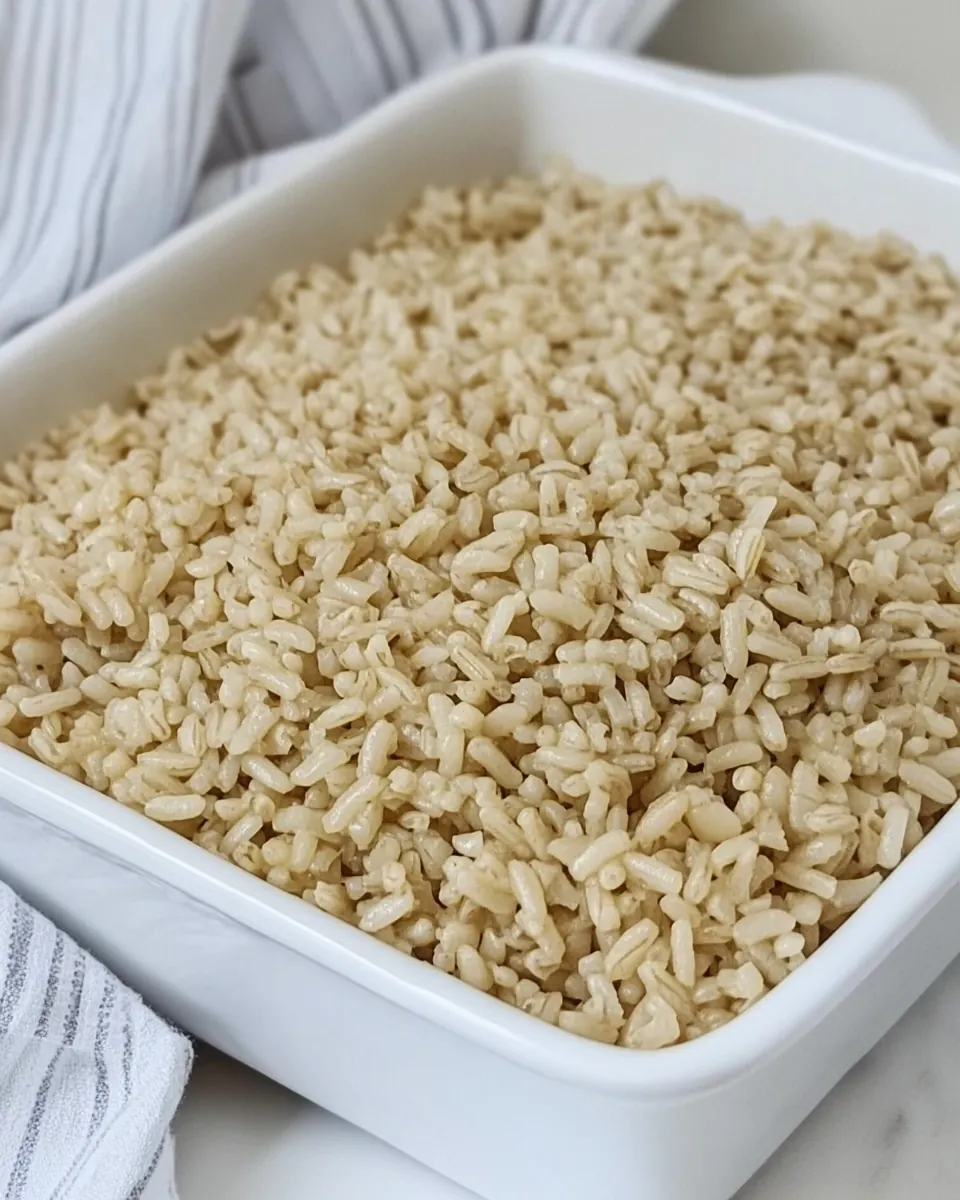
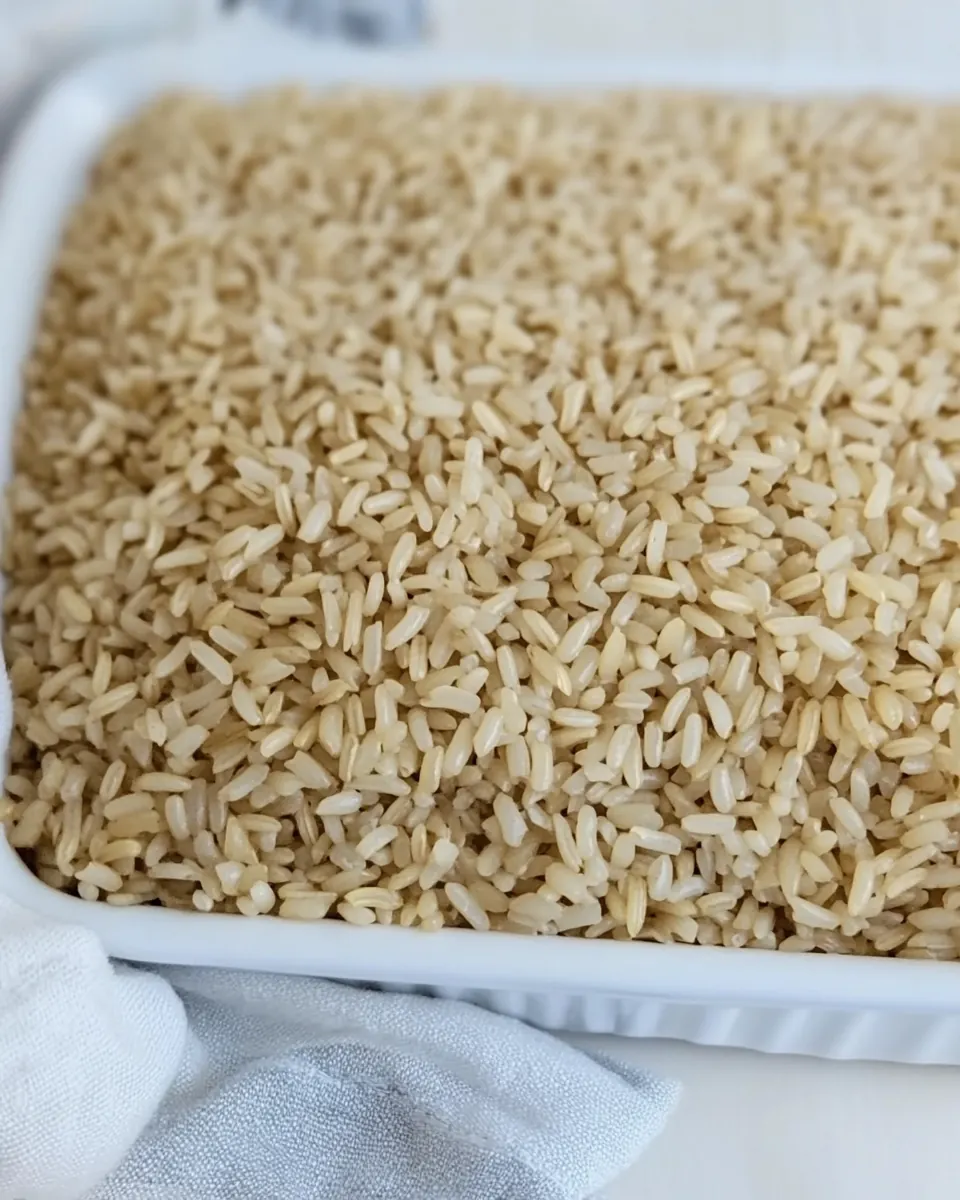
- In the baking dish combine the rice, soup, worcestershire, onion powder, garlic, salt and pepper. Stir with a fork and spread the rice around the pan as much as possible. See tips and tricks for substitutions.: As you stir, notice the glossy sheen as the canned soup coats each grain of rice . The mixture will look wet but not soupy, and the aroma of Worcestershire and spices will become noticeable. Stirring with a fork helps separate the grains and distribute seasonings. The why behind this is uniform flavor penetration; uneven mixing leads to pockets that are bland or overly salty. A common mistake is under stirring, which can yield unevenly seasoned rice.
- Cut the butter into pats and place carefully around the surface of the dish (it will float on top of the consume).: You should see a flat, even layer of the rice mixture with no large clumps. Spreading encourages uniform heat exposure and consistent texture from edge to center. The sound is minimal, but you can feel the distribution under the back of the fork. If you leave it mounded, the center will take longer to cook. Take the extra minute to level the surface, it pays off in consistent doneness.
- Tightly cover the top of the dish with aluminum foil and make sure it is sealed well.: The visual cue here is small pale dots of butter floating on the surface, evenly spaced. As the dish bakes the butter melts and bastes the top of the rice, creating gloss and aiding browning at the edges. The reason this matters is fat enhances mouthfeel and encourages that slight crust. Avoid crowding all the pats in one area, or you will get uneven melting and localized richness.
- Place in the center of the oven and bake for 1 hour. After an hour, remove from the oven and allow to rest for 5 minutes before removing the aluminum foil. Serve hot.: When sealed, steam will be trapped, producing a gentle simmering that cooks the rice through. You should not hear a vigorous bubbling, but when you lift the foil later you will see steam escape. Tightly sealed foil prevents excessive moisture loss; if the foil is loose, the rice can dry and turn chewy. A common error is using foil that tears, which lets steam escape and affects texture.
- Place in the center of the oven and bake for 1 hour: During baking the aroma will deepen, and you may notice a faint sizzling from the edge where the butter meets the pan. The one hour timeframe allows the grains to absorb liquid fully and soften. This step matters because slow, steady heat produces tender rice. A mistake to avoid is opening the oven repeatedly, which releases heat and prolongs cooking time, potentially resulting in uneven texture.
- After an hour remove from the oven and allow to rest for 5 minutes before removing the aluminum foil: Resting lets residual steam finish the cooking gently and stabilize the texture, preventing a wet, separated finish. You will feel warmth radiating from the dish and see a settled surface. If you remove the foil immediately, steam will escape too quickly and the top may dry out. Resist the urge to dig in immediately, because cutting into it too soon can make the rice seem gluey rather than cohesive.
- Serve hot: The final cue is the inviting steam and the glossy surface dotted with golden spots. Serving while hot ensures the rice has the best texture and flavor, with the edges still slightly crisp and the interior tender. If you refrigerate then reheat, the texture changes so I recommend warming gently to preserve creaminess. A common mistake is leaving it uncovered on the counter too long, which can lead to a dry surface.
Customization Ideas
This section offers ideas to personalize texture and flavor while keeping the core character of the dish intact. Pick one or two tweaks to experiment with and watch how small changes shift the final result.
- Adjust the butter amount Use between 1/2 cup and 1 stick to change richness find your preferred balance between creamy and indulgent.
- Swap soup brands carefully Different canned consommes vary in salt and thickness so taste and adjust added salt accordingly.
- Evenly space butter pats Placing them across the surface ensures consistent browning and prevents overly greasy pockets.
- Scale up for gatherings Double the ingredients and use a larger pan to serve more people while keeping bake time similar with careful monitoring.
- Watch the corners If you want extra crispiness, leave the dish uncovered for the last few minutes of baking but monitor to avoid burning.
Great Combinations for Moms Holiday Brown Rice
This rice works beautifully across many meals, from cozy family dinners to holiday spreads. Below are thoughtful pairing suggestions, serving contexts, and storage ideas to make the most of the dish.
- Roasted vegetables Pair with roasted root vegetables for a hearty, seasonal plate that highlights warm flavors and rustic textures.
- Simple green salad A crisp salad with a light vinaigrette provides brightness and textural contrast to the creamy rice.
- Weeknight mains Serve alongside roasted or braised proteins for an easy weeknight dinner where the rice soaks up any pan juices.
- Holiday centerpiece Use as a comforting side on holiday tables where guests appreciate nostalgic, familiar flavors.
- Leftover storage Refrigerate in an airtight container for up to four days, reheat gently with a splash of water or broth to revive creaminess.
- Occasion suggestions Works for family dinners, potlucks, and festive gatherings when you need a reliable side that travels well and pleases many palates.
FAQ
Conclusion
Moms Holiday Brown Rice stands out because it turns simple pantry items into a warming, richly flavored side with tender grains and those addictive crispy edges. Give it a try when you want a low fuss dish that still feels special, whether for a weeknight meal or a festive table. It rewards patience and a careful bake with comforting flavors that become family favorites, so heat your oven and let the dish work its quiet magic.
Moms Holiday Brown Rice
Equipment
- Oven
- 9 X 13 baking dish
- Aluminum Foil
- Fork
- Measuring Cups
Ingredients
- 1 1/2 cups white rice Provide a tender, fluffy base by cooking until grains are separate; absorbs flavors from broths and seasonings while adding bulk to the dish.
- 2 10 oz cans of beef consume soup I used Campbell’s Add a savory, concentrated broth component that enriches the rice with meaty umami and moisture; helps create a cohesive, hearty texture.
- 1 Tbs Worcestershire Contribute a tangy, savory depth that enhances the overall flavor profile and balances sweetness and richness in the finished rice.
- 2 teaspoons onion powder Impart a warm, oniony background flavor that distributes evenly through the rice and boosts savory notes without adding moisture.
- 1 teaspoon garlic powder Offer mellow, aromatic garlic presence that rounds out savory flavors and supports the meaty broth and Worcestershire for complexity.
- 1/4 teaspoons salt Provide subtle salinity to heighten and balance flavors; used sparingly to avoid over-salting given the concentrated soup base.
- 1/2 teaspoon pepper Introduce mild heat and aromatic bite that lifts flavors and prevents the dish from tasting flat; adjust to personal preference.
- 1/2 cup 1 stick of sweet cream unsalted butter Deliver rich creaminess and buttery mouthfeel that enriches texture, aids in coating grains, and adds a pleasant, indulgent finish.
Instructions
- Preheat the oven to 350 and prepare a 9 x 13 baking dish with non stick cooking spray.: The first sensory cue is the gentle warmth of the oven when you open it, and a consistent preheat ensures even cooking throughout the dish. Spraying the pan prevents sticking and helps release those crispy corners, which I love. If you skip preheating you risk uneven cooking, where the center may remain underdone while the edges get over crisp. Make sure the oven rack is centered so the top heat is balanced and the rice cooks evenly.
- In the baking dish combine the rice, soup, worcestershire, onion powder, garlic, salt and pepper. Stir with a fork and spread the rice around the pan as much as possible. See tips and tricks for substitutions.: As you stir, notice the glossy sheen as the canned soup coats each grain of rice . The mixture will look wet but not soupy, and the aroma of Worcestershire and spices will become noticeable. Stirring with a fork helps separate the grains and distribute seasonings. The why behind this is uniform flavor penetration; uneven mixing leads to pockets that are bland or overly salty. A common mistake is under stirring, which can yield unevenly seasoned rice.
- Cut the butter into pats and place carefully around the surface of the dish (it will float on top of the consume).: You should see a flat, even layer of the rice mixture with no large clumps. Spreading encourages uniform heat exposure and consistent texture from edge to center. The sound is minimal, but you can feel the distribution under the back of the fork. If you leave it mounded, the center will take longer to cook. Take the extra minute to level the surface, it pays off in consistent doneness.
- Tightly cover the top of the dish with aluminum foil and make sure it is sealed well.: The visual cue here is small pale dots of butter floating on the surface, evenly spaced. As the dish bakes the butter melts and bastes the top of the rice, creating gloss and aiding browning at the edges. The reason this matters is fat enhances mouthfeel and encourages that slight crust. Avoid crowding all the pats in one area, or you will get uneven melting and localized richness.
- Place in the center of the oven and bake for 1 hour. After an hour, remove from the oven and allow to rest for 5 minutes before removing the aluminum foil. Serve hot.: When sealed, steam will be trapped, producing a gentle simmering that cooks the rice through. You should not hear a vigorous bubbling, but when you lift the foil later you will see steam escape. Tightly sealed foil prevents excessive moisture loss; if the foil is loose, the rice can dry and turn chewy. A common error is using foil that tears, which lets steam escape and affects texture.
- Place in the center of the oven and bake for 1 hour: During baking the aroma will deepen, and you may notice a faint sizzling from the edge where the butter meets the pan. The one hour timeframe allows the grains to absorb liquid fully and soften. This step matters because slow, steady heat produces tender rice. A mistake to avoid is opening the oven repeatedly, which releases heat and prolongs cooking time, potentially resulting in uneven texture.
- After an hour remove from the oven and allow to rest for 5 minutes before removing the aluminum foil: Resting lets residual steam finish the cooking gently and stabilize the texture, preventing a wet, separated finish. You will feel warmth radiating from the dish and see a settled surface. If you remove the foil immediately, steam will escape too quickly and the top may dry out. Resist the urge to dig in immediately, because cutting into it too soon can make the rice seem gluey rather than cohesive.
- Serve hot: The final cue is the inviting steam and the glossy surface dotted with golden spots. Serving while hot ensures the rice has the best texture and flavor, with the edges still slightly crisp and the interior tender. If you refrigerate then reheat, the texture changes so I recommend warming gently to preserve creaminess. A common mistake is leaving it uncovered on the counter too long, which can lead to a dry surface.
Notes
- Adjust the butter amount Use between 1/2 cup and 1 stick to change richness find your preferred balance between creamy and indulgent.
- Swap soup brands carefully Different canned consommes vary in salt and thickness so taste and adjust added salt accordingly.
- Evenly space butter pats Placing them across the surface ensures consistent browning and prevents overly greasy pockets.
- Scale up for gatherings Double the ingredients and use a larger pan to serve more people while keeping bake time similar with careful monitoring.
- Watch the corners If you want extra crispiness, leave the dish uncovered for the last few minutes of baking but monitor to avoid burning.