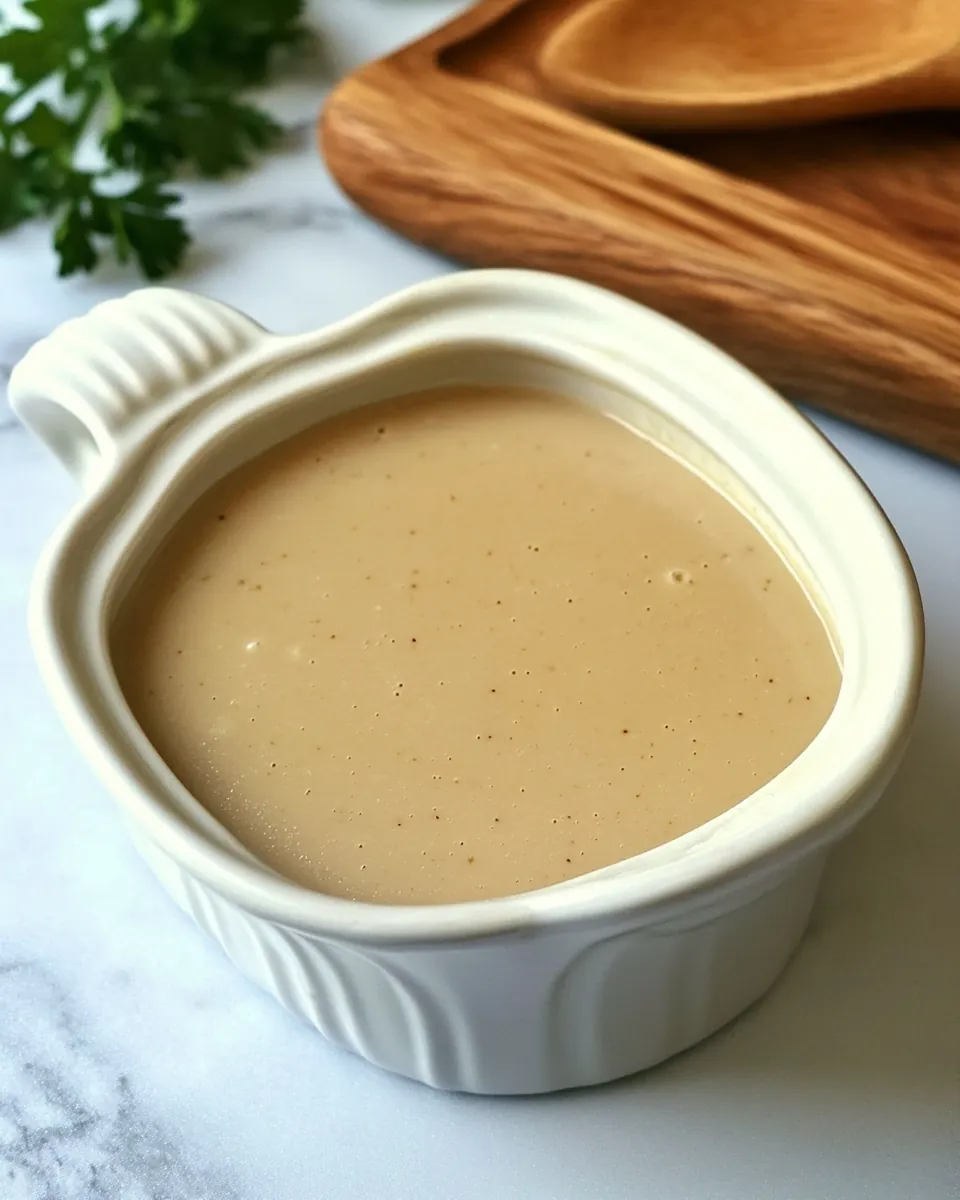
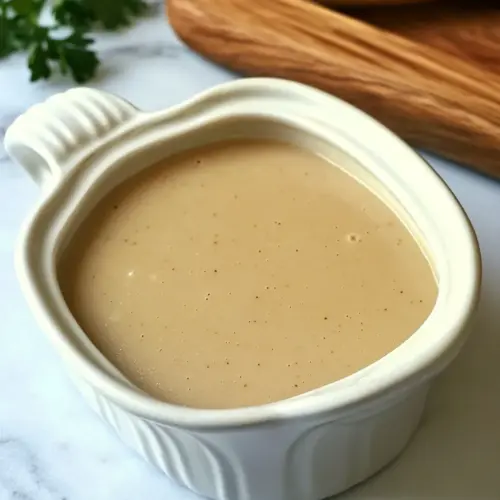
Make Ahead Turkey Gravy
Make Ahead Turkey Gravy has been my go to for holiday dinners for years, a simple comfort that quietly steals the show when the turkey comes out of the oven.
I still remember the year I decided to make gravy a day ahead because my oven time was precious and my schedule was unpredictable. I made a small batch in the afternoon, tasted it cold straight from the fridge later that evening, and was surprised by how the flavors settled and rounded out overnight. That patience paid off the next day when all I had to do was rewarm the gravy until it shimmered, and it tasted like I had spent hours fussing at the stove.
Recipe Snapshot
17 mins
5 mins
12 mins
Easy
80 kcal
American
Gluten-Free, Low FODMAP
Side Dishes
Saucepan (4-quart), Whisk (Balloon)
What Sets This Make Ahead Turkey Gravy Apart
Consistent, reliable results
I love that Make Ahead Turkey Gravy produces the same velvety texture every time. Because you make a proper roux with butter and flour, the gravy emulsifies with the turkey stock in a way that resists separation. I find this especially comforting on busy holiday days when you need something that won’t fail you.
Time saving and flexible
One of the biggest reasons I reach for this recipe is the freedom it gives you. Make it hours or even days before, then reheat gently. That flexibility means you can focus on the main course and sides, not babysitting a saucepan, which has saved me more than once when juggling oven and stovetop space.
Intense turkey flavor
When I use real turkey stock or pan drippings, the gravy tastes deeply savory, without needing a long simmer. Even if I use store bought broth, the roux boosts mouthfeel so you still get a rich, satisfying coating on each slice of turkey or spoon over mashed potatoes.
Easy to adapt in texture
I appreciate how simple it is to control thickness. If it’s too thick after refrigeration, a splash of warm turkey stock loosens it right up. That makes it an ideal companion for different preferences around my table, and I never worry about ending up with glue like gravy.
Great for make ahead menus
This gravy integrates perfectly into a make ahead plan. I often portion it into smaller containers, which lets me reheat only what I need. It’s also freezer friendly, so leftovers become an emergency dinner solution that still tastes like a celebration.
Ingredients Required for Make Ahead Turkey Gravy
These ingredients are straightforward and purposeful. The trio of butter, flour, and stock form the backbone of a classic gravy. Salt and pepper are the subtle conductors that lift the savory notes, while the turkey stock brings the specific roast flavor that makes this gravy unmistakably fitting with poultry.
- 1/2 cups salted butter, cubed: Melting and rubbing into the pan, provides a rich, silky foundation for the gravy while adding depth and mouthfeel; cubing helps it melt evenly and incorporate smoothly with flour for a glossy roux.
- 1/2 teaspoon kosher salt: Enhancing overall seasoning, sharpens flavors and balances richness; measure carefully to avoid over-salting, especially if using salty pan drippings or stock.
- 1/2 teaspoon ground black pepper: Seasoning the gravy with mild heat, contributes aromatic warmth and a subtle bite; freshly ground black pepper brightens the savory profile and complements poultry flavors.
- 1/2 cup all-purpose flour: Thickening the sauce by forming a roux with melted butter, creates body and stability so the gravy coats the spoon; whisk continuously while cooking to eliminate lumps and achieve a smooth texture.
- 3 cups turkey stock, or turkey broth, chicken broth or pan drippings from cooking turkey, if you have them.: Building the liquid base and delivering savory turkey flavor, dilutes the roux to the desired consistency and provides depth; choose pan drippings or stock for a more intense taste, and simmer to concentrate flavors.
Step by Step Instructions for Make Ahead Turkey Gravy
These directions guide you through building a classic roux based gravy, slowly coaxing flavor and texture into a smooth, pourable sauce. Move deliberately and use your senses; the process is forgiving when you pay attention to color and aroma.
- Make a roux. Melt butter in a medium saucepan set over medium heat. Sprinkle with salt and pepper and slowly whisk in flour. Cook until the flour is fully incorporated into the butter and gravy is your preferred color (from light blonde to a nut a brown color).: The moment you start, you will notice the butter softening and then becoming glossy in the pan. The aroma shifts from milky to toasty as the flour cooks into the fat, and watching the color is the primary cue for doneness. Use a steady whisking rhythm so the mixture becomes homogeneous and you avoid any pasty clumps. This stage matters because the roux both thickens and flavors the gravy; a longer cook time produces a nuttier, darker profile while a short cook yields a lighter, creamier body. A frequent misstep here is overheating, which causes the butter to brown unevenly and the roux to take on a burnt flavor, so keep the heat steady and adjust it to maintain even sizzling without smoking.
- Add stock. Once that stage is reached, constantly whisking, slowly pour in the turkey stock and cook until the gravy is thickened.: As the warm stock hits the roux, you will hear a gentle hiss and see the mixture draw together into a sheen, then thicken into a smooth sauce. Whisking constantly breaks up any small pockets so the sauce stays silk like. The smell becomes richer and more savory as the liquid incorporates. This technique prevents lumps and gives you control over texture; adding liquid too fast often creates clumps that are hard to fix, so pour in a thin stream and whisk intentionally. If the gravy seems too thin after it thickens, simmer gently to reduce, but watch for over reduction that will concentrate salt and change the mouthfeel.
- Serve, store, or freeze. Remove from the heat and serve immediately or cool, pour into an airtight container and store or freeze. If serving from made-ahead turkey gravy, reheat in a medium saucepan until warmed throughout If the gravy is too thick, add more stock until it reaches the desired consistency.: When you take the saucepan off the heat the surface will glisten and the aroma will tell you it is ready, but stopping now also lets you cool and store. Cooling in shallow containers speeds chilling and protects quality before refrigeration or freezing. Reheating slowly restores silkiness; bring to a gentle simmer while stirring so the texture becomes even and the flavors reopen. A common oversight is reheating too vigorously, which can split the gravy or scorch the bottom of the pan, so use medium heat and stir often. If it becomes overly thick after chilling, add warm turkey stock a little at a time until the desired pourability returns.
Ways to Customize
I often tweak small details depending on what I have on hand or how the meal is planned. These adjustments keep the recipe flexible while preserving the signature smooth texture of Make Ahead Turkey Gravy. Below are thoughtful, practical tips you can use.
- Use pan drippings: If you have pan drippings from roasting turkey, incorporate a portion into the turkey stock for a deeper roast flavor, adjusting salt carefully so it does not become too salty.
- Adjust thickness: To thin the gravy, warm additional turkey stock and whisk in gradually until the desired consistency is reached; to thicken, simmer gently until reduced, watching so you do not over concentrate the seasoning.
- Flavor lift: Add freshly ground black pepper toward the end of reheating to preserve its aromatics and lift the overall flavor without overpowering the gravy.
- Storage strategy: Chill in shallow airtight containers to speed cooling, then freeze in portion sized containers so you only reheat what you need for a single meal.
- Reheat gently: Warm over medium low heat while stirring frequently to prevent scorching and to restore the gravy’s silky texture without breaking it.
How to Enjoy Make Ahead Turkey Gravy
This gravy is built to be served with hearty mains and comforting sides, and it shines across many occasions. It pairs beautifully with holiday plates but is equally welcome on busy weeknight dinners when you want something cozy. Serve warm and ladle generously.
- Classic holiday pairing: Ladle the warm Make Ahead Turkey Gravy over slices of roast turkey at Thanksgiving for a traditional centerpiece experience that ties the meal together.
- With mashed potatoes: Pour gravy over creamy mashed potatoes so each forkful has a glossy coating of savory flavor, perfect for family style plates during dinner.
- For make ahead meals: Store in the refrigerator for up to two days or freeze in portions for up to six months, then thaw overnight in the fridge and reheat gently before serving.
- Seasonal serving ideas: During colder months this gravy complements roasted root vegetables and stuffing, making it ideal for fall and winter menus.
- Reheating note: Bring to a gentle simmer while stirring to ensure even heat and texture, adding a splash of warm turkey stock if necessary to adjust consistency.
FAQ
Conclusion
What makes this gravy special is its combination of simple technique and big, comforting flavor. Because you make a proper roux and use a rich turkey stock, the result is reliably smooth and deeply savory. Give it a try next time you need something that frees up oven time and still tastes like you spent the afternoon on it. I think you’ll find the small investment up front pays off with a stress free, flavorful meal.
Make Ahead Turkey Gravy
Equipment
- Saucepan (4-quart)
- Whisk (Balloon)
Ingredients
- 1/2 cups salted butter, cubed Melting and rubbing into the pan, provides a rich, silky foundation for the gravy while adding depth and mouthfeel; cubing helps it melt evenly and incorporate smoothly with flour for a glossy roux.
- 1/2 teaspoon kosher salt Enhancing overall seasoning, sharpens flavors and balances richness; measure carefully to avoid over-salting, especially if using salty pan drippings or stock.
- 1/2 teaspoon ground black pepper Seasoning the gravy with mild heat, contributes aromatic warmth and a subtle bite; freshly ground black pepper brightens the savory profile and complements poultry flavors.
- 1/2 cup all-purpose flour Thickening the sauce by forming a roux with melted butter, creates body and stability so the gravy coats the spoon; whisk continuously while cooking to eliminate lumps and achieve a smooth texture.
- 3 cups turkey stock, or turkey broth, chicken broth or pan drippings from cooking turkey, if you have them. Building the liquid base and delivering savory turkey flavor, dilutes the roux to the desired consistency and provides depth; choose pan drippings or stock for a more intense taste, and simmer to concentrate flavors.
Instructions
- Make a roux. Melt butter in a medium saucepan set over medium heat. Sprinkle with salt and pepper and slowly whisk in flour. Cook until the flour is fully incorporated into the butter and gravy is your preferred color (from light blonde to a nut a brown color).: The moment you start, you will notice the butter softening and then becoming glossy in the pan. The aroma shifts from milky to toasty as the flour cooks into the fat, and watching the color is the primary cue for doneness. Use a steady whisking rhythm so the mixture becomes homogeneous and you avoid any pasty clumps. This stage matters because the roux both thickens and flavors the gravy; a longer cook time produces a nuttier, darker profile while a short cook yields a lighter, creamier body. A frequent misstep here is overheating, which causes the butter to brown unevenly and the roux to take on a burnt flavor, so keep the heat steady and adjust it to maintain even sizzling without smoking.
- Add stock. Once that stage is reached, constantly whisking, slowly pour in the turkey stock and cook until the gravy is thickened.: As the warm stock hits the roux, you will hear a gentle hiss and see the mixture draw together into a sheen, then thicken into a smooth sauce. Whisking constantly breaks up any small pockets so the sauce stays silk like. The smell becomes richer and more savory as the liquid incorporates. This technique prevents lumps and gives you control over texture; adding liquid too fast often creates clumps that are hard to fix, so pour in a thin stream and whisk intentionally. If the gravy seems too thin after it thickens, simmer gently to reduce, but watch for over reduction that will concentrate salt and change the mouthfeel.
- Serve, store, or freeze. Remove from the heat and serve immediately or cool, pour into an airtight container and store or freeze. If serving from made-ahead turkey gravy, reheat in a medium saucepan until warmed throughout If the gravy is too thick, add more stock until it reaches the desired consistency.: When you take the saucepan off the heat the surface will glisten and the aroma will tell you it is ready, but stopping now also lets you cool and store. Cooling in shallow containers speeds chilling and protects quality before refrigeration or freezing. Reheating slowly restores silkiness; bring to a gentle simmer while stirring so the texture becomes even and the flavors reopen. A common oversight is reheating too vigorously, which can split the gravy or scorch the bottom of the pan, so use medium heat and stir often. If it becomes overly thick after chilling, add warm turkey stock a little at a time until the desired pourability returns.
Notes
- Use pan drippings: If you have pan drippings from roasting turkey, incorporate a portion into the turkey stock for a deeper roast flavor, adjusting salt carefully so it does not become too salty.
- Adjust thickness: To thin the gravy, warm additional turkey stock and whisk in gradually until the desired consistency is reached; to thicken, simmer gently until reduced, watching so you do not over concentrate the seasoning.
- Flavor lift: Add freshly ground black pepper toward the end of reheating to preserve its aromatics and lift the overall flavor without overpowering the gravy.
- Storage strategy: Chill in shallow airtight containers to speed cooling, then freeze in portion sized containers so you only reheat what you need for a single meal.
- Reheat gently: Warm over medium low heat while stirring frequently to prevent scorching and to restore the gravy’s silky texture without breaking it.