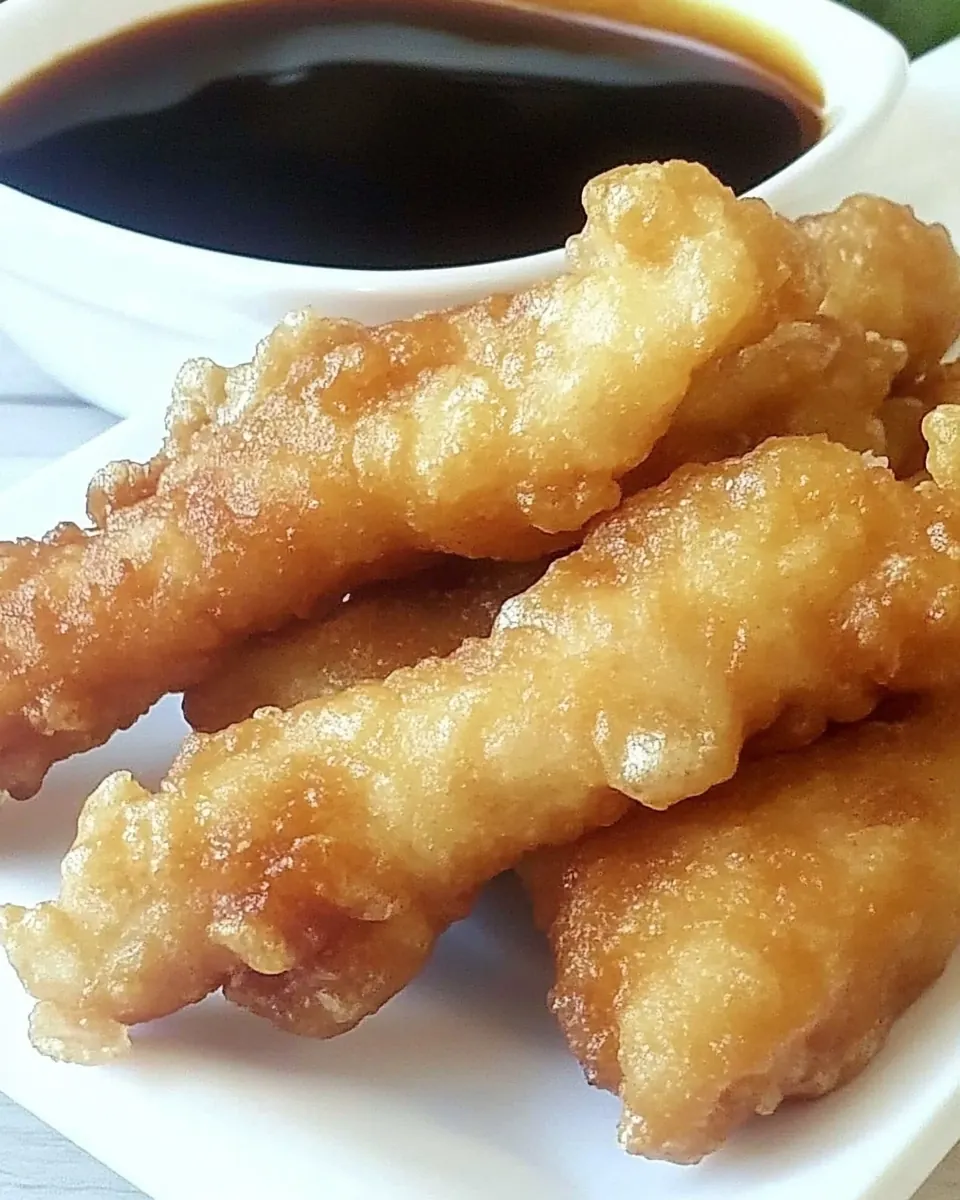
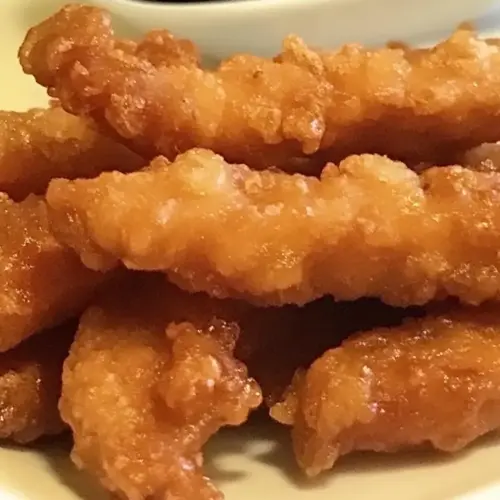
Tempura Chicken Fingers
Tempura Chicken Fingers are one of those recipes I reach for when I want something playful, crunchy, and reliably loved by everyone at the table. The first time I made these I was testing batters and ended up learning how a few simple ingredients and a little fizz from vinegar and baking soda can turn plain chicken into something light and airy, with a crackling crust that sings when you bite into it.
I remember frying the first batch on a rainy afternoon, steam fogging the kitchen window as the oil heated and the batter hissed when it met the pan. Friends gathered around, napkins at the ready, and we all traded little observations about texture and salt. That communal tasting taught me how small technique changes, like the batter temperature and the oil heat, change everything.
Over the years I refined the method so you get that crisp exterior without any greasy heaviness, and I always keep it simple so you can make this on a weeknight or for an easy party snack. With a short ingredient list and clear steps, Tempura Chicken Fingers become something you can make confidently, even if you haven t fried much before. I love serving them straight from the pan, still warm, with a dipping sauce that complements the delicate crunch.
Recipe Snapshot
15 mins
10 mins
5 mins
Easy
400 kcal
American
Paleo, Gluten-Free
Dinner
Dutch Oven, Deep Fry Thermometer
Why This Tempura Chicken Fingers Hits Different
Light, Airy Crunch
One big reason I adore Tempura Chicken Fingers is the texture. The batter stays thin and crisp, creating a shell that flakes away in delicate shards. That contrast between an airy coating and tender chicken inside is irresistible, and it s easy to achieve once you understand the role of fizzing acid and cold liquid.
Ridiculously Simple Ingredients
Another reason I make this often is the ingredient list. With basic pantry staples like all-purpose flour, salt, and a touch of baking soda, you get a specialty result without hunting down exotic items. The technique matters more than rare components, which is why this feels accessible yet impressive.
Quick to Make
I appreciate how fast these come together. From mixing batter to frying, the process moves briskly, so you can have a hot platter on the table in a short time. For busy evenings when you want something satisfying but not complicated, this recipe fits perfectly.
Customizable for Any Occasion
Even though the core recipe is straightforward, it adapts well. You can scale it for a casual family dinner or a gathering of friends. Because the batter is neutral and light, the fried chicken pairs with many dipping sauces and sides, letting you match the mood of the meal.
Reliable Crowd Pleaser
Finally, I find that these are universally appealing. Children and adults alike love the crispness, and the tender interior keeps it from feeling heavy. When I bring out a platter of Tempura Chicken Fingers, conversation eases and people dig in happily, which is the best compliment a recipe can get.
What’s In This Tempura Chicken Fingers
I think of the ingredient list here as a small orchestra, each part playing a focused role. The batter ingredients create an ultralight shell, the acid and baking soda add lift and crispness, and the chicken provides the tender, savory center. Together they produce a balanced bite that s textural and clean, not heavy or oily.
- 2 cups all-purpose flour: Provide structure and body to the batter and coating, creating a light framework that crisps when fried. Combine with liquid to form a smooth, cohesive batter that adheres to chicken tenders and yields a delicate, golden crust. Help balance texture so the exterior is crunchy while the interior remains tender.
- 1 1/2 tsp salt: Enhance overall seasoning and balance the batter, drawing out savory flavors in the chicken and helping the crust taste well-rounded. Contribute to controlling the perception of saltiness in the finished dish, ensuring the coating isn't bland. Work with other leavening components to subtly influence browning and flavor development.
- 2 cups water: Thin and hydrate dry ingredients to create a fluid batter that evenly coats chicken, enabling proper frying and steam-driven puffiness. Influence batter viscosity, which affects how much coating adheres and the final crispness. Also mediate heat transfer during frying to help cook the tenders through without burning the exterior.
- 3 tbsp vinegar: Introduce acidity to the batter to react with baking soda for gentle leavening, contributing to a lighter, airier crust. Add a faint tang that brightens overall flavor and balances richness from frying oil. Help tenderize the chicken surface slightly, improving texture after frying.
- 1 1/2 tsp baking soda: Provide chemical leavening that reacts with acidic vinegar and liquid to produce carbon dioxide, creating a lighter, crispier batter. Help aerate the coating so it puffs and becomes delicate during frying rather than dense. Work quickly once mixed, so batter should be used promptly for best results.
- 1 to 2 lb chicken tenders: Serve as the primary protein component, offering tender meat that pairs with the crisp tempura coating. Require even sizing and patting dry to ensure proper batter adhesion and consistent cooking. Provide the substantial, savory center that contrasts with the light, crunchy exterior.
Making This Tempura Chicken Fingers
I like to approach frying with calm focus, preparing my station so each step flows into the next. Have your batter mixed, oil heated to temperature, and a tray lined for draining. Below I transform each direction into full, sensory steps so you know what to expect at every turn.
- In a large bowl, mix together the flour, salt, and water. In a separate bowl, combine the vinegar and baking soda (it will foam up) and pour into the flour mixture.: The bowl should feel cool under your hands as you whisk these together, and you ll notice the batter settling into a smooth, slightly viscous liquid. The aroma is mild, just hints of flour and salt, and the surface will show gentle ripples when you stir. This texture matters because a lumpy or overly thick batter will not coat the chicken evenly, leading to patchy frying. One common mistake is overmixing, which activates gluten and makes the coating chewy instead of light, so stop whisking when the mixture is homogeneous and still slightly loose. If you see any dry pockets of flour , fold them in gently rather than vigorous beating.
- Pour oil to a depth of 2 inches in a large Dutch oven or skillet and heat to 350ºF.: When you mix the vinegar and baking soda , watch the foam rise and hiss faintly, a small active show that promises lift in the batter. Pouring this into the batter adds tiny bubbles that help the final coating become airy and crisp. You ll notice the batter lighten visually and take on a slightly effervescent character. The why here is crucial: the chemical reaction traps air, which expands in hot oil and creates that delicate crust. A troubleshooting tip: add this mixture right before frying, as waiting too long lets the bubbles dissipate and weakens the effect.
- Dip the chicken tenders in the tempura batter and shake off excess. Once the oil is hot, fry the tenders in small batches for about 5 minutes and then drain on paper towels.: As the oil warms, it gives off a faint, neutral scent and eventually stills into a glassy surface that shimmers with heat. Use a thermometer to confirm the temperature is steady at 350 6F , because oil that s too cool soaks into the coating and makes it greasy, while oil that s too hot browns the exterior before the chicken cooks through. The sound you want is a confident sizzle when a drop of batter meets the oil. A frequent error is overheating, so monitor the thermometer and adjust the burner to maintain that steady temperature for consistent results.
- Serve with your favorite dipping sauces.: As you dip, feel the batter cling in a glossy veil around each piece, coating every groove of the chicken . Give each tender a gentle shake to remove excess batter so it fries into a crisp shell rather than a thick coating. The batter should be light enough to let the surface show contours, not mask them. If you see heavy globs, they will expand unpredictably and can cause uneven cooking, so tap off the surplus. Tip to avoid a common mistake: dredge one piece at a time and place it immediately into the oil to keep the batter from becoming gummy.
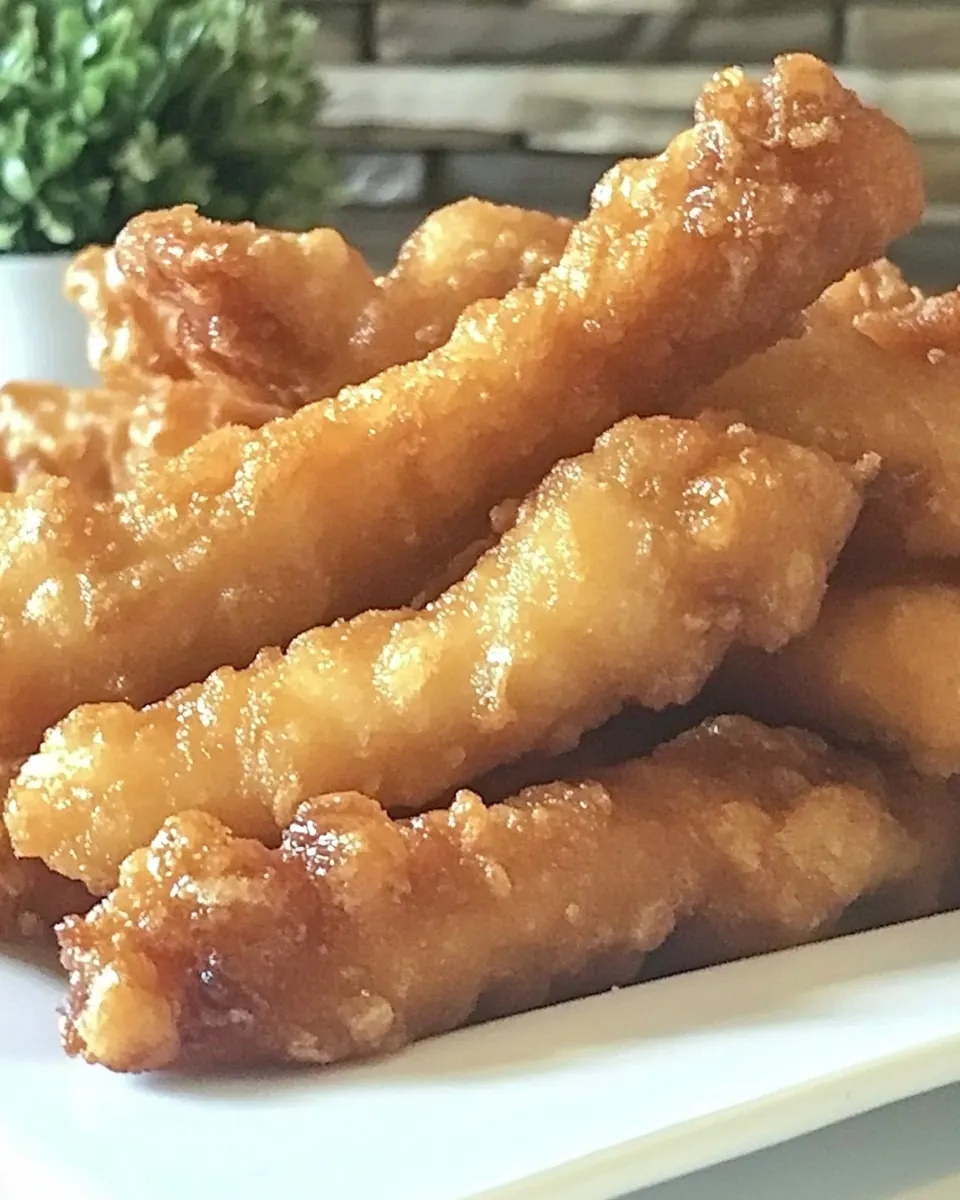
- Once the oil is hot, fry the tenders in small batches for about 5 minutes and then drain on paper towels: As the tenders sizzle, the oil makes a lively sound and small bubbles race along the edges of the coating, signaling crisping. Watch the color shift to a soft golden tone; the batter should form tiny shards that flake when nudged with tongs. Frying in small batches preserves the oil temperature, so resist the urge to crowd the pan, which can lower the heat and produce greasy results. Use a slotted spoon or tongs to turn the pieces so they brown evenly, and after about five minutes they should register cooked through and be ready to rest. A troubleshooting note: if the coating looks pale and soggy, the oil was likely not hot enough, so let it recover before the next batch. Drain briefly on paper towels to remove surface oil while keeping the interior juicy.
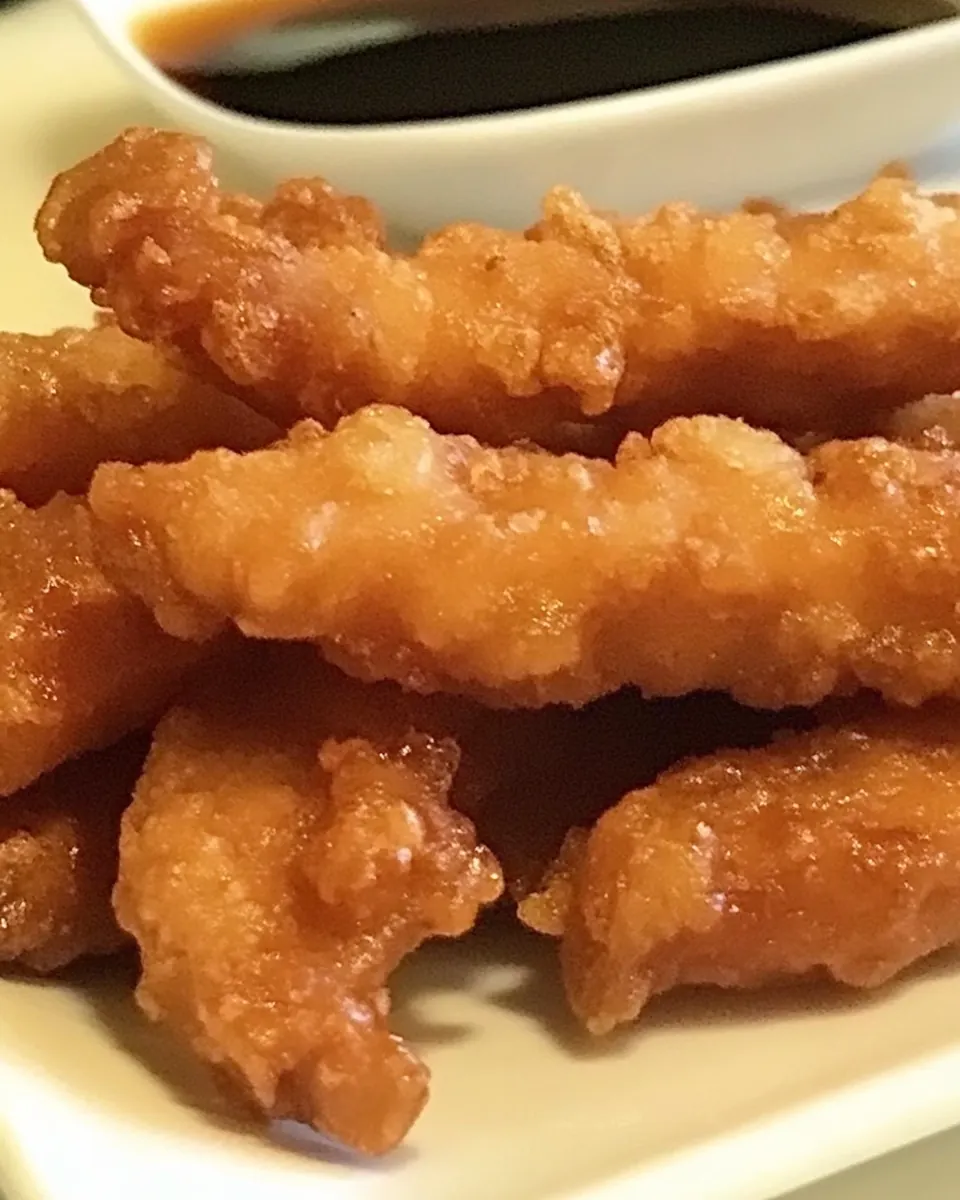
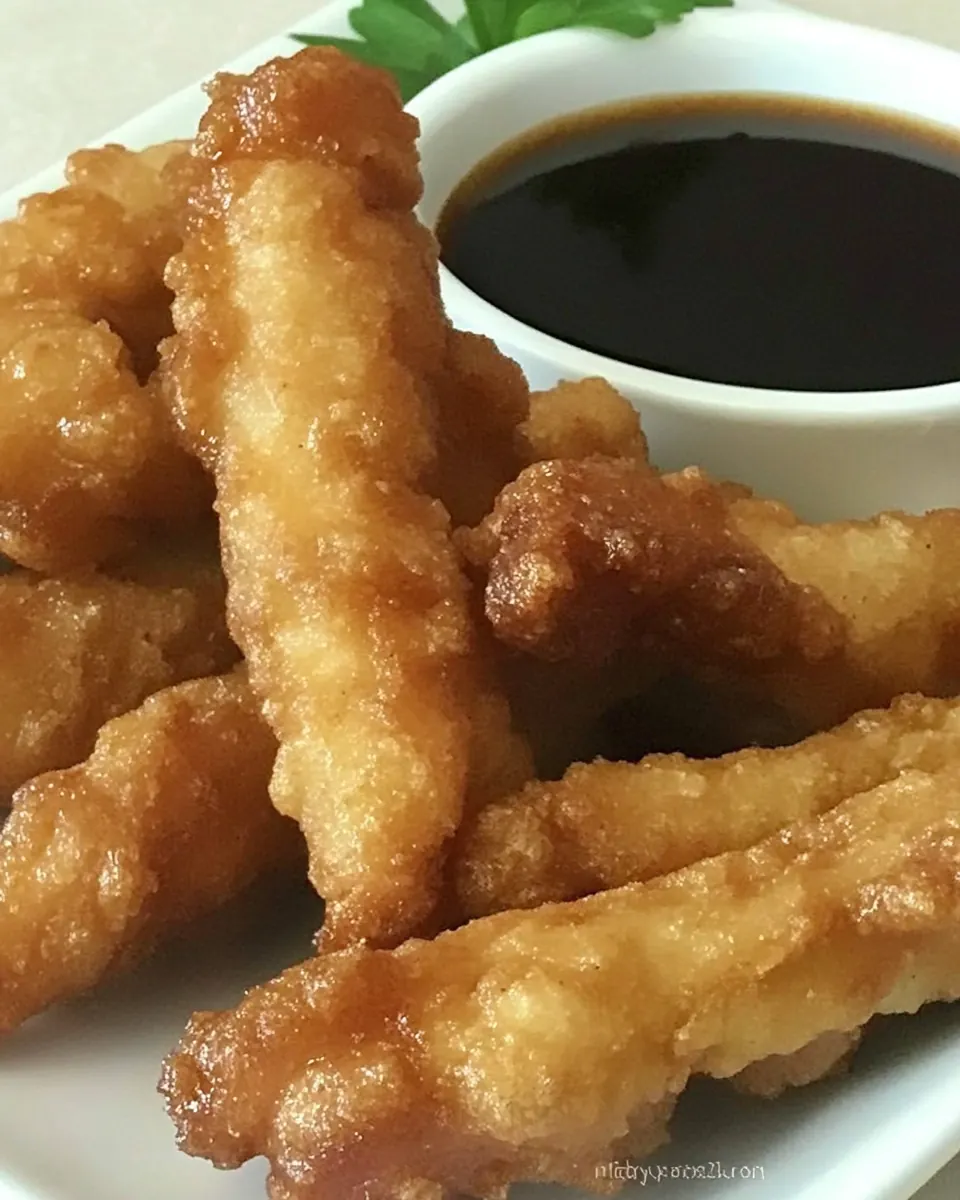
- Serve with your favorite dipping sauces: When you plate the tenders, you ll notice a crisp shell that crackles under pressure and a warm, tender center that releases savory juices. Serve immediately for maximum contrast between crunch and succulence. The finishing touch is the dipping sauce, which provides a complementary flavor and moisture; present a selection if you can, because people enjoy customizing each bite. Avoid long holding times on the serving plate, as steam can soften the crust, so encourage guests to dig in while the texture is at its peak.
Ways to Customize
If you want to make Tempura Chicken Fingers your own, there are a few easy adjustments that keep the core method intact while introducing new flavors or textures. Below are practical, tested ideas that I often use when I m feeding different crowds.
- Add citrus to the batter for a subtle brightness by folding a teaspoon of grated zest into the batter before frying, which lifts the overall flavor profile without changing the crisping chemistry.
- Adjust batter thickness by adding a splash more water if the batter feels heavy, this makes the coating lighter and more delicate when fried, and conversely a slightly thicker batter will cling more for a heartier crust.
- Maintain consistent oil temperature by heating in a deep pot with a thermometer, this prevents greasy results and ensures each batch fries to an even golden color.
- Uniform chicken sizing ensures even cooking, trim or cut tenders so they are similar in thickness, which helps avoid overcooked edges and undercooked centers.
- Serve immediately because the contrast between hot crunchy exterior and tender interior is strongest right out of the fryer, so plan plating and sauces ahead of time.
Best Served With
These Tempura Chicken Fingers are versatile and pair well with a variety of sides and occasions. Below I outline thoughtful combinations and serving ideas so you can match the mood of your meal. Consider how contrasting textures and complementary flavors can elevate the plate.
- Serving style I like to present them on a warm platter with small bowls for dipping, this invites communal sharing and keeps the tenders hot for the first few rounds.
- Side dishes Crisp greens or a simple slaw provide a fresh counterpoint, the acidity and crunch from vegetables balancing the fried coating and keeping the meal lively.
- Occasions These work for casual weeknight dinners, weekend gatherings, or as a sharable appetizer for parties, because they re quick to make and broadly appealing.
- Storage tips If you need to hold them briefly, keep in a low oven to preserve warmth and crispness, but avoid long storage which will soften the coating from steam.
- Seasonal pairings In warmer months, pair with bright, acidic sauces and chilled salads; in cooler months, serve with heartier sides to create a comforting plate.
FAQ
Conclusion
Tempura Chicken Fingers stand out because of their featherlight batter and tender chicken center, producing a contrast of textures that feels special yet approachable. Give them a try the next time you want a quick, crowd pleasing dish that still feels celebratory. I hope you enjoy the ritual of mixing the batter, watching the frying sizzle, and sharing the crispy results with family or friends, it s one of those recipes that brings people together around a simple, tasty bite.
Tempura Chicken Fingers
Equipment
- Dutch Oven
- deep fry thermometer
Ingredients
- 2 cups all-purpose flour Provide structure and body to the batter and coating, creating a light framework that crisps when fried. Combine with liquid to form a smooth, cohesive batter that adheres to chicken tenders and yields a delicate, golden crust. Help balance texture so the exterior is crunchy while the interior remains tender.
- 1 1/2 tsp salt Enhance overall seasoning and balance the batter, drawing out savory flavors in the chicken and helping the crust taste well-rounded. Contribute to controlling the perception of saltiness in the finished dish, ensuring the coating isn't bland. Work with other leavening components to subtly influence browning and flavor development.
- 2 cups water Thin and hydrate dry ingredients to create a fluid batter that evenly coats chicken, enabling proper frying and steam-driven puffiness. Influence batter viscosity, which affects how much coating adheres and the final crispness. Also mediate heat transfer during frying to help cook the tenders through without burning the exterior.
- 3 tbsp vinegar Introduce acidity to the batter to react with baking soda for gentle leavening, contributing to a lighter, airier crust. Add a faint tang that brightens overall flavor and balances richness from frying oil. Help tenderize the chicken surface slightly, improving texture after frying.
- 1 1/2 tsp baking soda Provide chemical leavening that reacts with acidic vinegar and liquid to produce carbon dioxide, creating a lighter, crispier batter. Help aerate the coating so it puffs and becomes delicate during frying rather than dense. Work quickly once mixed, so batter should be used promptly for best results.
- 1 to 2 lb chicken tenders Serve as the primary protein component, offering tender meat that pairs with the crisp tempura coating. Require even sizing and patting dry to ensure proper batter adhesion and consistent cooking. Provide the substantial, savory center that contrasts with the light, crunchy exterior.
Instructions
- In a large bowl, mix together the flour, salt, and water. In a separate bowl, combine the vinegar and baking soda (it will foam up) and pour into the flour mixture.: The bowl should feel cool under your hands as you whisk these together, and you ll notice the batter settling into a smooth, slightly viscous liquid. The aroma is mild, just hints of flour and salt, and the surface will show gentle ripples when you stir. This texture matters because a lumpy or overly thick batter will not coat the chicken evenly, leading to patchy frying. One common mistake is overmixing, which activates gluten and makes the coating chewy instead of light, so stop whisking when the mixture is homogeneous and still slightly loose. If you see any dry pockets of flour , fold them in gently rather than vigorous beating.
- Pour oil to a depth of 2 inches in a large Dutch oven or skillet and heat to 350ºF.: When you mix the vinegar and baking soda , watch the foam rise and hiss faintly, a small active show that promises lift in the batter. Pouring this into the batter adds tiny bubbles that help the final coating become airy and crisp. You ll notice the batter lighten visually and take on a slightly effervescent character. The why here is crucial: the chemical reaction traps air, which expands in hot oil and creates that delicate crust. A troubleshooting tip: add this mixture right before frying, as waiting too long lets the bubbles dissipate and weakens the effect.
- Dip the chicken tenders in the tempura batter and shake off excess. Once the oil is hot, fry the tenders in small batches for about 5 minutes and then drain on paper towels.: As the oil warms, it gives off a faint, neutral scent and eventually stills into a glassy surface that shimmers with heat. Use a thermometer to confirm the temperature is steady at 350 6F , because oil that s too cool soaks into the coating and makes it greasy, while oil that s too hot browns the exterior before the chicken cooks through. The sound you want is a confident sizzle when a drop of batter meets the oil. A frequent error is overheating, so monitor the thermometer and adjust the burner to maintain that steady temperature for consistent results.
- Serve with your favorite dipping sauces.: As you dip, feel the batter cling in a glossy veil around each piece, coating every groove of the chicken . Give each tender a gentle shake to remove excess batter so it fries into a crisp shell rather than a thick coating. The batter should be light enough to let the surface show contours, not mask them. If you see heavy globs, they will expand unpredictably and can cause uneven cooking, so tap off the surplus. Tip to avoid a common mistake: dredge one piece at a time and place it immediately into the oil to keep the batter from becoming gummy.
- Once the oil is hot, fry the tenders in small batches for about 5 minutes and then drain on paper towels: As the tenders sizzle, the oil makes a lively sound and small bubbles race along the edges of the coating, signaling crisping. Watch the color shift to a soft golden tone; the batter should form tiny shards that flake when nudged with tongs. Frying in small batches preserves the oil temperature, so resist the urge to crowd the pan, which can lower the heat and produce greasy results. Use a slotted spoon or tongs to turn the pieces so they brown evenly, and after about five minutes they should register cooked through and be ready to rest. A troubleshooting note: if the coating looks pale and soggy, the oil was likely not hot enough, so let it recover before the next batch. Drain briefly on paper towels to remove surface oil while keeping the interior juicy.
- Serve with your favorite dipping sauces: When you plate the tenders, you ll notice a crisp shell that crackles under pressure and a warm, tender center that releases savory juices. Serve immediately for maximum contrast between crunch and succulence. The finishing touch is the dipping sauce, which provides a complementary flavor and moisture; present a selection if you can, because people enjoy customizing each bite. Avoid long holding times on the serving plate, as steam can soften the crust, so encourage guests to dig in while the texture is at its peak.
Notes
- Add citrus to the batter for a subtle brightness by folding a teaspoon of grated zest into the batter before frying, which lifts the overall flavor profile without changing the crisping chemistry.
- Adjust batter thickness by adding a splash more water if the batter feels heavy, this makes the coating lighter and more delicate when fried, and conversely a slightly thicker batter will cling more for a heartier crust.
- Maintain consistent oil temperature by heating in a deep pot with a thermometer, this prevents greasy results and ensures each batch fries to an even golden color.
- Uniform chicken sizing ensures even cooking, trim or cut tenders so they are similar in thickness, which helps avoid overcooked edges and undercooked centers.
- Serve immediately because the contrast between hot crunchy exterior and tender interior is strongest right out of the fryer, so plan plating and sauces ahead of time.