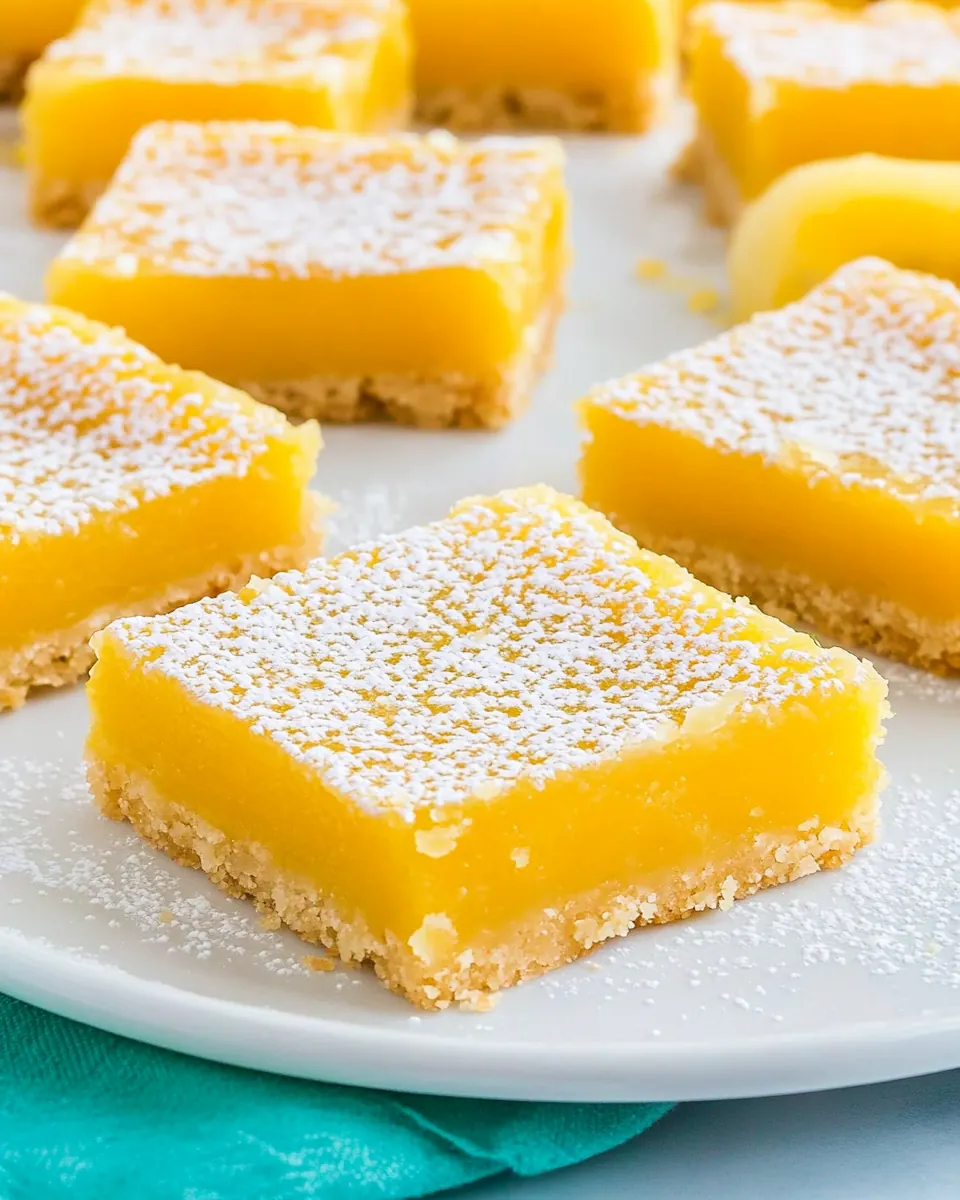
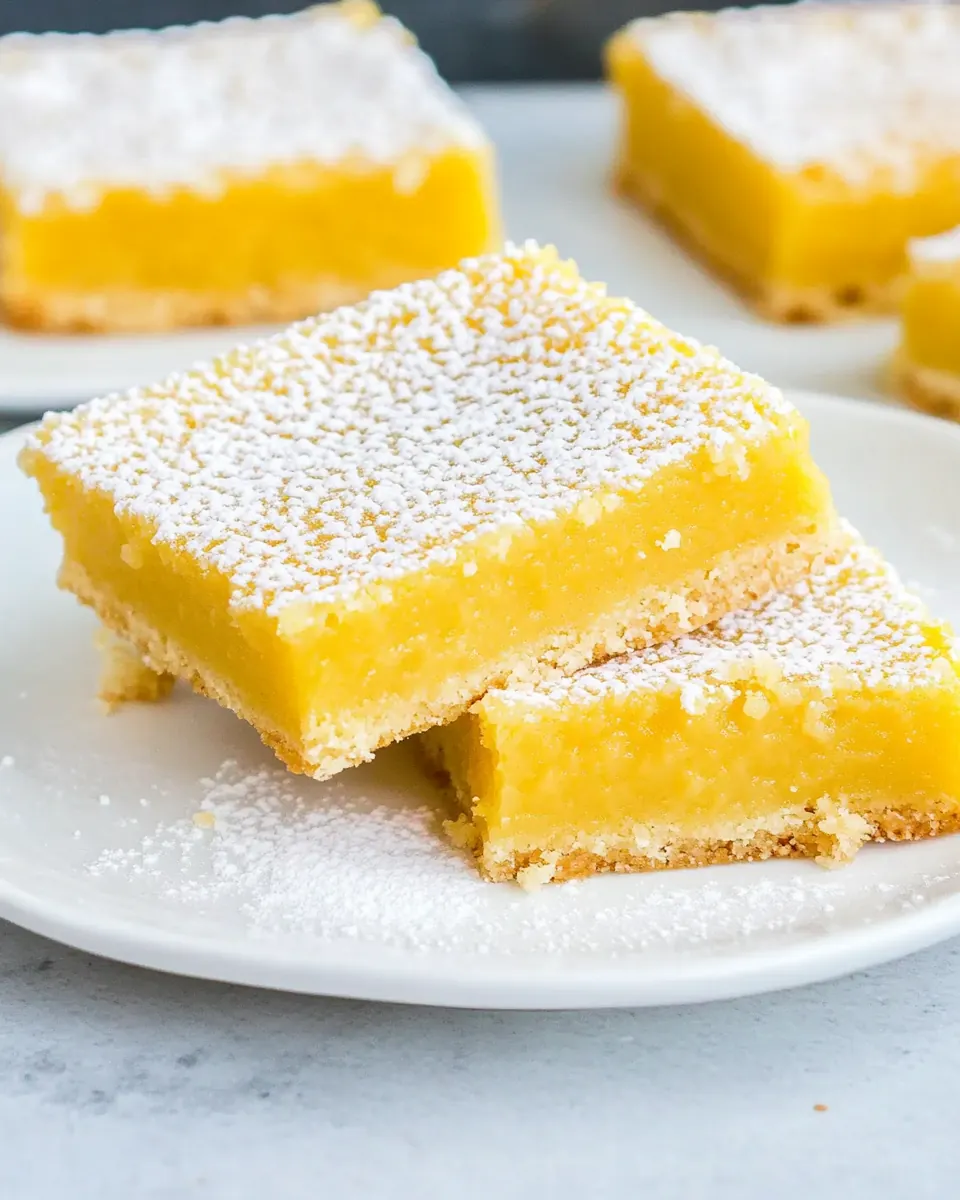
Lemon Bars
Lemon Bars have been my go to whenever I need a bright, sunny dessert that feels both nostalgic and a little indulgent. The first time I made these, I remember the kitchen filling with a sharp, citrusy perfume that chased away a gray afternoon, and I knew this recipe would become a repeat guest at gatherings. I love how the tartness of the lemon filling plays against the buttery, tender all purpose flour crust, creating a contrast that always makes people ask for a second piece.
Over the years I have tweaked technique and timing, learning to trust visual cues and small sensory nudges. I still prefer using freshly squeezed lemon juice, because the aroma is unmatched, and I always chill the bars so the filling sets into that perfect, almost custardy texture. When friends come by, I find it easy to whip a batch: the short crust bakes quickly, then the filling comes together in a bowl, simple and honest.
Recipe Snapshot
50 mins
15 mins
35 mins
Medium
300 kcal
American
Gluten-Free, Low FODMAP
Desserts
9×13 inch baking dish, parchment paper, hand-held mixer, mixing bowl
Why This Lemon Bars Shines
Bright Citrus Flavor That Pops
I adore how Lemon Bars deliver an immediate zing. The freshly squeezed lemon juice gives a lively acidity that wakes the palate, and I often find myself savoring just a sliver to enjoy that clean, tart finish. It is the kind of flavor that lifts a meal, and I keep the balance so the bars are pleasantly tart rather than overwhelmingly sour.
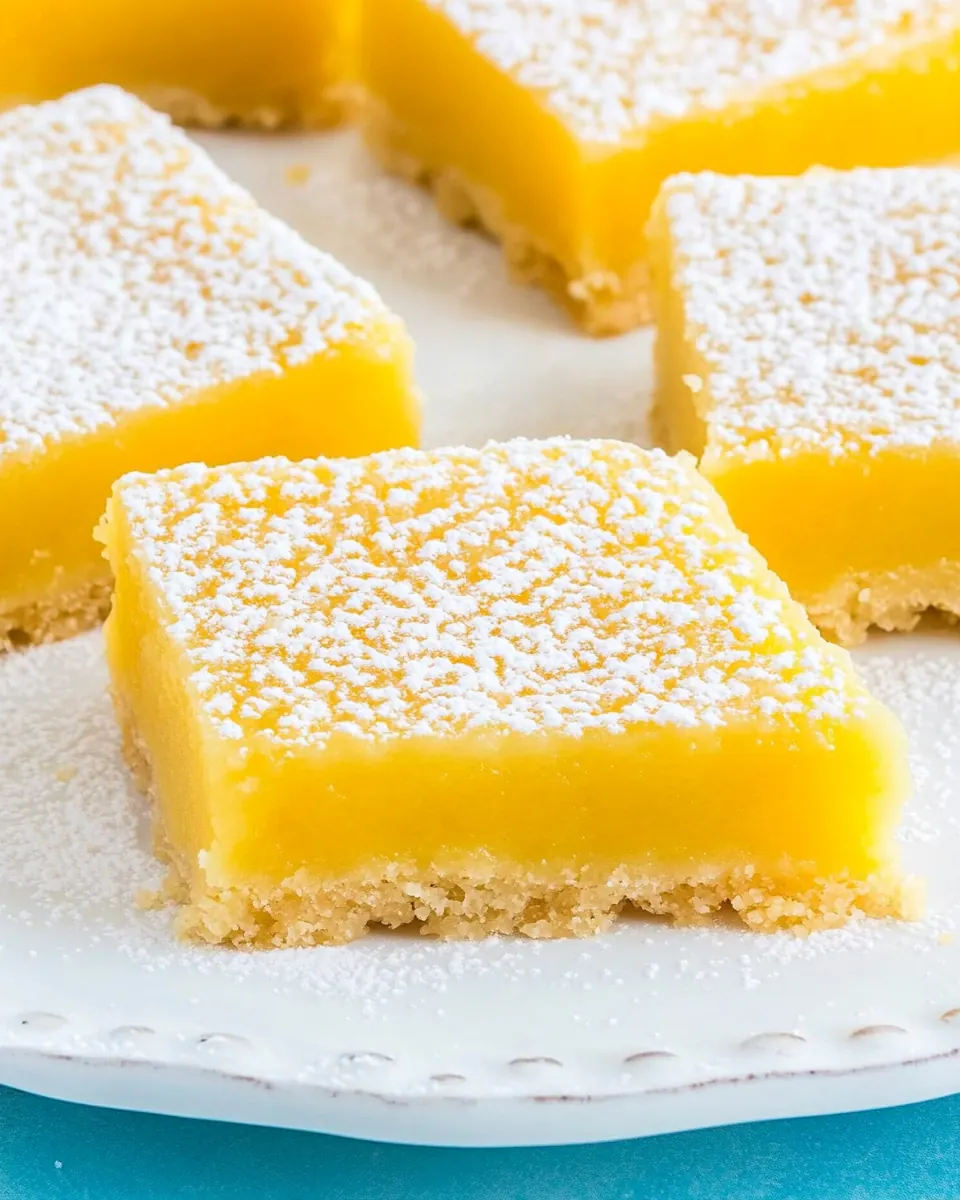
Perfect Texture Contrast
The success of these bars rests on contrast. The base, made with melted unsalted butter and all purpose flour, bakes into a slightly crisp, tender crust, while the filling sets into a silky, custard like layer. I love how every bite gives you buttery crumble followed by a smooth, bright filling, it feels sophisticated yet homey.
Simple, Friendly Ingredients
I value recipes that rely on pantry staples, and these bars are exactly that. With granulated sugar, eggs, all purpose flour, and lemon juice, the ingredient list is approachable. That means you can make them on a weekday evening or for a weekend gathering without a trip to a specialty store.
Flexible for Serving and Occasions
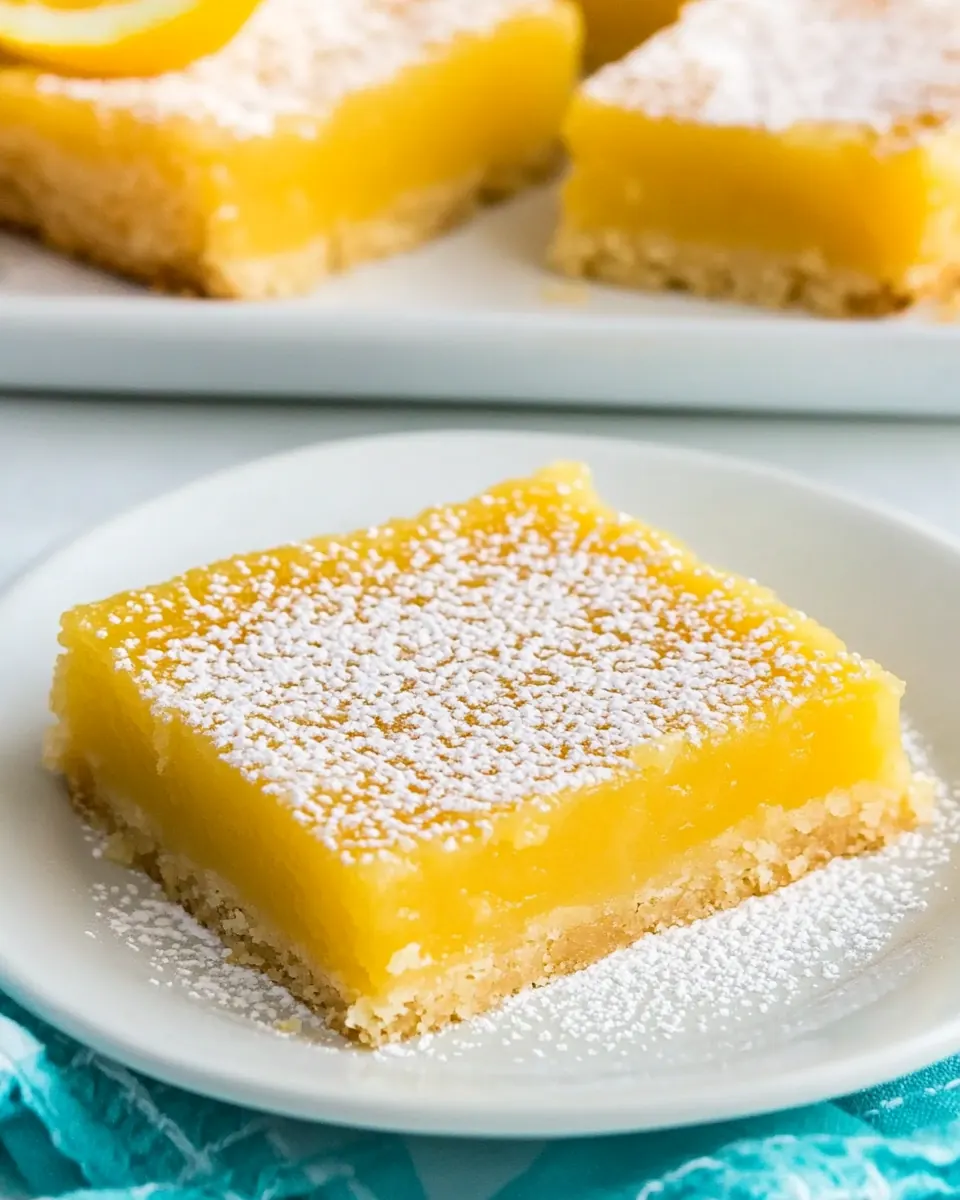
Lemon Bars are versatile; they work as a casual snack, an elegant dessert for guests, or a bright finish to a springtime menu. I often dust them with the optional confectioner's sugar for a pretty presentation, and they travel well if you need to bring something to a potluck.
Reliable and Forgiving Technique
What I love most is that this recipe is forgiving. The crust is easy to press and bake, and the filling offers clear visual cues when it is set. Even if you underbake by a minute or two, chilling helps it firm up. The method rewards attention to feel and appearance, rather than strict precision, so you can relax and enjoy the process.
What Goes Into Lemon Bars
These components form a balanced, classic lemon bar. The crust relies on rich, melted unsalted butter and all purpose flour for structure and flavor, while the filling comes from a bright combo of lemon juice, eggs, and granulated sugar. Each ingredient plays a clear role: the fats provide tenderness, the flour stabilizes texture, and the acid from the lemons lifts the whole bar.
- 8 ounces unsalted butter, melted: Melted to provide a rich, tender base and to bind the crust ingredients together for a flaky shortbread texture. Adds buttery flavor and moisture that helps the crust set during baking without becoming greasy.
- 1/2 cup granulated sugar: Granulated for a touch of sweetness in the crust, helping to balance the butter and flour. Also contributes to slight caramelization and crispness at the edges when baked.
- 2 cups all purpose flour: All-purpose as the structural component of the crust, providing strength and the right amount of gluten for a firm but tender shortbread. Measured to create a sturdy base that supports the lemon filling without collapsing.
- 1/4 tsp finely ground sea salt: Finely ground to evenly season the crust and enhance overall flavor without adding grit; it helps balance sweetness with a hint of savory. Small quantity is used to control flavor and strengthen dough slightly.
- 6 large eggs room temperature: Large and room temperature to enrich the lemon filling, adding body, structure, and emulsification for a smooth, custard-like texture. Warming eggs first ensures they blend easily with sugar and lemon juice, preventing curdling.
- 1 1/2 cups granulated sugar: Granulated to sweeten the lemon filling, dissolve smoothly, and help stabilize the eggs while creating a glossy, set custard. Quantity determines the tart-sweet balance and contributes to the filling's firmness.
- 1 cup freshly squeezed lemon juice from 6-7 lemons: Freshly squeezed to deliver bright, natural acidity and vibrant lemon flavor that defines the bars; juice also provides the acid needed for proper custard set. Measured for consistent tartness and to avoid bitterness from pith or rind.
- 2 tsp clear vanilla extract: Clear vanilla to subtly round and enhance the citrus notes without altering the filling's color, adding aromatic complexity. Small amount elevates the overall flavor profile and complements the lemon.
- 1/4 cup all purpose flour: All-purpose used sparingly to thicken the lemon filling and help it set into a smooth, sliceable consistency. Added flour provides stability so the custard holds its shape after cooling.
- confectioner's sugar (for dusting) (optional): Optional for dusting to add a delicate sweetness and attractive finish, softening the tartness of the lemon filling. Light sifting just before serving enhances presentation and offers a slight textural contrast.
Putting Together Lemon Bars
I like to approach assembly calmly, focusing on each component. The crust bakes quickly and will give one set of sensory cues, while the filling needs a careful eye for texture. Work in sequence so the warm crust is ready to receive the filling, and plan for chilling time so the bars slice cleanly.
- Preheat the oven to 350° F. Line a 9×13 inch baking dish with parchment paper and set aside.: As the oven warms, you will notice a gentle hum from the heating elements and the temperature stabilizing. This step ensures the oven is evenly hot, which is crucial so the crust begins baking immediately and sets properly. The sound of the oven clicking off and the slight warmth when you open the door are small cues that it is ready. A common mistake is placing the pan in before the oven reaches the full temperature, which can yield an underbaked, soggy base. Using parchment makes it easy to lift the bars out later, and lining the pan now means you can move quickly once the dough is ready.
- Add the butter to a large mixing bowl. Add in the granulated sugar and use a hand-held mixer or whisk to cream together the butter and sugar until well-combined.: At this point you will feel the slightly warm melted butter and the grainy texture of sugar as they come together into a cohesive mixture. The aroma will be rich and buttery, and the mixture should look glossy rather than oily. Properly combining these two ingredients helps the crust bind when you press it into the pan. Avoid overbeating into a foam; overworking can change the texture of the crust. If the butter cools and firms too fast, a quick gentle warm will make it workable again.
- Mix in the flour and salt.: When you add the all purpose flour and the sea salt , you will notice the dry flour absorb the melted butter , forming a crumbly, slightly sticky dough. Use a spatula to fold and combine until no dry patches remain, and the mixture holds together when pressed. The flour provides structure, and the salt enhances flavor, so ensure even distribution. Be careful not to overmix to avoid developing too much gluten, which would make the crust tougher. If the dough seems too dry, a teaspoon of melted butter can bring it together.
- Press the crust into the bottom of the prepared baking pan and bake for 15-20 minutes, or until just beginning to lightly brown around the edges. While the crust is baking, prepare the filling.: As you press the dough, feel for an even thickness across the pan, and listen for the slight rustle as the parchment settles. When the crust bakes, watch for the edges to gain a faint golden tone and for the surface to appear set rather than glossy. That gentle browning signals the right balance between tenderness and crispness. A common error is uneven pressing, which causes inconsistent baking. Rotate the pan halfway through if your oven has hot spots to ensure even color.
- Add the eggs and sugar to a large mixing bowl. Use a hand-held mixer to mix the eggs and sugar until well-combined.: Begin this step by cracking the room temperature eggs into a bowl and adding the granulated sugar . As you mix, the texture will change from separate liquids into a pale, slightly thickened blend, and the sound will shift to a steady whisking hum. This initial emulsification helps the filling become uniform and smooth. If you under-mix, the filling may bake unevenly. Scrape the bowl sides to ensure all the sugar is incorporated into the eggs .
- Add in the lemon juice and vanilla and mix until well-combined. Mix in the flour until combined.: Pouring in the fresh lemon juice releases an immediate citrus scent, and you will notice the mixture brighten in color. The clear vanilla extract adds a rounded aroma that tames the acidity slightly. Stir in the small amount of all purpose flour last to help the filling thicken and stabilize. The batter should be smooth and slightly viscous. Avoid overmixing after adding the flour, as that can create a dense result. If the mixture has lumps, a quick whisk will smooth them out.
- Pour the filling mixture over the cooked crust and return to the oven to bake for 20-22 minutes, or until the filling is set.: When you pour, watch how the filling settles over the warm crust, smoothing into the corners. As it bakes, the surface will stop jigging and take on a faint sheen, and the center should be only slightly wobbly. The smell becomes sweet and tart, with buttered notes underneath. Overbaking will dry the filling and create cracks, while underbaking yields a runny center, so use the gentle wobble as your guide. If the top begins to brown too quickly, tent loosely with foil.
- Remove from the oven and allow to come to room temperature before placing in the fridge to chill for 2 hours. Dust the bars with powdered sugar if desired and remove from pan before cutting into squares.: Cooling lets flavors settle and the filling firm. At room temperature you can notice the fragrant lemon aroma mellow slightly. Chilling for the full two hours ensures clean, even slices and a silky mouthfeel. Before cutting, run a knife along the parchment edges to loosen the slab, then lift it out. Dust with the optional confectioner's sugar just before serving for a delicate finish. A common slip is slicing too soon, which will produce messy pieces, so patience here pays off.
Pro Tips and Tweaks
These tips come from repeated batches and honest kitchen testing. I share tweaks that save time, improve texture, and make presentation easier. Each tip focuses on a single idea you can apply right away.
- Room Temperature Eggs Place the eggs on the counter 30 minutes before using, they mix more evenly into the filling, preventing curdling and ensuring a uniform texture.
- Even Crust Thickness Press the crust with the bottom of a measuring cup to achieve a consistent thickness, this helps the crust bake uniformly and avoids thin, overbaked edges.
- Fresh Lemon Juice Use freshly squeezed lemon juice for a vibrant flavor and aroma, bottled juice lacks the bright oils that make the filling sing.
- Chilling is Essential Refrigerate the bars for the full two hours to firm the filling and make slicing clean, cutting too soon is the most common reason for messy pieces.
- Optional Dusting Add the confectioner’s sugar just before serving to keep the powdered finish looking crisp rather than dissolved into the top layer.
Pairing Suggestions for Lemon Bars
These serving ideas help you present Lemon Bars attractively and pair them with complementary flavors. Below are practical suggestions for occasions, storage, and combinations.
- Serve with Fresh Berries Pair slices with a small bowl of fresh berries to add juicy sweetness and color contrast, this is perfect for brunch or a spring gathering.
- Afternoon Tea Style Present the bars on a tiered tray alongside small sandwiches and scones for a refined tea time setting, the bright citrus cuts through richer pastries.
- Picnic Friendly Wrap chilled squares individually for a picnic, they travel well and hold their shape if kept cool in an insulated bag.
- Make Ahead for Parties Bake the day before and chill overnight, this saves time on the event day and lets the flavors meld for a slightly deeper lemon profile.
- Storage Tips Keep leftovers refrigerated in an airtight container for up to five days, bring to room temperature before serving for the best texture and aroma.
- Occasion Ideas These bars are ideal for spring gatherings, bridal showers, and Ramadan if you need a bright, refreshing dessert after a fast.
FAQ
Conclusion
Lemon Bars stand out because they balance a buttery, tender crust with a bright, silky citrus filling, delivering both texture and flavor in every bite. I encourage you to try this recipe because it is approachable, uses everyday ingredients, and yields impressive results that suit many occasions. Make the crust with care, press it evenly, and allow the filling to chill fully, then enjoy how a small square of lemony goodness can lift any dessert spread.

Lemon Bars
Equipment
- 9x13-inch Baking Dish
- Parchment Paper
- Hand Held Mixer
- Mixing Bowl
Ingredients
- 8 ounces unsalted butter, melted Melted to provide a rich, tender base and to bind the crust ingredients together for a flaky shortbread texture. Adds buttery flavor and moisture that helps the crust set during baking without becoming greasy.
- 1/2 cup granulated sugar Granulated for a touch of sweetness in the crust, helping to balance the butter and flour. Also contributes to slight caramelization and crispness at the edges when baked.
- 2 cups all purpose flour All-purpose as the structural component of the crust, providing strength and the right amount of gluten for a firm but tender shortbread. Measured to create a sturdy base that supports the lemon filling without collapsing.
- 1/4 tsp finely ground sea salt Finely ground to evenly season the crust and enhance overall flavor without adding grit; it helps balance sweetness with a hint of savory. Small quantity is used to control flavor and strengthen dough slightly.
- 6 large eggs room temperature Large and room temperature to enrich the lemon filling, adding body, structure, and emulsification for a smooth, custard-like texture. Warming eggs first ensures they blend easily with sugar and lemon juice, preventing curdling.
- 1 1/2 cups granulated sugar Granulated to sweeten the lemon filling, dissolve smoothly, and help stabilize the eggs while creating a glossy, set custard. Quantity determines the tart-sweet balance and contributes to the filling's firmness.
- 1 cup freshly squeezed lemon juice from 6-7 lemons Freshly squeezed to deliver bright, natural acidity and vibrant lemon flavor that defines the bars; juice also provides the acid needed for proper custard set. Measured for consistent tartness and to avoid bitterness from pith or rind.
- 2 tsp clear vanilla extract Clear vanilla to subtly round and enhance the citrus notes without altering the filling's color, adding aromatic complexity. Small amount elevates the overall flavor profile and complements the lemon.
- 1/4 cup all purpose flour All-purpose used sparingly to thicken the lemon filling and help it set into a smooth, sliceable consistency. Added flour provides stability so the custard holds its shape after cooling.
- confectioner's sugar optional (for dusting) Optional for dusting to add a delicate sweetness and attractive finish, softening the tartness of the lemon filling. Light sifting just before serving enhances presentation and offers a slight textural contrast.
Instructions
- Preheat the oven to 350° F. Line a 9×13 inch baking dish with parchment paper and set aside.: As the oven warms, you will notice a gentle hum from the heating elements and the temperature stabilizing. This step ensures the oven is evenly hot, which is crucial so the crust begins baking immediately and sets properly. The sound of the oven clicking off and the slight warmth when you open the door are small cues that it is ready. A common mistake is placing the pan in before the oven reaches the full temperature, which can yield an underbaked, soggy base. Using parchment makes it easy to lift the bars out later, and lining the pan now means you can move quickly once the dough is ready.
- Add the butter to a large mixing bowl. Add in the granulated sugar and use a hand-held mixer or whisk to cream together the butter and sugar until well-combined.: At this point you will feel the slightly warm melted butter and the grainy texture of sugar as they come together into a cohesive mixture. The aroma will be rich and buttery, and the mixture should look glossy rather than oily. Properly combining these two ingredients helps the crust bind when you press it into the pan. Avoid overbeating into a foam; overworking can change the texture of the crust. If the butter cools and firms too fast, a quick gentle warm will make it workable again.
- Mix in the flour and salt.: When you add the all purpose flour and the sea salt , you will notice the dry flour absorb the melted butter , forming a crumbly, slightly sticky dough. Use a spatula to fold and combine until no dry patches remain, and the mixture holds together when pressed. The flour provides structure, and the salt enhances flavor, so ensure even distribution. Be careful not to overmix to avoid developing too much gluten, which would make the crust tougher. If the dough seems too dry, a teaspoon of melted butter can bring it together.
- Press the crust into the bottom of the prepared baking pan and bake for 15-20 minutes, or until just beginning to lightly brown around the edges. While the crust is baking, prepare the filling.: As you press the dough, feel for an even thickness across the pan, and listen for the slight rustle as the parchment settles. When the crust bakes, watch for the edges to gain a faint golden tone and for the surface to appear set rather than glossy. That gentle browning signals the right balance between tenderness and crispness. A common error is uneven pressing, which causes inconsistent baking. Rotate the pan halfway through if your oven has hot spots to ensure even color.
- Add the eggs and sugar to a large mixing bowl. Use a hand-held mixer to mix the eggs and sugar until well-combined.: Begin this step by cracking the room temperature eggs into a bowl and adding the granulated sugar . As you mix, the texture will change from separate liquids into a pale, slightly thickened blend, and the sound will shift to a steady whisking hum. This initial emulsification helps the filling become uniform and smooth. If you under-mix, the filling may bake unevenly. Scrape the bowl sides to ensure all the sugar is incorporated into the eggs .
- Add in the lemon juice and vanilla and mix until well-combined. Mix in the flour until combined.: Pouring in the fresh lemon juice releases an immediate citrus scent, and you will notice the mixture brighten in color. The clear vanilla extract adds a rounded aroma that tames the acidity slightly. Stir in the small amount of all purpose flour last to help the filling thicken and stabilize. The batter should be smooth and slightly viscous. Avoid overmixing after adding the flour, as that can create a dense result. If the mixture has lumps, a quick whisk will smooth them out.
- Pour the filling mixture over the cooked crust and return to the oven to bake for 20-22 minutes, or until the filling is set.: When you pour, watch how the filling settles over the warm crust, smoothing into the corners. As it bakes, the surface will stop jigging and take on a faint sheen, and the center should be only slightly wobbly. The smell becomes sweet and tart, with buttered notes underneath. Overbaking will dry the filling and create cracks, while underbaking yields a runny center, so use the gentle wobble as your guide. If the top begins to brown too quickly, tent loosely with foil.
- Remove from the oven and allow to come to room temperature before placing in the fridge to chill for 2 hours. Dust the bars with powdered sugar if desired and remove from pan before cutting into squares.: Cooling lets flavors settle and the filling firm. At room temperature you can notice the fragrant lemon aroma mellow slightly. Chilling for the full two hours ensures clean, even slices and a silky mouthfeel. Before cutting, run a knife along the parchment edges to loosen the slab, then lift it out. Dust with the optional confectioner's sugar just before serving for a delicate finish. A common slip is slicing too soon, which will produce messy pieces, so patience here pays off.
Notes
- Room Temperature Eggs Place the eggs on the counter 30 minutes before using, they mix more evenly into the filling, preventing curdling and ensuring a uniform texture.
- Even Crust Thickness Press the crust with the bottom of a measuring cup to achieve a consistent thickness, this helps the crust bake uniformly and avoids thin, overbaked edges.
- Fresh Lemon Juice Use freshly squeezed lemon juice for a vibrant flavor and aroma, bottled juice lacks the bright oils that make the filling sing.
- Chilling is Essential Refrigerate the bars for the full two hours to firm the filling and make slicing clean, cutting too soon is the most common reason for messy pieces.
- Optional Dusting Add the confectioner's sugar just before serving to keep the powdered finish looking crisp rather than dissolved into the top layer.