
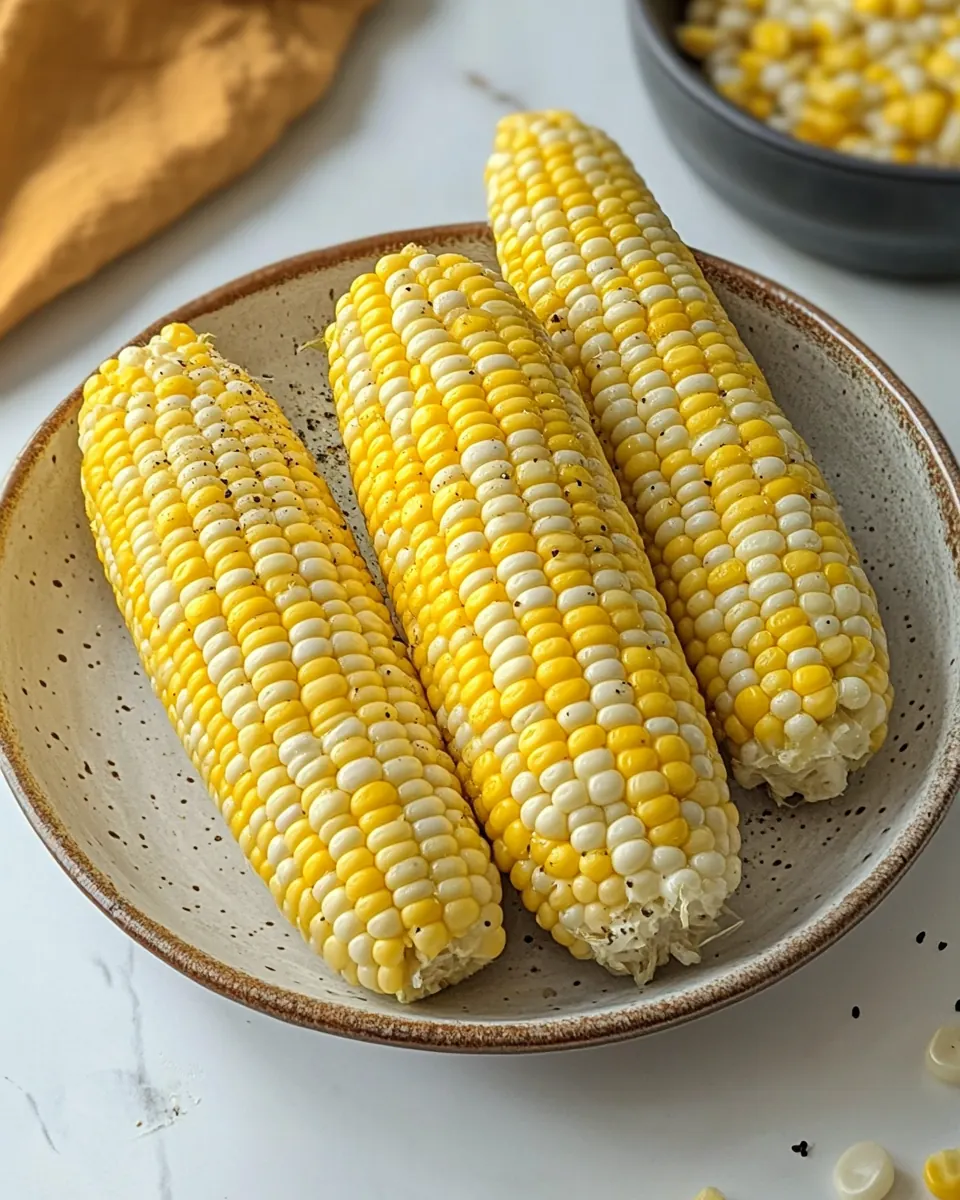
Instant Pot Corn On The Cob
Instant Pot Corn On The Cob has been my fast track to summer memories ever since I first tucked a steamy ear into a picnic basket and raced out the door to meet friends at the park.
One late afternoon, I remember juggling a tote, a blanket, and a stubborn cooler while the scent of fresh corn steamed up the kitchen. I was short on time, but I wanted that sweet snap and warm butter that only just-cooked corn delivers. Over the years, I refined how I pressure cook corn so it stays juicy, not soggy, and I never sacrifice that bright, grassy sweetness. I like to alternate which end faces out when I stack the ears, a tiny trick that helps them cook evenly in a crowded pot.
Now, whether I am feeding a crowd or pulling together a quick weeknight side, I reach for the Instant Pot. It gives me uniform results and a husk-to-table speed that makes hosting feel effortless. I love the way a hot ear of corn releases steam, and the way melted butter beads and slides into the kernels, finishing it with an irresistible gloss. This recipe has become my go-to for backyard dinners, quick lunches, and last minute plans with friends.
Recipe Snapshot
15 mins
5 mins
10 mins
Medium
120 kcal
American
Gluten-Free, Low FODMAP
Side Dishes
Instant Pot, Trivet or steamer basket, Tongs
What’s Great About This Instant Pot Corn On The Cob
Speed without sacrifice
I adore how Instant Pot Corn On The Cob gives you tender sweet corn in minutes, not hours. I can have steaming ears ready while I toss a salad, which means I spend less time hovering over a stove and more time sitting with guests.
Consistent results
Using pressure means I get the same bite every time. I used to worry about unevenly cooked kernels, but this method delivers even heat so each ear comes out with a reliable texture, whether I choose firmer or softer options.
Minimal fuss, maximal flavor
I love recipes that let the main ingredient shine. With corn that has been shucked and gently steamed, the sweetness is front and center. A little butter, salt, or pepper transforms it without masking the natural taste.
Great for groups
This approach scales up gracefully. I often double or triple a batch for gatherings, and the method still gives uniform heat. You can stack ears and alternate directions to pack more in, which makes it perfect for potlucks or backyard barbecues.
Simple equipment, big payoff
There is no need for fancy tools. The Instant Pot, a trivet, and tongs are all I ever use. That simplicity keeps this recipe approachable for cooks at any level, and I appreciate how forgiving the process is when life gets busy.
Ingredients to Make Instant Pot Corn On The Cob
These ingredients are short and intentional, built around the star of the show: sweet corn. The philosophy is purity, letting the natural sugars and snap of the kernels speak for themselves. The water is a small technical player, it creates steam and pressure without diluting flavor. The finishing trio of butter, salt, and pepper is about balance, enhancing sweetness and adding a touch of savory warmth.
- 10 ears of corn on the cob shucked with husks and silks removed: Provide sweet kernels and bulk for the recipe; cook quickly under pressure to become tender while retaining crispness. Shucked with husks and silks removed to prevent grit and ensure even cooking. Arrange ears in the Instant Pot so steam circulates evenly for consistent results.
- 1 1 1/2 cups water (for 6-8 quart models) increase to 2 cups for 10-quart models: Add necessary liquid to generate steam and build pressure in the Instant Pot; adjust amount by model size for proper function. Measure 1 to 1 1/2 cups for 6–8 quart models or increase to 2 cups for 10-quart models. Ensure water reaches the base without submerging corn to promote steaming rather than boiling.
- Butter, salt, and pepper , for serving (optional): Enhance flavor at serving time with optional seasoning and fat for a finished dish that suits personal taste. Provide butter for richness and salt and pepper for balance and seasoning. Offer as accompaniments so diners can adjust levels to preference.
Recipe Directions for Instant Pot Corn On The Cob
These directions are friendly but precise, designed to guide you through timing and technique so your corn comes out perfectly. Read each core step carefully, and then follow the expanded notes to sense when a step is done. I like to keep tongs in hand and act confidently, because quick, careful moves keep steam burns at bay.
- Trim the ends of the corn ears to fit more easily into your Instant Pot. Optionally, cut the ears in half.: When I trim the ends I notice a fresh vegetal scent and a few kernels at the tip that may be loose, which I remove. The visual cue is a clean, flat end so the ear sits comfortably on the trivet. This matters because a stable stack steams more evenly and avoids tipping that can trap water. A common mistake is cutting too close to the kernels which can expose them and let them become waterlogged during cooking. If you need to halve the ears, the exposed cross sections will steam more quickly, so watch for slightly shorter cooking needs.
- Insert the trivet or steamer basket into the Instant Pot and add the water. If you don’t have a trivet, use crumpled foil or a heat-safe rack to keep the corn above the water.: You will hear the hollow clink of metal as the trivet settles into the pot, and that small physical separation is what prevents the corn from sitting in boiling water. The water creates steam, not boiling contact, which keeps kernels tender rather than waterlogged. I always measure, because too little water risks a burn notice, and too much is unnecessary. A typical error is skipping the trivet and placing the ears directly in water, which leads to uneven texture and soggy kernels.
- Arrange the corn ears on the trivet, alternating directions to maximize space and ensure even cooking. Seal the lid and set the steam release to the sealing position.: As you stack, you can feel the satisfying snug fit when the ears wedge together, and alternating tips and stems helps heat reach all sides. Sealing the lid creates the pressurized environment; you should hear the faint hiss as the sealing ring engages. That sealed atmosphere cooks quickly and uniformly. If you crowd the pot without alternating, some ears may be compressed and not steam correctly, so take an extra moment to reposition for airflow.
- Select 'pressure cook' or 'manual' and adjust the time to 2 minutes for firmer corn or 3 minutes for softer corn or up to 4 minutes for very thick ears. Set to high pressure.: The pot hums and then builds pressure, a rising whine that signals the internal temperature is climbing. Choosing 2, 3, or 4 minutes changes the bite, so the sensory cue is texture after you release the steam; firmer ears give a crisp snap, while longer times yield a tender, almost satin kernel. Understanding this trade-off matters, because a minute can be the difference between a crisp lunch and a mushy side. A common error is selecting low pressure, which will lengthen time and produce inconsistent chew.
- Once cooking is complete, perform a 'quick release' by carefully turning the steam release valve to the 'venting' position using a long utensil and standing back to avoid steam burns. Alternatively, let the pressure naturally release for 5 minutes before quick releasing the remaining pressure to help prevent overcooking and steam bursts.: The hiss and rush of steam are loud, and you will feel a cloud of warmth if you stand too close, so staying back is essential. A partial natural release softens the transition, saving kernels from an immediate shock that can overcook them. I usually wait a few minutes if I'm not in a rush. The typical mistake is rushing the lid open right away which can lead to a steam blast and overly soft texture from the abrupt temperature change.
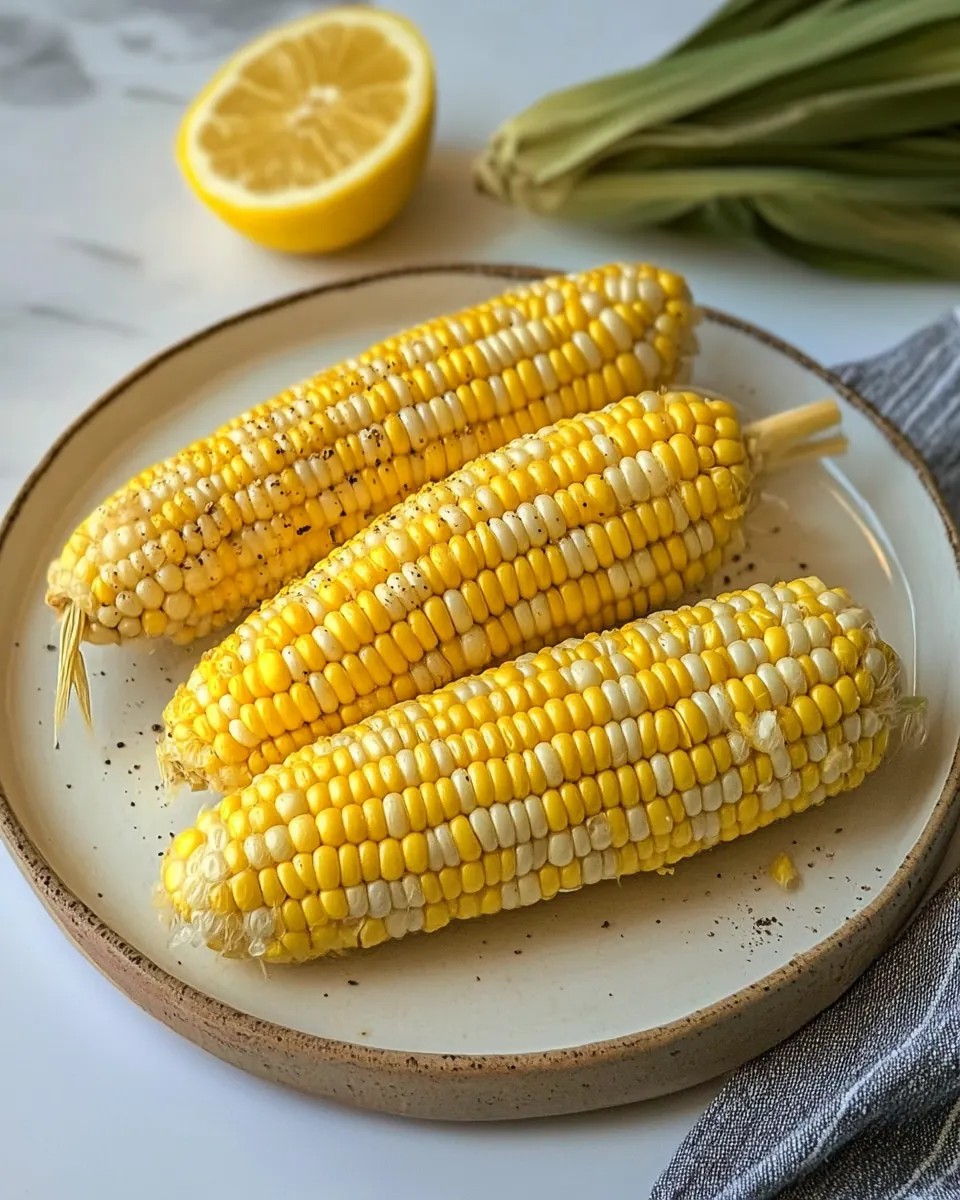
- After the pressure pin drops, carefully open the lid and use tongs to remove the corn.: Opening the pot releases a warm, humid scent of steamed corn that is unmistakable. Use long tongs to lift each ear slowly so any residual water drips back into the pot rather than onto your counter. The right visual cue is a bright yellow color and slightly glossy kernels. Avoid grabbing with bare hands too soon, as the ears hold heat and steam in the center, which can burn the fingertips.
- Serve immediately with butter, salt, and pepper, or your favorite toppings.: The sound of butter melting over hot kernels is small but delightful, and the aroma fills the kitchen with a warm, savory cloud. Serve right away for the best texture, as the kernels start to settle and cool quickly. I recommend plating on warmed plates so the butter stays liquid longer. One common misstep is allowing the corn to sit, which cools and dulls the flavors; quick service keeps the sensory impact high.
Pro Tips and Tweaks
These tweaks take a simple preparation and make it reliably excellent every time. I lean on small rituals like trimming and alternating ears, which save time and improve texture in the long run. Below are practical suggestions that I use when I want perfect corn for company or a quiet weeknight meal.
- Trim for fit Make sure each ear sits flat so it stacks without rolling, this reduces uneven cooking and prevents contact with the water.
- Measure water carefully The right water level creates steam without letting the corn touch liquid and become soggy or trigger a burn error.
- Choose your texture Two minutes yields a firm snap, three minutes is standard tender, and four minutes is best for very thick ears; adjust based on kernel maturity.
- Use a trivet or rack If you do not have a trivet, crumpled foil or a heat-safe rack will elevate the corn so steam cooks, not boiling contact.
- Quick release caution Stand back and use a long utensil so you avoid steam burns during the quick release, or use a partial natural release to moderate heat shock.
- Serve immediately The peak moment for texture and aroma is right after cooking, so plan sides and plates to serve while hot.
Serving Ideas for Instant Pot Corn On The Cob
Hot steamed corn can star as the main side at a barbecue, complement a casual lunch, or be part of a festive spread during summer gatherings. I often think in terms of texture contrasts and temperature, pairing hot glossy corn with crisp salads or creamy dishes. Below are serving suggestions tailored to occasions and storage tips to keep leftovers bright.
- Backyard barbecue side Plate several ears with a small ramekin of softened butter and coarse salt so guests can finish to taste.
- Weeknight family dinner Serve alongside grilled proteins and a simple green salad for a balanced plate that cooks quickly and satisfies everyone.
- Potluck contribution Keep ears warm in a covered casserole dish and offer small bowls of toppings so people can customize each ear.
- Ramadan and communal meals This is a quick, shareable side that travels well and pairs with hearty stews or rice dishes, making it useful for breaking fast gatherings.
- Leftover storage Cool ears quickly, wrap individually in plastic or foil, and refrigerate for up to three days; reheat briefly in the microwave or on a steamer to preserve texture.
- Seasonal pairing In summer, showcase with tomatoes and basil salads; in cooler months, pair with roasted root vegetables to highlight contrasting textures and temperatures.
FAQ
Conclusion
This Instant Pot Corn On The Cob shines because it turns minimal effort into reliably sweet, tender ears every time. It is a fast, crowd friendly method that highlights the natural flavor of the corn while giving you control over texture. I encourage you to try the timing variations to find the exact bite you love, and serve it hot with a little butter and salt for immediate satisfaction. Small attentions like trimming, alternating the ears, and choosing the right release method will make each ear taste like summer, even on a busy weeknight.

Instant Pot Corn On The Cob
Equipment
- Instant Pot
- Trivet or steamer basket
- Tongs
Ingredients
- 10 ears of corn on the cob shucked with husks and silks removed Provide sweet kernels and bulk for the recipe; cook quickly under pressure to become tender while retaining crispness. Shucked with husks and silks removed to prevent grit and ensure even cooking. Arrange ears in the Instant Pot so steam circulates evenly for consistent results.
- 1 -1 1/2 cups water (for 6-8 quart models) increase to 2 cups for 10-quart models Add necessary liquid to generate steam and build pressure in the Instant Pot; adjust amount by model size for proper function. Measure 1 to 1 1/2 cups for 6–8 quart models or increase to 2 cups for 10-quart models. Ensure water reaches the base without submerging corn to promote steaming rather than boiling.
- Butter, salt, and pepper optional, for serving Enhance flavor at serving time with optional seasoning and fat for a finished dish that suits personal taste. Provide butter for richness and salt and pepper for balance and seasoning. Offer as accompaniments so diners can adjust levels to preference.
Instructions
- Trim the ends of the corn ears to fit more easily into your Instant Pot. Optionally, cut the ears in half.: When I trim the ends I notice a fresh vegetal scent and a few kernels at the tip that may be loose, which I remove. The visual cue is a clean, flat end so the ear sits comfortably on the trivet. This matters because a stable stack steams more evenly and avoids tipping that can trap water. A common mistake is cutting too close to the kernels which can expose them and let them become waterlogged during cooking. If you need to halve the ears, the exposed cross sections will steam more quickly, so watch for slightly shorter cooking needs.
- Insert the trivet or steamer basket into the Instant Pot and add the water. If you don’t have a trivet, use crumpled foil or a heat-safe rack to keep the corn above the water.: You will hear the hollow clink of metal as the trivet settles into the pot, and that small physical separation is what prevents the corn from sitting in boiling water. The water creates steam, not boiling contact, which keeps kernels tender rather than waterlogged. I always measure, because too little water risks a burn notice, and too much is unnecessary. A typical error is skipping the trivet and placing the ears directly in water, which leads to uneven texture and soggy kernels.
- Arrange the corn ears on the trivet, alternating directions to maximize space and ensure even cooking. Seal the lid and set the steam release to the sealing position.: As you stack, you can feel the satisfying snug fit when the ears wedge together, and alternating tips and stems helps heat reach all sides. Sealing the lid creates the pressurized environment; you should hear the faint hiss as the sealing ring engages. That sealed atmosphere cooks quickly and uniformly. If you crowd the pot without alternating, some ears may be compressed and not steam correctly, so take an extra moment to reposition for airflow.
- Select 'pressure cook' or 'manual' and adjust the time to 2 minutes for firmer corn or 3 minutes for softer corn or up to 4 minutes for very thick ears. Set to high pressure.: The pot hums and then builds pressure, a rising whine that signals the internal temperature is climbing. Choosing 2, 3, or 4 minutes changes the bite, so the sensory cue is texture after you release the steam; firmer ears give a crisp snap, while longer times yield a tender, almost satin kernel. Understanding this trade-off matters, because a minute can be the difference between a crisp lunch and a mushy side. A common error is selecting low pressure, which will lengthen time and produce inconsistent chew.
- Once cooking is complete, perform a 'quick release' by carefully turning the steam release valve to the 'venting' position using a long utensil and standing back to avoid steam burns. Alternatively, let the pressure naturally release for 5 minutes before quick releasing the remaining pressure to help prevent overcooking and steam bursts.: The hiss and rush of steam are loud, and you will feel a cloud of warmth if you stand too close, so staying back is essential. A partial natural release softens the transition, saving kernels from an immediate shock that can overcook them. I usually wait a few minutes if I'm not in a rush. The typical mistake is rushing the lid open right away which can lead to a steam blast and overly soft texture from the abrupt temperature change.
- After the pressure pin drops, carefully open the lid and use tongs to remove the corn.: Opening the pot releases a warm, humid scent of steamed corn that is unmistakable. Use long tongs to lift each ear slowly so any residual water drips back into the pot rather than onto your counter. The right visual cue is a bright yellow color and slightly glossy kernels. Avoid grabbing with bare hands too soon, as the ears hold heat and steam in the center, which can burn the fingertips.
- Serve immediately with butter, salt, and pepper, or your favorite toppings.: The sound of butter melting over hot kernels is small but delightful, and the aroma fills the kitchen with a warm, savory cloud. Serve right away for the best texture, as the kernels start to settle and cool quickly. I recommend plating on warmed plates so the butter stays liquid longer. One common misstep is allowing the corn to sit, which cools and dulls the flavors; quick service keeps the sensory impact high.
Notes
- Trim for fit Make sure each ear sits flat so it stacks without rolling, this reduces uneven cooking and prevents contact with the water.
- Measure water carefully The right water level creates steam without letting the corn touch liquid and become soggy or trigger a burn error.
- Choose your texture Two minutes yields a firm snap, three minutes is standard tender, and four minutes is best for very thick ears; adjust based on kernel maturity.
- Use a trivet or rack If you do not have a trivet, crumpled foil or a heat-safe rack will elevate the corn so steam cooks, not boiling contact.
- Quick release caution Stand back and use a long utensil so you avoid steam burns during the quick release, or use a partial natural release to moderate heat shock.
- Serve immediately The peak moment for texture and aroma is right after cooking, so plan sides and plates to serve while hot.